
Clippard 331 & 701 models for proton packs / wand
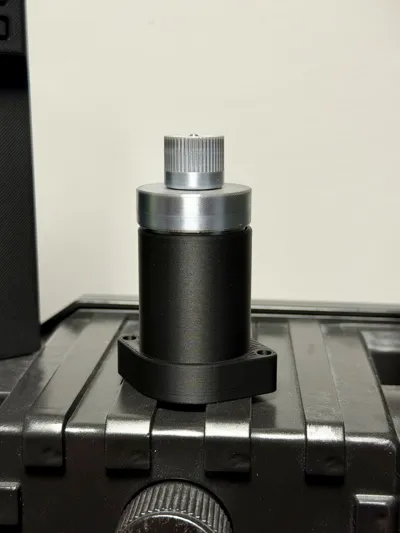
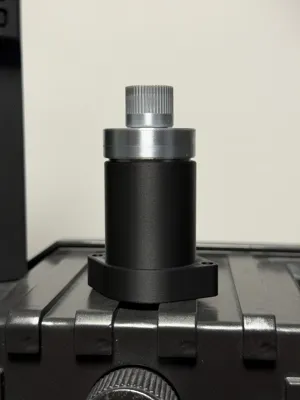
Print Profile(2)

Bill of Materials





Description
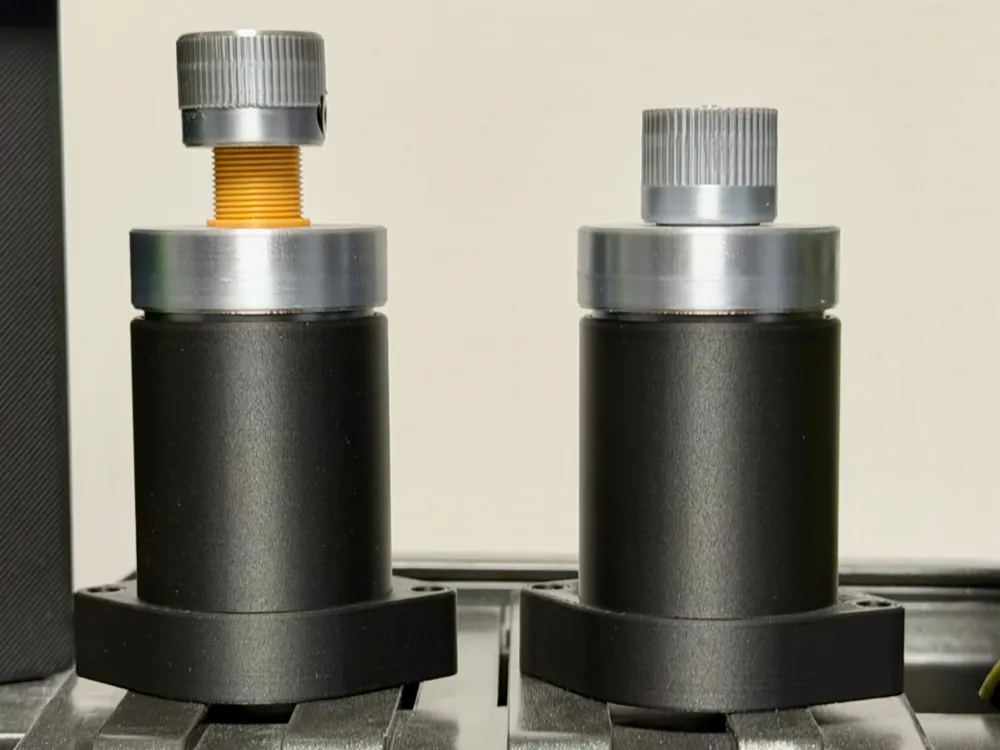
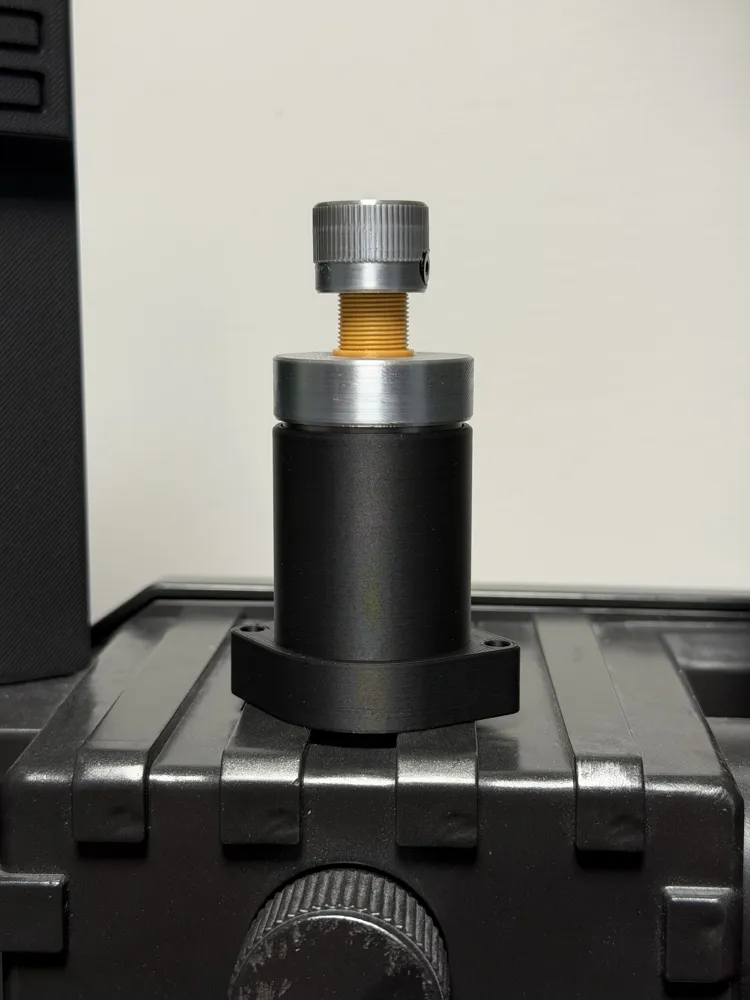
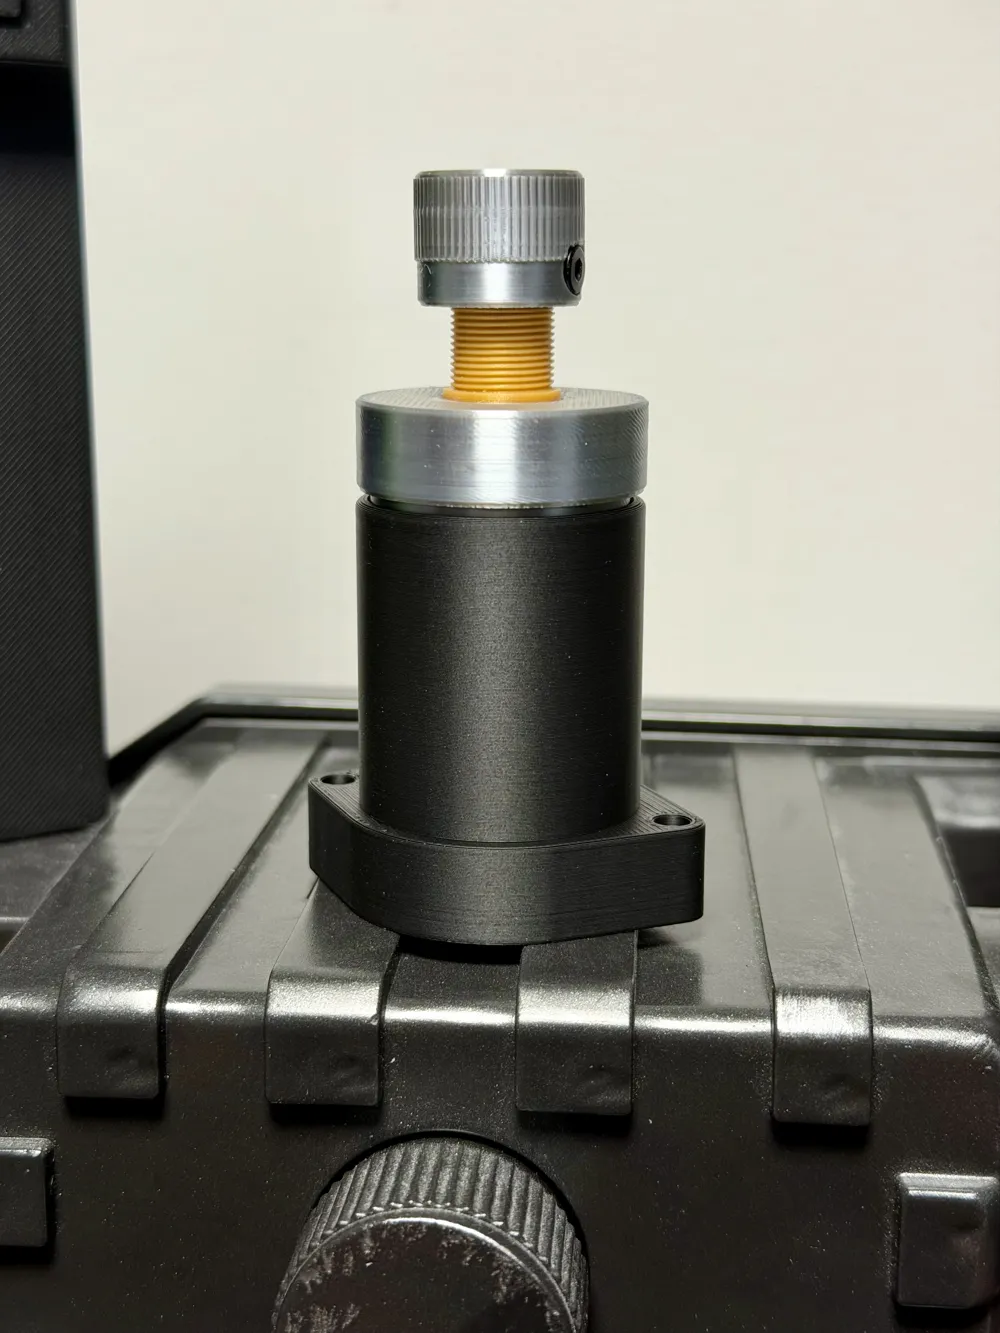
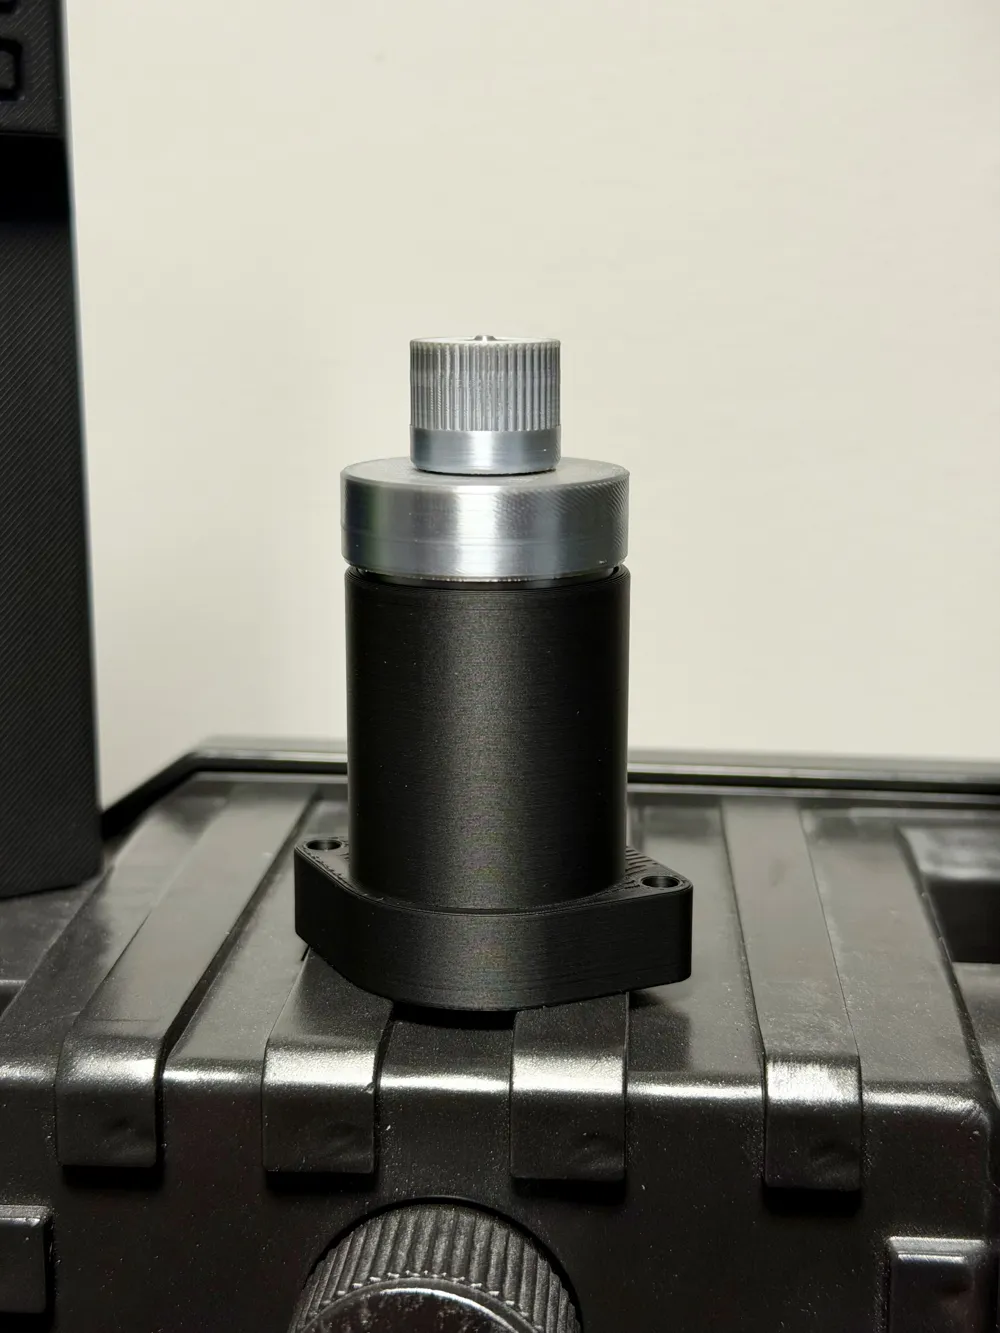
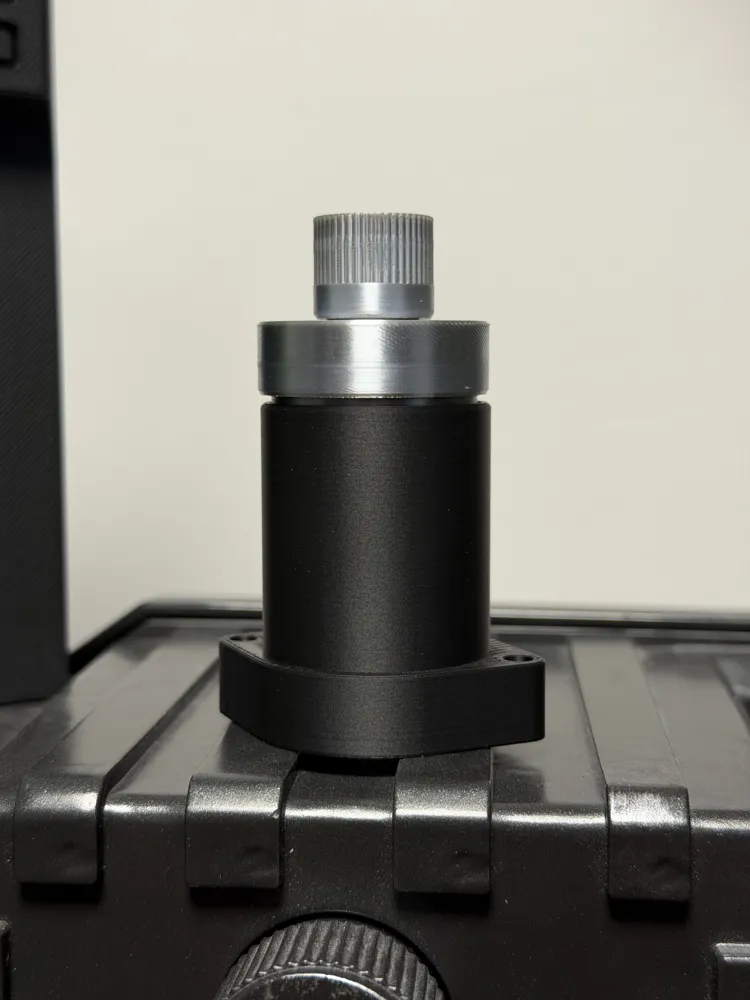
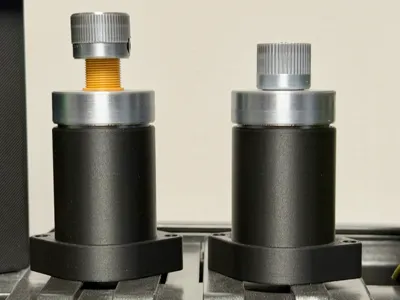
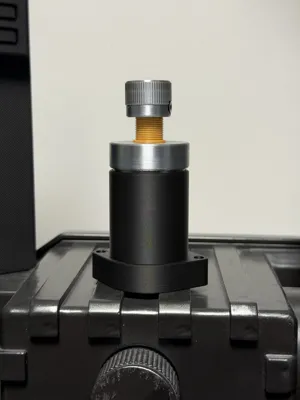
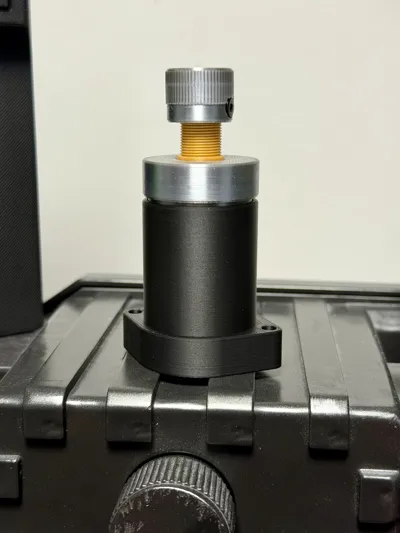
🛠️ Clippard 331 and 701 valve models for proton packs and Neutrona wands - Non-AMS version🛠️
These are accurate 3D models of the Clippard 331 and Clippard 701 valves, created specifically for Ghostbusters proton pack builds, Neutrona wands, or for modifying existing packs and wands that use the original Clippard sized mounting holes.
Each part has been modelled to the same size and specification as the original Clippard valves, making them ideal as visual stand ins, prop replacements, or for builders who want the correct look and footprint without sourcing real hardware.
Each valve model has its own dedicated print profile, ensuring the dimensions remain accurate for the specific valve type. These are fast, easy prints that do not require AMS, and only need basic assembly after printing to complete the prop ready part.
Boost Me (for free)
👻 If you like this Ghostbusters prop print, please consider a boost as a way of supporting me on here 👻
🔥 Tips before you start
Having a clean print bed and hot end(s) free from filament is essential in getting that crisp, clean look. Here's some tips on what to do to get the best print possible;
🧼 Cleaning
Clean your plate first, following your usual routine. Dish soap works best, clean and then rinse thoroughly, ensure the plate is dry and free of debris before putting back in the printer.
Leftover filament residue on your hot end can cause unwanted surface artefacts. Please inspect your hot end before starting the print, if you spot any clumps or leftover filament, follow Bambu's recommended cleaning guide to remove.
·····
🖨️ Printing setup
Each valve has its own individual 3MF print profile:
- One profile for the Clippard 331 valve model
- One profile for the Clippard 701 valve model
Within those print profiles, the parts are divided into plates based on colour / filament (i.e. Black, Silver and Gold).
Make sure you select the correct profile for the valve you are printing.
- Filament: PLA / PETG - I used Matte Black and Silk silver, I didn't have Bambu gold silk to hand, so used regular gold PLA. I will list the PLA's I've used / would recommend in the Bill Of Materials (BoM).
- Build plate: Textured PEI Plate
- AMS: Not required
Please ensure you dial in the settings that work best for your filaments of choice, Silk PLA requires slower speeds to get the best finish.
The supplied profiles maintain the correct proportions and mounting hole alignment to match original Clippard hardware.
·····
🏗️ Assembly
What you will need
- Printed parts for either the 331 or 701 valve model
- 2.6 x 8mm Self tapping screws for the 701 valve (link to the Bambu screw in the BoM).
- Adhesive - My preference is Loctite Super Glue Precision.
Assembly steps
331
- Remove supports from the bottom of the silver middle part and the cap.
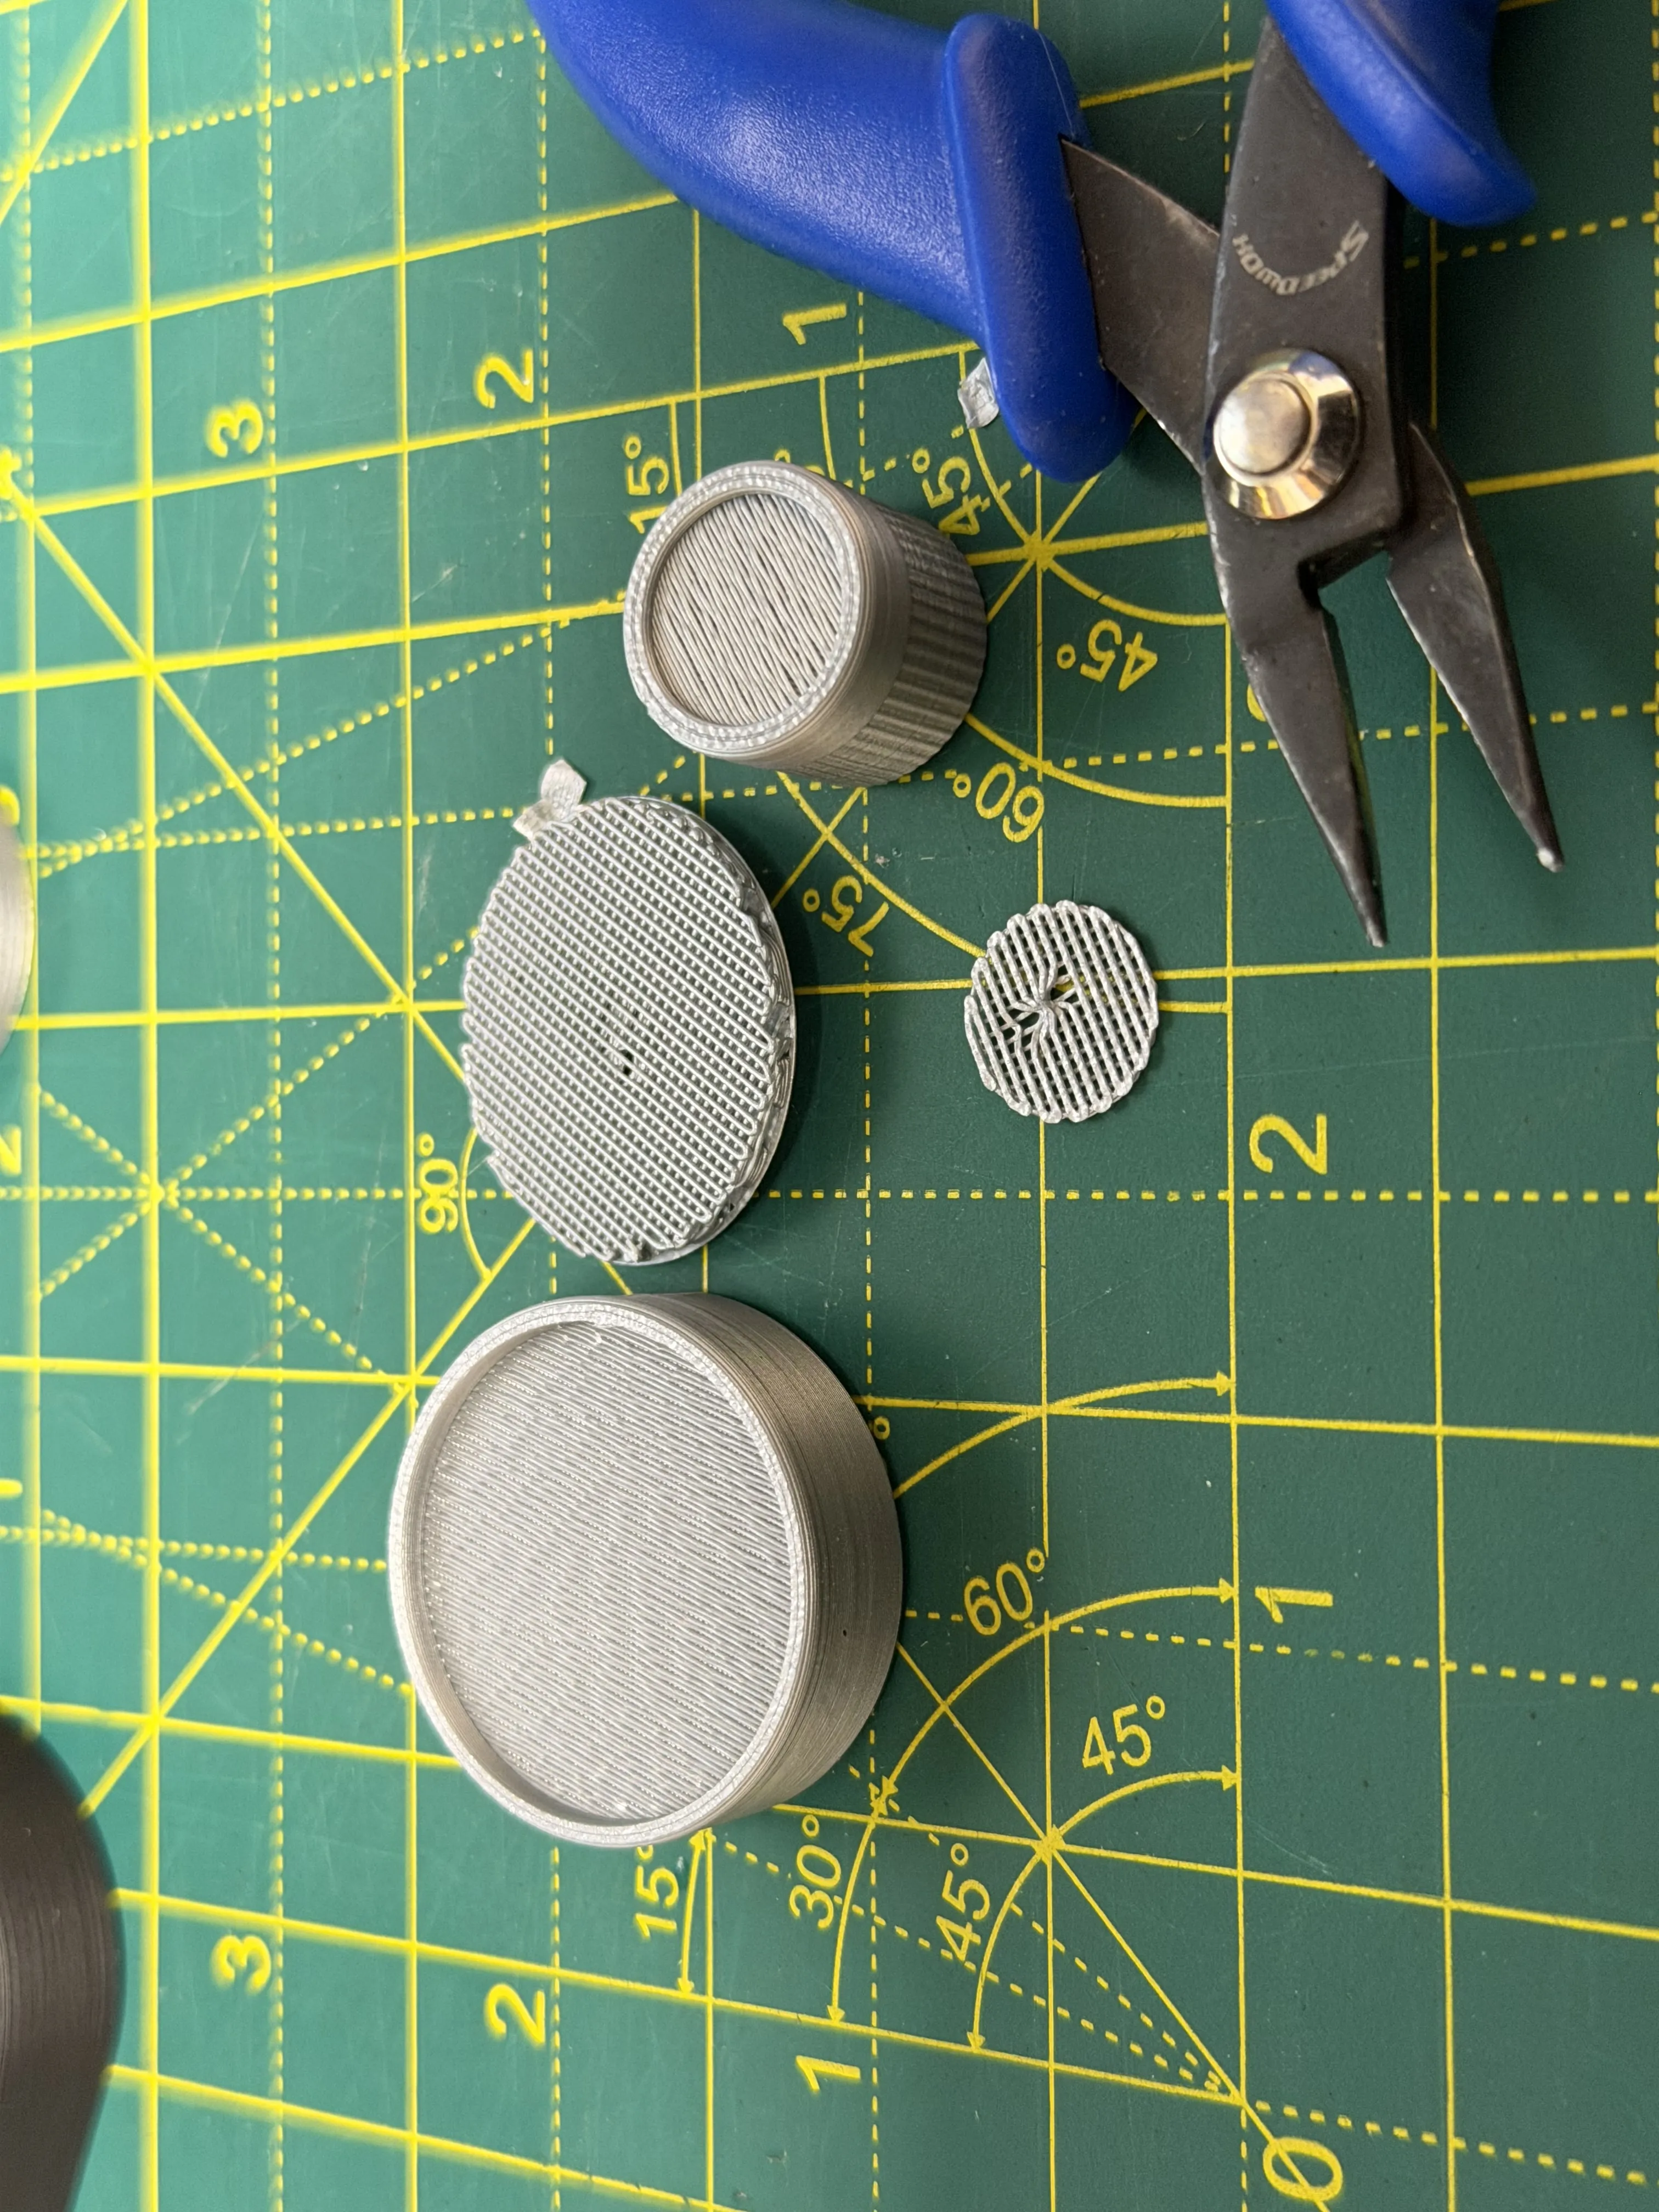
- Dry-fit the parts to confirm alignment and scale. Perform any cleanup as needed.
First, glue the silver disc in place to black main unit. A small amount of glue around the inside edges. Then install in place.
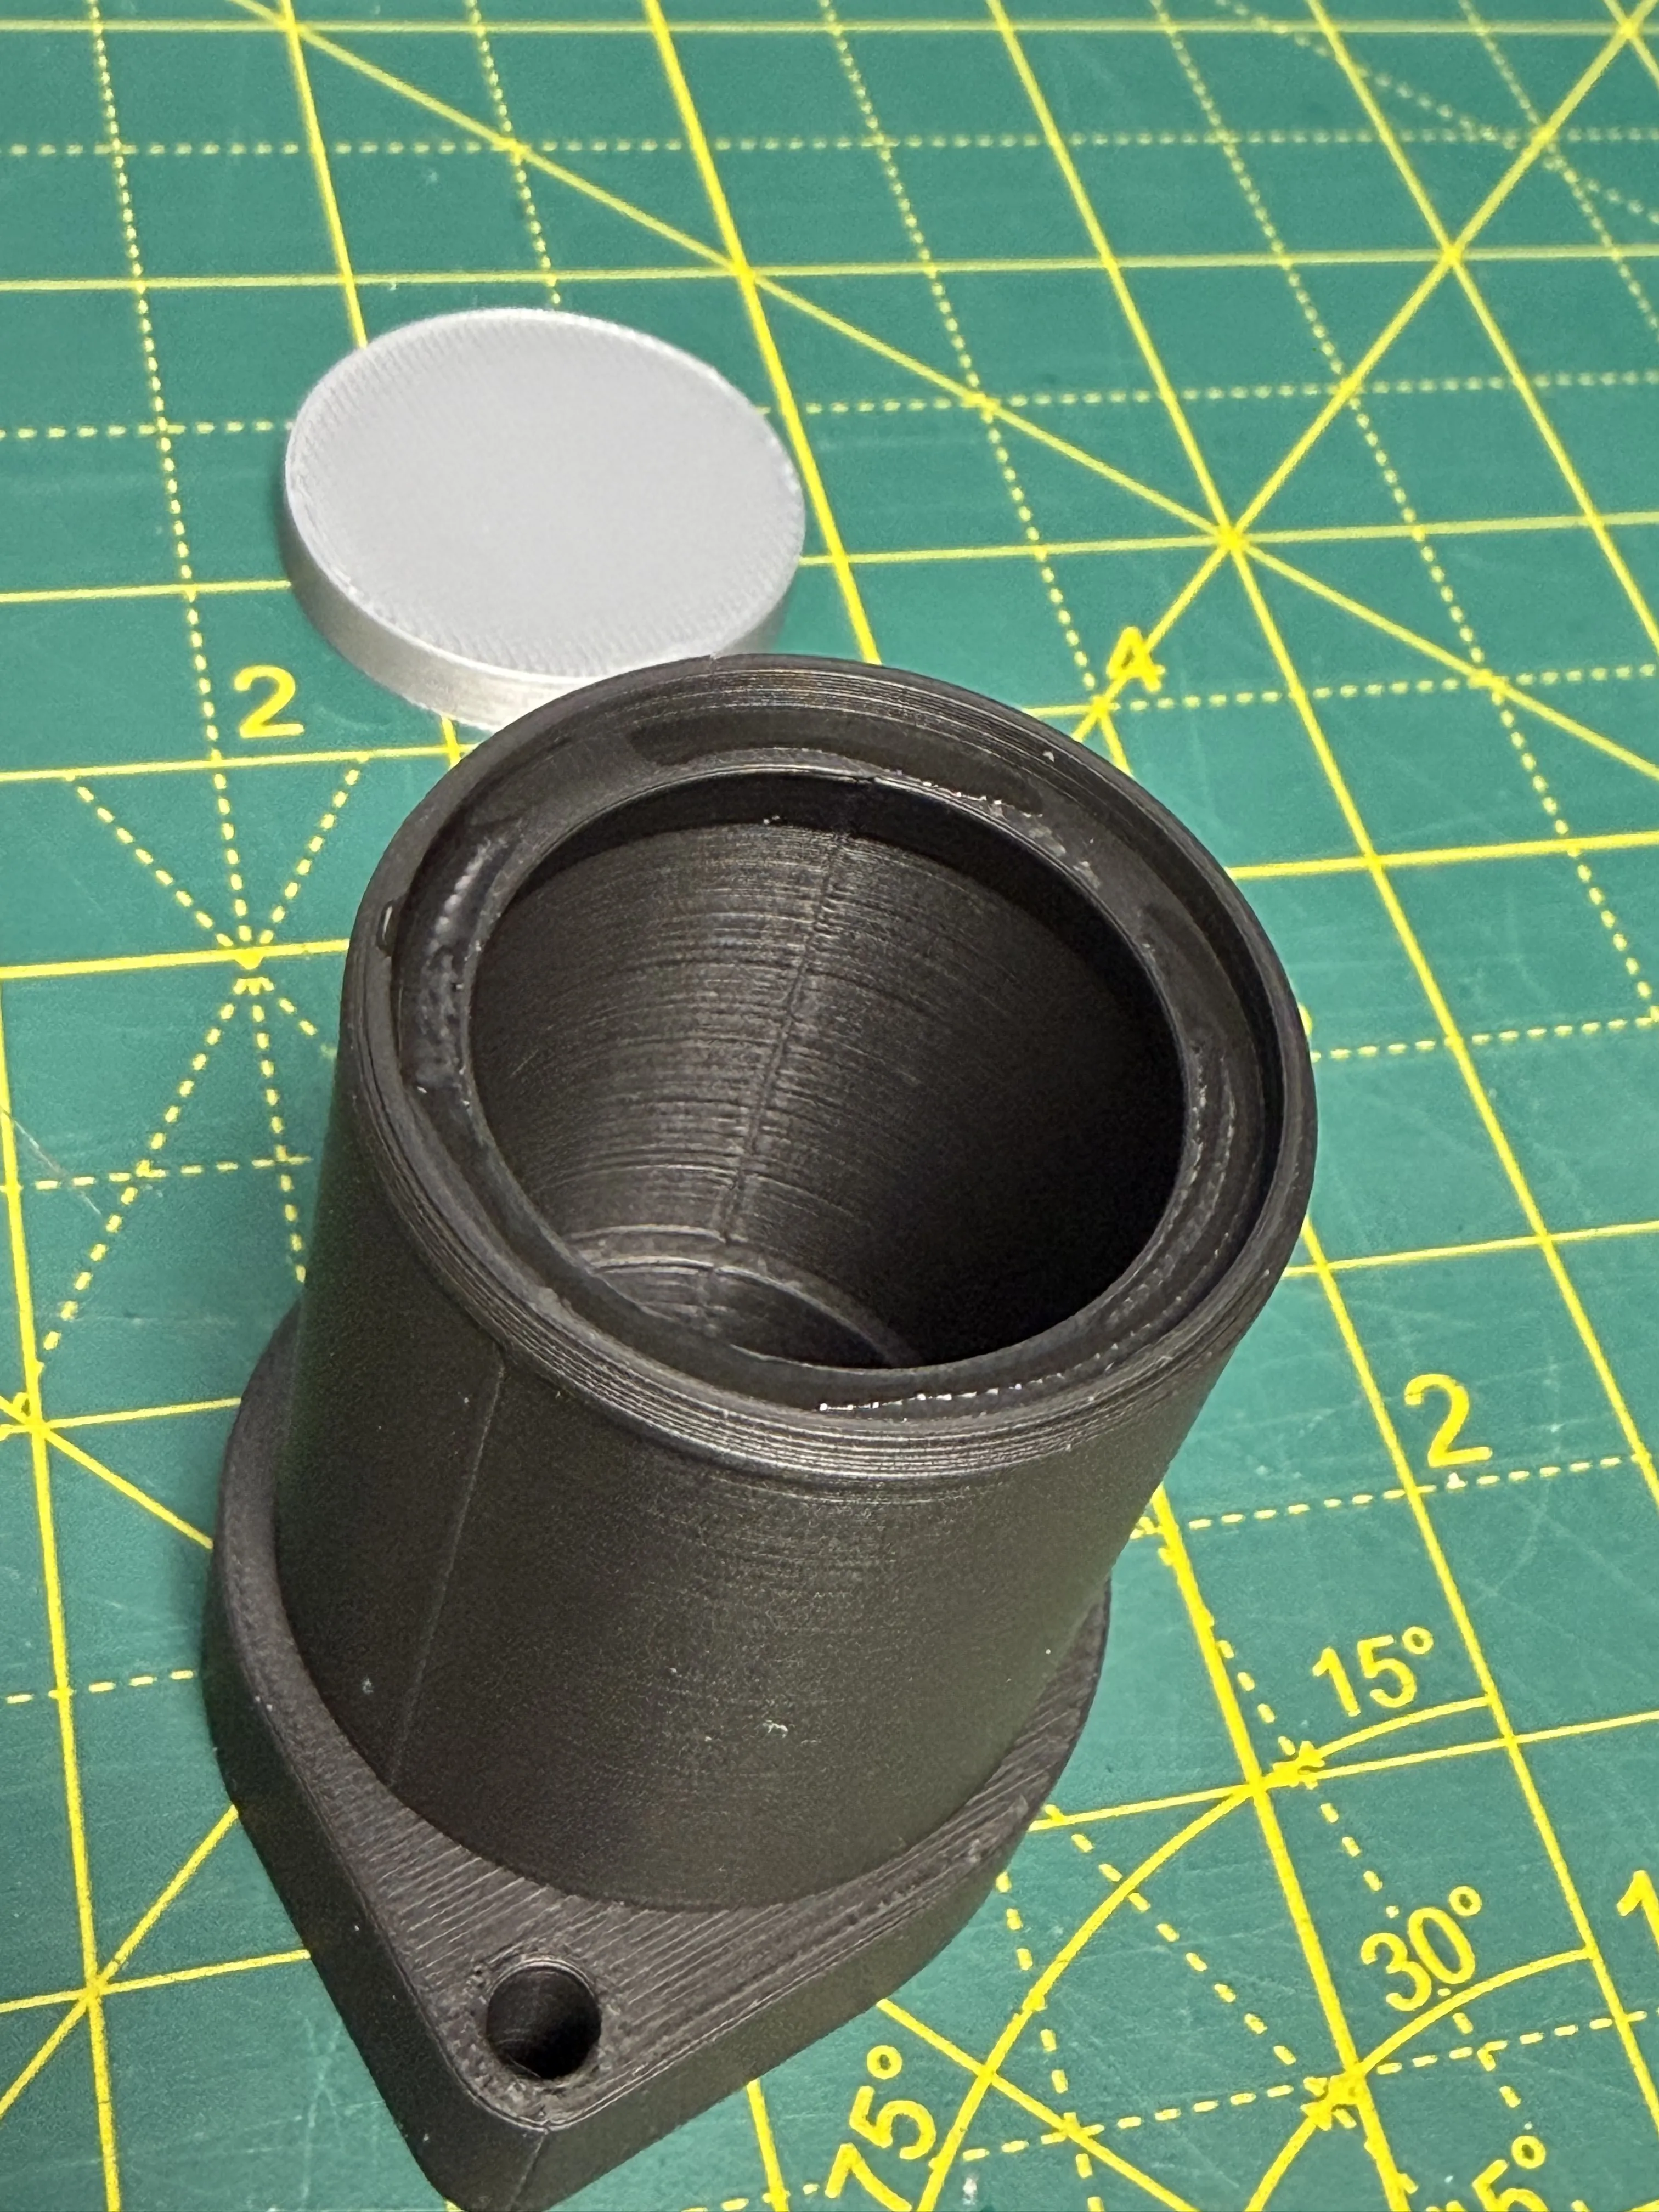
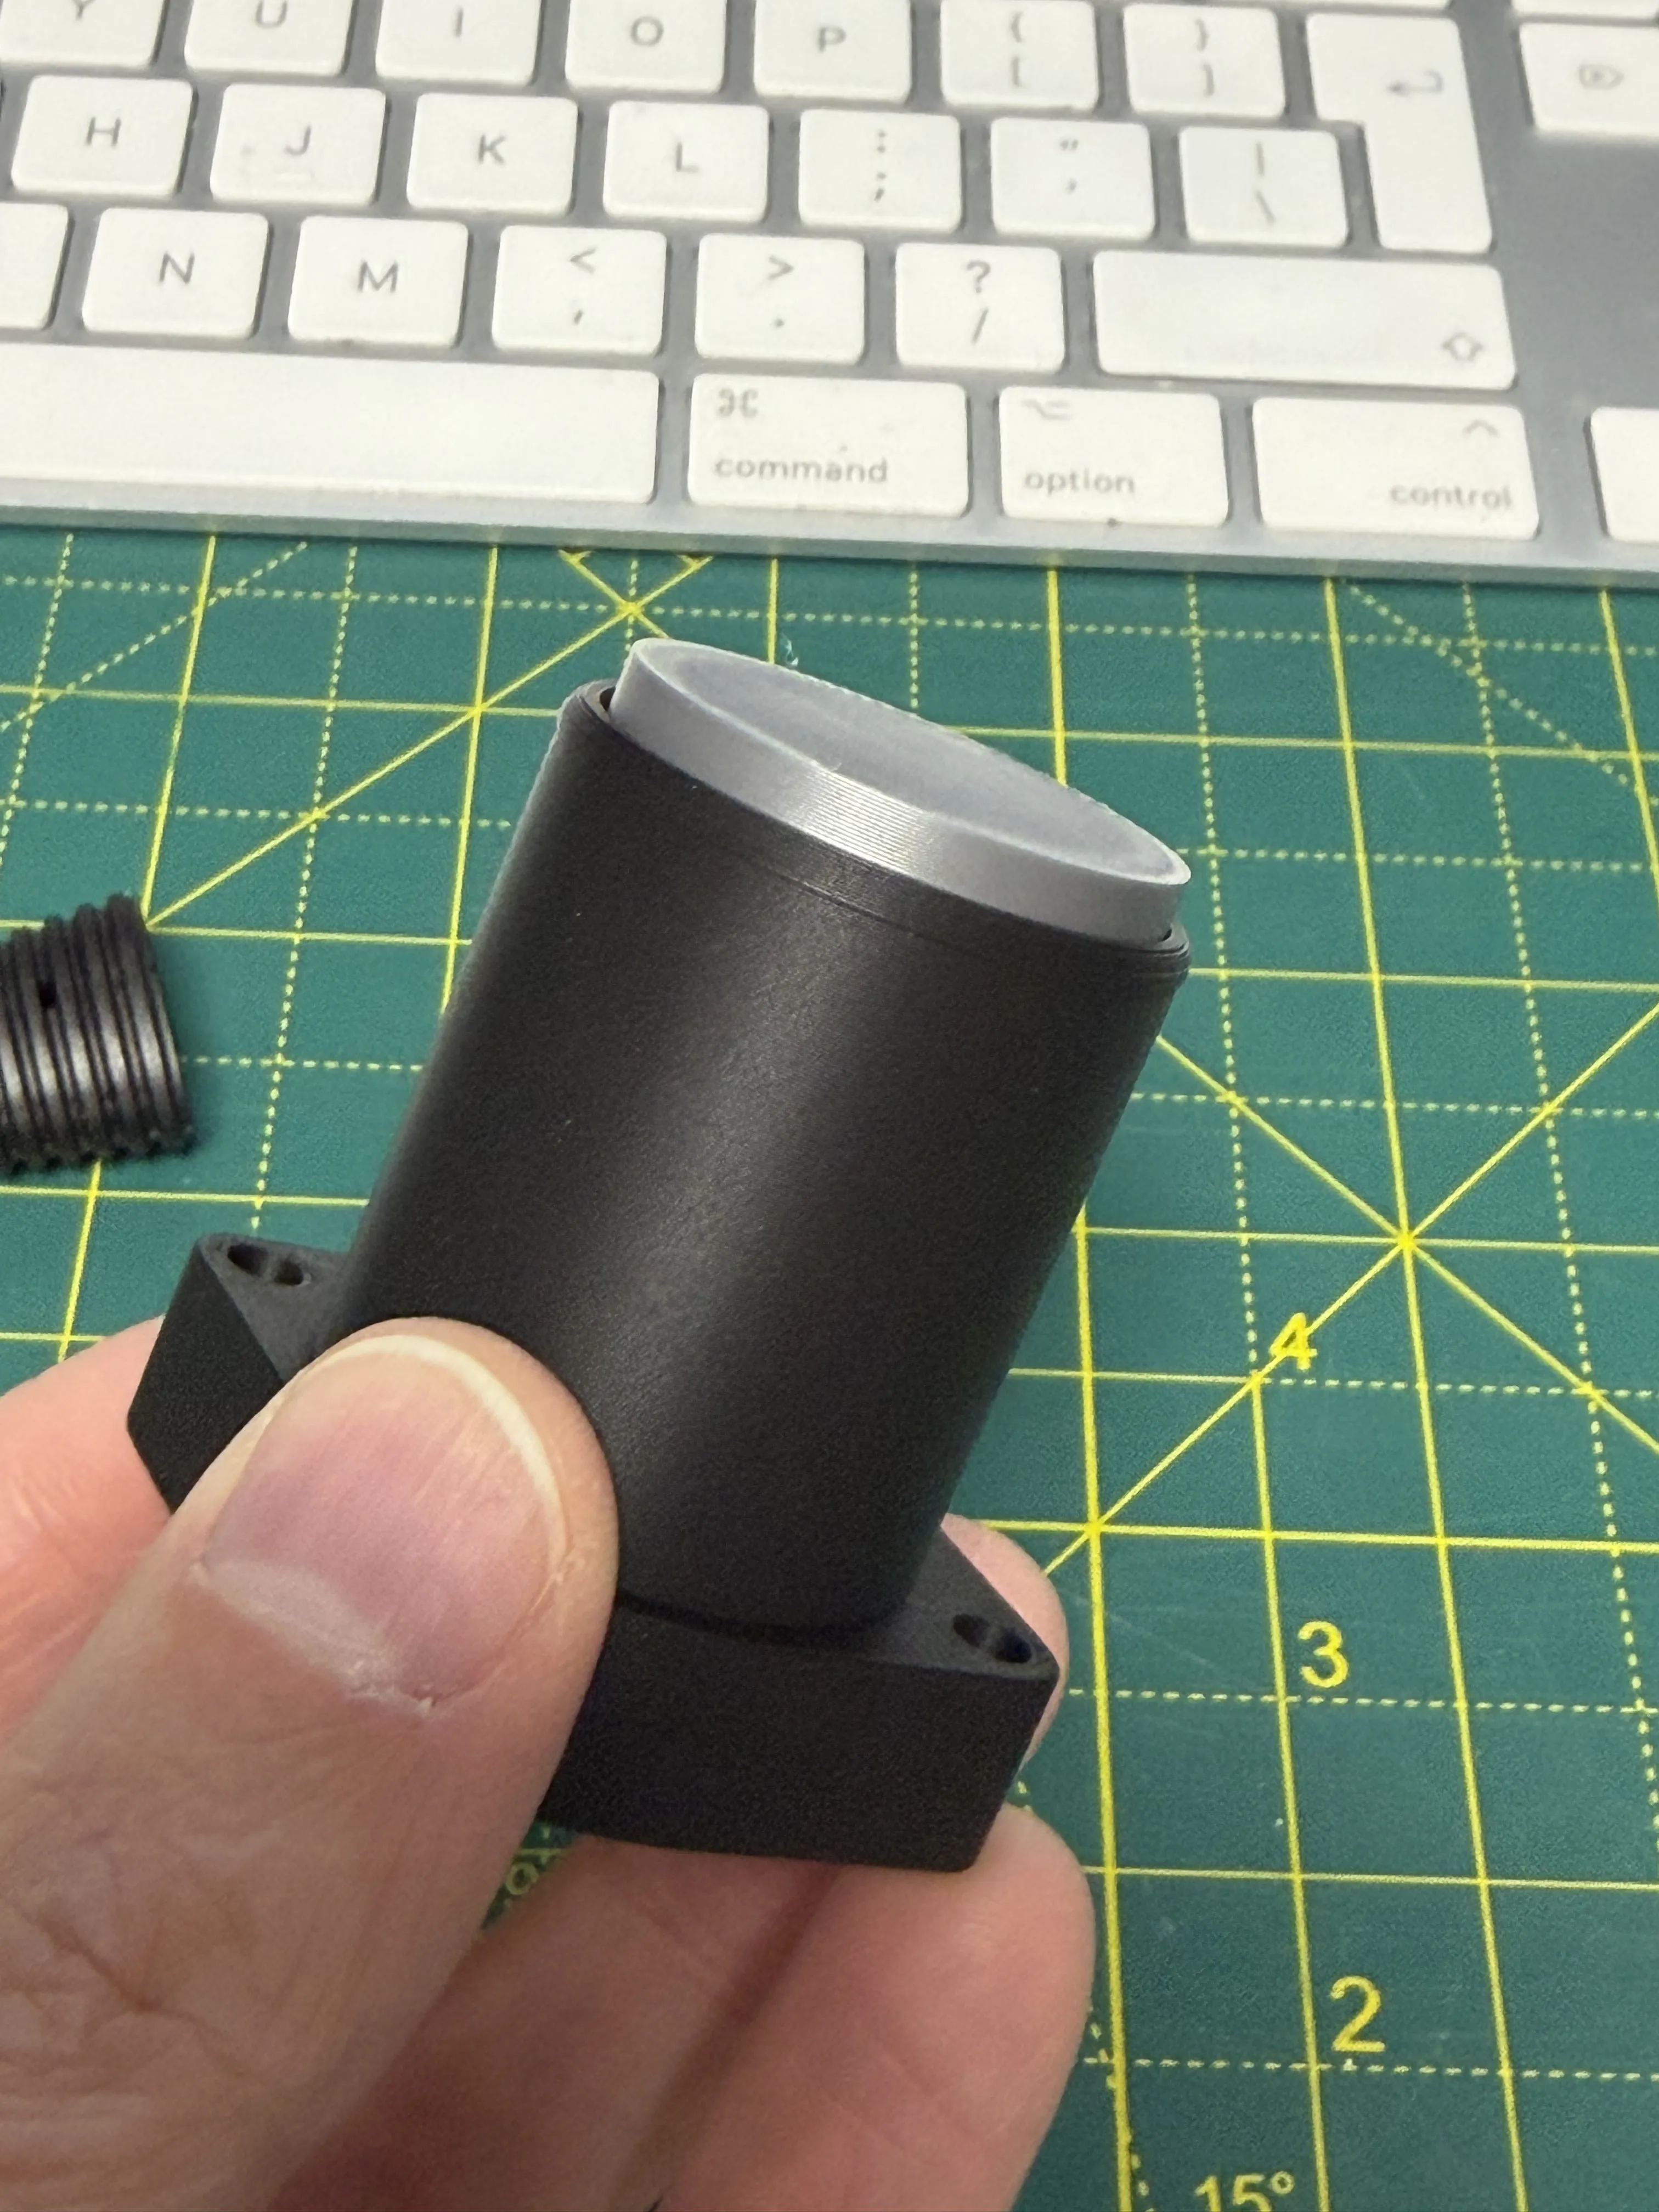
- After allowing a small time for the previous part to set, put a small amount of glue on the top of the newly installed silver disc, then place the silver middle part in place.
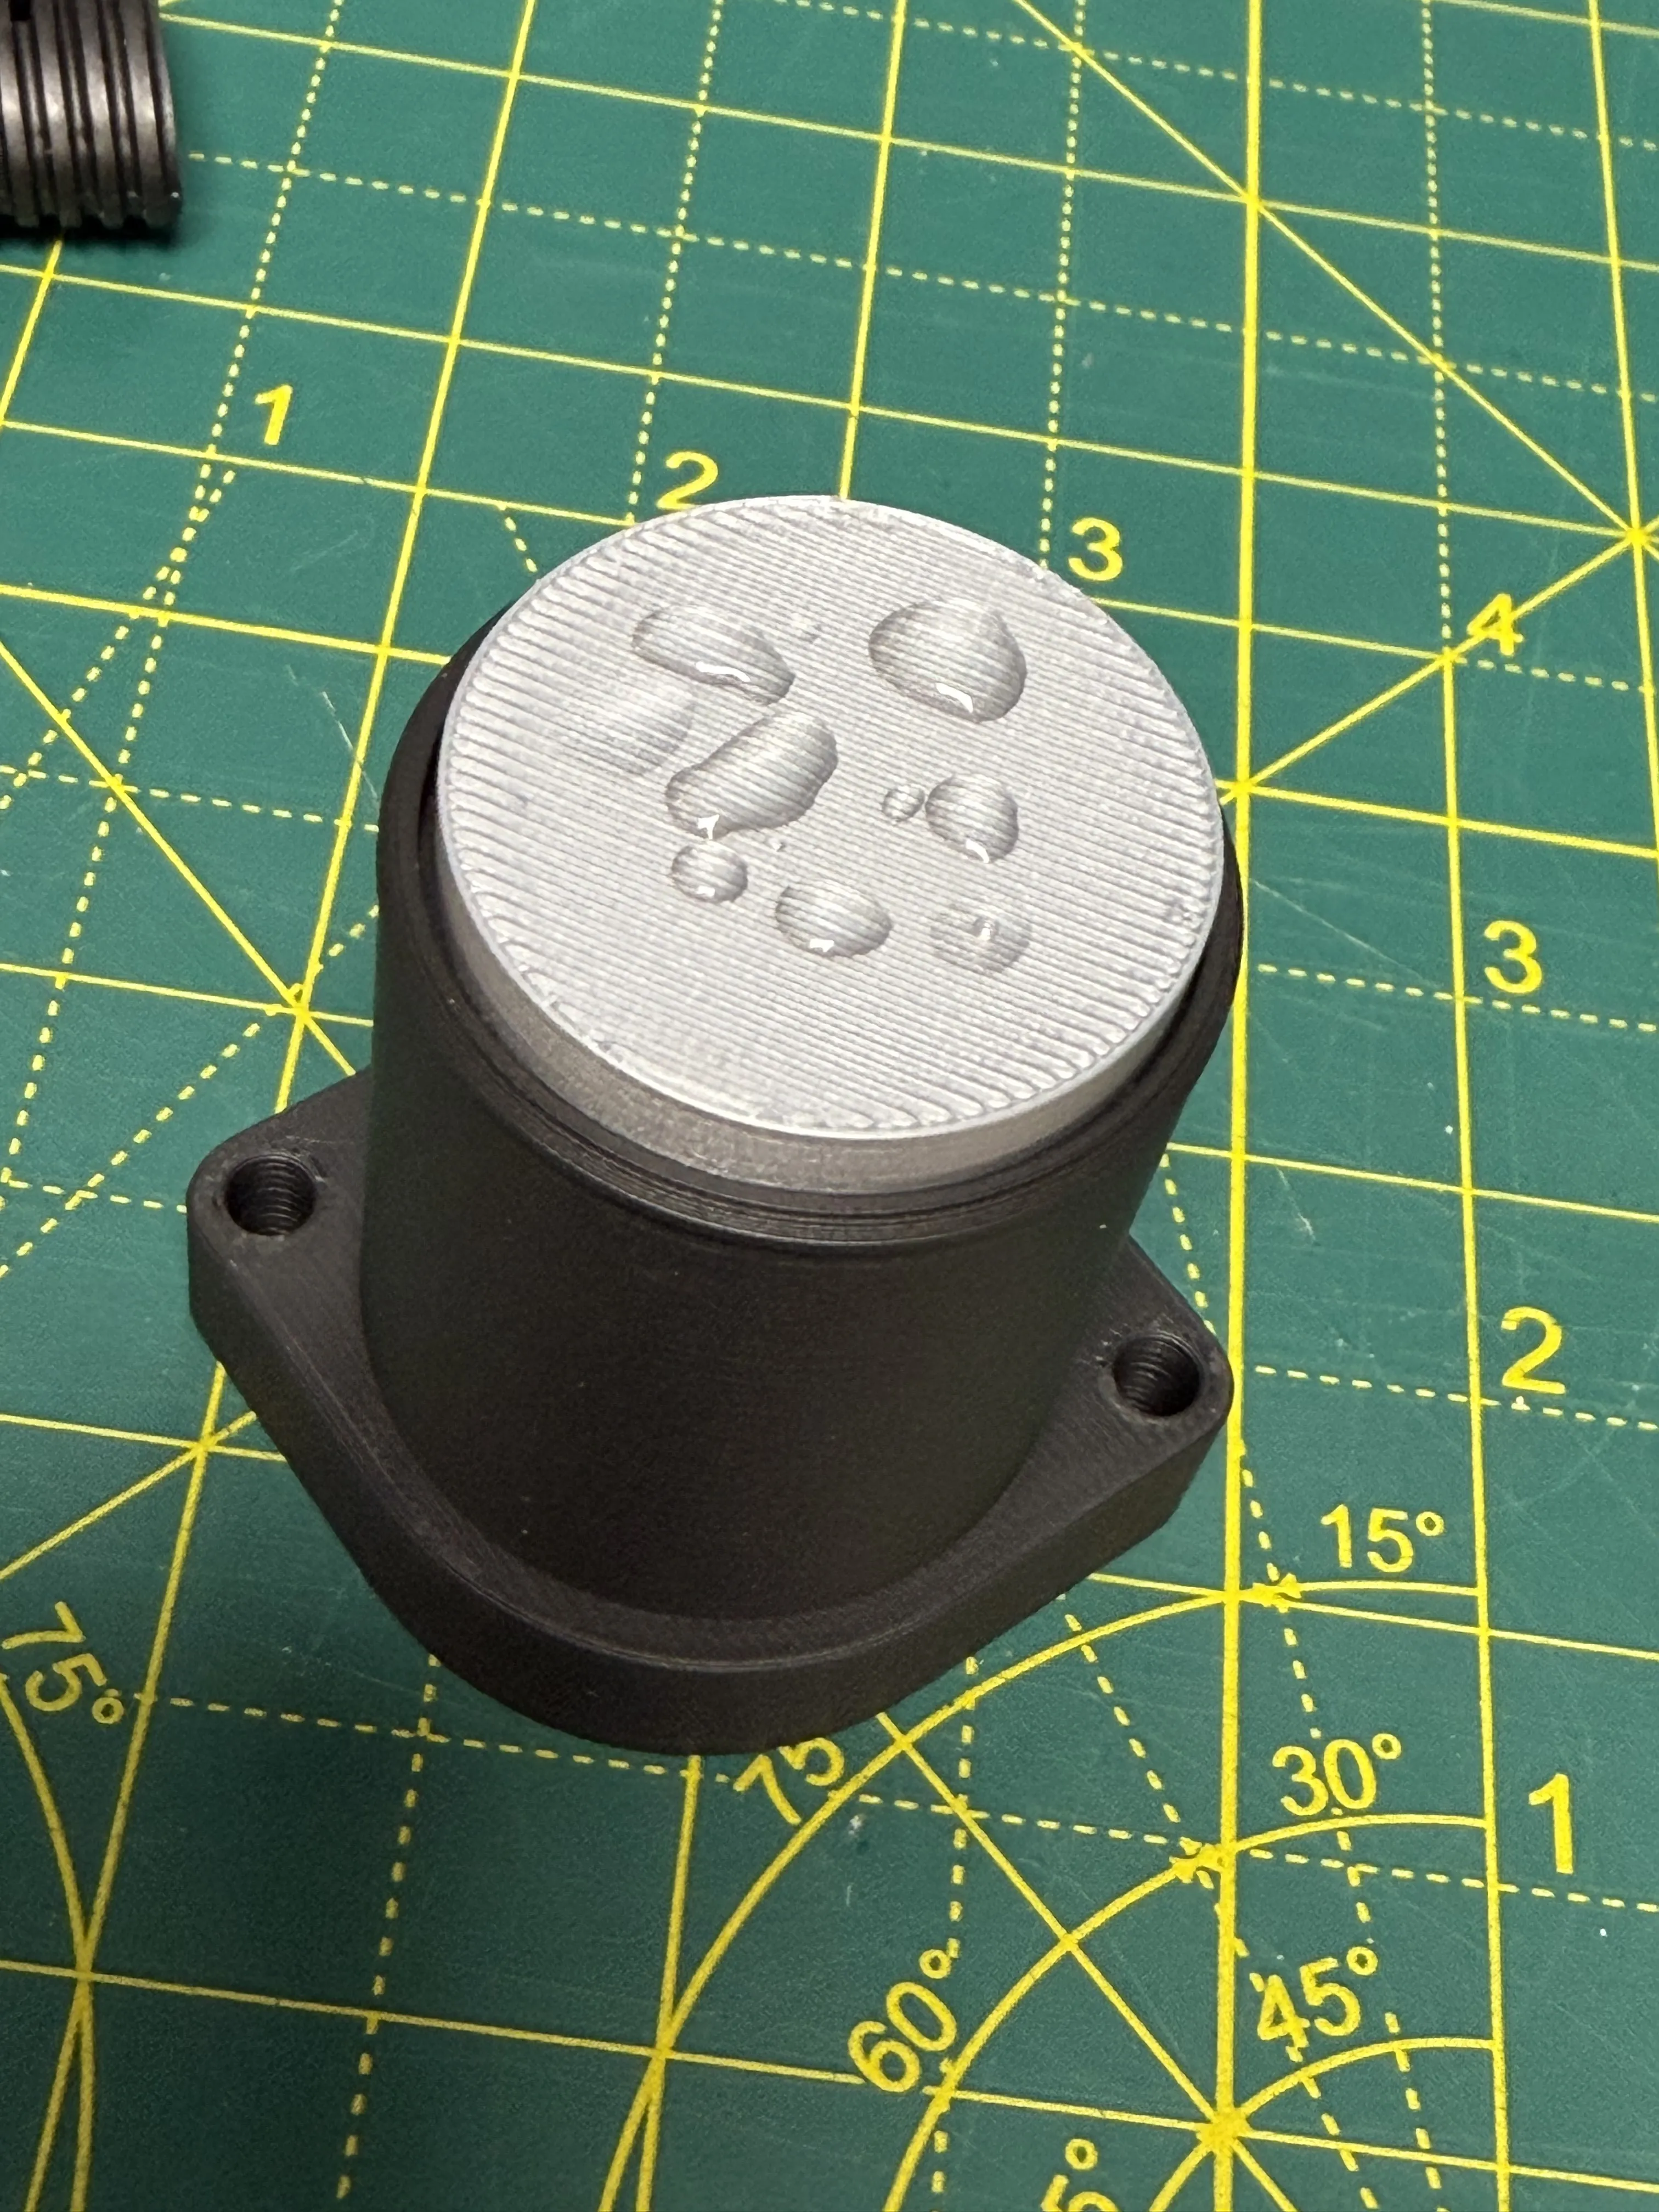
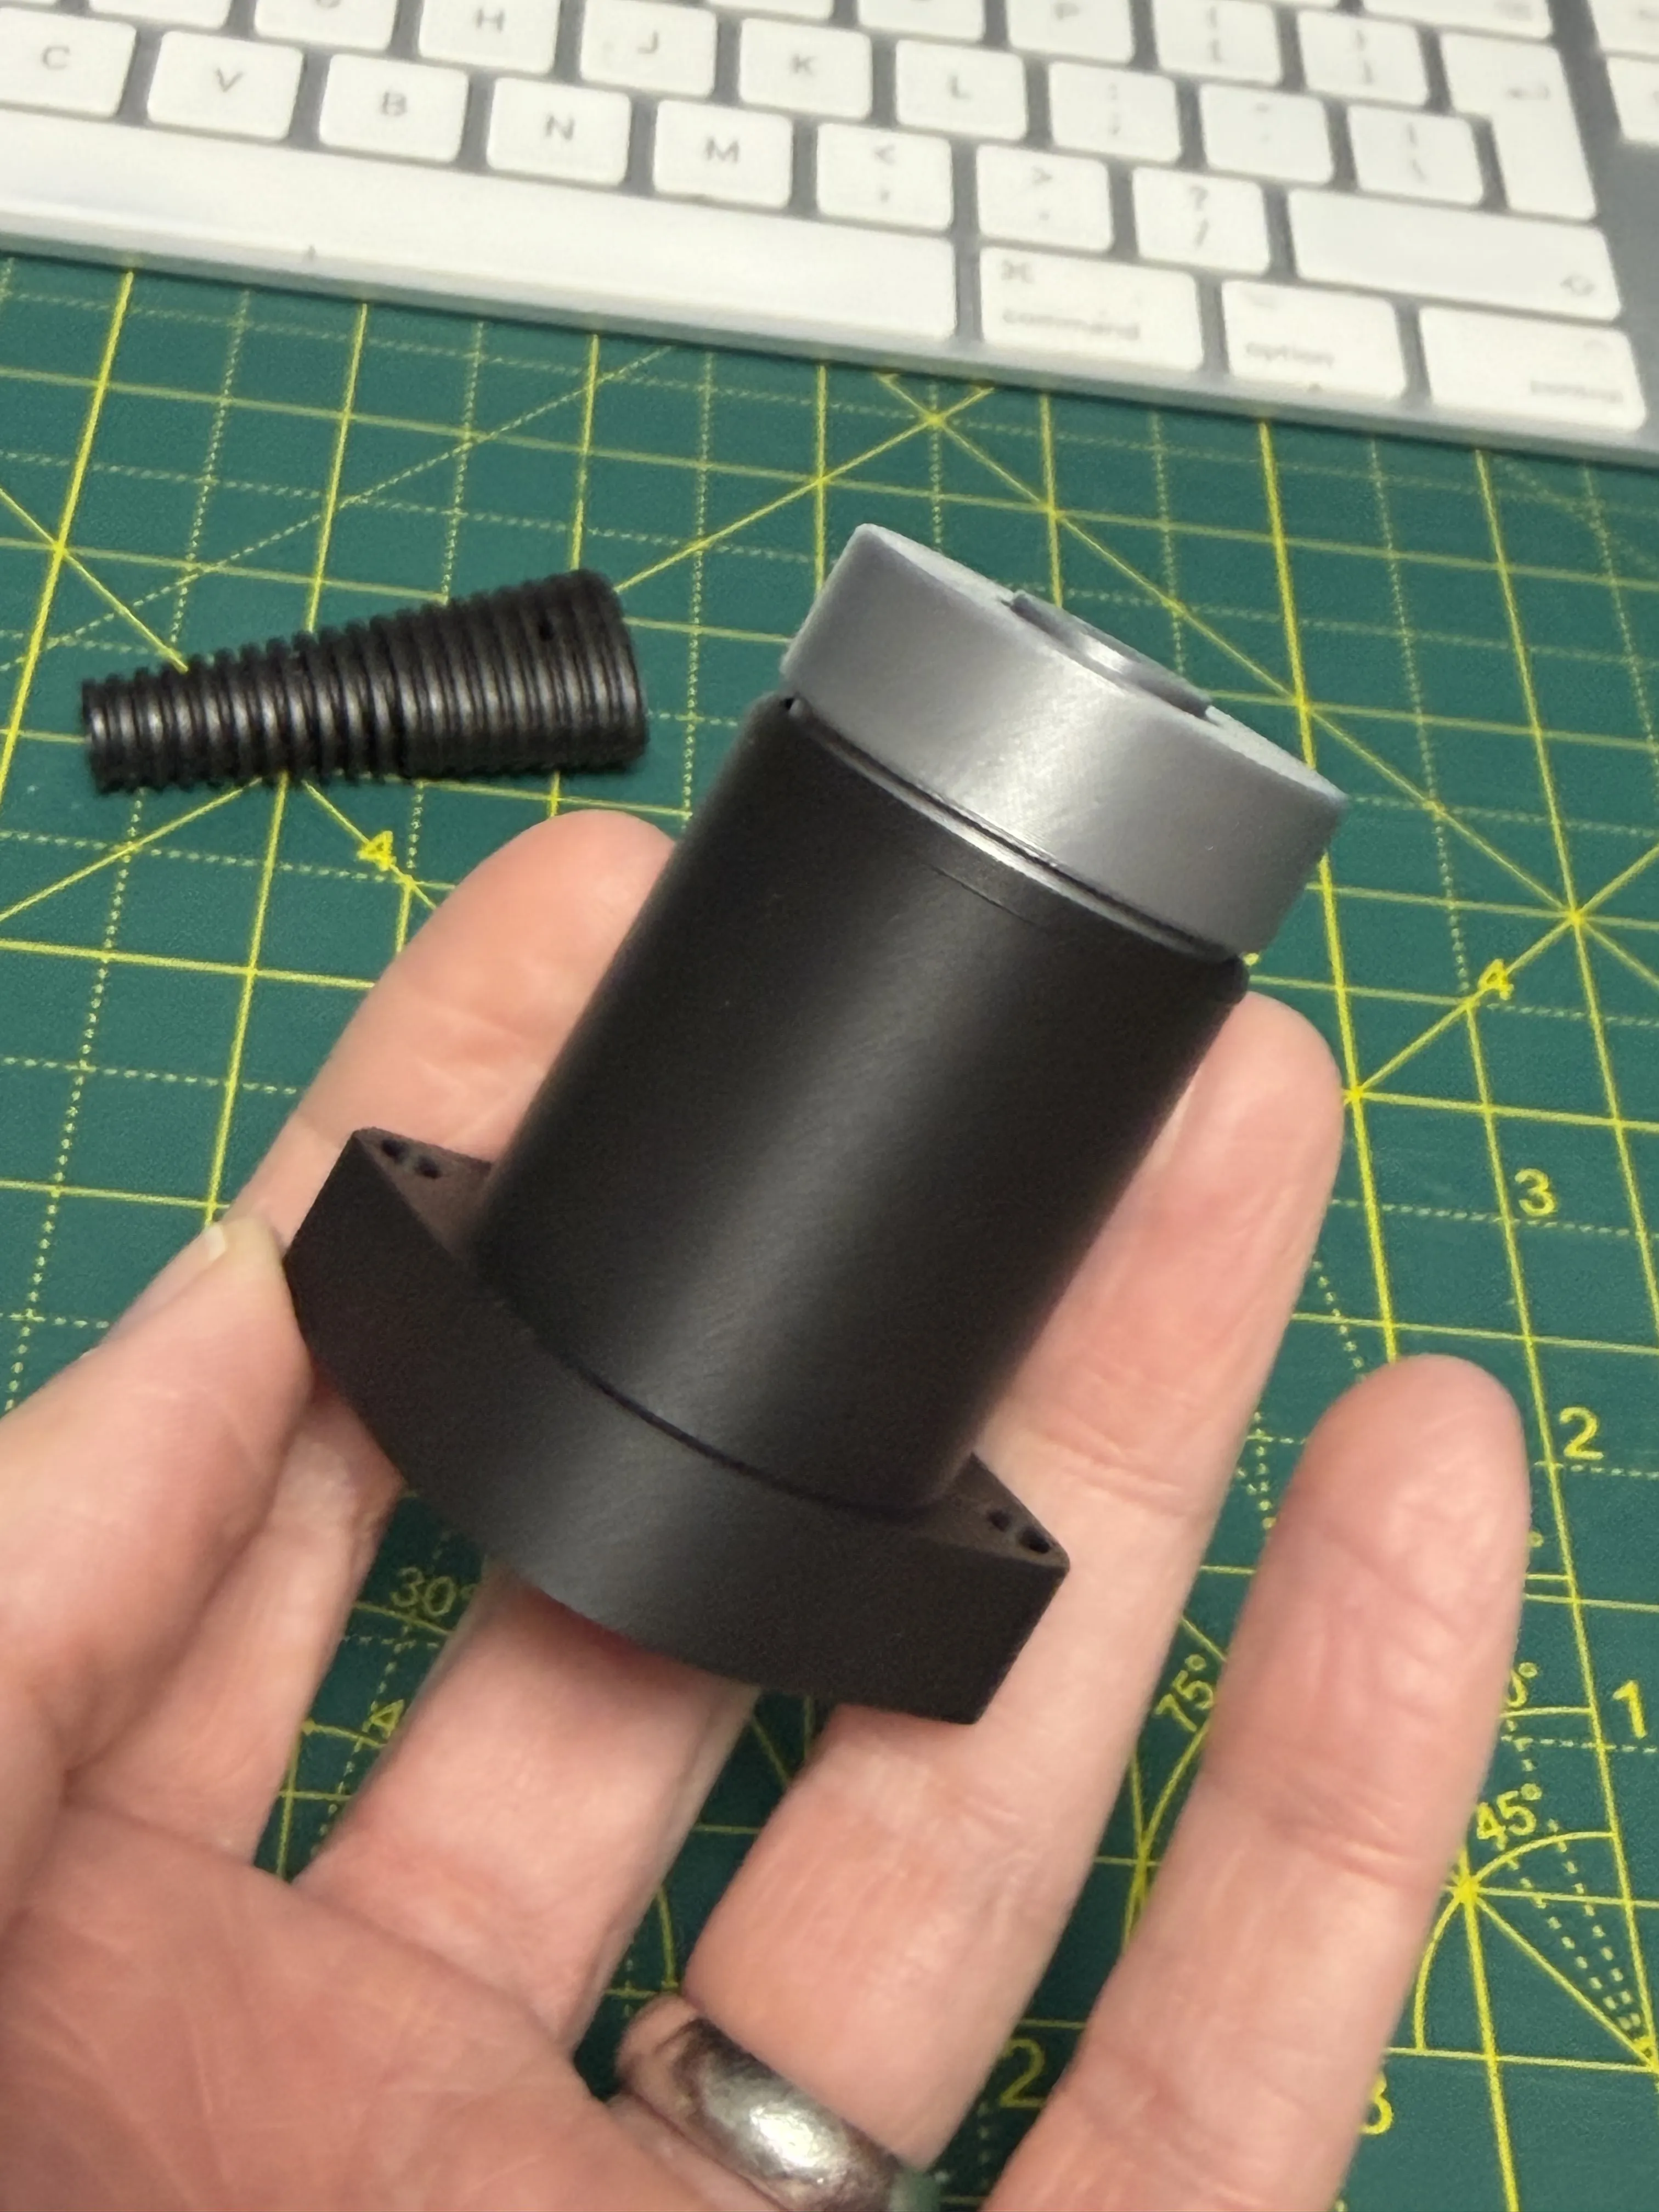
- After allowing a small time for the previous part to set, place a small amount of glue on the protruding centre section on the middle silver part and place the cap on.
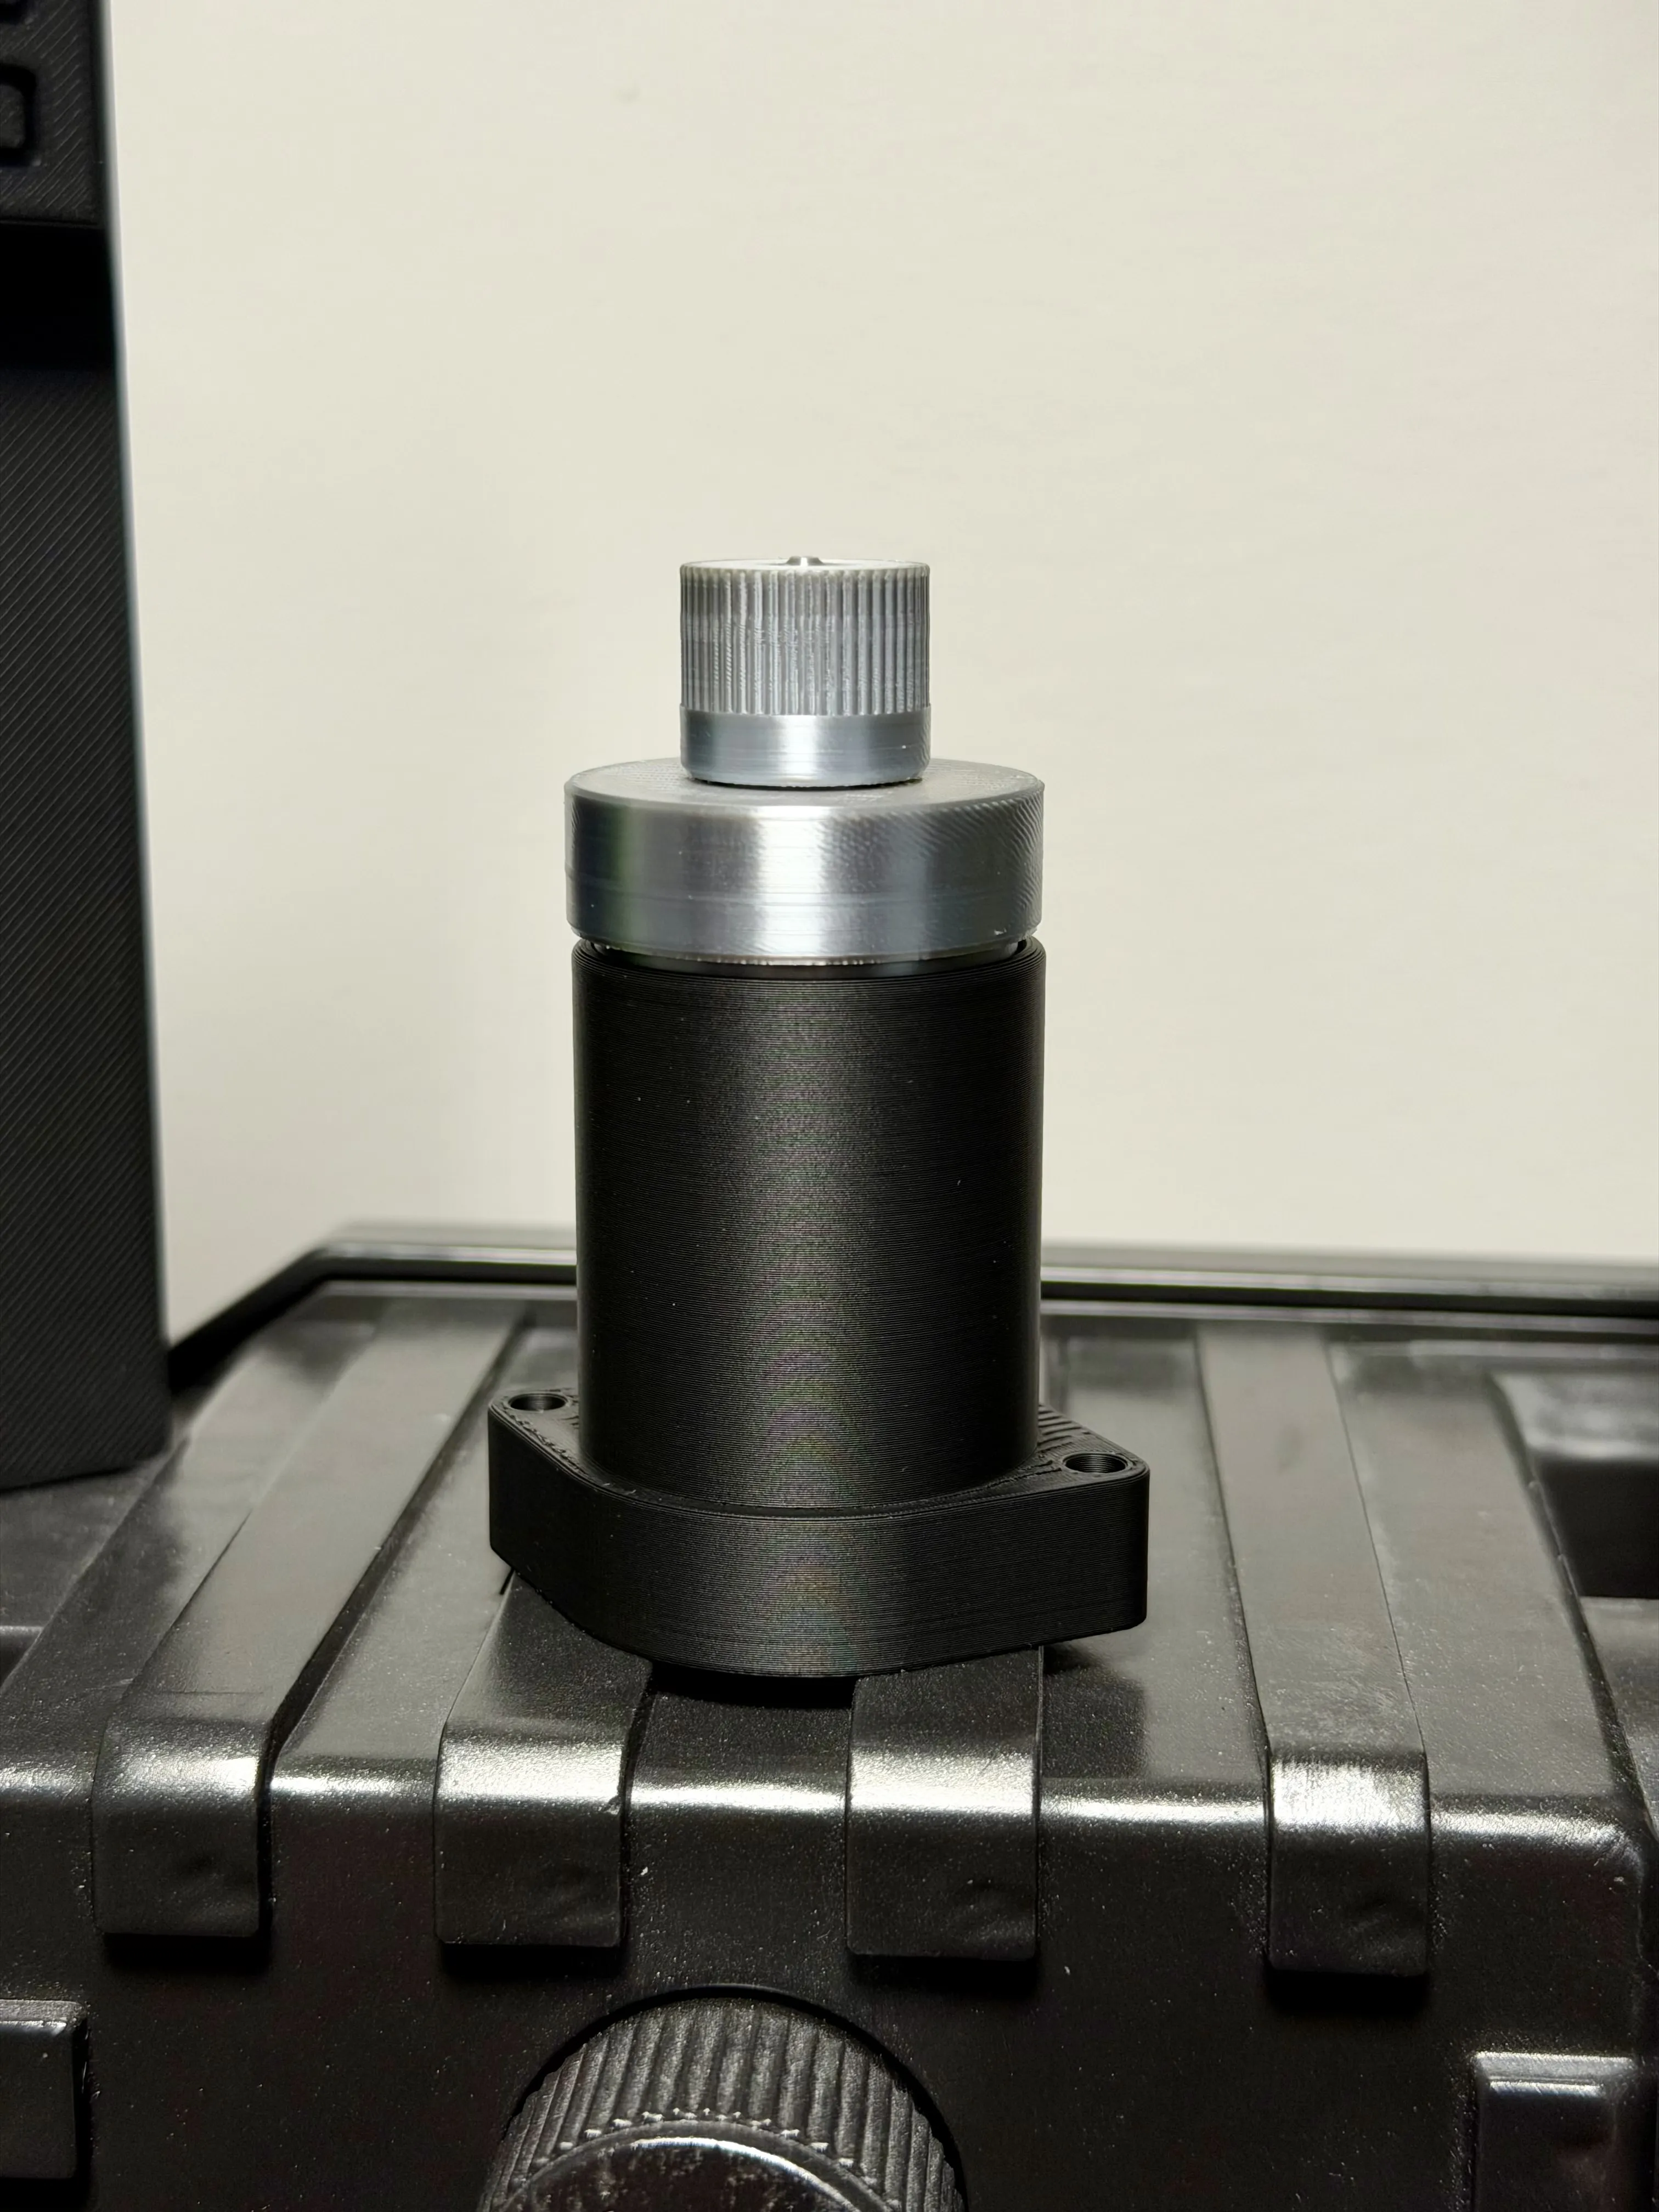
- Allow the glue to fully cure before Installing onto your proton pack or Neutrona wand.
701
Follow the images above for steps 1, 4 and 5.
- Remove supports from the bottom of the silver middle part and the cap.
- Dry-fit the parts to confirm alignment and scale. Perform any cleanup as needed.
- Fit the cap and gold/brass insert together, lining up the screw holes. Now insert the 2.6mm self tapping screw and gently screw into place until secure.
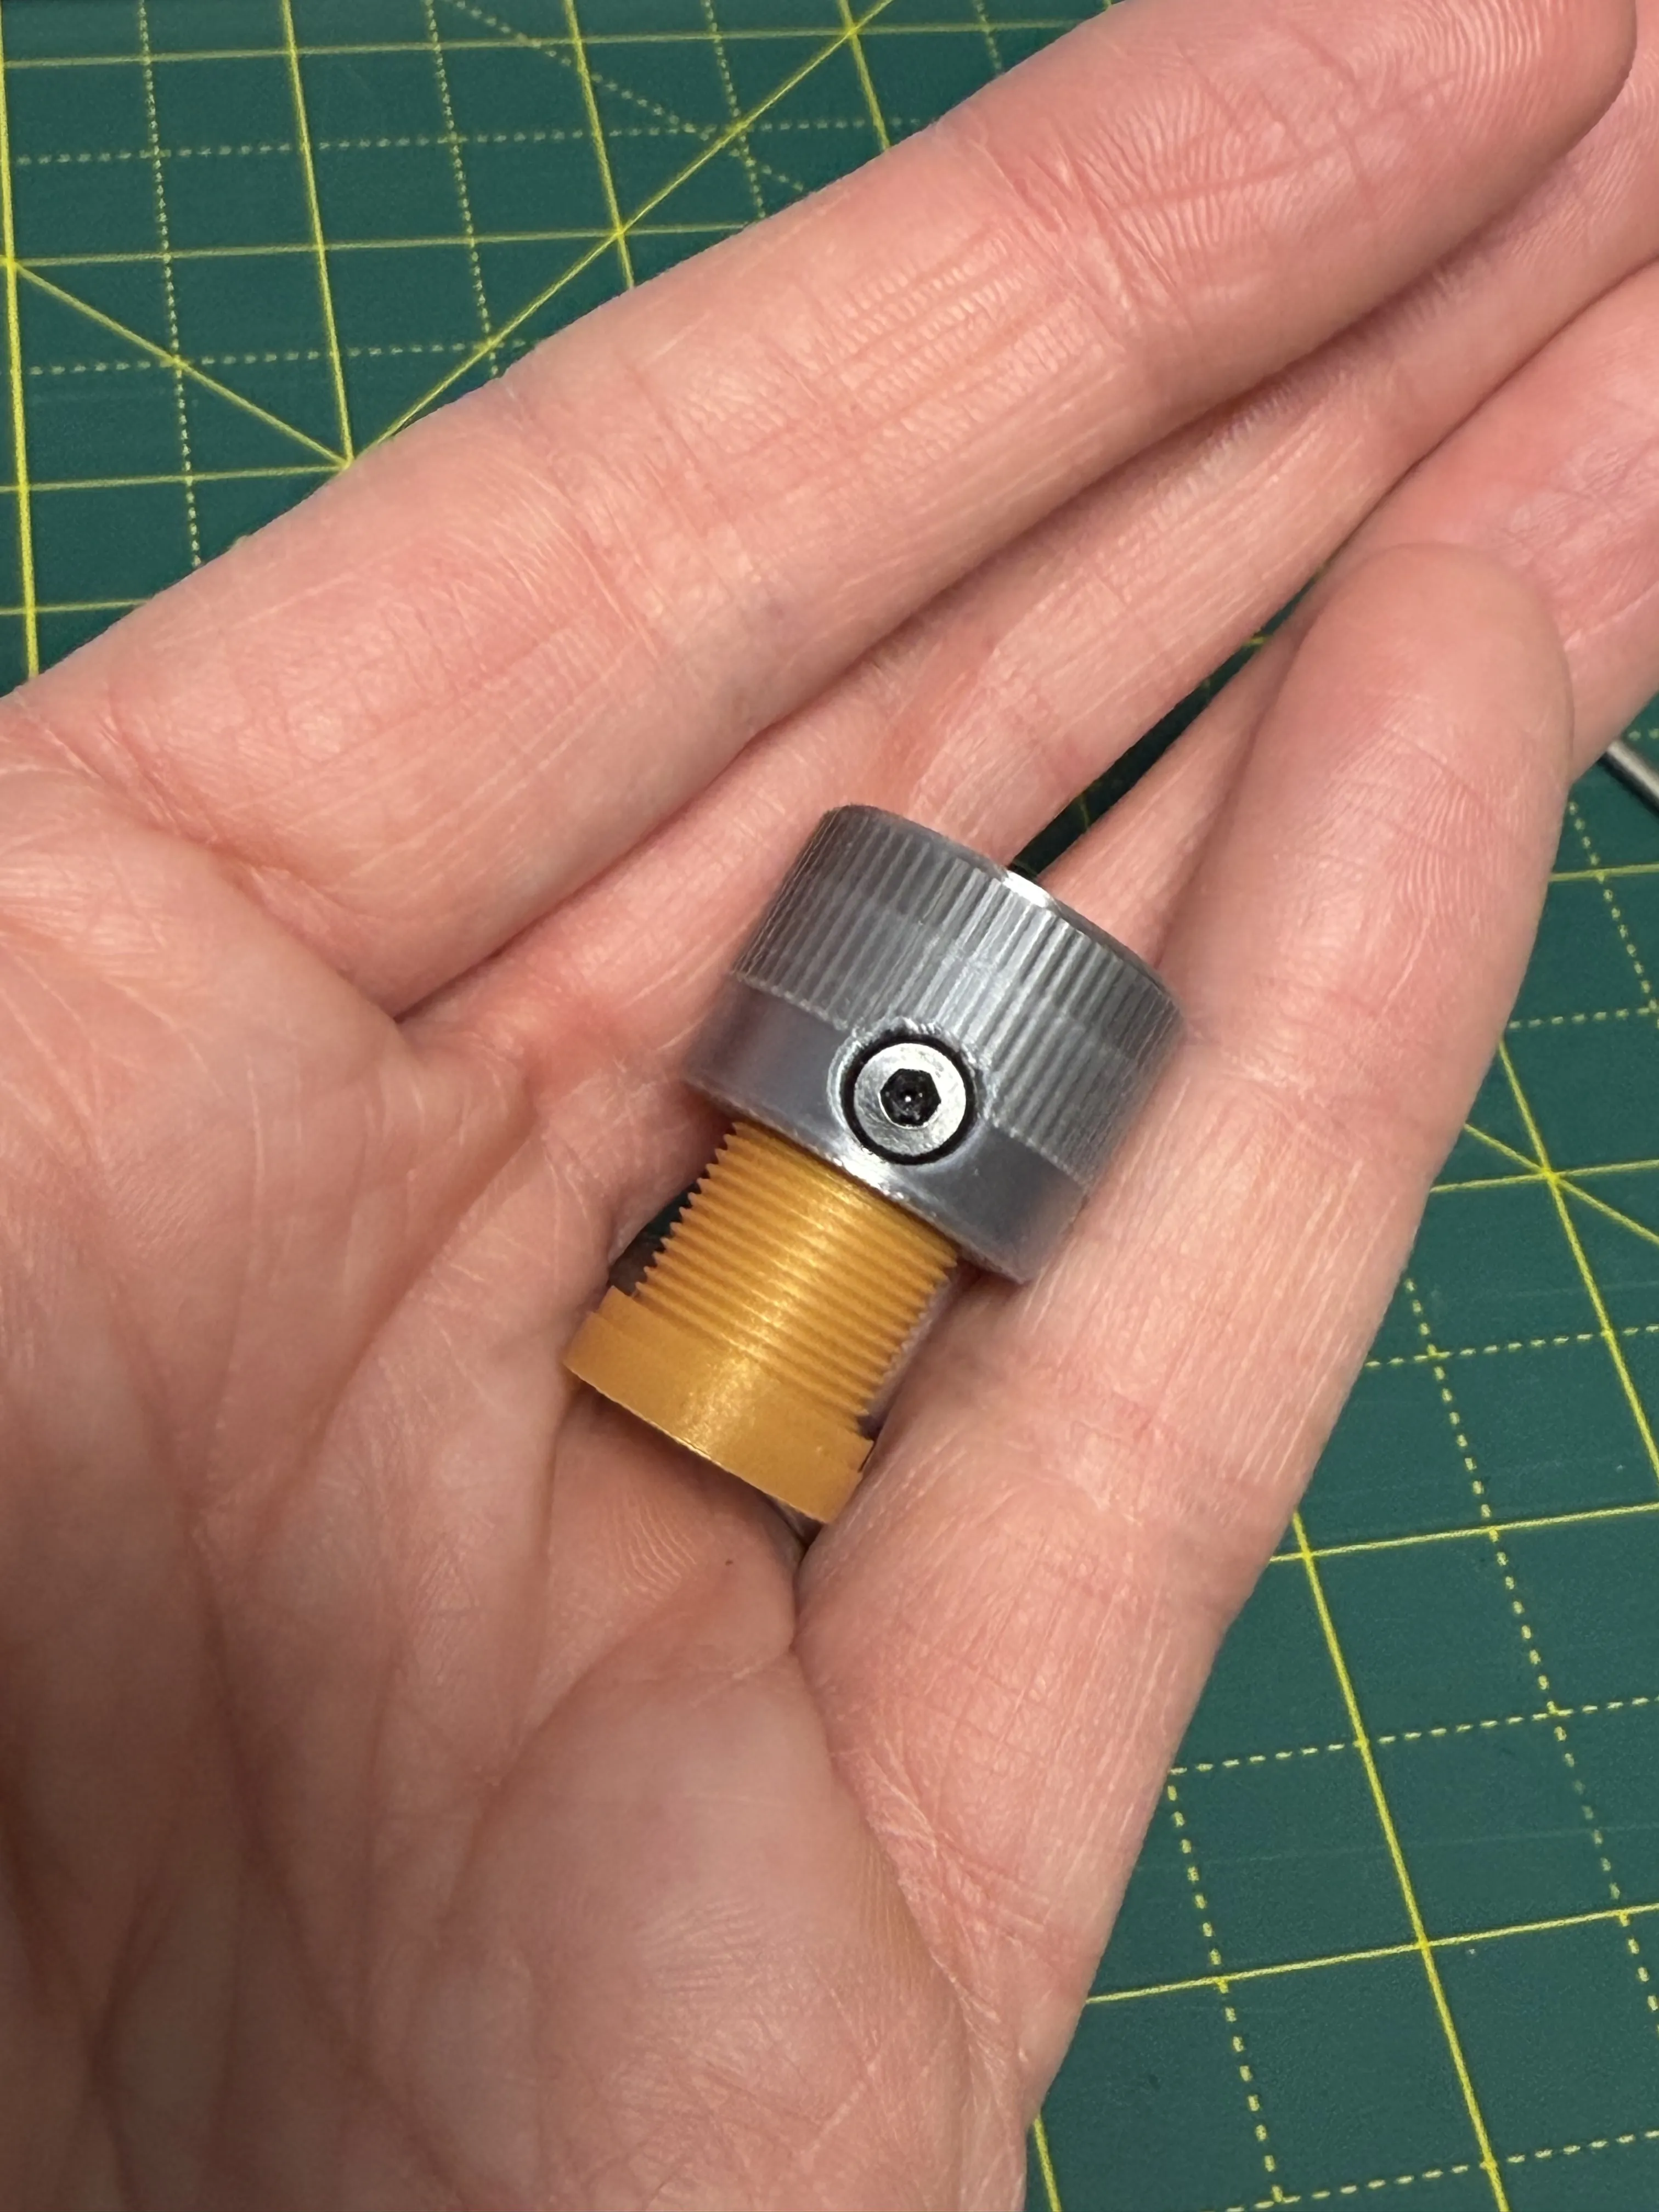
- Glue the silver disc in place to black main unit. A small amount of glue around the inside edges. Then install in place.
- After allowing a small time for the previous part to set, put a small amount of glue on the top of the newly installed silver disc, then place the silver middle part in place.
- After allowing a small time for the previous part to set, place a small amount of glue into the recessed centre section on the middle silver part and glue the gold/brass insert and lid into place. This one is a tight fit, be careful with the amount of glue, or it will squeeze some out.
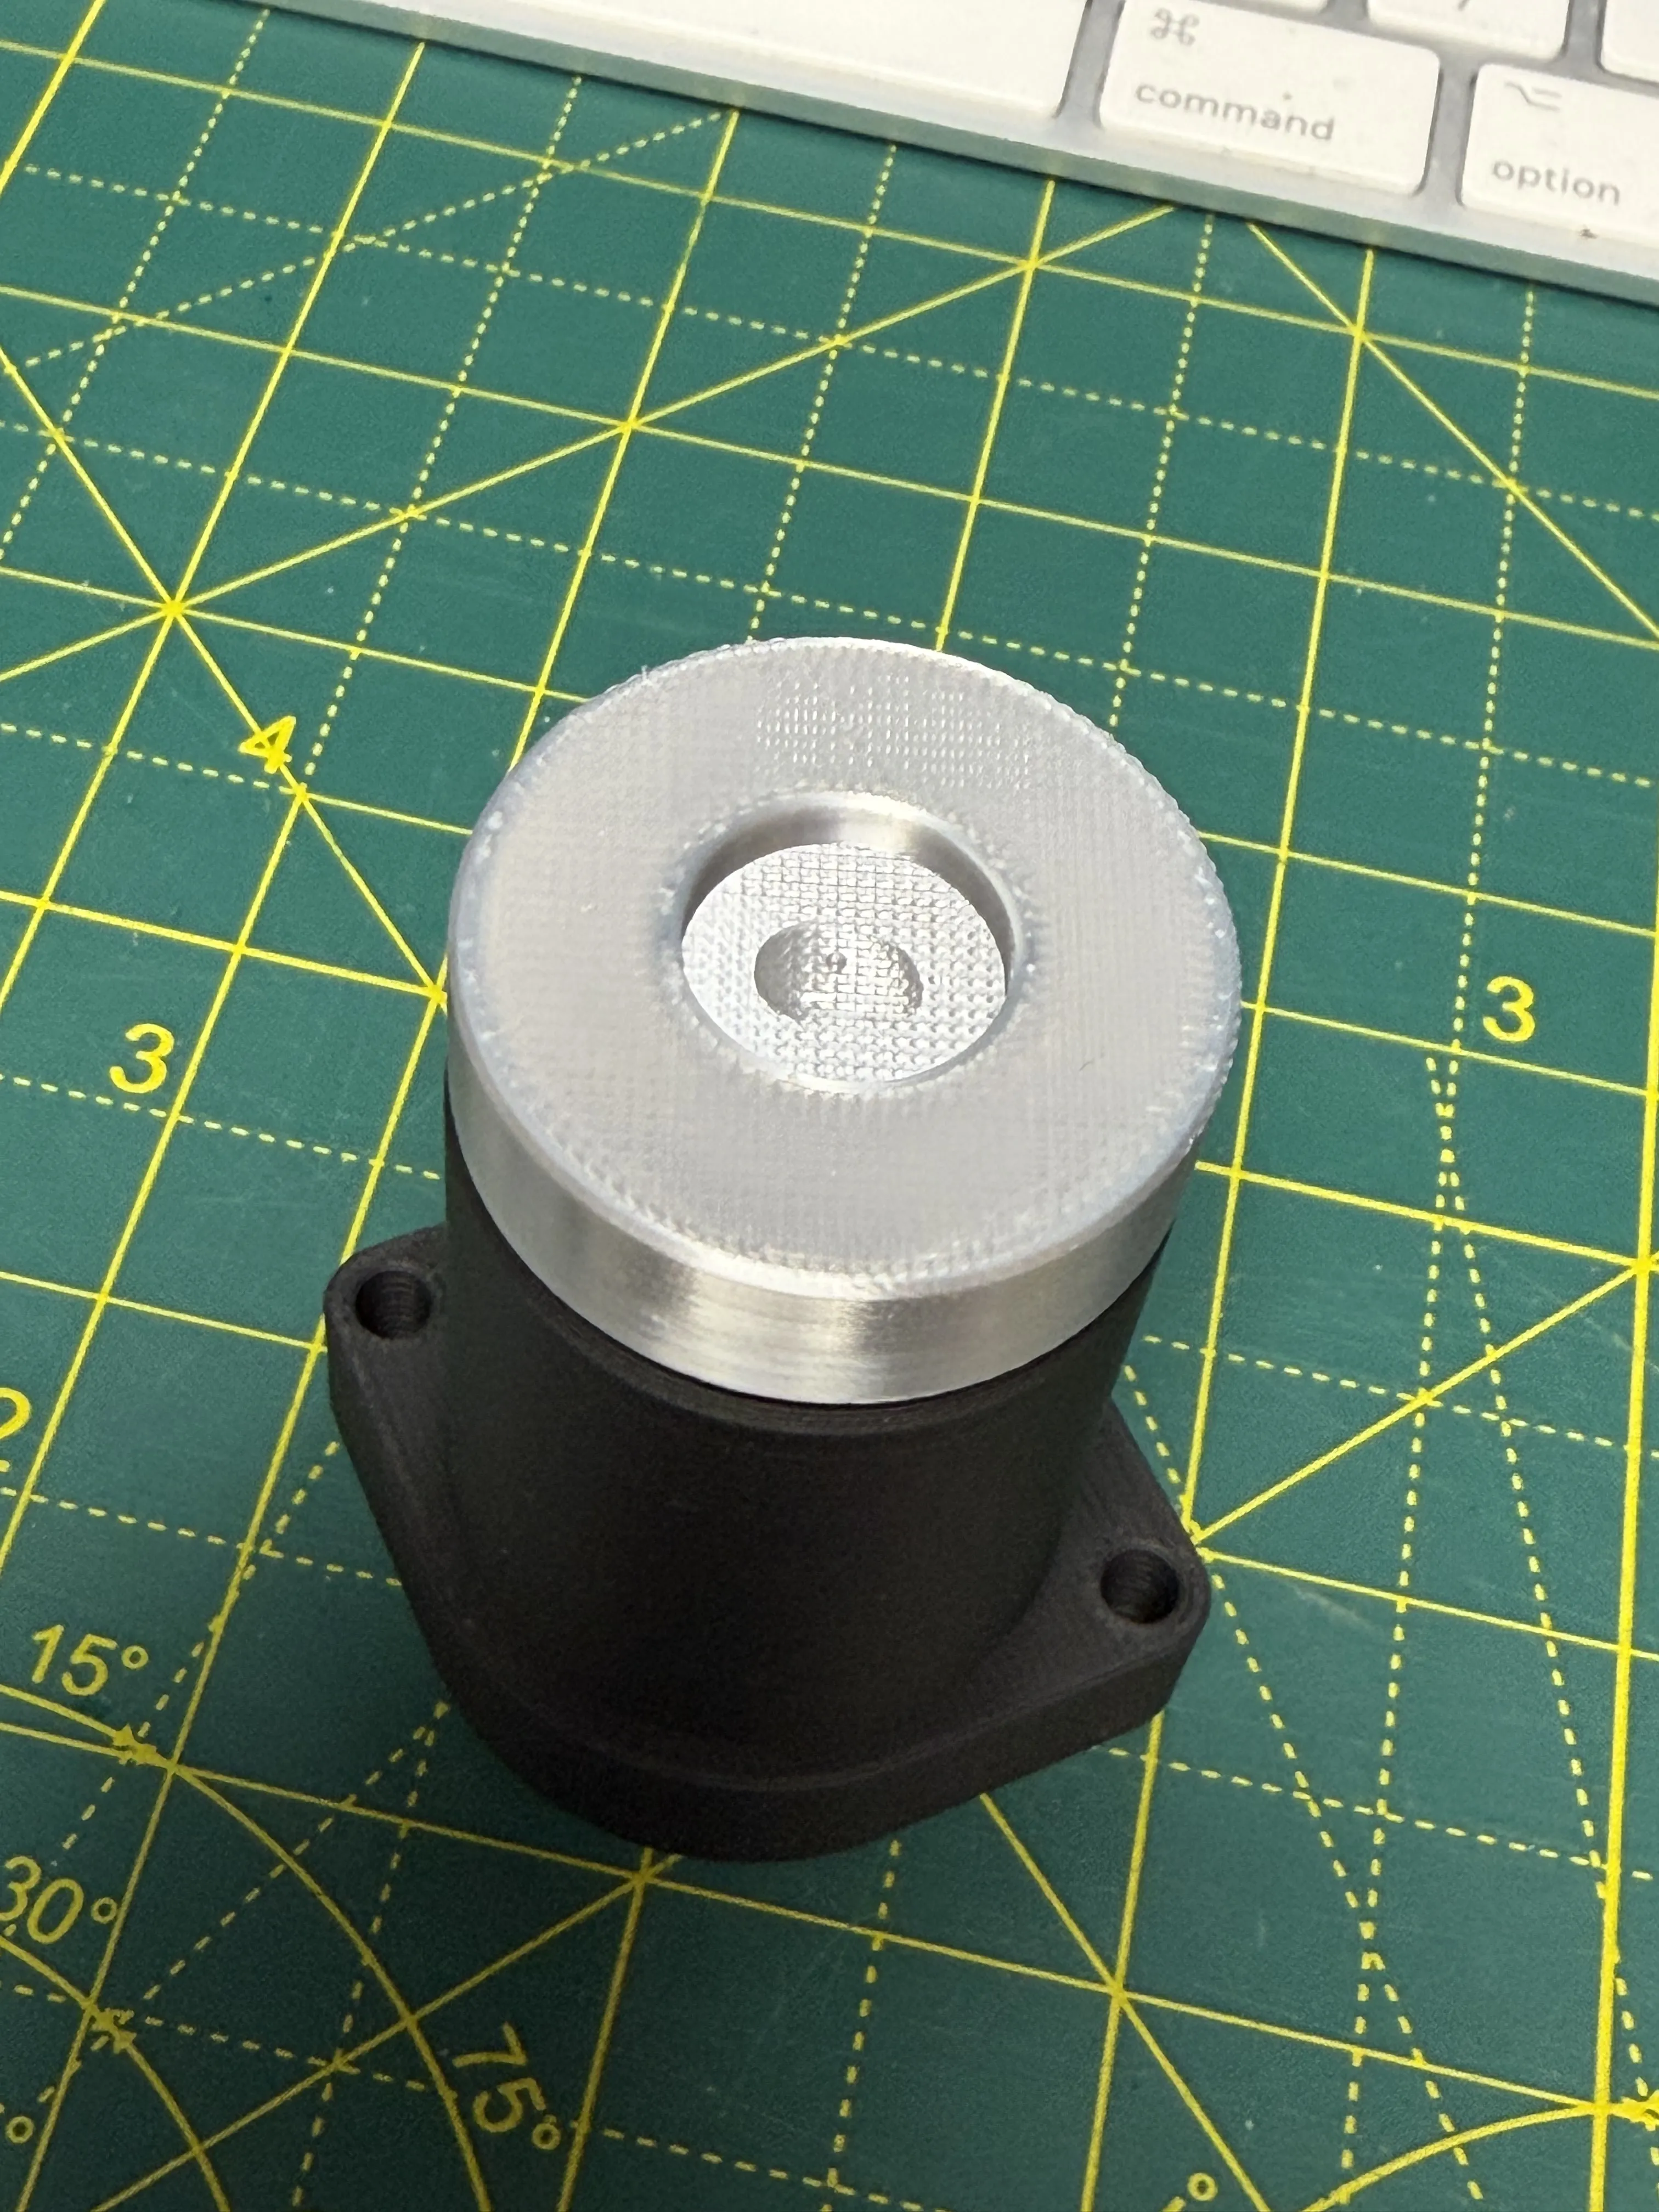
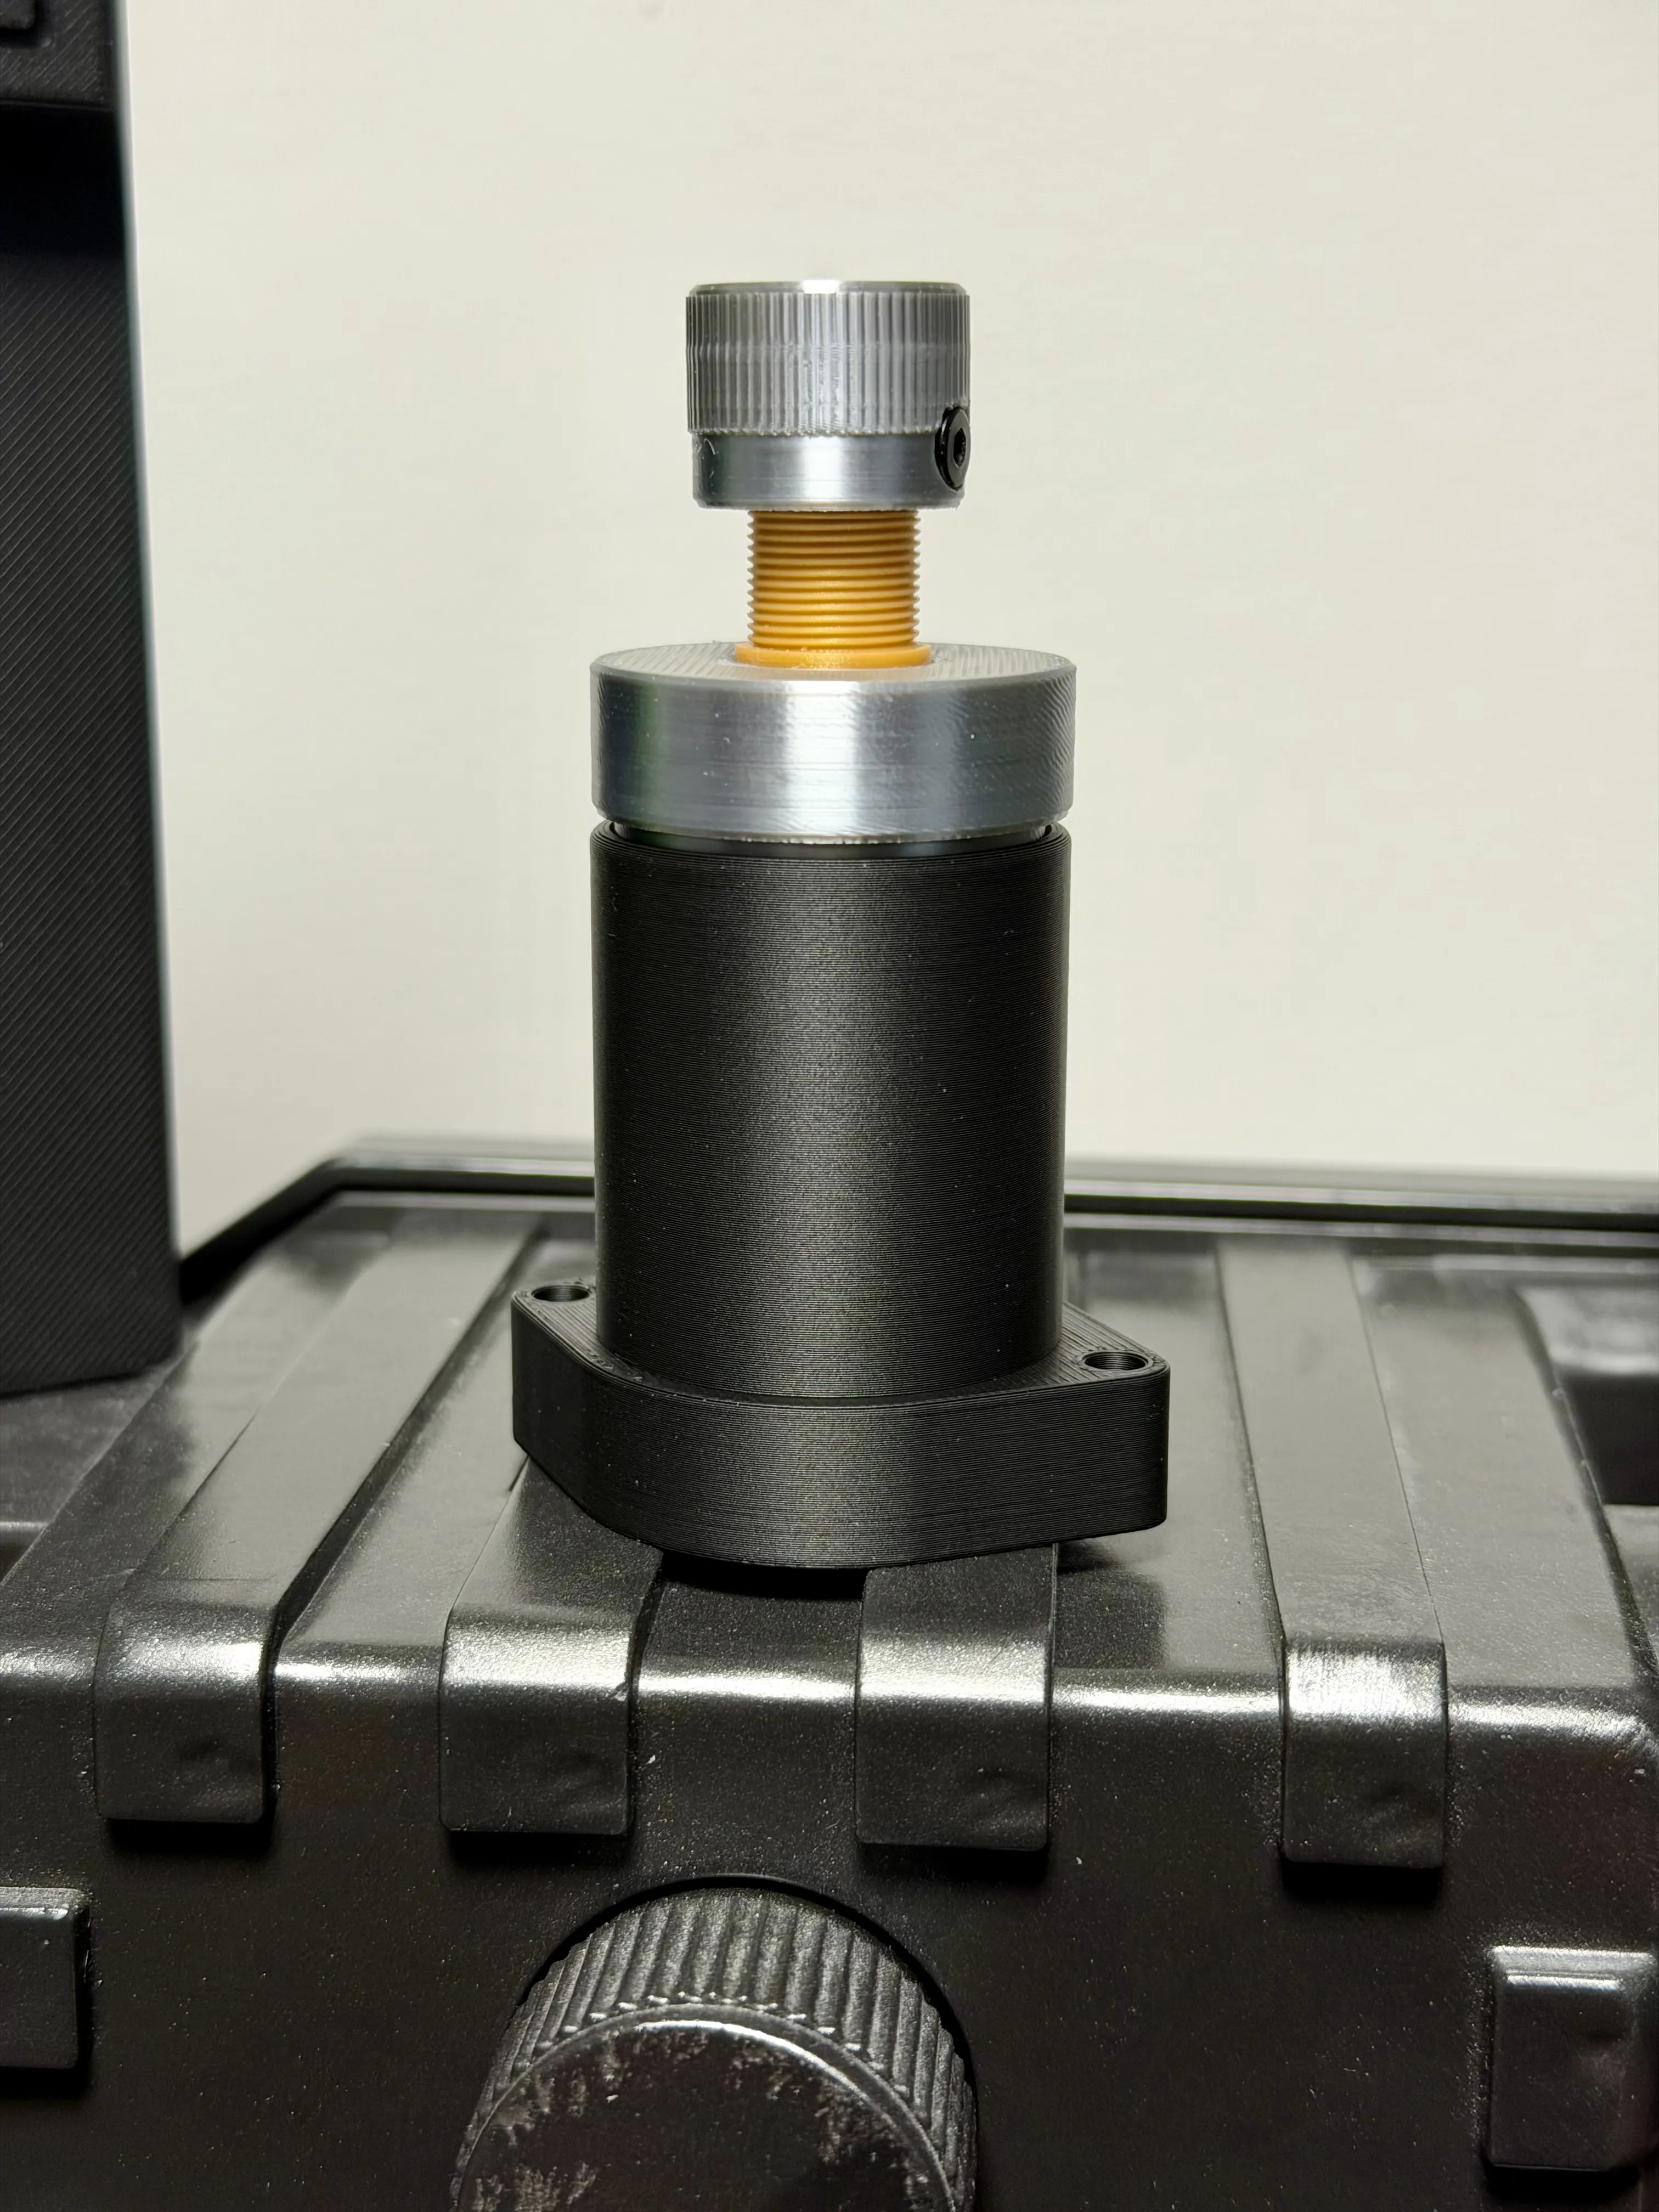
- Allow the glue to fully cure before Installing onto your proton pack or Neutrona wand.
Take your time during assembly, adjust the parts to make the seems as hidden as possible and keep everything square and aligned for that authentic look.
·····
🧰 Troubleshooting
Model Doesn’t Match Preview / Wrong Colours / Odd Layout / Dots instead of lines or shapes
If your model looks misaligned, missing details, or prints incorrectly, please make sure you are using the supplied 3MF print profiles, not the raw STL or STEP files.
The 3MF files contain all the model specific tuning, including:
- Valve-specific scaling
- Line width settings
- Print specific adjustments
To use them properly:
- Either click “Open in Bambu Studio” directly from MakerWorld,
- Or download the .3MF file and open it manually in Bambu Studio.
Avoid using the raw STL or STEP files unless you specifically want to rebuild your own profiles, they do not include the tuned print settings.
·····
⚠️ Copyright / Safety / Final notes
These models are intended for prop building and display use only. They are non-functional replicas and are not designed to handle pressure or airflow. Always ensure your finished build is safe, secure, and suitable for conventions or display environments.
License

You shall not share, sub-license, sell, rent, host, transfer, or distribute in any way the digital or 3D printed versions of this object, nor any other derivative work of this object in its digital or physical format (including - but not limited to - remixes of this object, and hosting on other digital platforms). The objects may not be used without permission in any way whatsoever in which you charge money, or collect fees.


Comment & Rating (1)