


Print Profile(2)


Bill of Materials



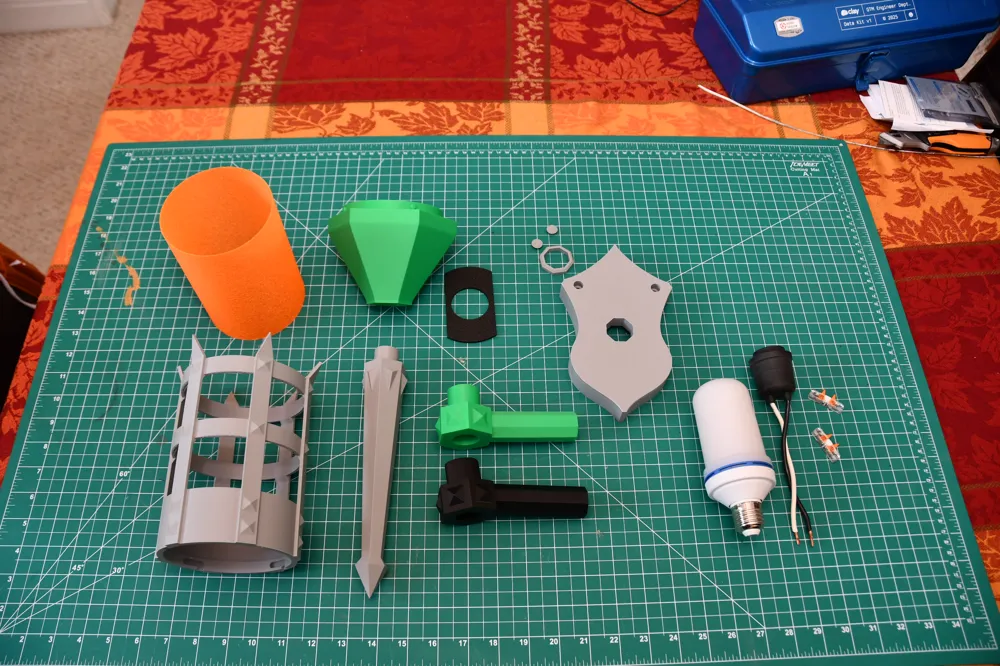
- Lamp wire x 1: cut to whatever length you need
- light socket x 1: Leviton waterproof light socket from HD
- Wire nuts x 2: From amazon
- LED flame bulb x 1: from amazon
Description
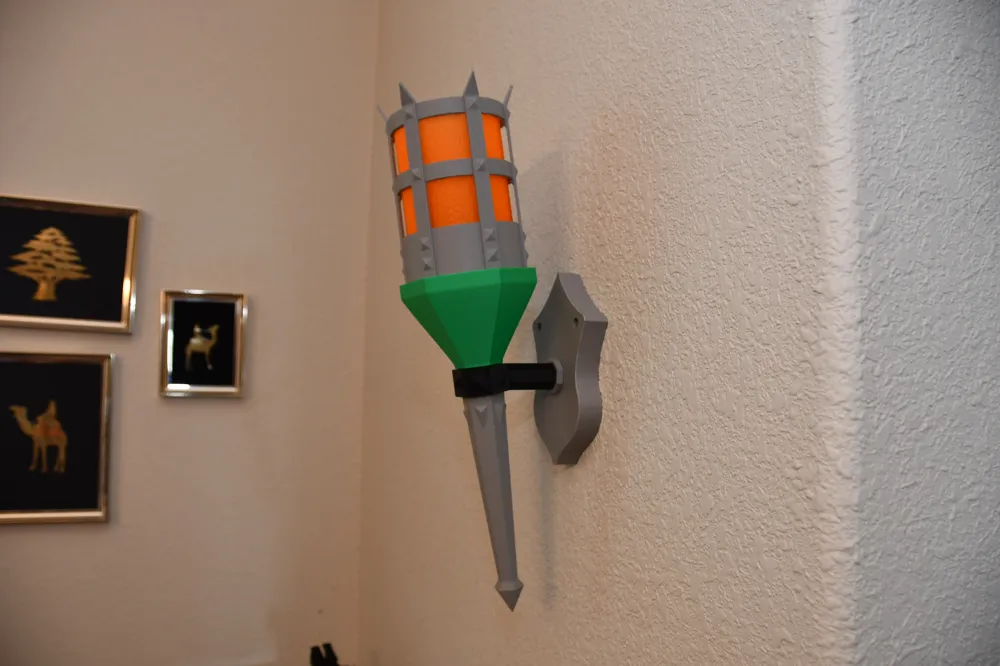
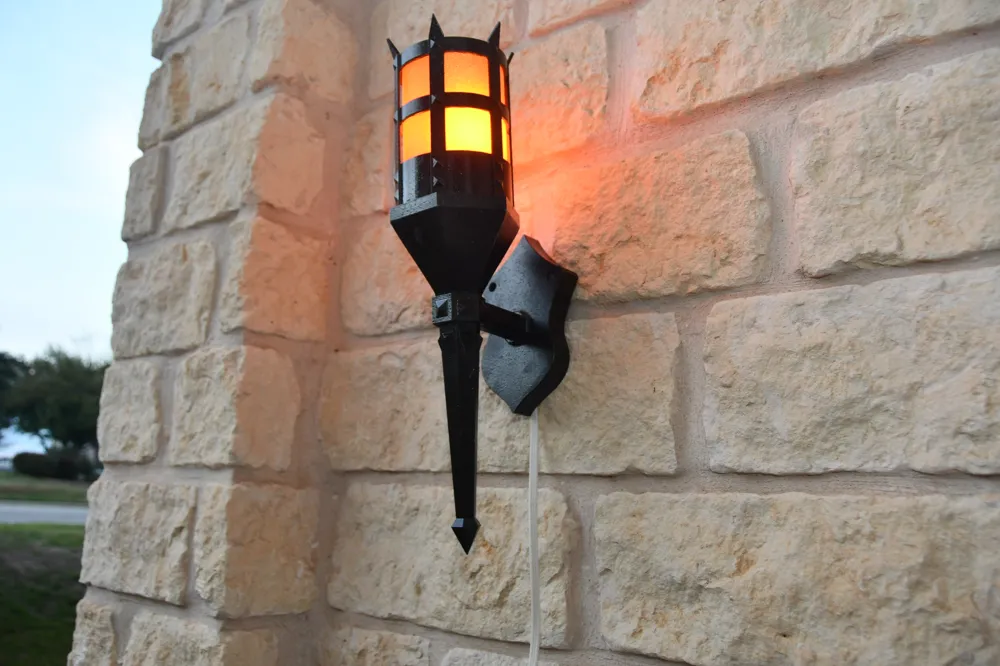
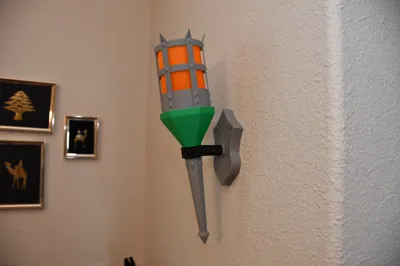
No dungeon or man-cave is complete without a torch or two. This version has old world charm but is designed to support a full size LED flame bulb or regular light bulb so you are never in the dark.
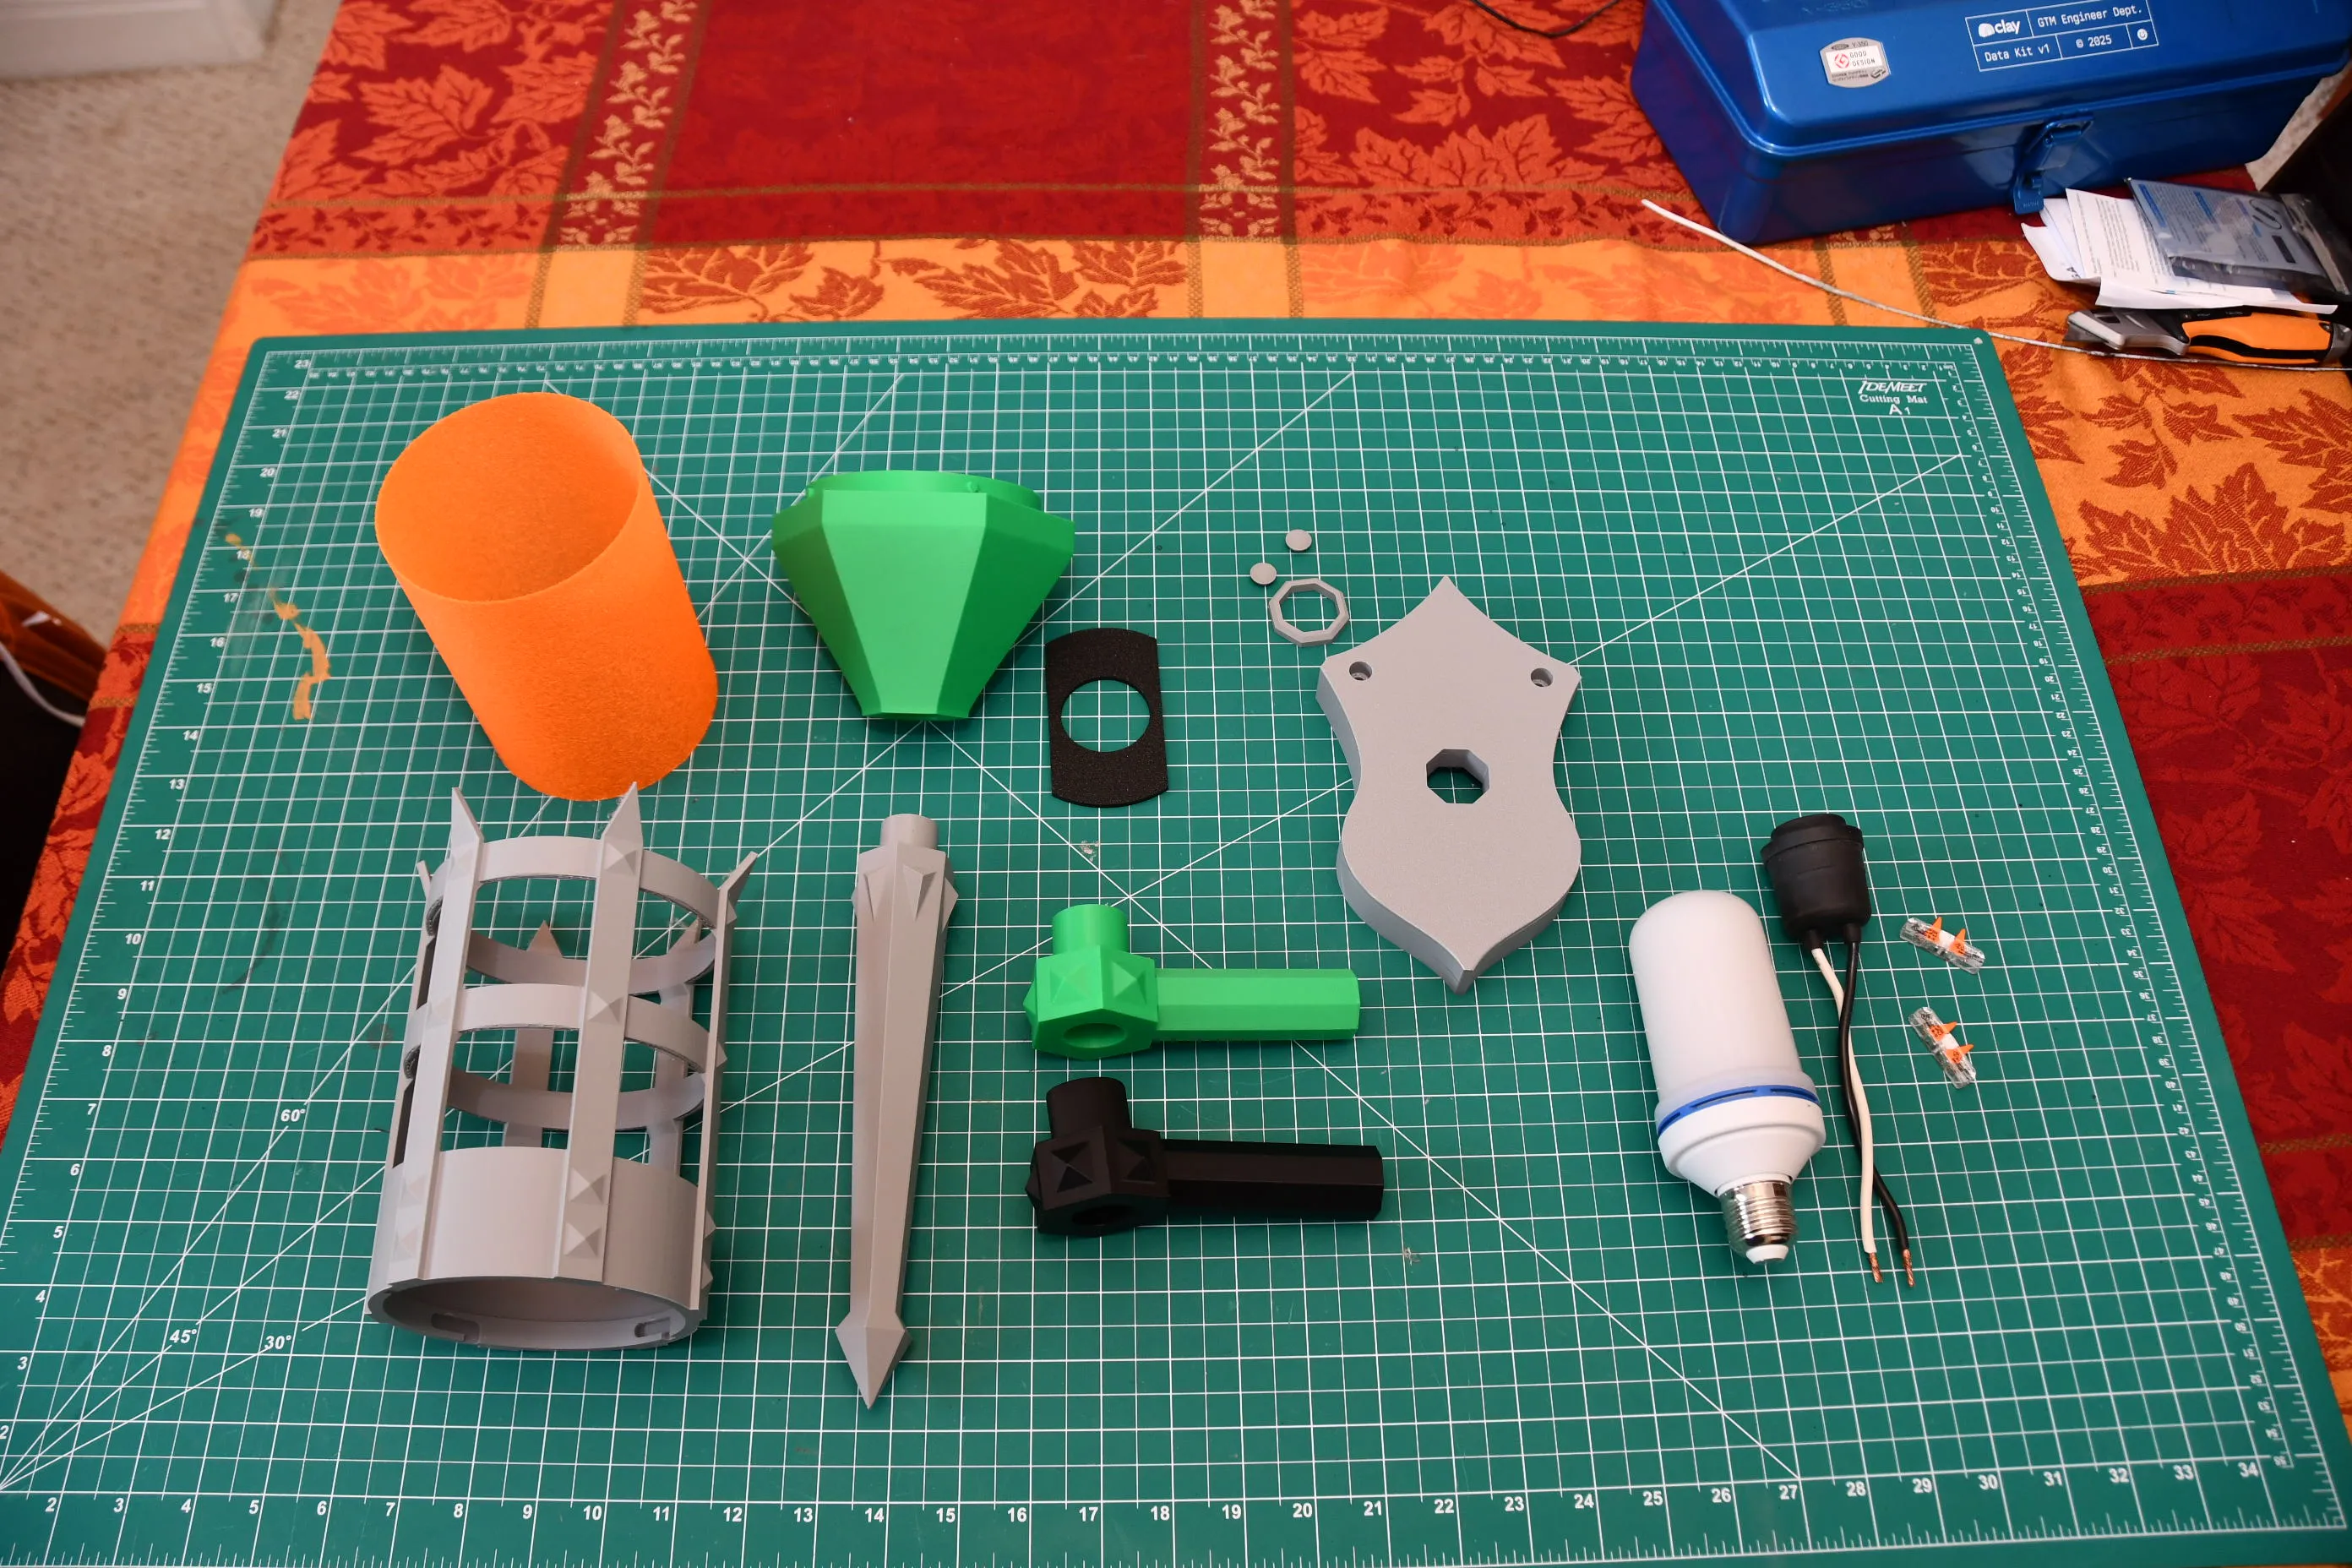
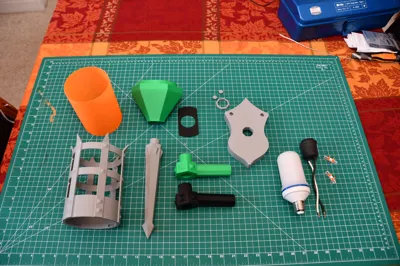
The model comes in several parts to make printing as efficient as possible but also easy to assemble with wiring for the bulb. Besides the 3D model, you will need to obtain the socket for the light bulb, wire sockets of some kind and lamp wire as well as the bulb itself. An led flame bulb obtained on amazon is the recommendation.
I provide 2 separate “arms” one makes the lantern straight up and down and the other tilts at about 10 degrees. Choose which arm you want and just print that one. There is a flange that goes over the arm where it joins to the wall plate and then there are 2 “buttons” (not shown in the image below) that cover the screw holes.
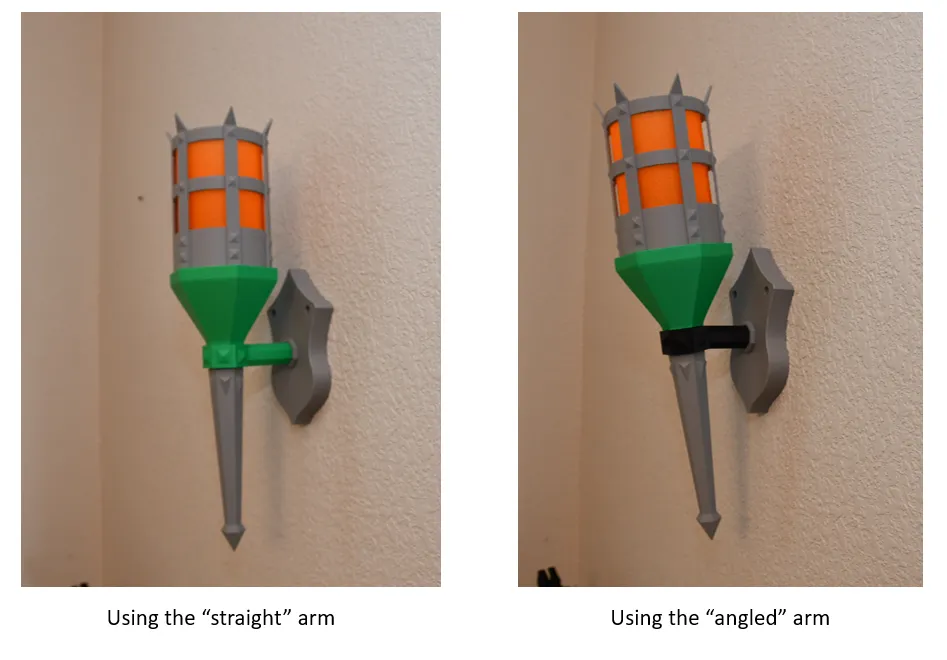
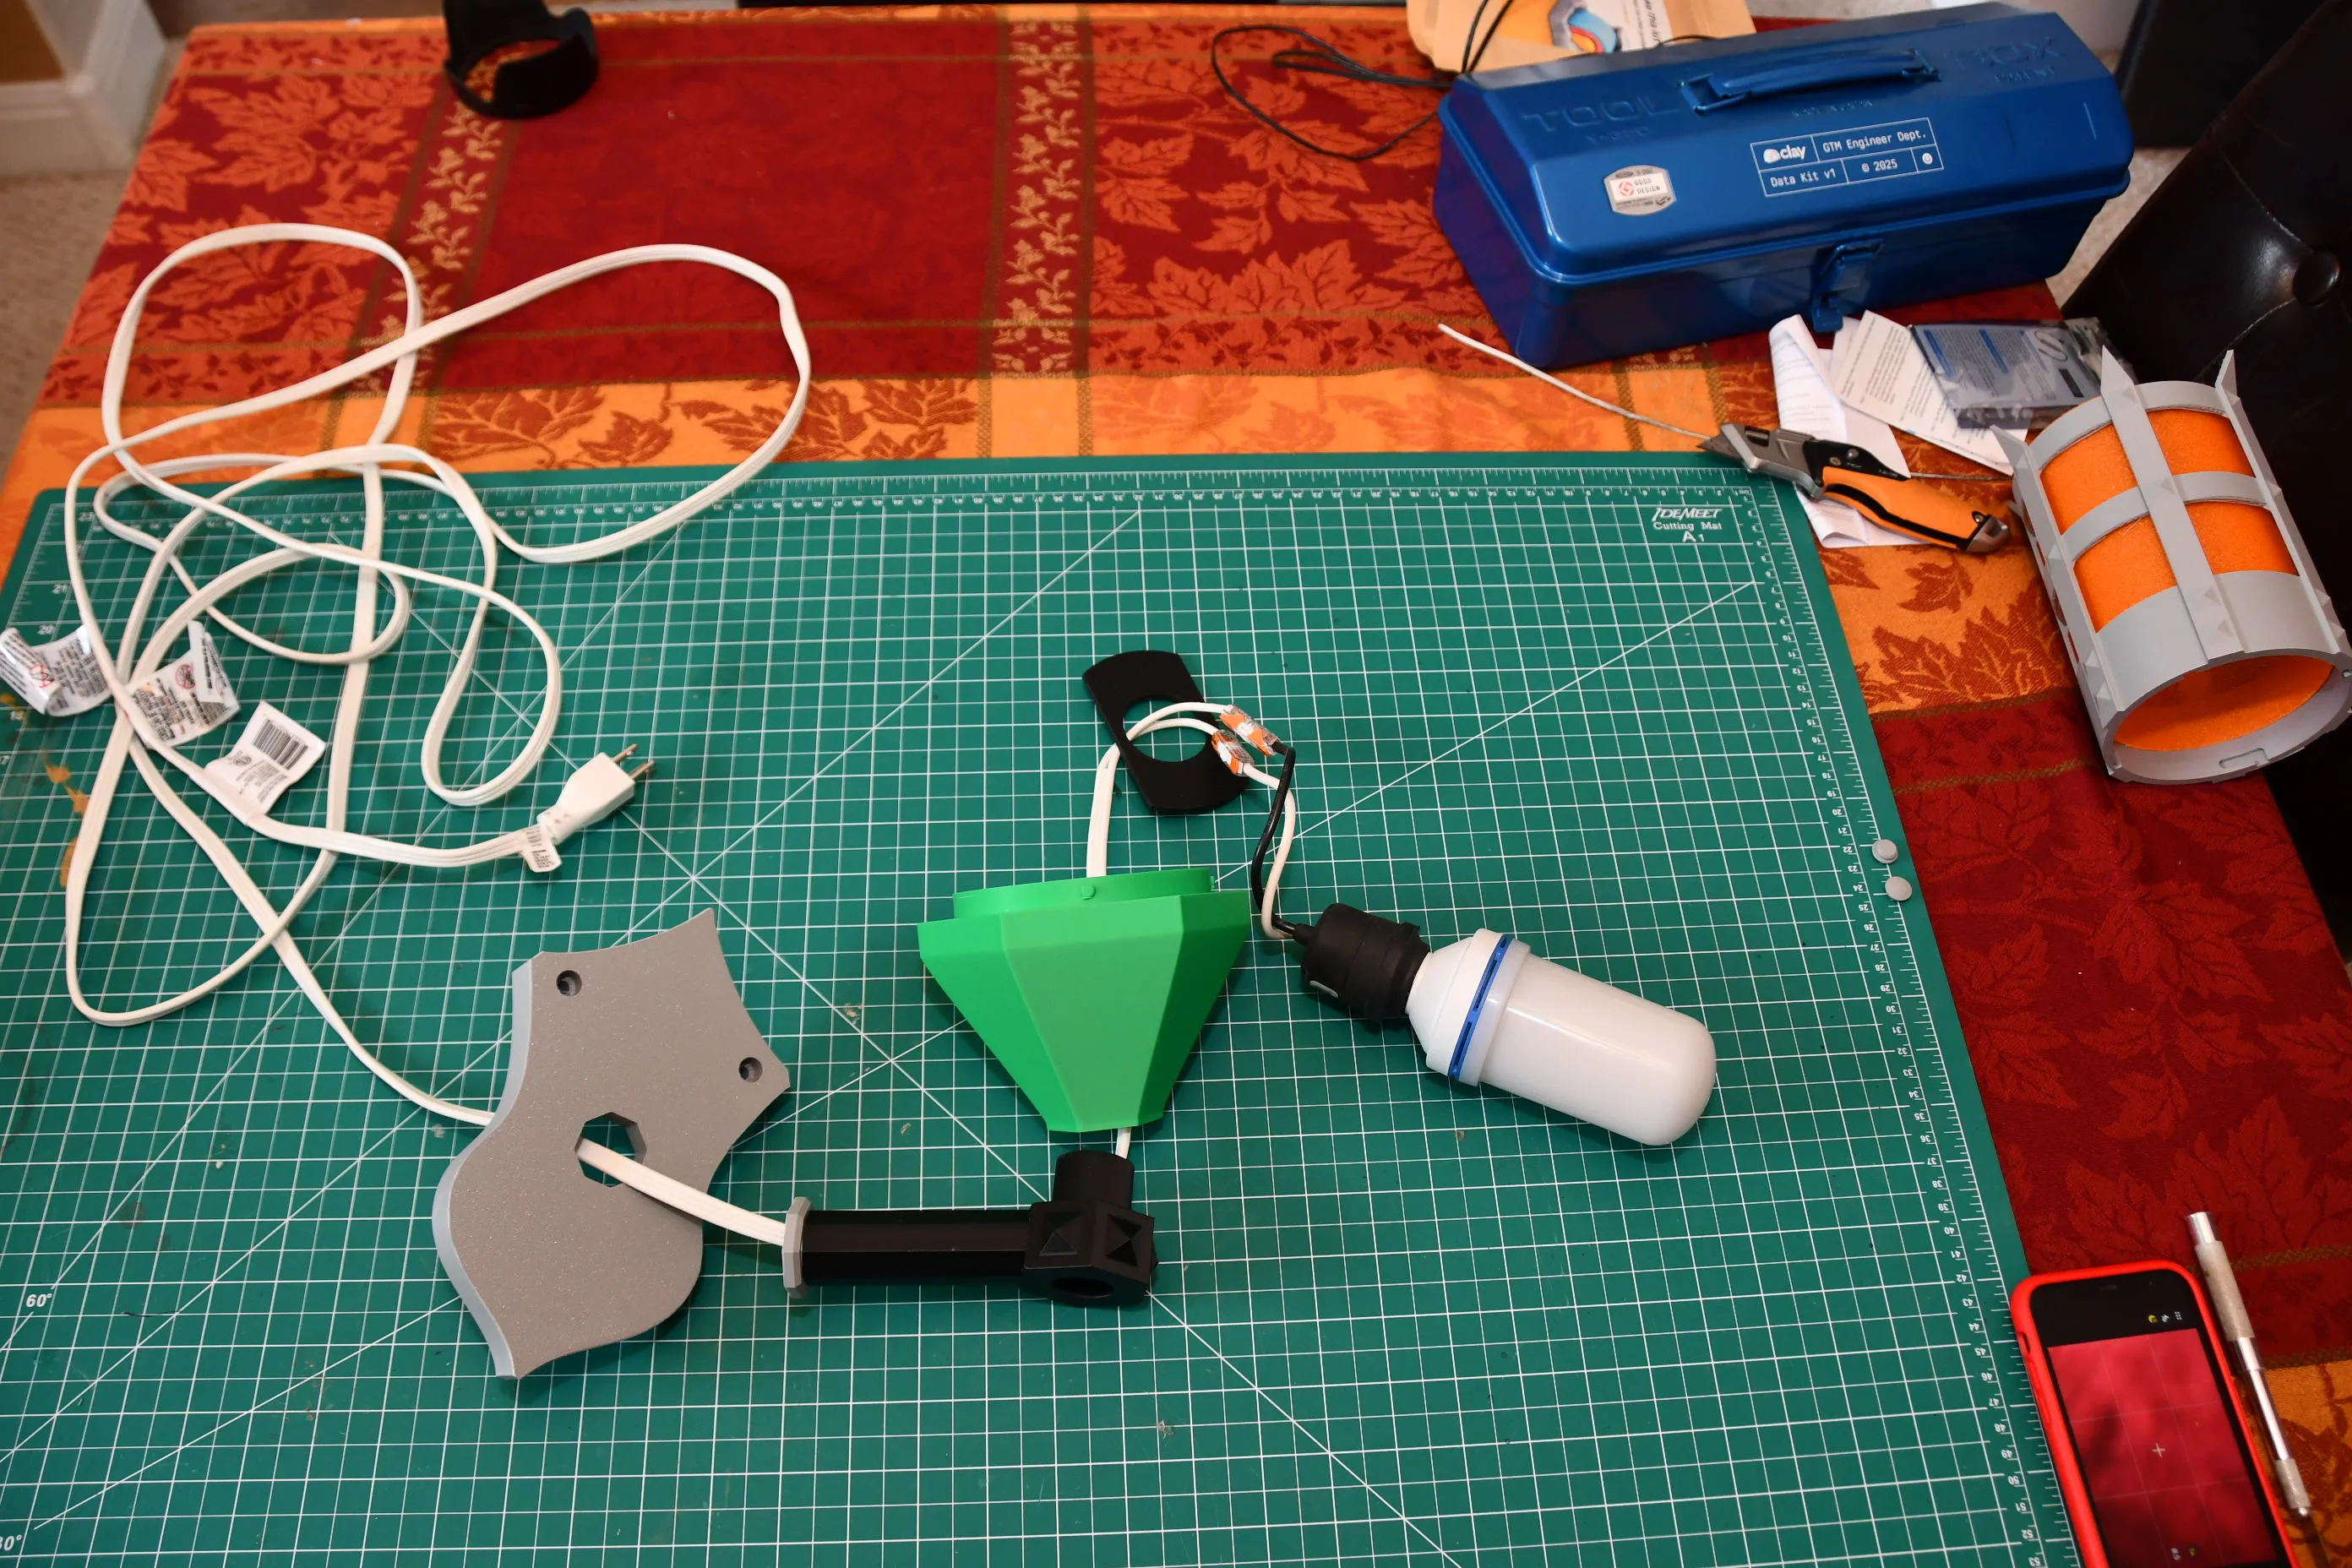
Both arms have a hole that runs through it that allows the wire to run from behind the wall plate through the arm and up into the cone. Make sure you put the flange (the grey ring shown on the arm below) onto the arm before you run the wire. The arm fits into the wall mounting plate and will need to be glued after the wires are run.
This iimage shows how the wire need to be run through the individual pieces.
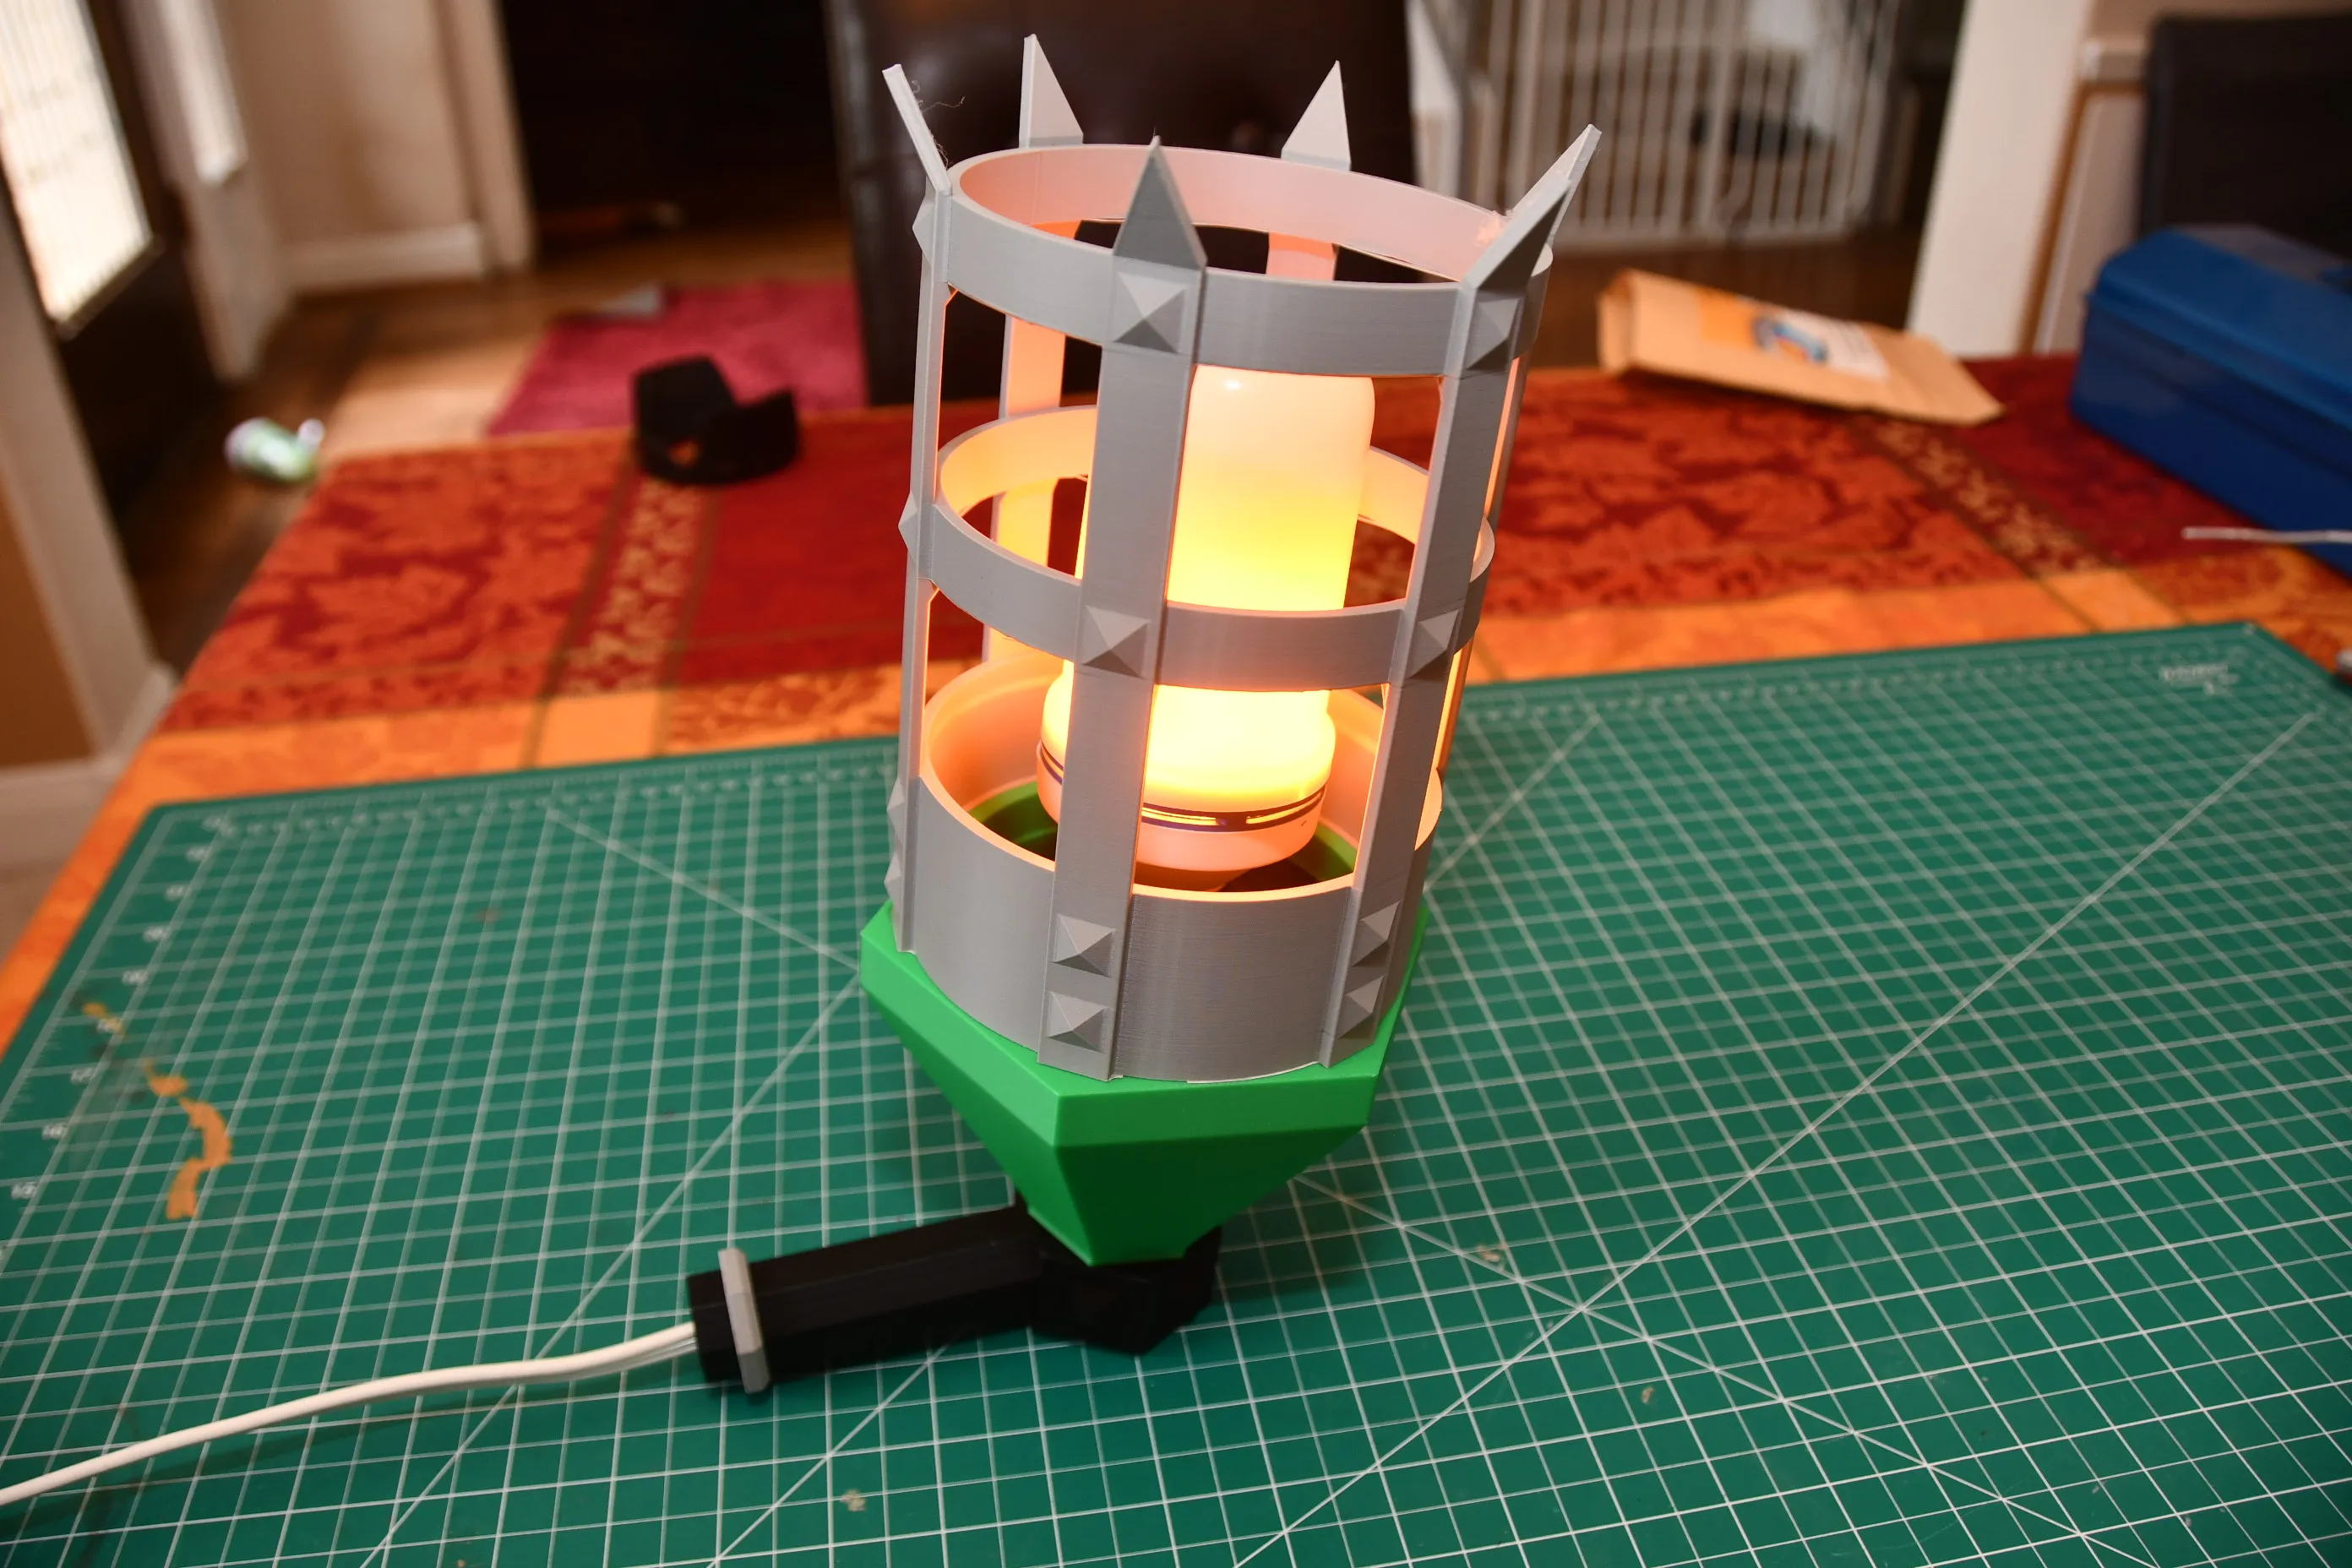
The socket mounting plate snap-fits into slots in the lower cone.
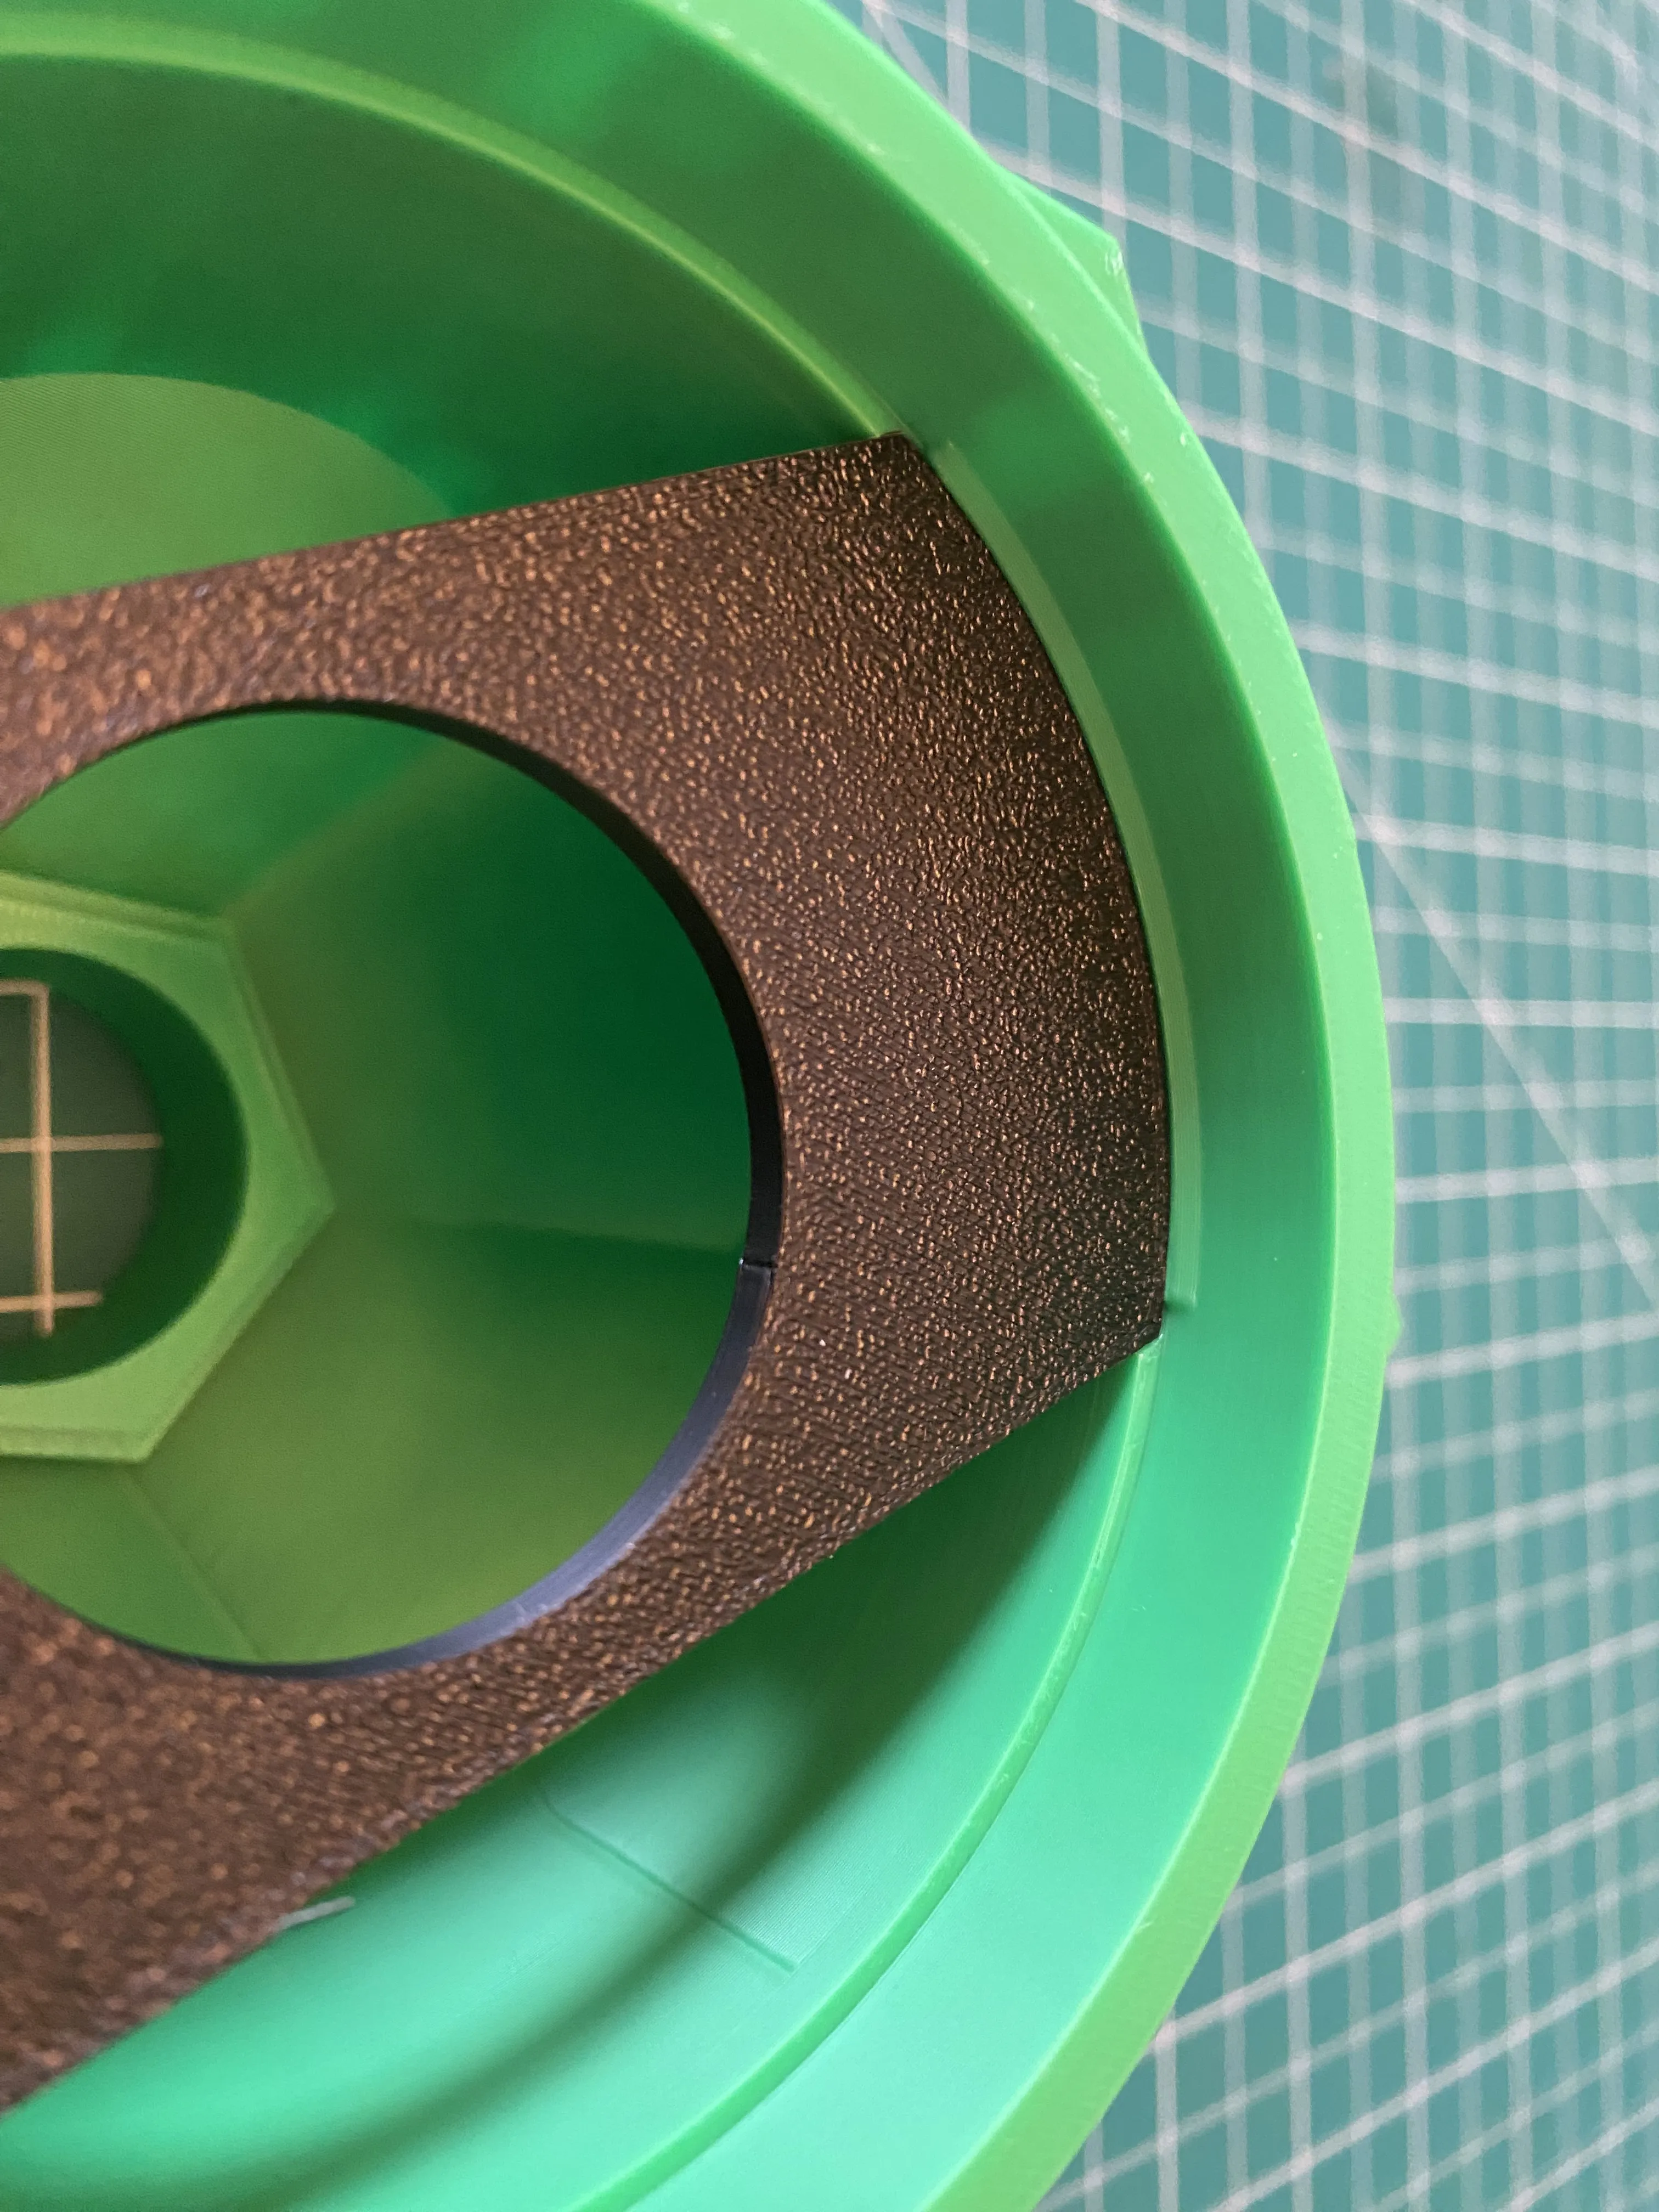
The light socket mounts into the plate as shown below. If you use a different light socket you can print yourself a plate that matches your socket. The socket I used is a Leviton waterproof light socket obtained from Home Depot.
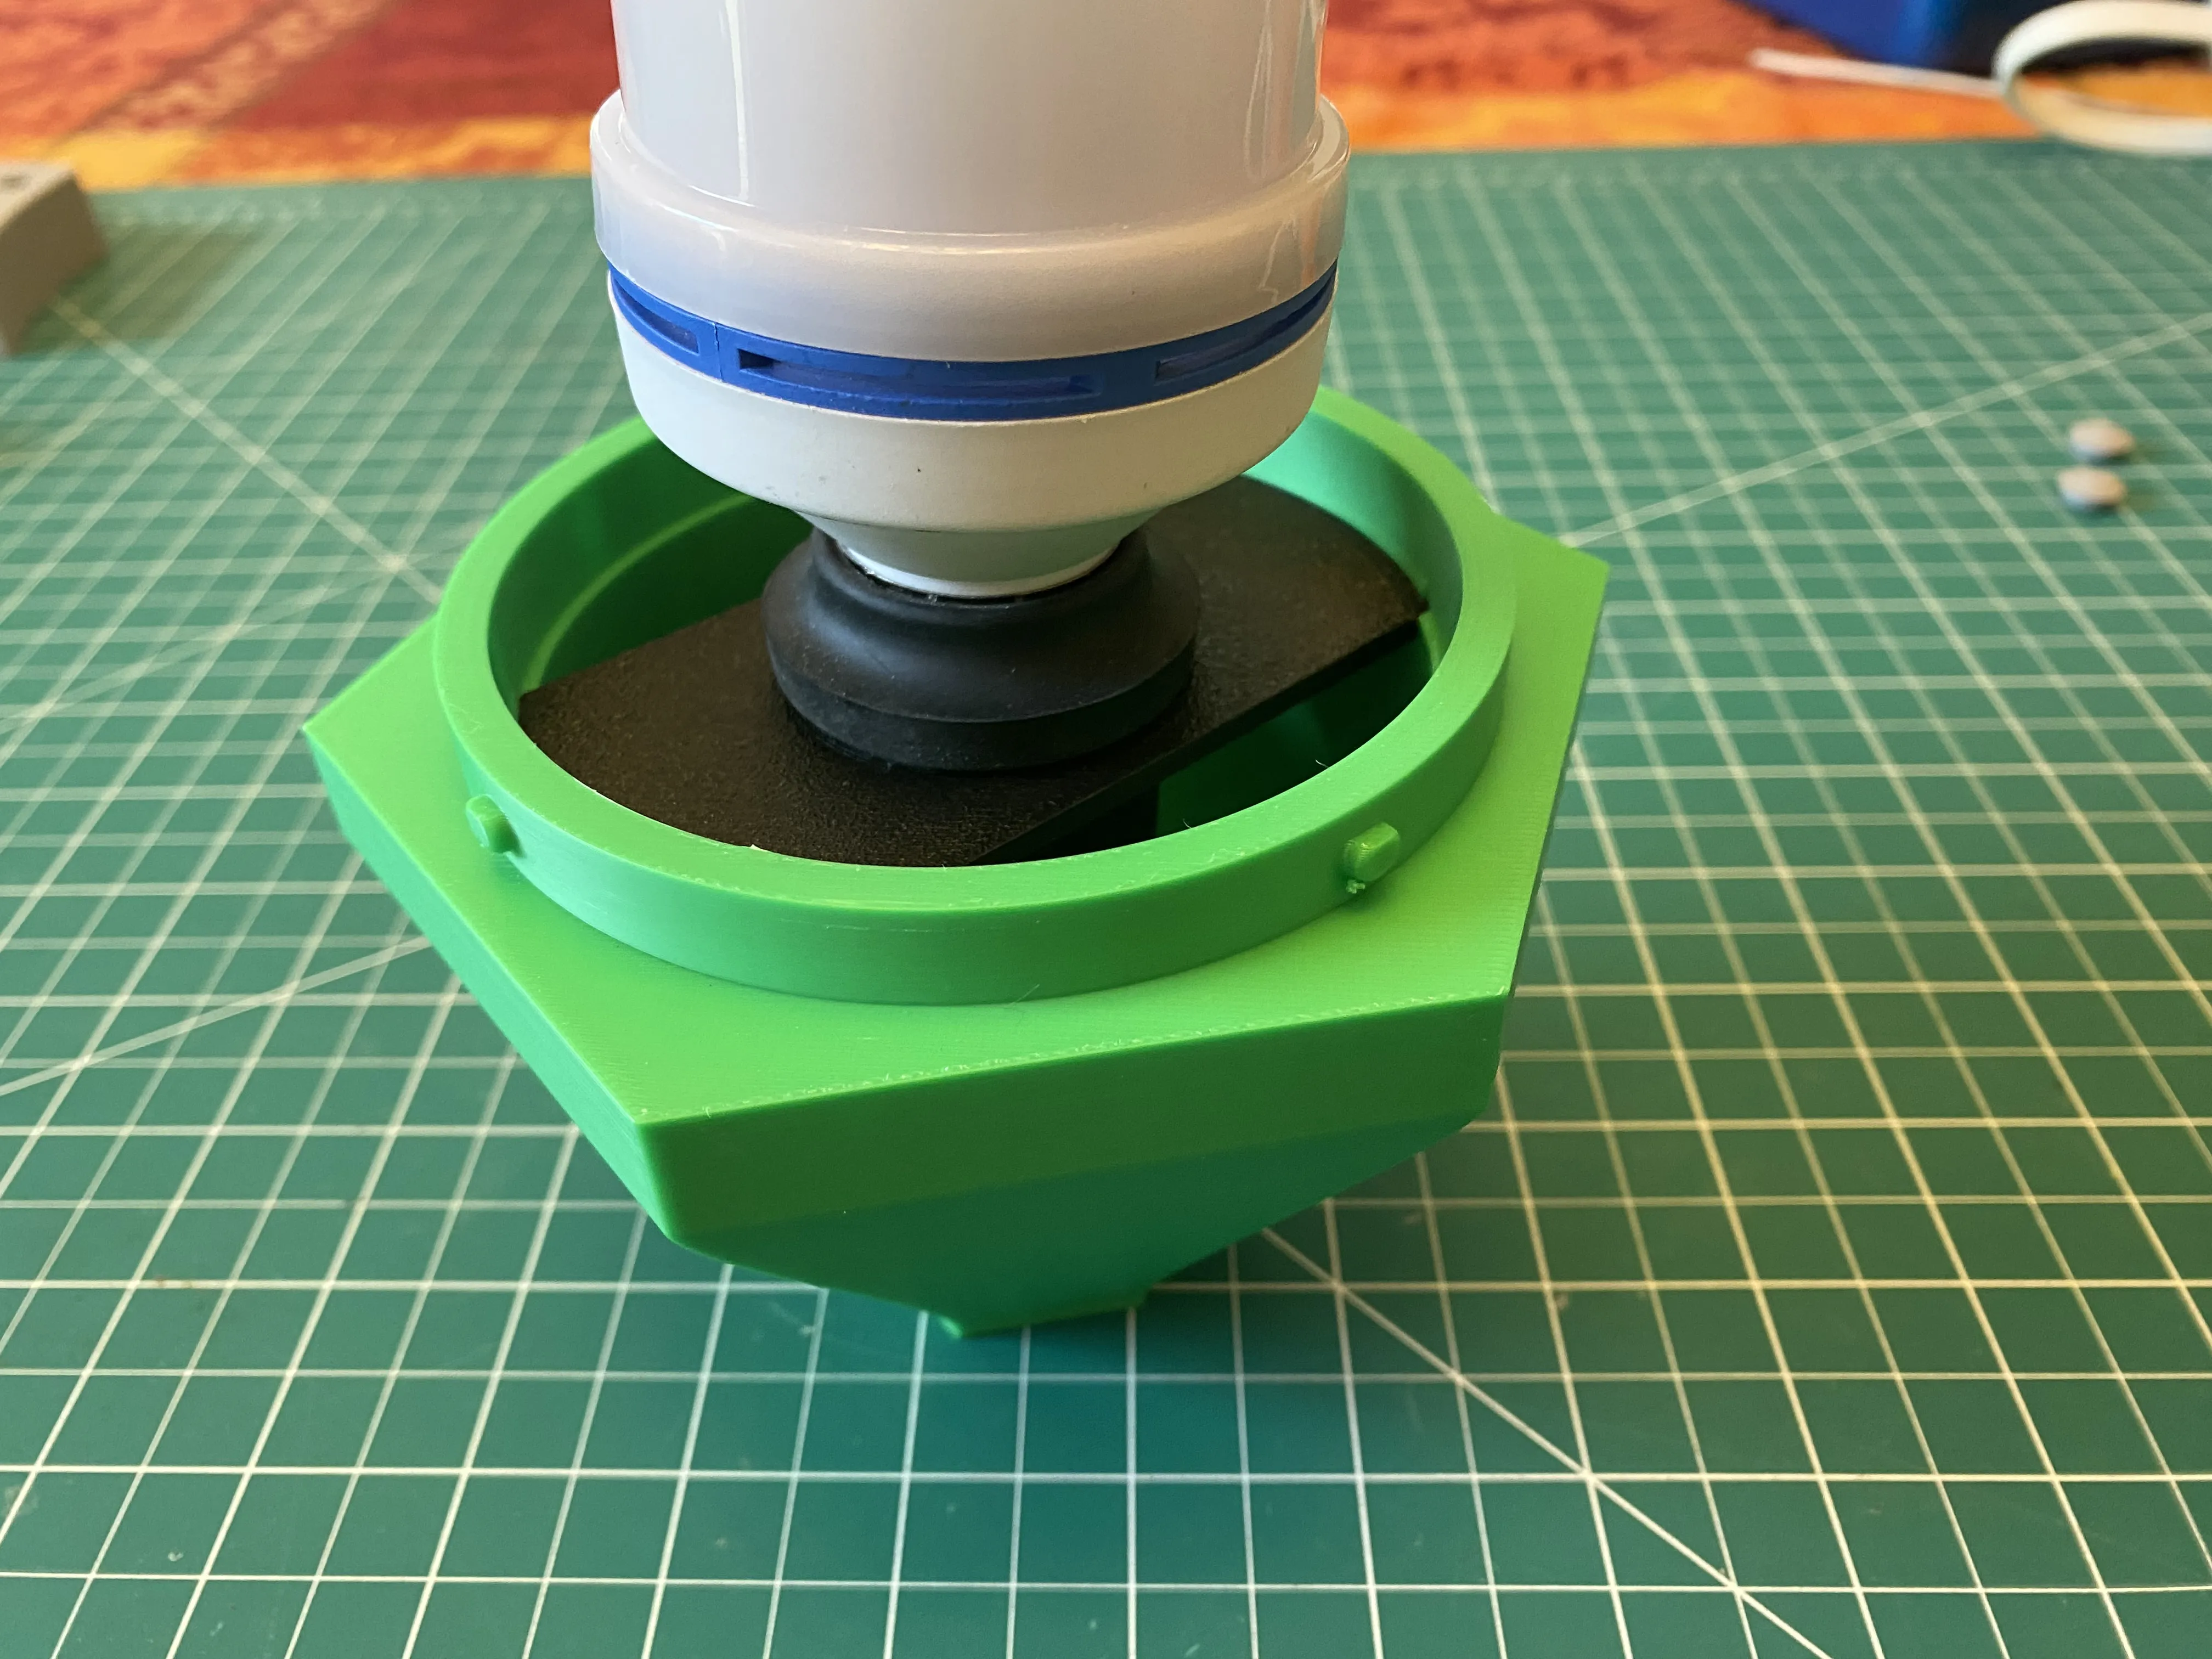
The lower cone has pins that line up with holes in the bottom of the "cage". The cage locks into place with a twist after pushing it down over the pins like shown here.
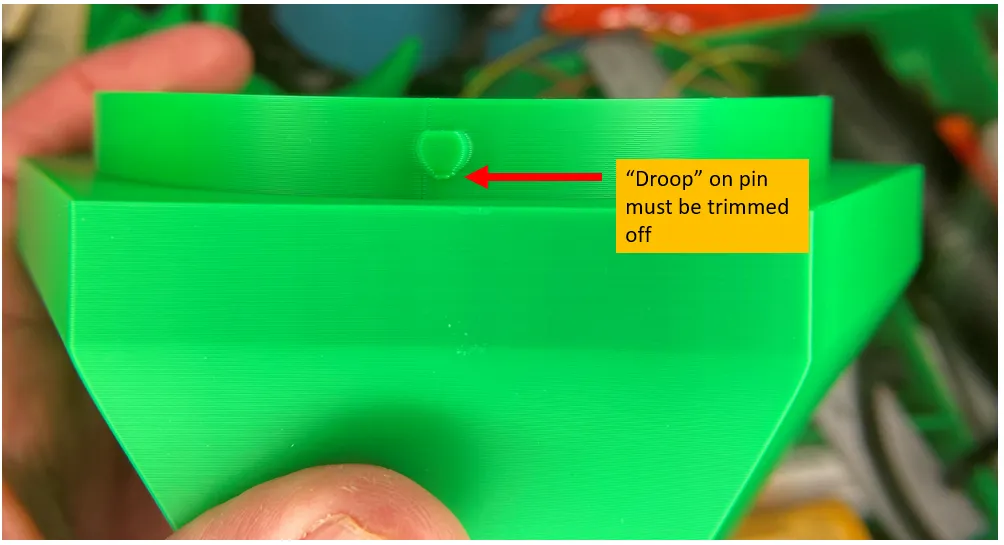
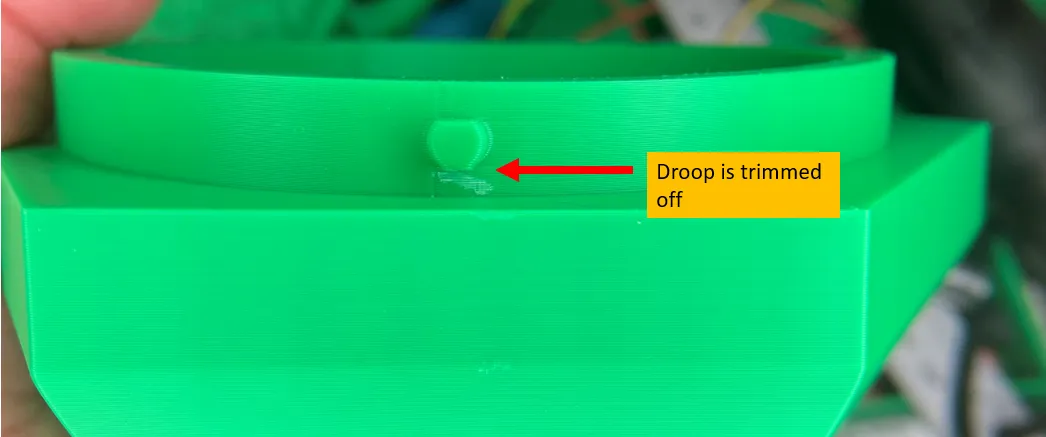
Note when the cone is printed, the little pins have no support and end up with a little “droop” that you will need to trim with an Exacto knife off in order for the cage to twist into place.
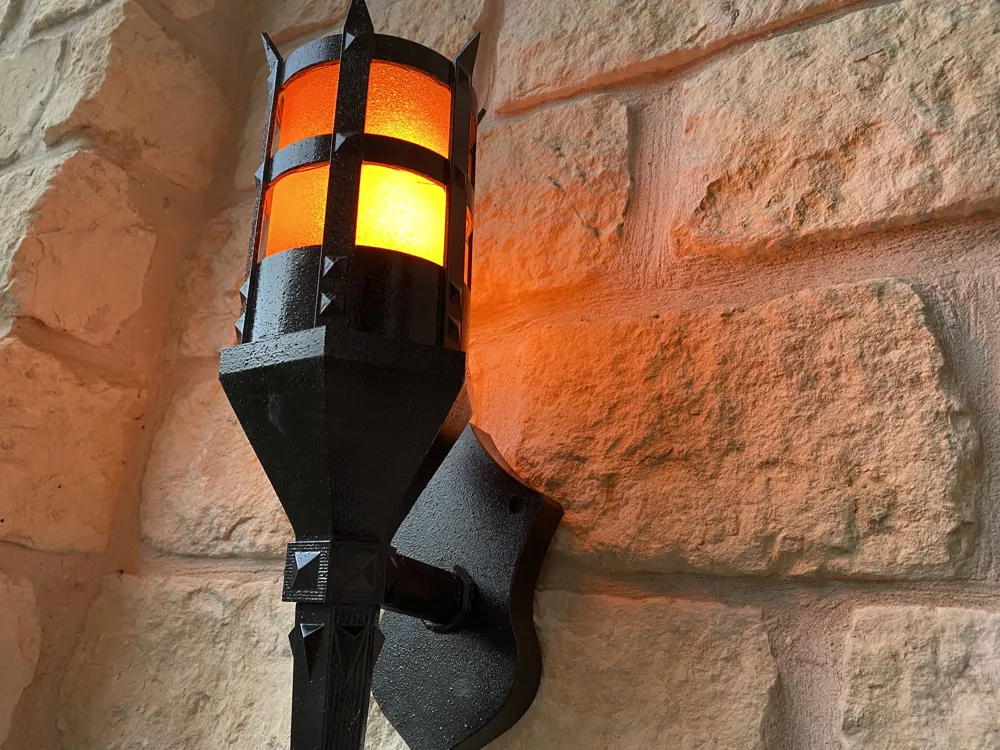
The diffusion cylinder can be printed without fuzzy skin but the fuzzy skin makes a wonderful diffuser and does a great job of hiding the actual bulb. I used spiral vase mode with an outer wall thickness of .6mm and both point distance and skin thickness set to .5mm.
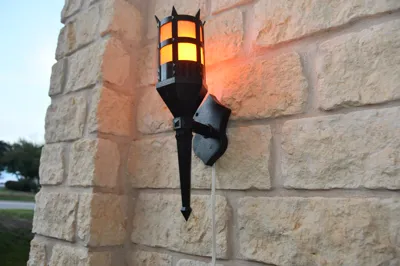
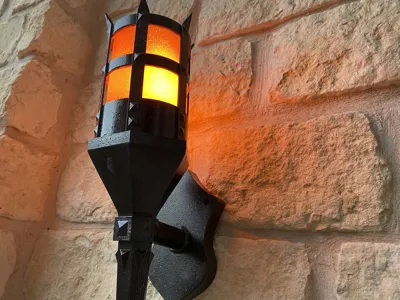
For the final product, I painted the model with an automotive spray primer, followed by “stone” spray paint to create texture followed by “Hammered Metal” black spray paint.
License

You may create derivative works based on this object, provided that all such derivative works are published exclusively on the MakerWorld platform and include proper attribution to the original creator. You may not share, upload, host, distribute, or publish this object—or any derivative work of this object—on any other digital platform, marketplace, or distribution channel. Commercial use of this object and any derivative works is strictly prohibited. This includes, but is not limited to, selling, renting, sublicensing, or using the object in any context in which you receive monetary compensation or other financial benefits.


Comment & Rating (28)