
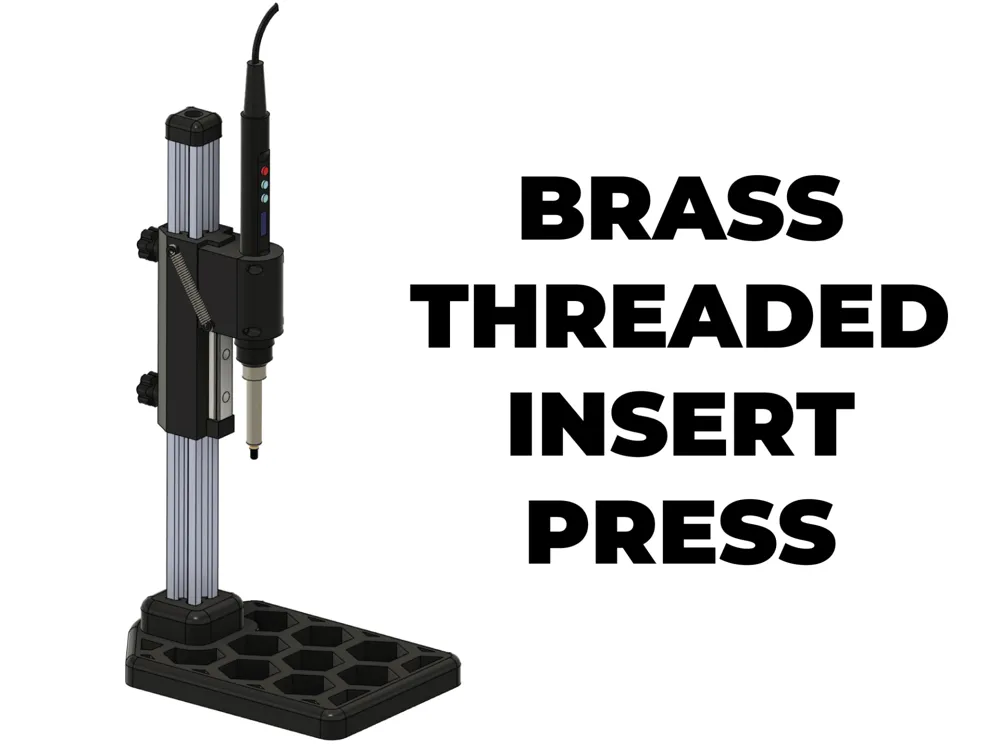
Brass Threaded Insert Press
Print Profile(2)


Bill of Materials
- M6 nuts x 2: https://alishort.com/zmkm0
- M6 x 10 screw x 1: https://alishort.com/xQd9C
- M6 x 30 screw x 1: https://alishort.com/xQd9C
- M3 x 8 screw x 16: https://alishort.com/hIvsp
- M3 x 6 x 4.2 brass threaded inserts x 12: https://alishort.com/UdF8m
- M3 x 5 x 4.2 brass threaded inserts x 4: https://alishort.com/UdF8m
- MGN12C 100mm Linear Rail x 1: https://alishort.com/YlqmV
- Heat Set Insert Press Solder Tool x 1: https://alishort.com/P3Ggw
- Tension Springs L 50mm D 6mm 0.8 wire x 1: https://alishort.com/95He3
- 2020 aluminium extrusion 350mm x 1: https://alishort.com/sAB0k
- M6 x 16 bolt x 2: https://alishort.com/GLH0O
Description
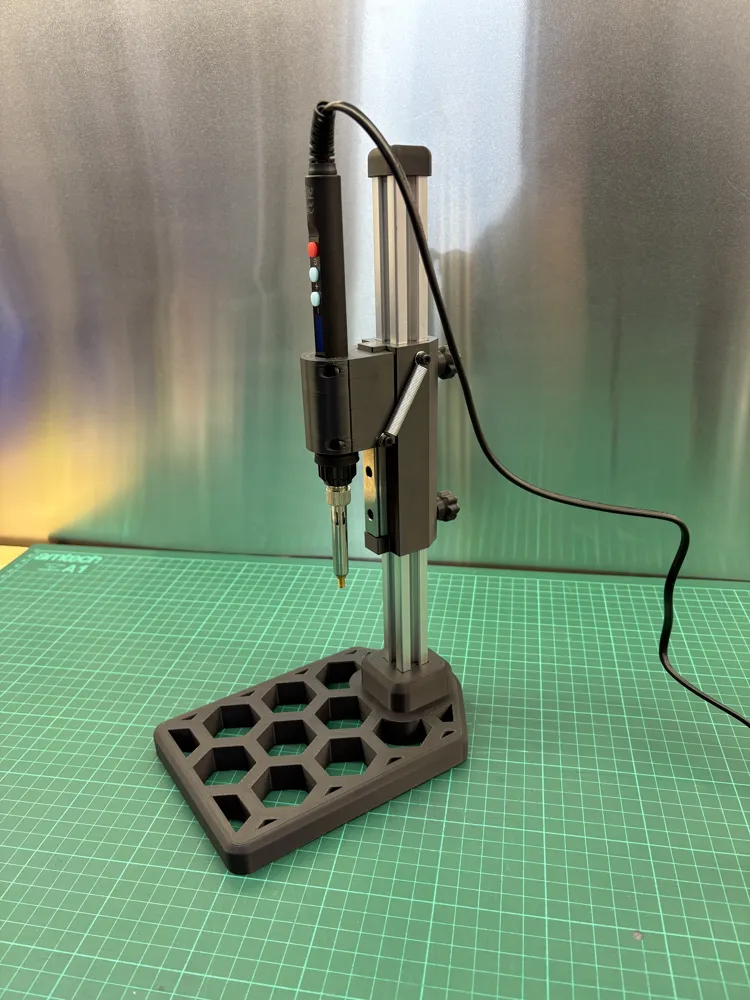
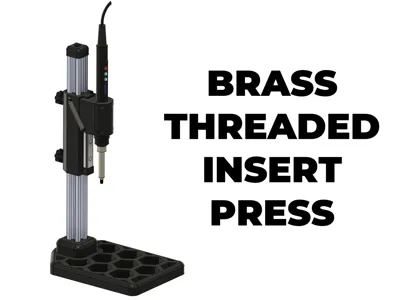
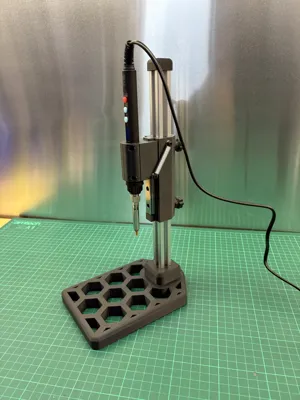
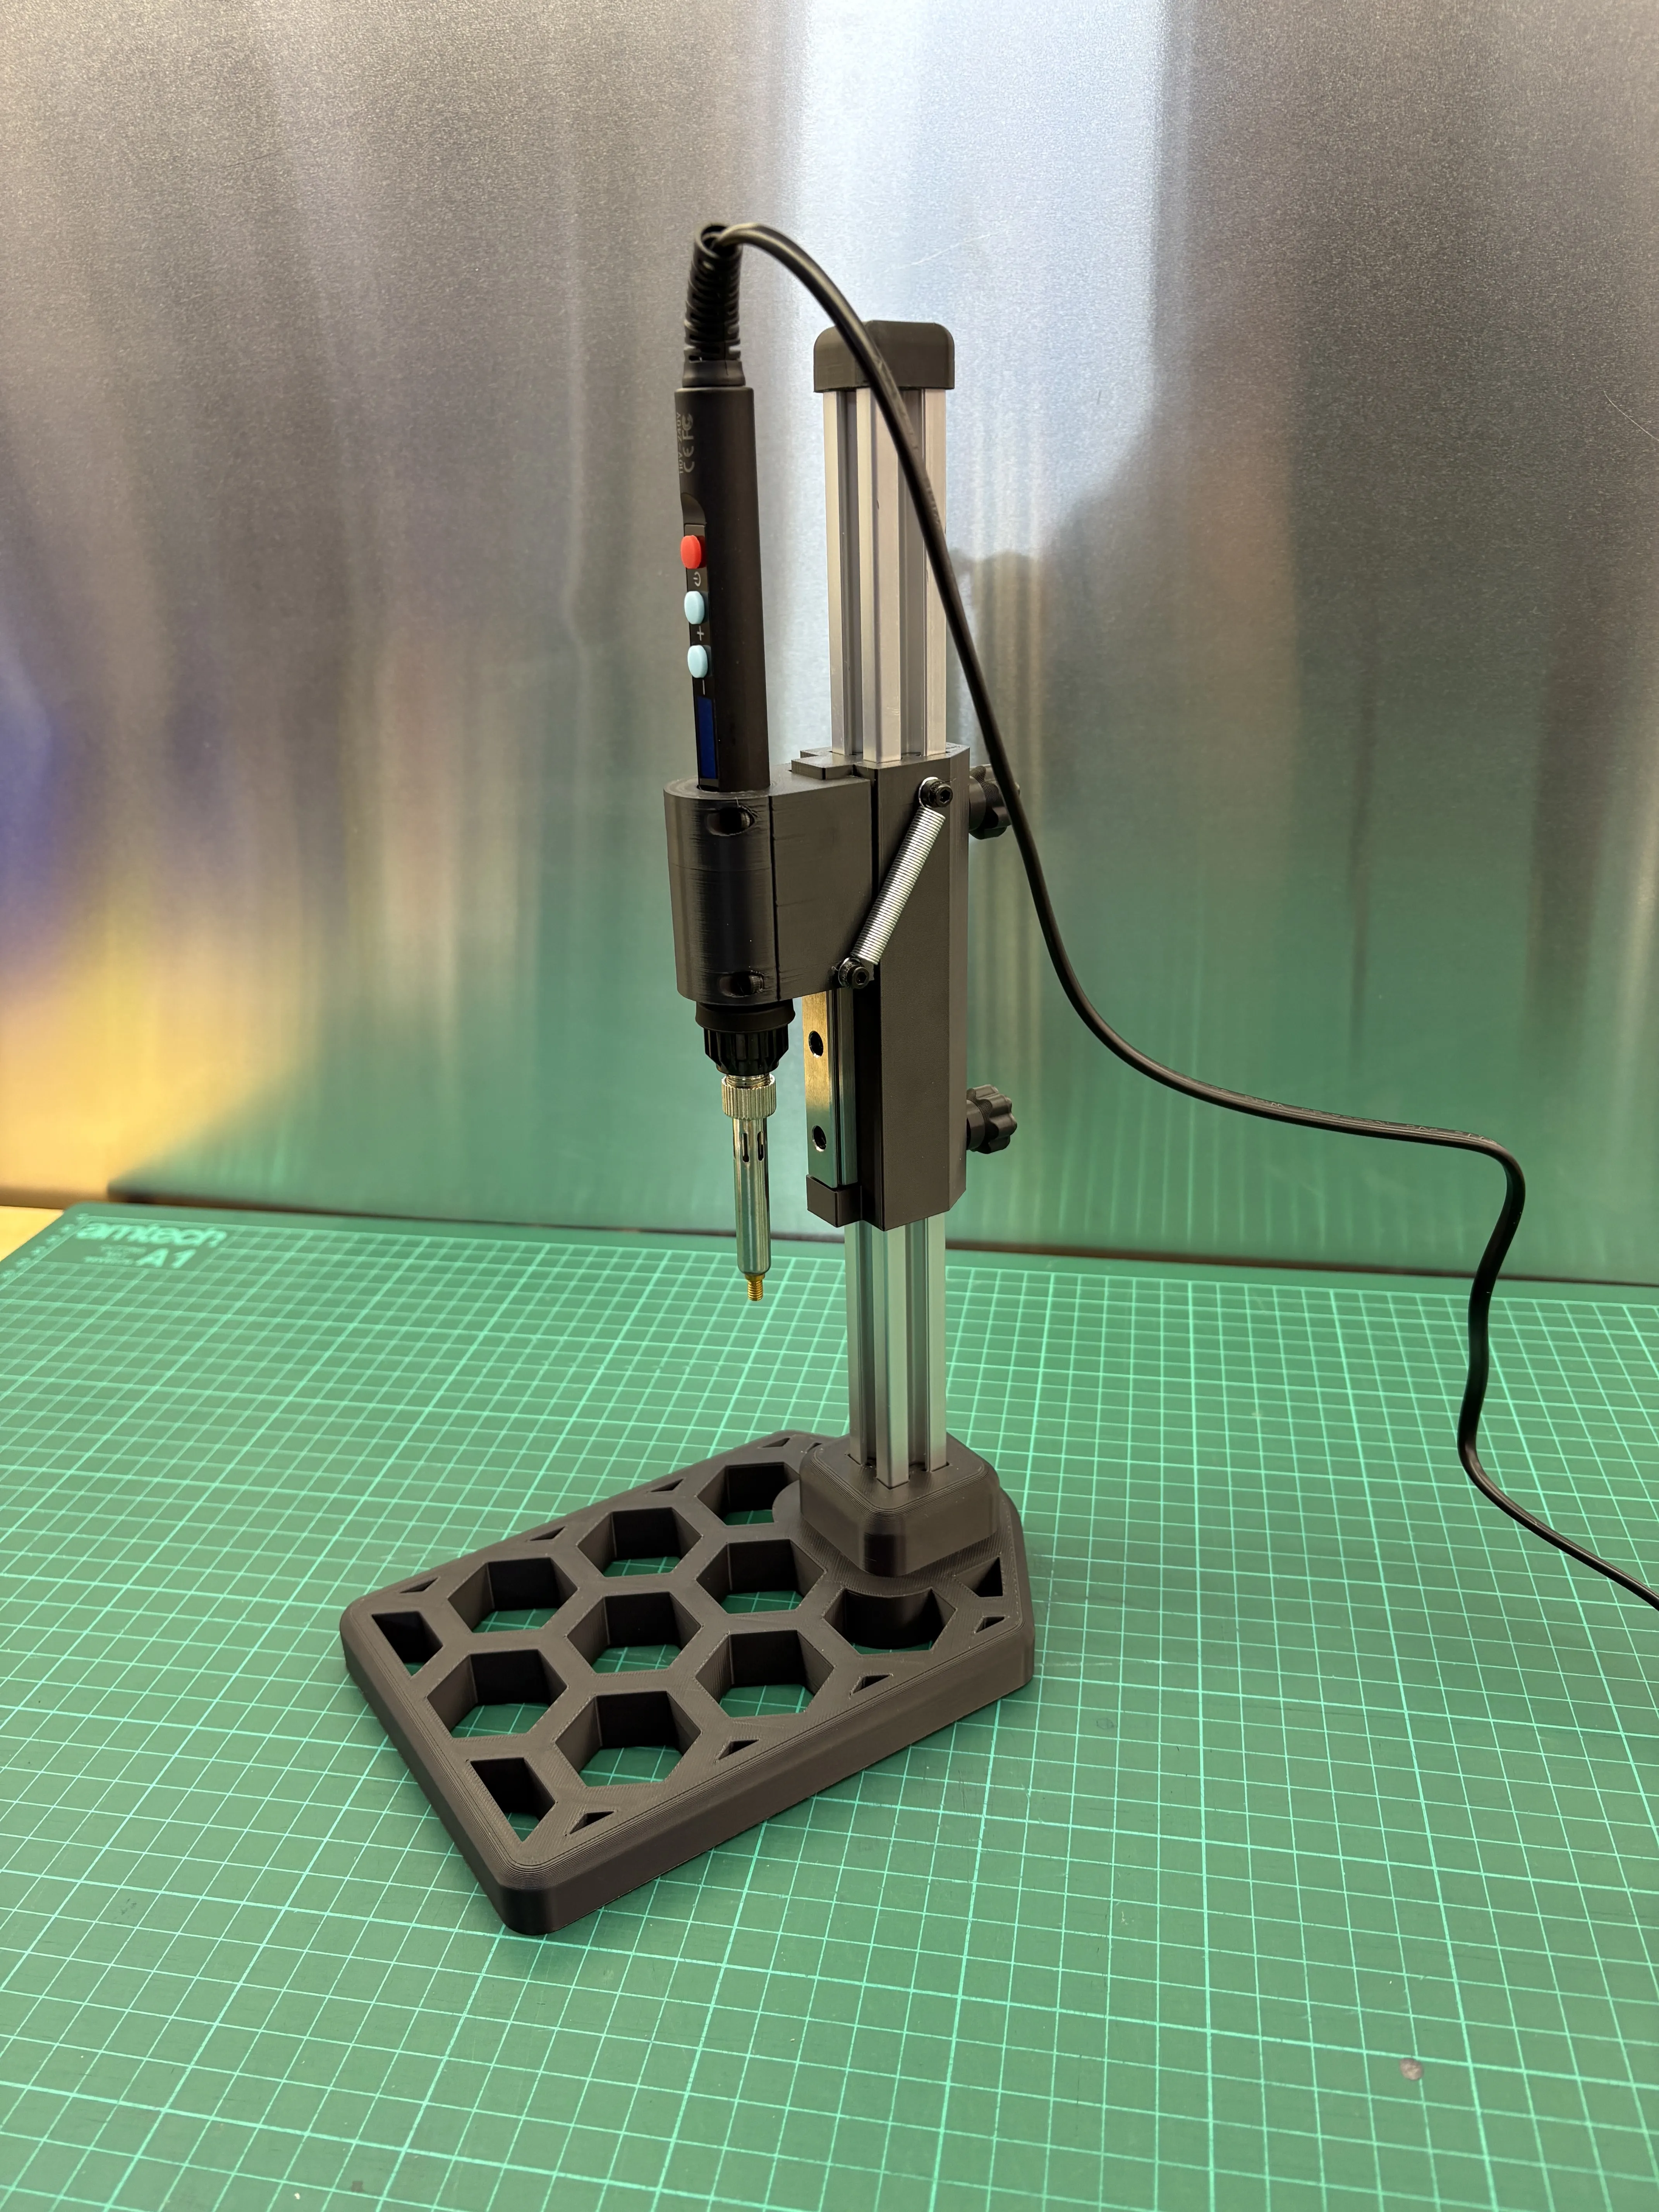
The Brass Threaded Insert Press is a sturdy and precise tool designed for the heat installation of brass threaded inserts in 3D printed parts.
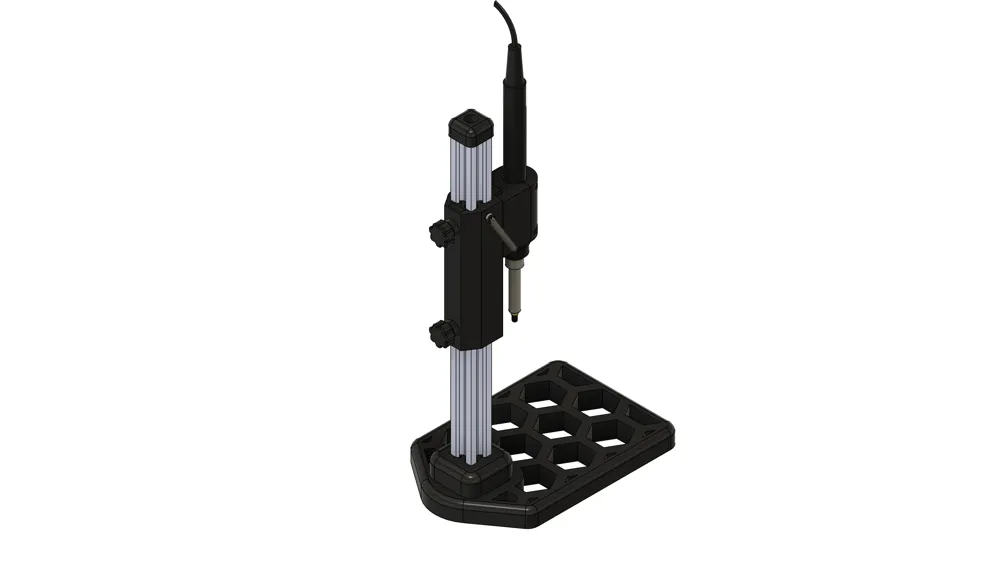
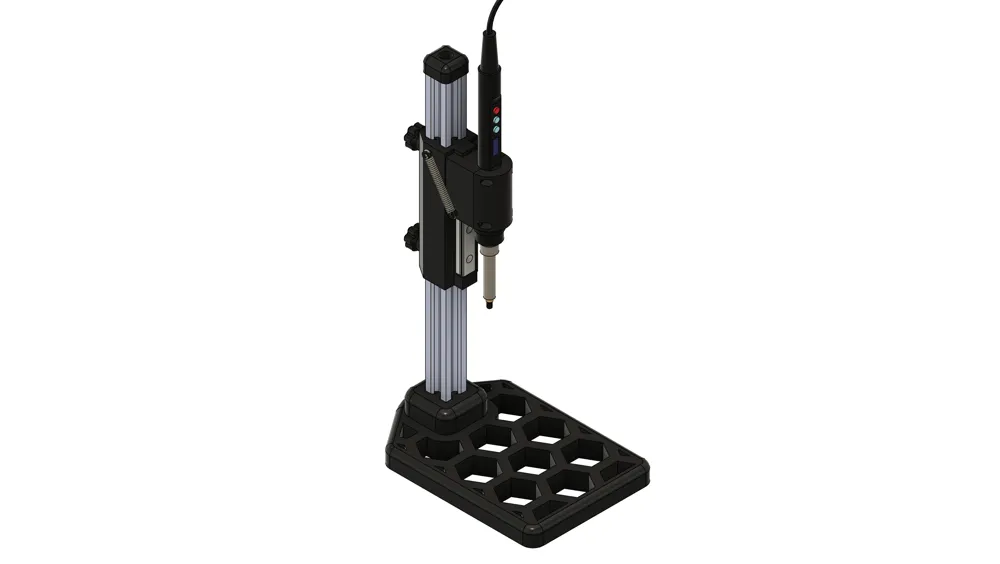
The model features a solid base with a hexagon-patterned design, providing excellent stability during use. A 2020 aluminum extrusion is mounted vertically on the base, acting as the main guide structure.
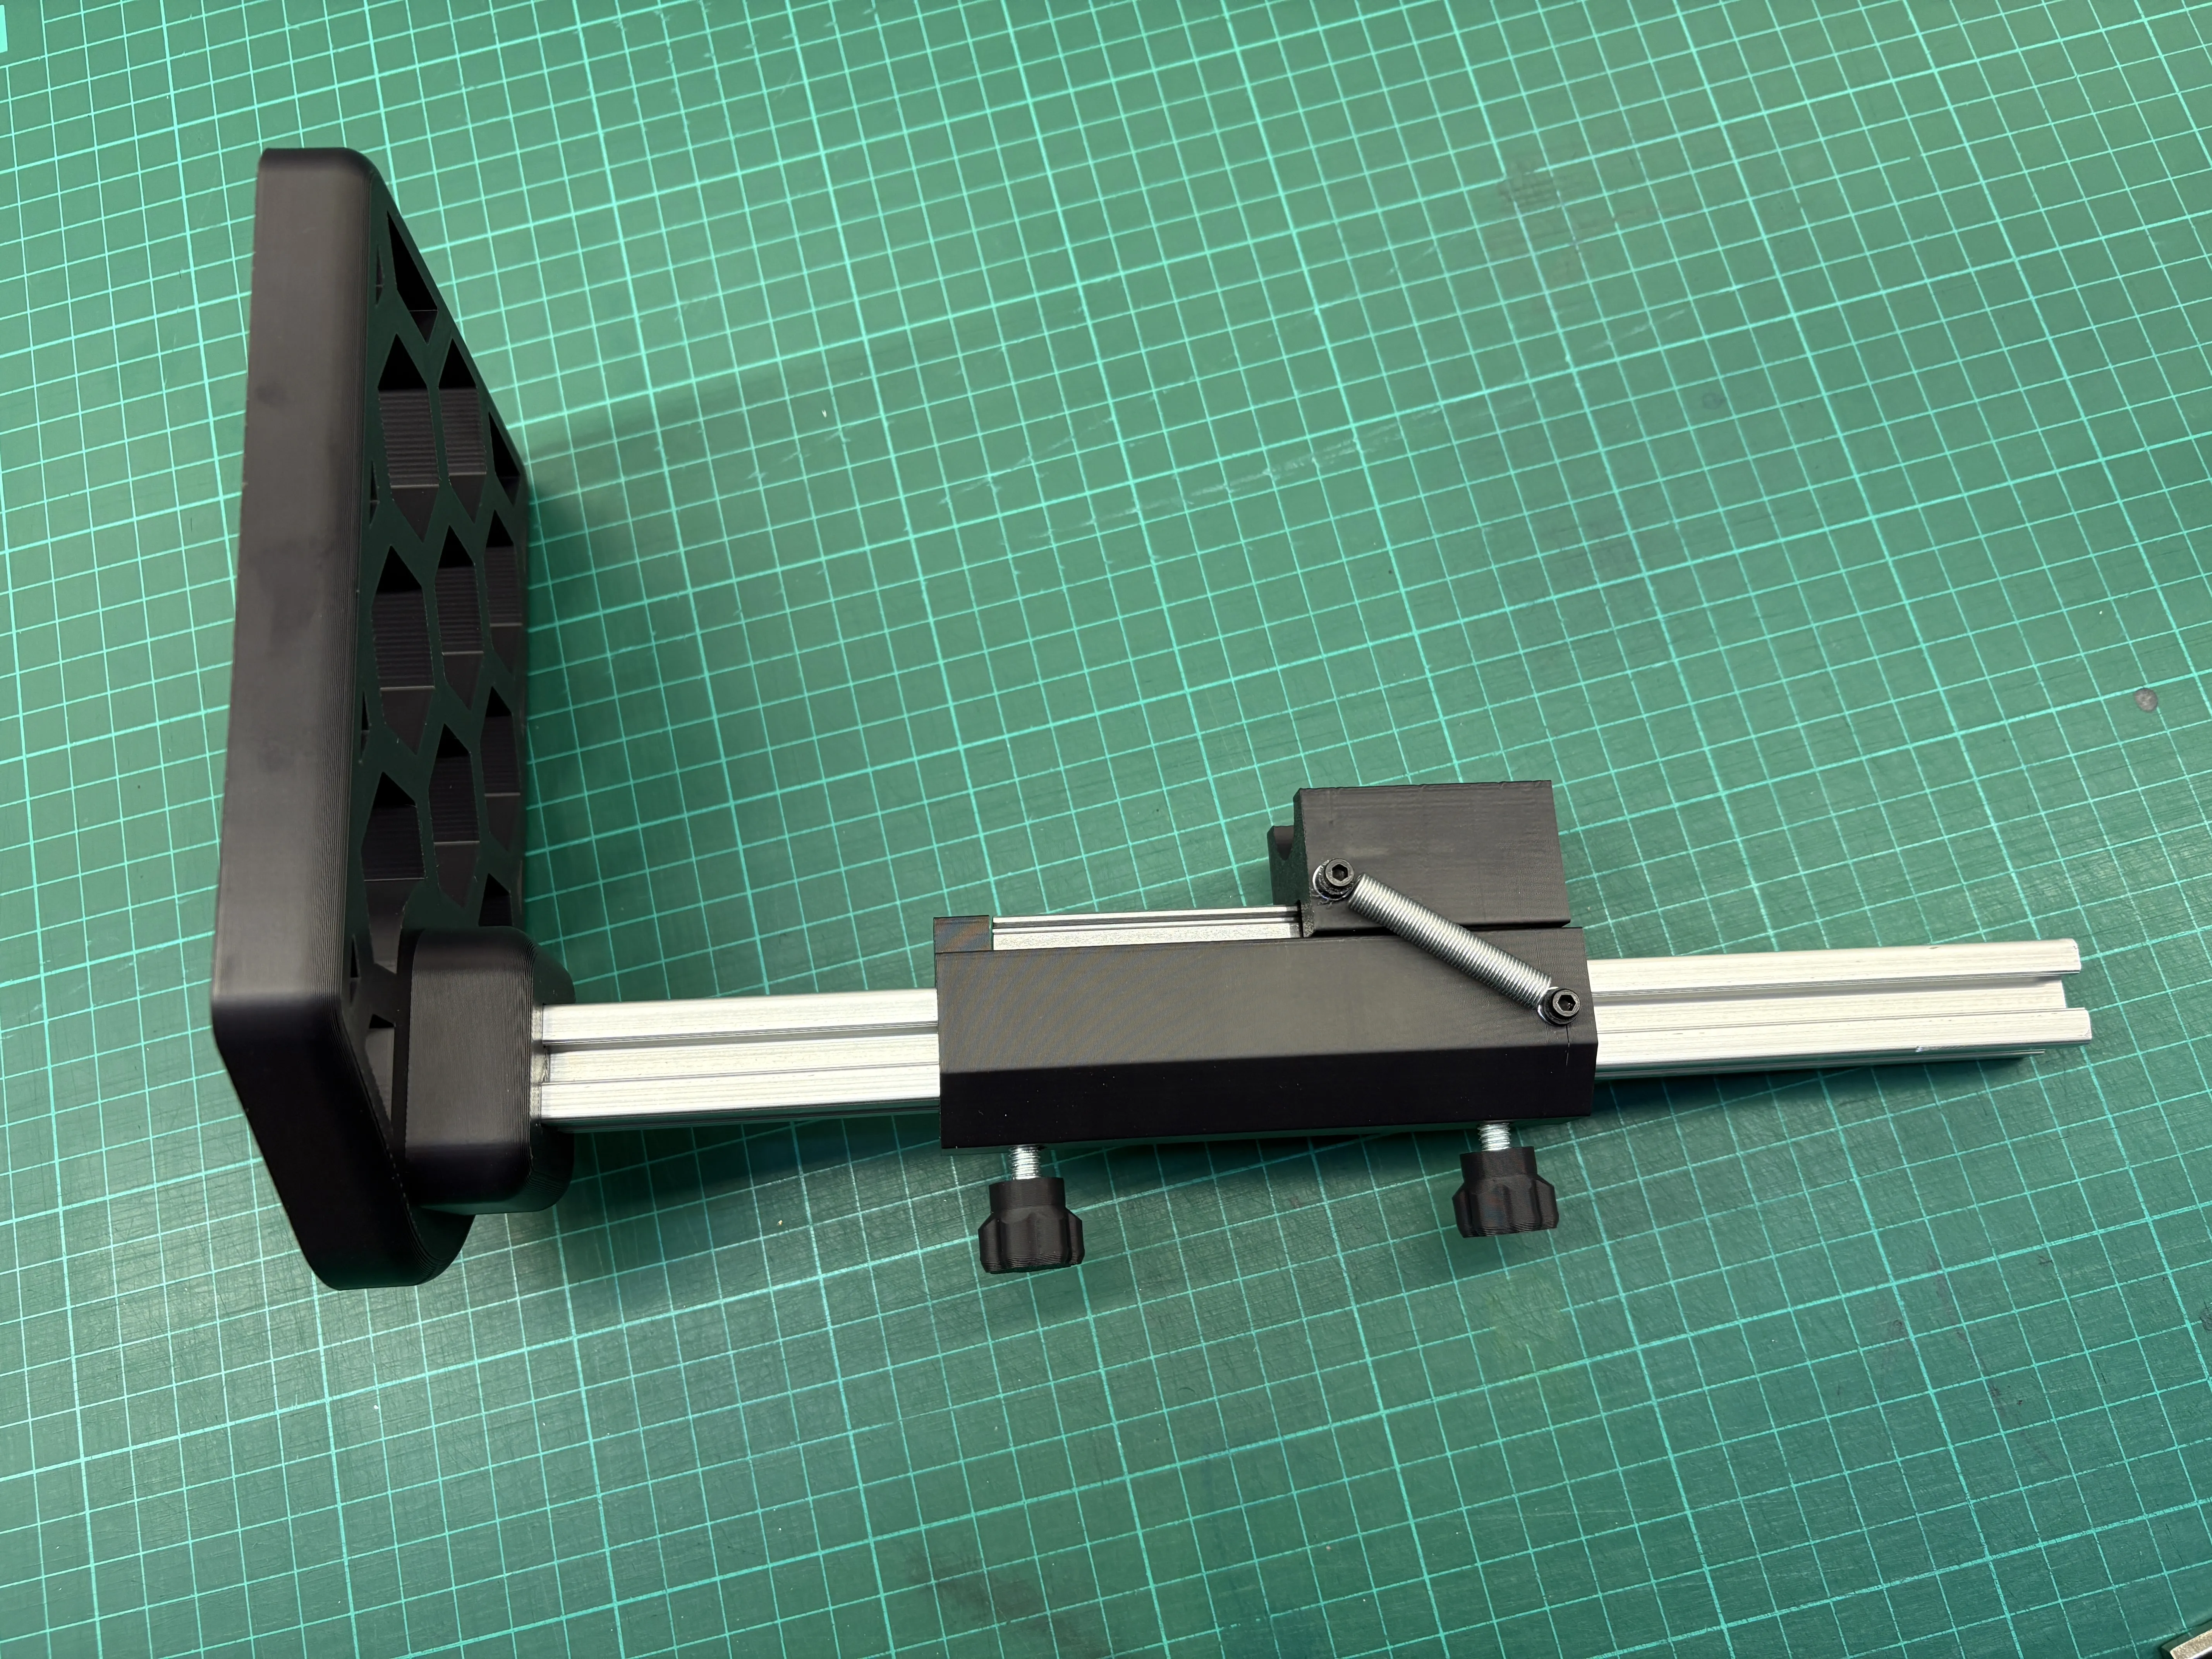
A custom-shaped carriage slides along the aluminum profile and can be locked at the desired height using two hand knobs.
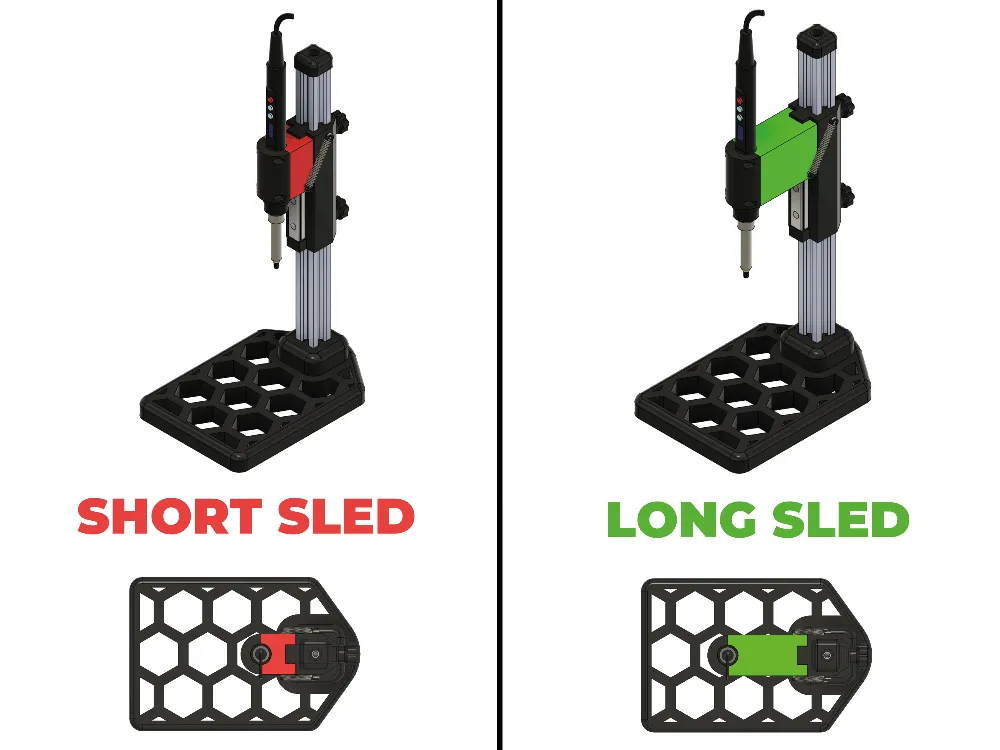
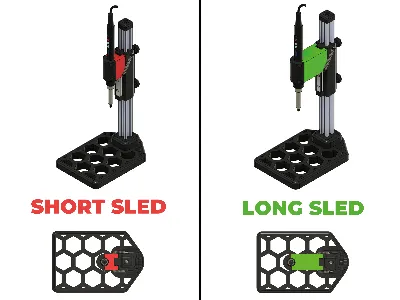
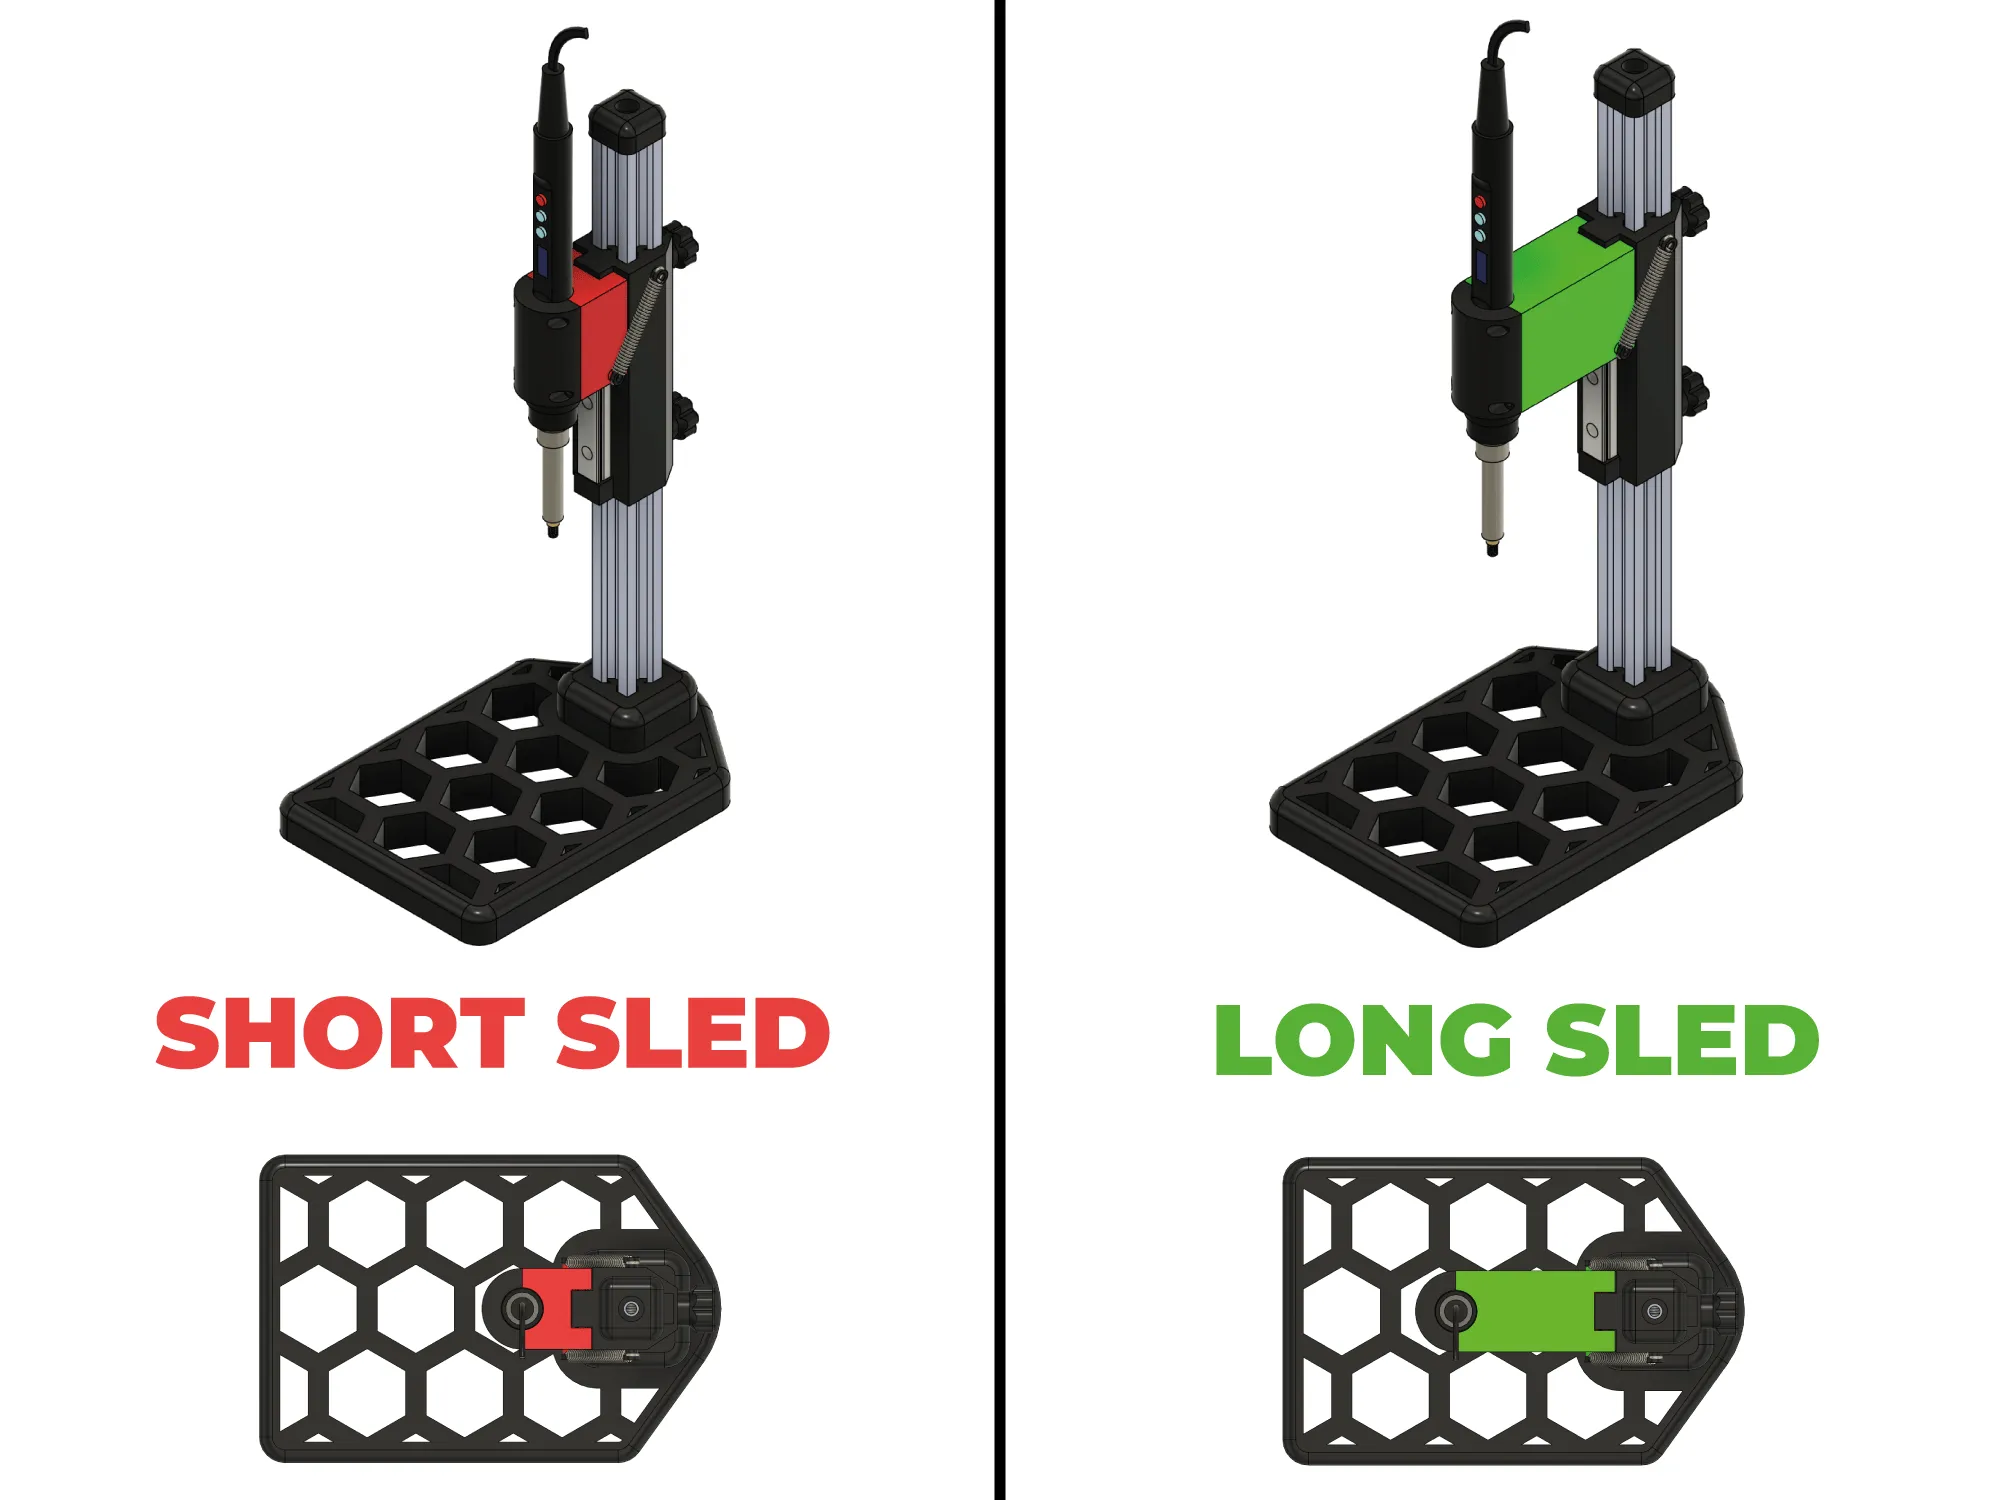
Mounted on the carriage is a linear guide, on which a sliding carriage holds the press sled. The sled is available in two versions (long and short) to suit different setups and working heights.
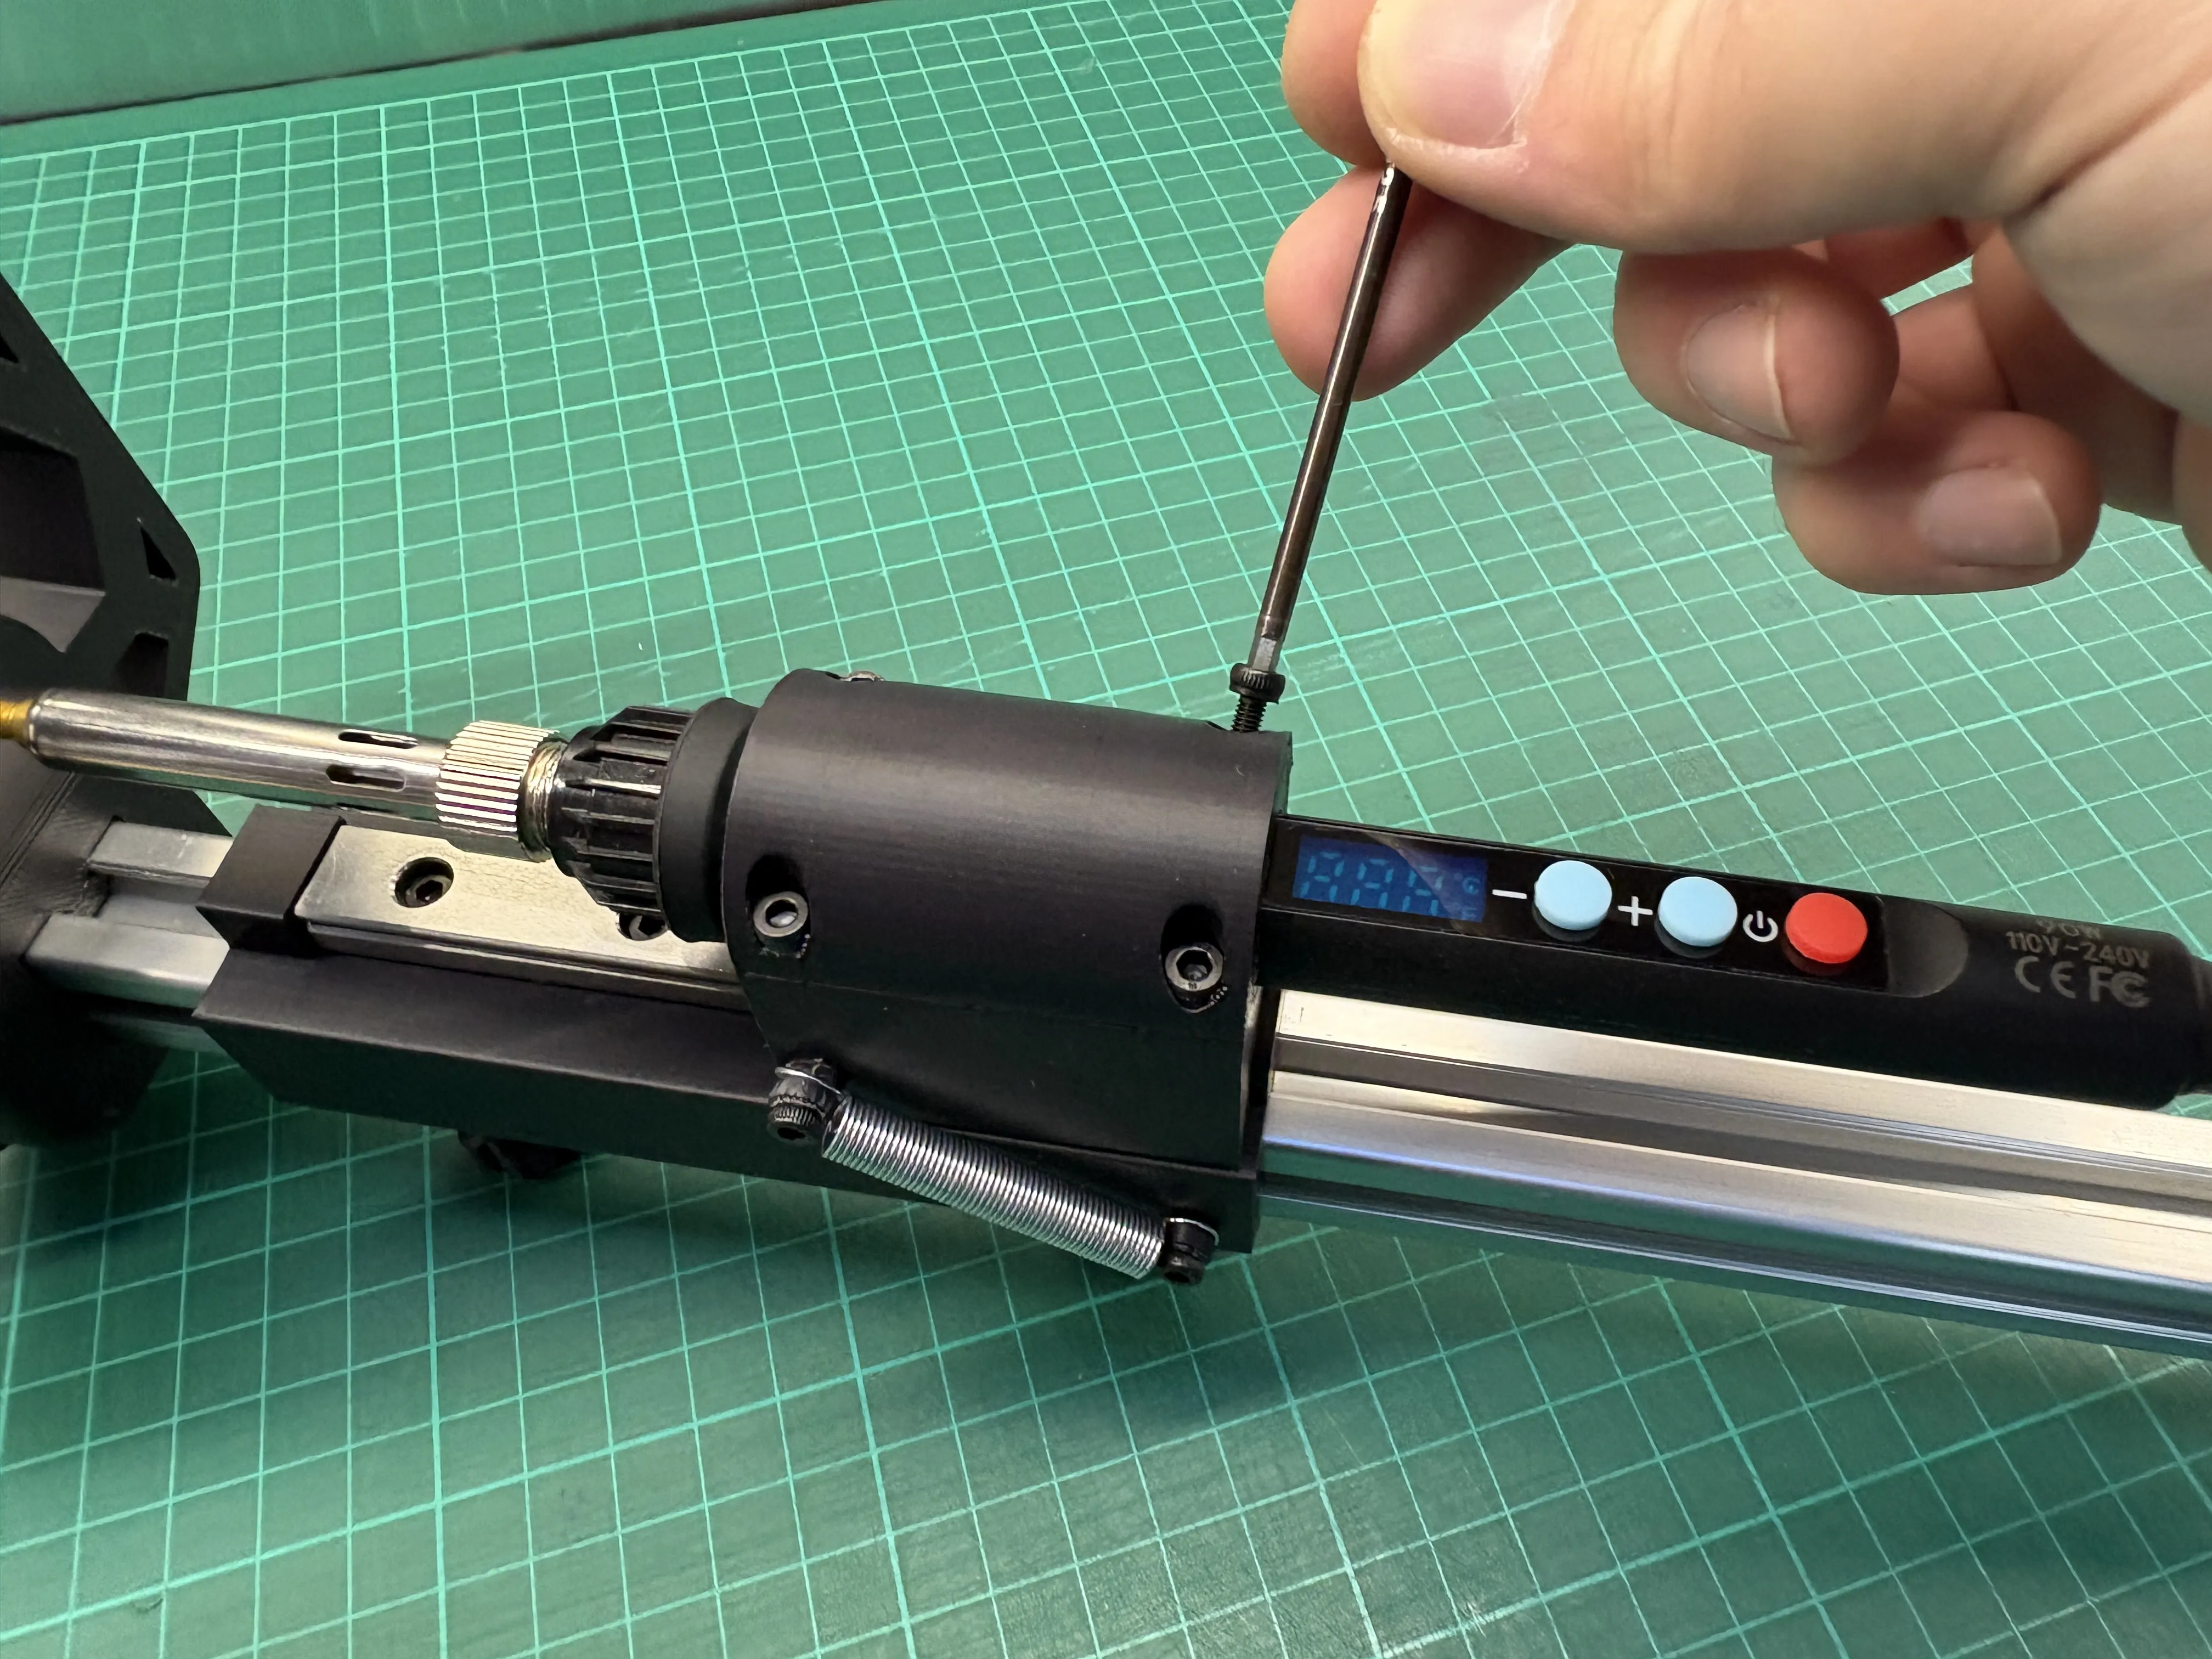
The soldering iron equipped with a dedicated heat-set insert tip is mounted directly onto the sled.
To ensure smooth operation, the sled is connected to the main carriage by two return springs, allowing it to automatically move back to its resting position after each press.
This setup provides controlled, repeatable, and accurate insertion of brass threaded inserts, making it ideal for functional 3D printed parts.
Assembly Guide – Brass Threaded Insert Press
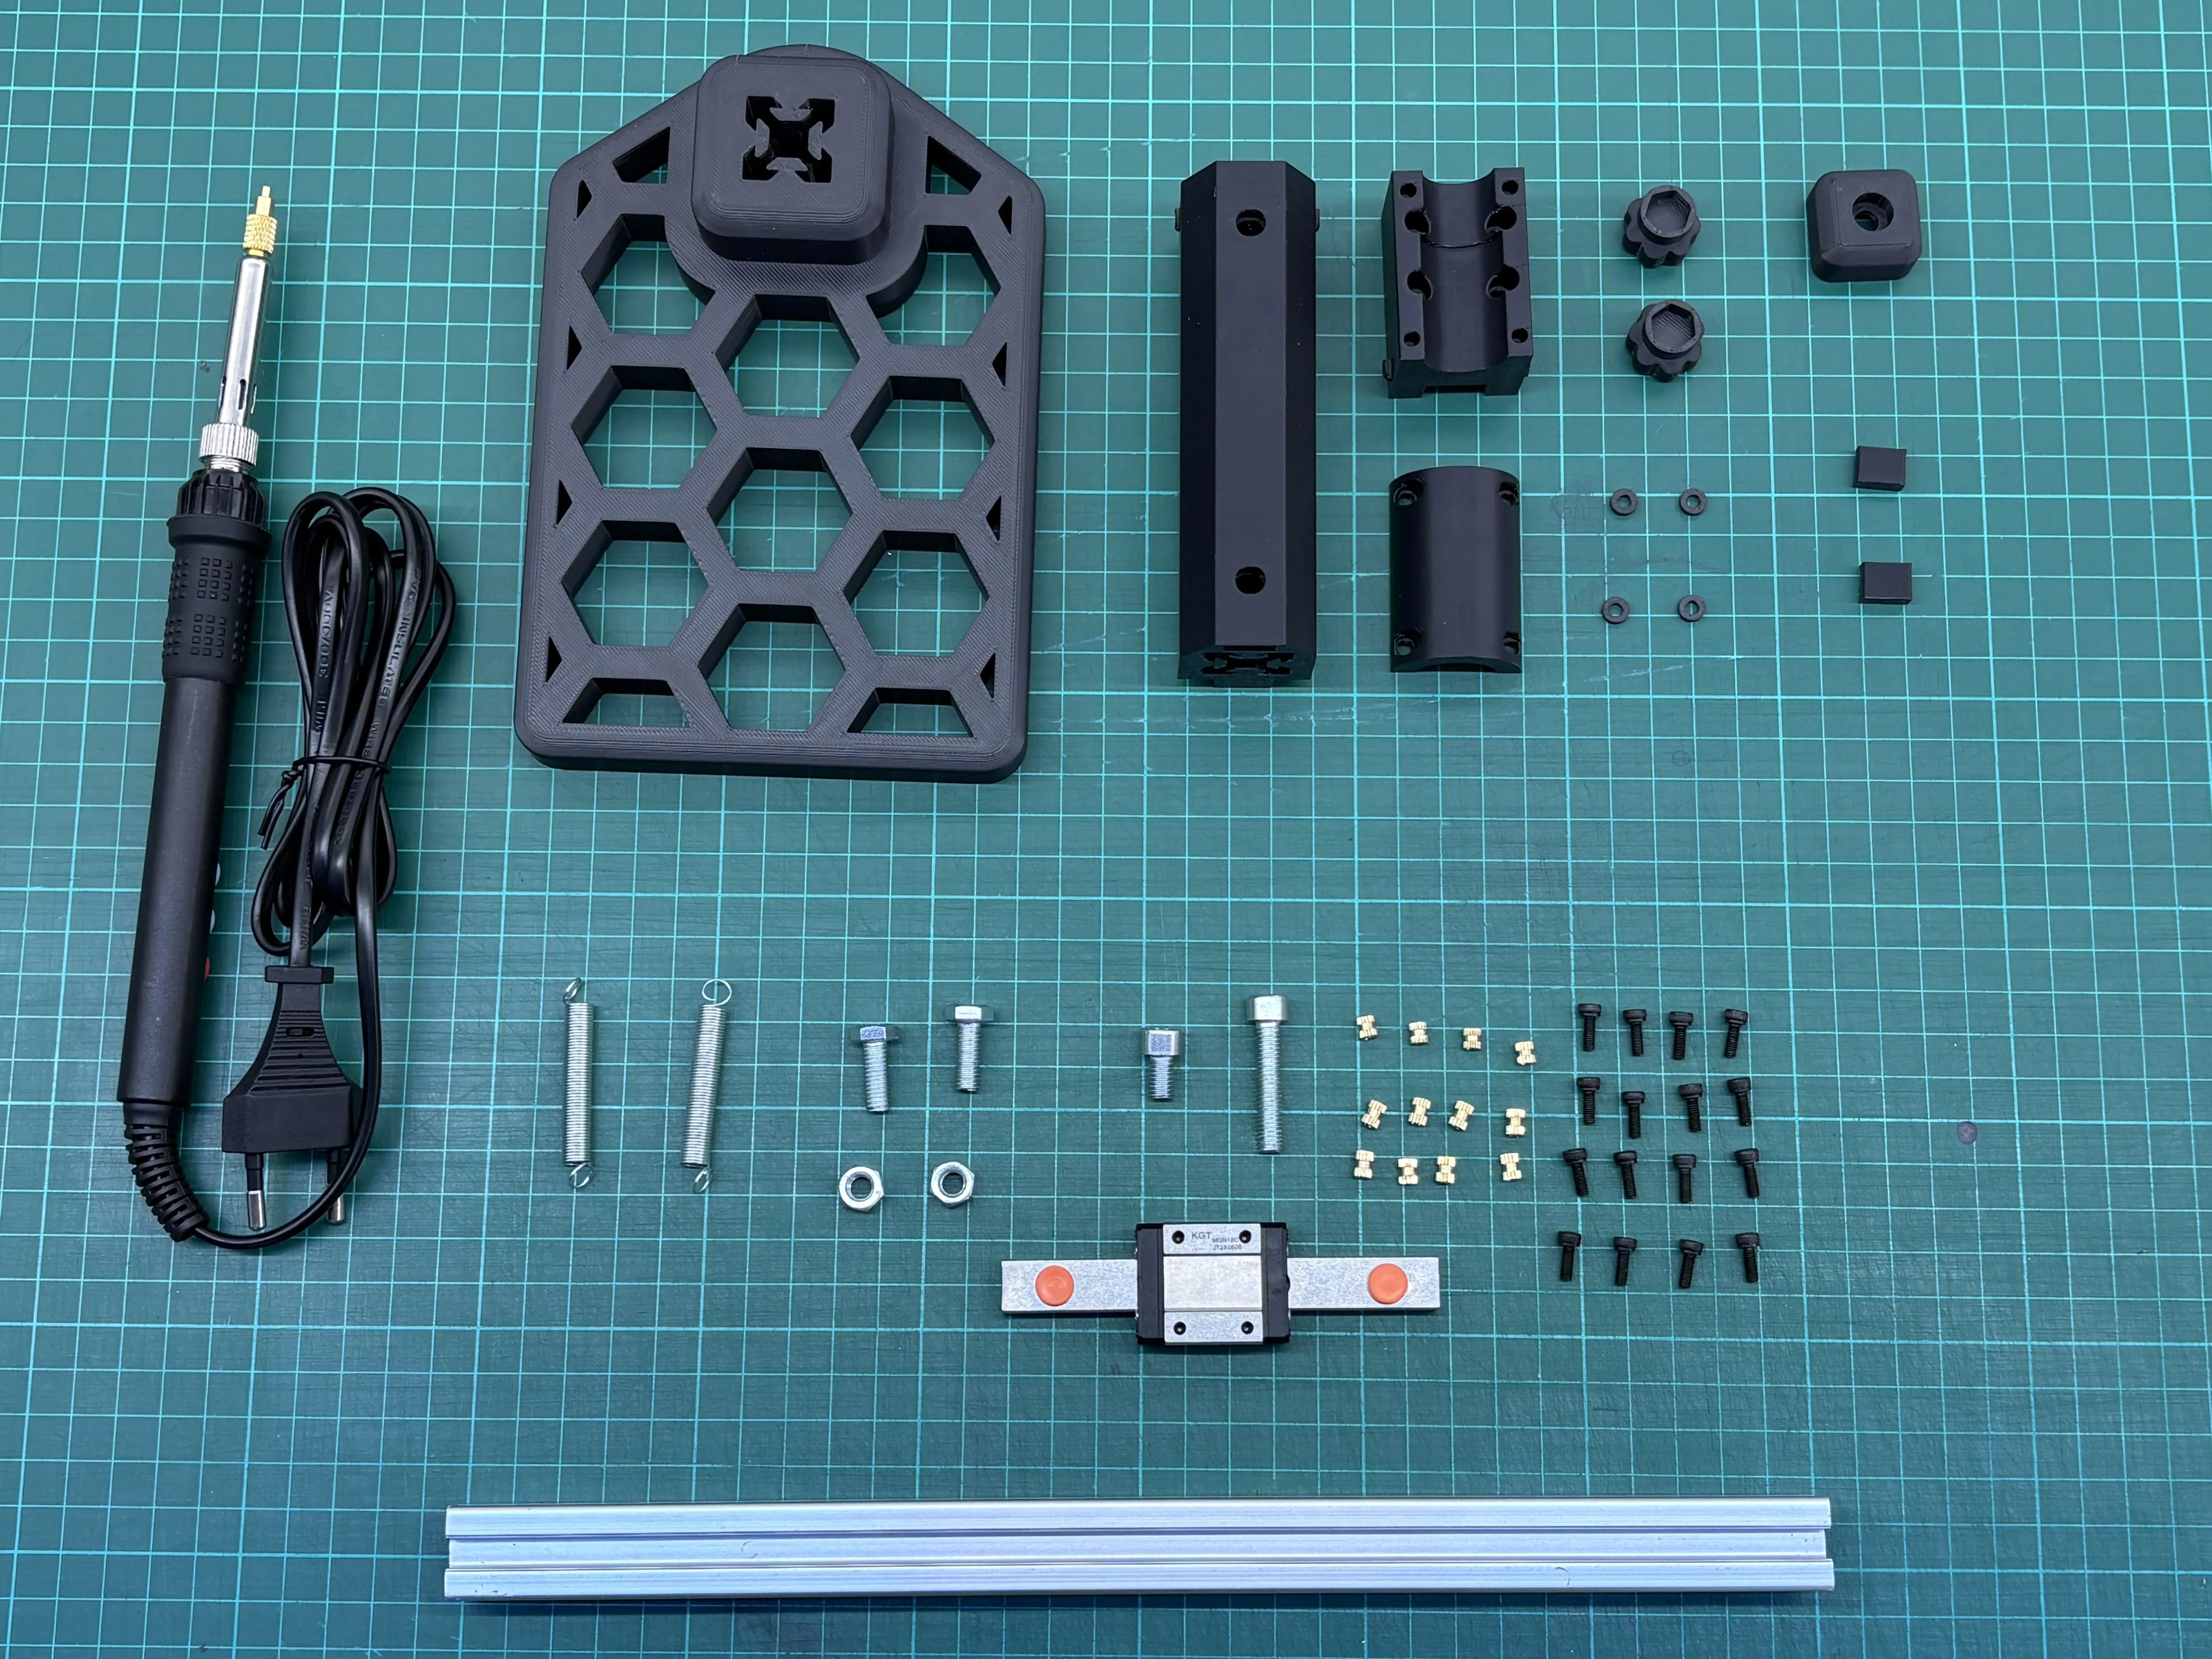
1. Parts Check
Before starting, make sure all printed parts, hardware, inserts, springs, and the aluminum 2020 profile are present.
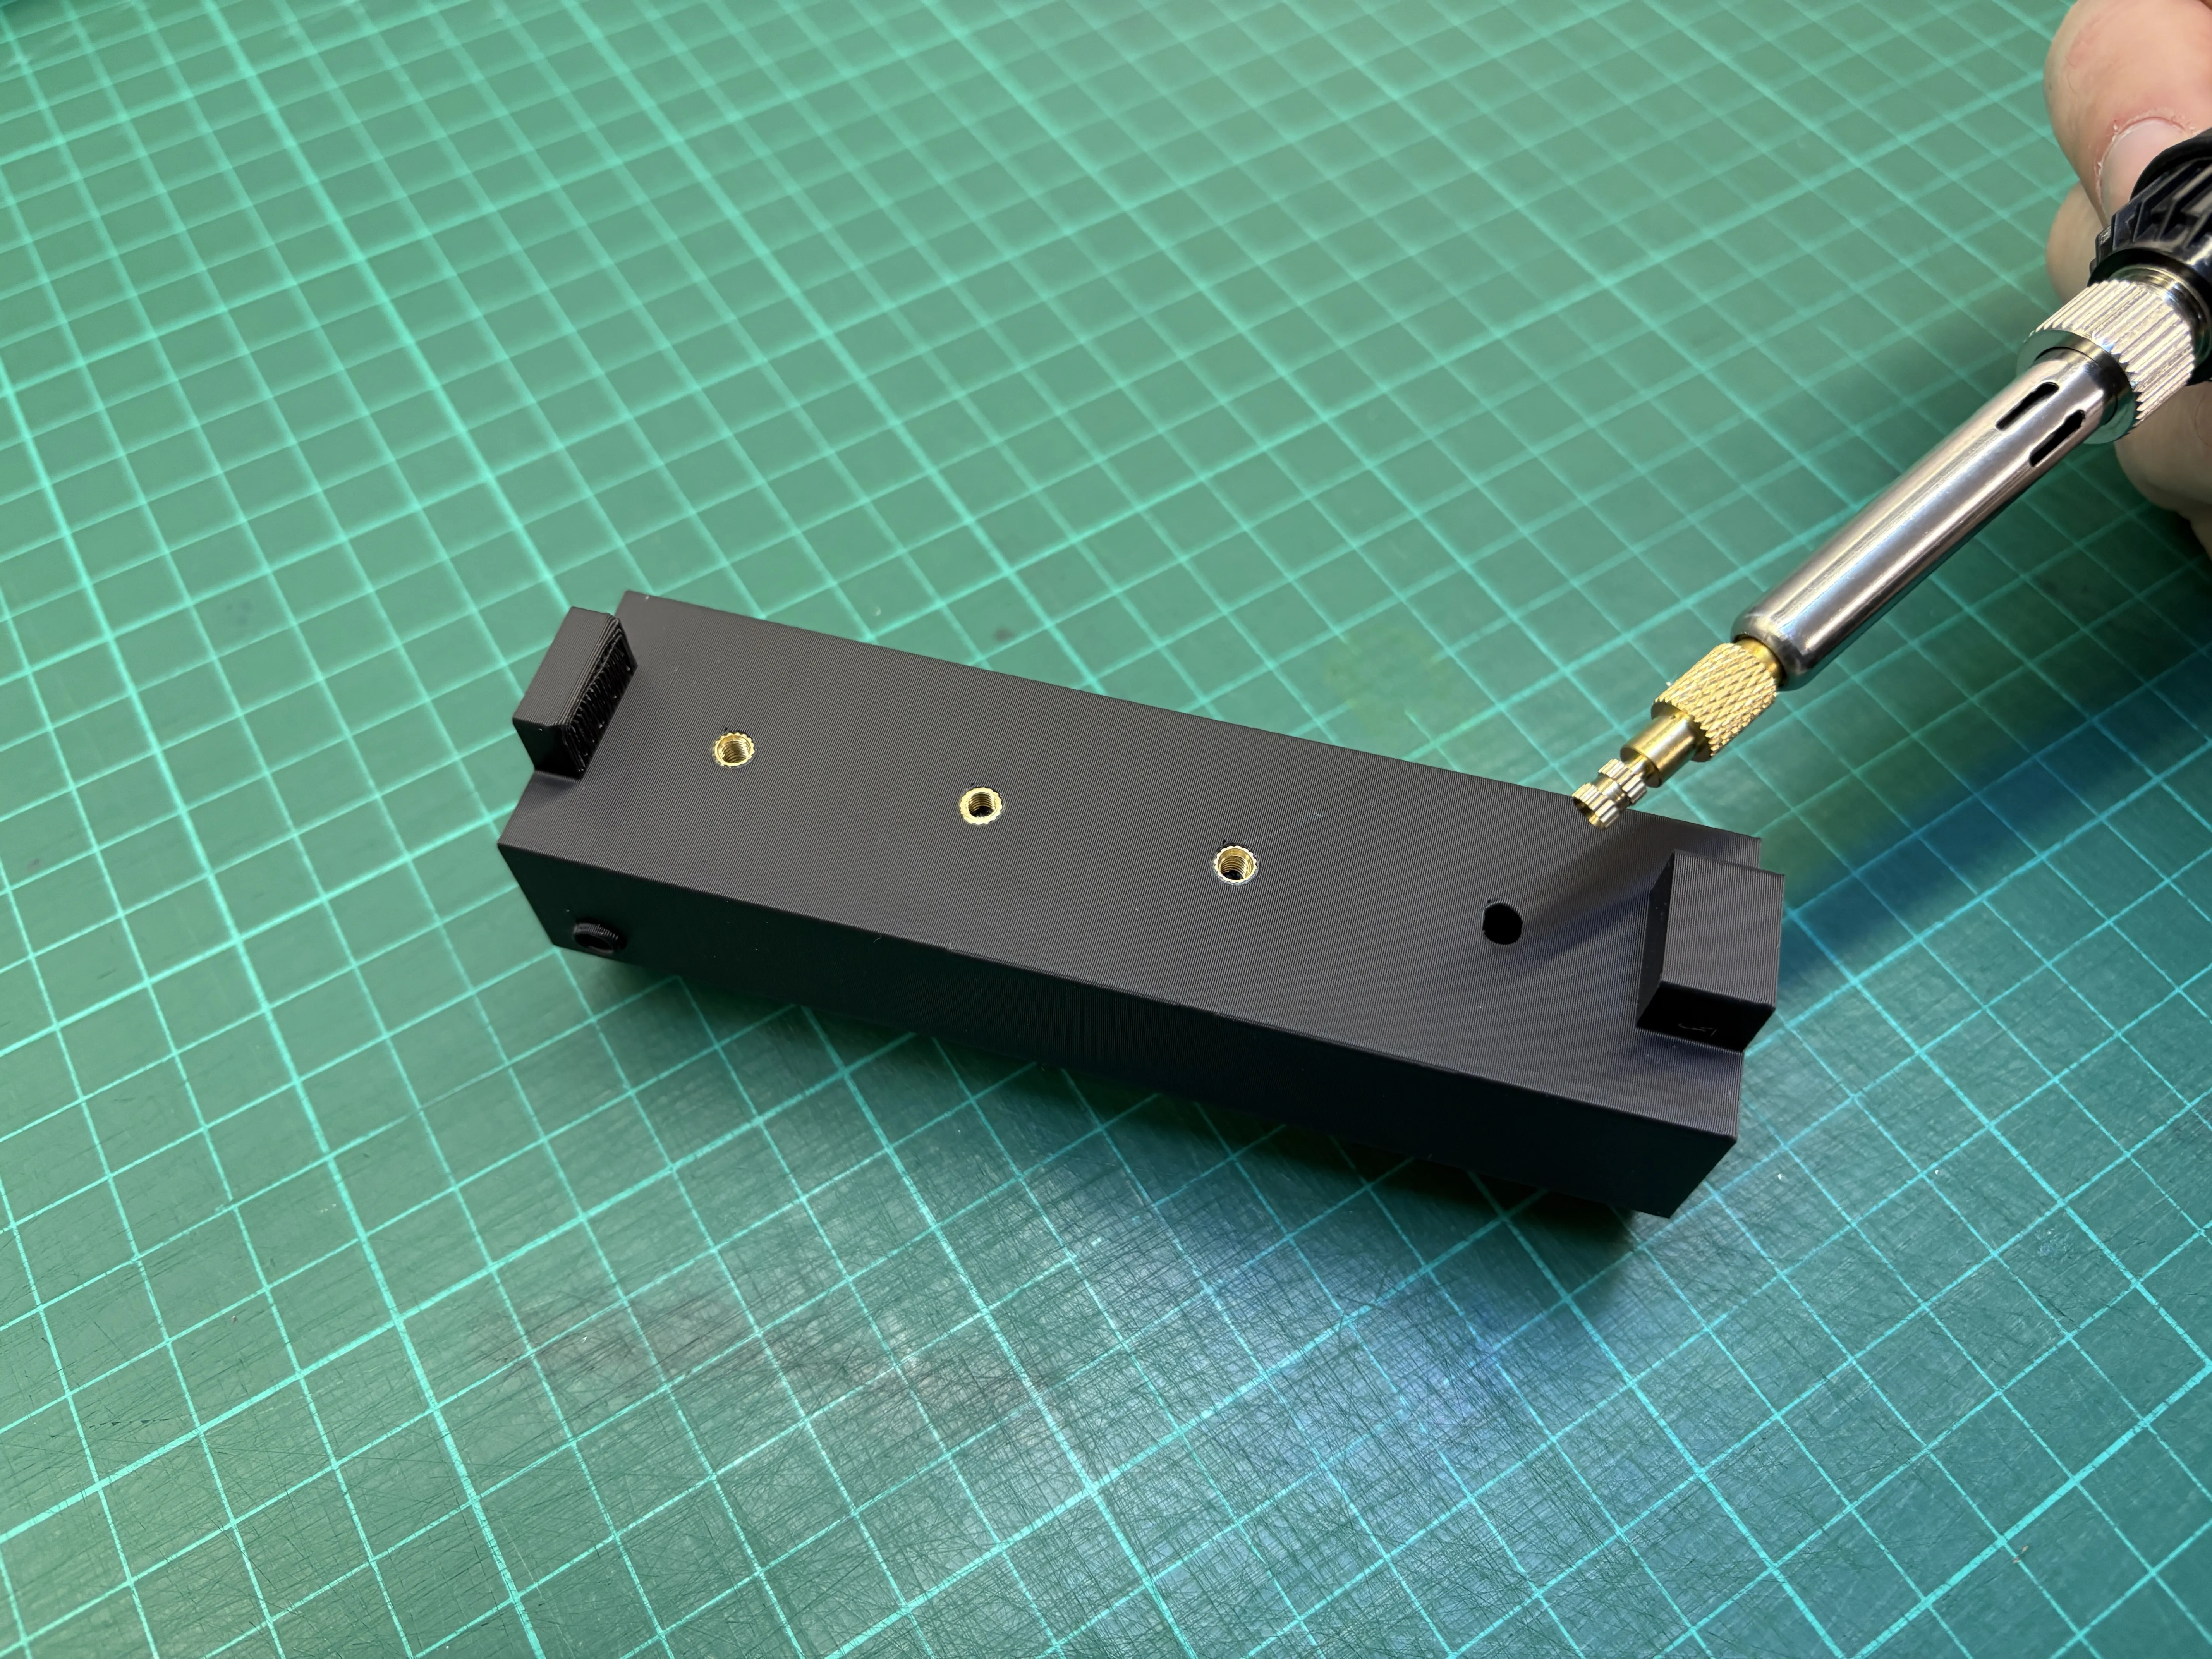
2. Heat-Set Inserts on the Housing (Linear Guide)
Insert 4× M3x5x4.2 brass threaded inserts into the housing using a soldering iron.
These inserts will be used to mount the linear guide.
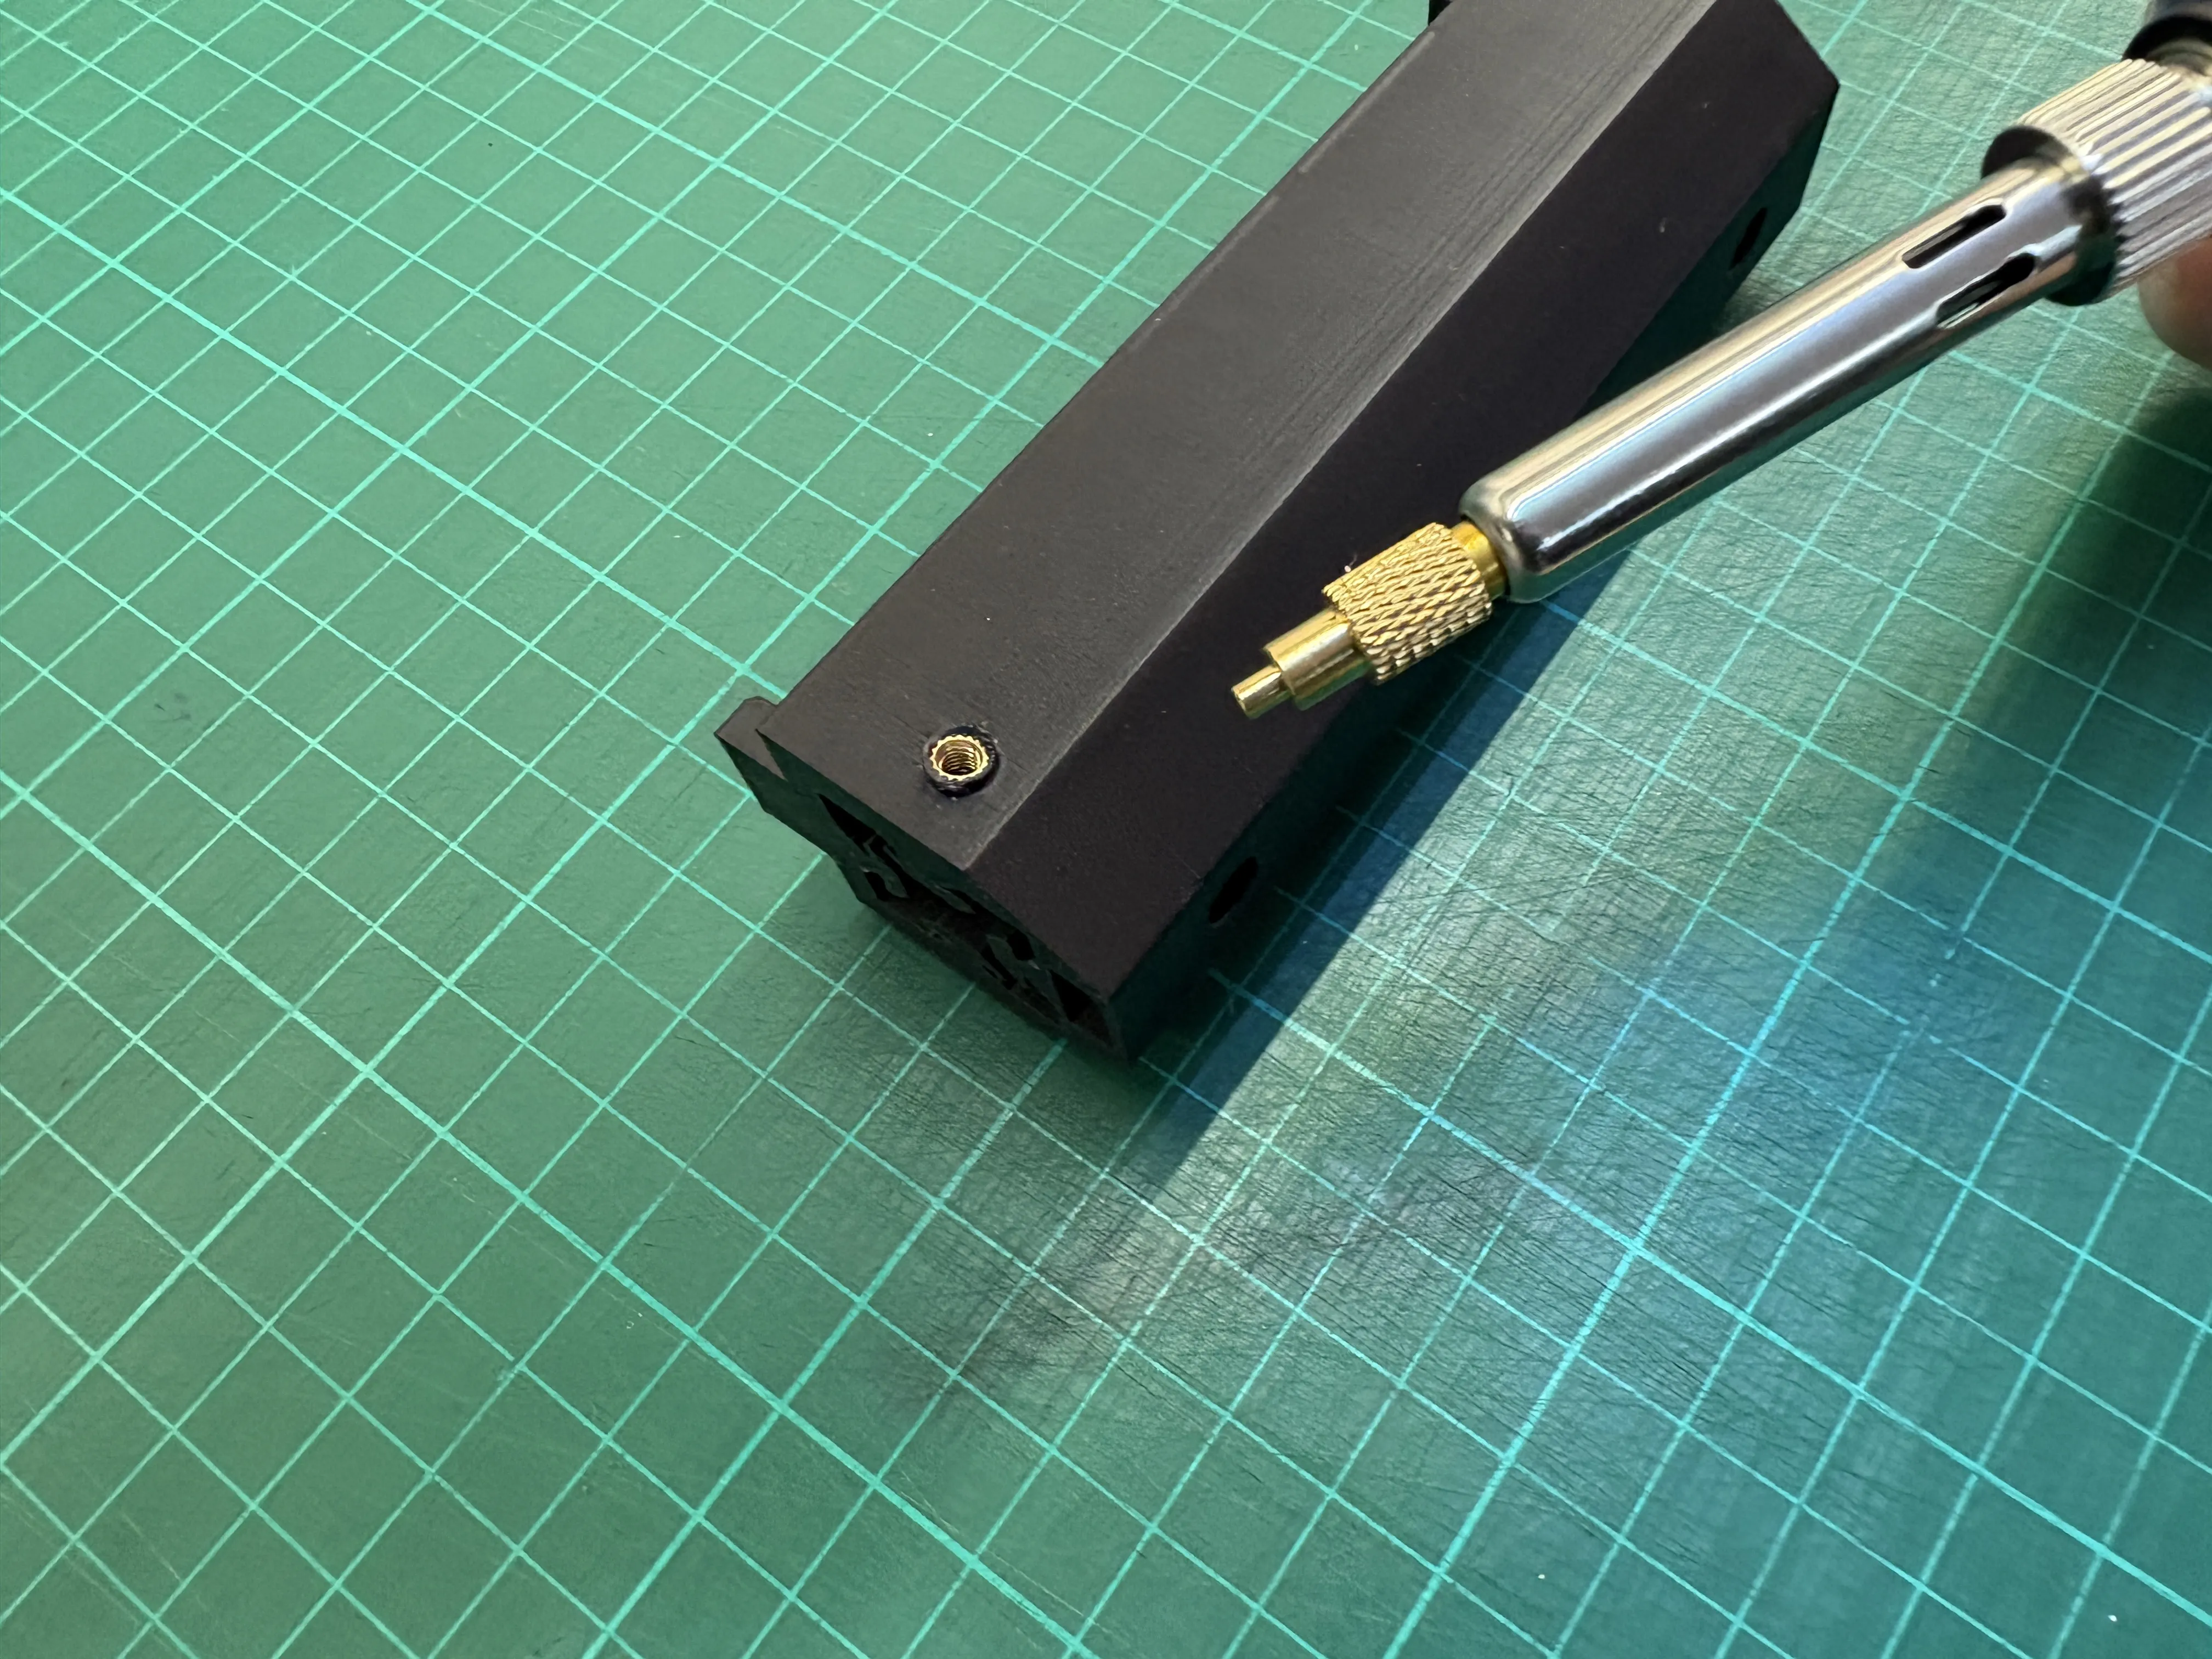
3. Heat-Set Inserts on the Housing (Springs)
On both sides of the housing, insert 2× M3x6x4.2 brass threaded inserts using a soldering iron.
These inserts are used to fix the return springs.
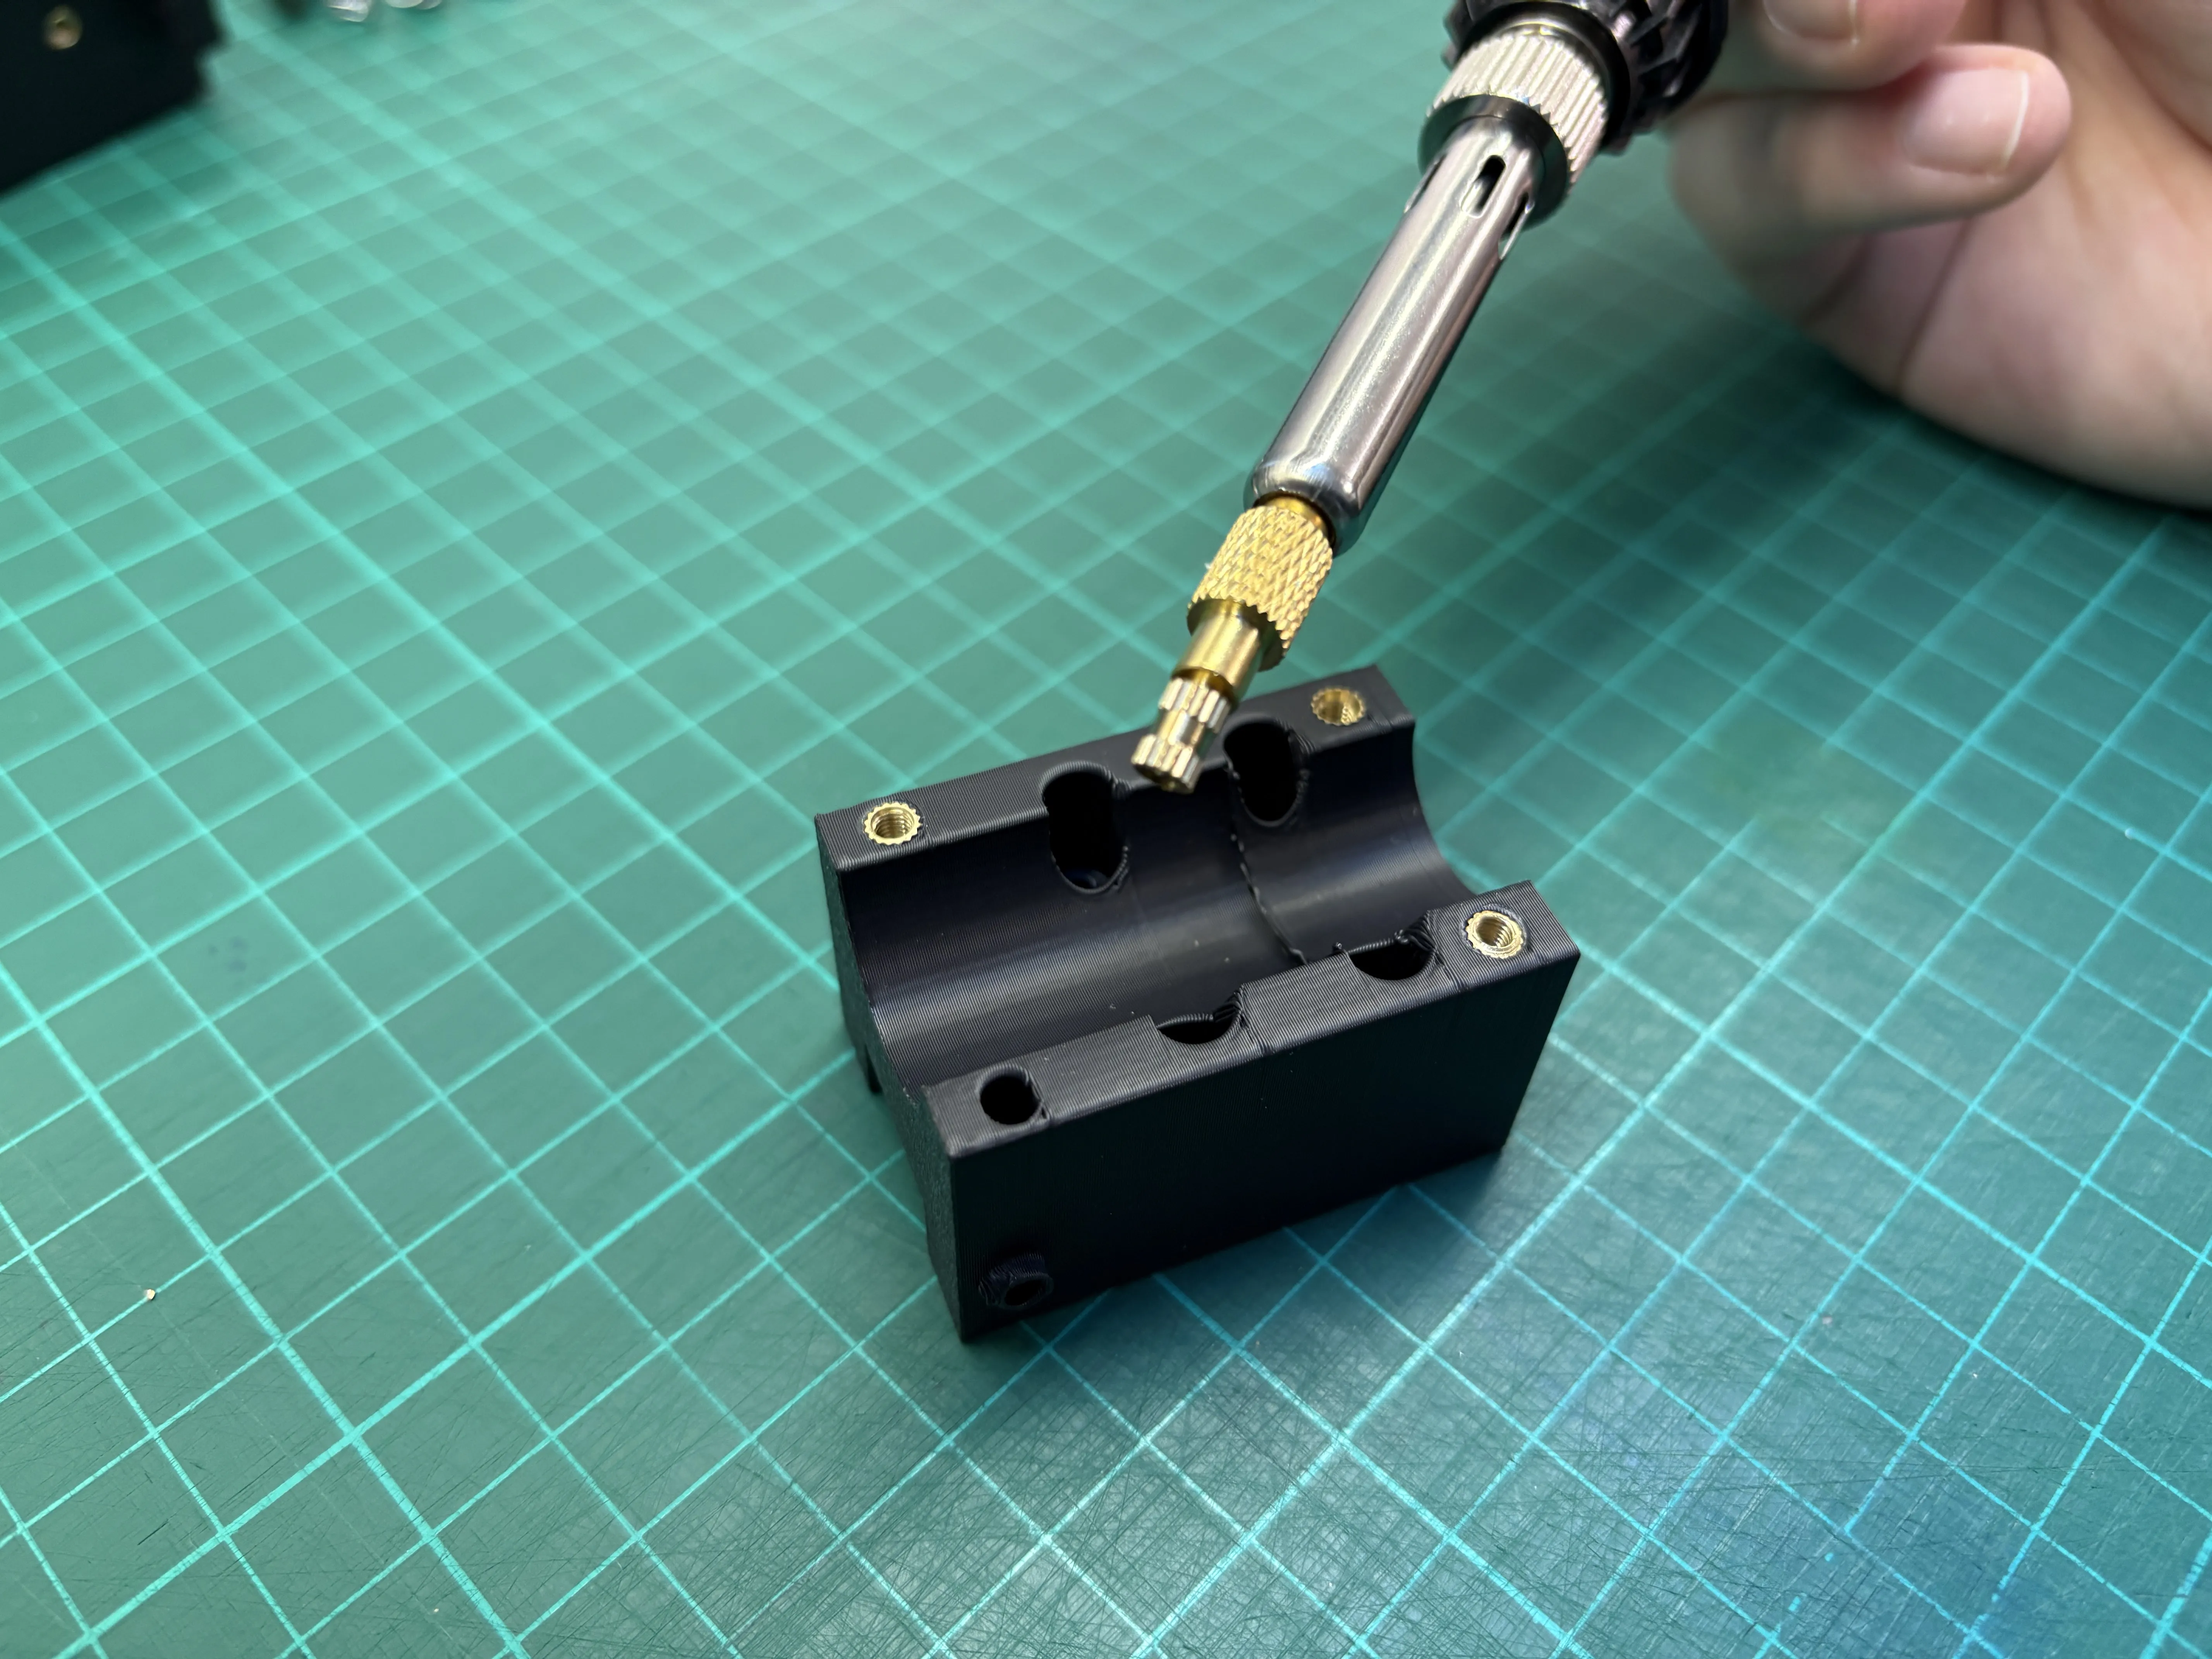
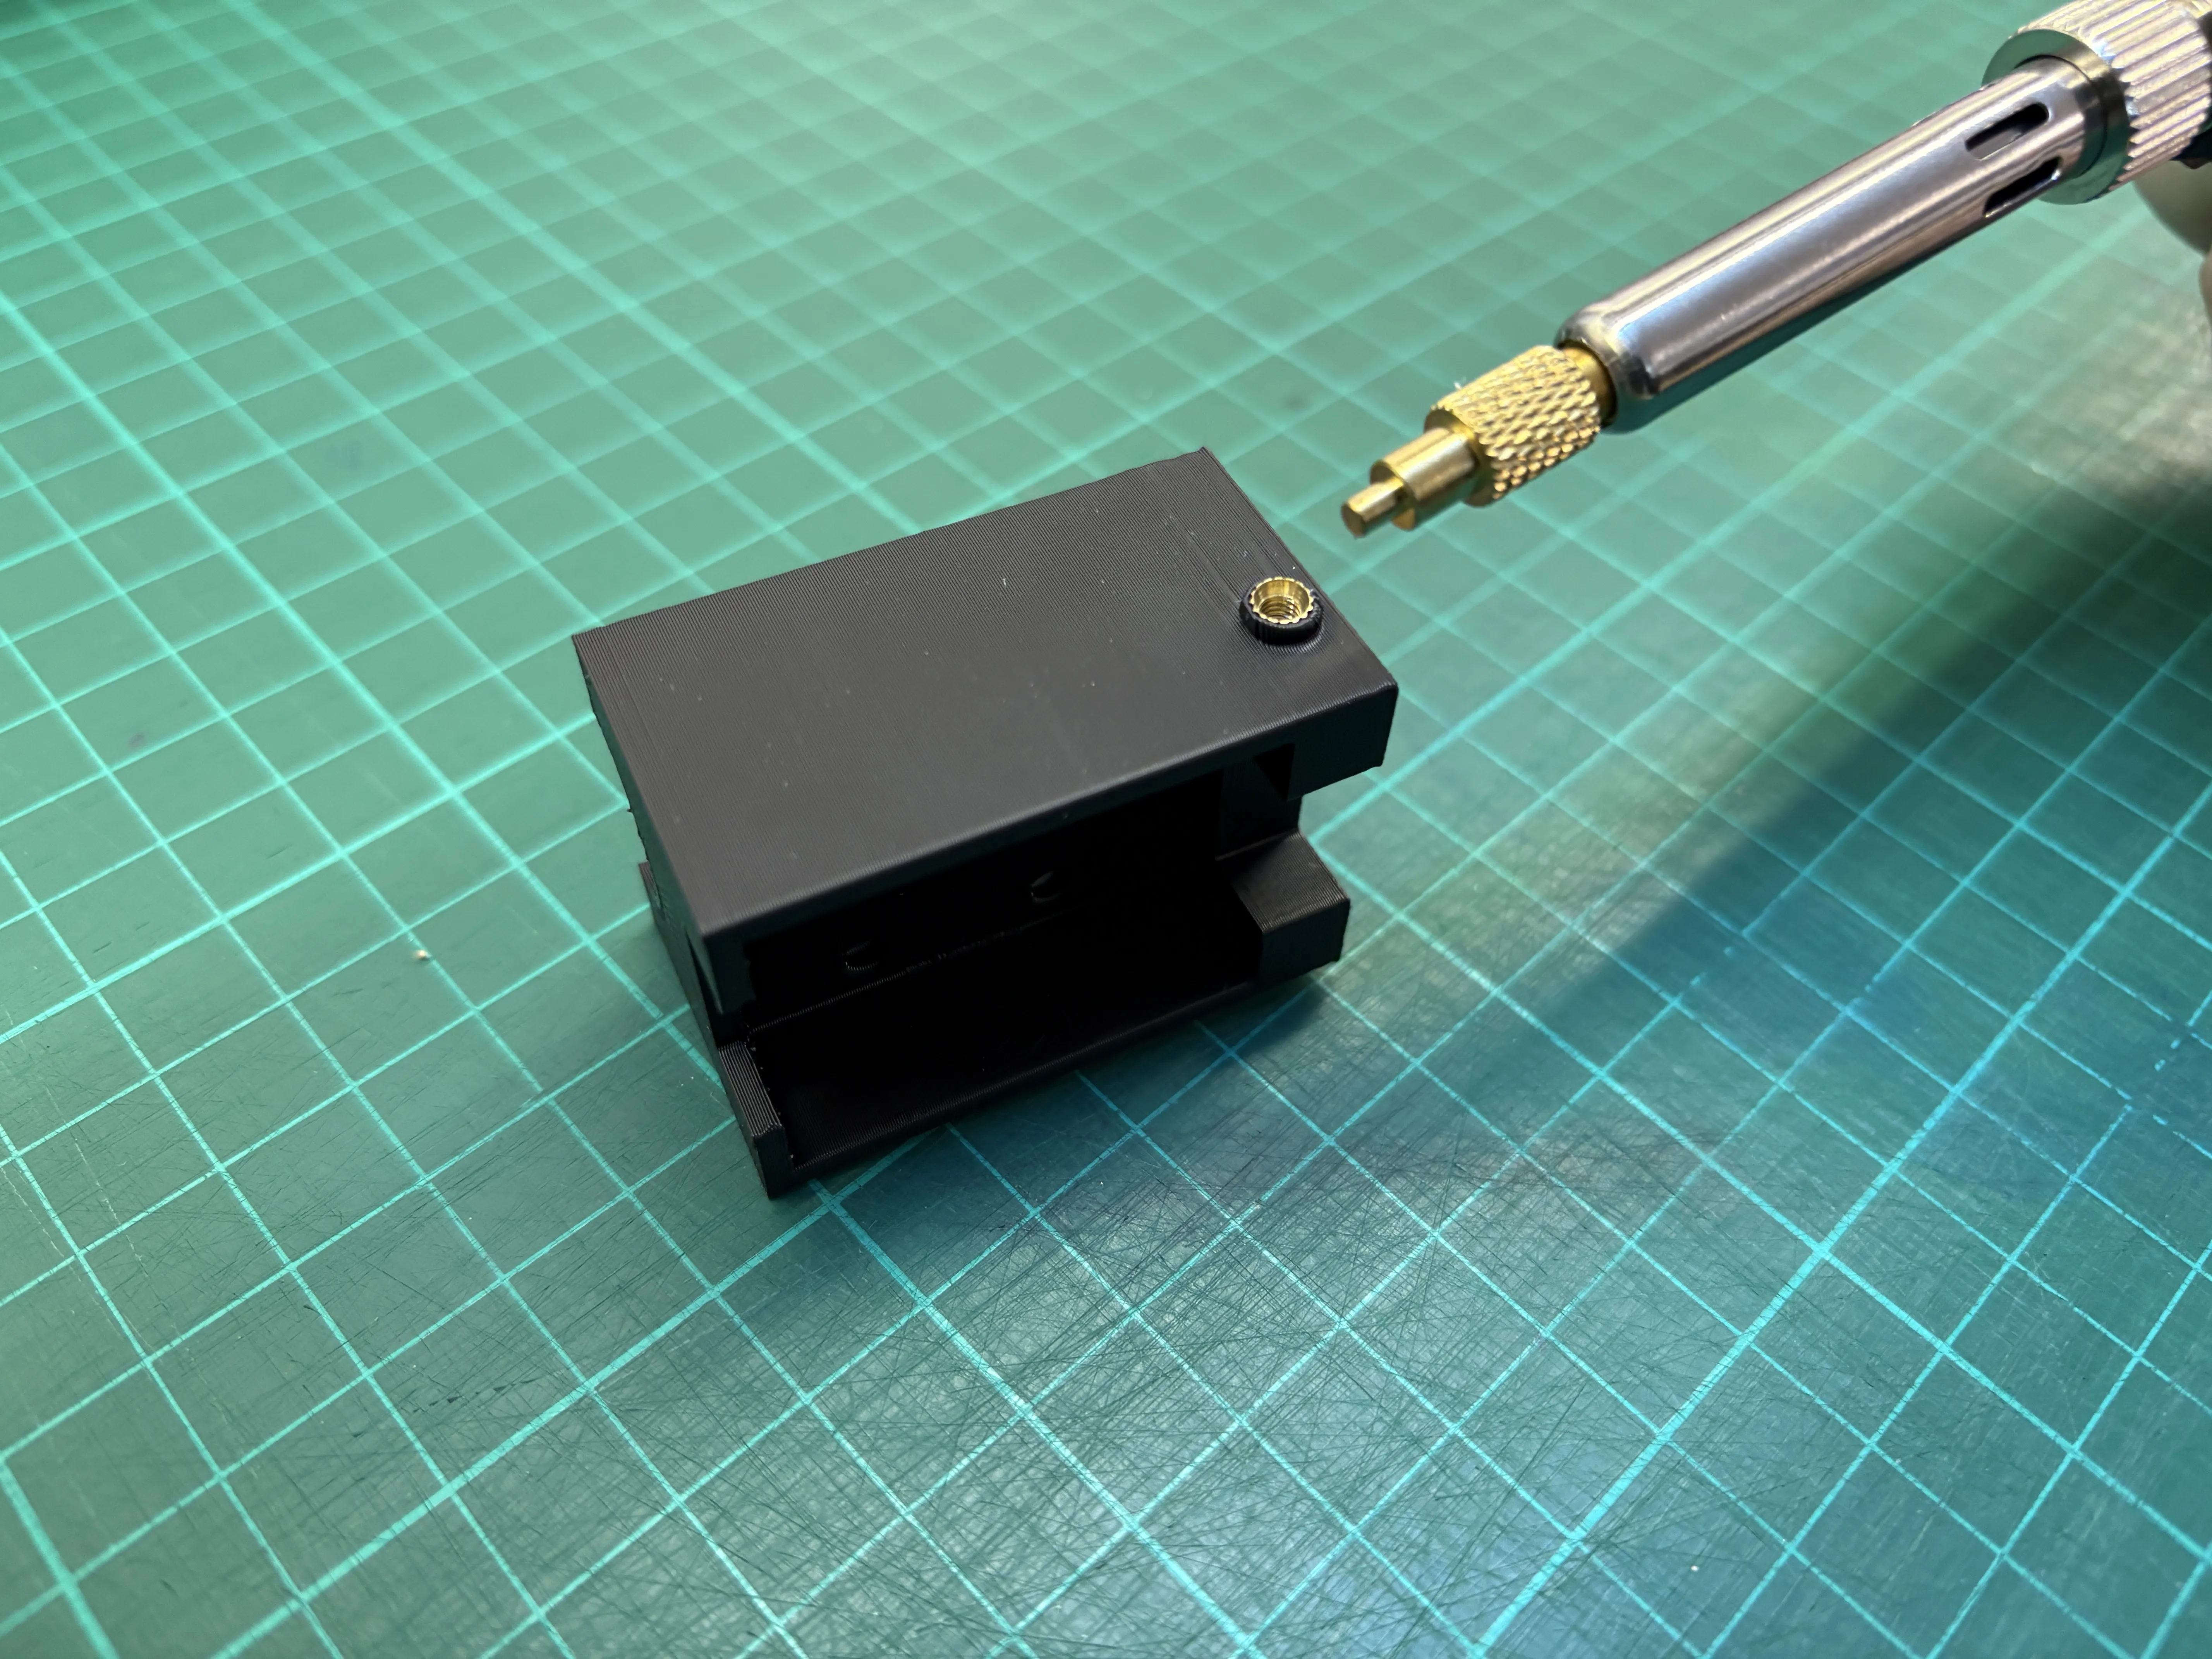
4. Heat-Set Inserts on the Sled
On the sled:
- Insert 4× M3x6x4.2 brass threaded inserts on the front side
- Insert 2× M3x6x4.2 brass threaded inserts on the side
Use a soldering iron for all inserts.
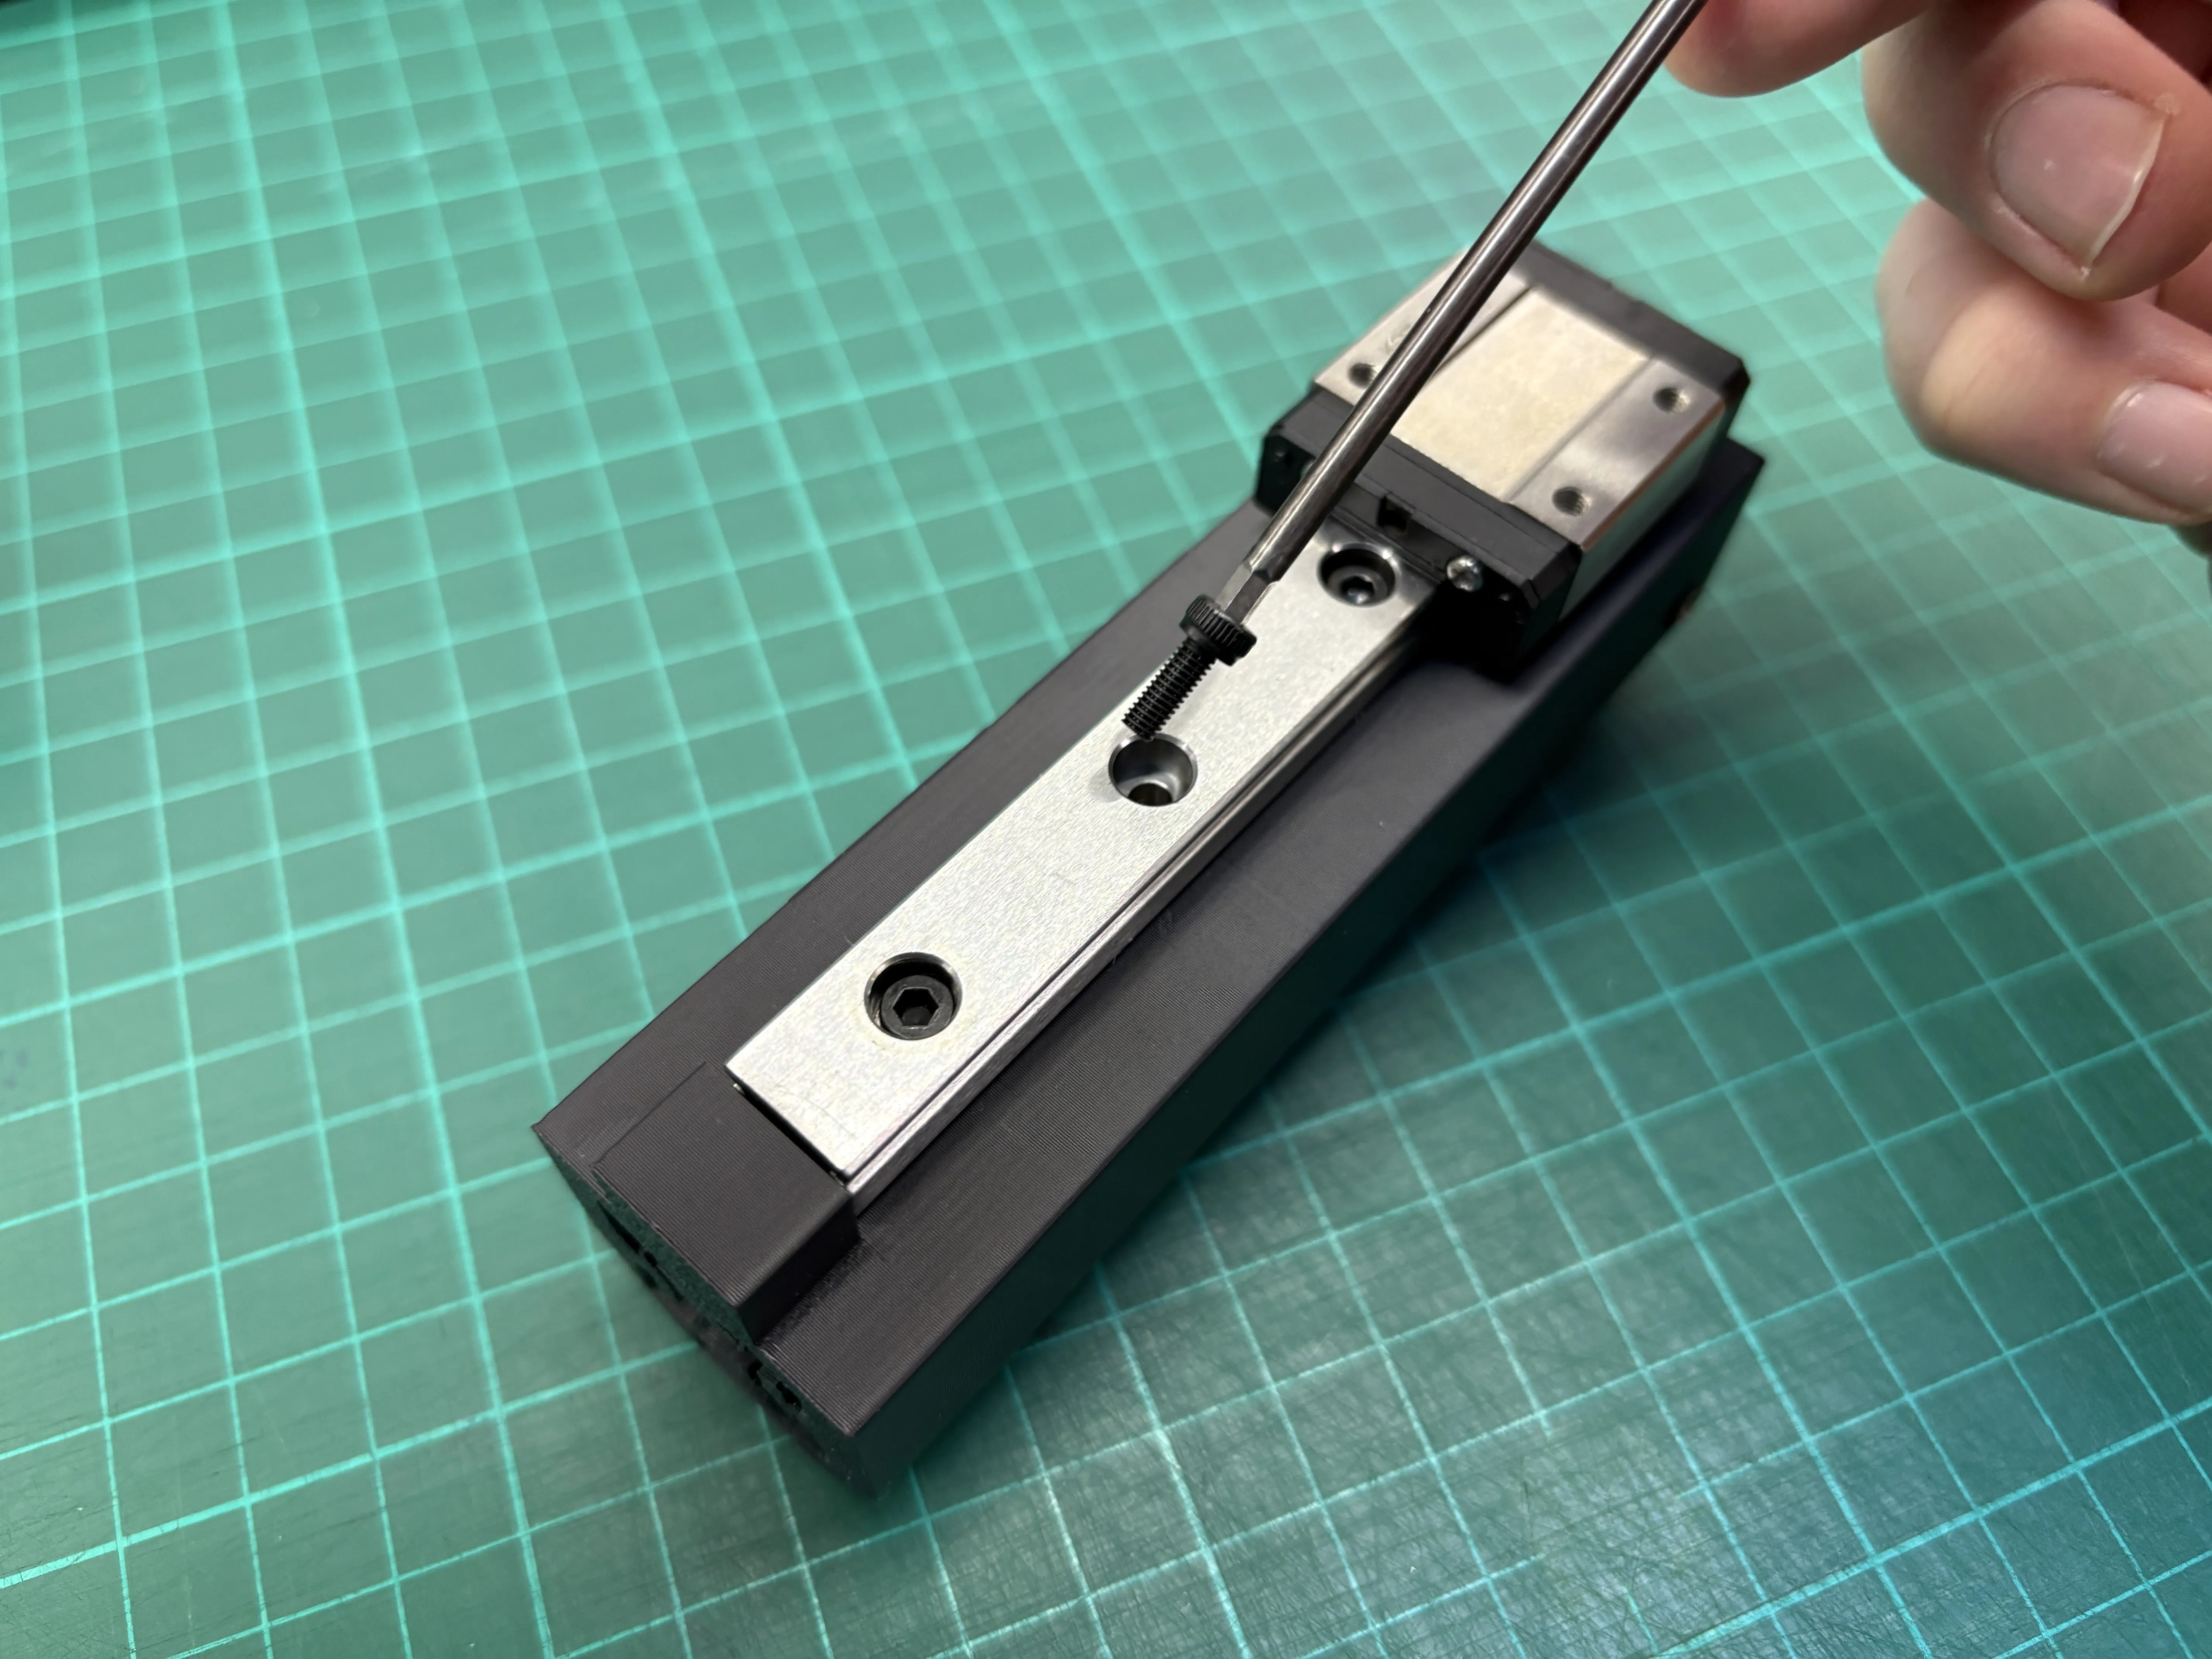
5. Mount the Linear Guide
Fix the linear guide to the housing using 4× M3x8 screws.
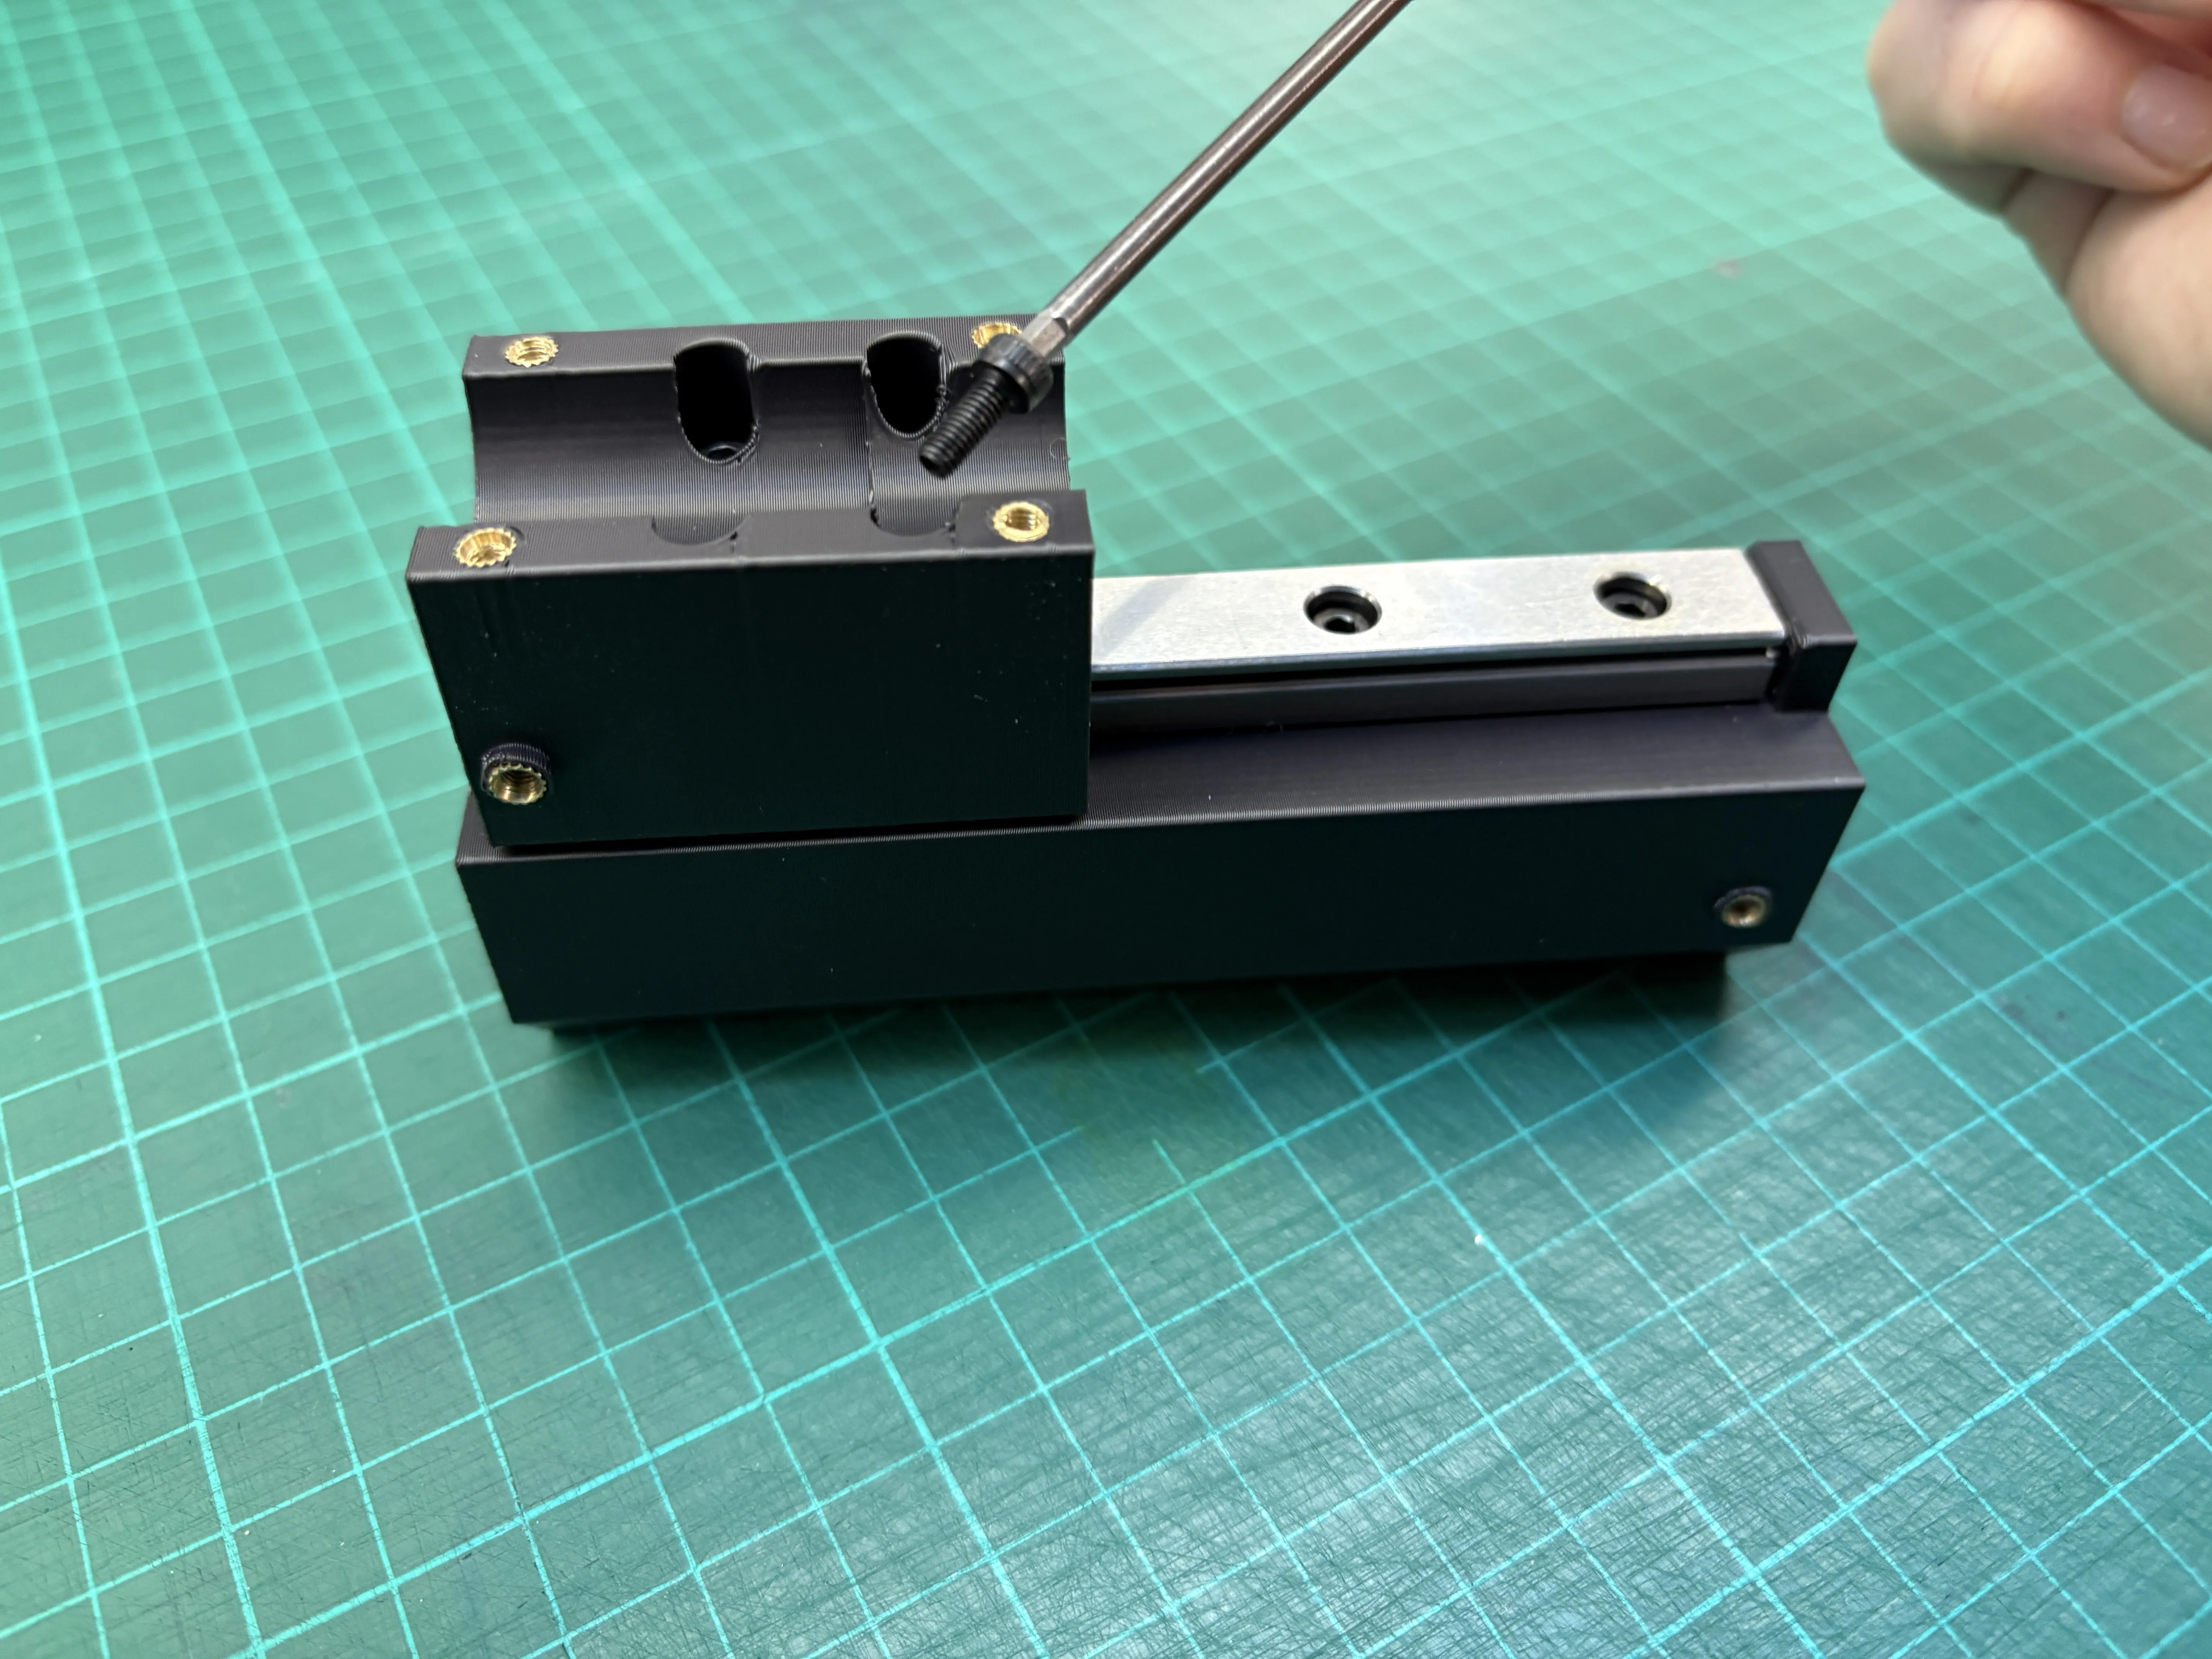
6. Mount the Sled on the Linear Carriage
Attach the sled to the linear guide carriage using 4× M3x8 screws.
⚠️ Make sure the orientation matches the reference photos.
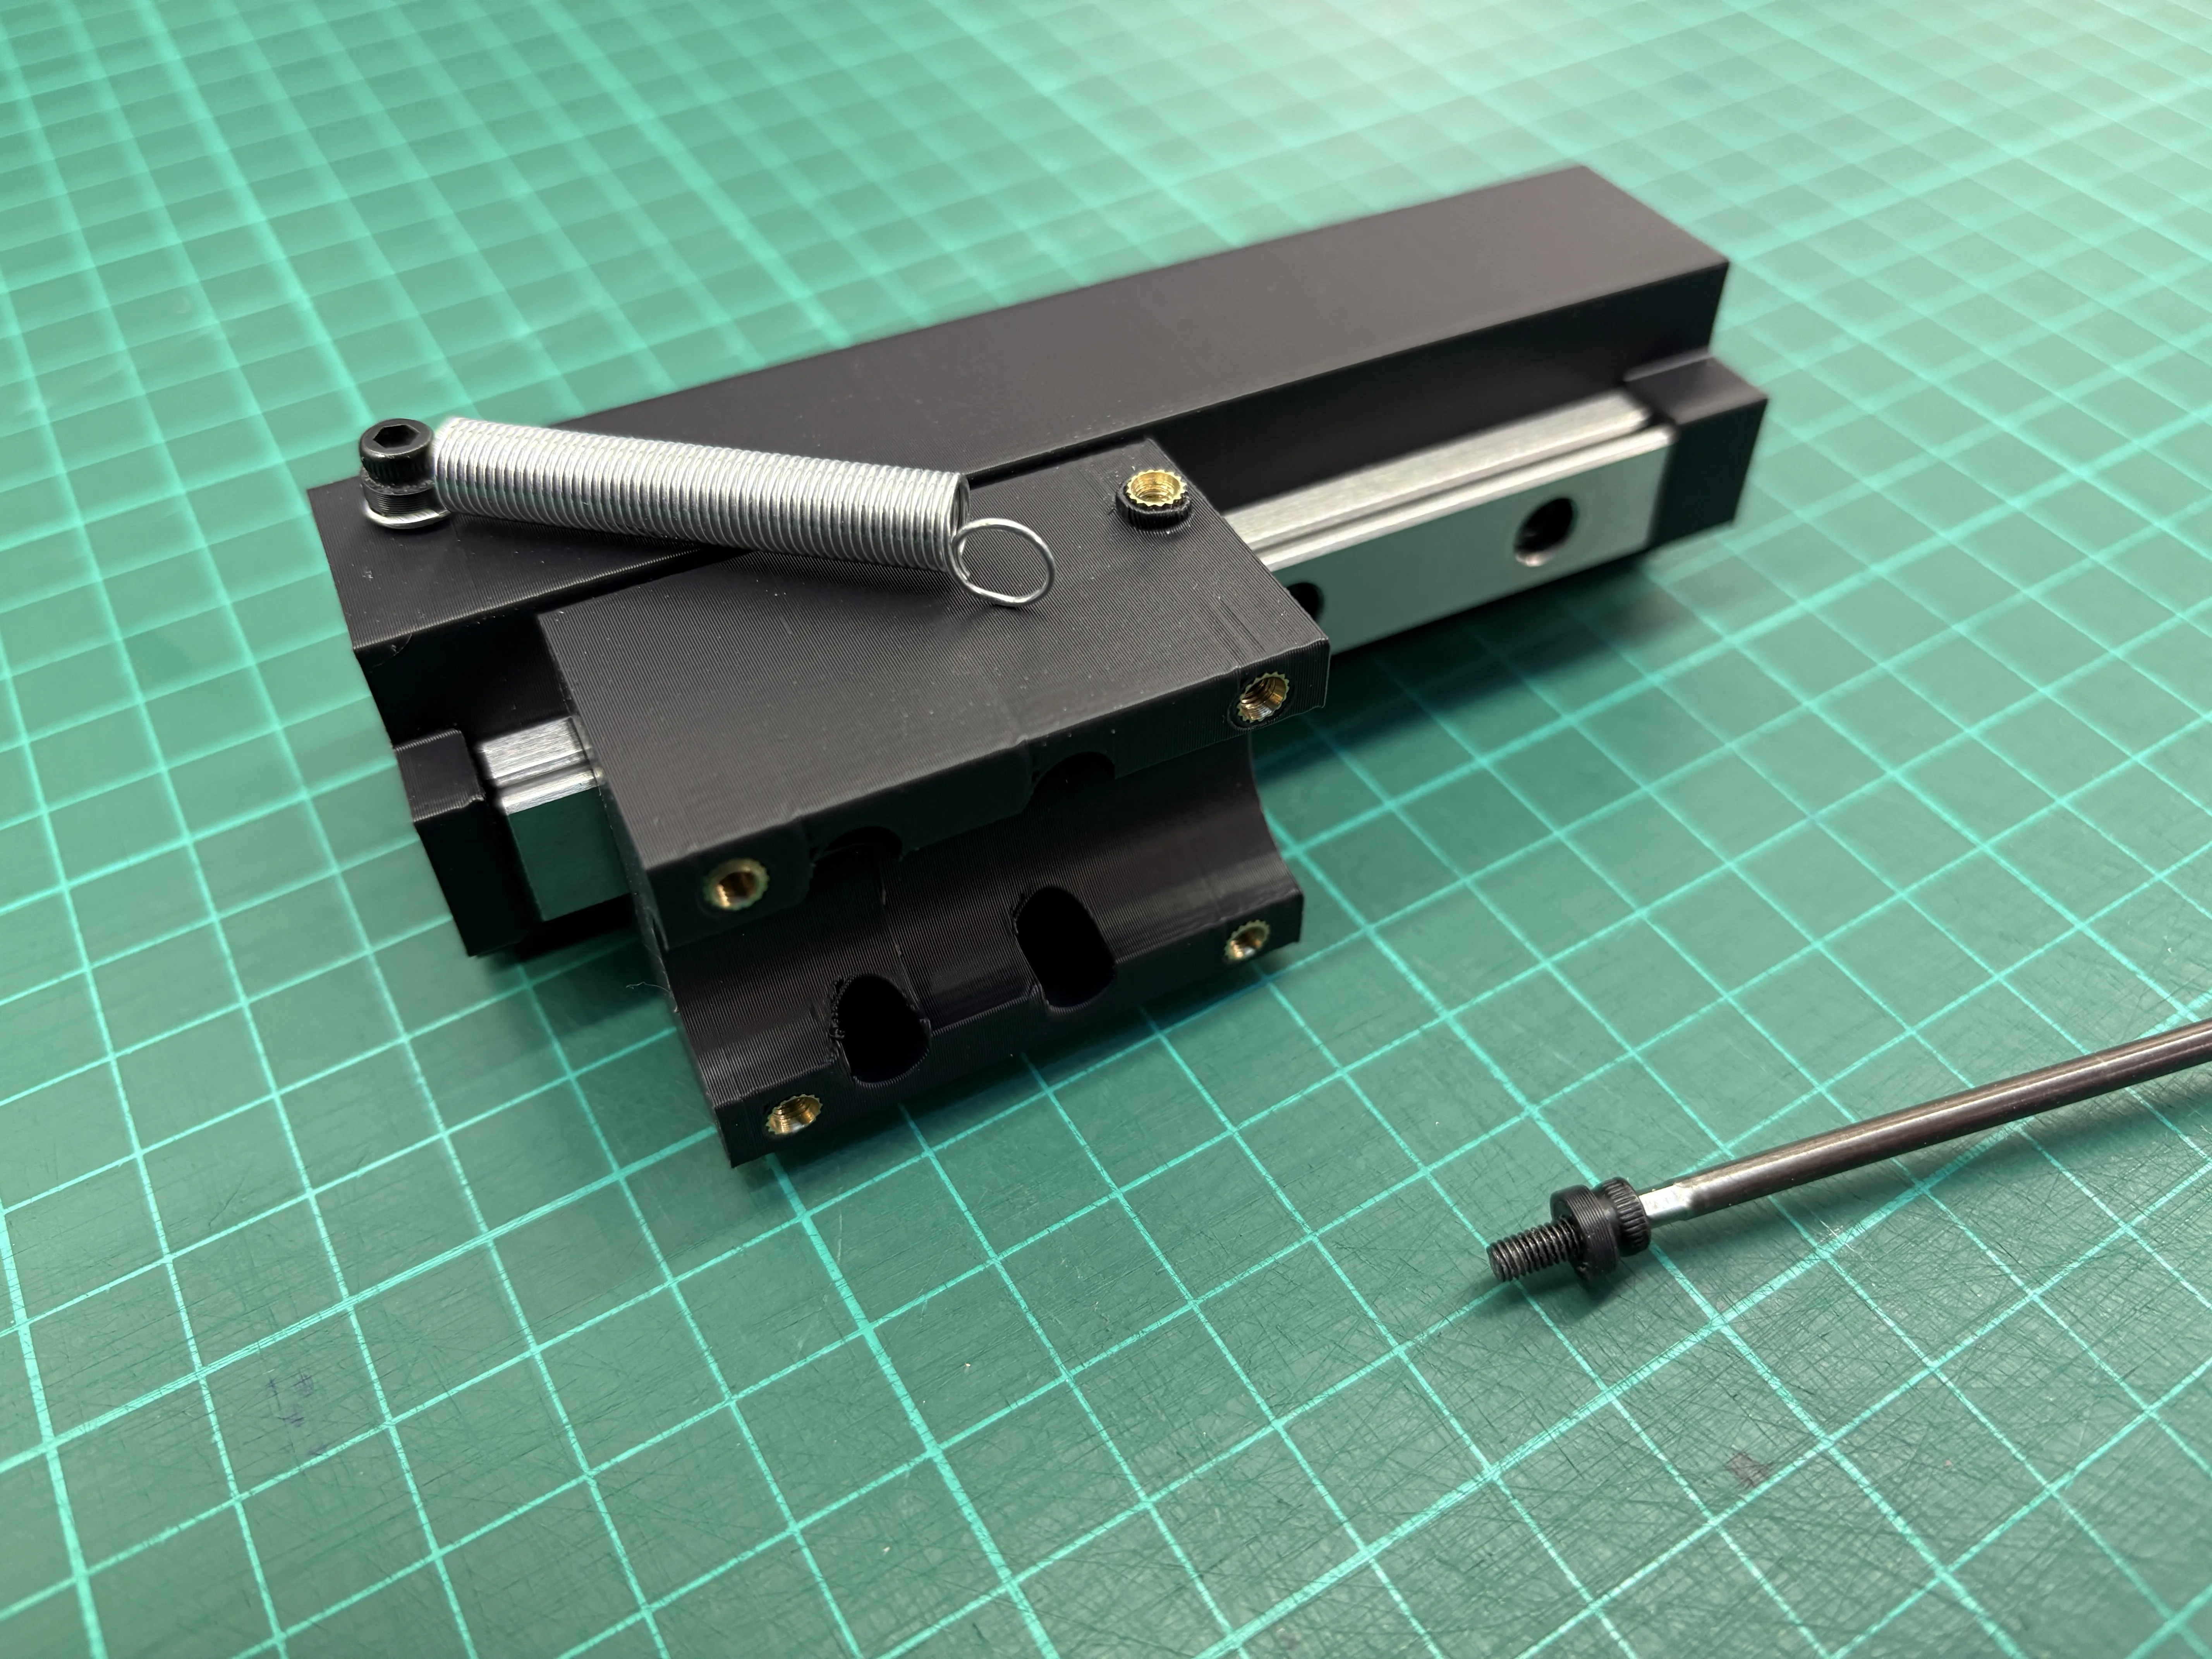
7. Install the Springs
Fix the two return springs using 4× M3x8 screws.
⚠️ Important: place the shim spacers between the screw head and the spring.
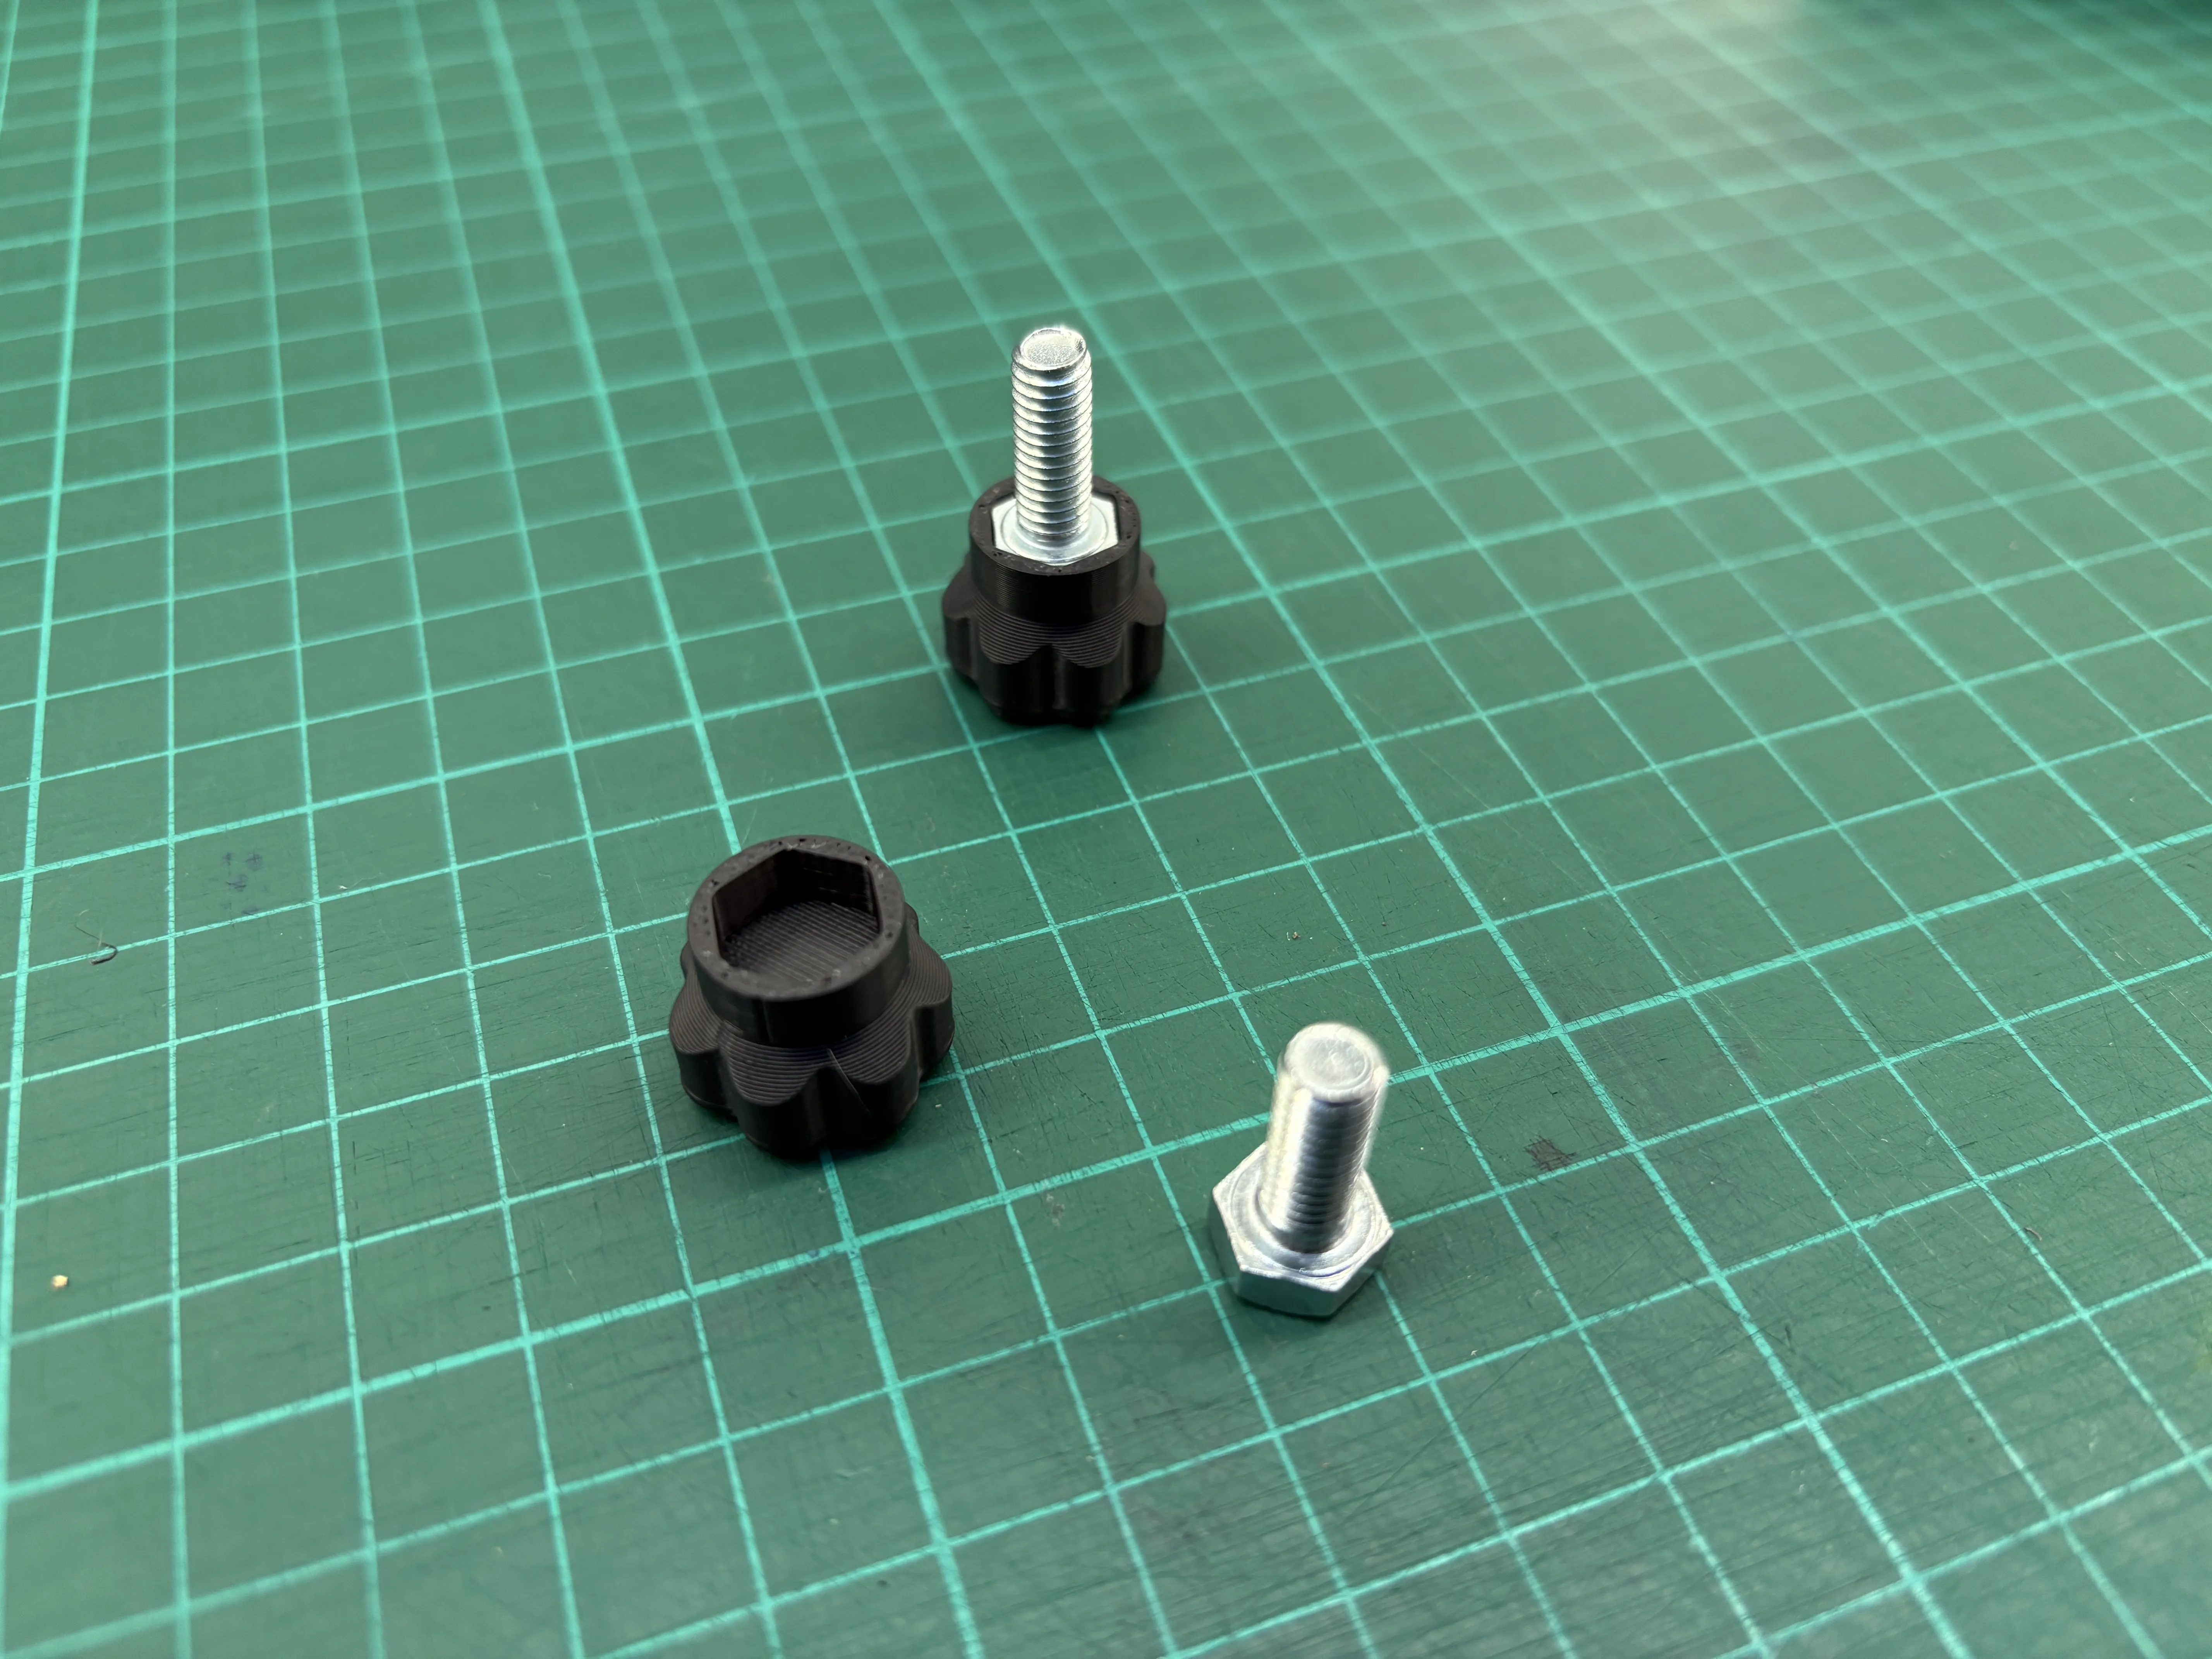
8. Install Knobs on M6 Bolts
Assemble the knobs onto the M6x16 bolts.
9. Insert the Nuts into the Housing
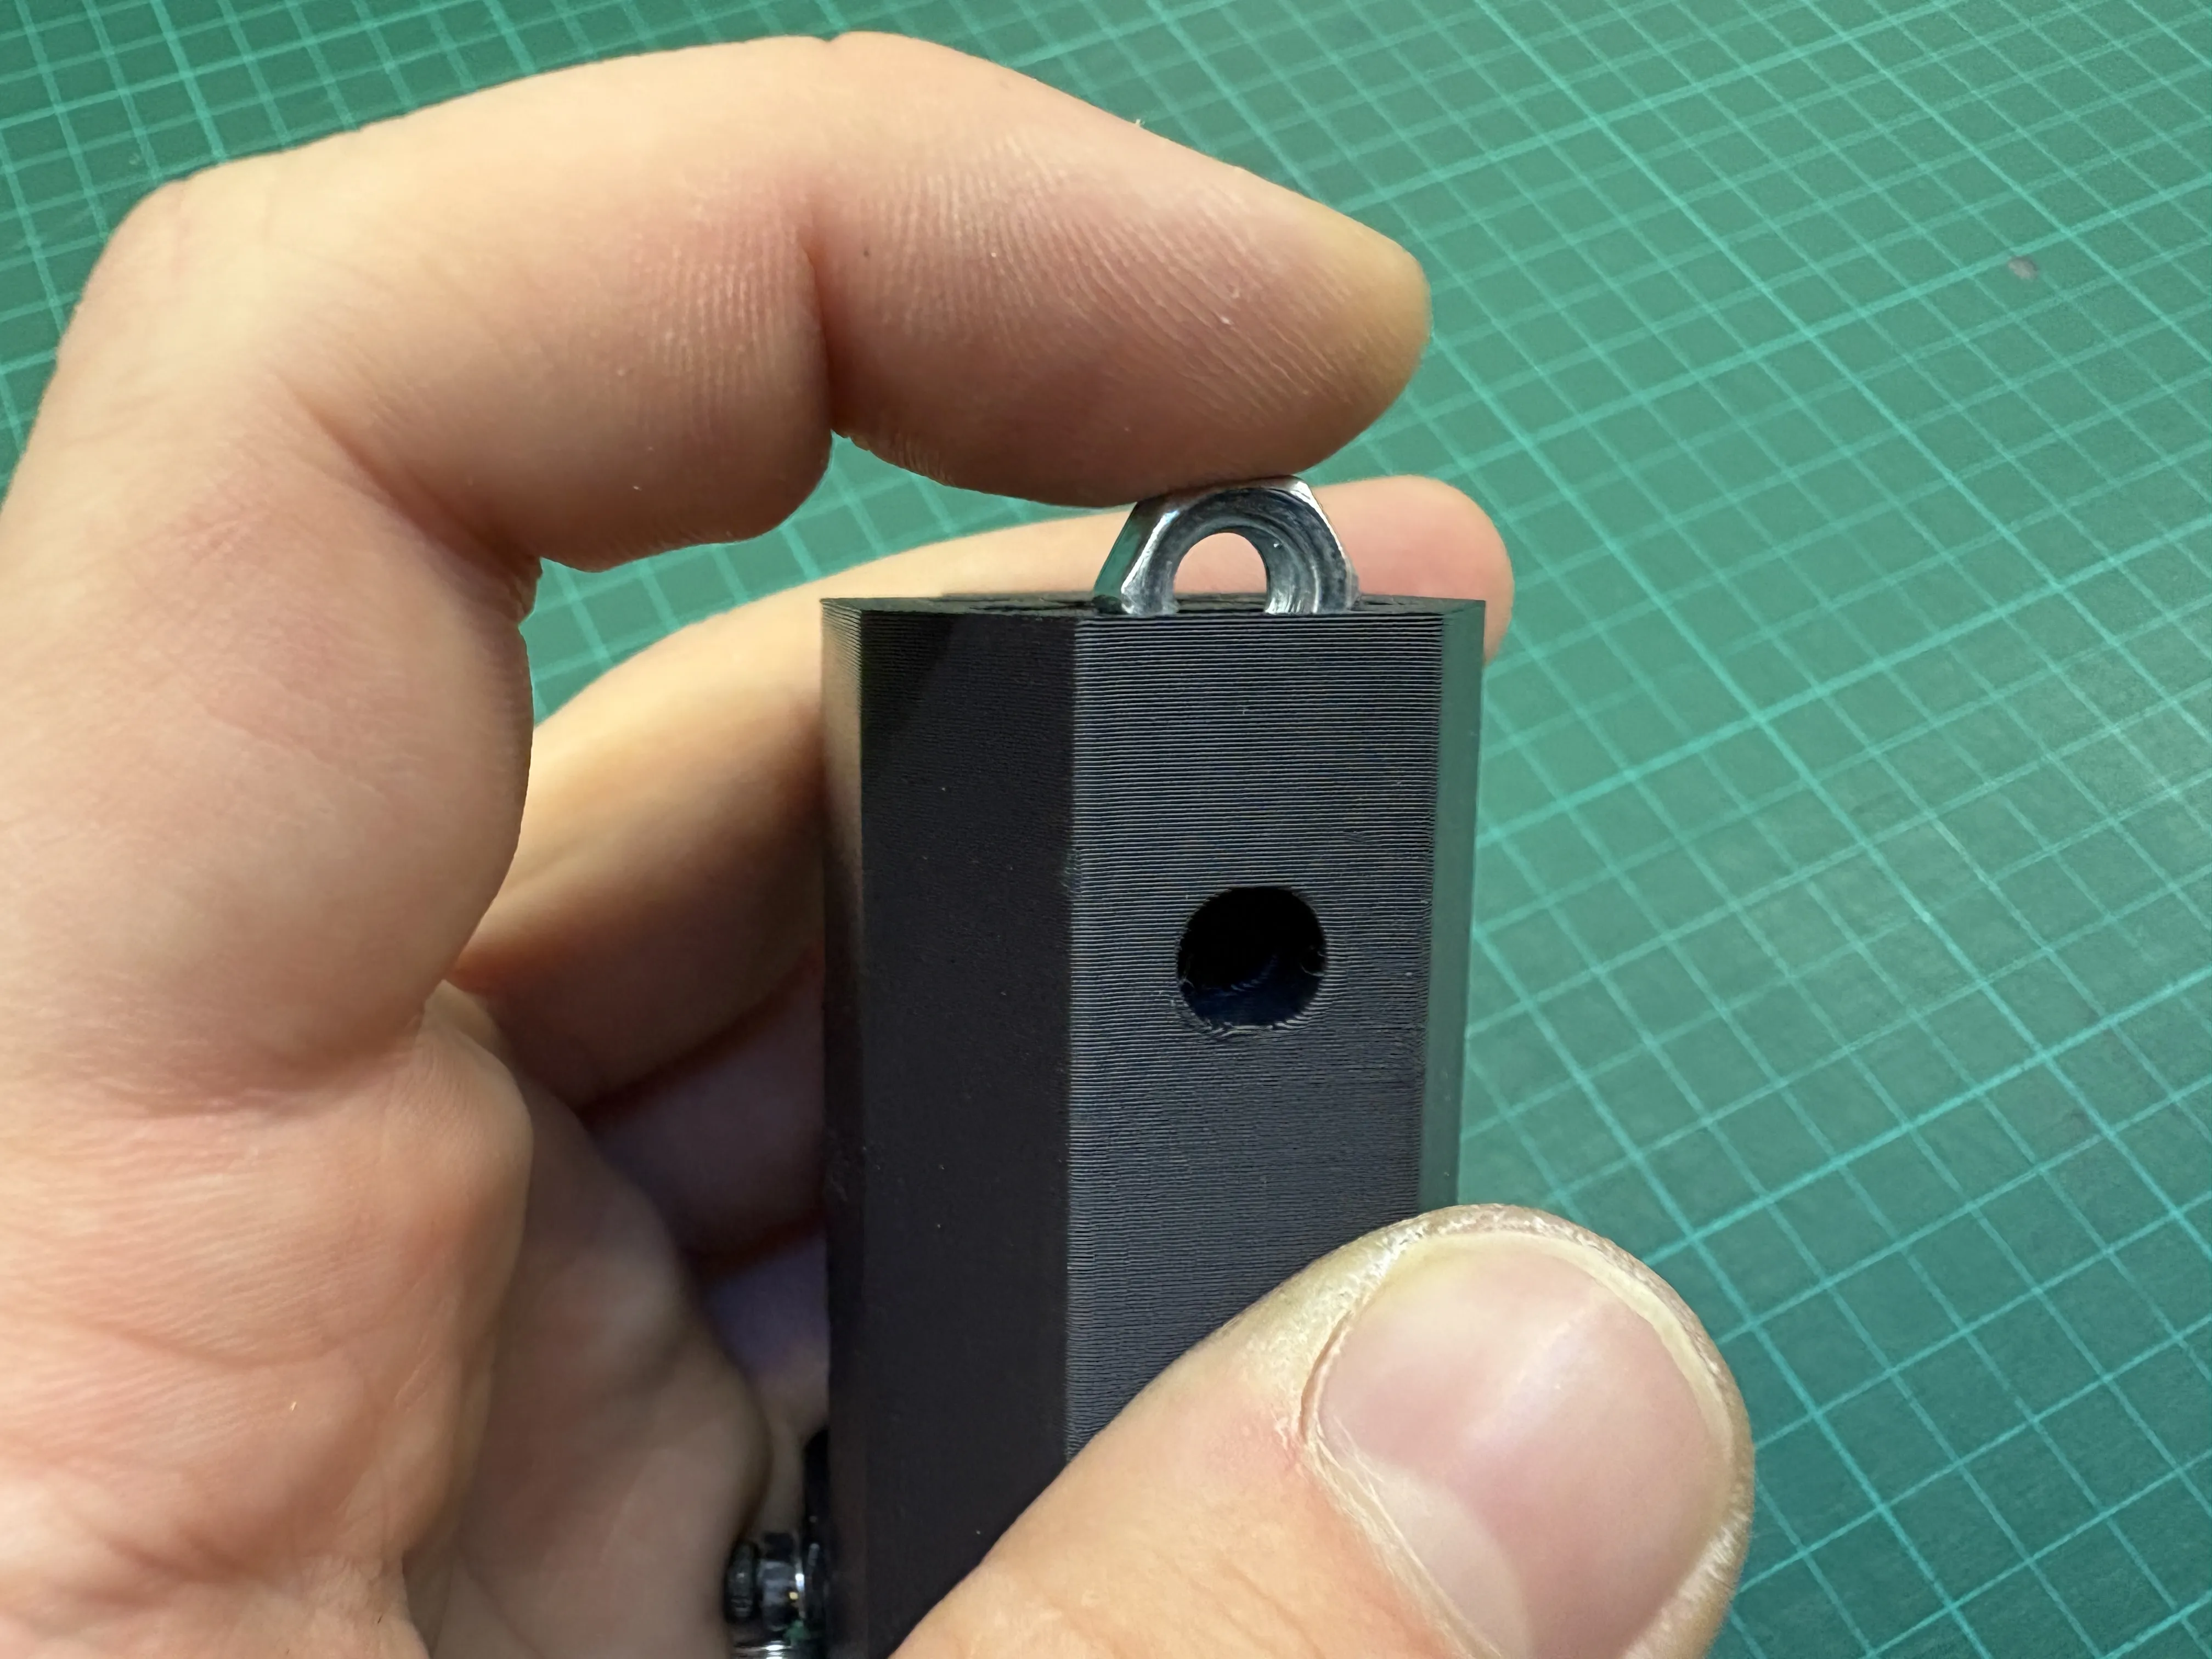
Insert the nuts into the two slots (top and bottom) of the housing.
⚠️ Pay close attention to the orientation of the nuts.
10. Install Nut Hole Covers
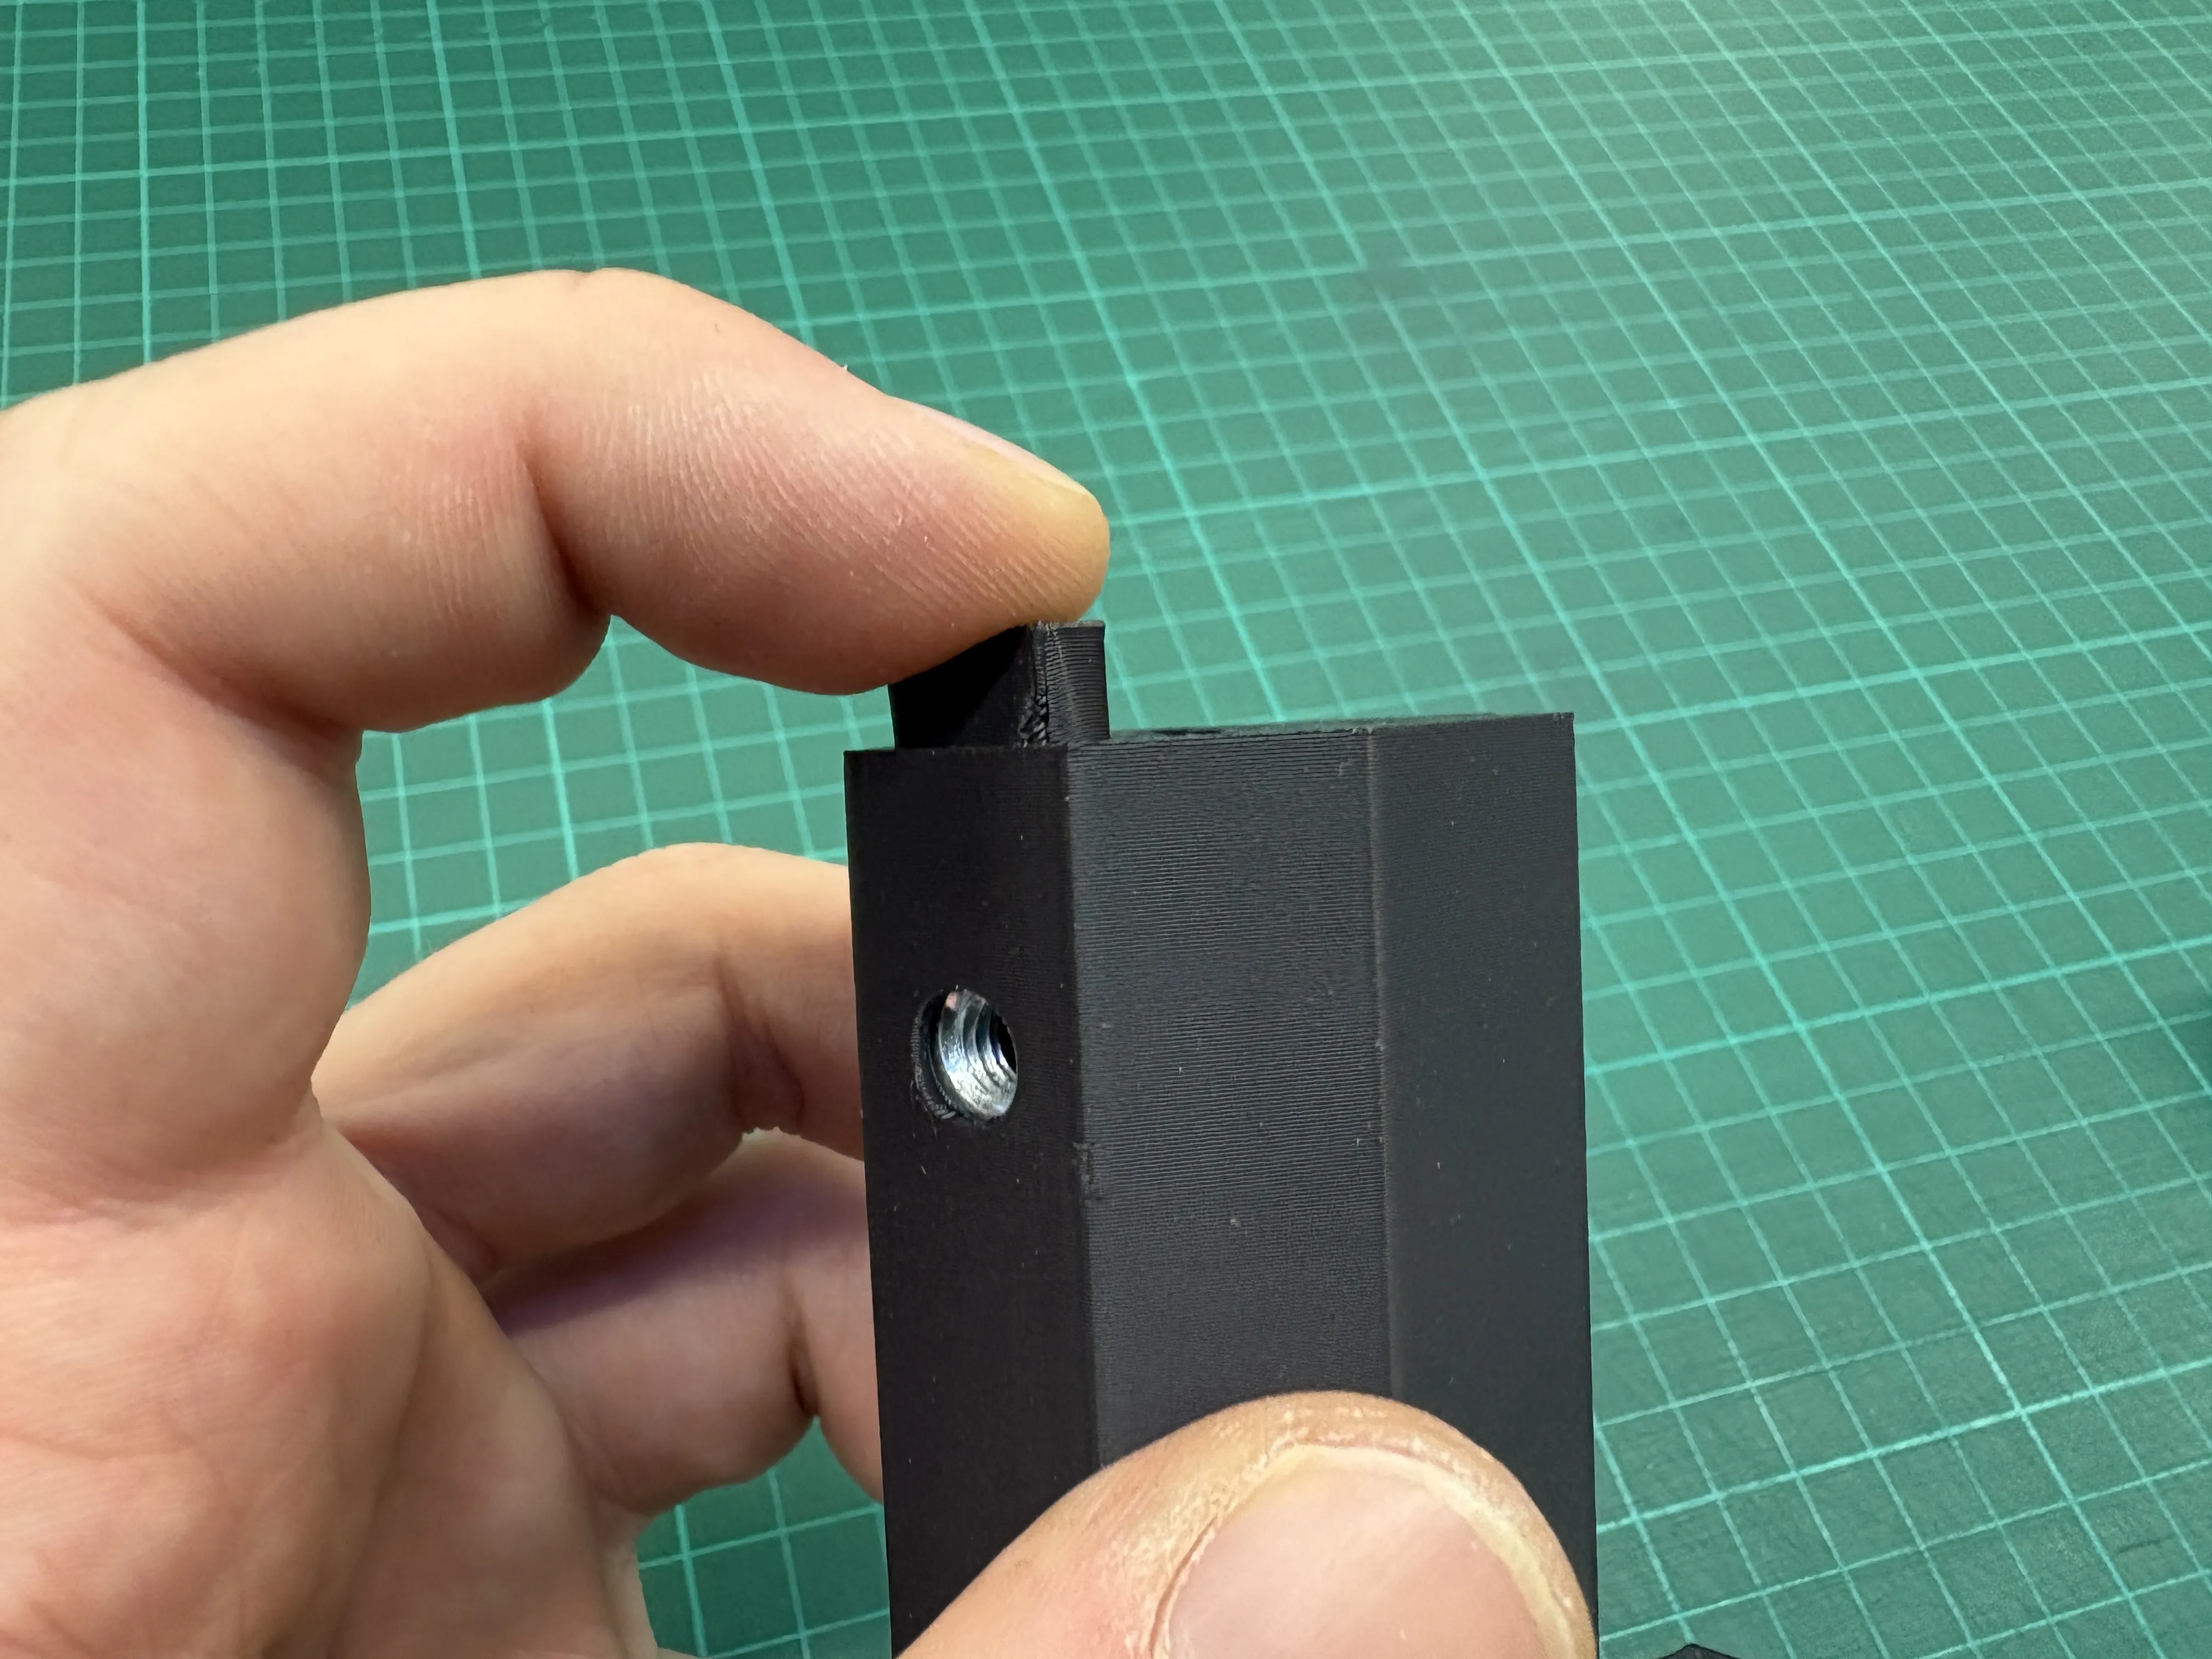
Install the nut hole covers.
If needed, use a small drop of glue to keep them in position.
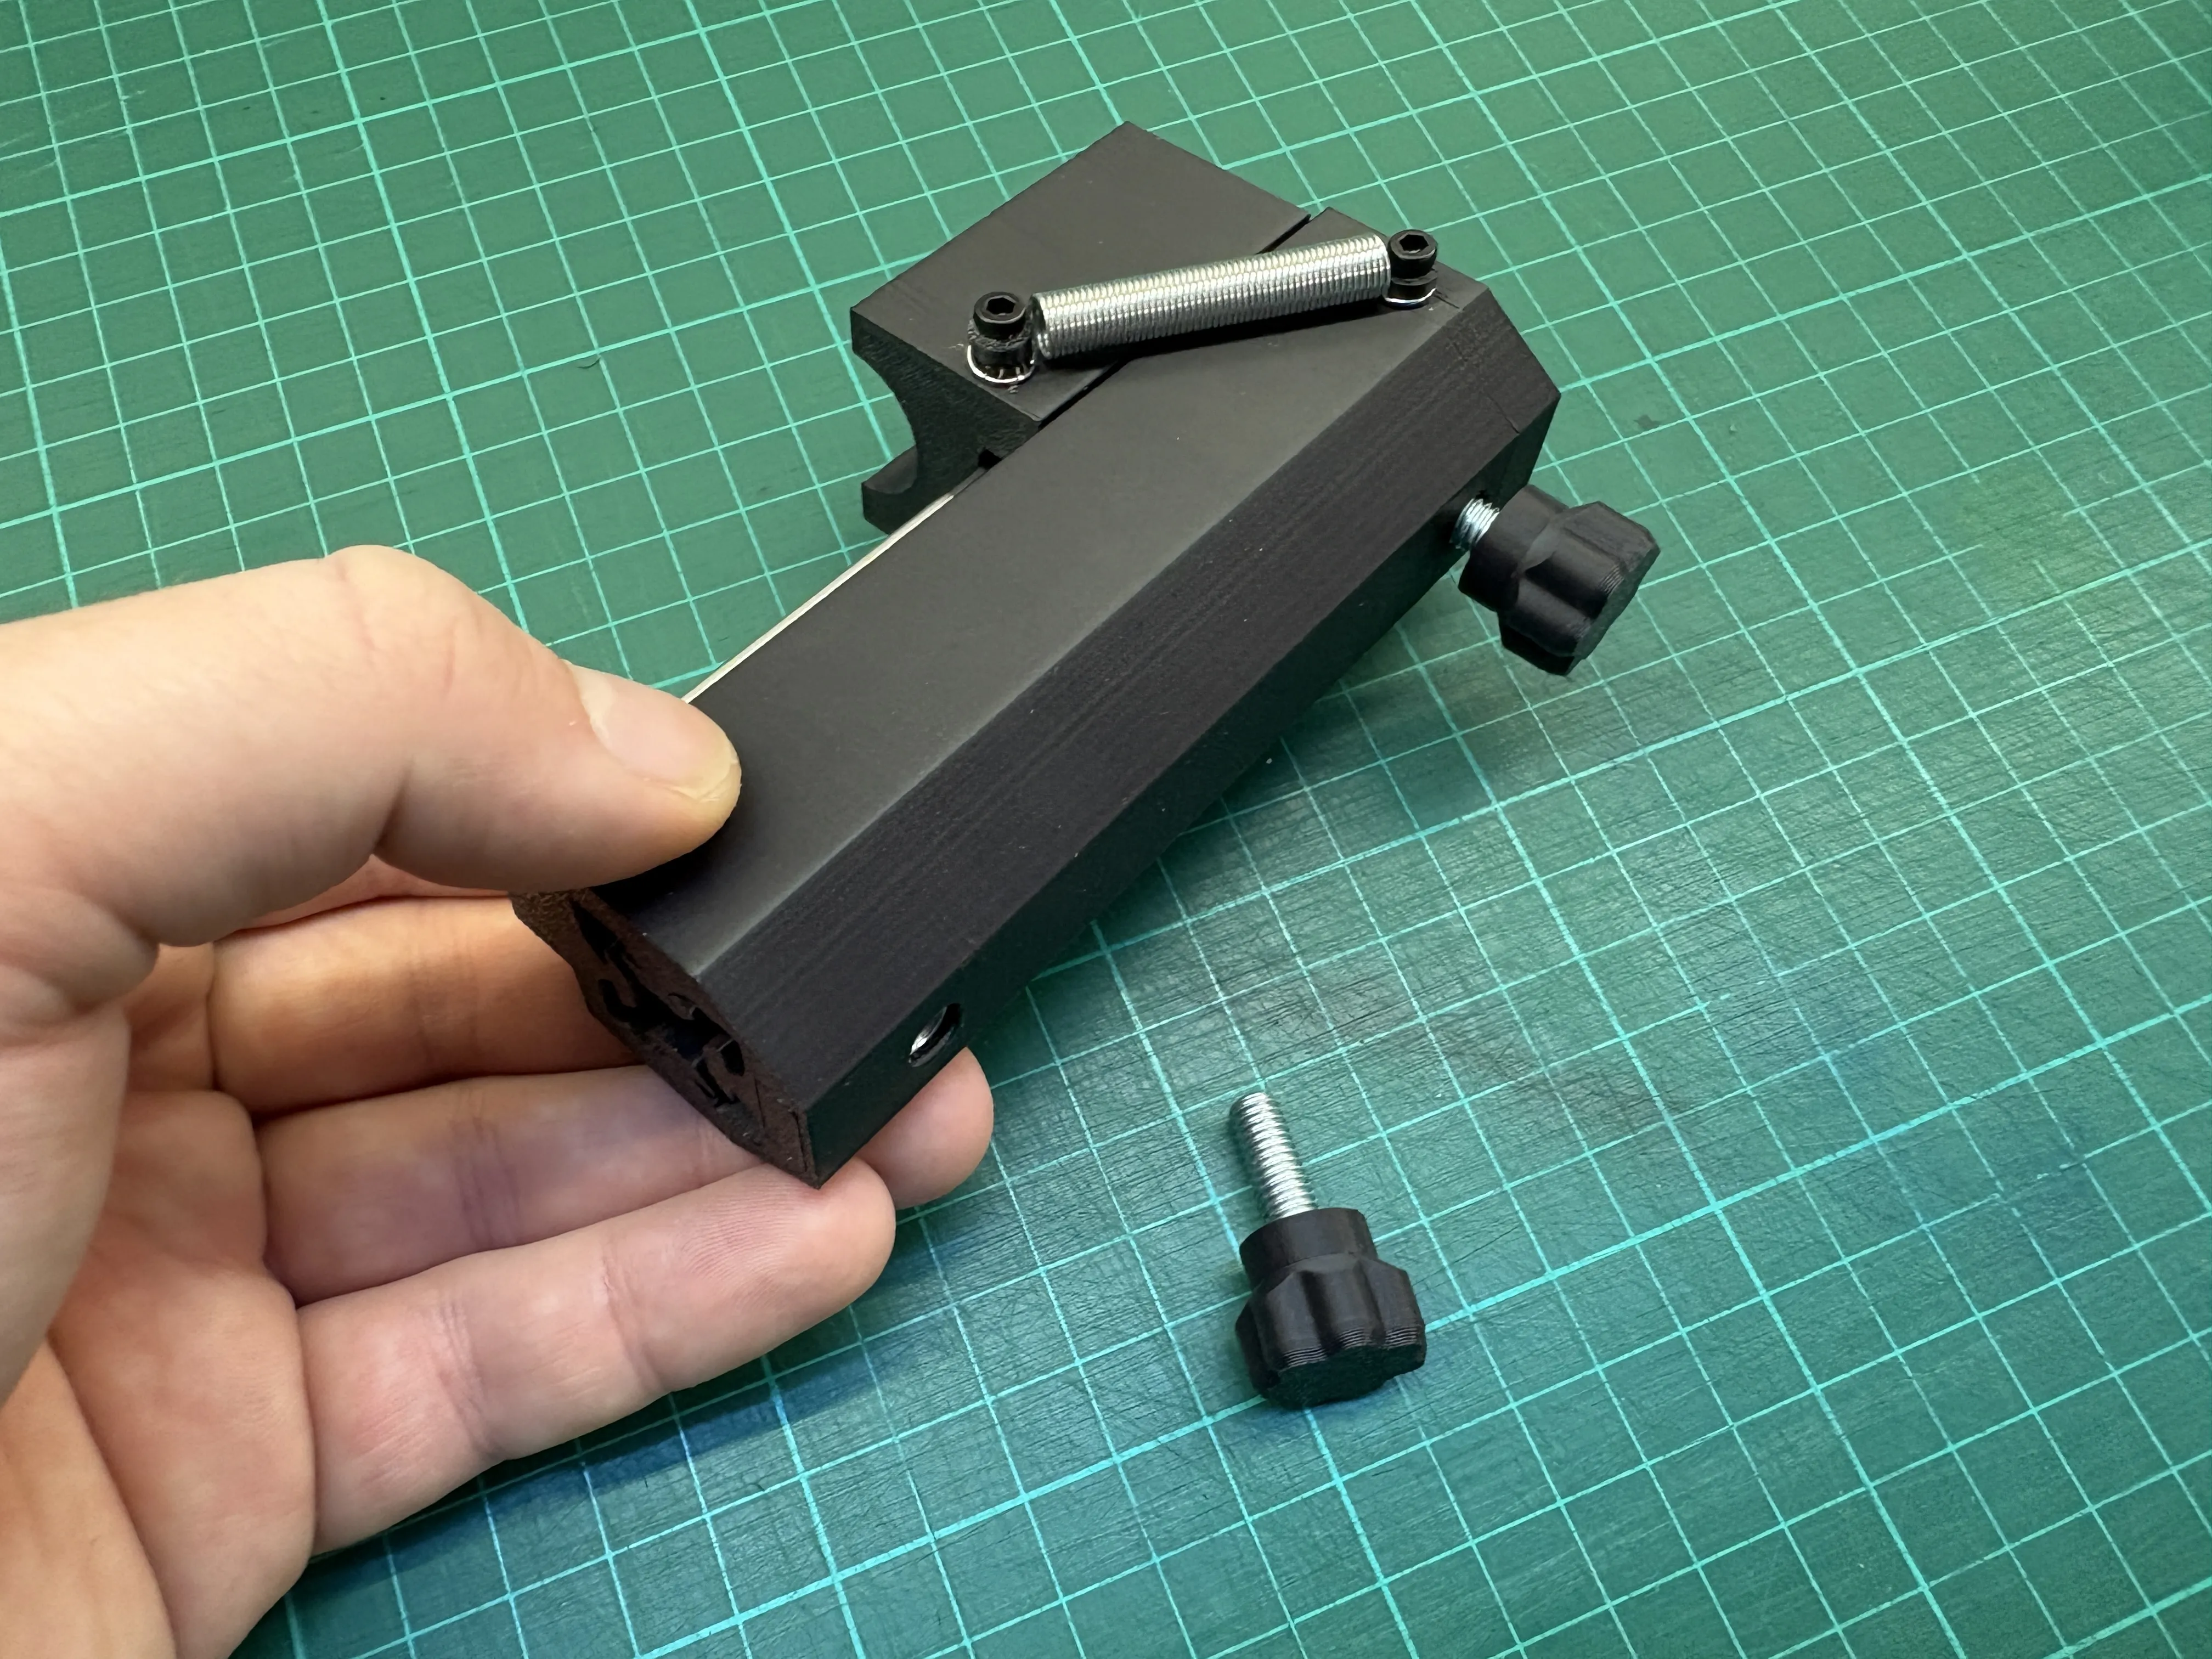
11. Install the Knobs
Screw the knobs into the housing to lock it onto the aluminum profile.
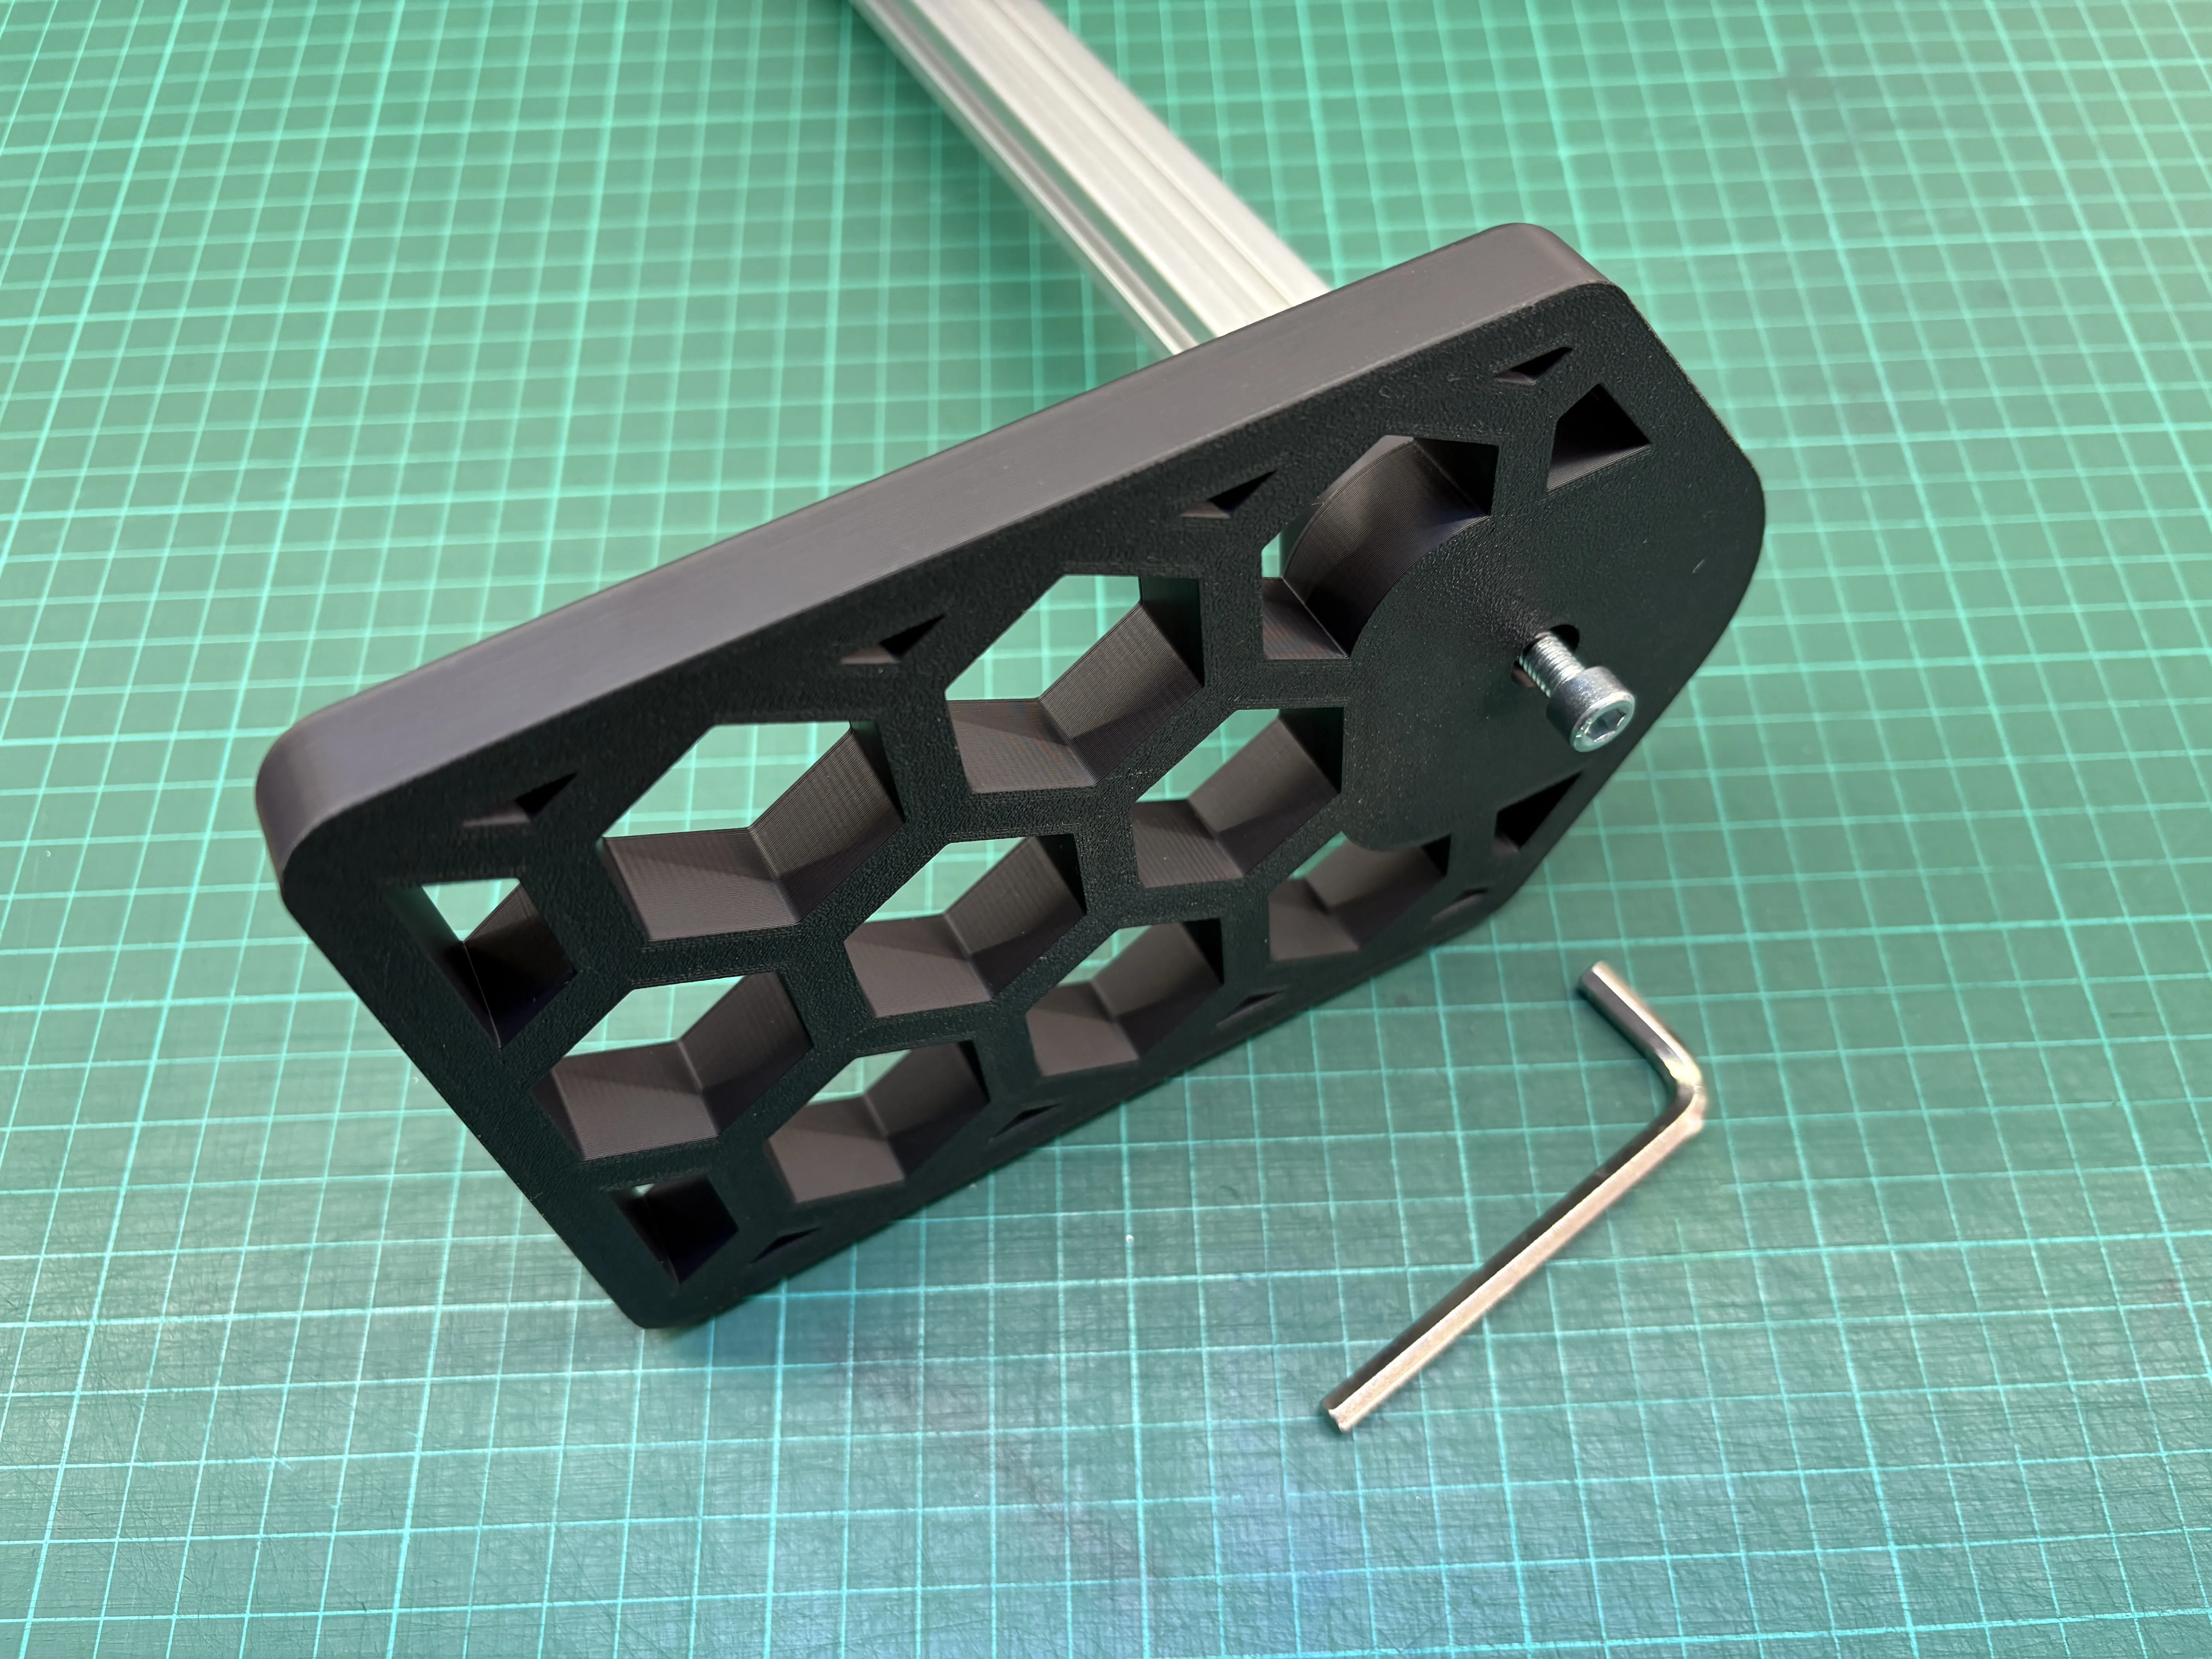
12. Fix the Aluminum Profile to the Base
Attach the 2020 aluminum profile to the base using 1× M6x30 screw.
13. Install the Housing on the Aluminum Profile
Slide the housing onto the aluminum profile.
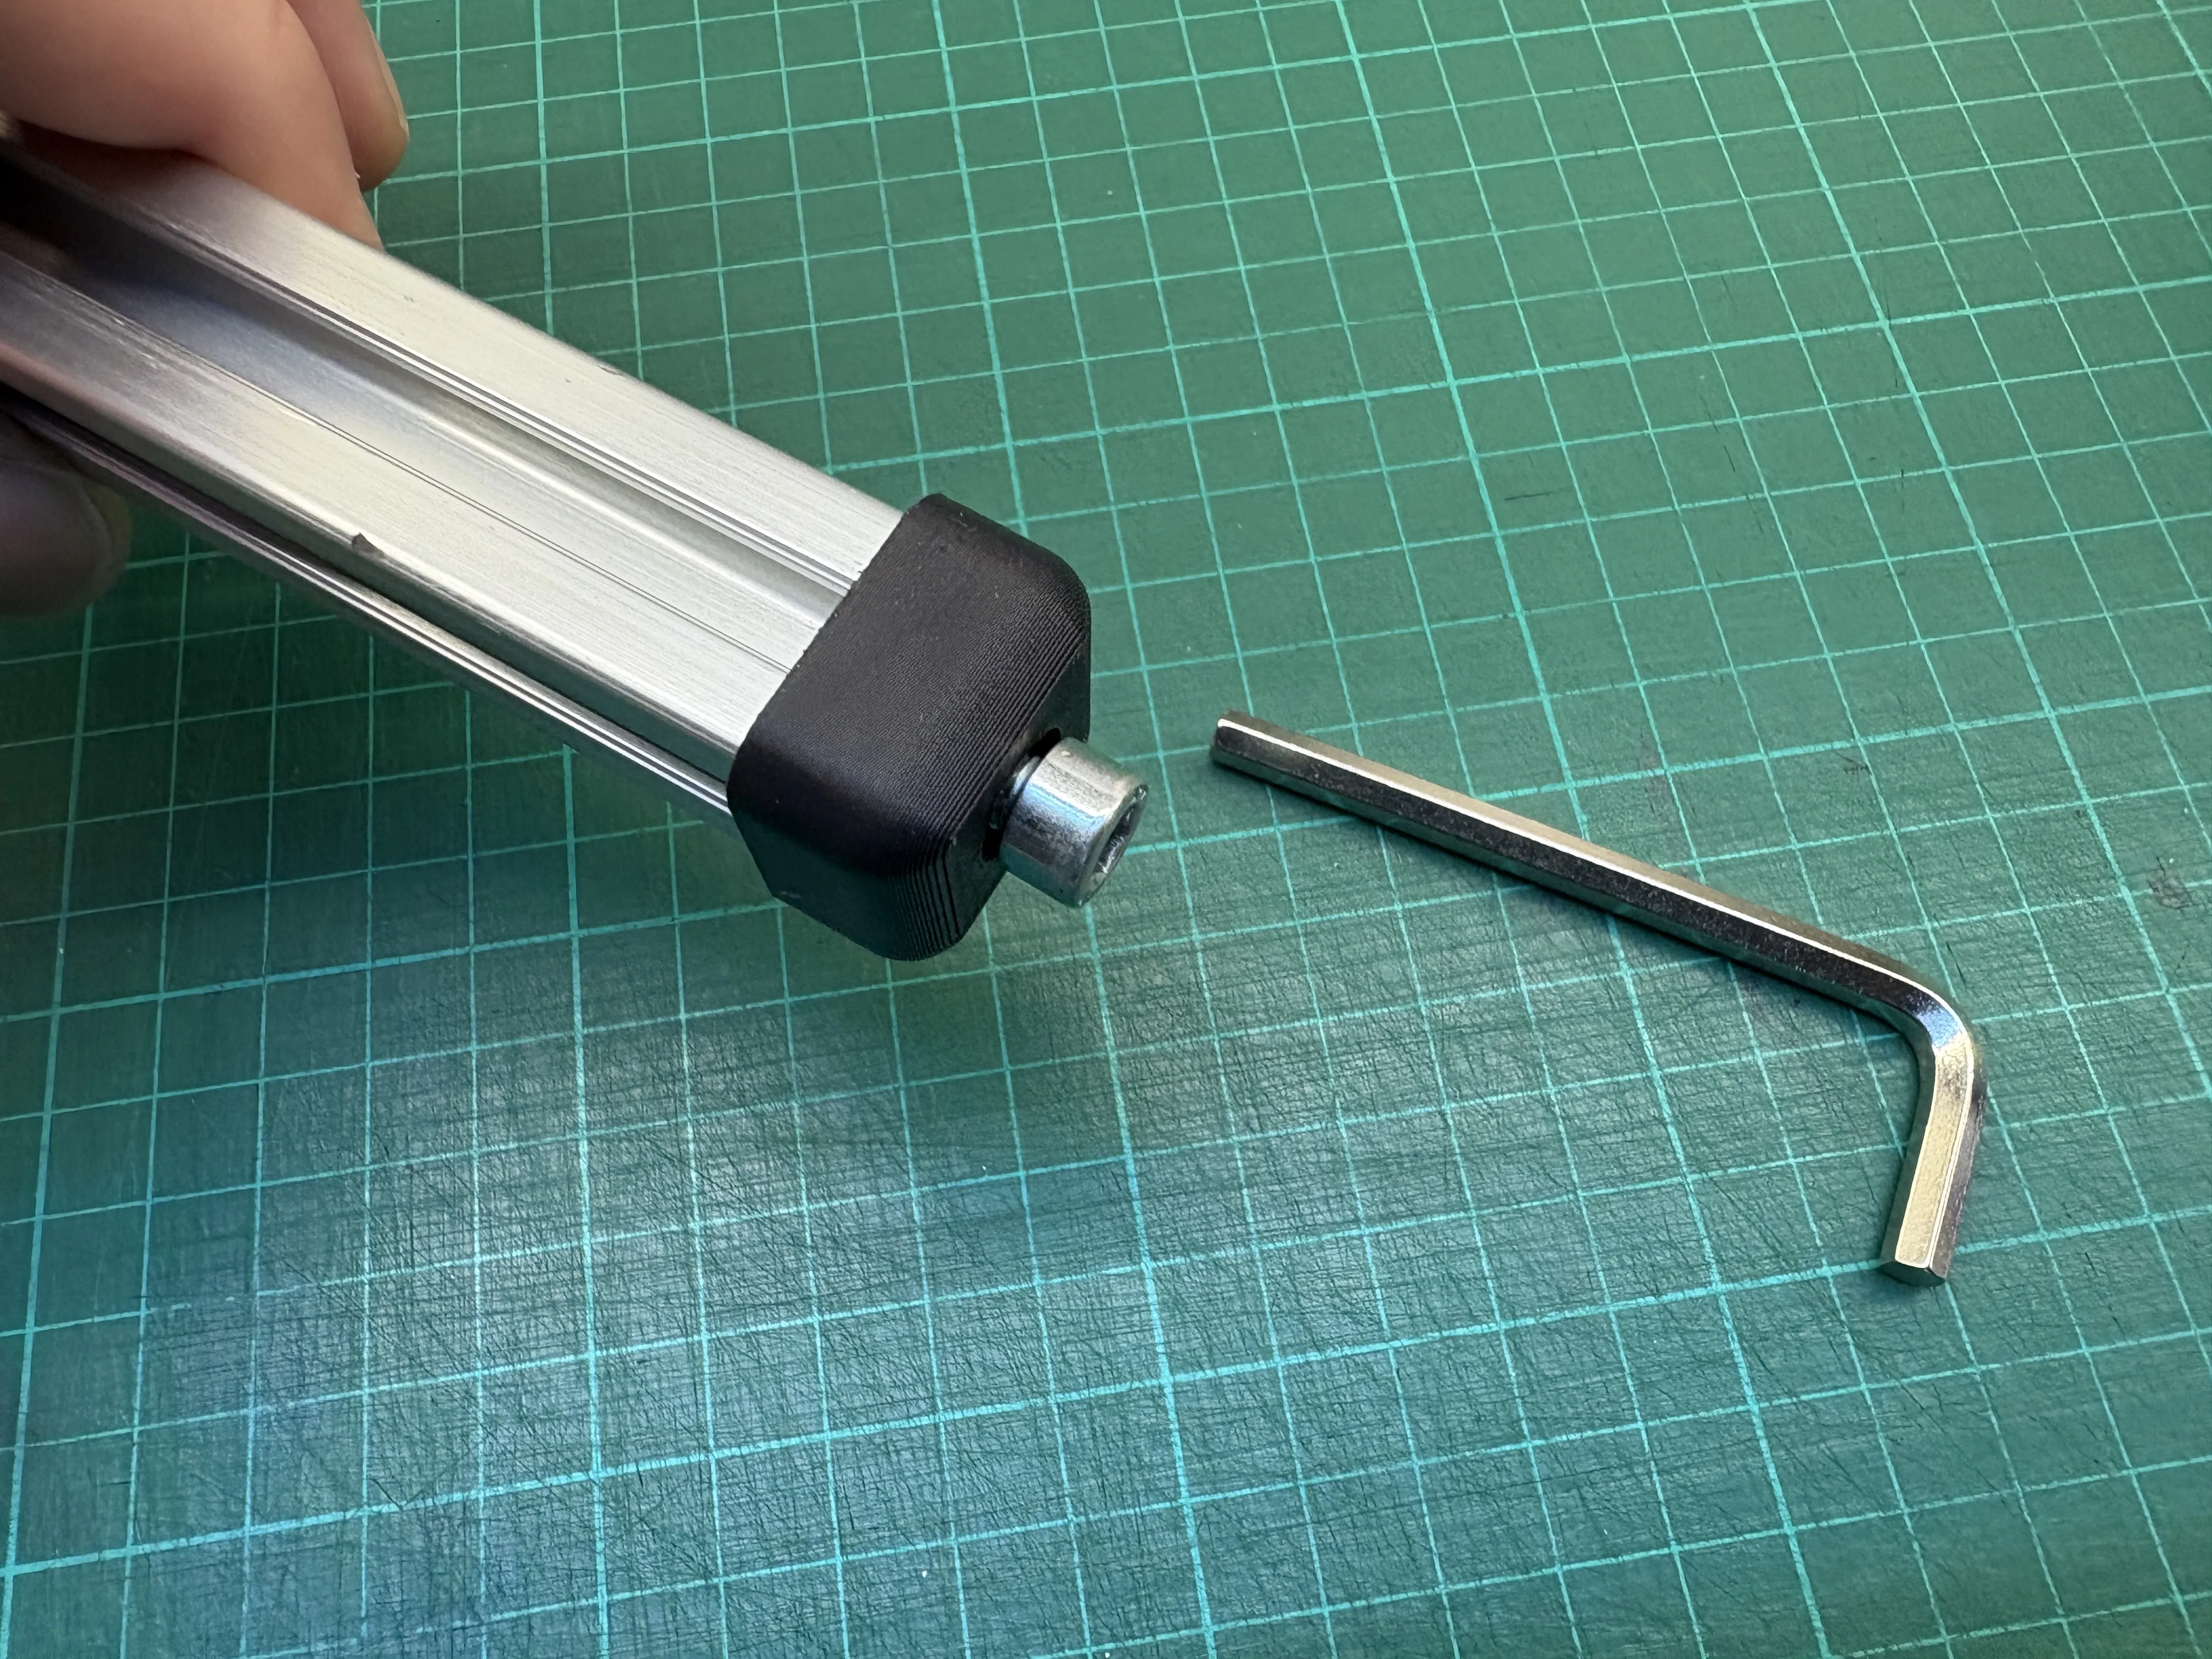
14. Install the Top Cap
Fix the top cap onto the aluminum profile using 1× M6x10 screw.
15. Install the Soldering Iron
Mount the soldering iron onto the sled and secure it using the sled cover and 4× M3x8 screws.
16. Finish
Your Brass Threaded Insert Press is now fully assembled and ready to use.
Before operation, check that all screws are properly tightened, the sled moves smoothly on the linear guide, and the return springs bring it back to its resting position correctly.
License

You shall not share, sub-license, sell, rent, host, transfer, or distribute in any way the digital or 3D printed versions of this object, nor any other derivative work of this object in its digital or physical format (including - but not limited to - remixes of this object, and hosting on other digital platforms). The objects may not be used without permission in any way whatsoever in which you charge money, or collect fees.


Comment & Rating (30)