
SnapLock V3
Print Profile(4)


Description
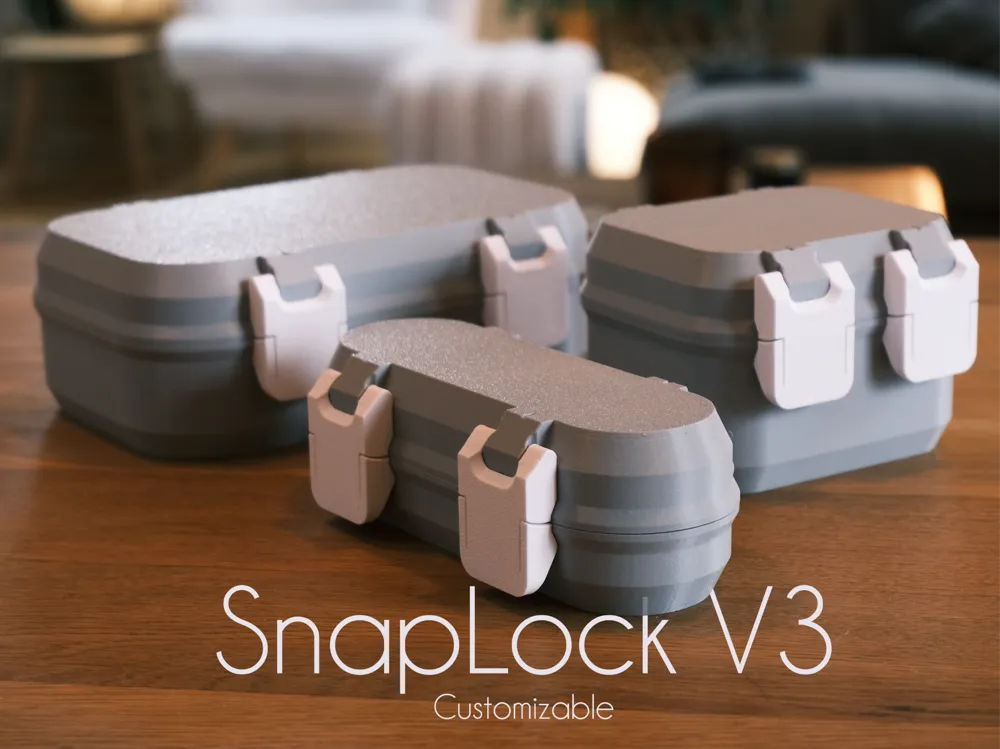
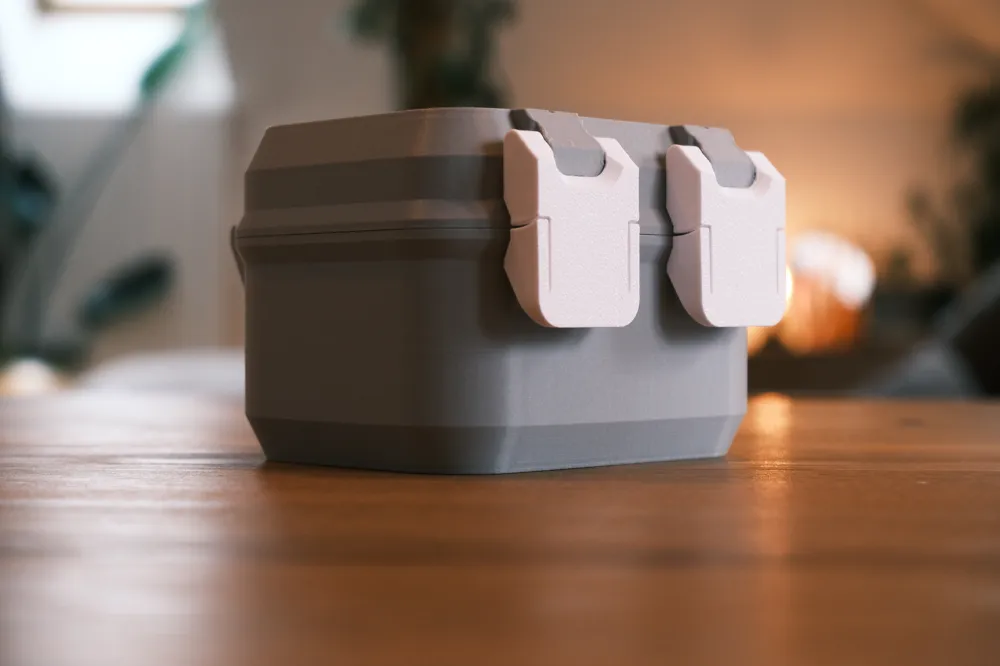
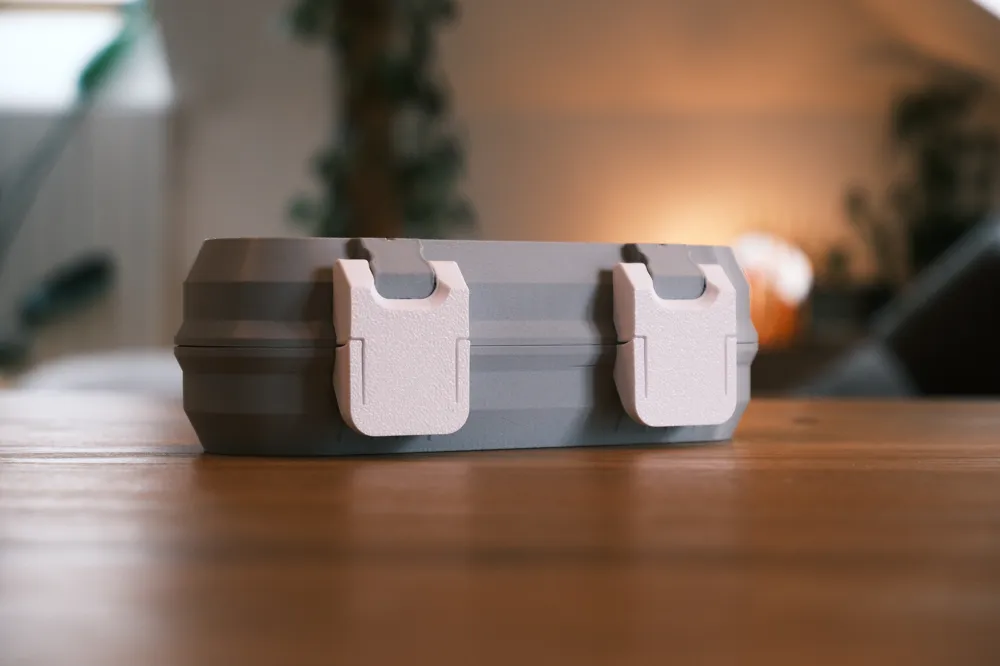
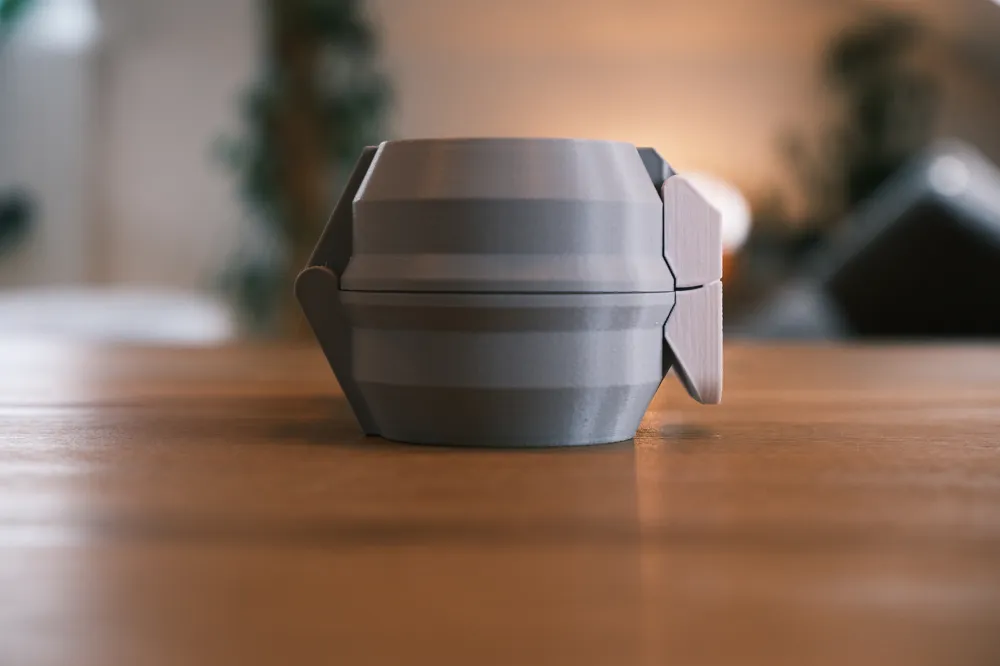
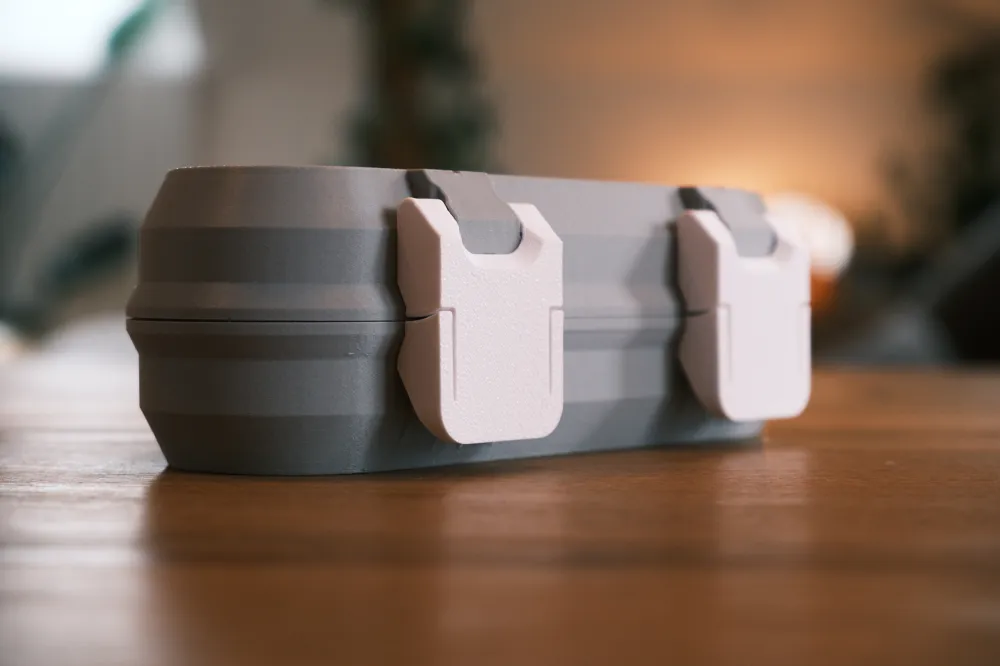
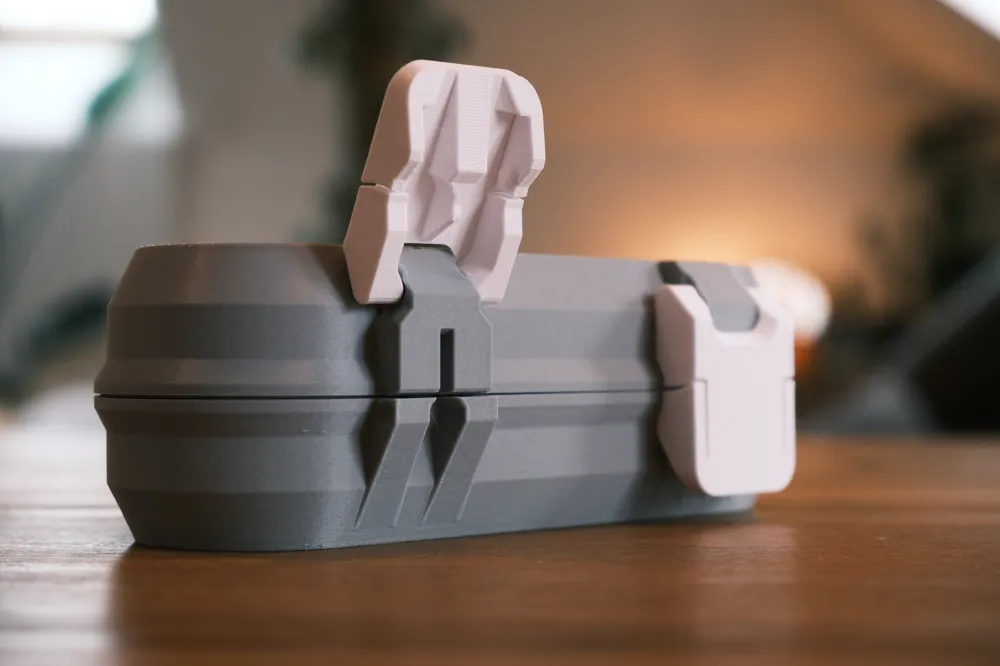
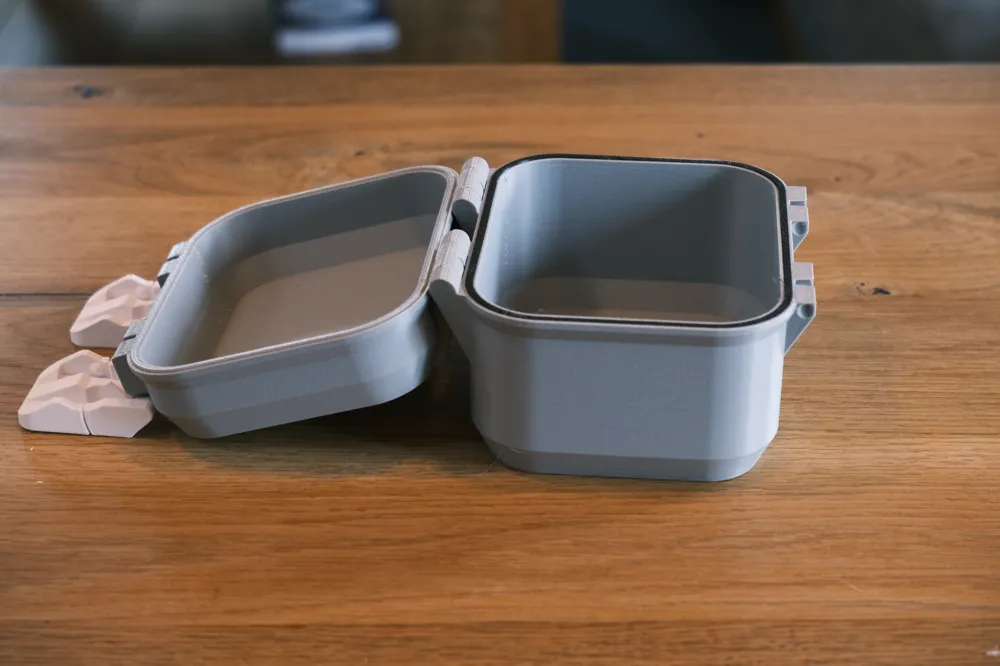
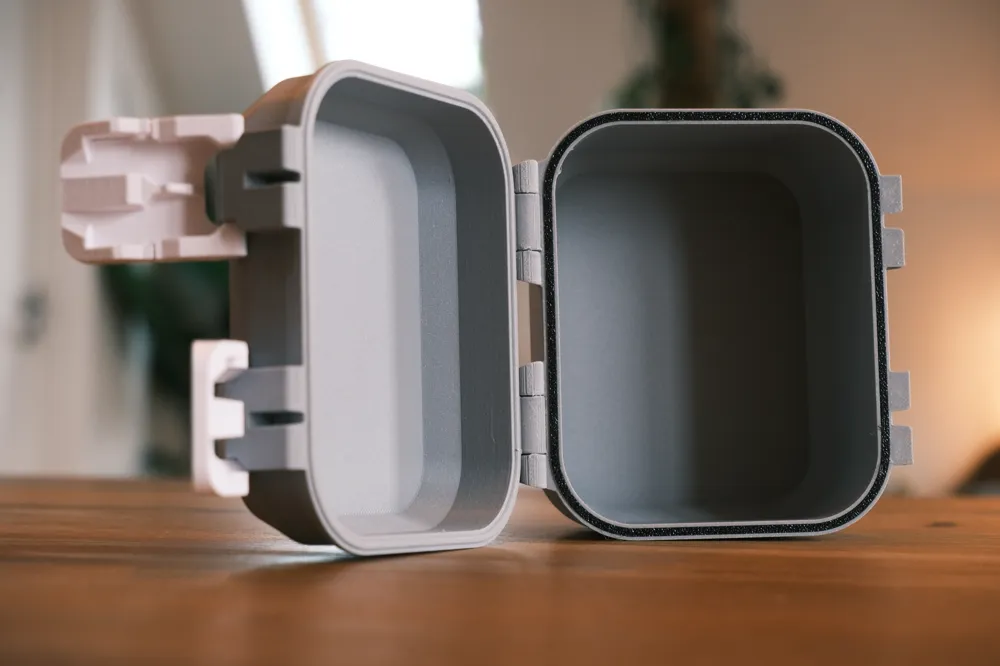
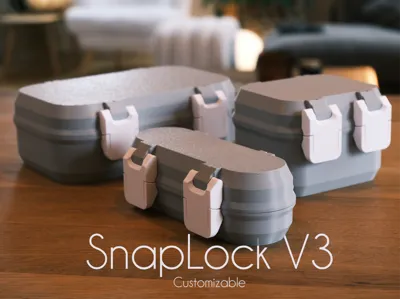
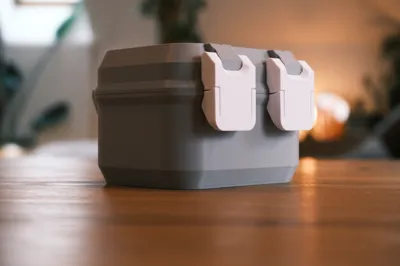
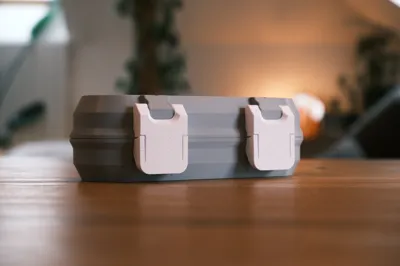
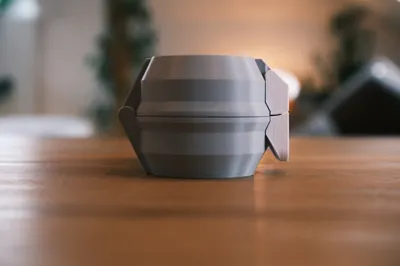
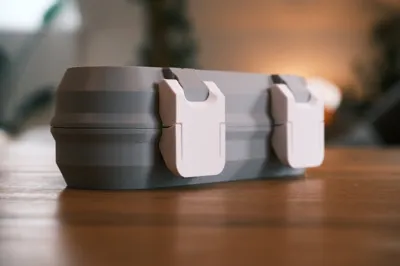
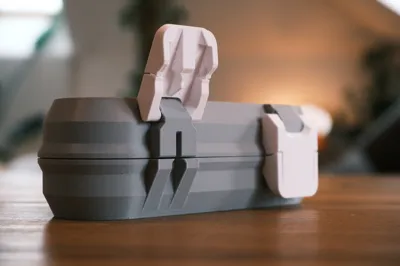
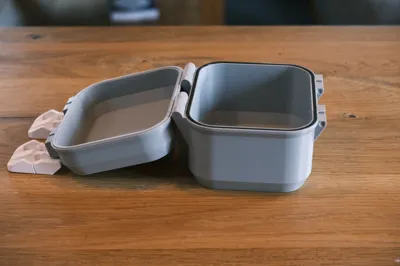
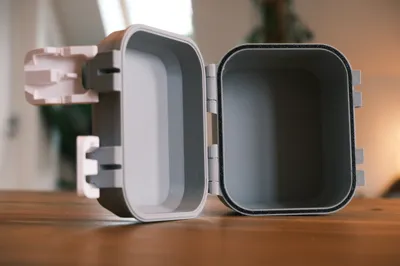
This new version of my Snaplock boxes was designed based on feedback from the previous two iterations. I moved away from the single-latch design of the V2 and returned to a dual-latch system for improved reliability. The latches still use the same idea of a flexing mechanism to lock into the box, but this time without any visible bumps on the enclosure, only the latches themselves.
They are easier to operate than V1 and cannot be assembled backwards this time. While the design has evolved, the spirit of the model remains the same, a fully functional solution that is 100% 3D printed.
Customizable size
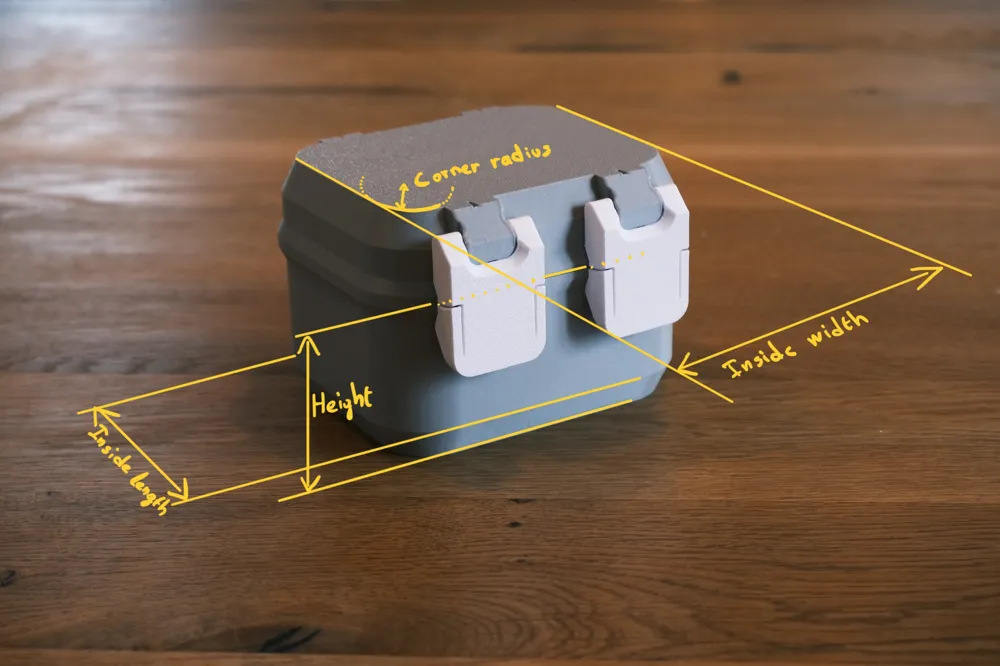
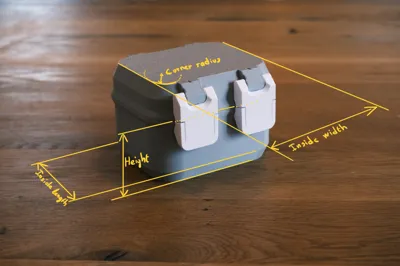
The model is fully customizable using four parameters: inside width, inside length, height, and corner radius. I also added a groove designed to accept an optional TPU gasket for improved sealing.
In this version, the parameterized dimensions correspond to the internal measurements rather than the external ones. As a result, the profile labeled 100×80×50 has an internal width of 100 mm, an internal length of 80 mm, and a bottom height of 50 mm.
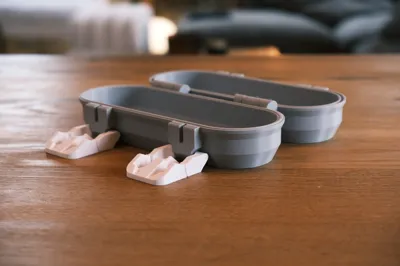
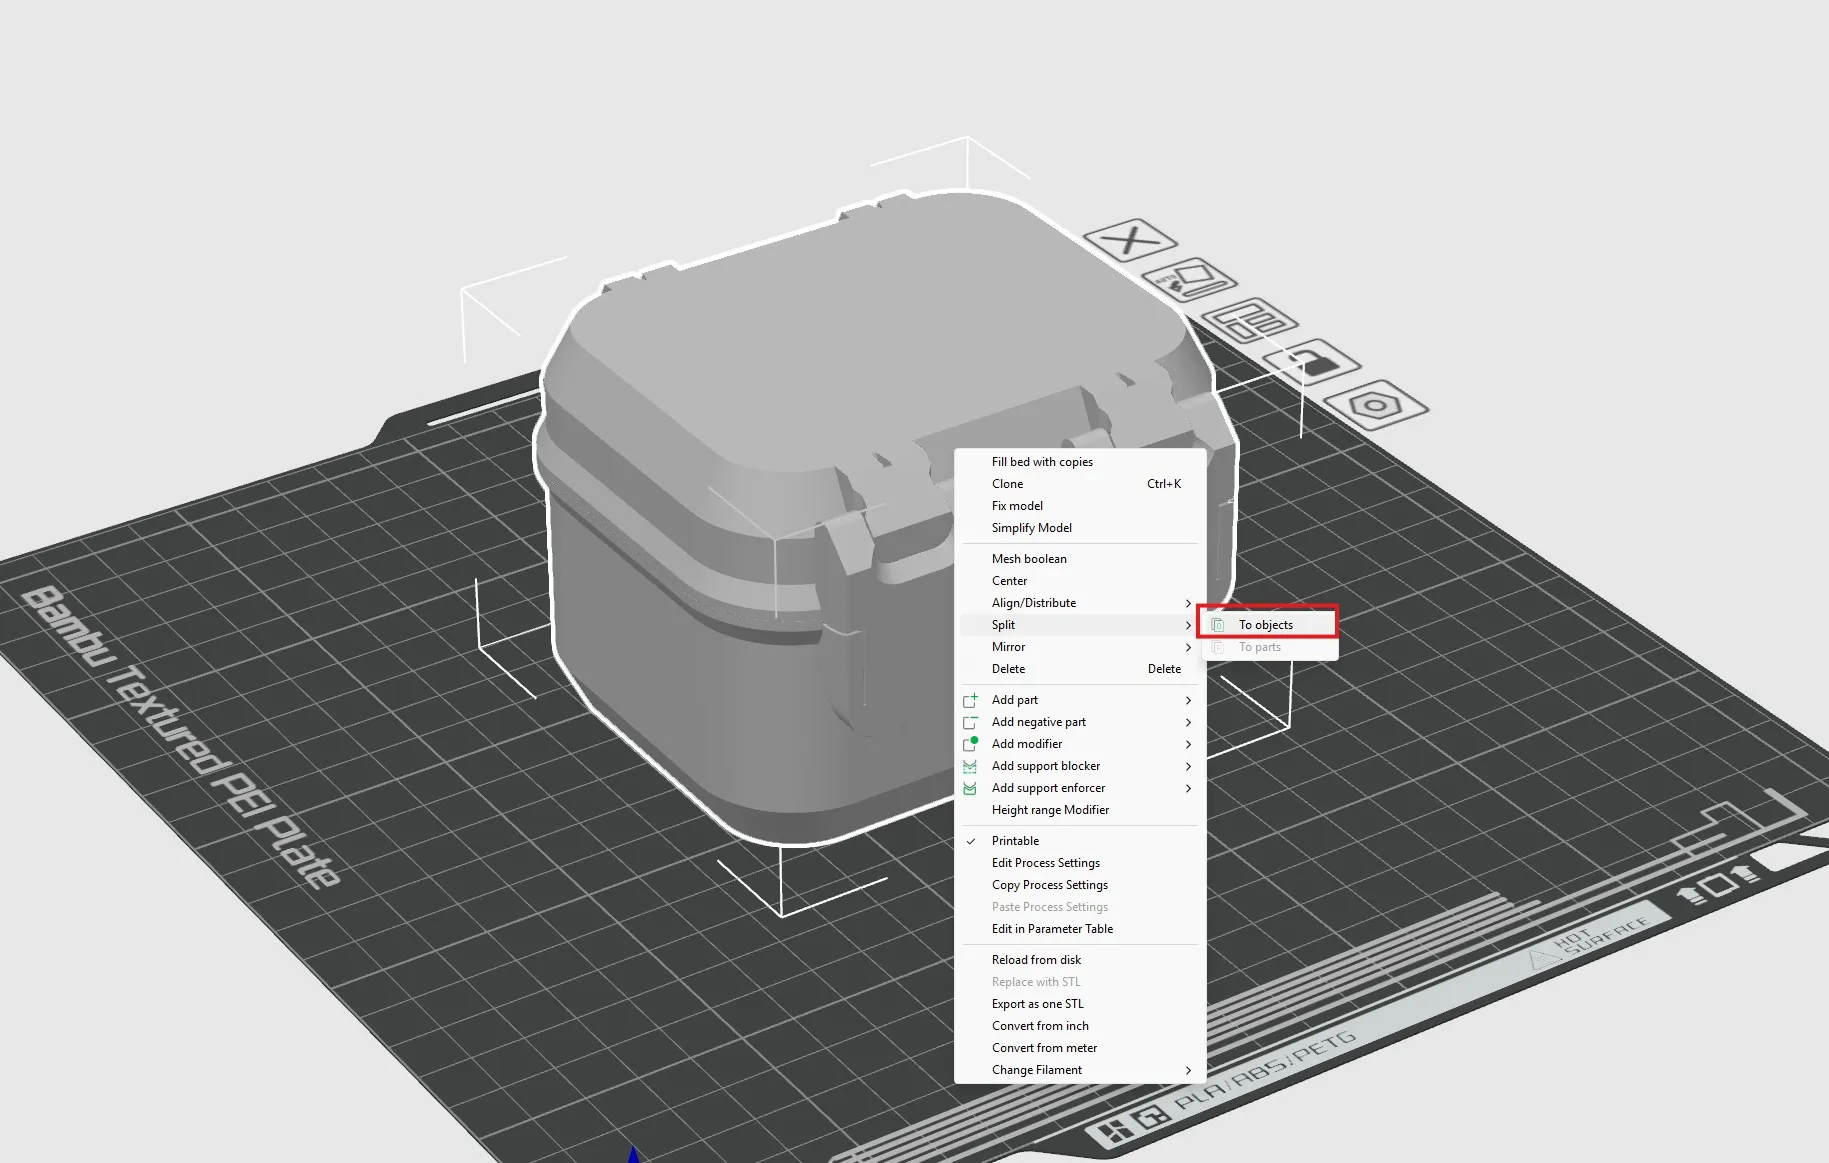
When you export the model from the “customize” tab, it will appear as a fully assembled box. In the slicer, you can right clic and “split to objects" as shown :

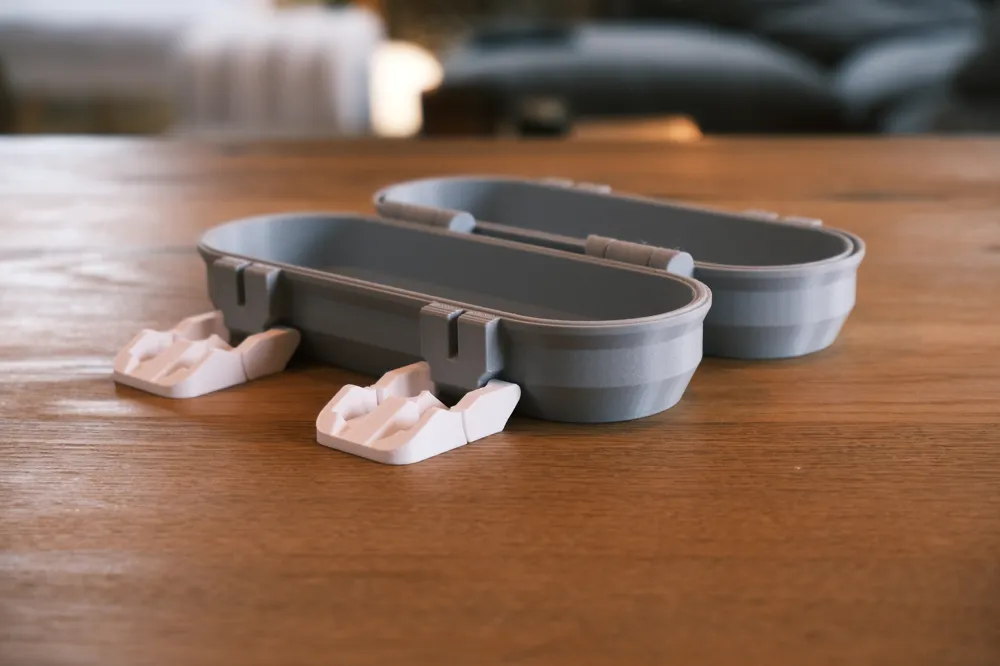
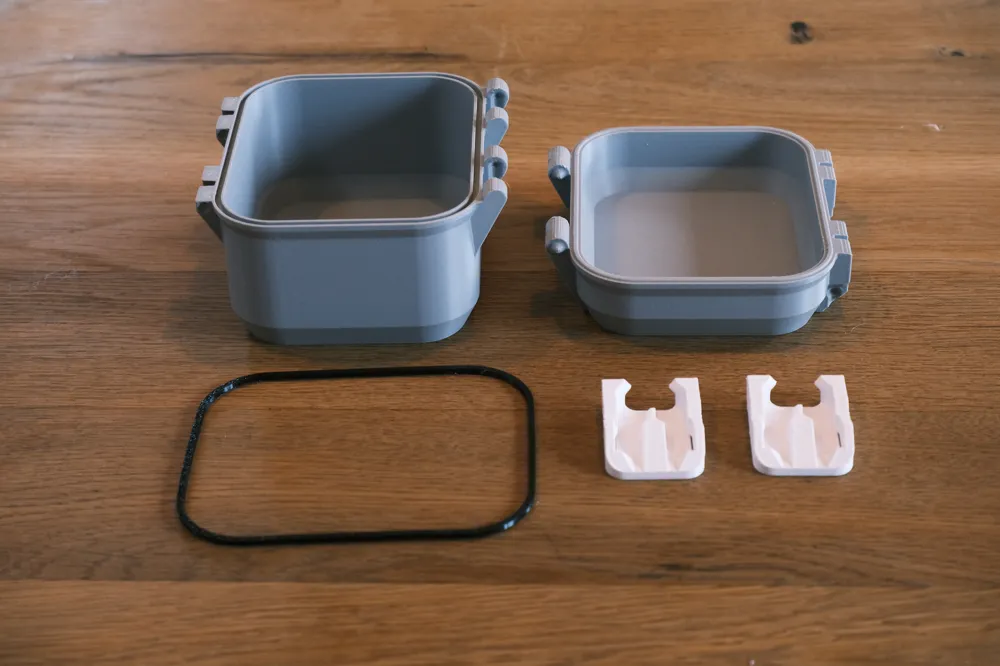
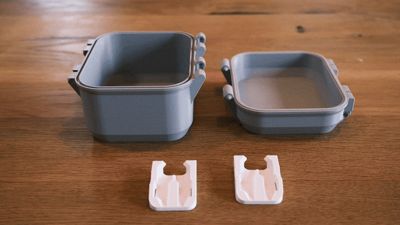
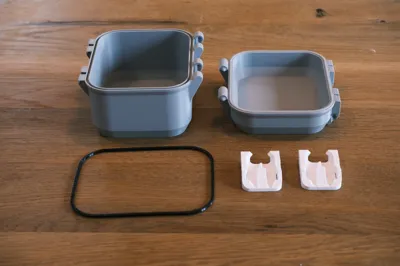
Then you can print the resulting parts like this :
(the TPU gasket is optional)
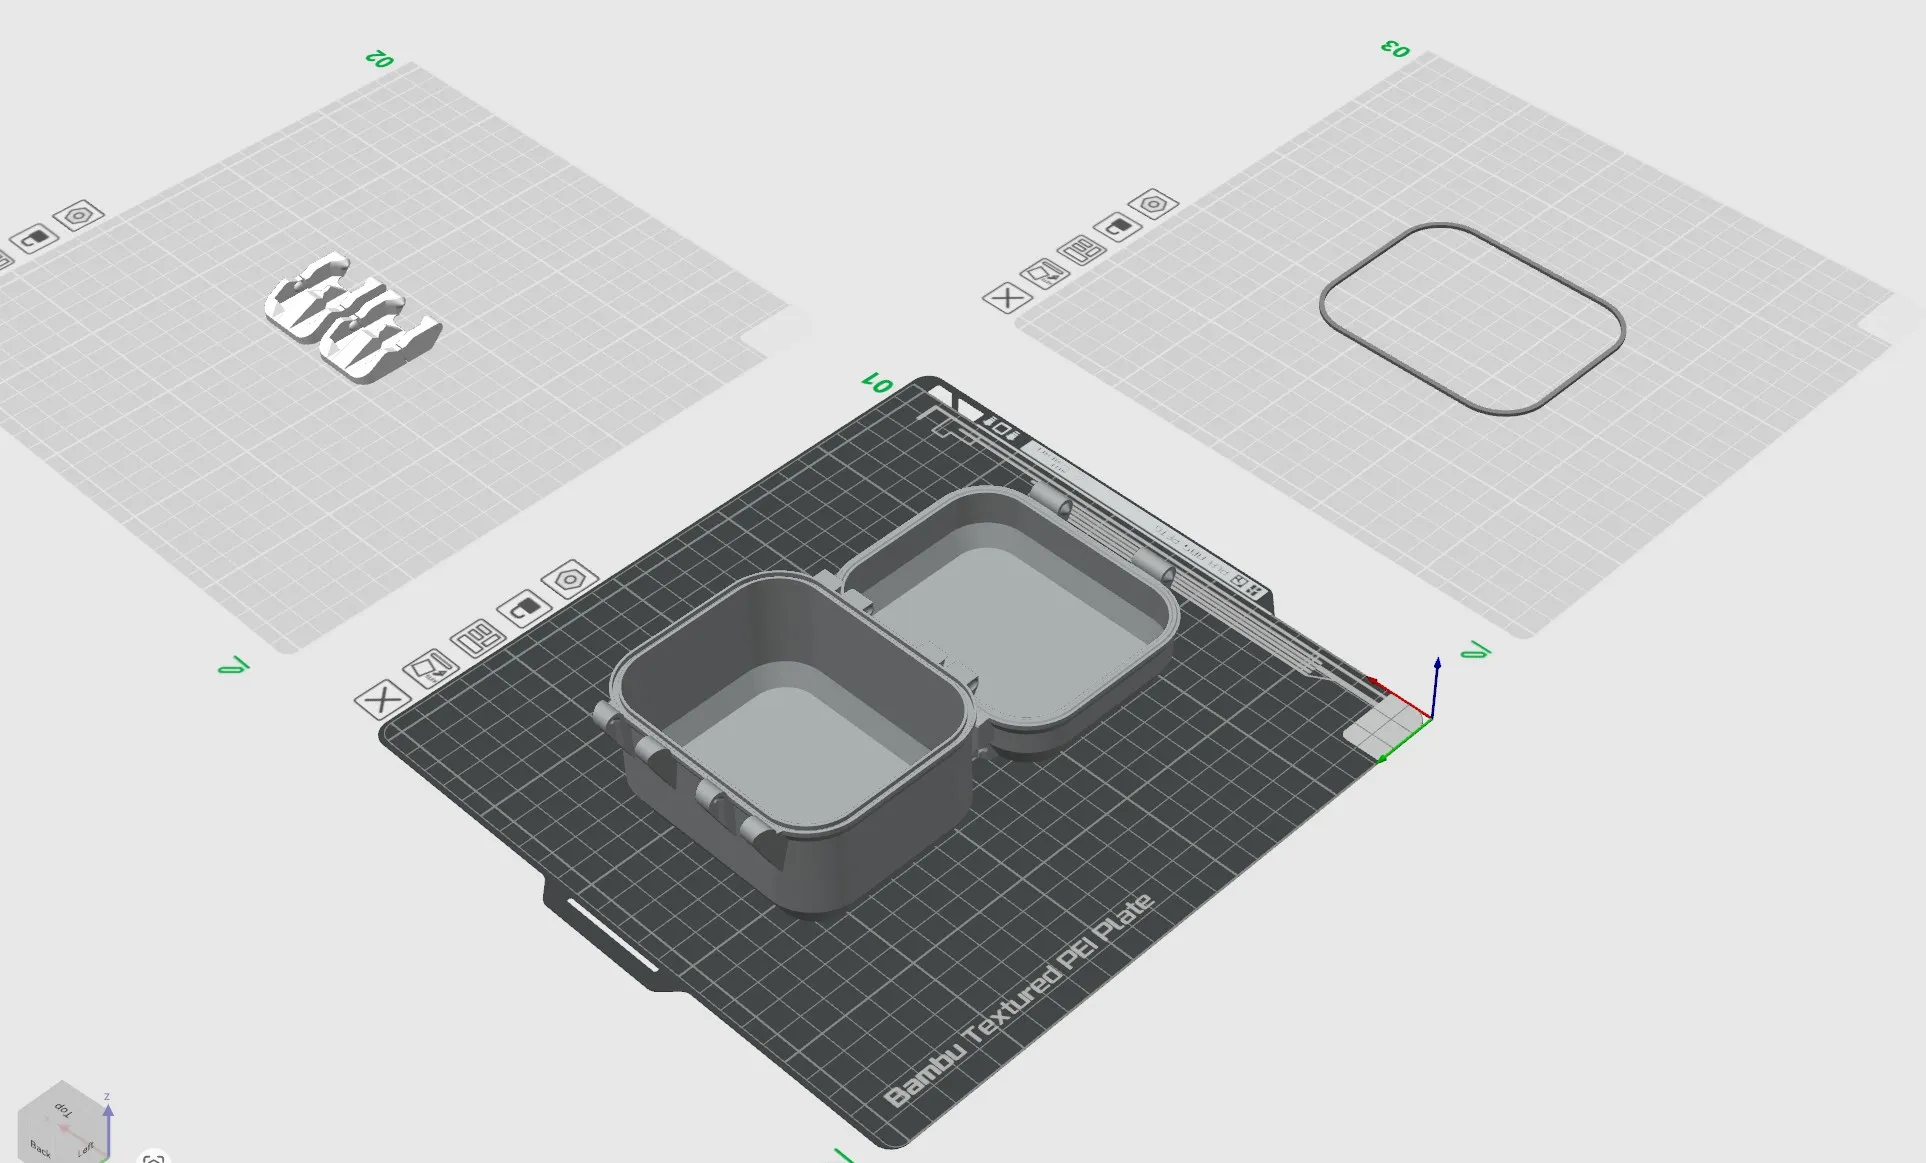
My favourite material for the latches is PETG but it works as well in PLA.
Assembly

The assembly is fairly straightforward, simply follow the GIF. One important detail to note is that a groove is designed to define the correct orientation for assembling the hinges and latches. This groove guides the parts into their proper position, and once installed, the assembly should be secure and hold up very well.
Fusion 360 file
If you are looking for the original f3d file to modify it in fusion you can find it here :
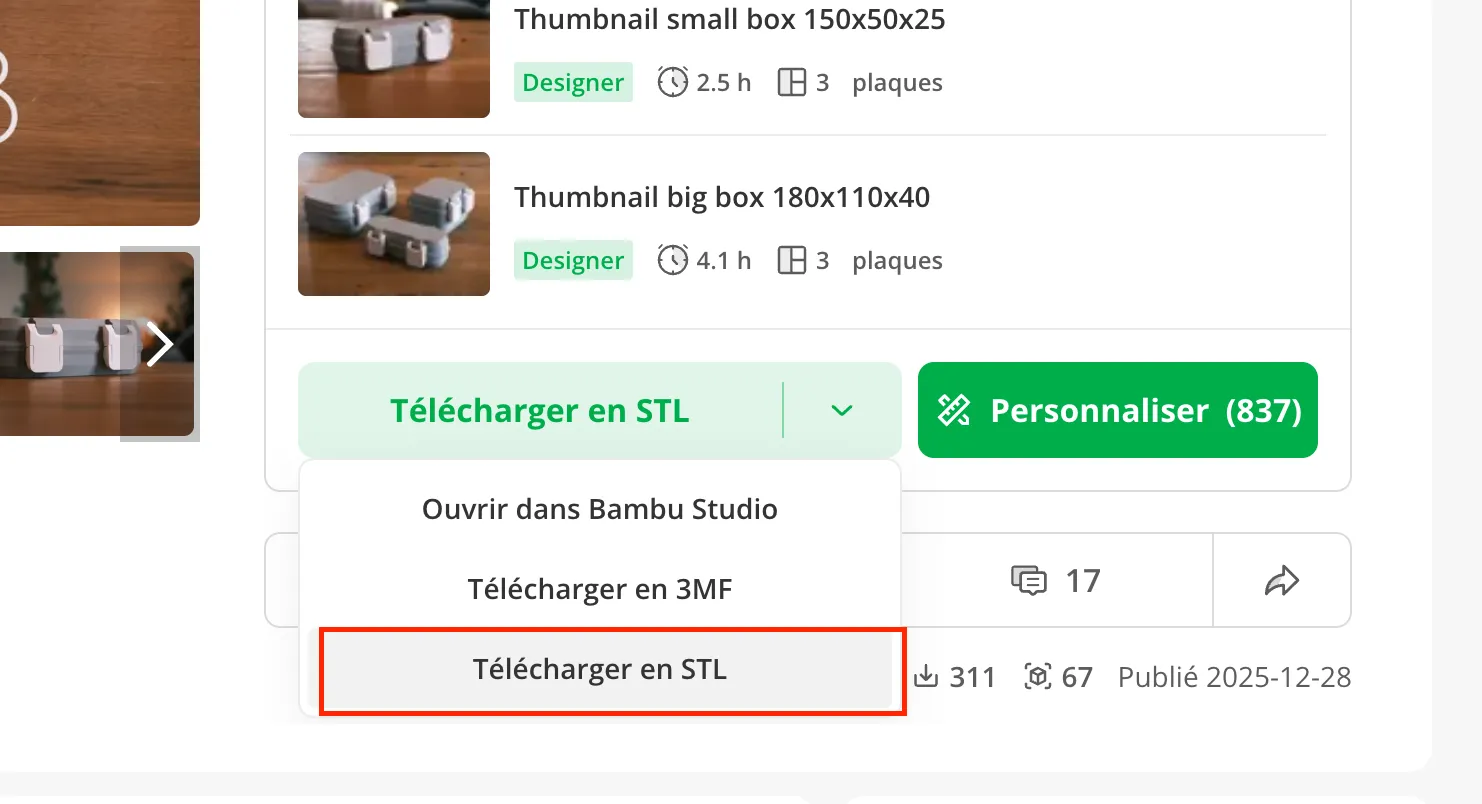
A window will pop up where you can download the file.
Enjoy !
License

You may create derivative works based on this object, provided that all such derivative works are published exclusively on the MakerWorld platform and include proper attribution to the original creator. You may not share, upload, host, distribute, or publish this object—or any derivative work of this object—on any other digital platform, marketplace, or distribution channel. Commercial use of this object and any derivative works is strictly prohibited. This includes, but is not limited to, selling, renting, sublicensing, or using the object in any context in which you receive monetary compensation or other financial benefits.


Comment & Rating (640)