
Simrig rollcage 70 and 60 deg. inc roof simracing
Print Profile(2)


Description
Boost Me (for free)
Post some result of those awesome builds and if possible a boost would mean a lot
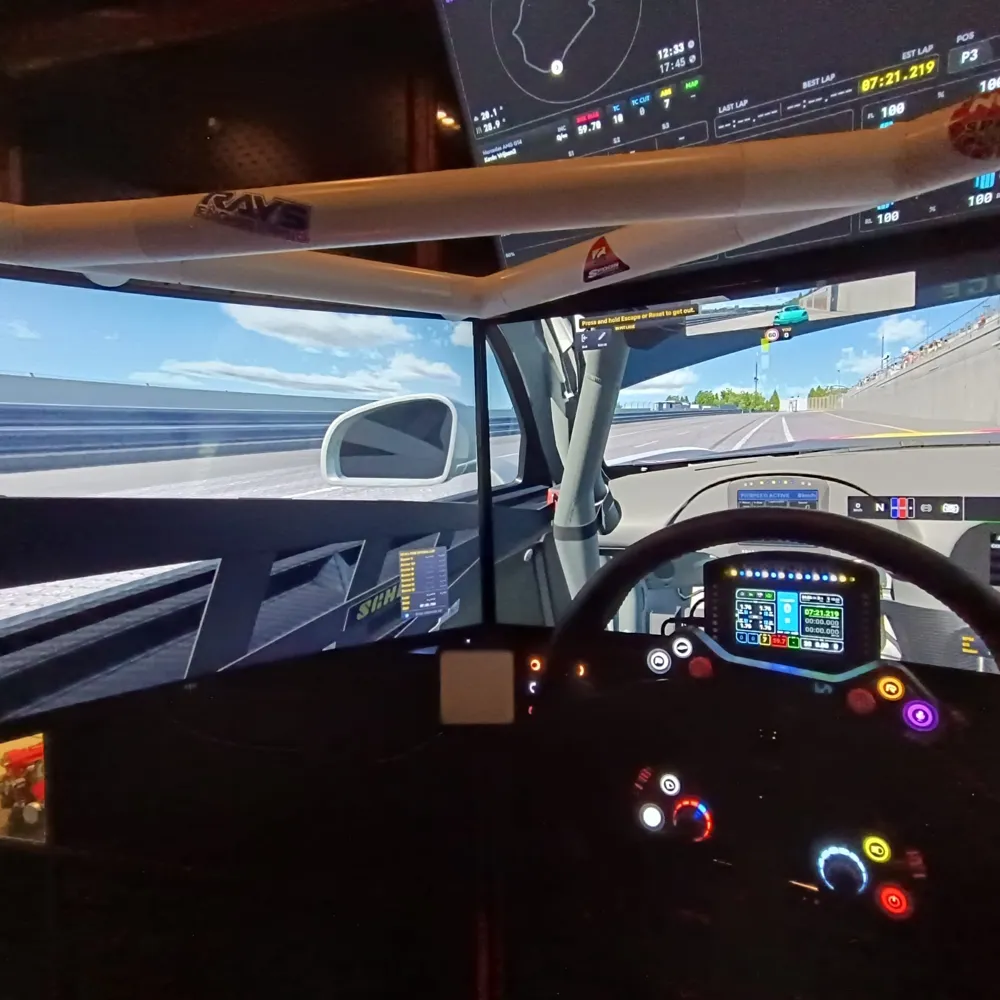
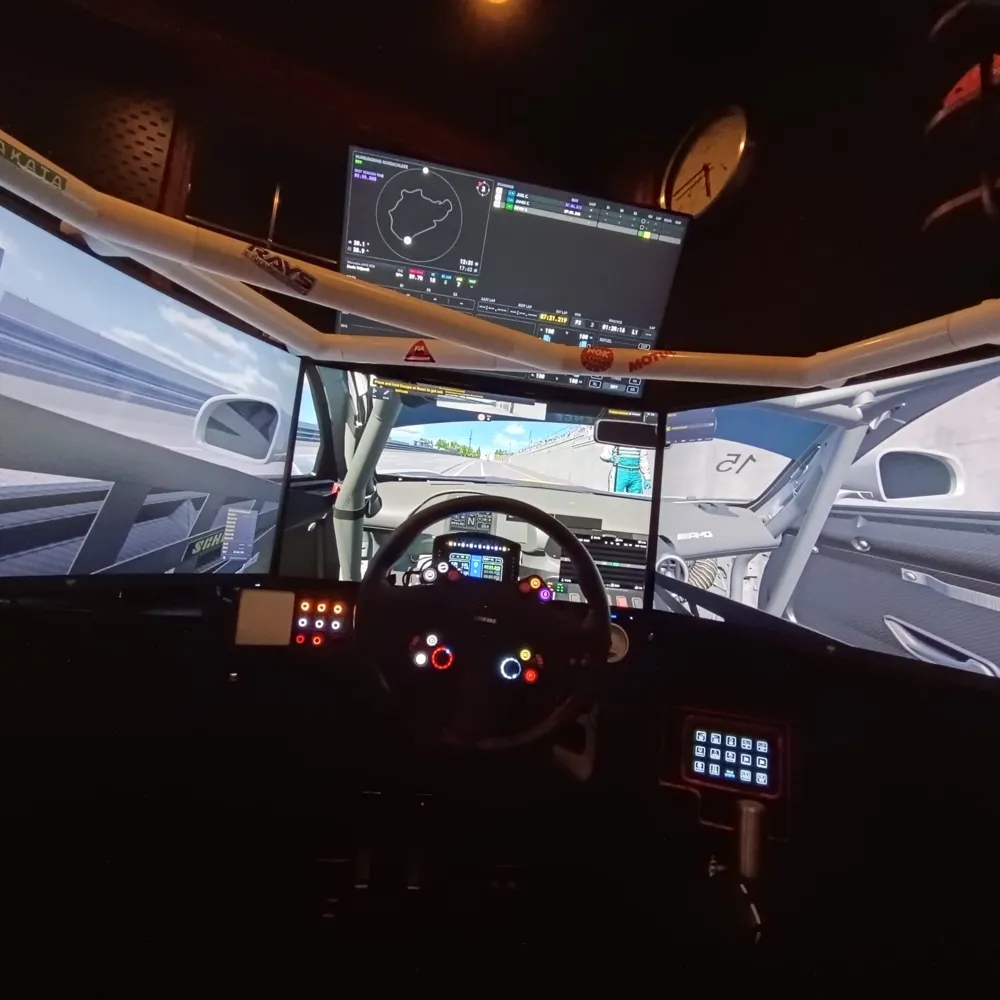
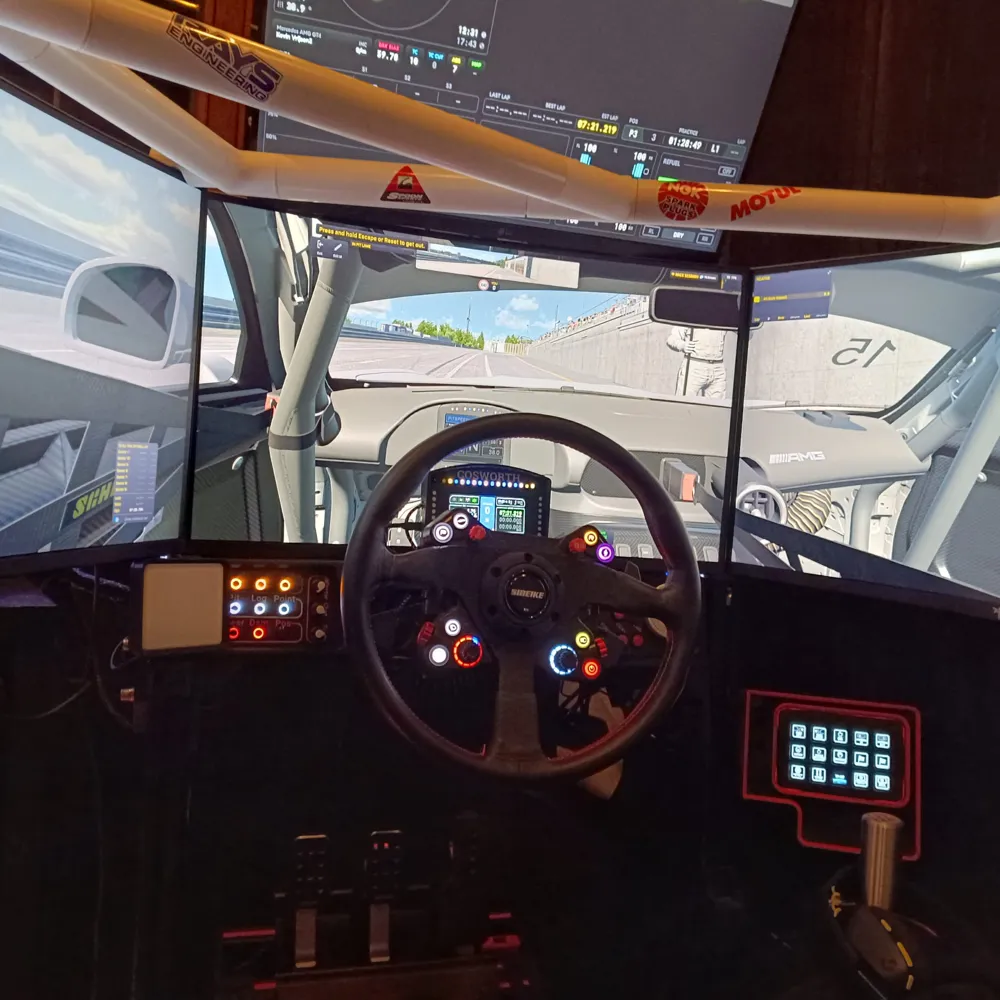
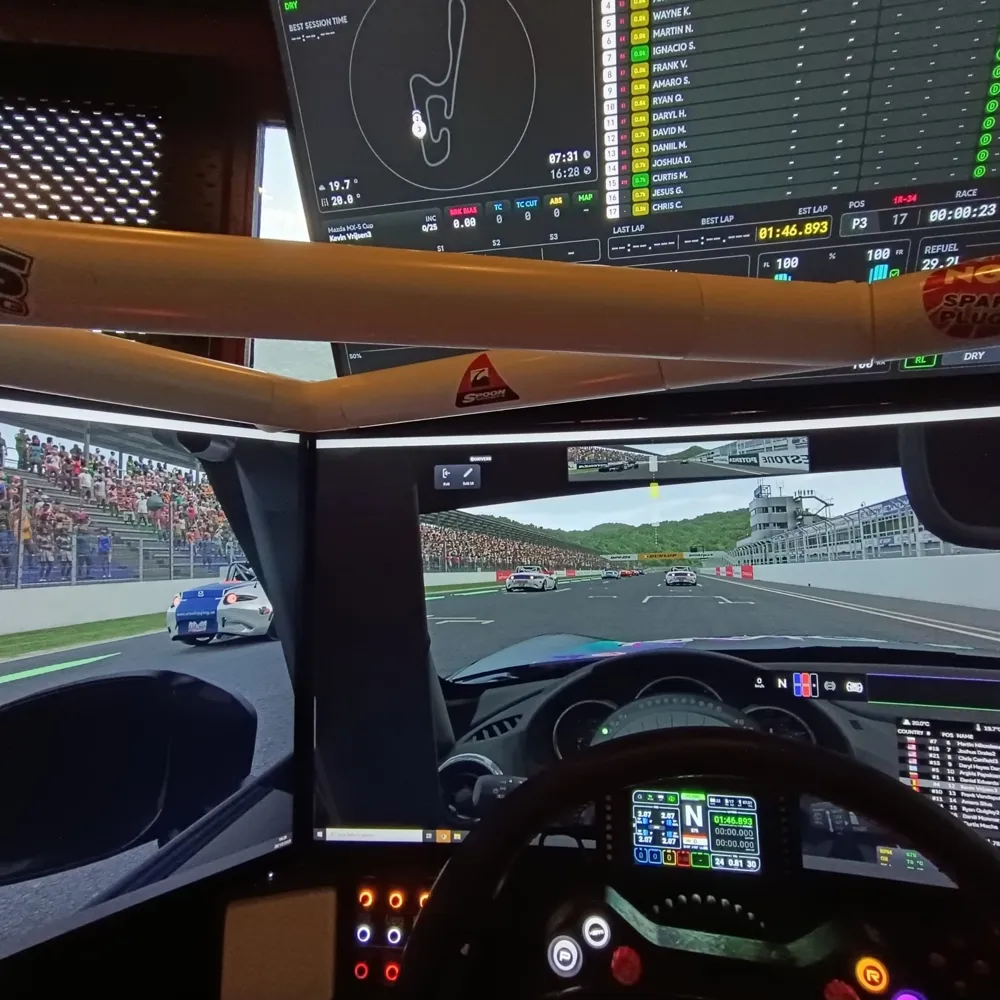
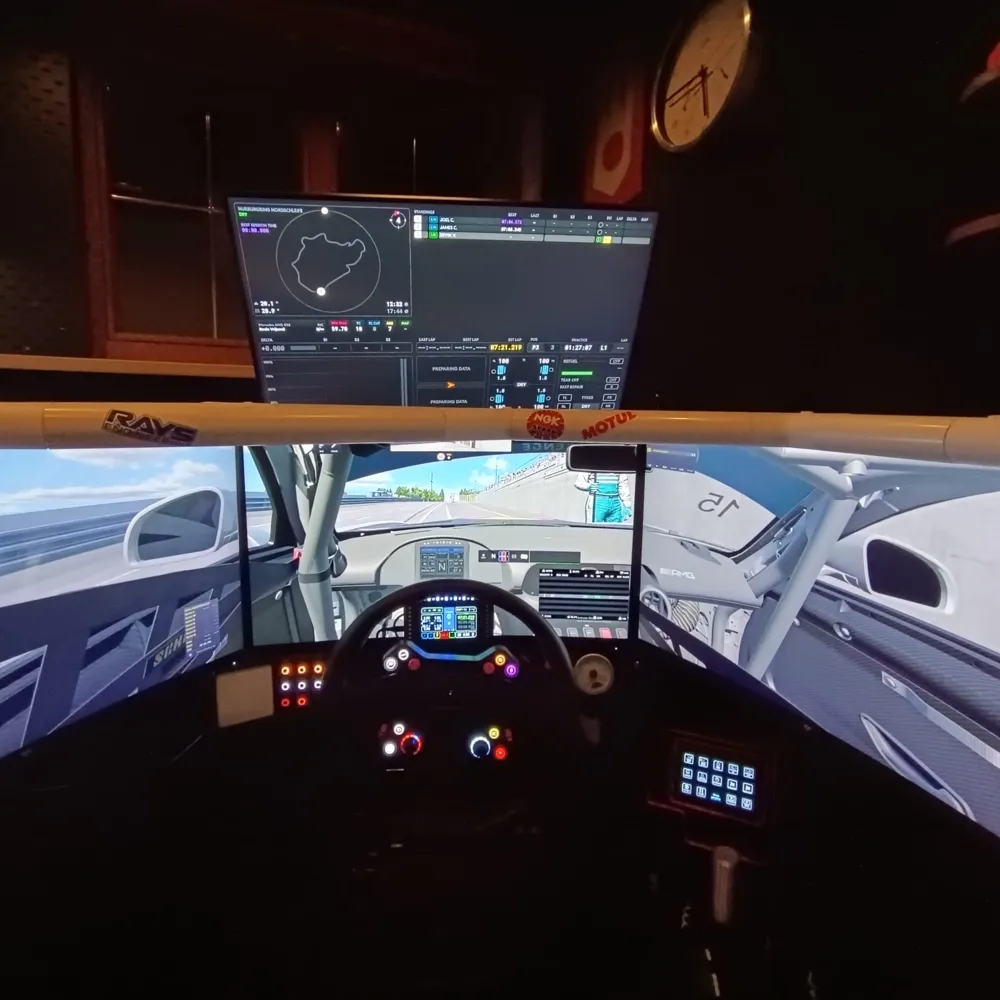
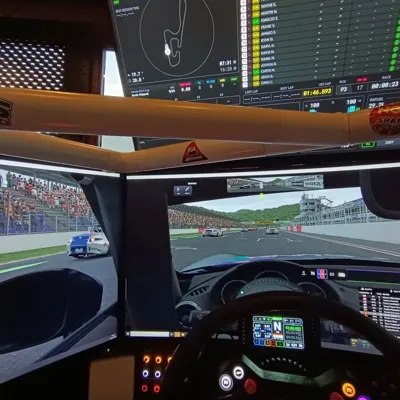
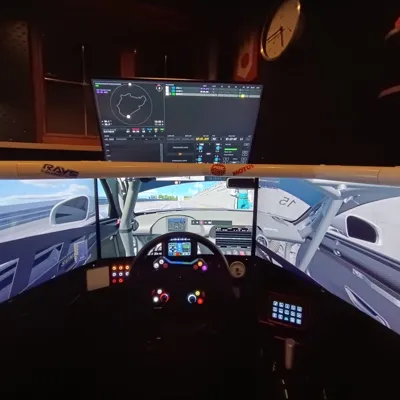
Enhance Your Sim Racing Immersion
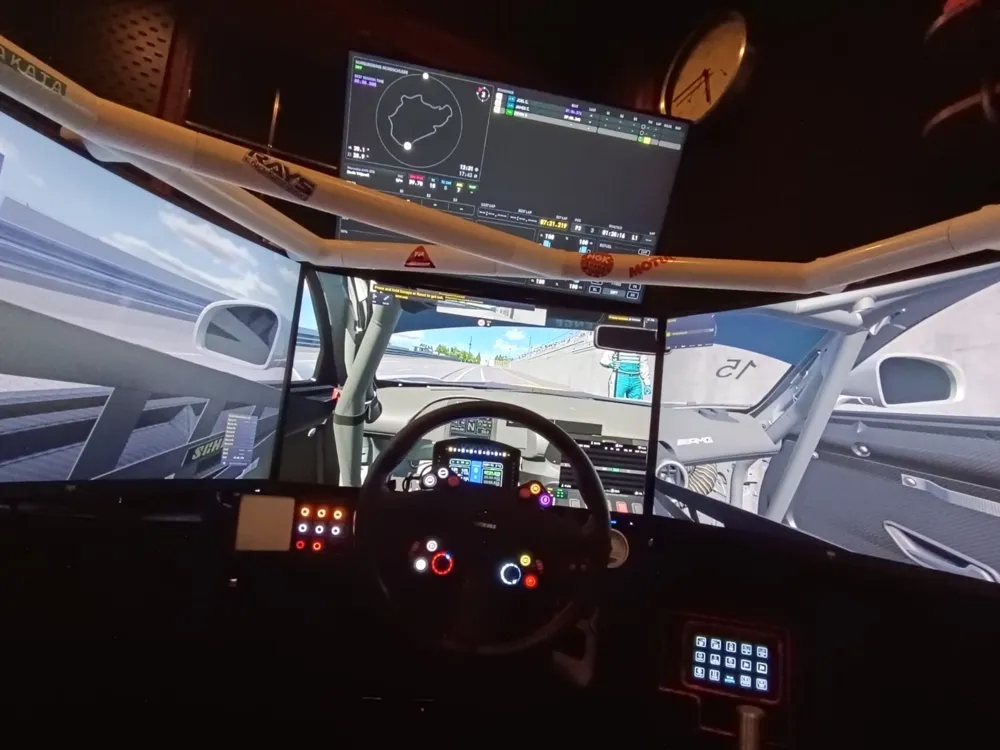
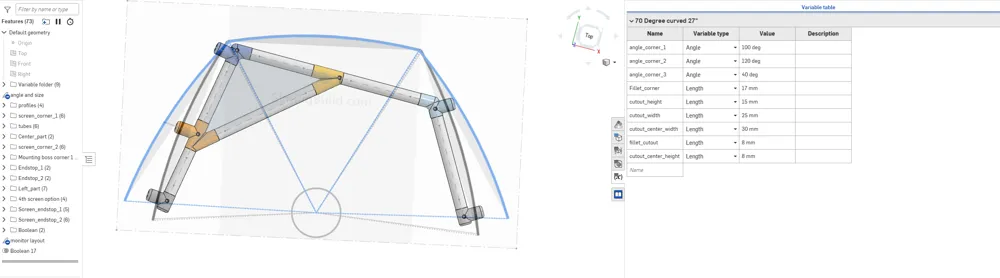
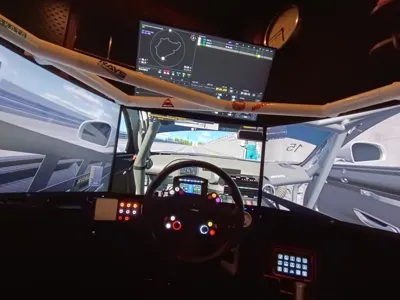
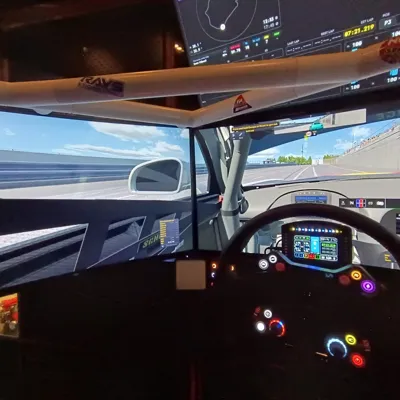
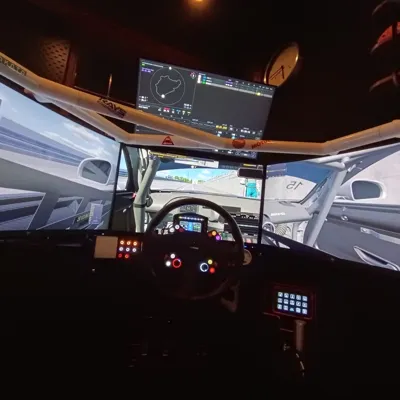
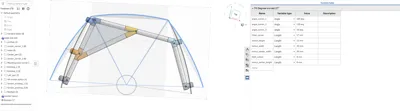
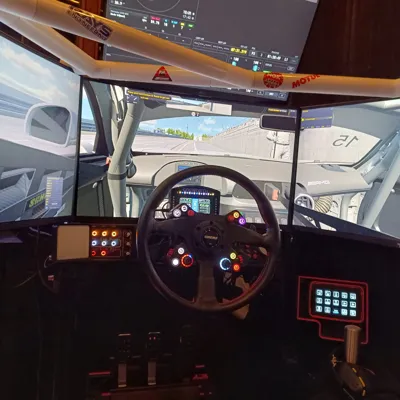
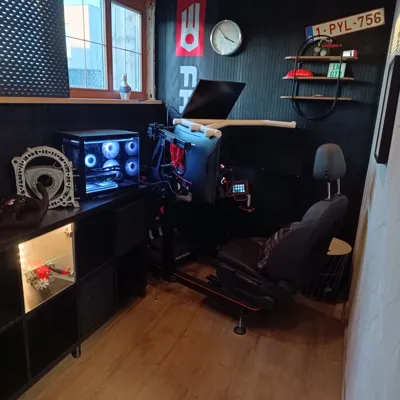
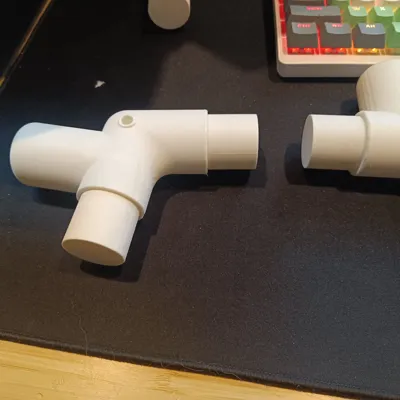
This 3D-printable roof roll cage idea comes from the original GripFuel design on MakerWorld, provides an extra layer of immersion for your sim racing experience by mimicking the structure of a real race car cockpit.Loved the design but made my own model from the ground up so i could easy could change and visualize the different options.
Design & Compatibility
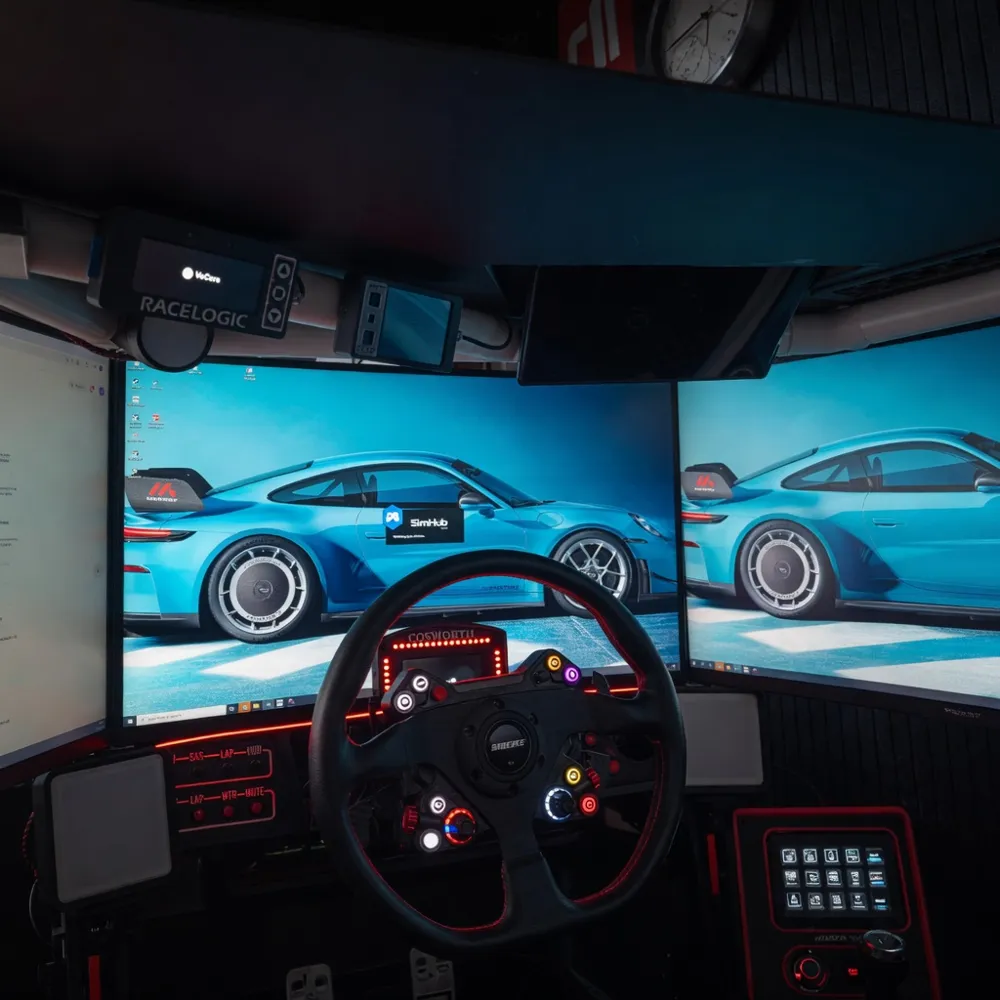
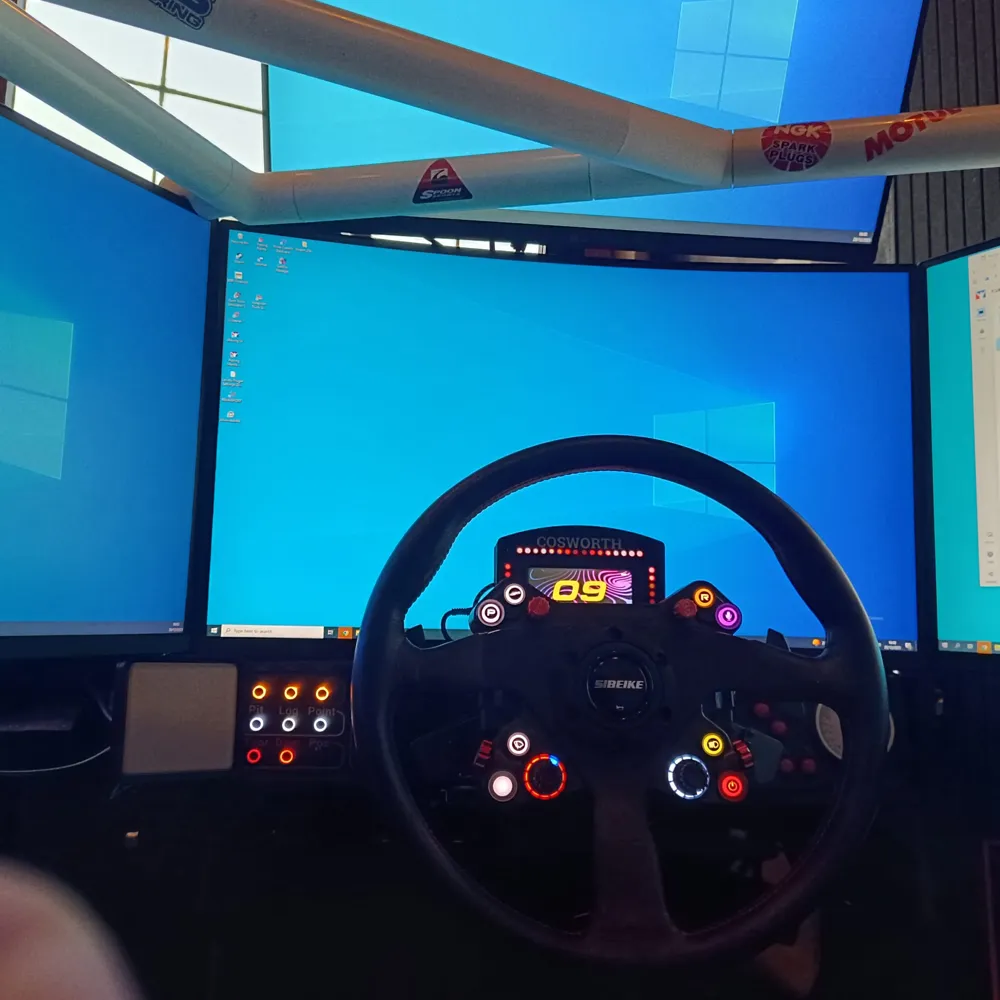
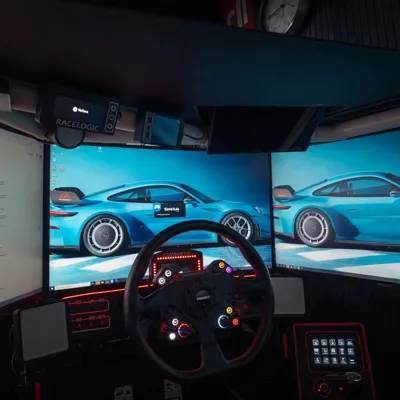
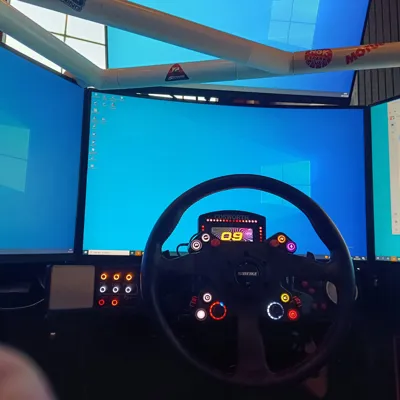
- Monitor Angles: This version is specifically engineered to fit 70-degree triple screen setups, and a separate 60-degree version is also available to cater to various configurations. It works with both curved and flat screens, adding a top border that helps black out vertical peripheral vision for a more focused field of view.
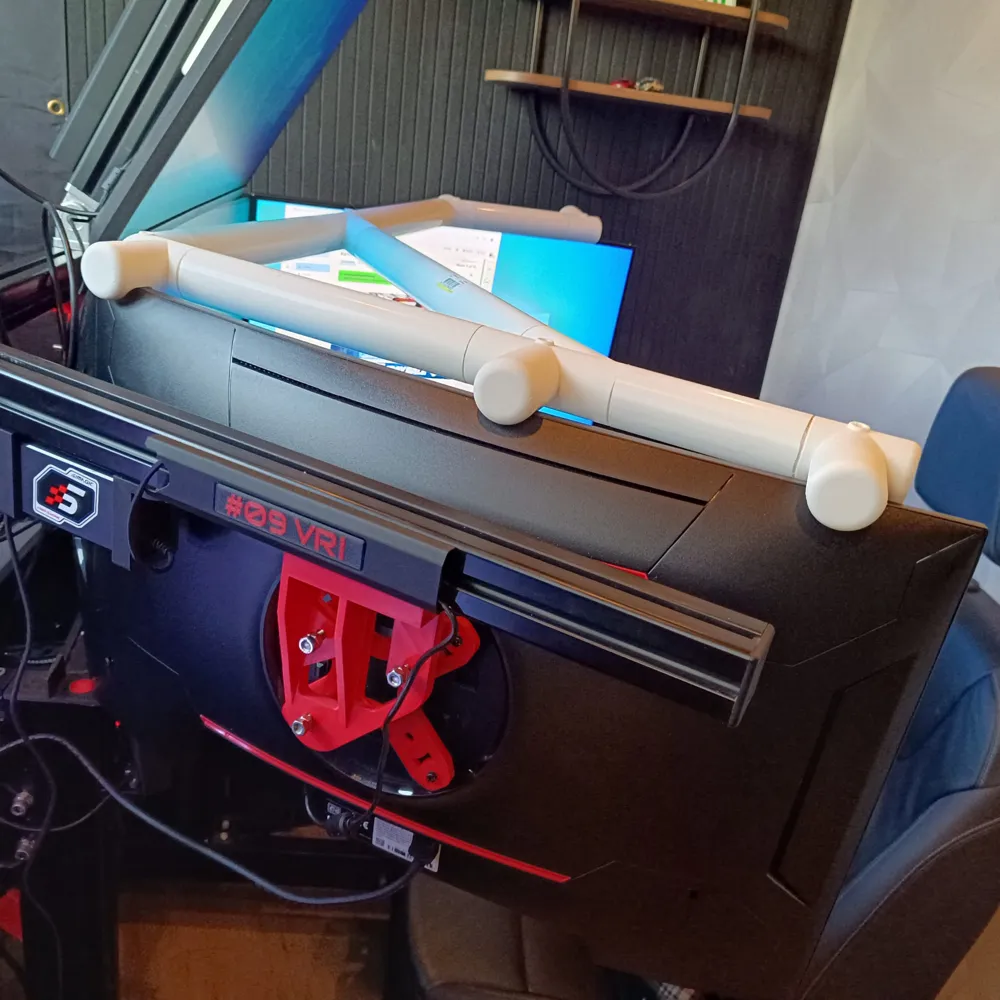
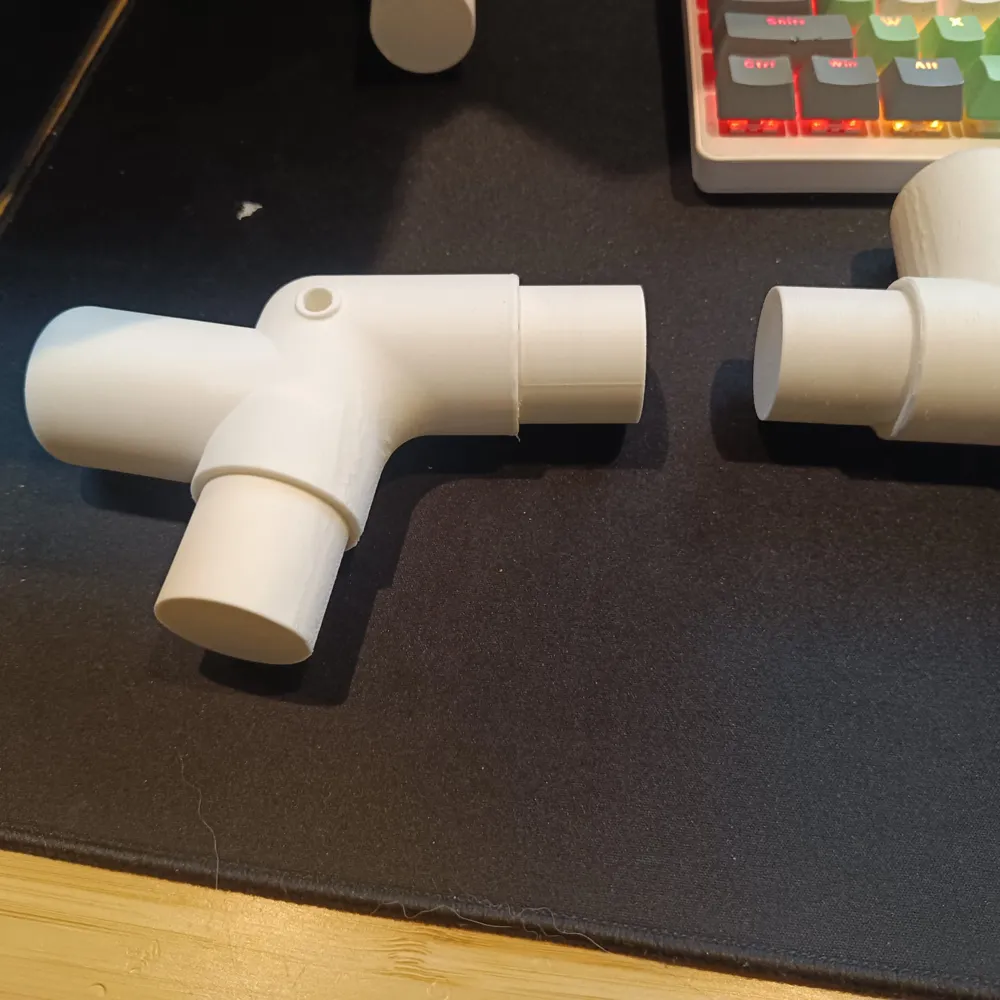
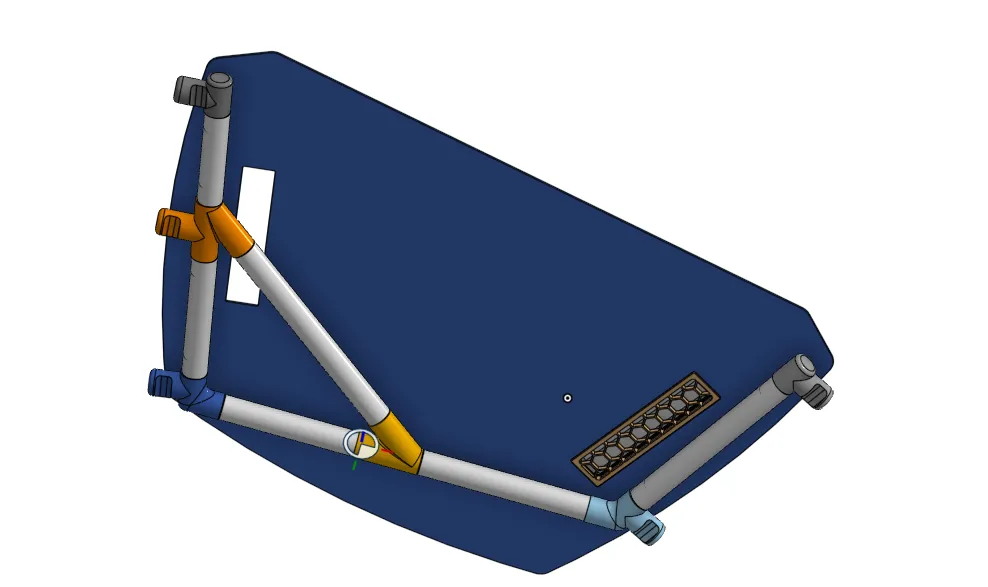
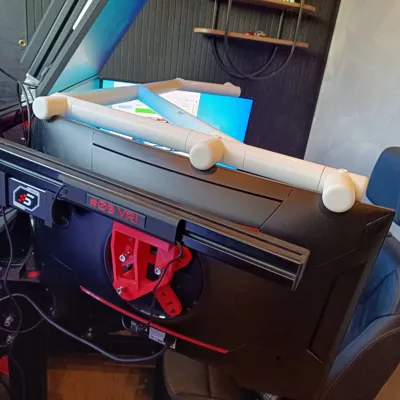
- Structure: The design uses robust, easily sourceable piping with a 34mm ID and 40mm OD (similar to common 1-inch Schedule 40 PVC used in other designs). The flexible design means pipe dimensions are simple to change if needed.
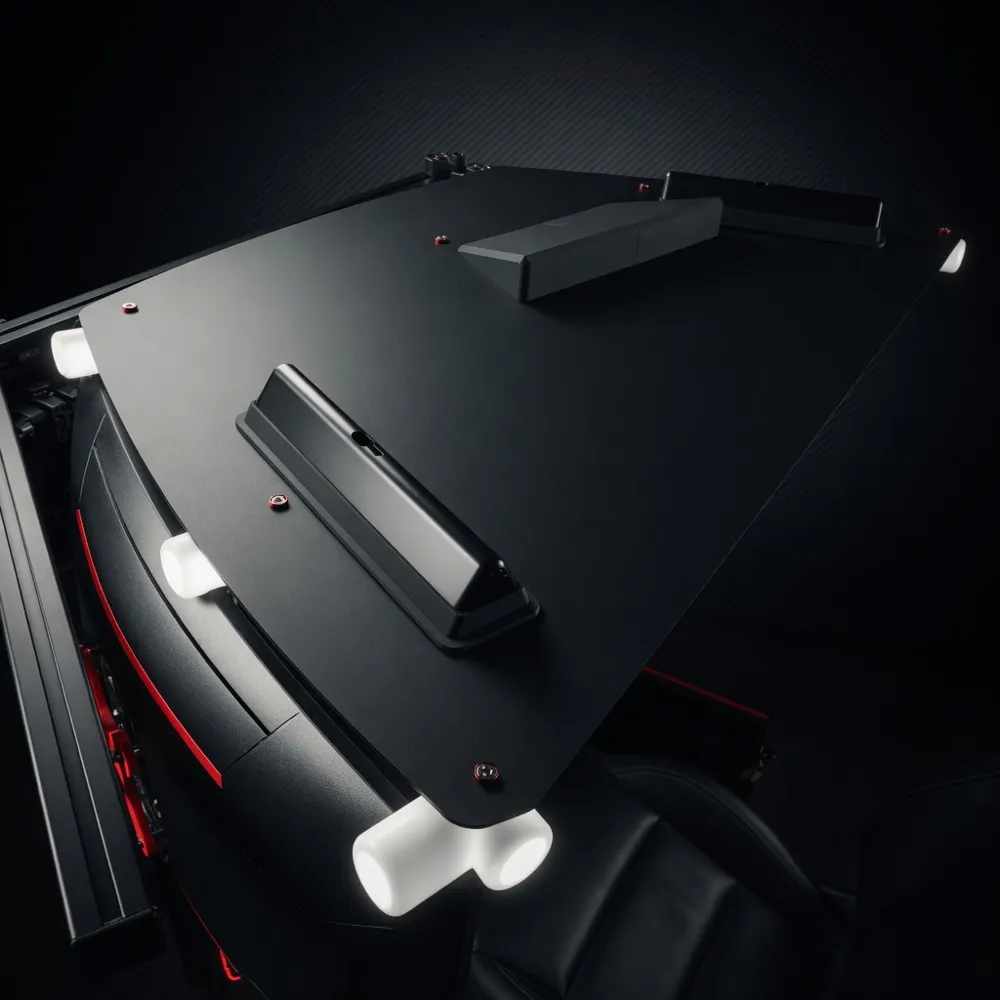
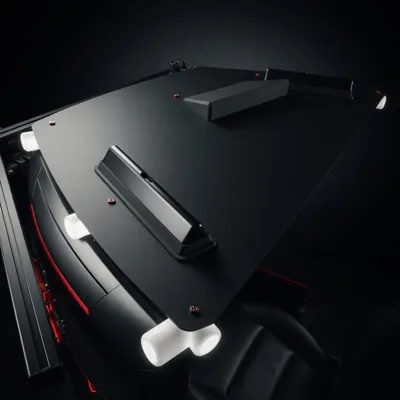
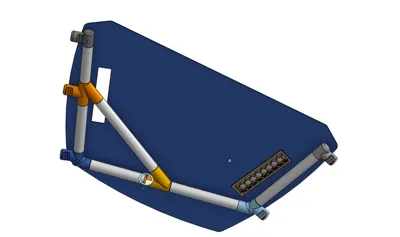
- Customization: The fittings include bosses designed to accept M5 heated inserts. This allows you to easily mount a roof panel using materials like Alubond or foam board to fully enclose your cockpit and complete the realistic feel.
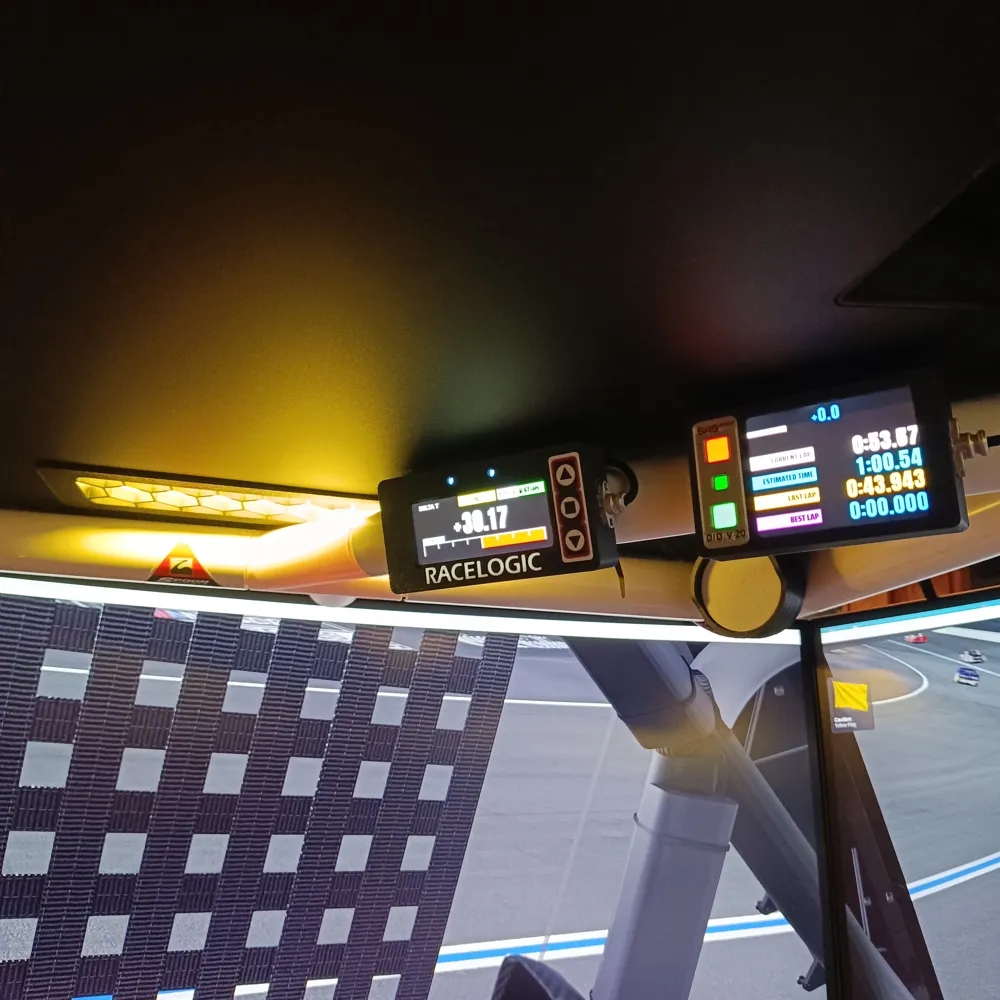
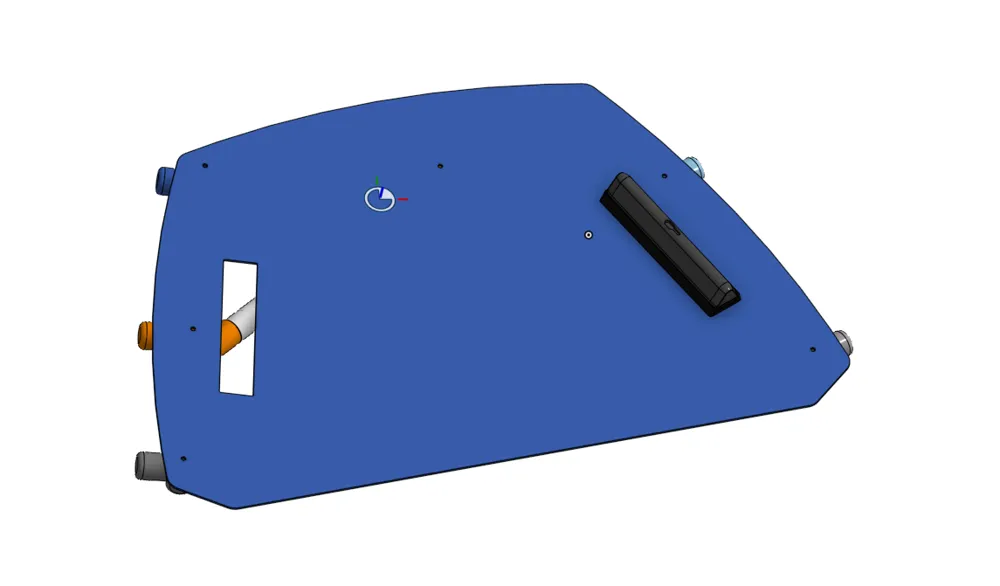
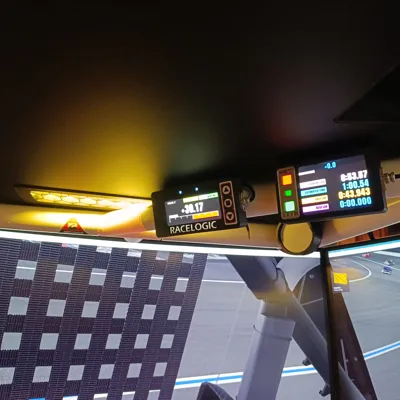
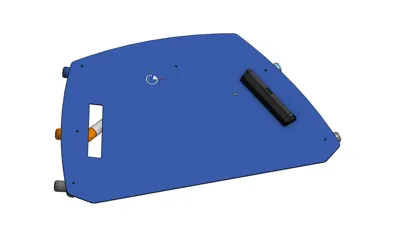
- Roof: Roof files included in the folder DXF and STEP so yo can let it get lasercut there are openings for the Govee light holders from user Iansmash
Assembly
Assembly is straightforward:
- Print the necessary joints and fittings in a durable material like PLA.
- Cut your chosen pipes to the appropriate lengths (a pipe cutter is recommended for clean edges).
- Test fit the frame over your monitors and make minor adjustments by gently heating the PVC pipe or joints if necessary.
- Add your top material using the mounting points or adhesives for a secure fit.
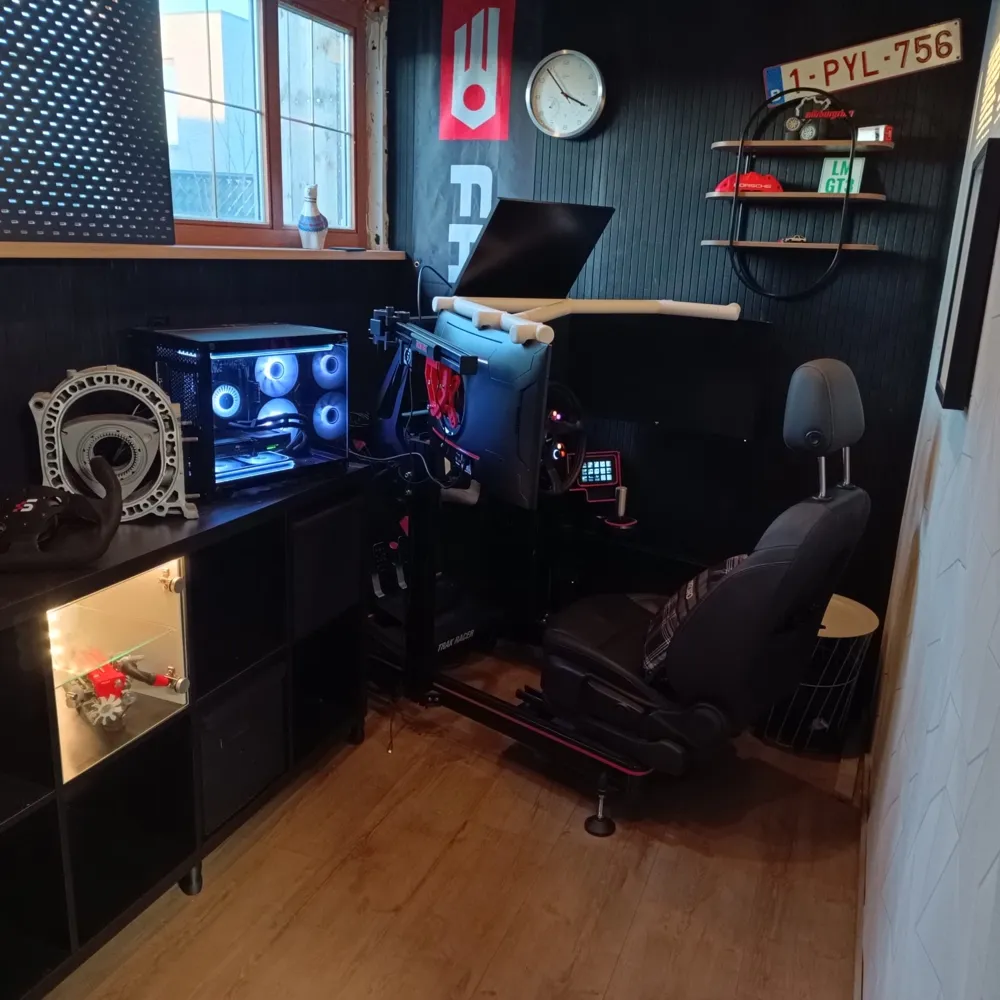
This project is a great way to add an impactful modification to an existing aluminum profile rig for enhanced realism.
License

You may create derivative works based on this object, provided that all such derivative works are published exclusively on the MakerWorld platform and include proper attribution to the original creator. You may not share, upload, host, distribute, or publish this object—or any derivative work of this object—on any other digital platform, marketplace, or distribution channel. Commercial use of this object and any derivative works is strictly prohibited. This includes, but is not limited to, selling, renting, sublicensing, or using the object in any context in which you receive monetary compensation or other financial benefits.


Comment & Rating (24)