
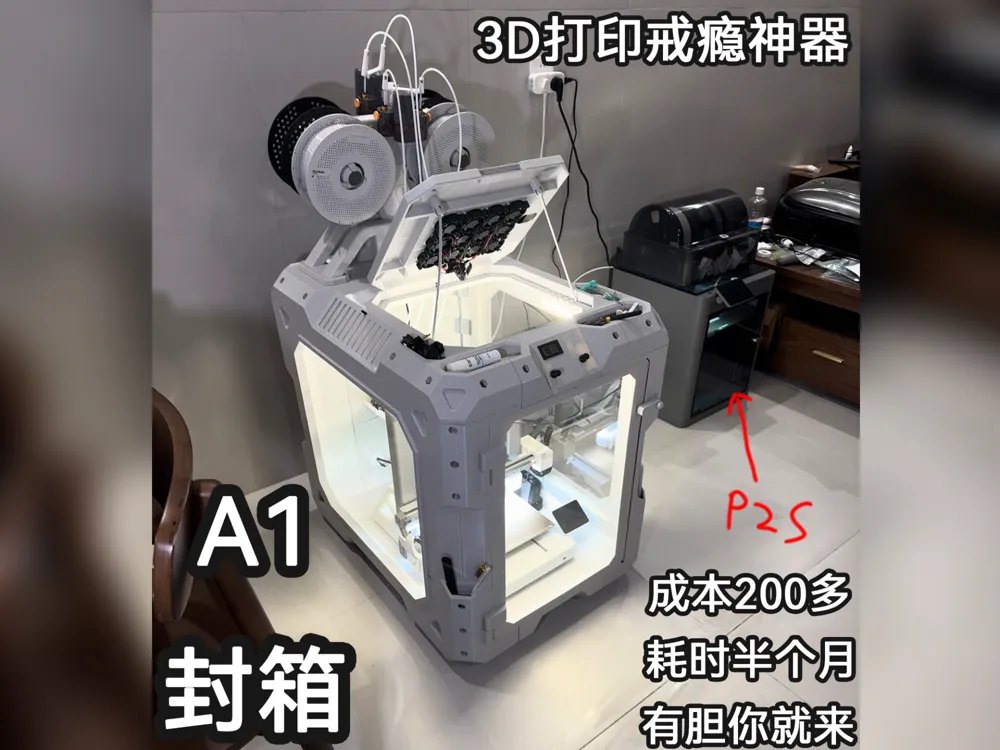
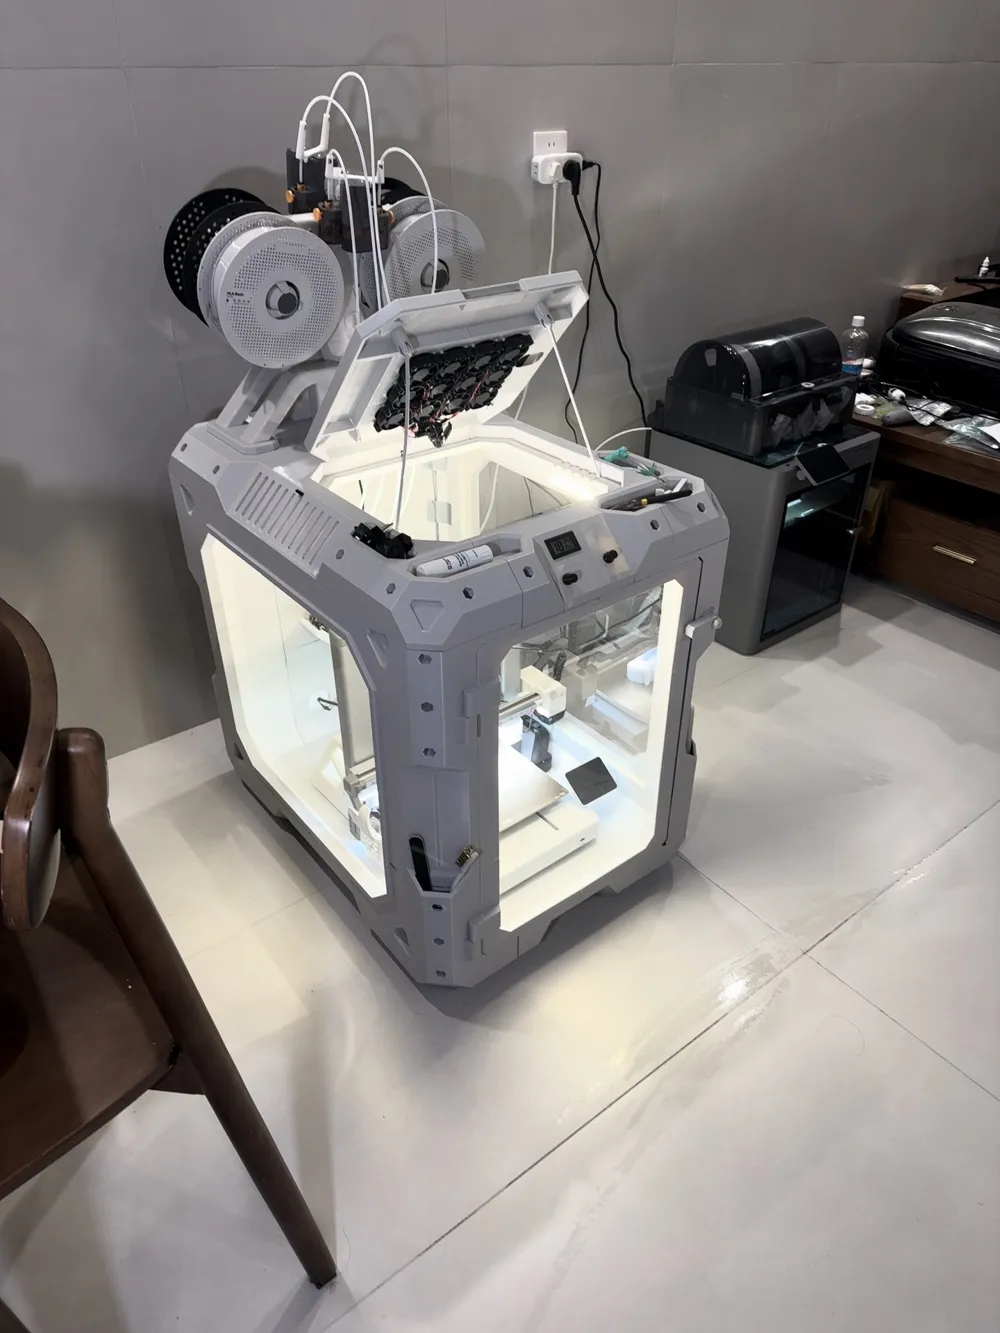
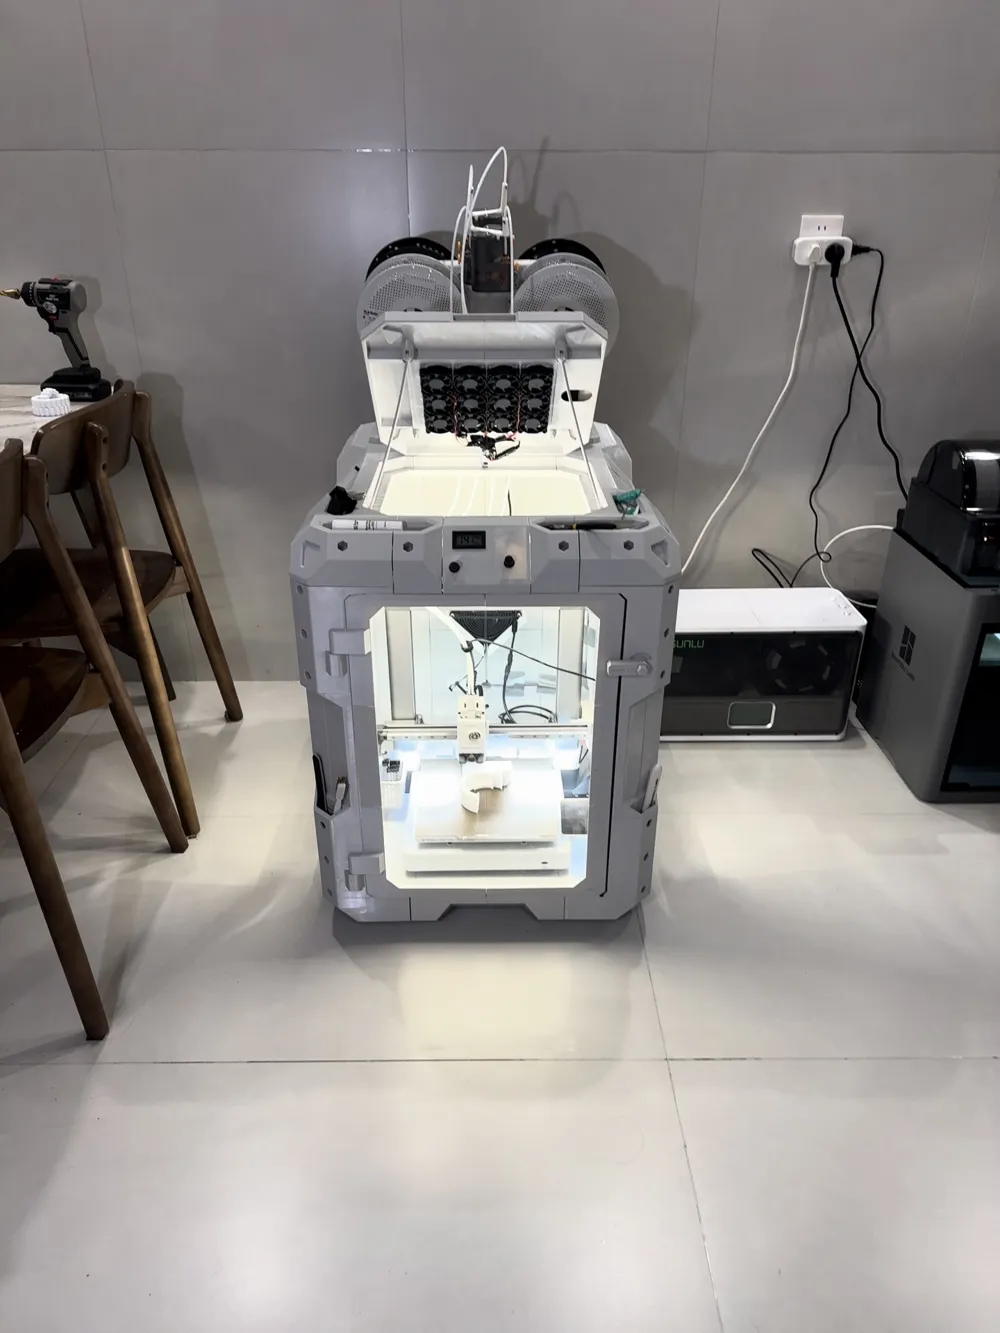
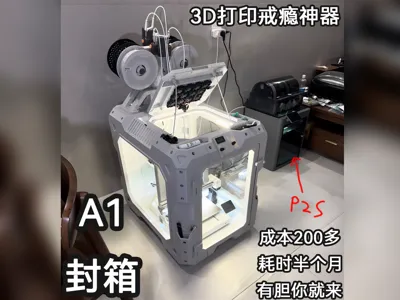
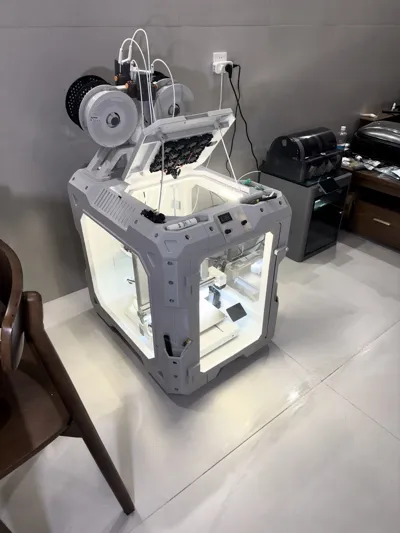
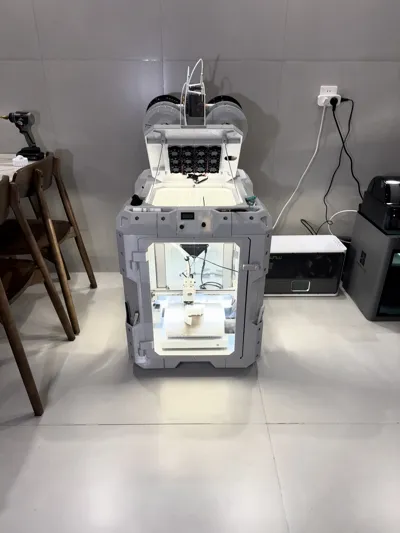
Bambu Lab A1 enclosure
Print Profile(6)


Description
Boost Me (for free)
I salute you
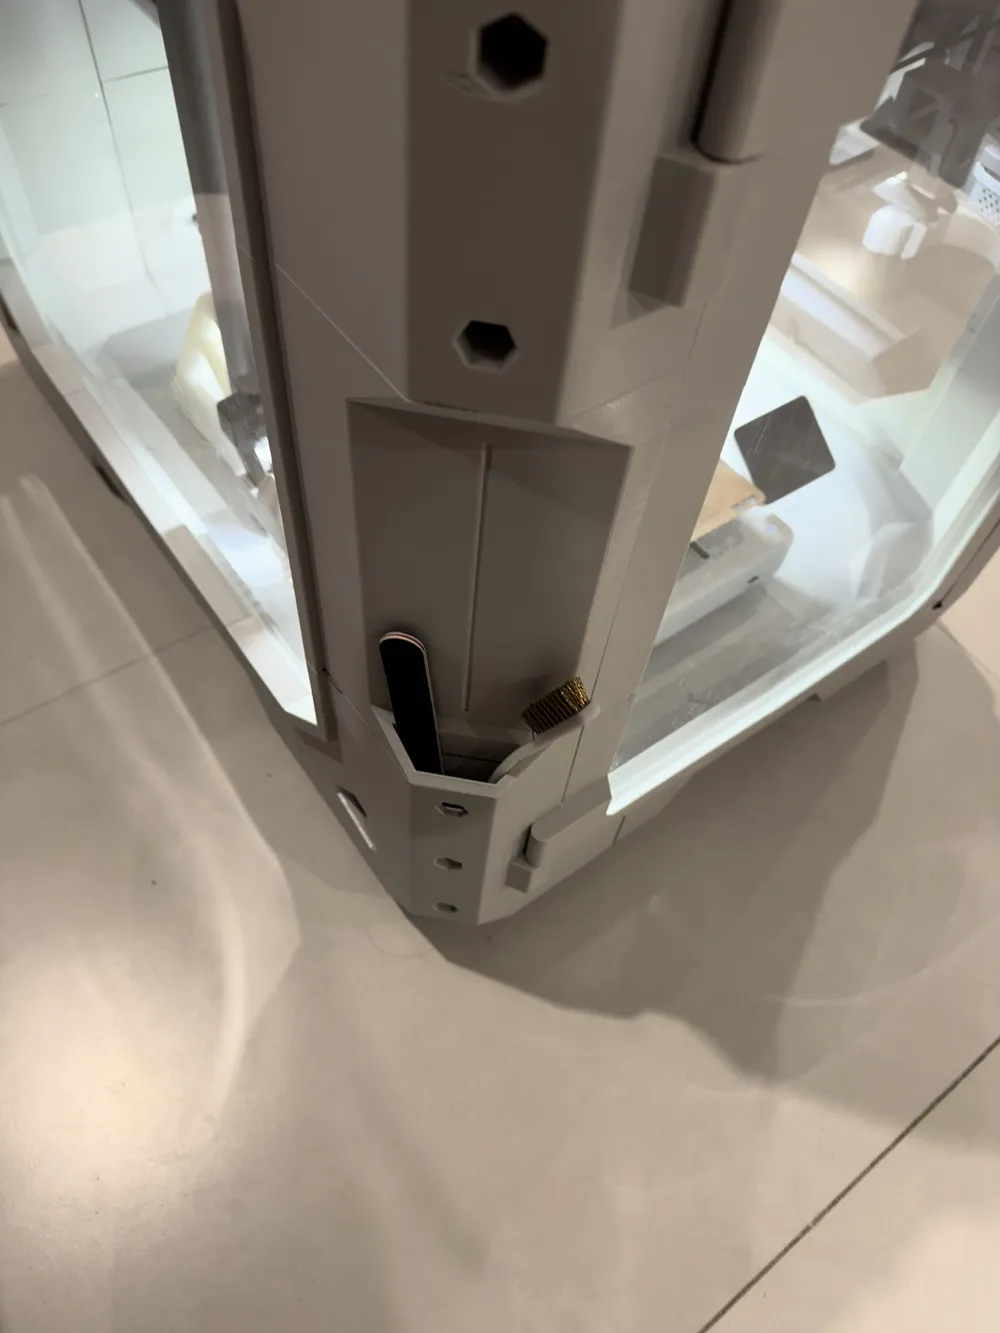
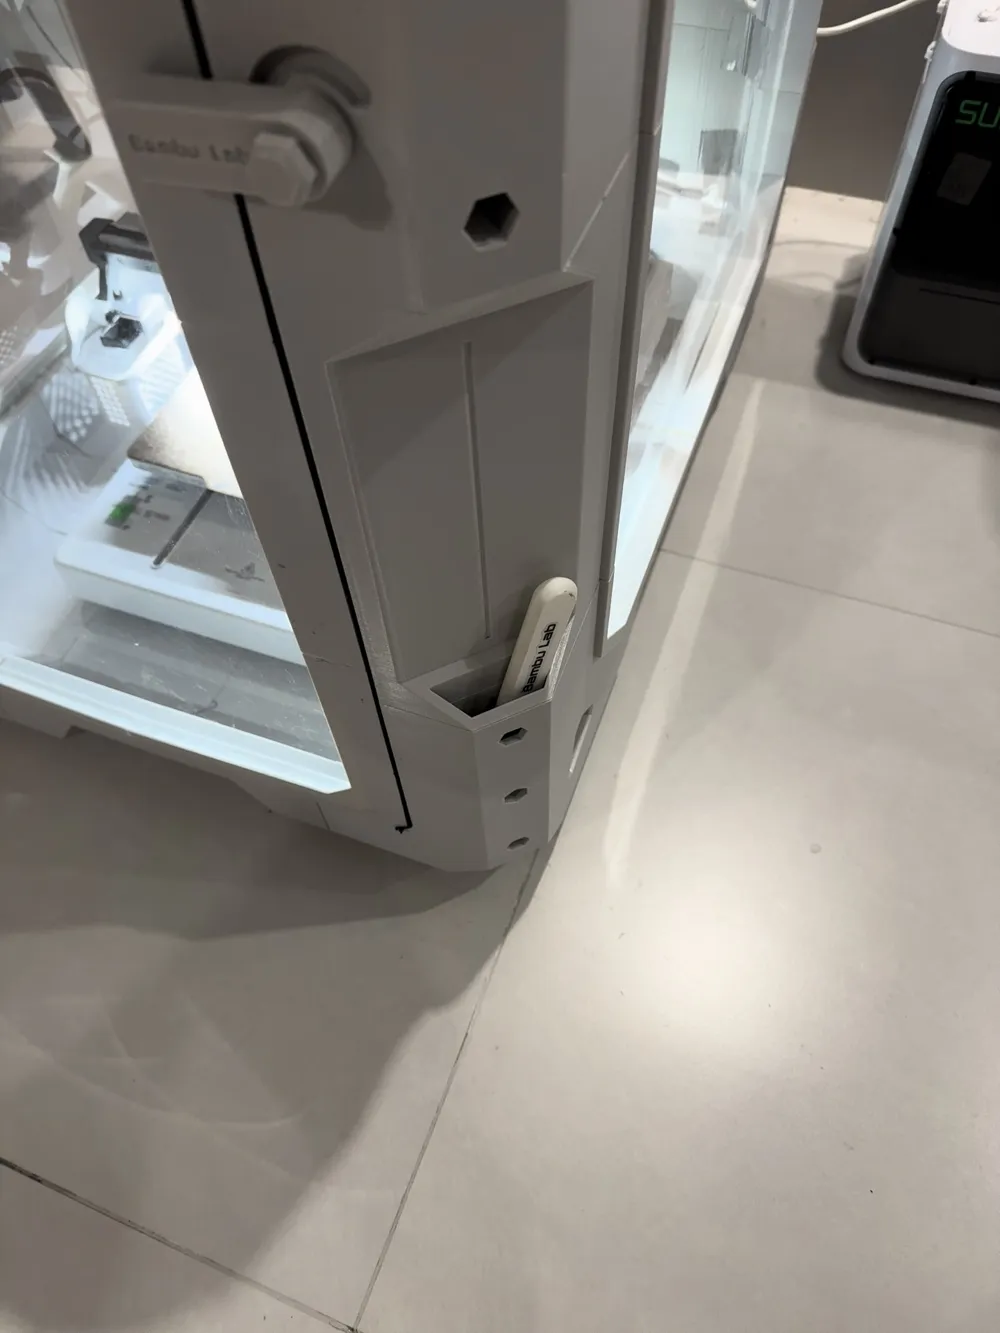
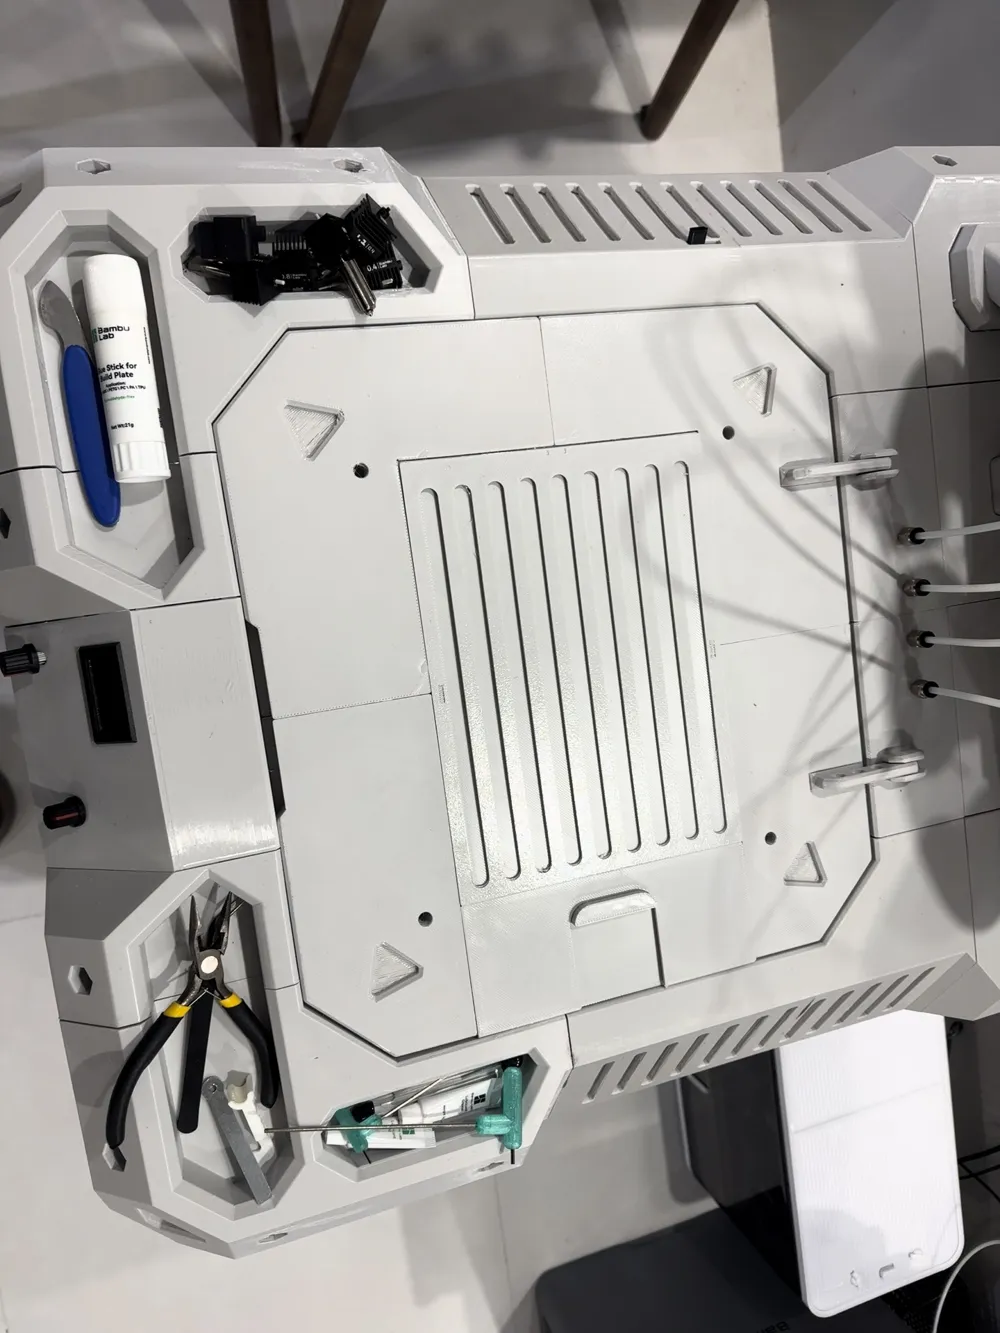
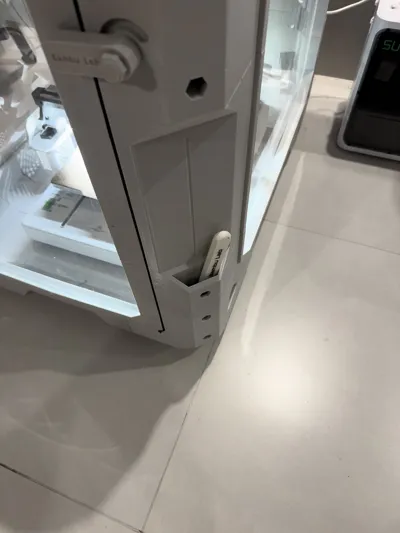
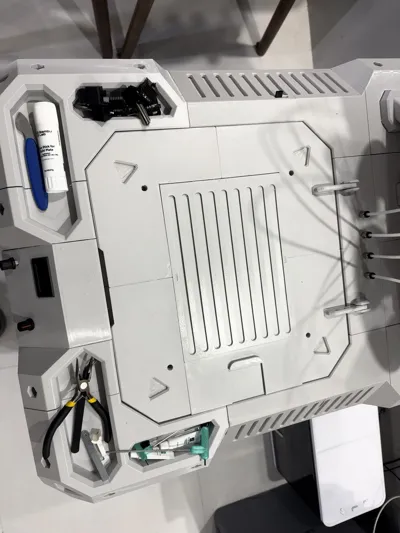
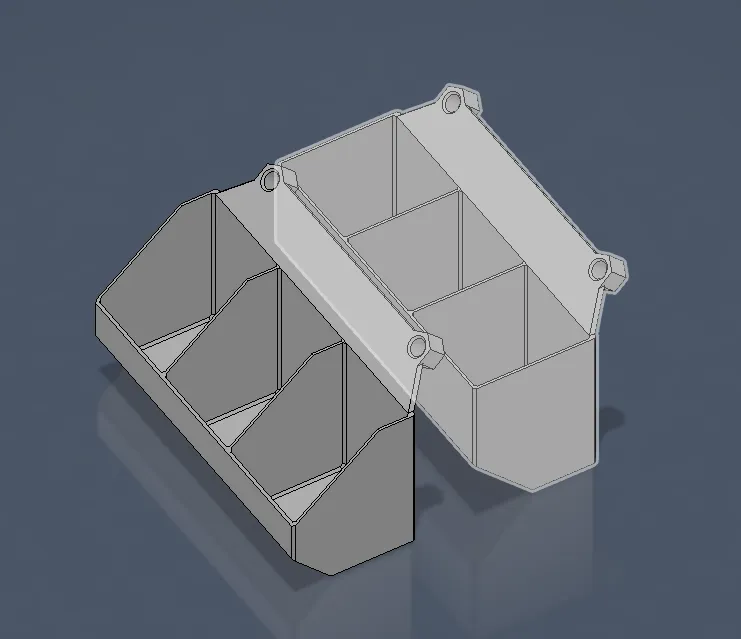
--Because I felt like I had too many small accessories bought for printing, I simply made two storage boxes for both sides of the enclosure, one with a flat opening and one with an angled opening, to hold more small items.
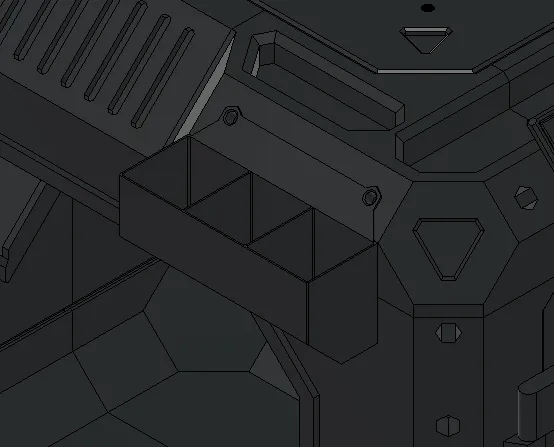
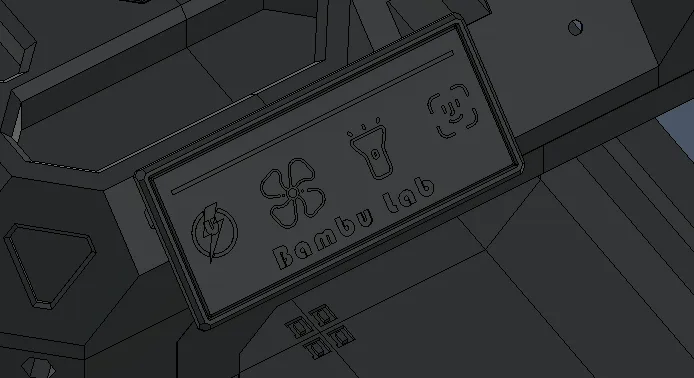
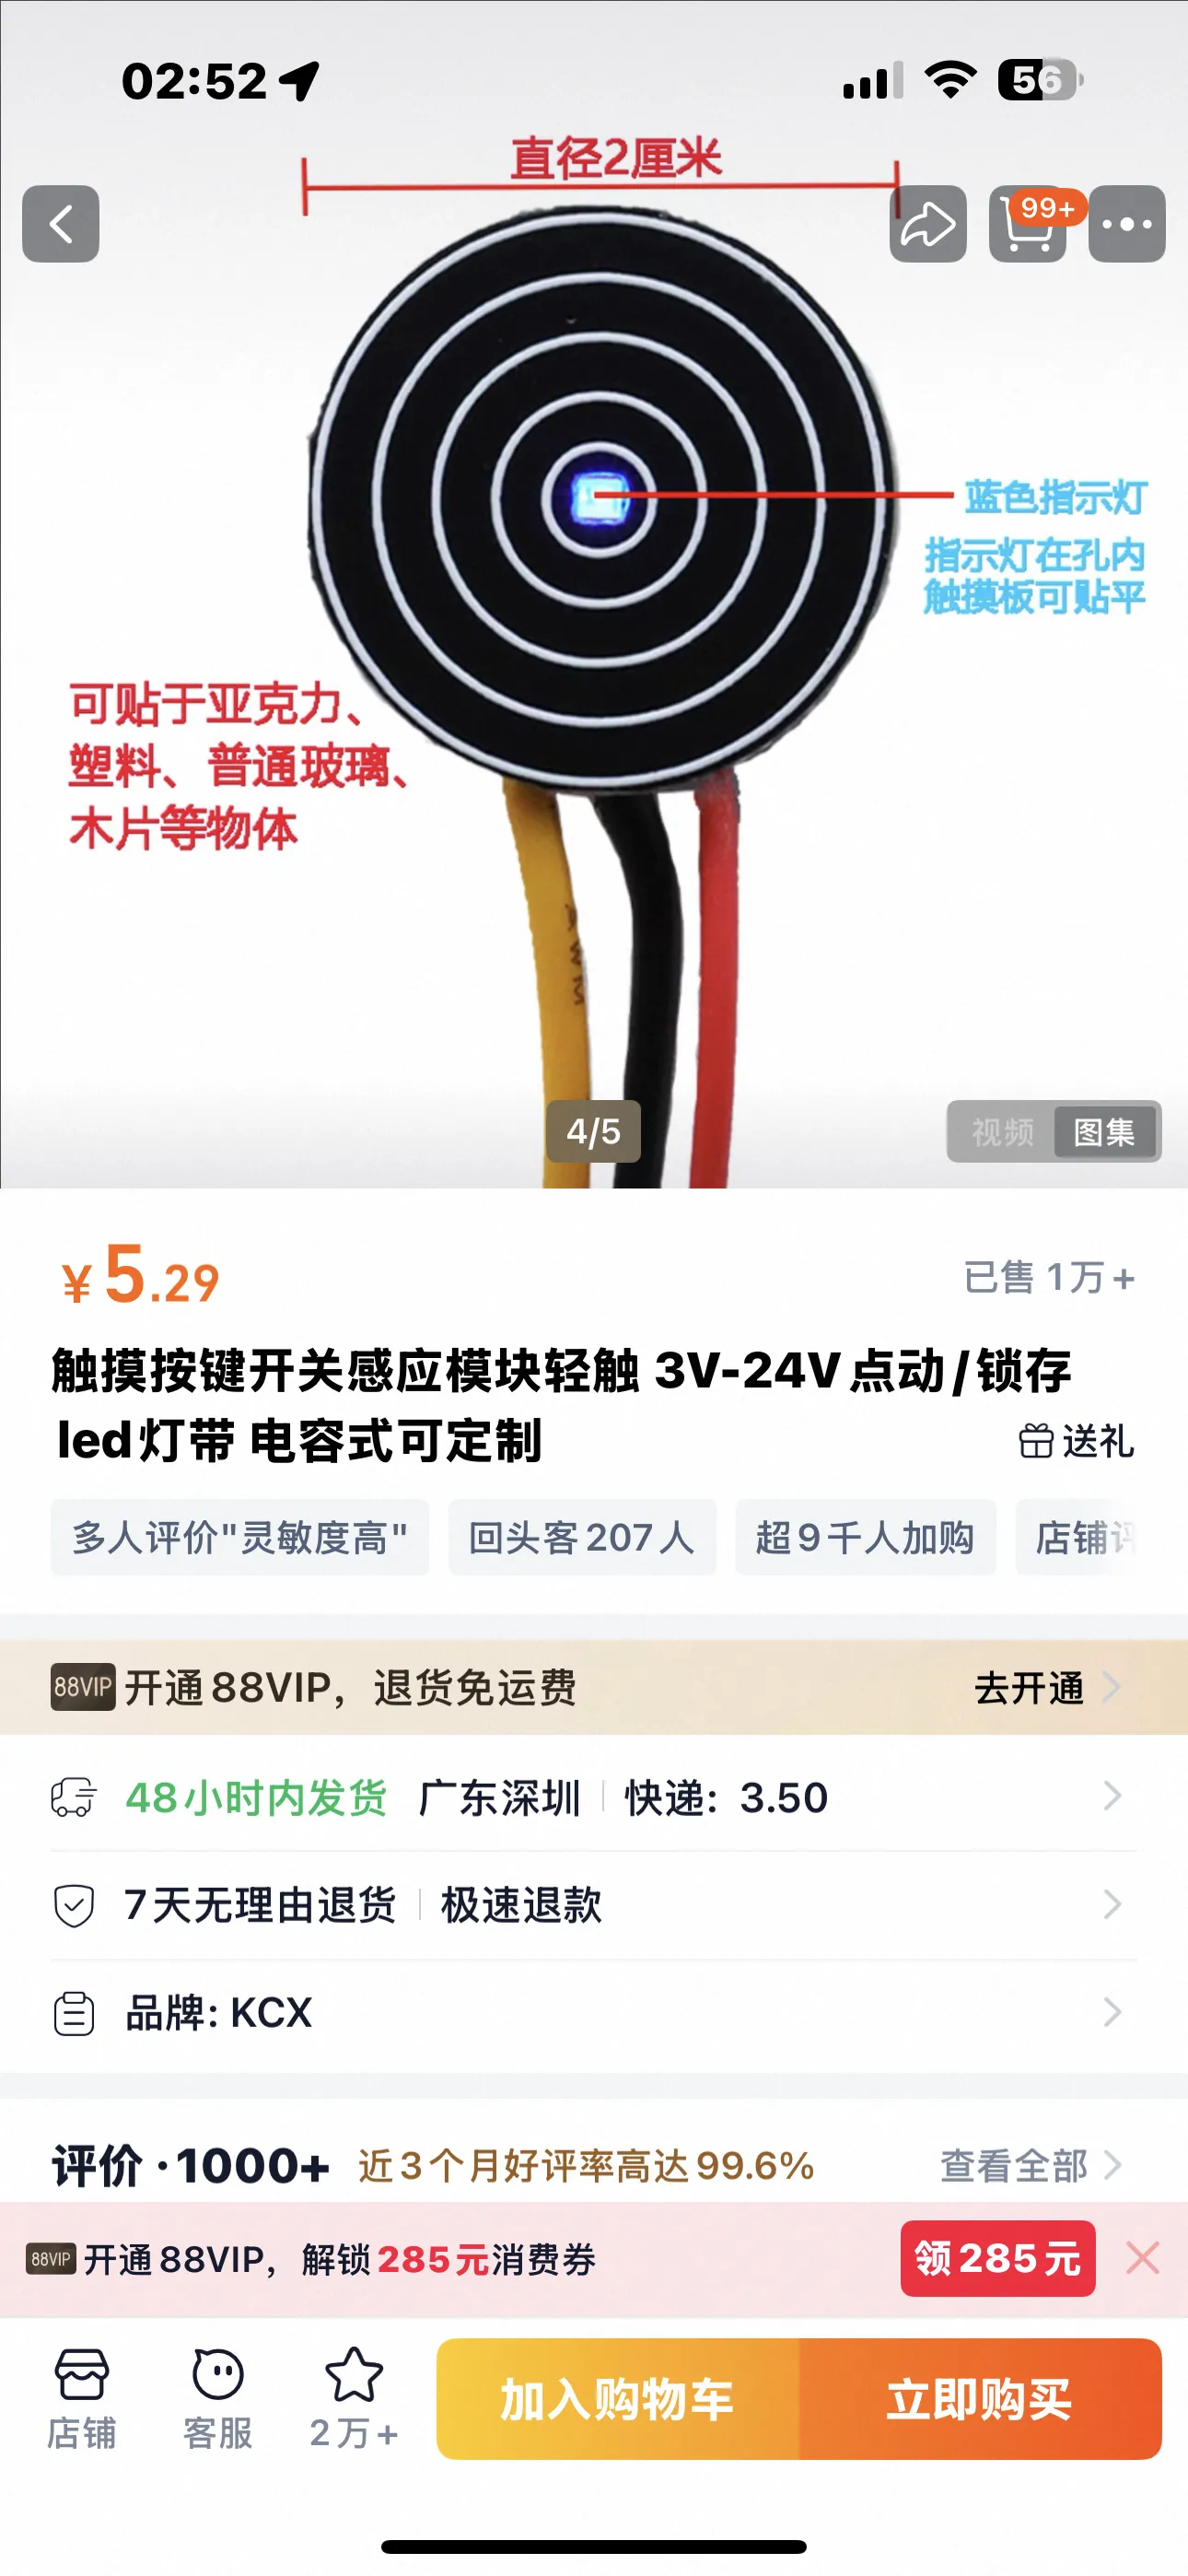
--I've updated the screen control touch switch module similar to other Bambu Lab machines, the components used are as follows
Internal dimensions: 700MM front to back, 500MM wide, 650MM high
The officially recommended front to back clearance for the A1 is 695MM, the A1 is 465MM wide, and the height with AMS lite side-mounted is 620MM
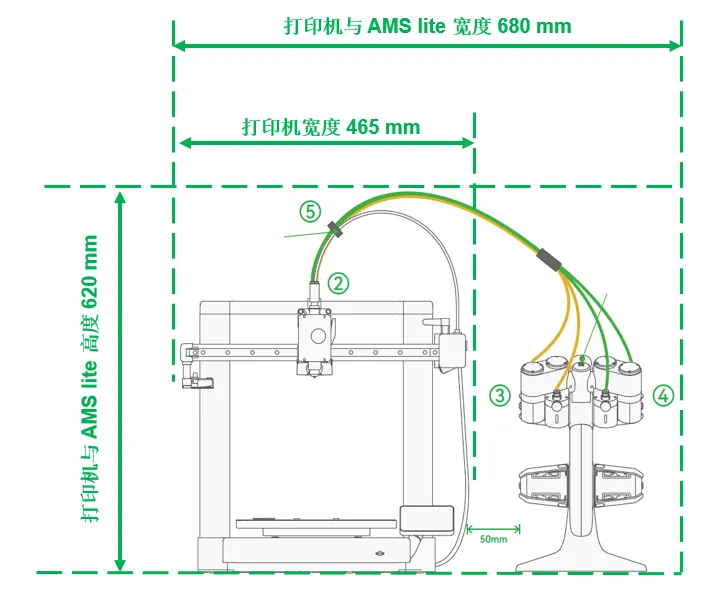
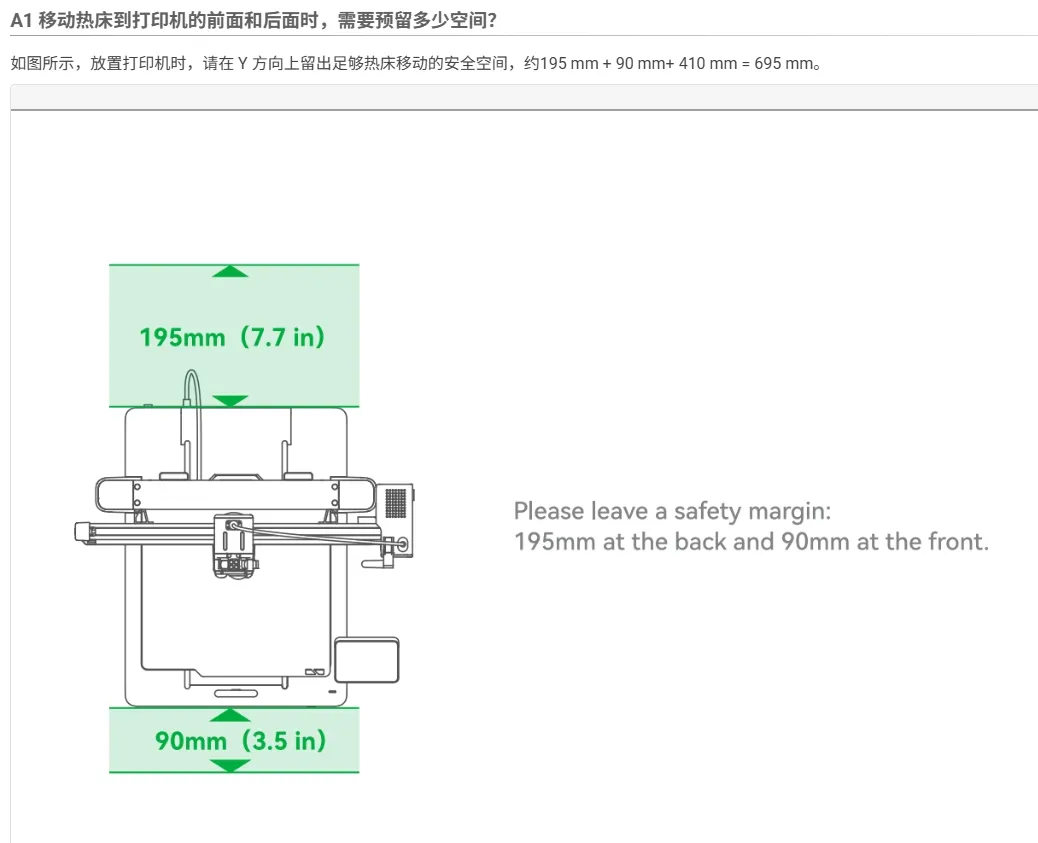
Let's talk about the advantages first
1: Extra large size, all three XZY axes can move freely, no hitting the top or chafing cables.
2: 12 fans, ultra-fast ventilation, and equipped with filter cartridge space, adding an extra layer of protection for health.
3: Equipped with a PTC heating fan, which can balance the humidity and temperature inside the enclosure and create better conditions for printing materials like ABS and ASA in the future.
4: An external exhaust port is set up at the rear, which can be converted to an exhaust gas extraction solution at any time.
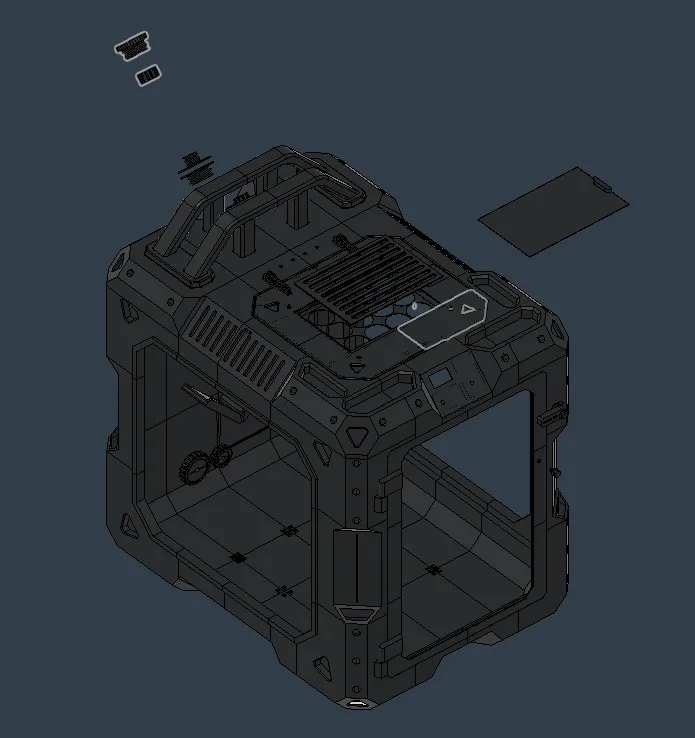
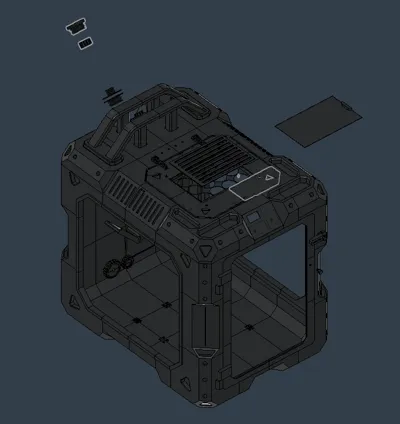
5: The chassis has multiple external expansion ports, which can add more possibilities for future storage (accessories and tools will never fear having no place to store them).
6: Addiction relief (before, I always wanted to keep printing, never wanting the machine to stop, feeling like I had 3D printing addiction, but after finishing this, I feel much better, hey).
Print profile for A1 model printing has speed reduction set with height, other models can cancel this. It is recommended to print with a polyurea plate, or apply glue to the printing plate, to prevent spaghetti.
Alright, the rest is just torturous
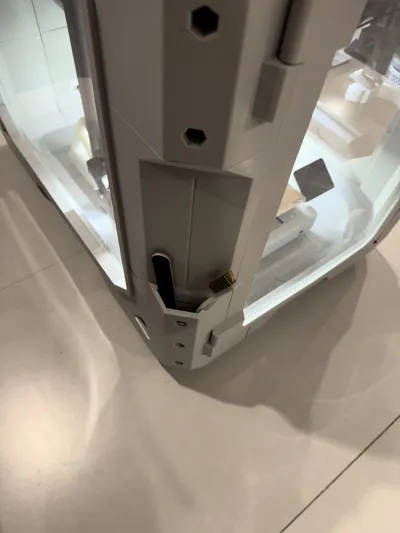
For installation, find the corresponding buckle connections and apply glue. The transparent AB glue I used is quite sturdy and can also provide some sealing effect, as printing large models can still lead to shrinkage and other issues, causing some gaps.
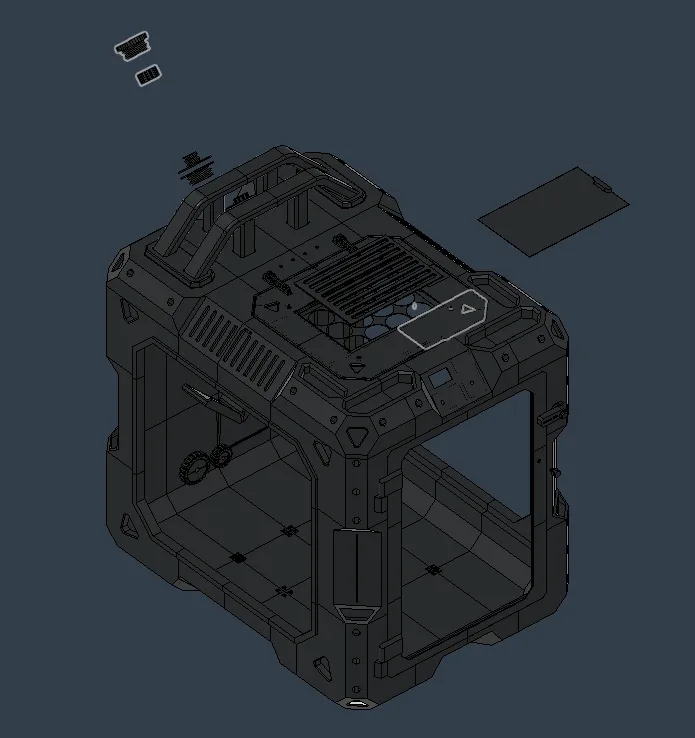
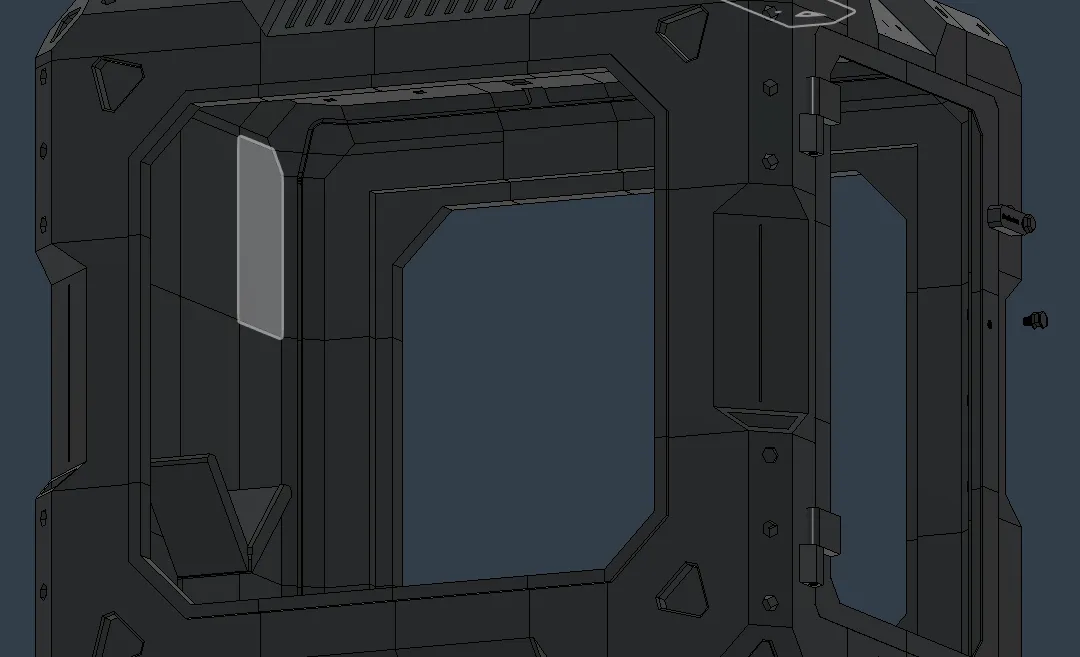
For the transparent panels on both sides, I used 0.8mm PC polycarbonate sheets, sized 550mmX500mm. You can make them slightly smaller by 5MM for easier installation. The front door transparent panel size is 350mm*525mm
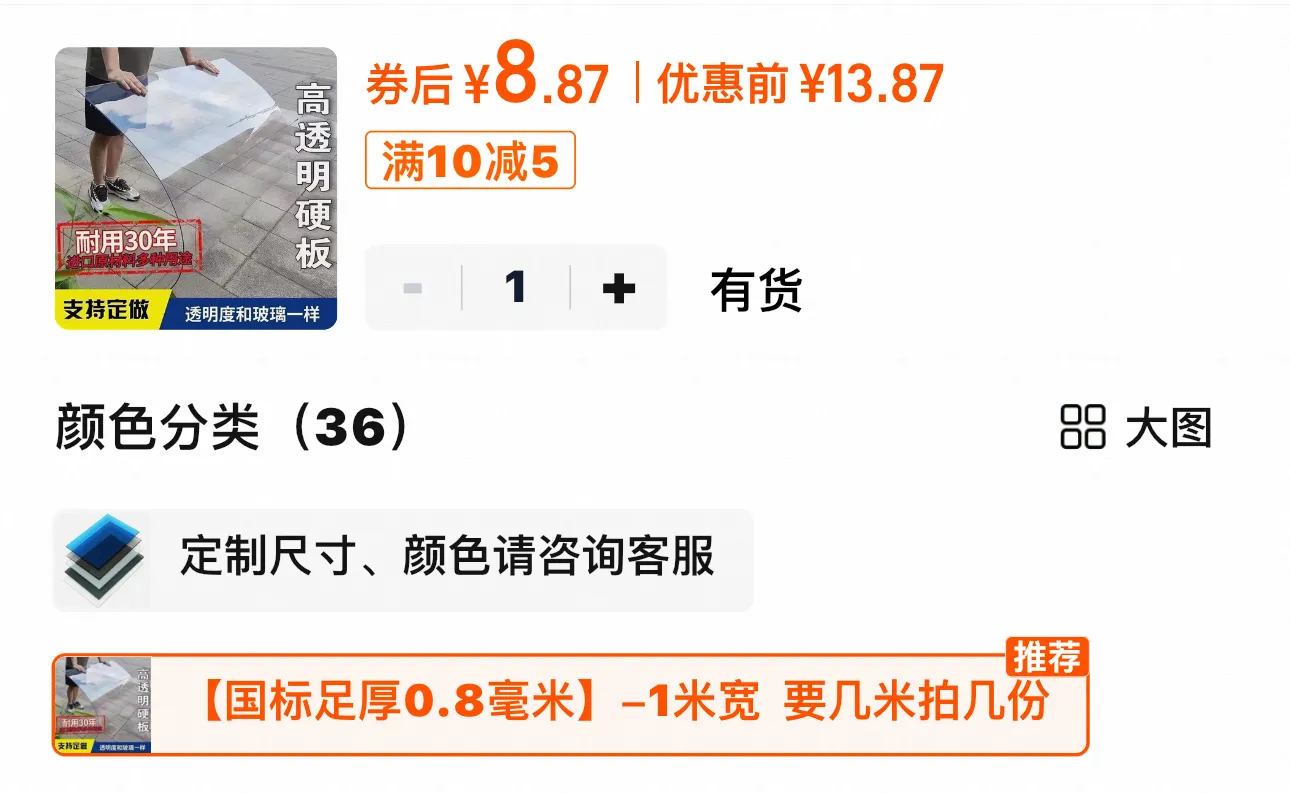 Buying three pieces is enough, but 0.8mm is a thin sheet. If you want something sturdier, you can buy thicker ones. I found it quite easy to cut the 0.8mm with a utility knife, but I don't know about other thicknesses, try it yourself
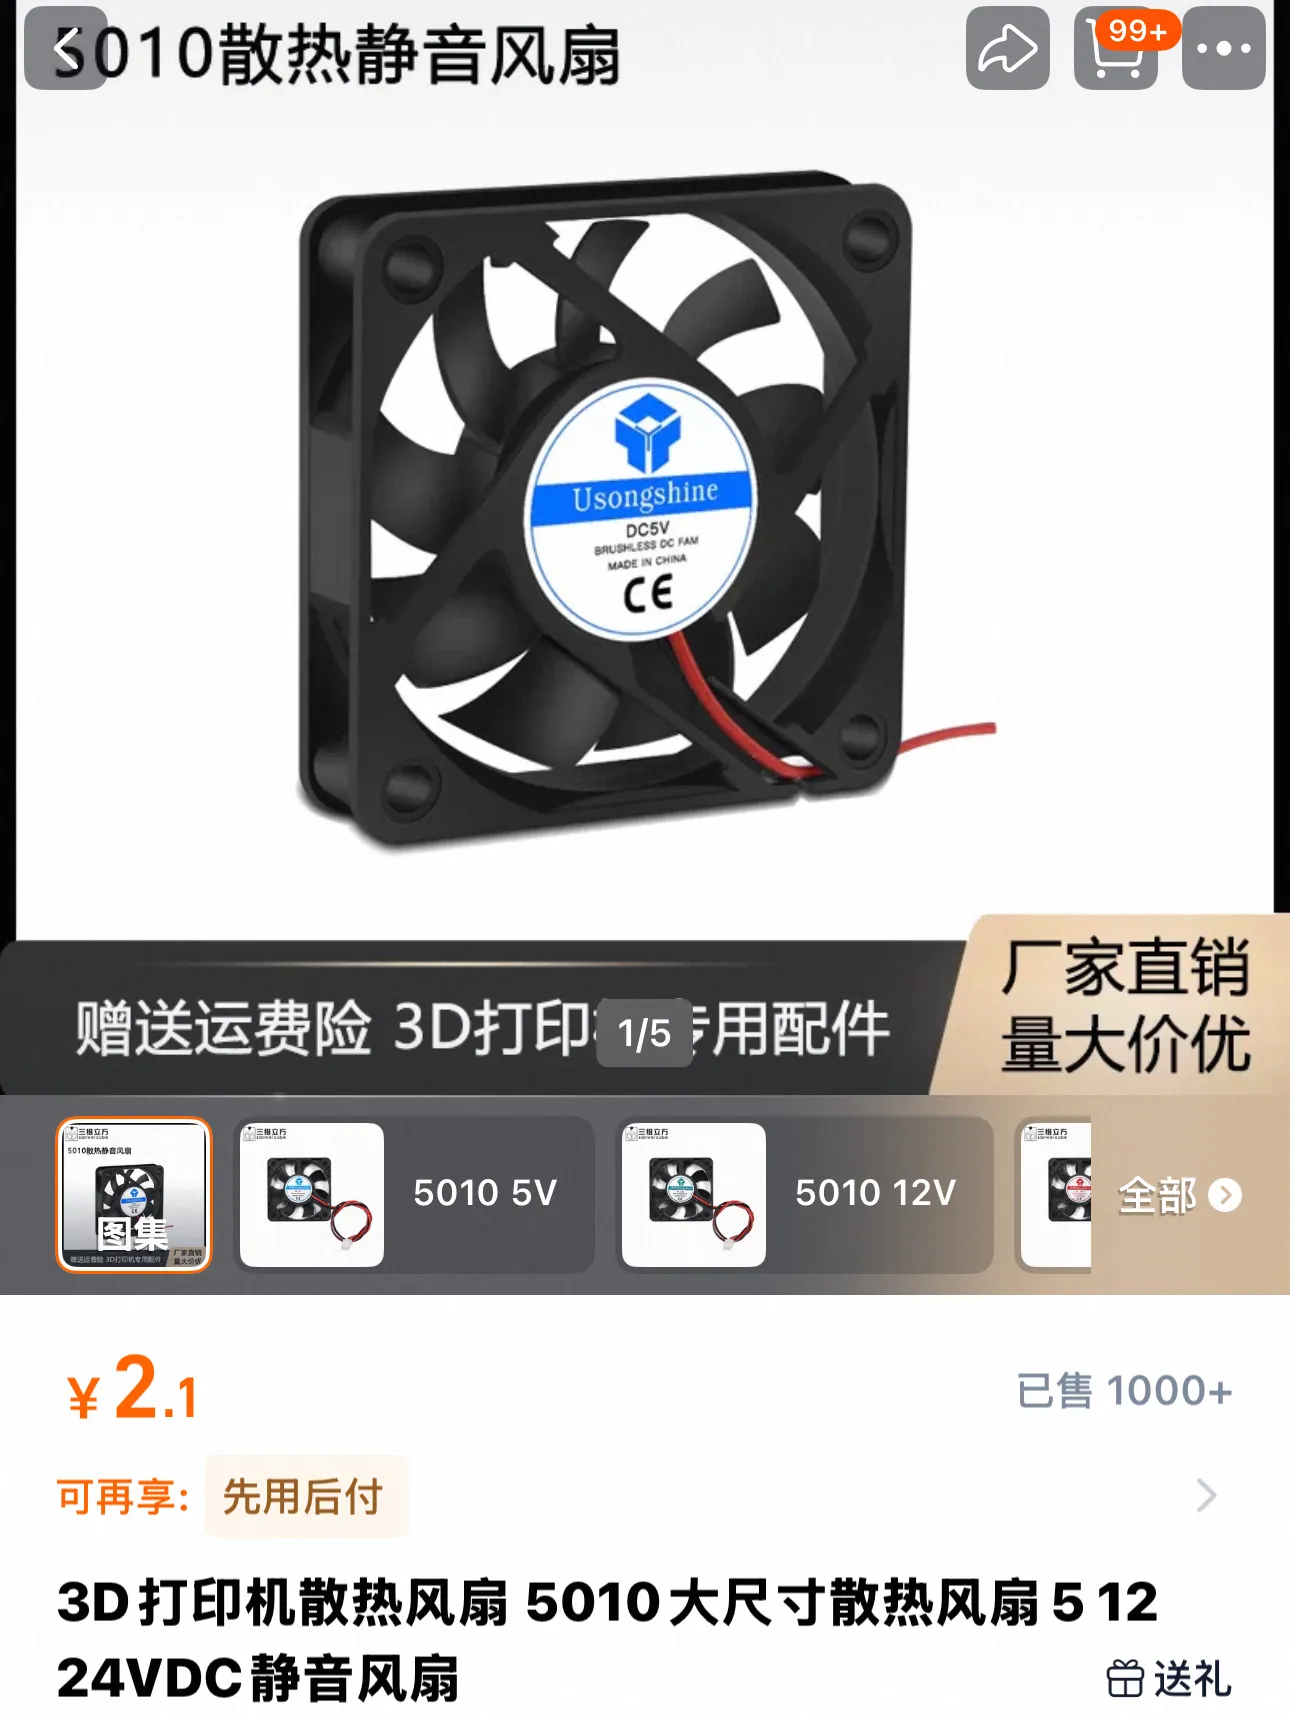
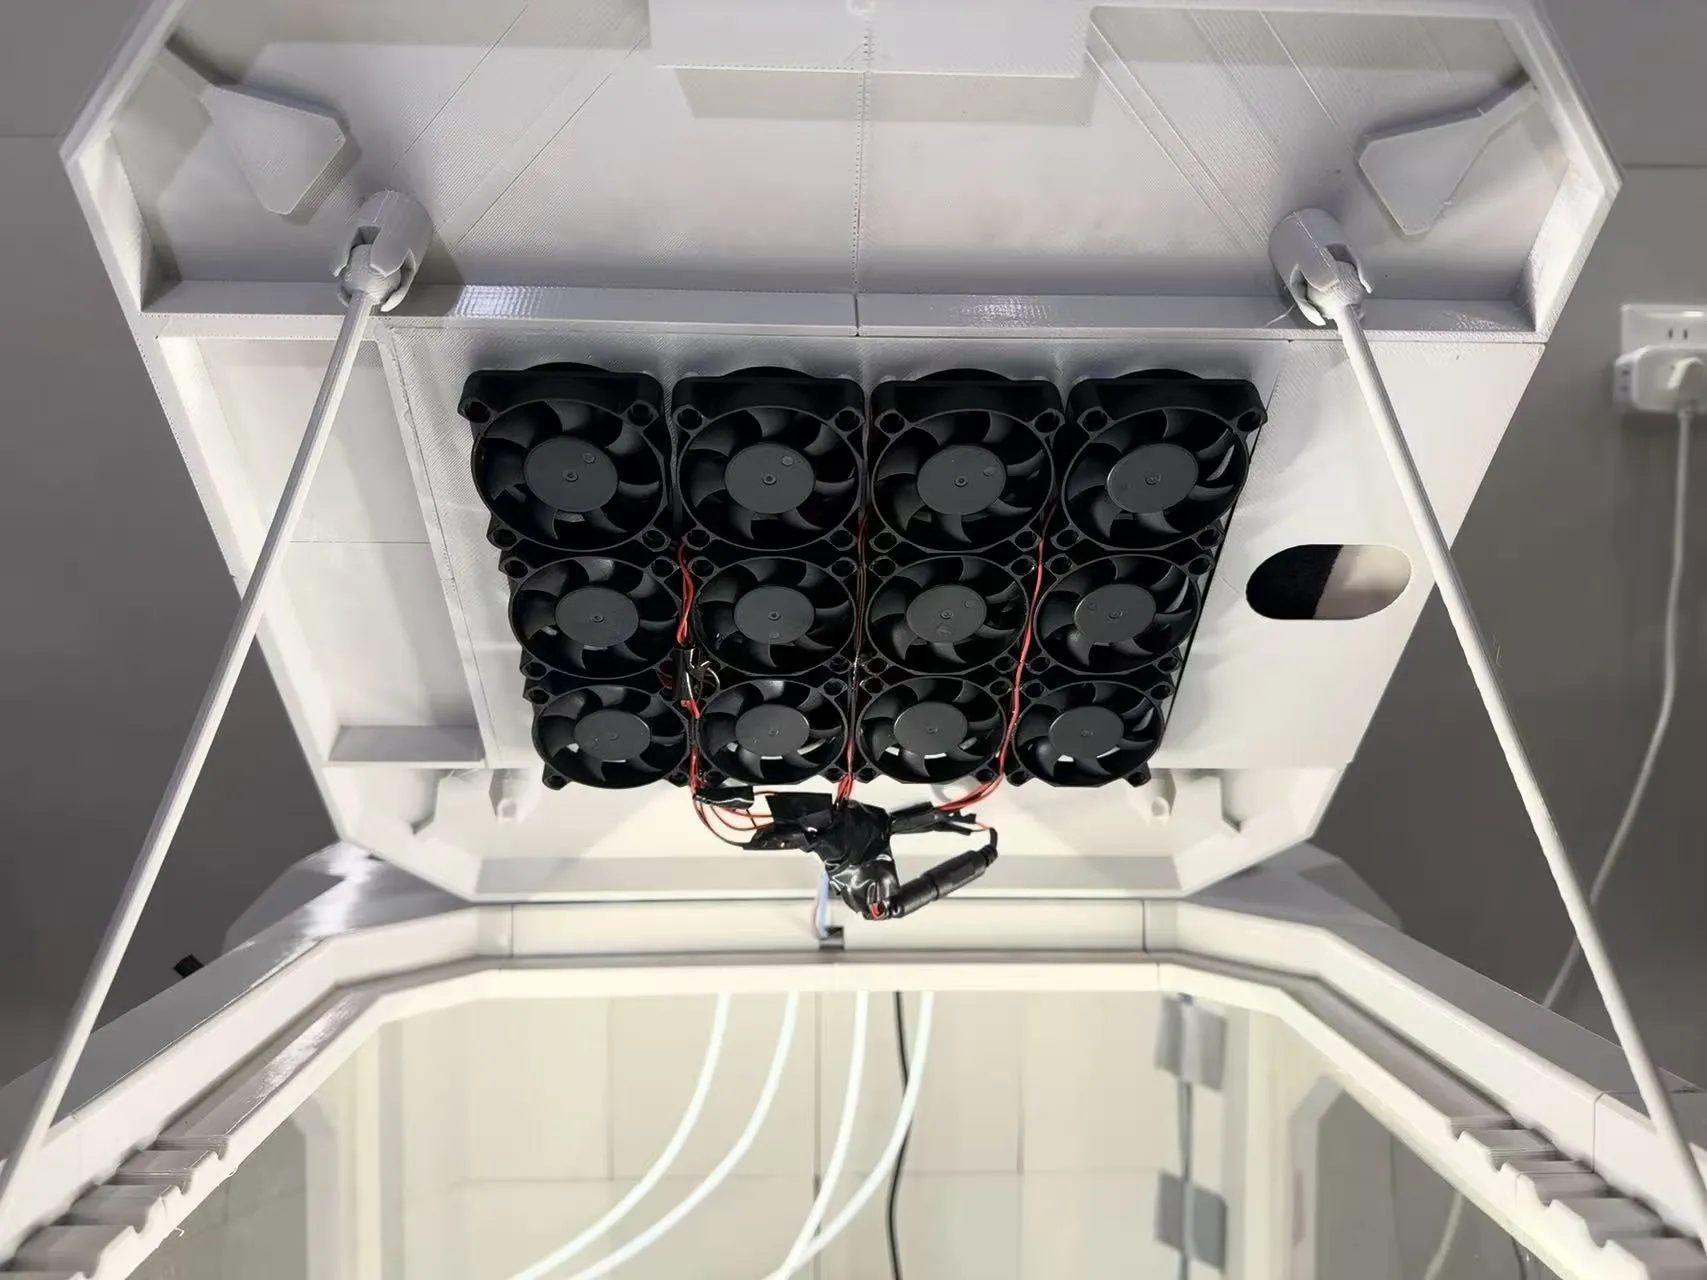 (Please ignore my slightly ugly wiring for the fans...) I used 12 5010 fans; the airflow is moderate, but it's completely sufficient for ventilation in this small space. With the PTC heating fan at the bottom turned on, these 12 small fans can achieve complete air exchange in less than 1 minute

 Comparison of airflow with and without filter cartridges. I used HEPA filter cartridges and activated carbon filter cotton. I'm not making a specific recommendation, choose for yourself
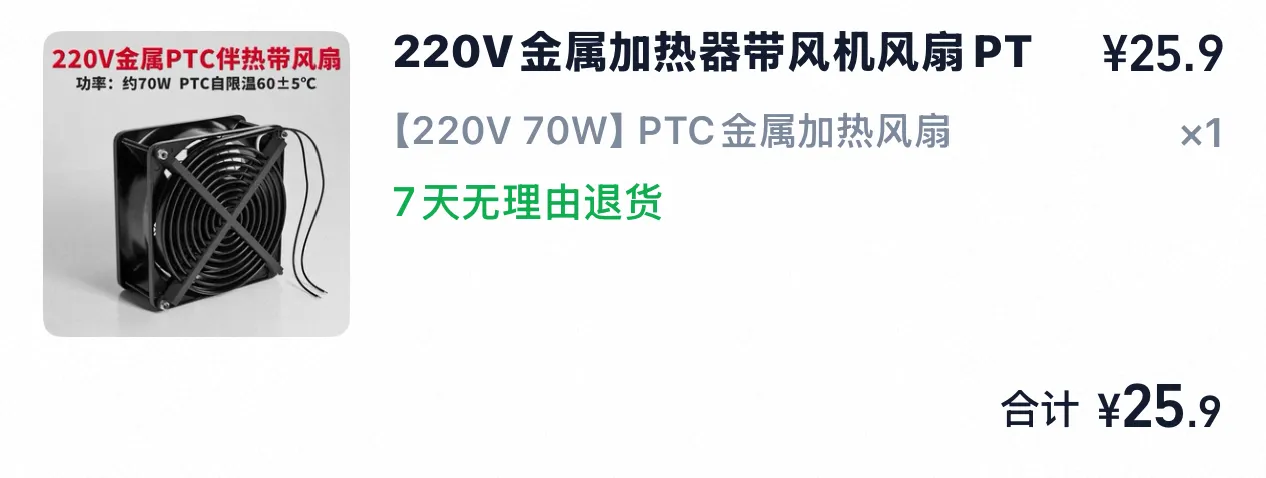 I installed a heating fan below
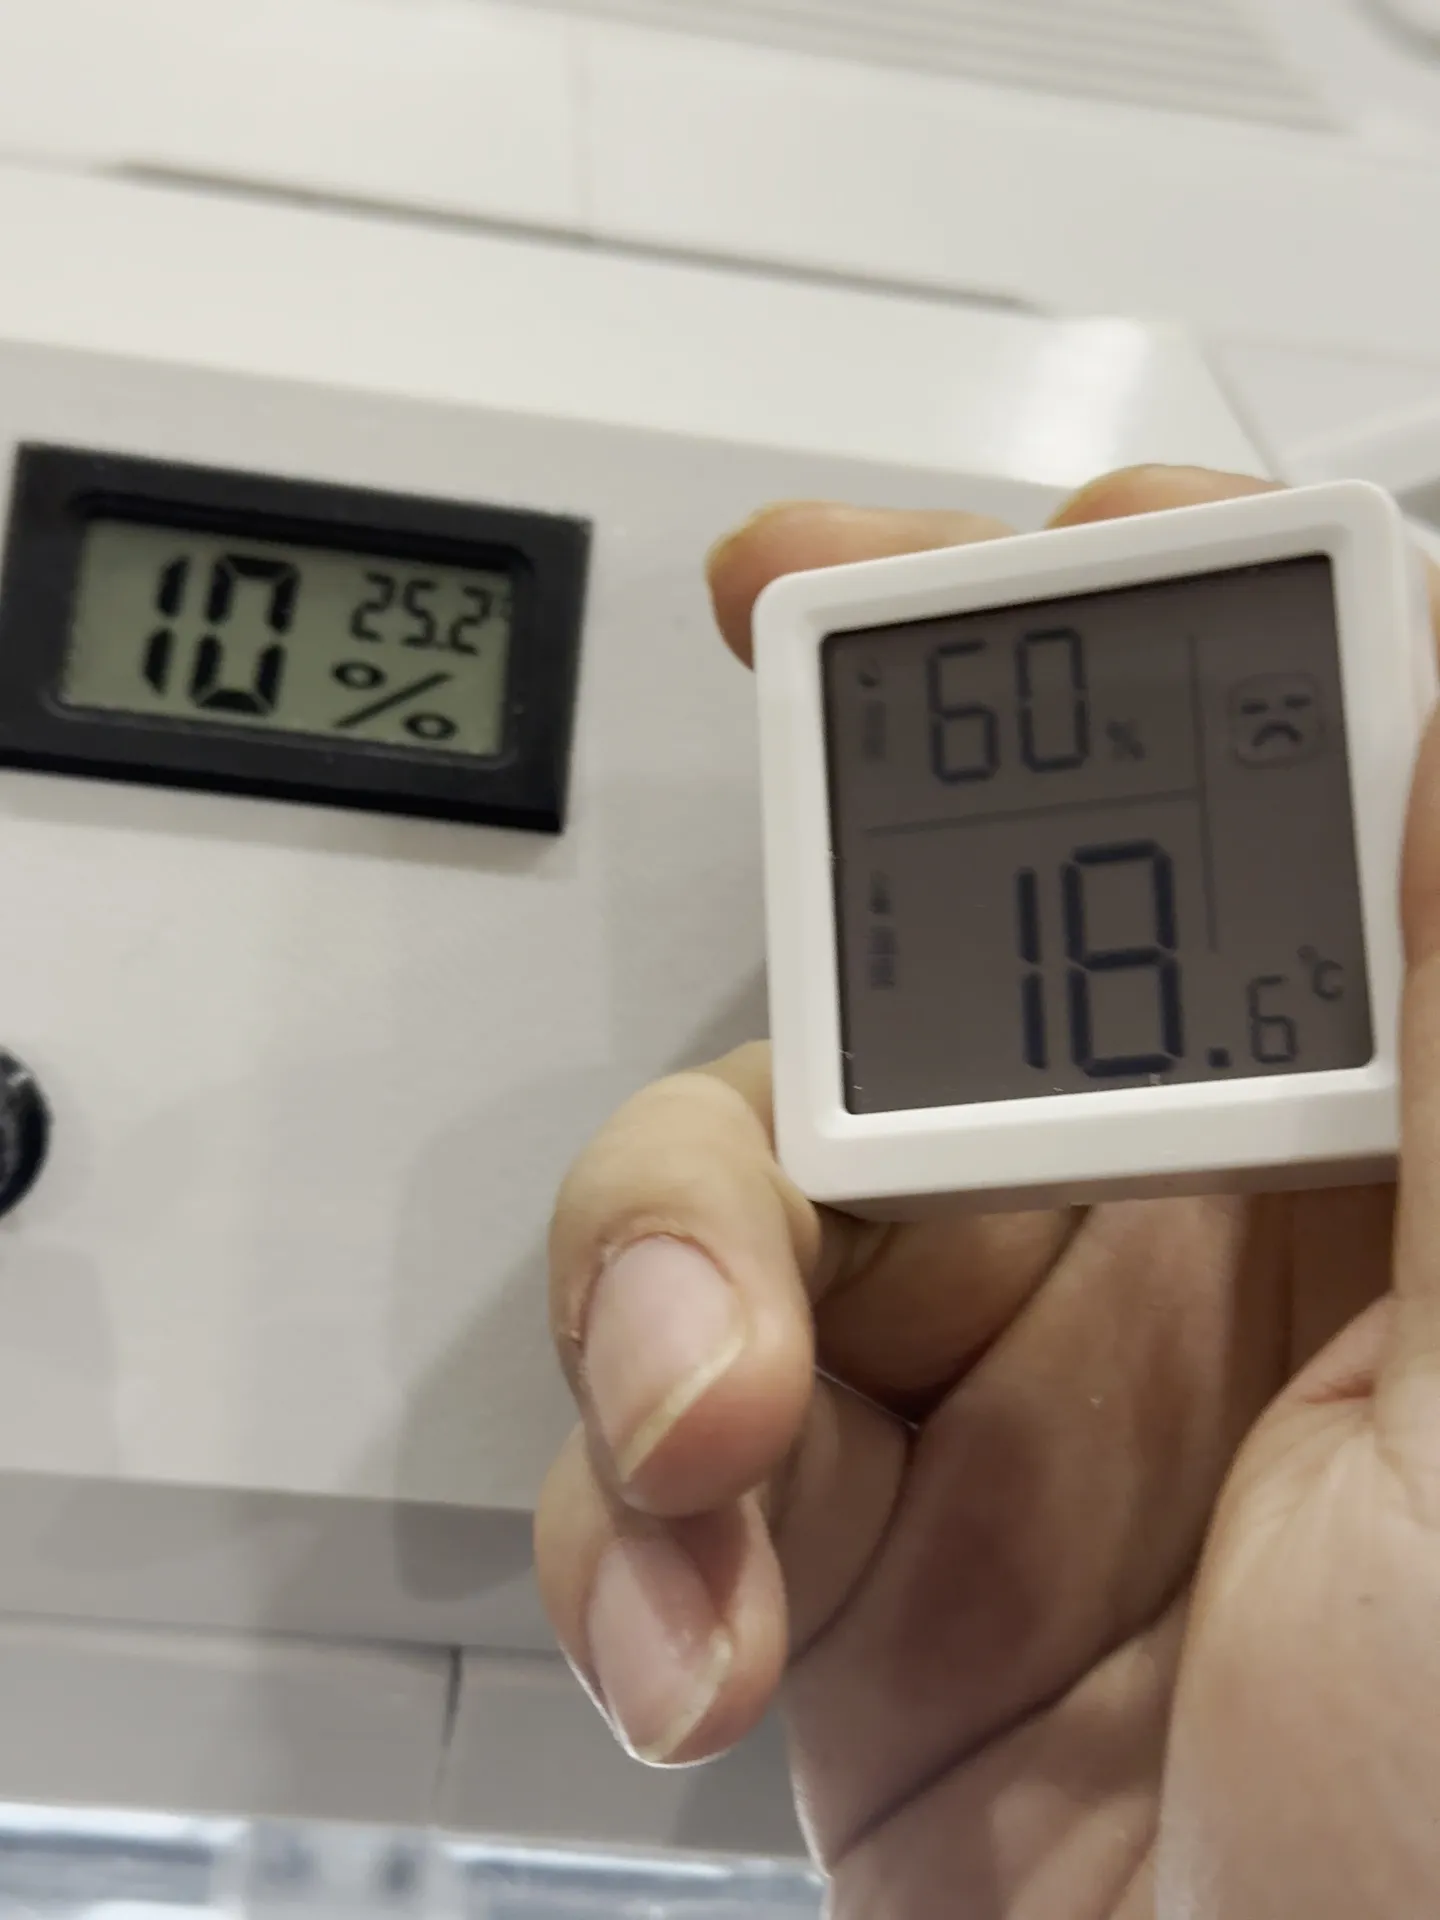 You can see the comparison of temperature and humidity inside the enclosure when the heating fan is on, compared to indoor conditions; it's significantly lower. Although the official statement says the A1 can be used below 85% humidity, ever since I started 3D printing, I don't know why, but I've become sensitive to humidity. When the humidity is high, I don't feel at ease... Whether to install this or not is up to you
 There are also ventilation holes on the side
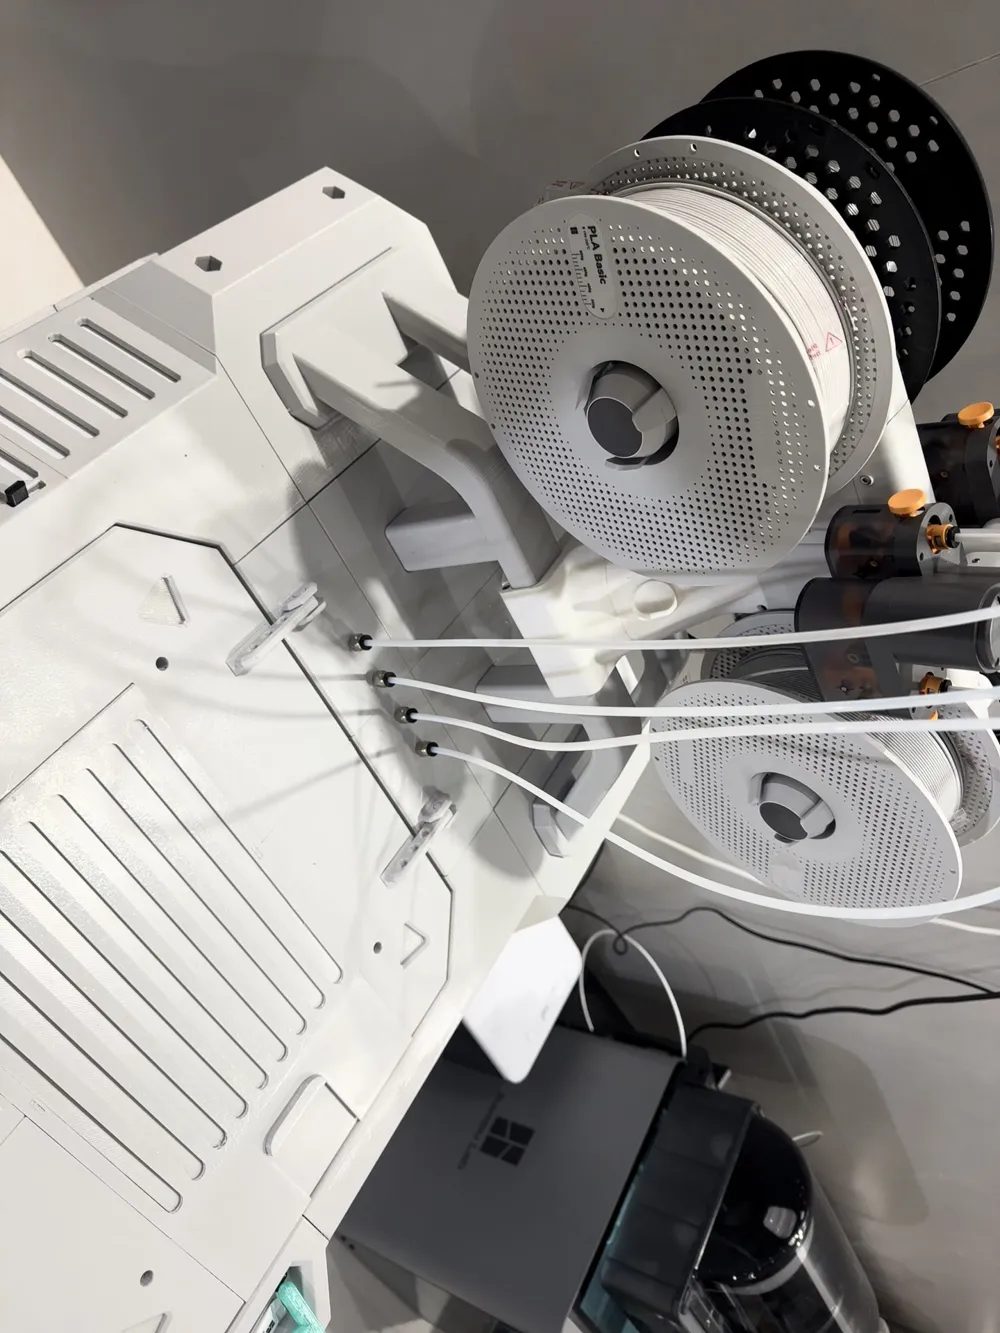
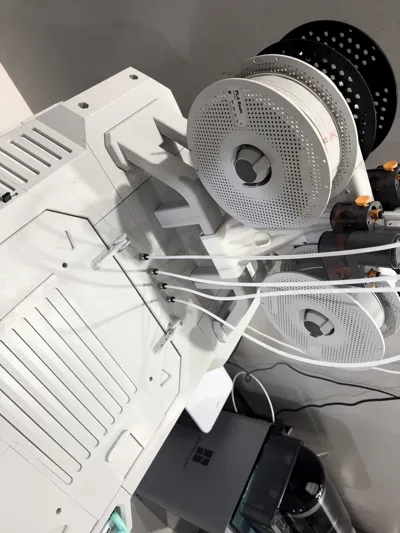
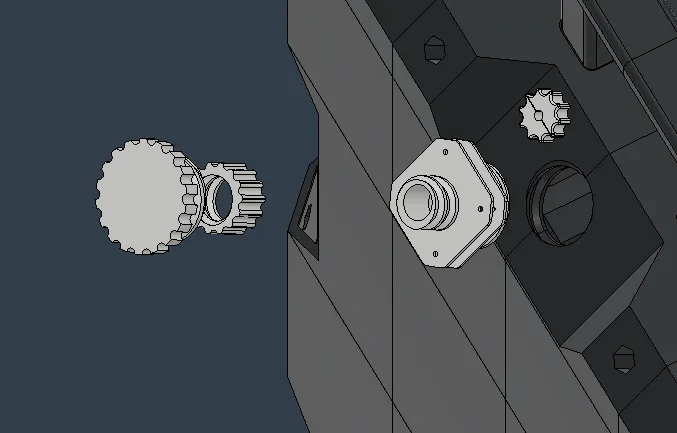 An external exhaust port is reserved at the rear. A 50-sized fan can be installed between the two clamps to prevent exhaust gas from getting trapped
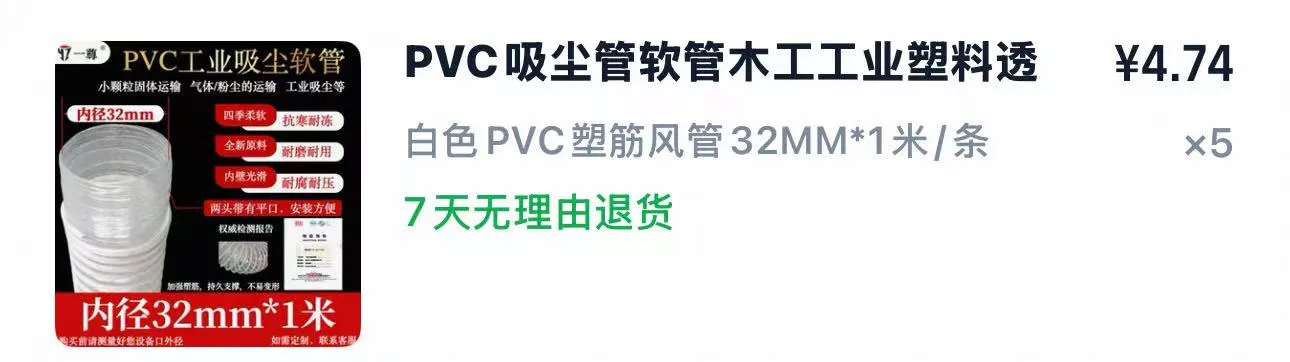
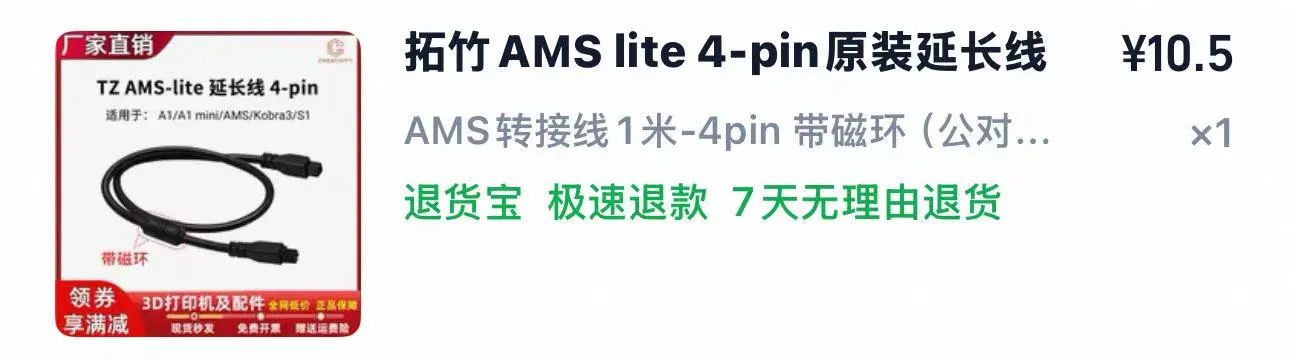 AMS lite users need to buy an extension cable
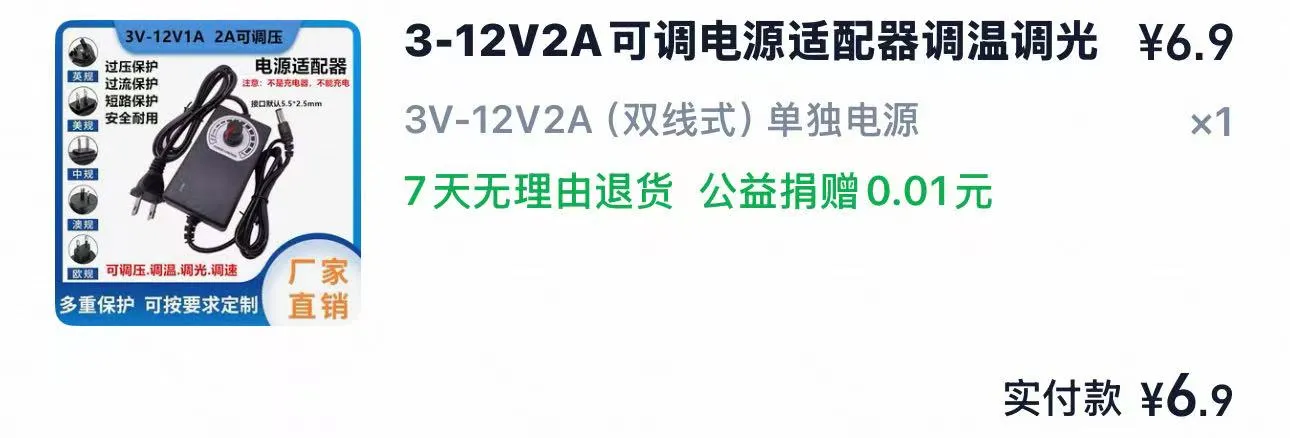 To add, the speed control switch needs to have its casing removed, otherwise it won't fit.
Two adjustable 220V to 12V power supplies control the fans and power. Since I'm not knowledgeable about electricity, my solution was just to buy two controllers... If you have a better way, you can make it yourself, you can download the model anyway
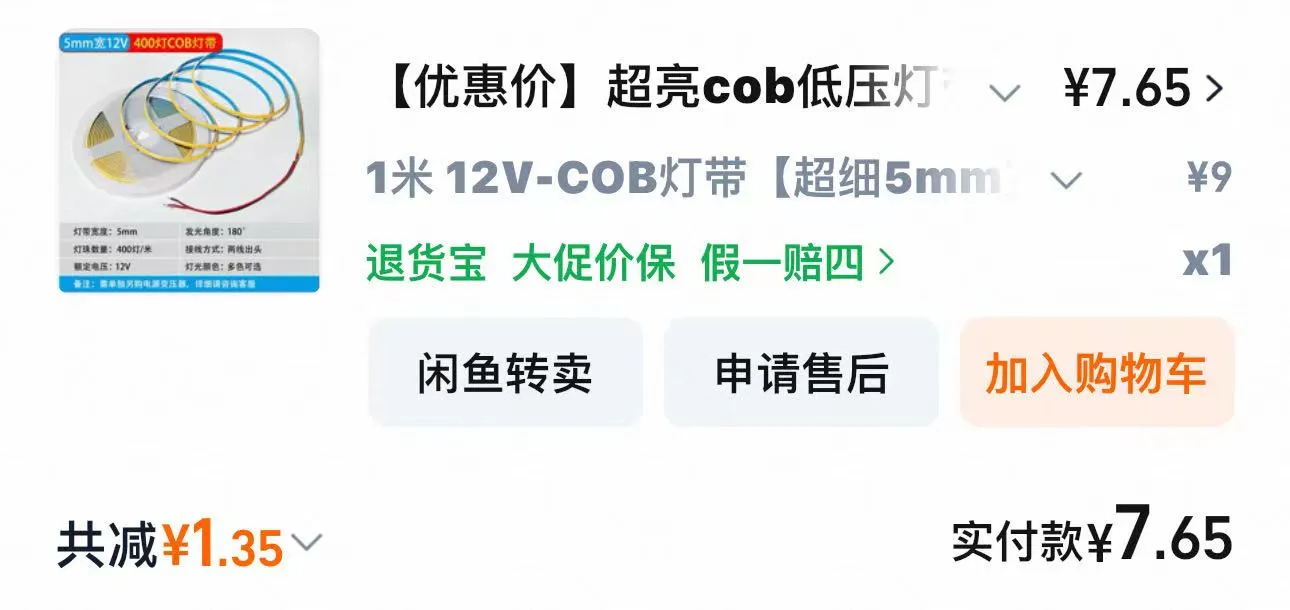 A 1-meter LED strip, I split it into two halves from the middle, then one half for the left and one for the right
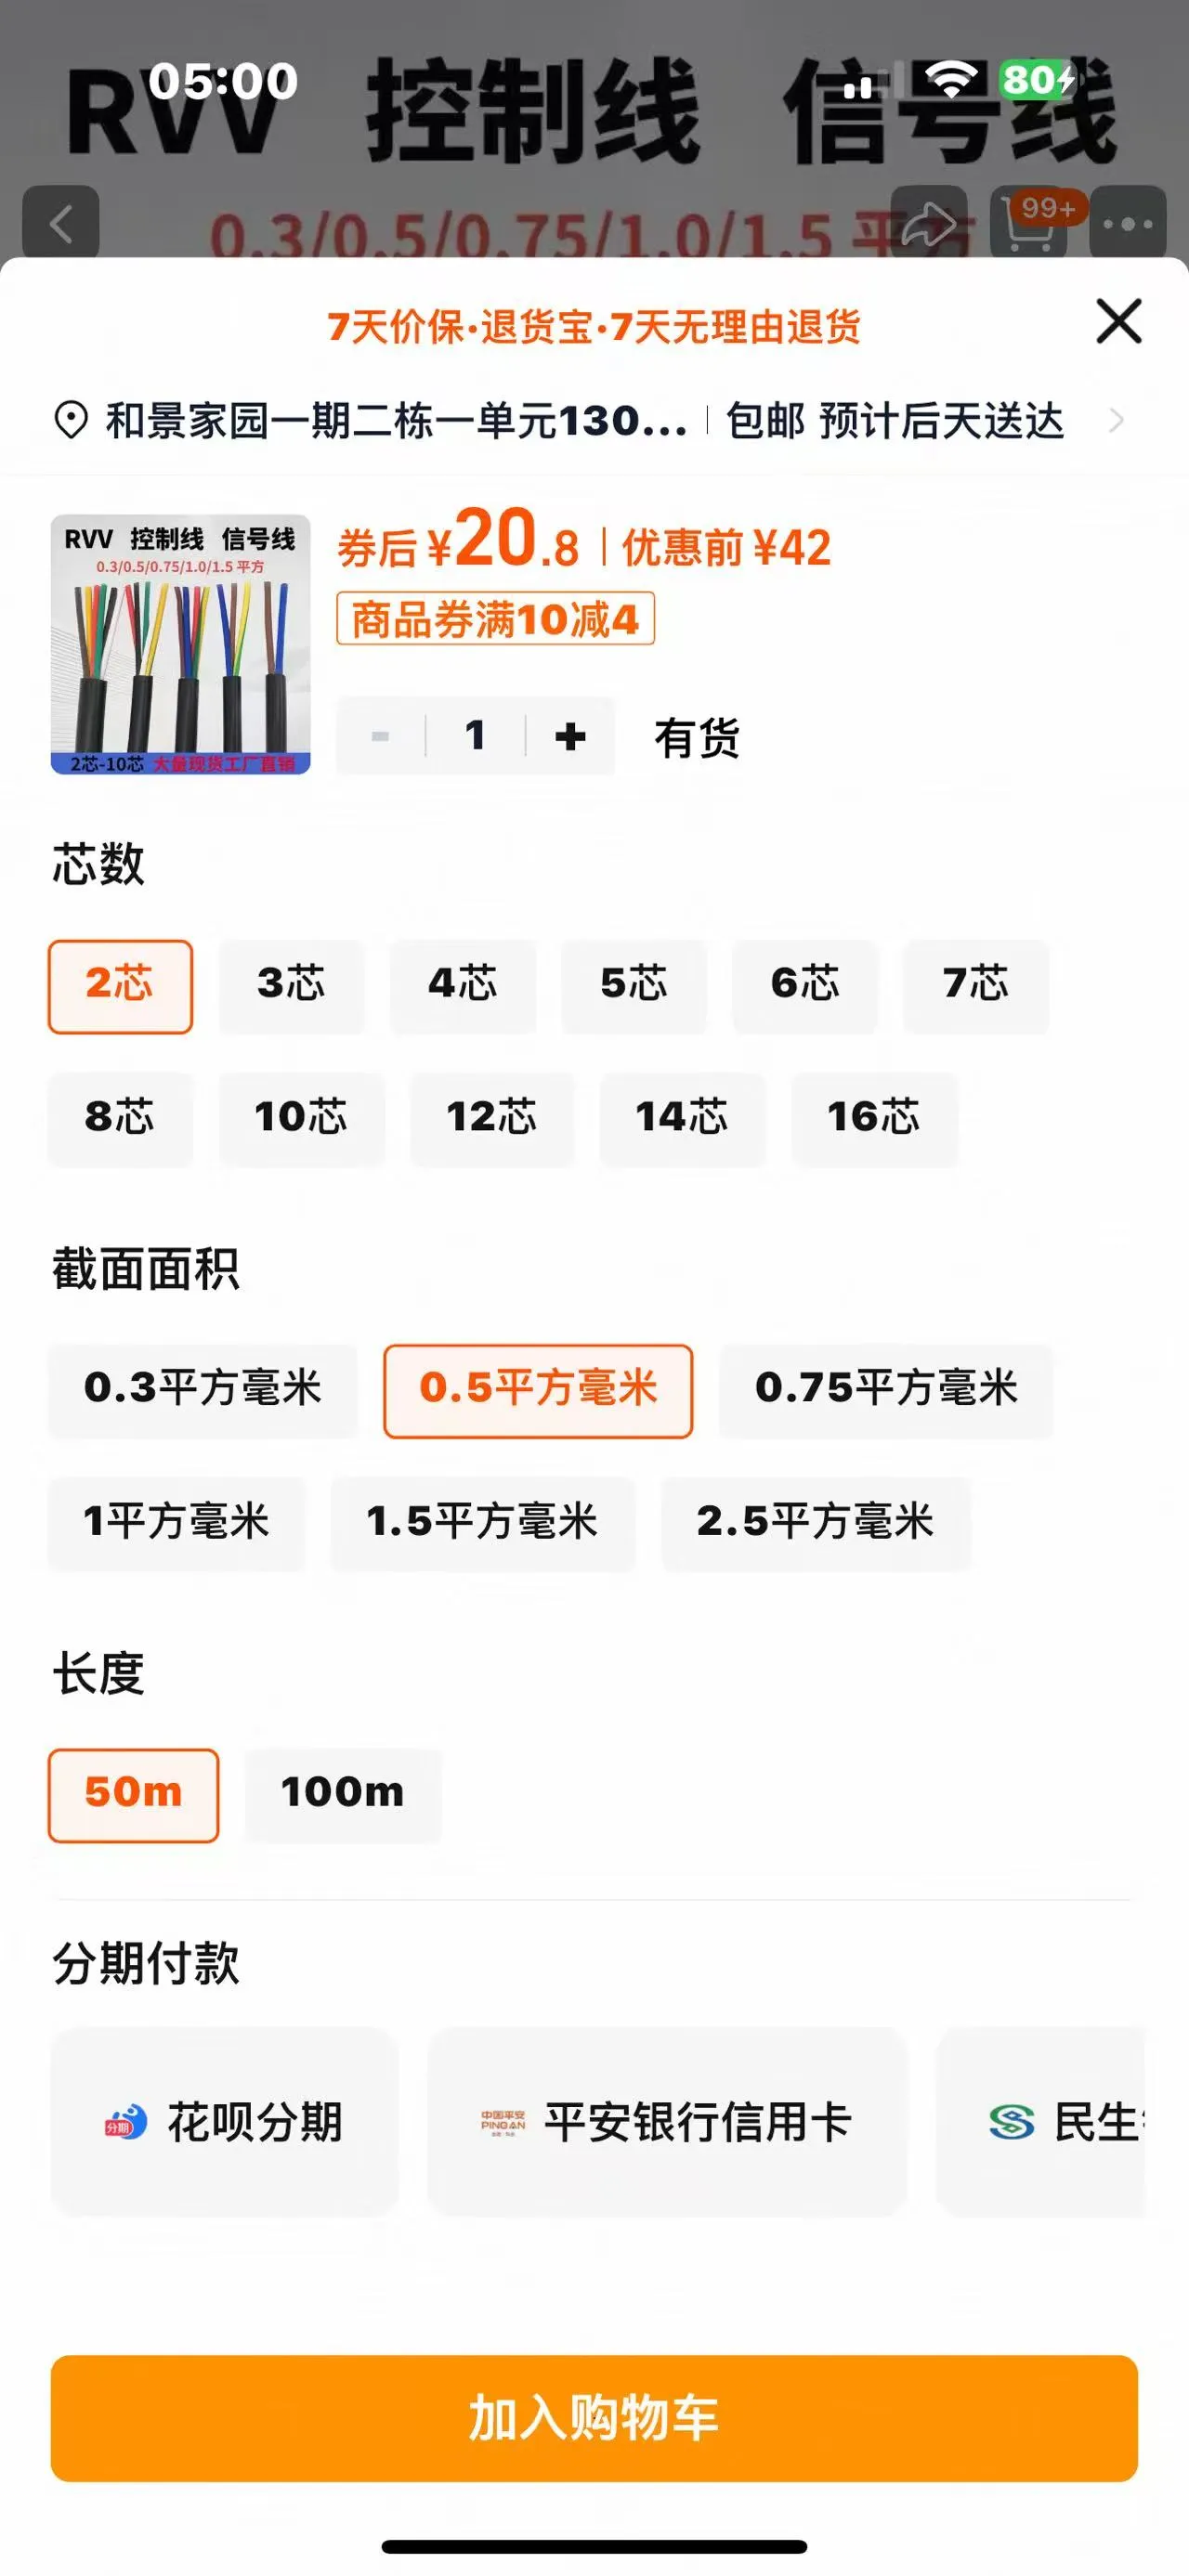 For the connecting wires, 0.5 square millimeter is recommended and sufficient, and they can be placed in the internal cable channels of the enclosure
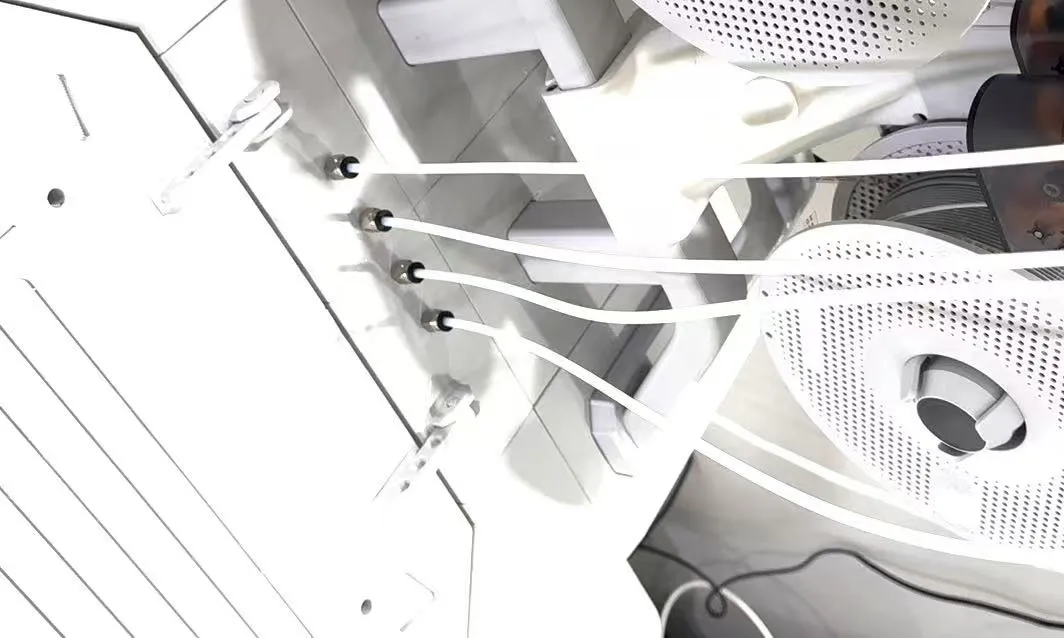
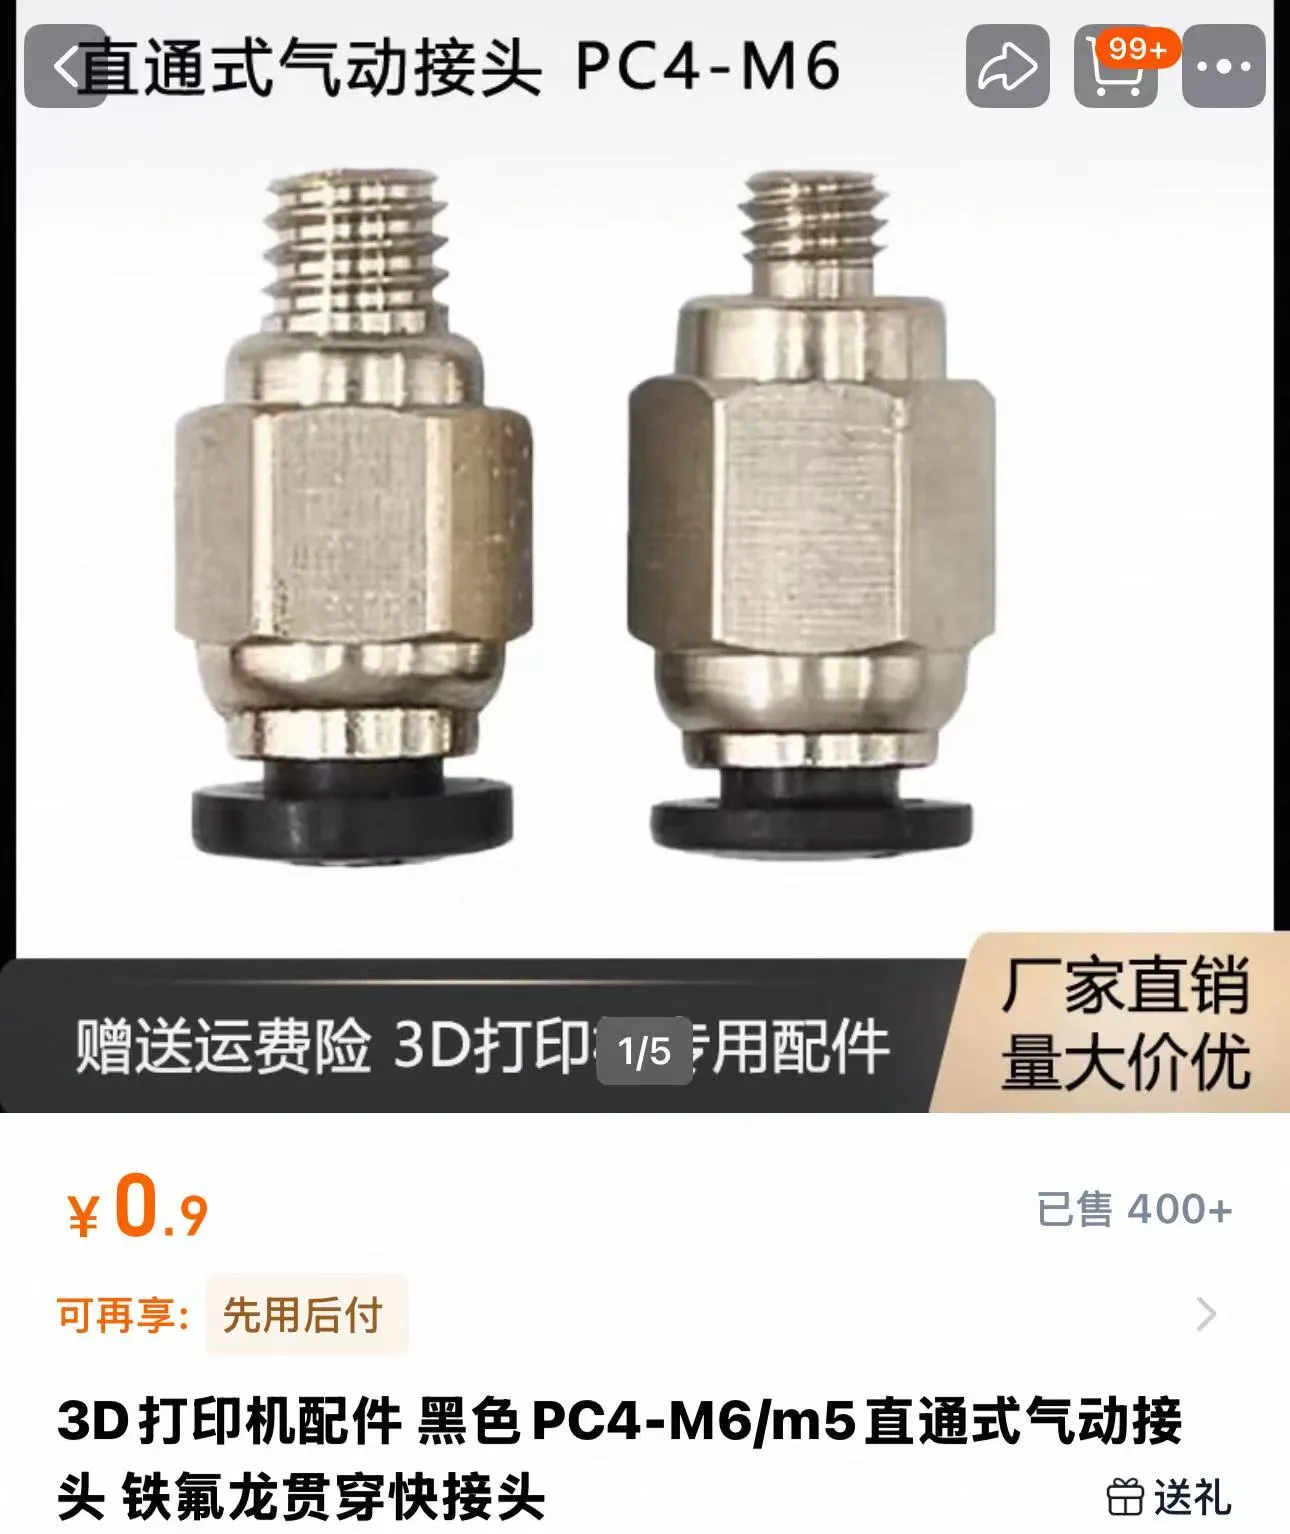 Then 8 PTFE tube connectors
Since I'm not knowledgeable about electricity, the above is basically a reference for you. Those at a similar level to me can use my reference to save searching again. Experts, I hope you can come up with better solutions after seeing this
Additional note: Distance from the top when the machine is raised to its highest point and moved left or right
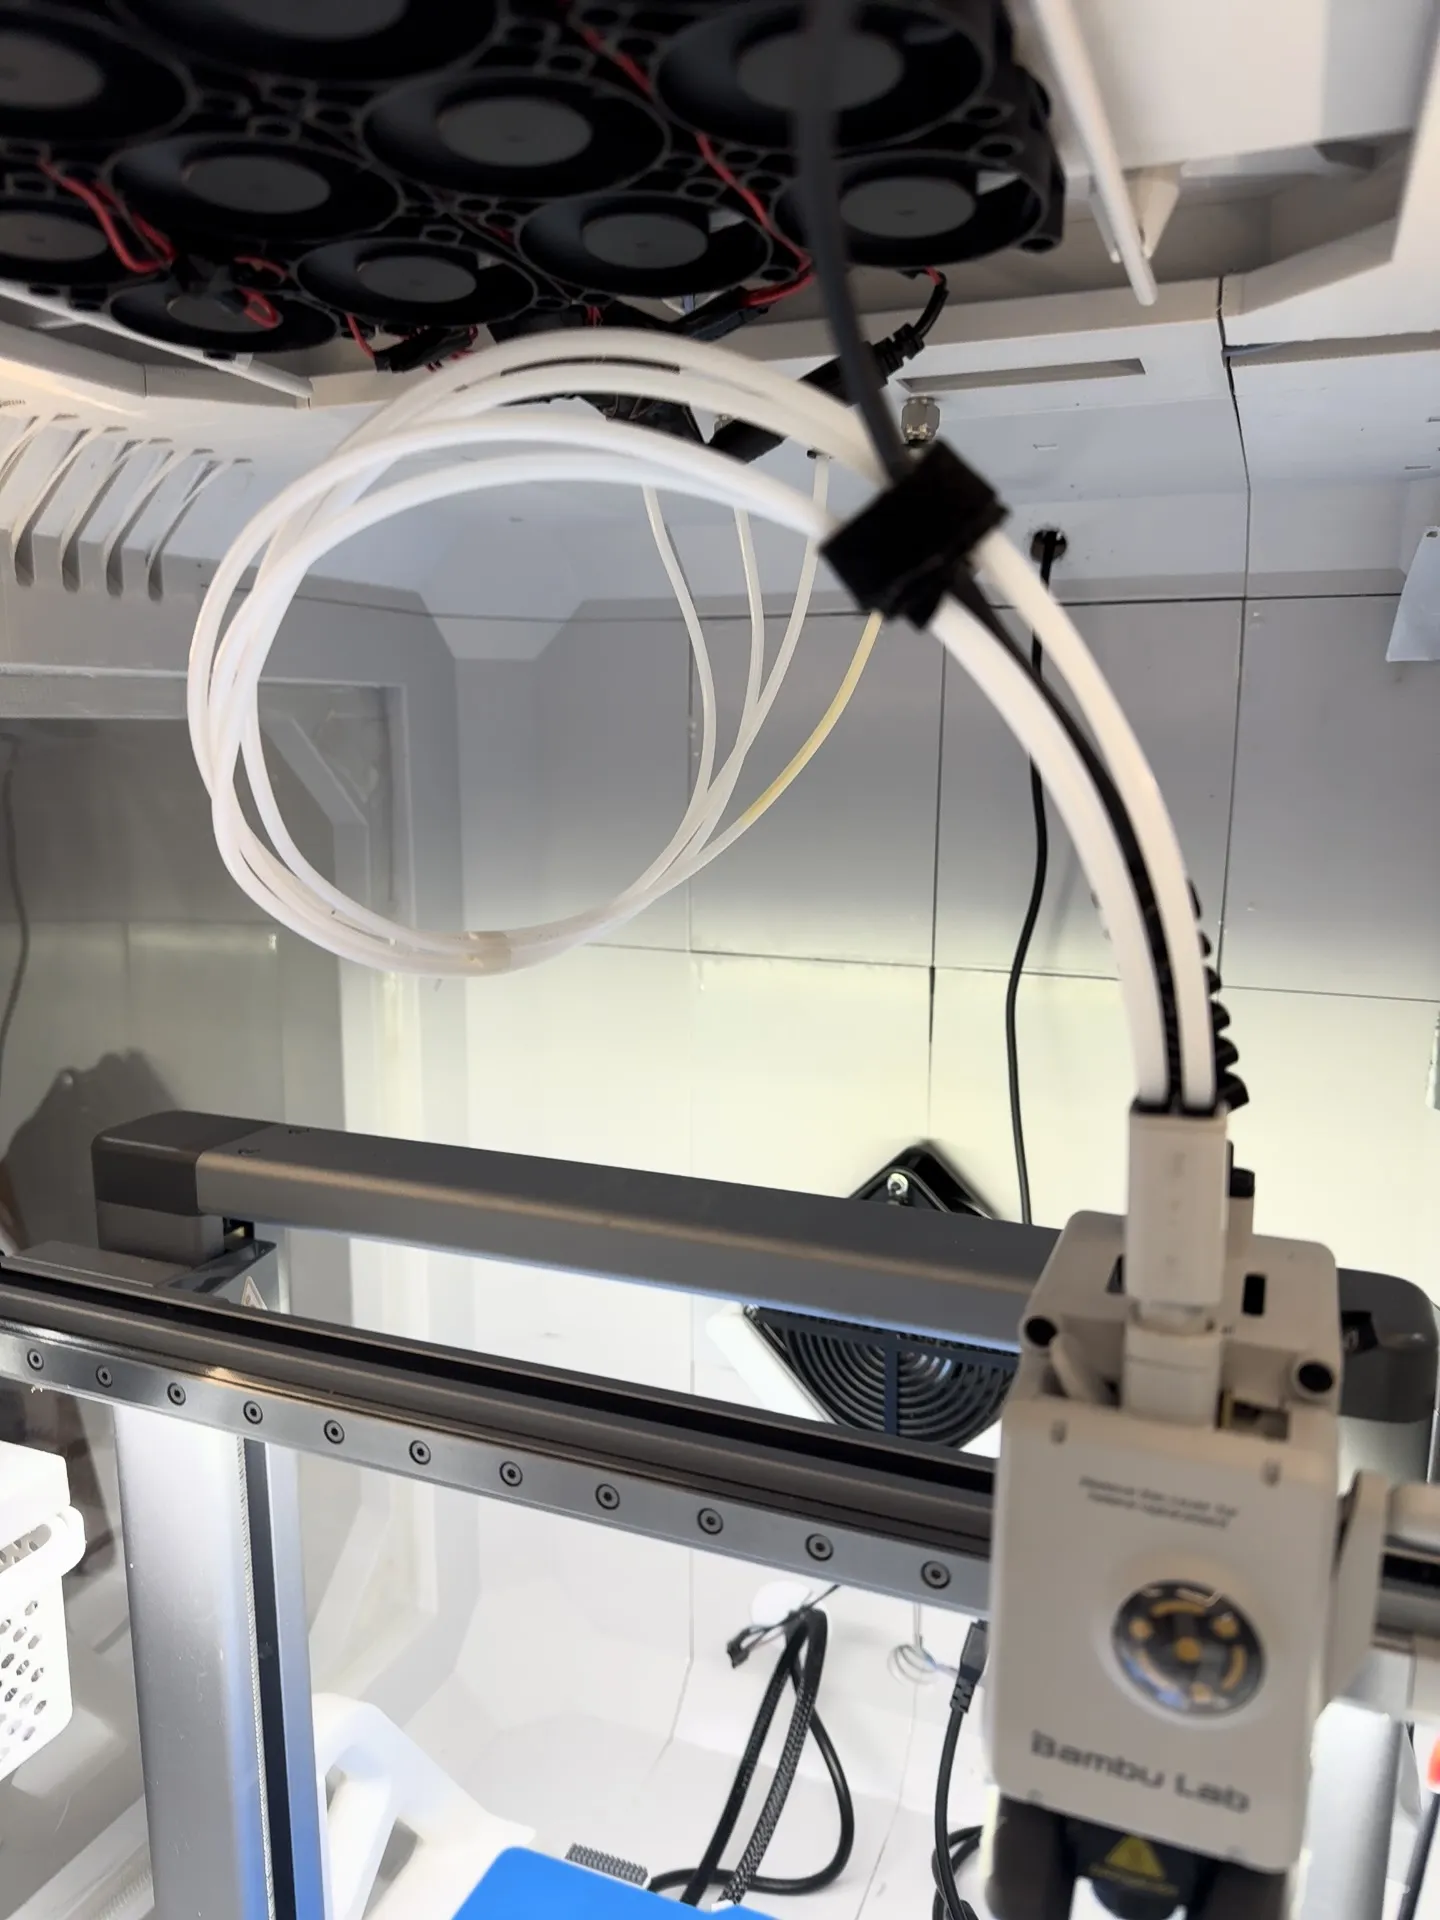
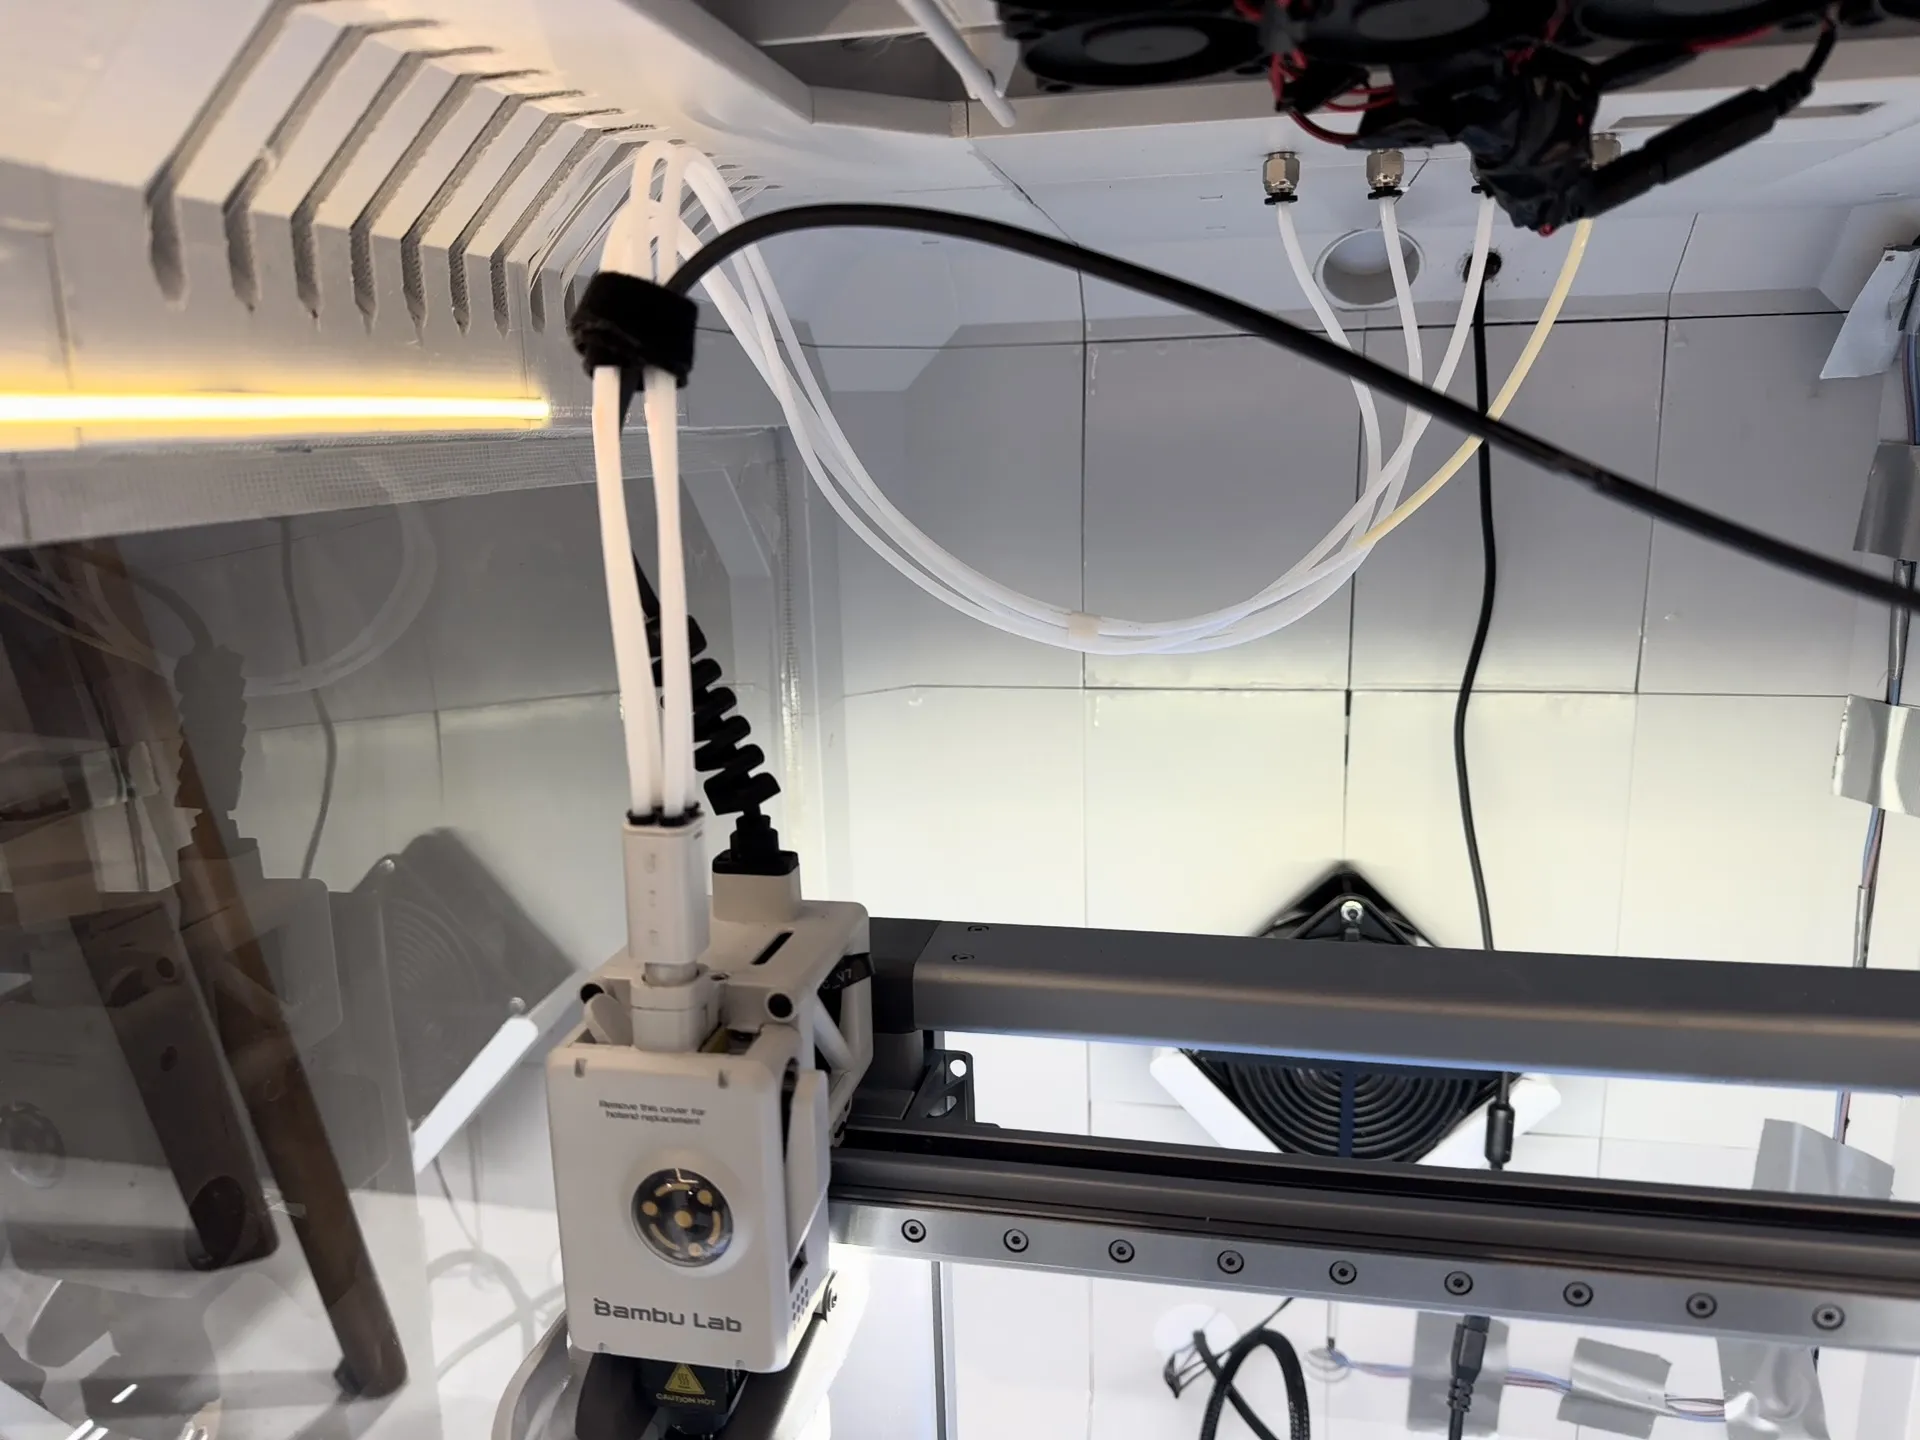
Known issues and solutions:
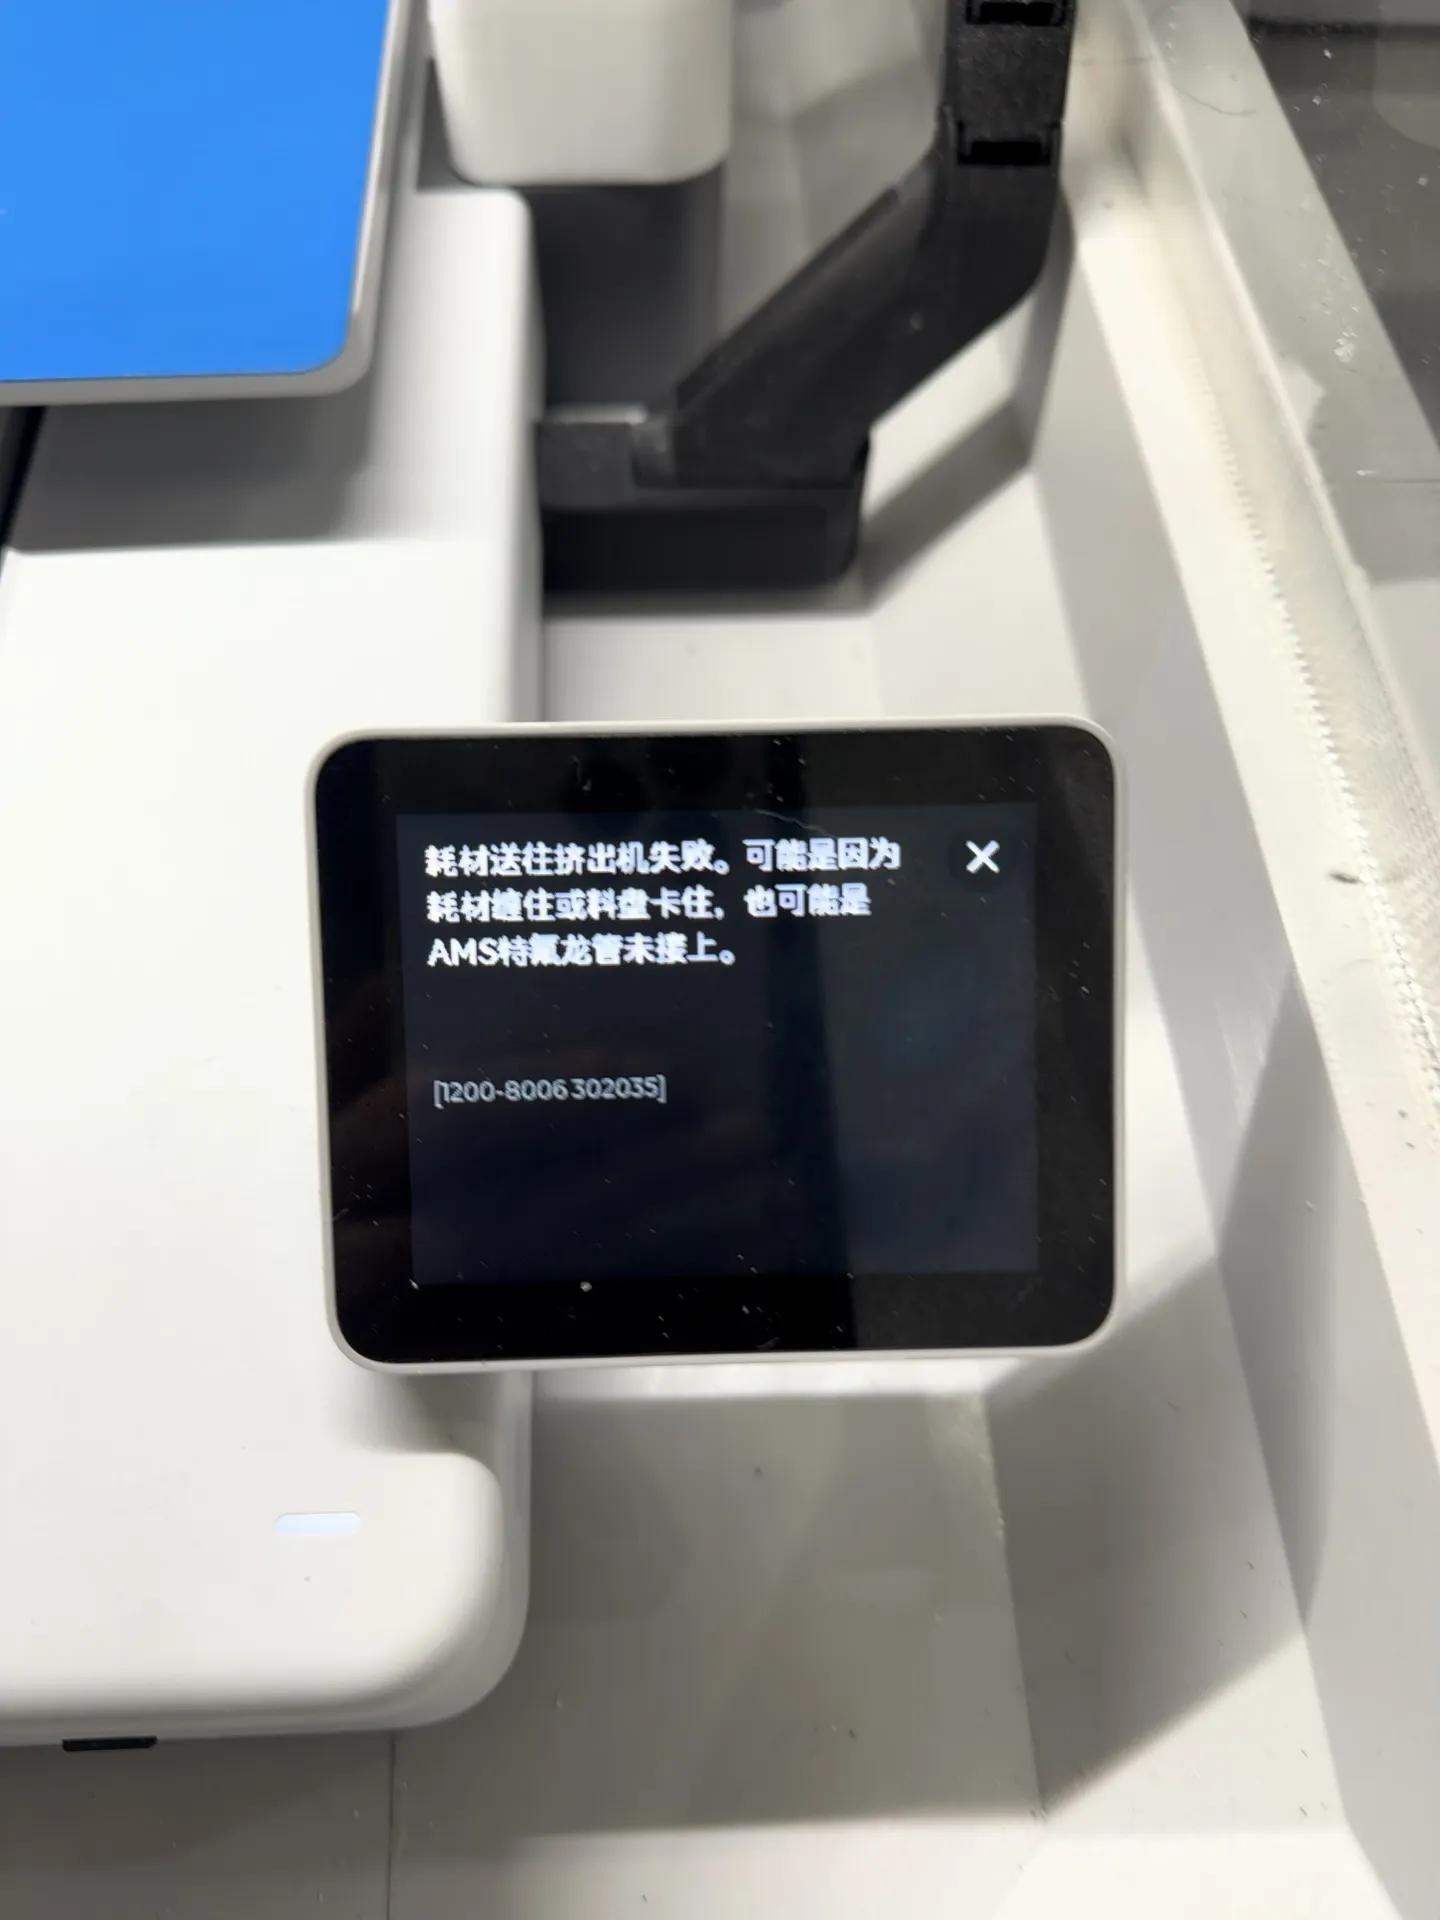
Due to the AMS lite's single feed length limit of 1.2 meters, the issue shown above, where filament feeding to the extruder fails, is caused by the extended filament tube. The solution is to manually feed a bit more during loading, or just click retry. If any experts know how to modify the AMS lite settings, please share, I've searched the entire internet and couldn't find anything on how to modify AMS lite. Thank you.

Or just click continue, and let AMS lite feed the filament again.
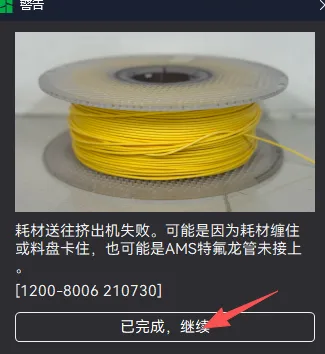
Then, at the PTFE tube connectors, make sure the filament tube aligns, otherwise it will cause feeding problems.
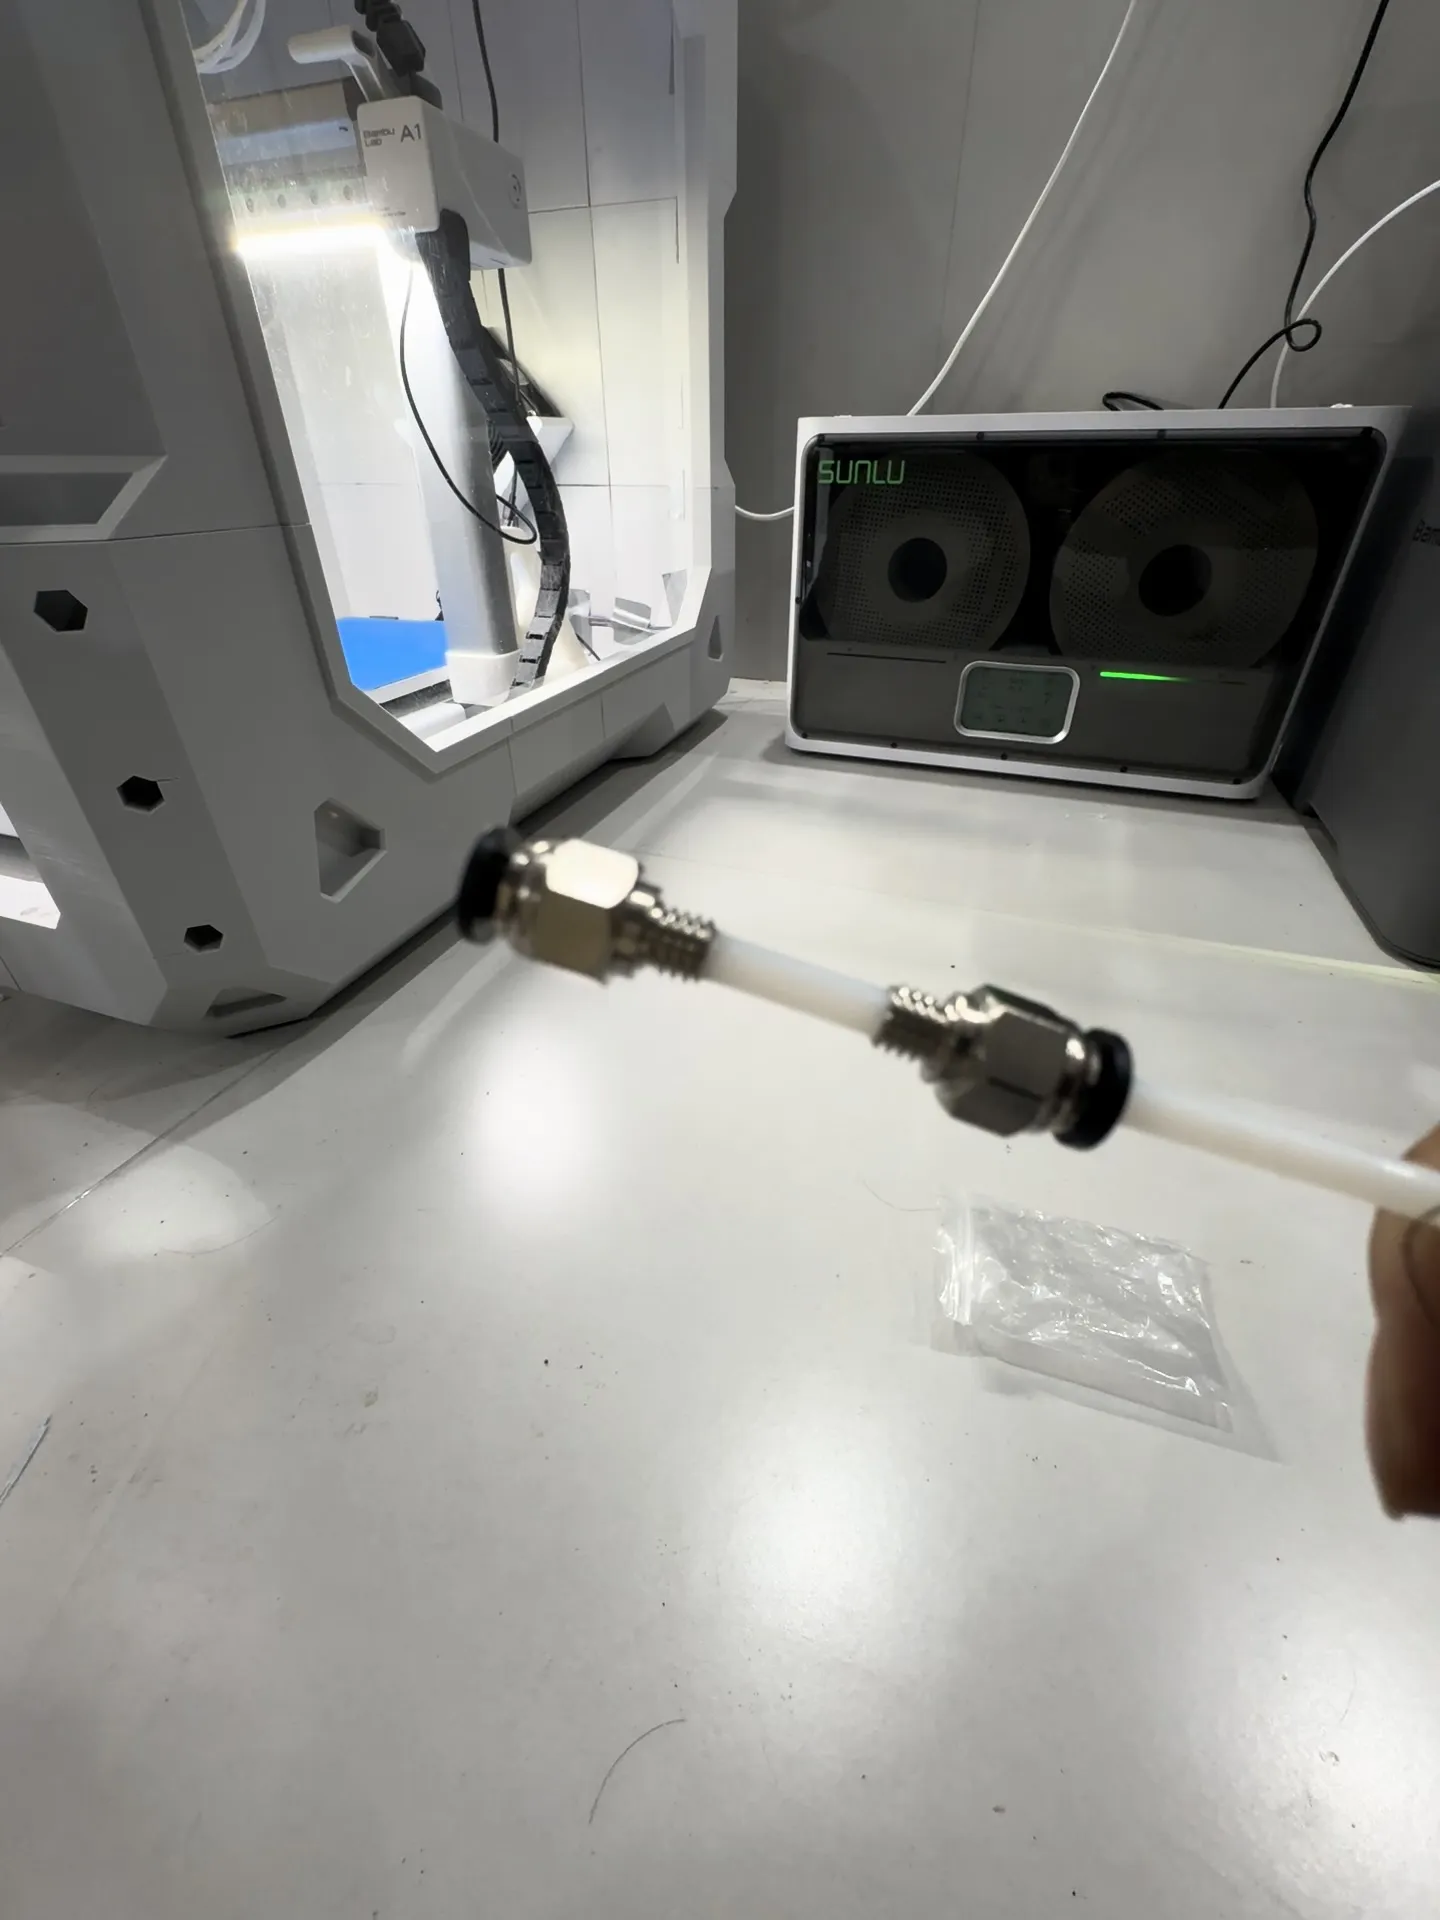
Because this connector allows the filament tube to pass through completely, it works very smoothly. If you have a newly purchased filament tube, you can entirely avoid cutting it in the middle; a whole piece is best. Mine is from Pinduoduo, haha, there's nothing I can do about it.
The issues I've encountered so far are only with AMS lite and the filament tube, but they are all easy to solve. Feel free to use it.
--If you want to increase print speed and save filament usage, you can try to see what the maximum printing range of your machine is, and then print. I'll list the parameters that have a greater impact on speed and filament usage.
1. Layer height Generally, a reasonable layer height range should be 20%~70% of the nozzle diameter. That is to say, for a 0.4mm diameter nozzle, a suitable print layer height is between 0.08mm~0.28mm, and for a 0.6 nozzle, it's between 0.12mm~0.42mm.
2. Line width: 0.75*nozzle diameter~1.5*nozzle diameter. A 0.6 nozzle can be set to a 0.9mm line width. It is not recommended to use an 0.8 nozzle; there is no significant improvement in time, while filament consumption increases.
3. Volumetric speed in material settings is generally set to 18~21 by default, but can be set to 28~40 depending on the material (based on materials currently available on the market that I know of).
Volumetric Speed (mm³/s) = Layer Height (mm) × Line Width (mm) × Print Speed (mm/s)
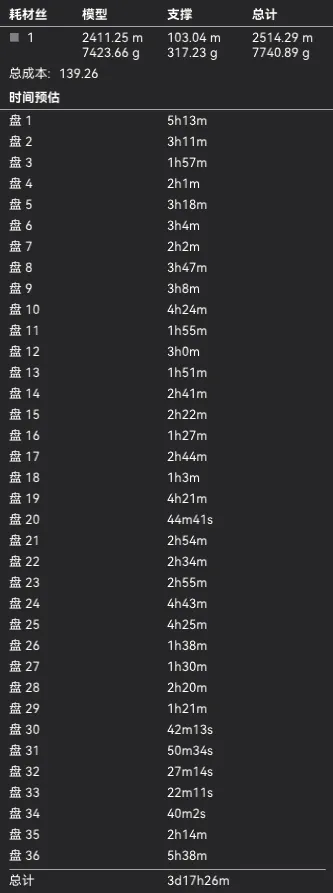
4. Due to the increased line width and layer height, and using a 0.6 nozzle, the number of walls can be set to 1. Support: 1, infill pattern: lightning. For A1, speed reduction with height must be enabled, otherwise the swinging Y-axis will easily lead to spaghetti. The printing time and filament usage after these settings are as follows. However, I still recommend you use my parameters; as long as you ensure your printing plate and material are fine, the probability of problems occurring with my default settings is extremely low (I wasted more than 10 rolls of filament to arrive at the current parameters). There is no need to use very good materials. I tried PETG at 17.9 per roll; its toughness was a bit poor, but otherwise it was fine. If you want to adjust it yourself, you can check the wiki, but I advise you to play it safe. I've basically tried official filament, expensive third-party filament, and the cheapest filament. Every manufacturer, different colors, different printing parameters – if you have to adjust each one, it's truly agonizing.
License



Comment & Rating (132)