
Godslayer Greatsword - Elden Ring
Print Profile(1)

Description
Boost Me (for free)
If you enjoy this model, please consider leaving a boost — it helps others find it and supports future projects like this one. Every bit of feedback means a lot! Thanks for your support, Tarnished !
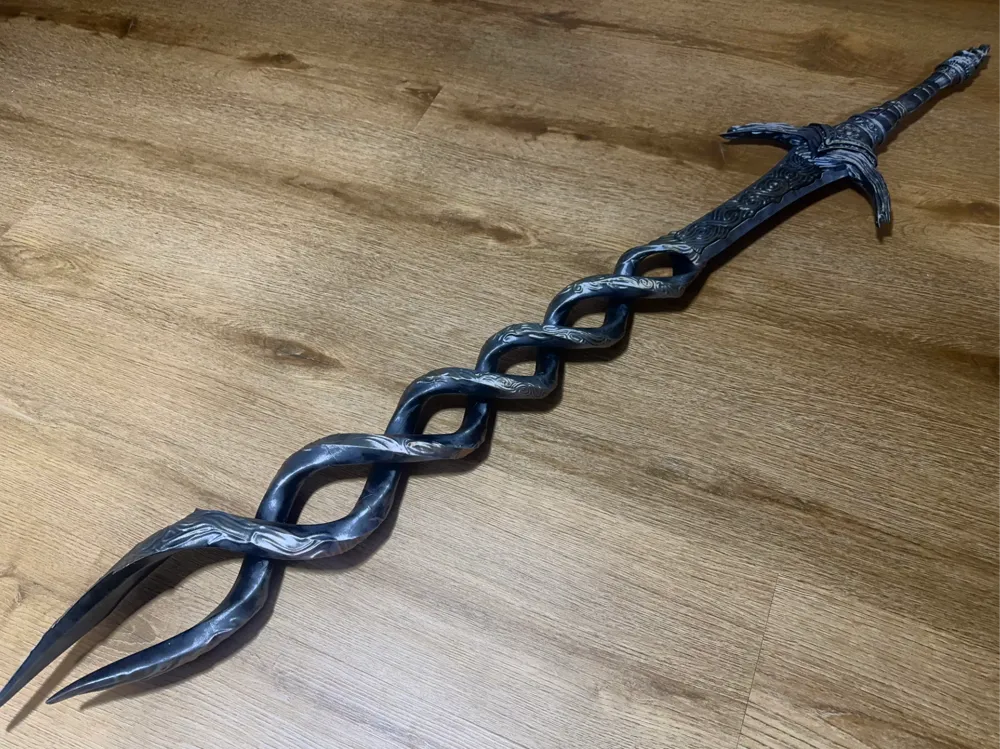
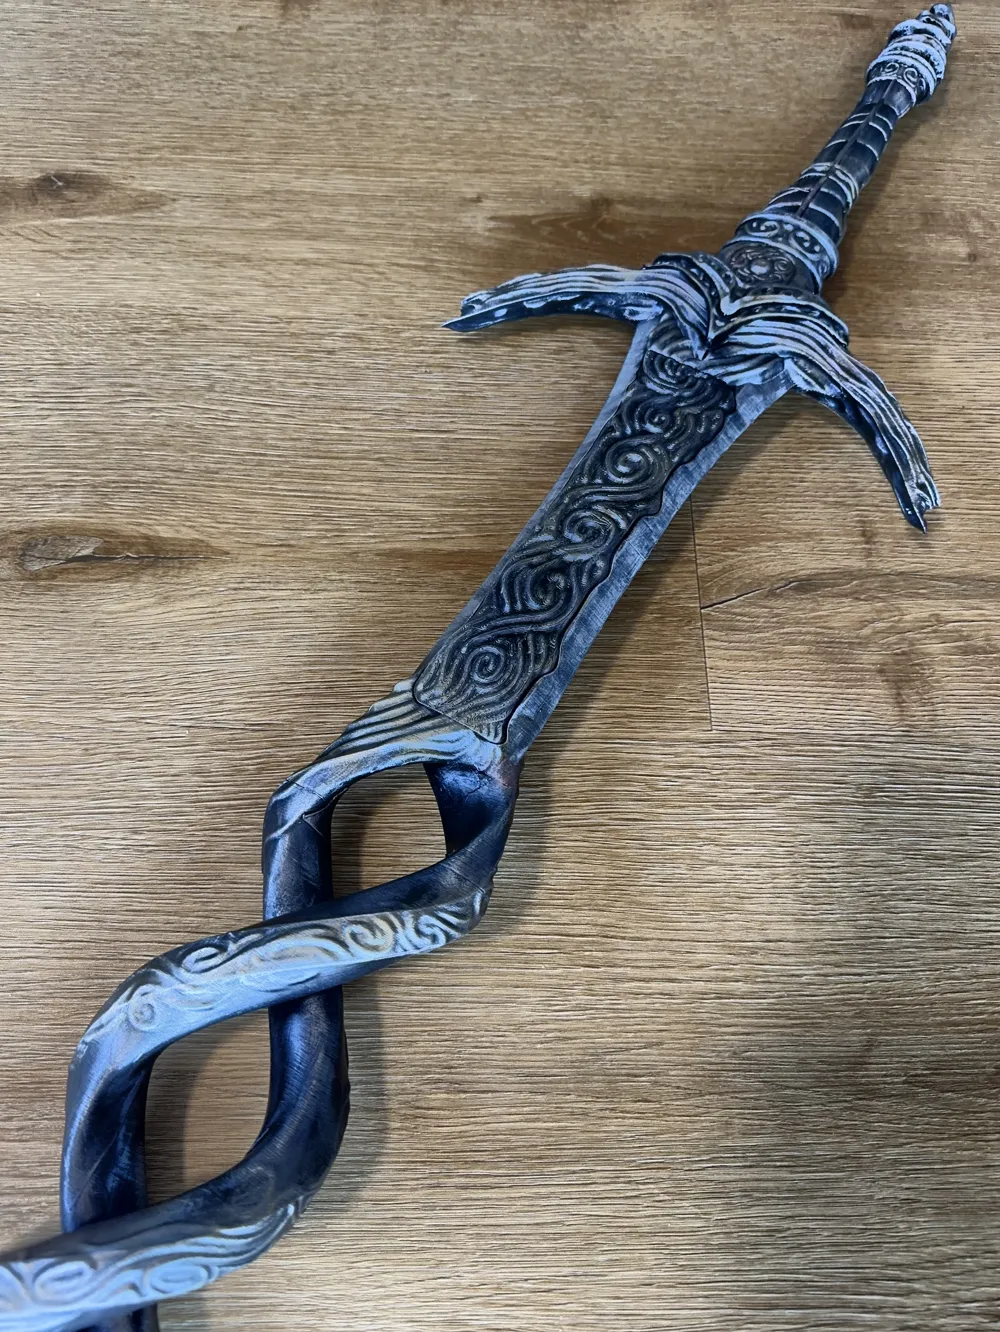
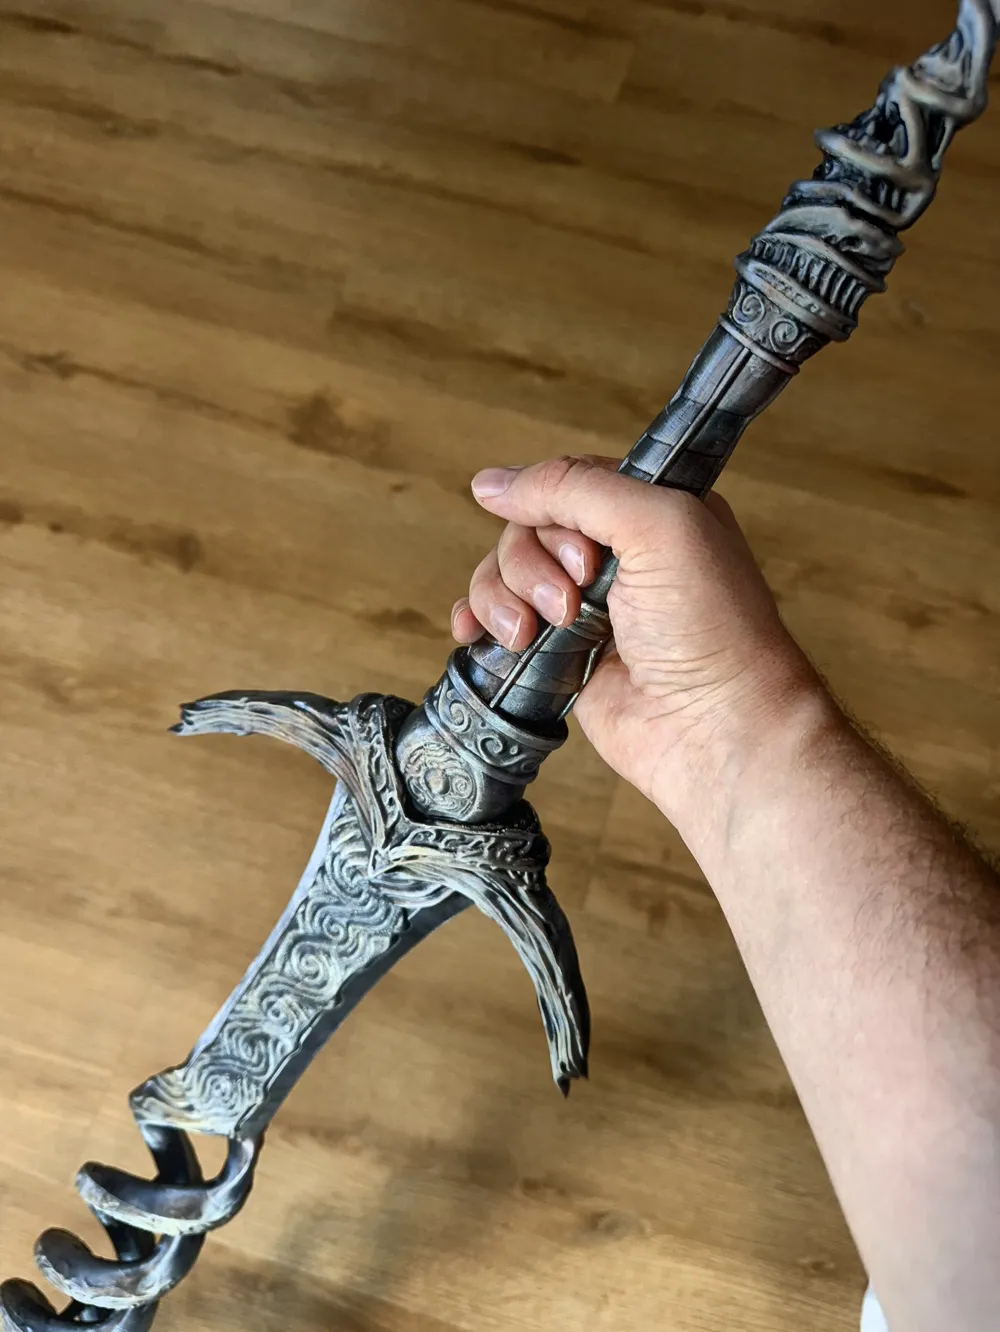
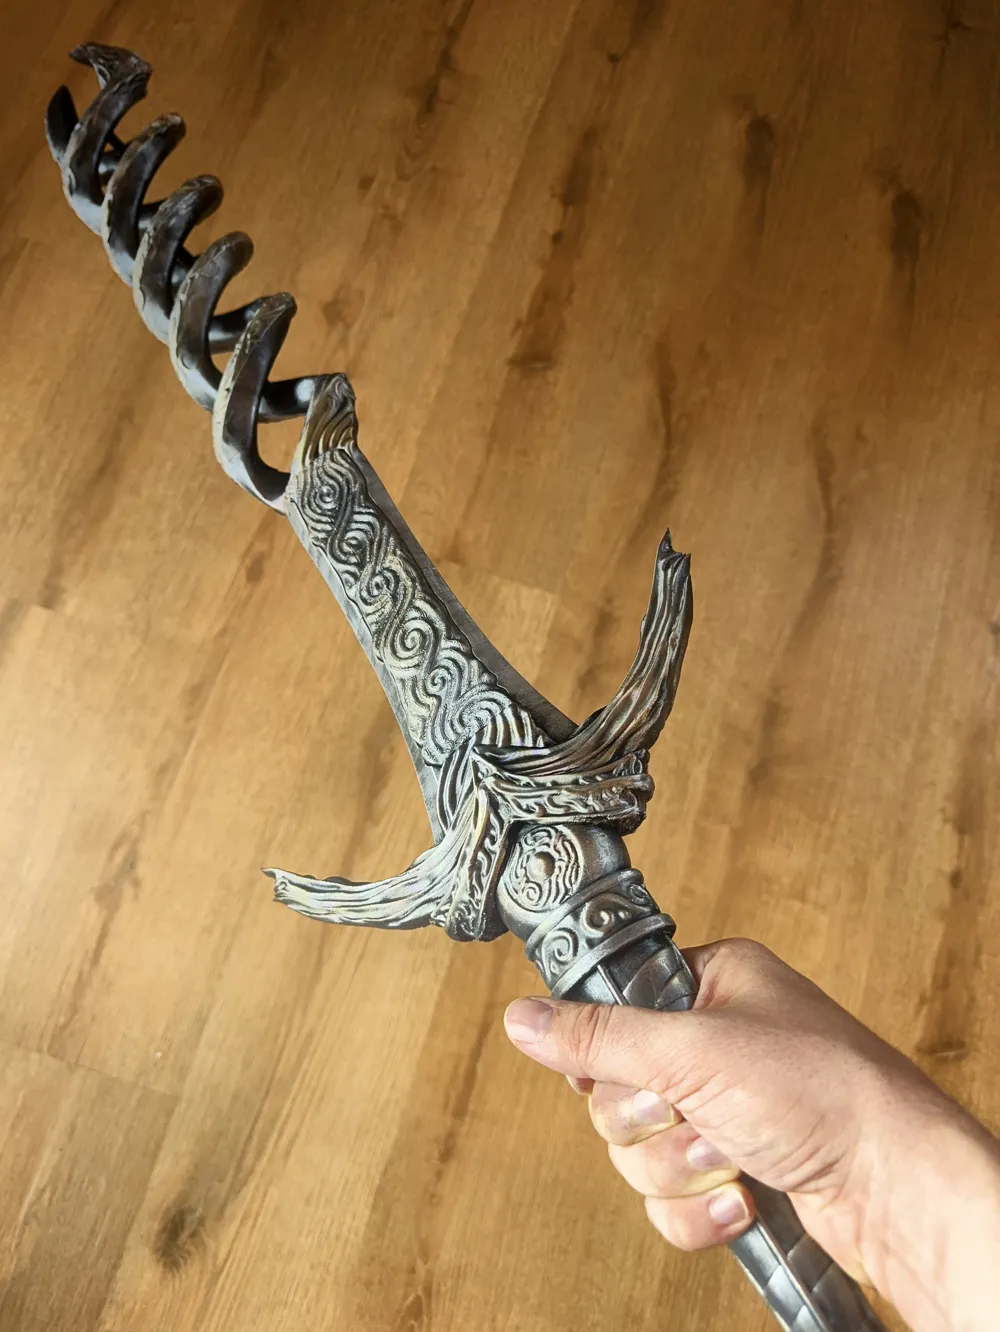
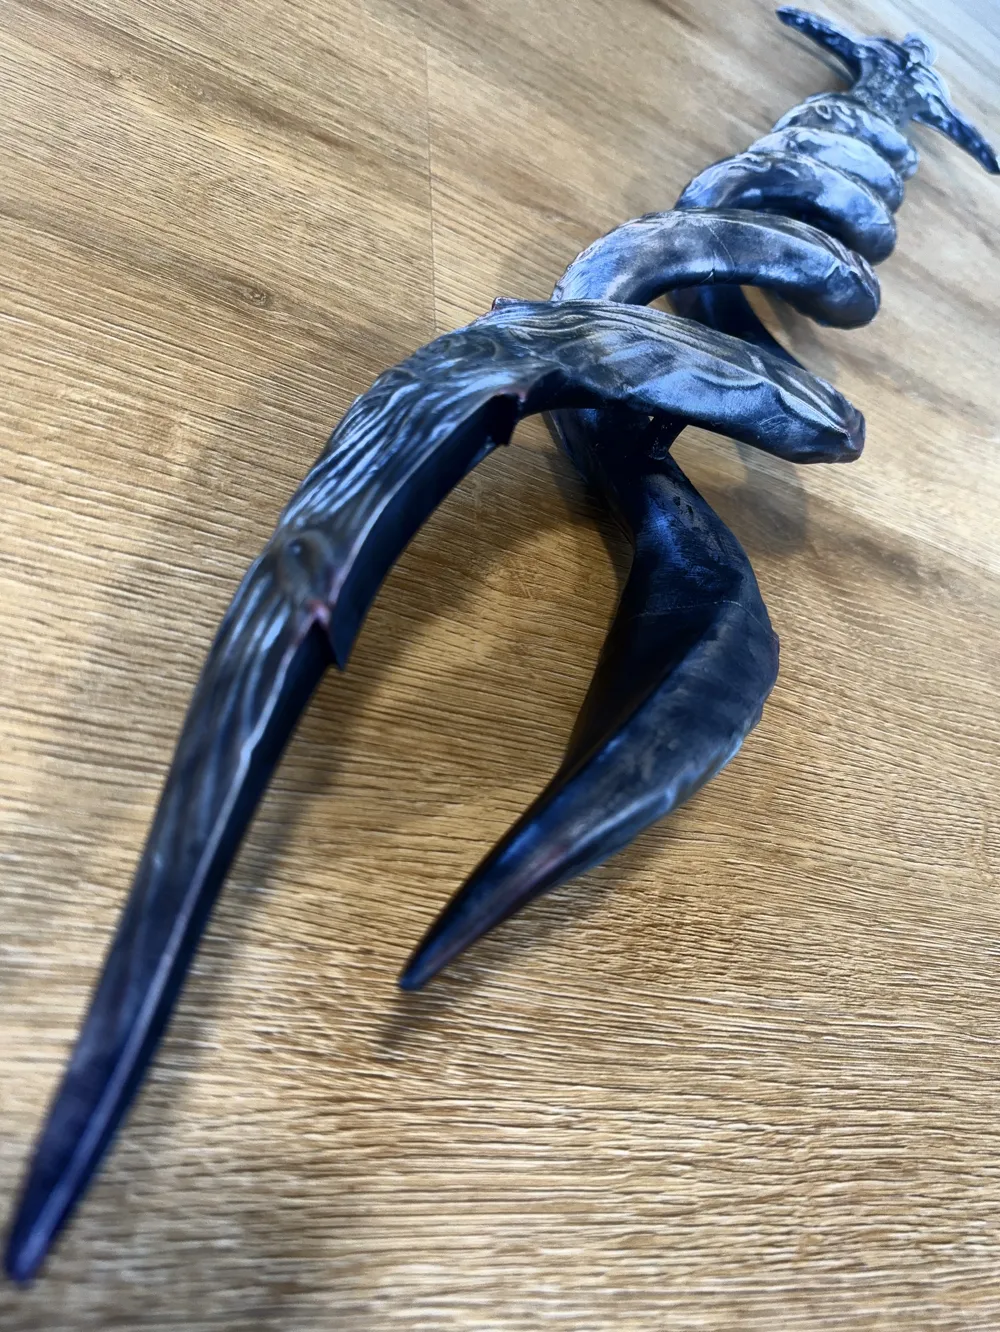
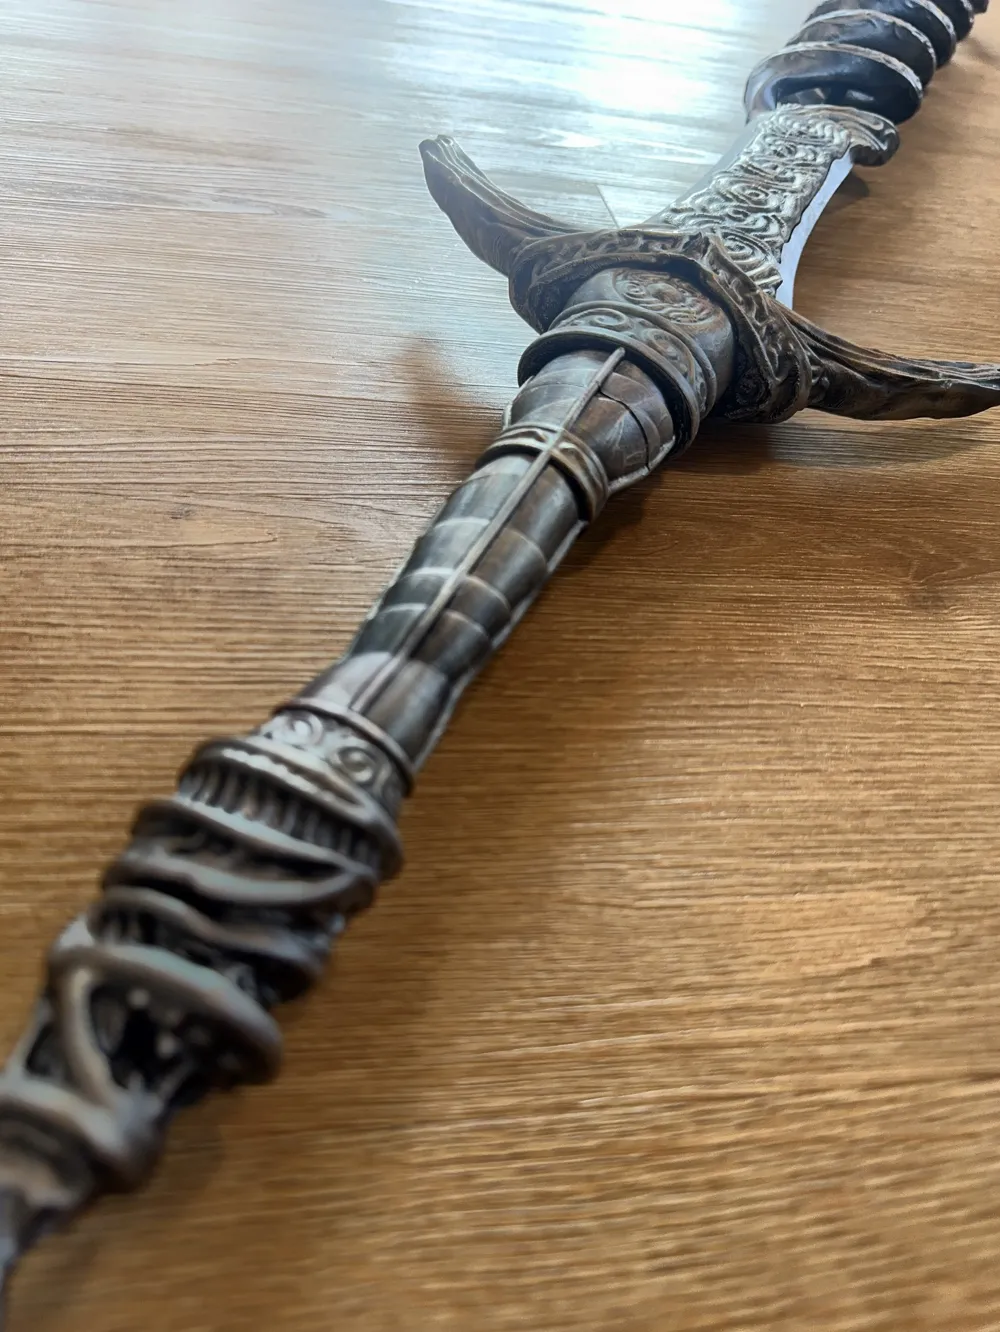
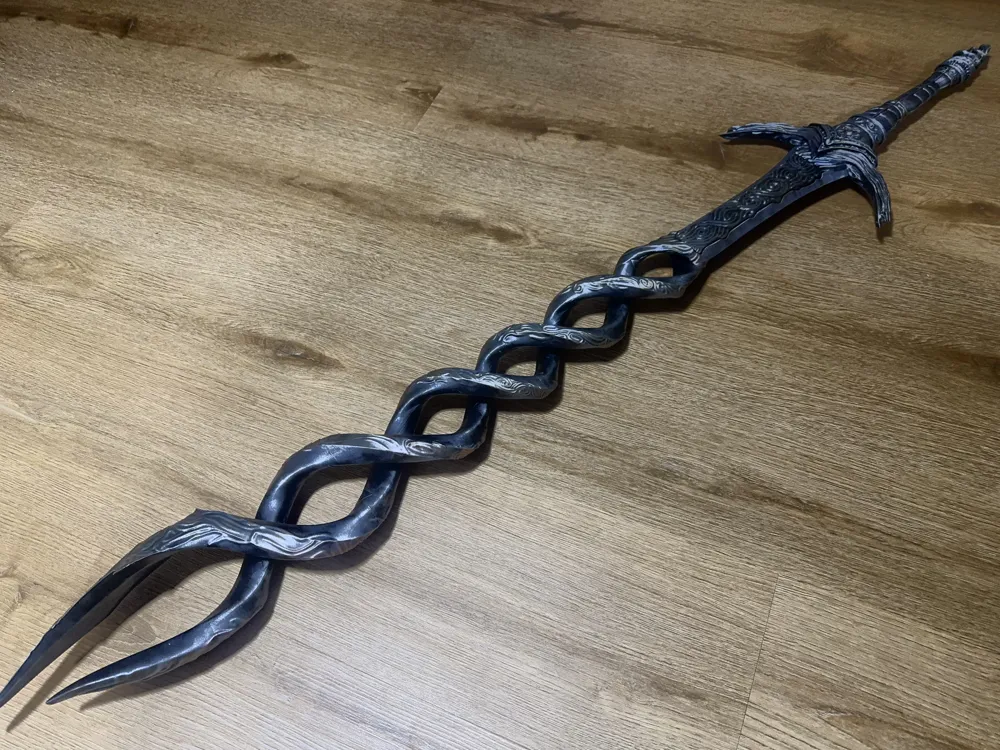
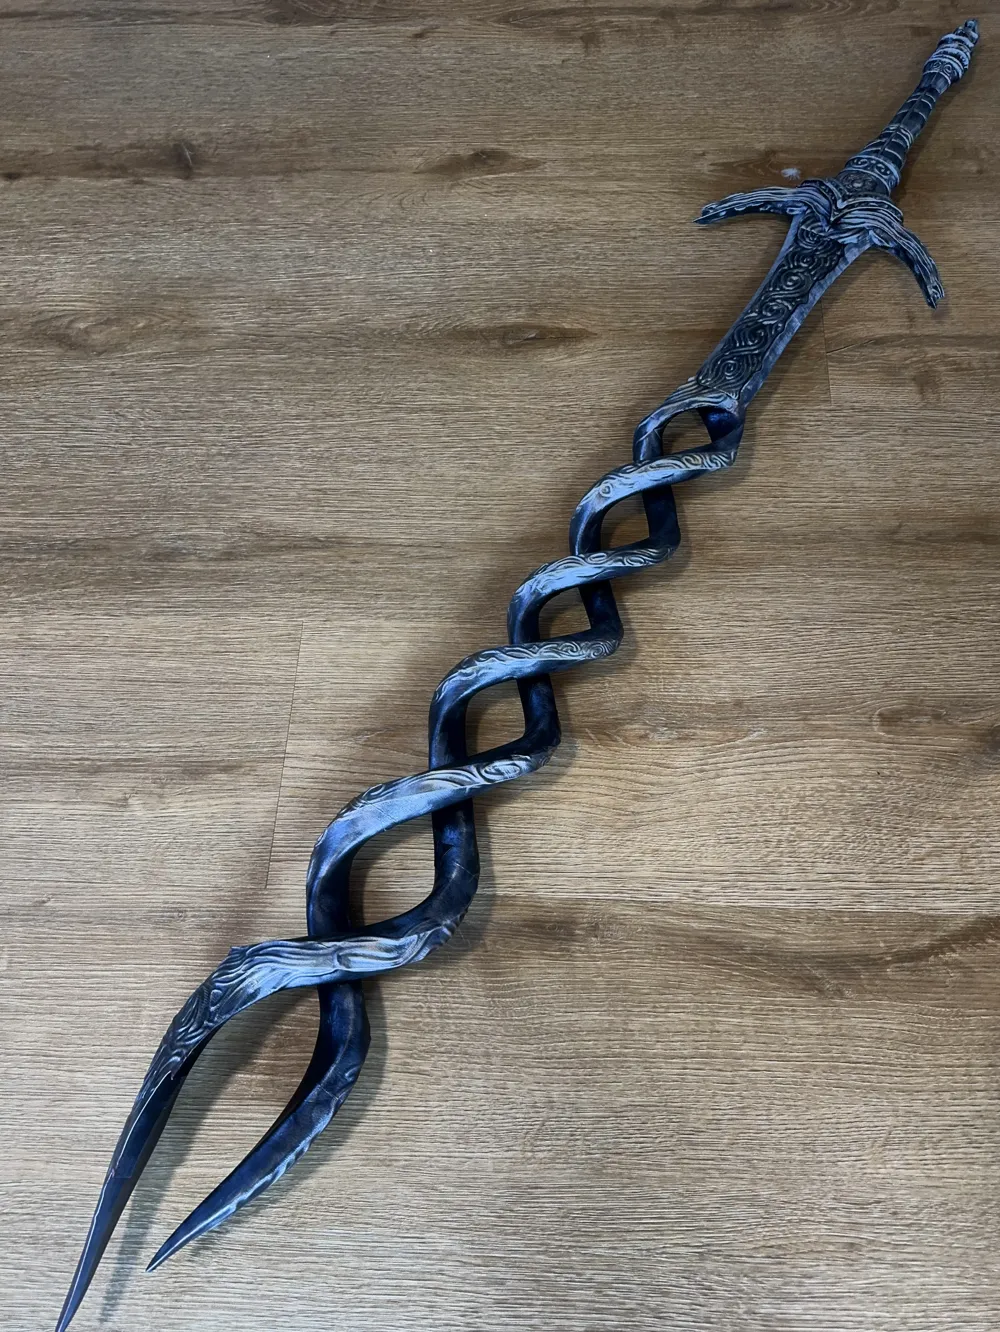
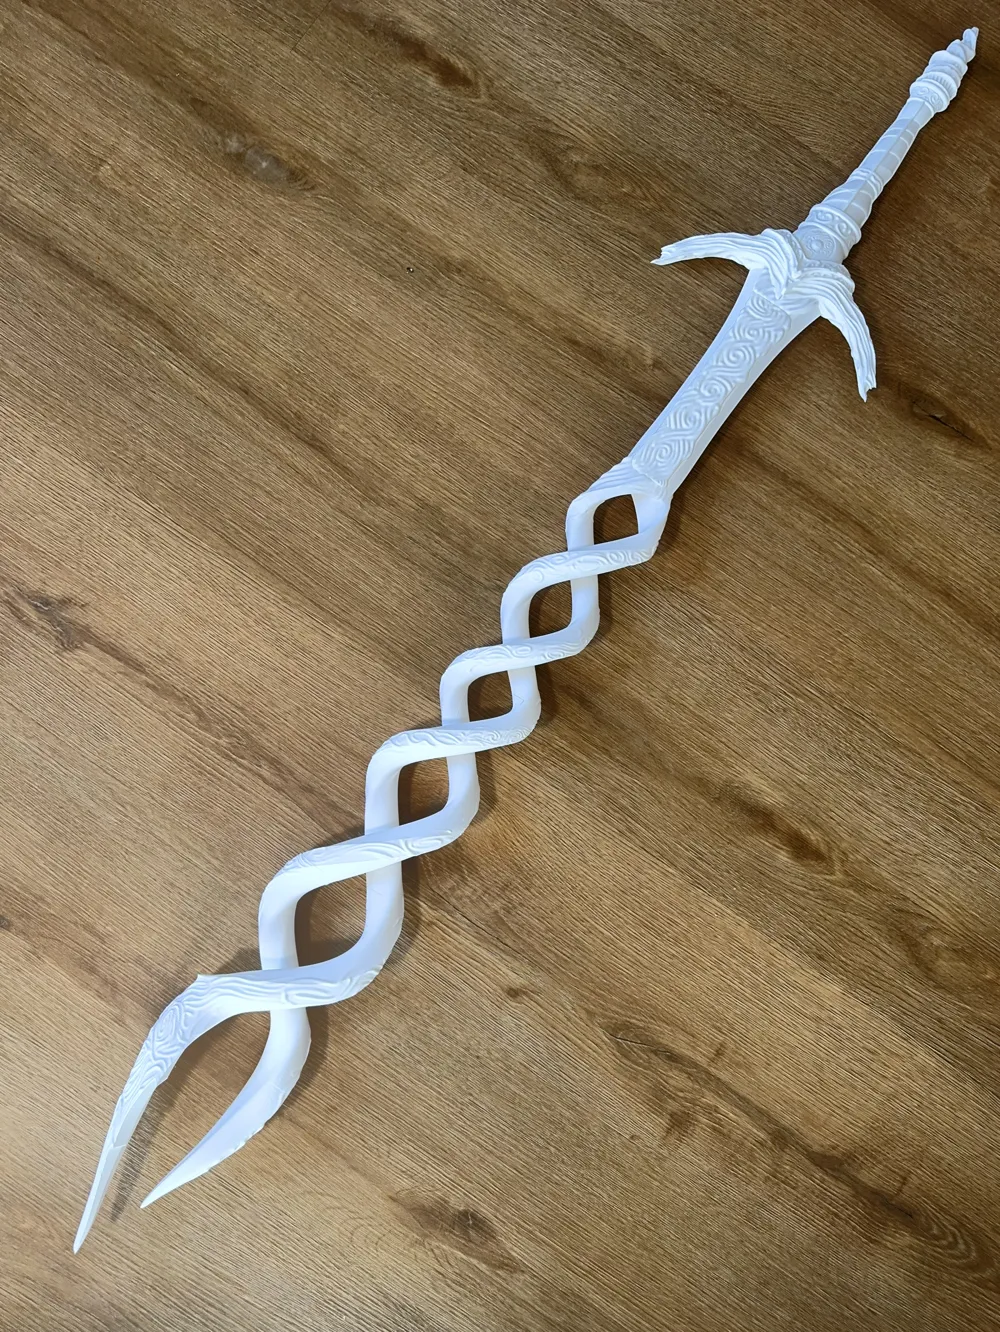
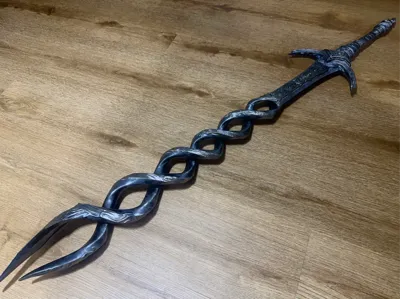
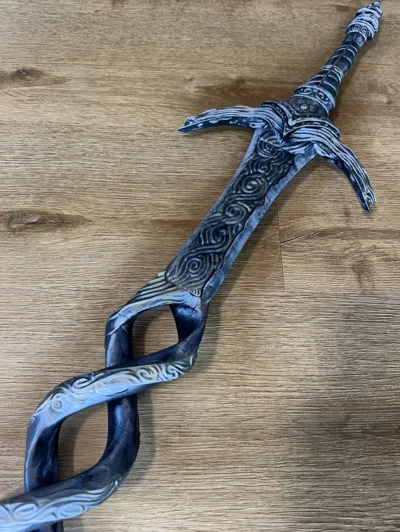
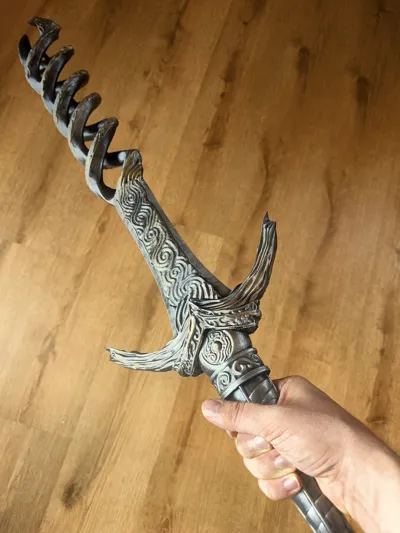
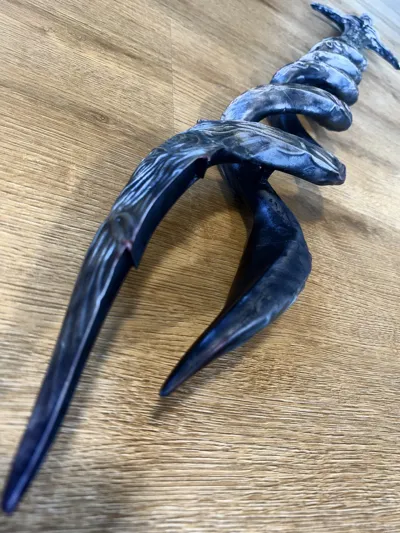
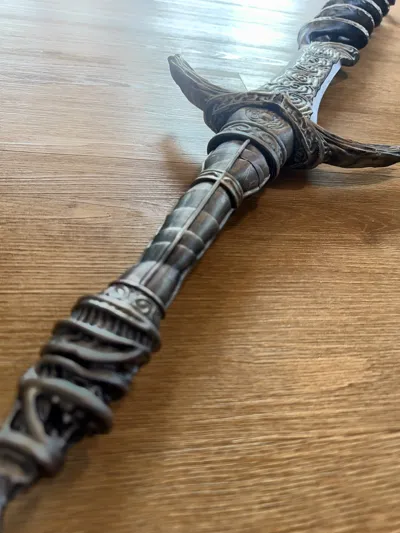
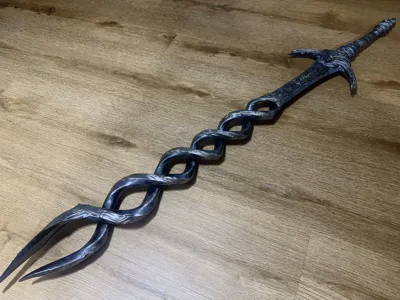
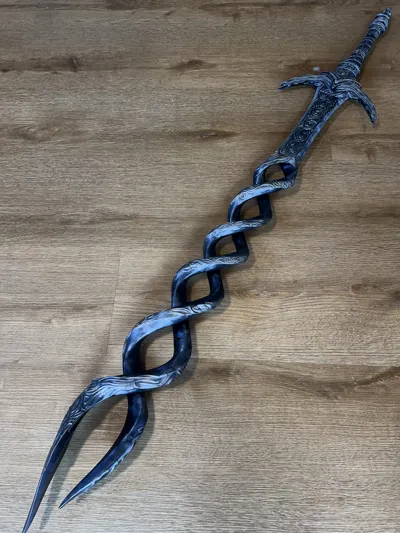
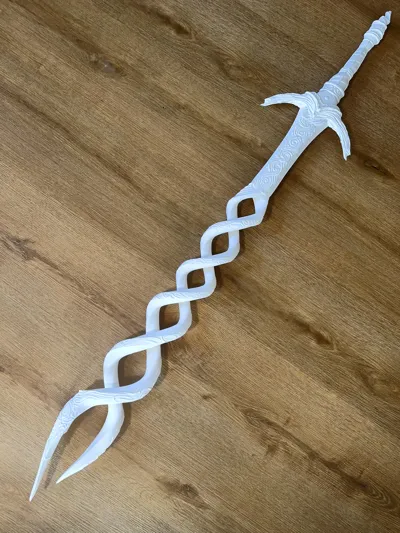
Bring a piece of Elden Ring into the real world: the Godslayer’s Greatsword is the iconic, spiraled colossal sword linked to the black flame of the Godskin — the “Queen’s Black Flame” is directly tied to this weapon.
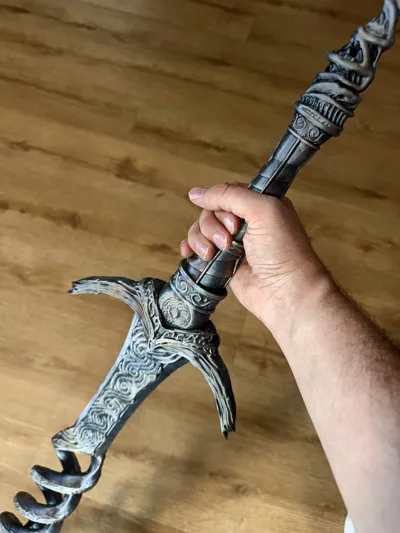
This model is designed for cosplay/posing & display (~135cm) and has been segmented to fit common print beds, with a focus on the look of the spiral blade and a practical, hidden connection system. Because the structure becomes wider and bulkier toward the tip, stability is naturally more limited than with slimmer blades. I put a lot of effort into the modeling to make sure the sword can withstand cosplay (posing for photos).
Included is a pre-prepared 3MF file in which all blade parts are pre-sorted, as well as all blade parts as STL files ready to print. Only the handle/grip was not split as STL. So if you want to download the STL files, you will need to cut the grip yourself (this is fairly easy in modern slicers).
Important Assembly Notes - please read!
The butterfly joints provide a large part of the stability. Therefore the tolerance is intentionally small — inserting them can be a bit fiddly, especially with super glue between the blade parts and in the recesses on the inner sides of the spiral blade. Take your time, and don’t glue your fingers together! (It happened to me.)
Before gluing, please dry-fit all blade segments and their Butterfly joints by holding them together once:
- Only one orientation fits.
- Each butterfly joint is unique and intended for one specific position on the blade.
- If you have overlaps or parts “don’t want to fit,” the orientation is almost always wrong — don’t force it.
Most important: always dry-fit first!
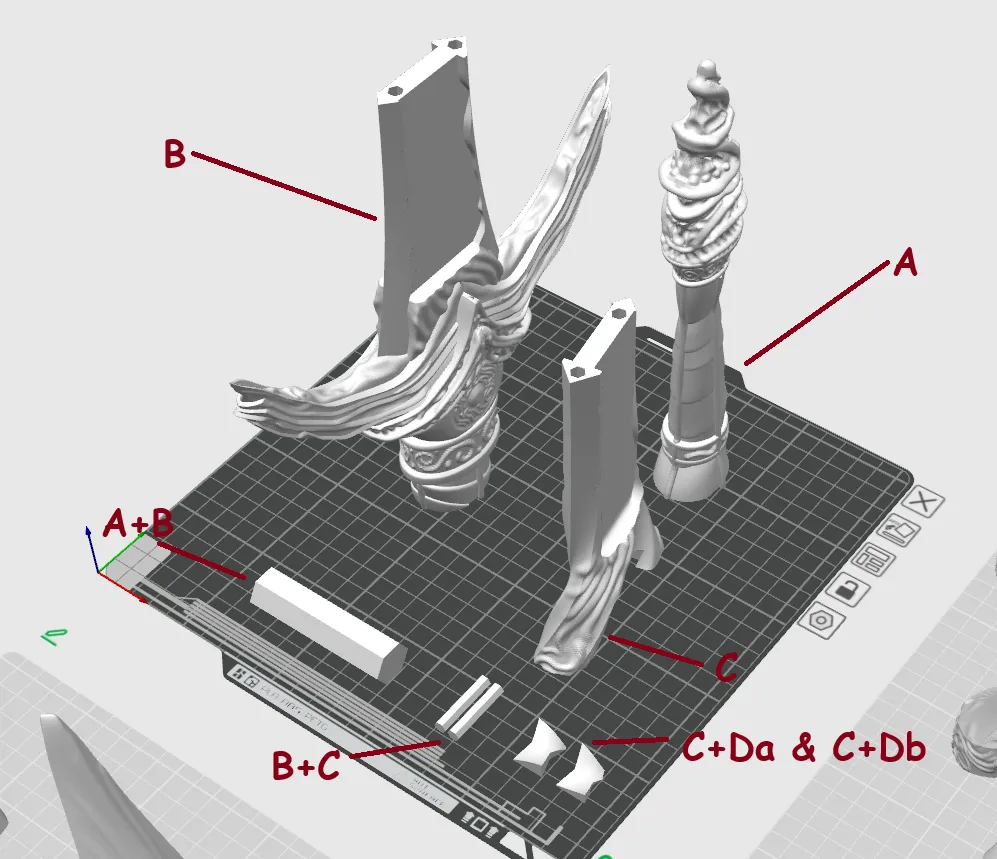
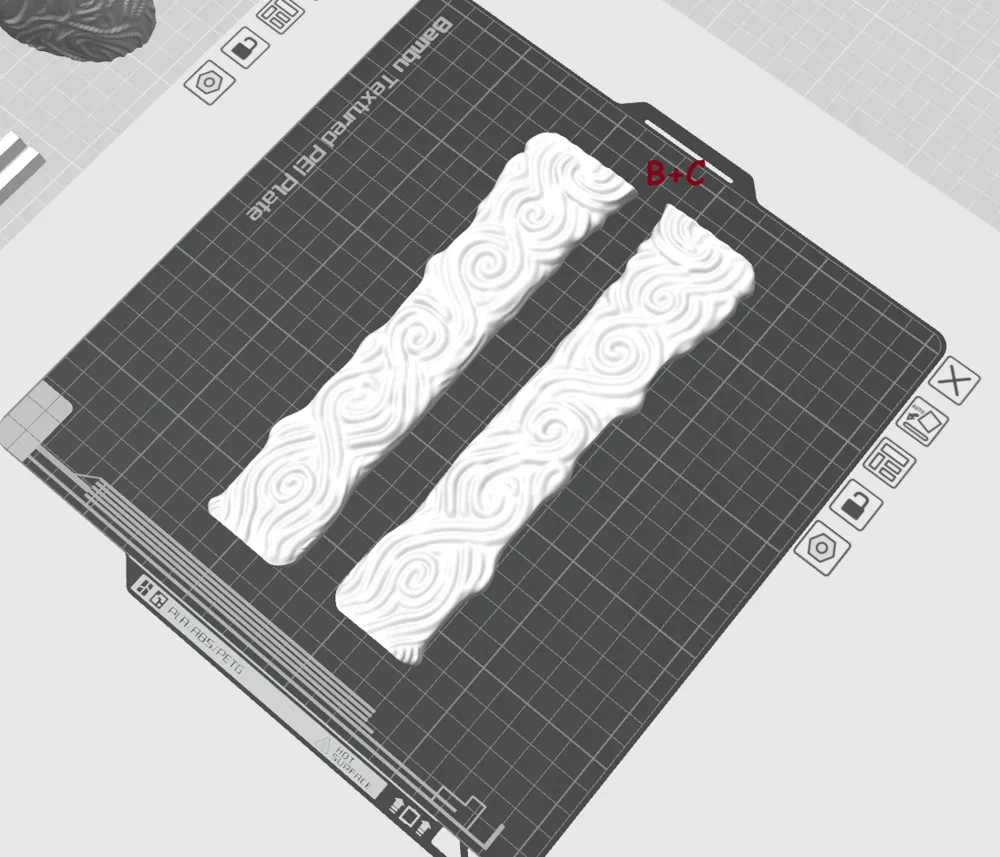
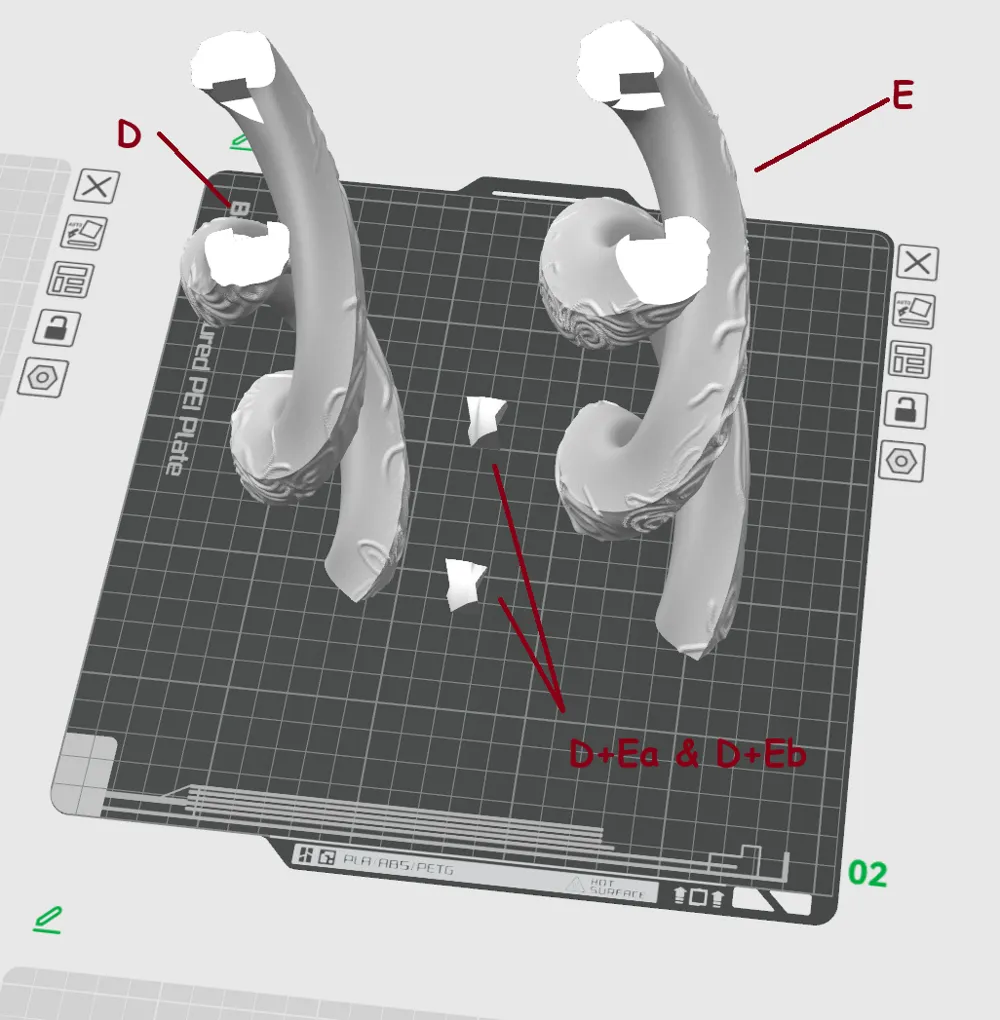
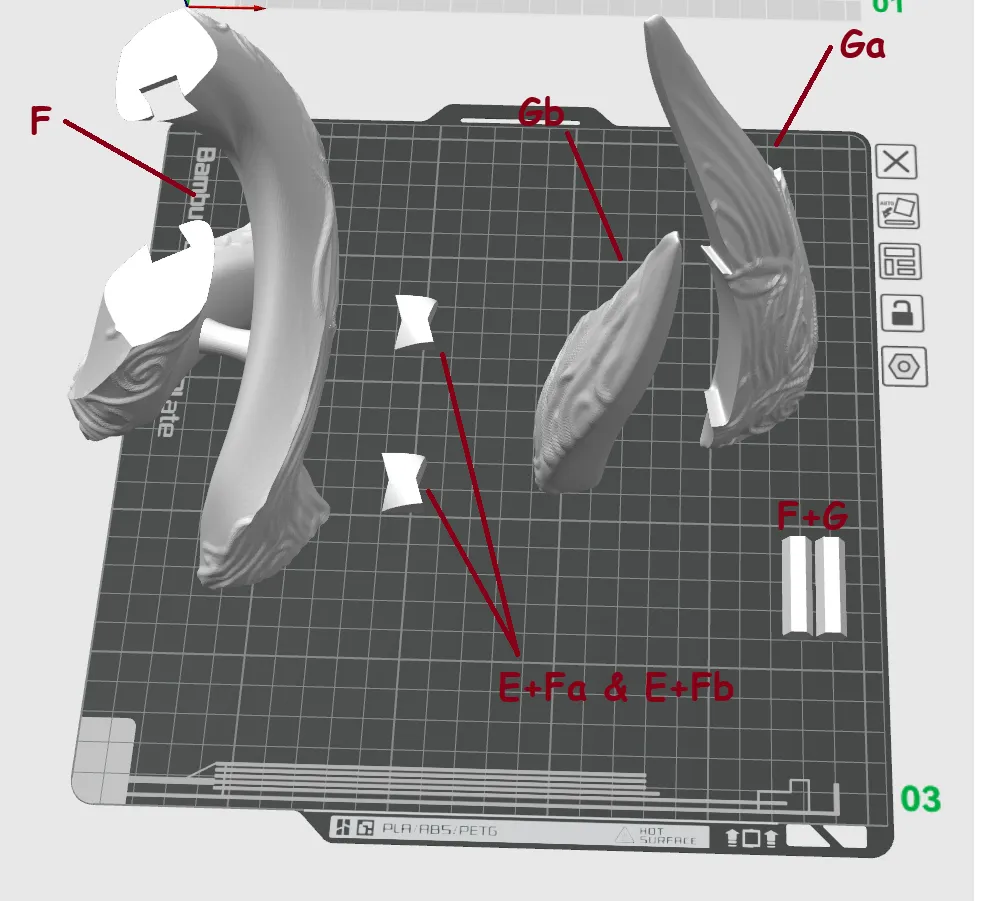
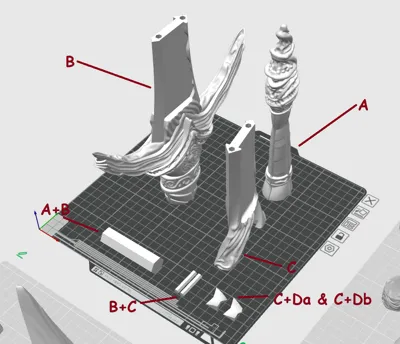
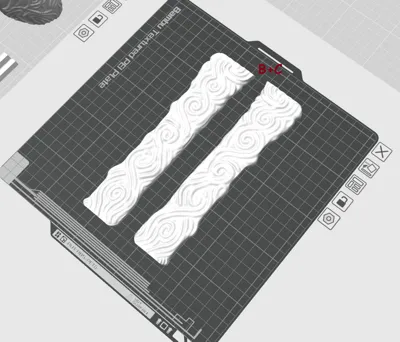
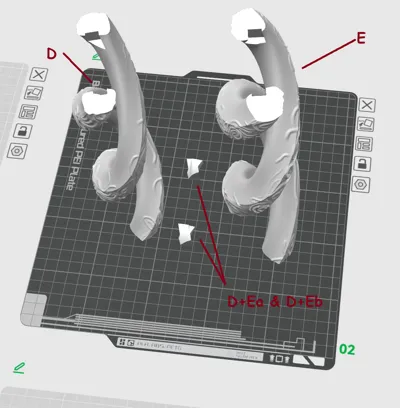
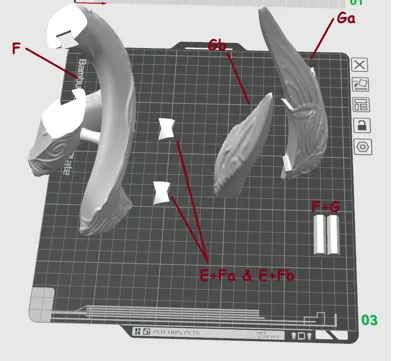
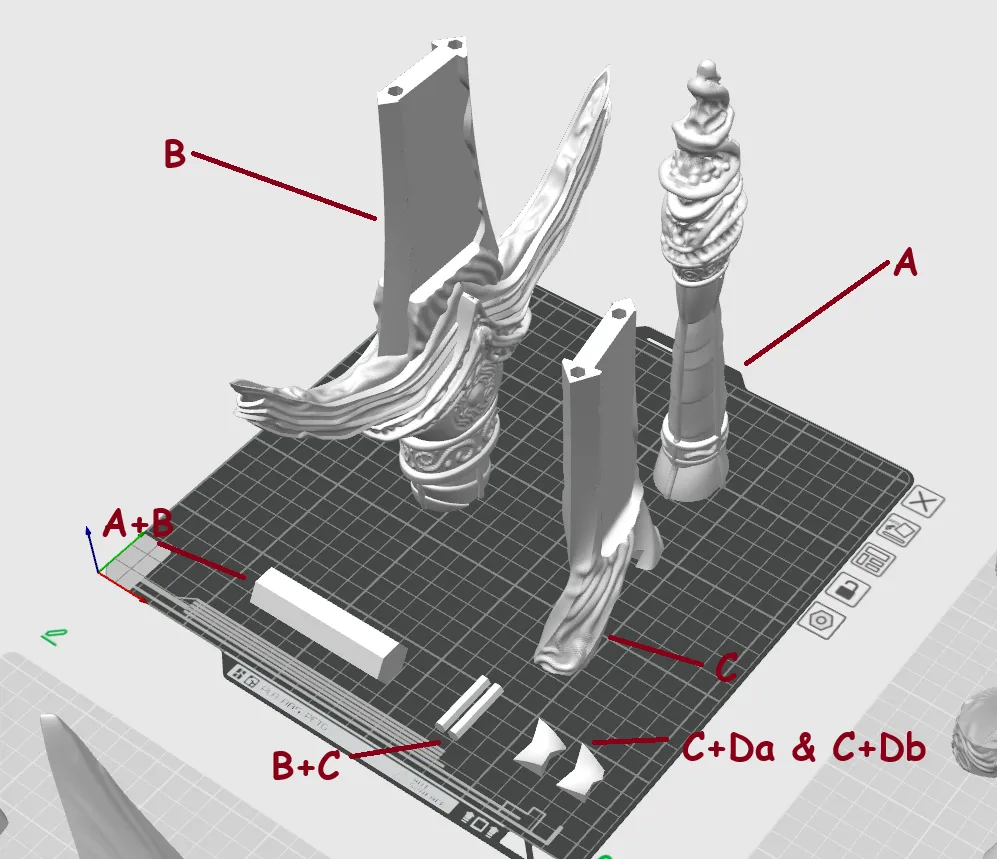
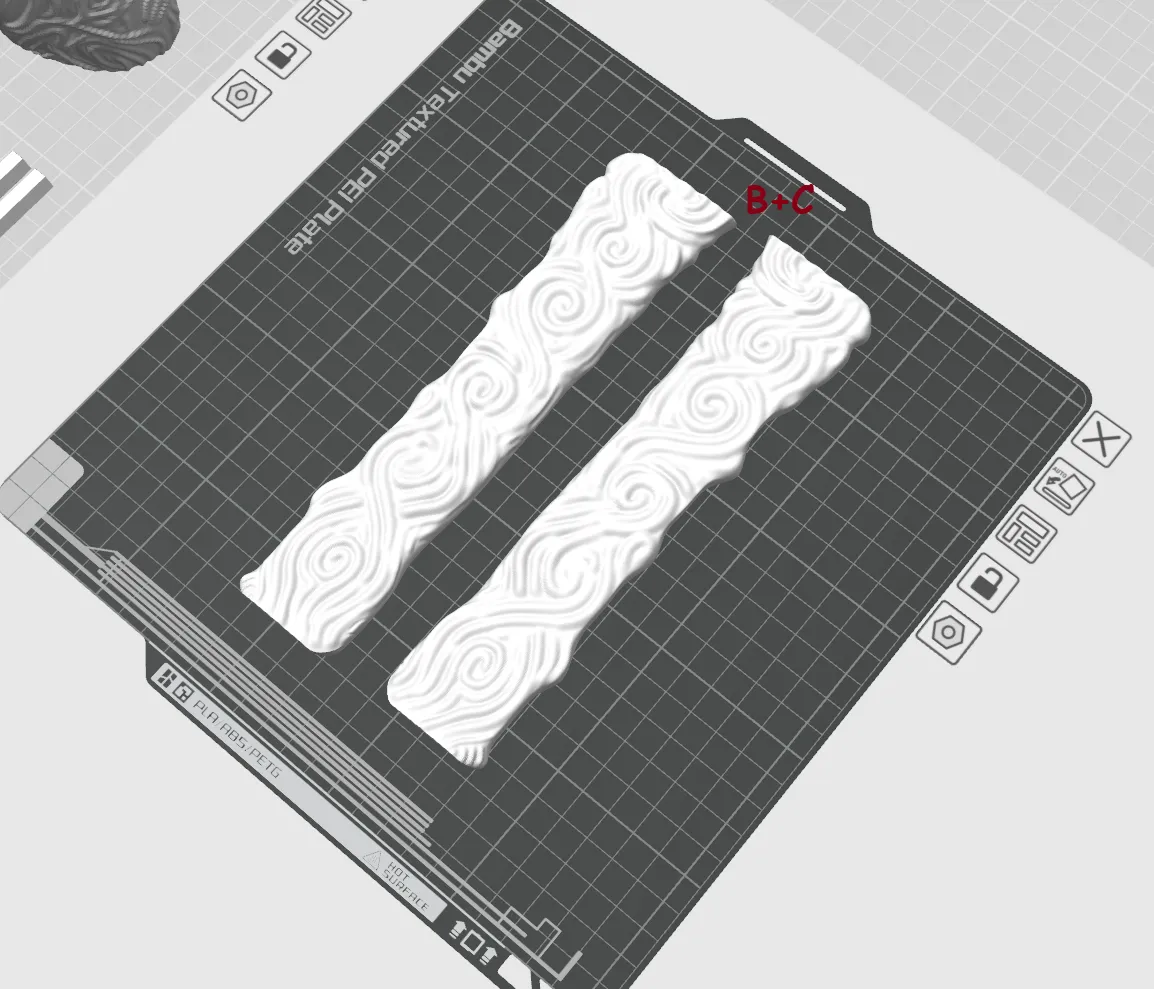
Next you’ll find 4 images showing the naming scheme of the 3MF file. Parts are labeled with letters, and the connectors are clearly assigned as well. After that, there is a text guide explaining the assembly:
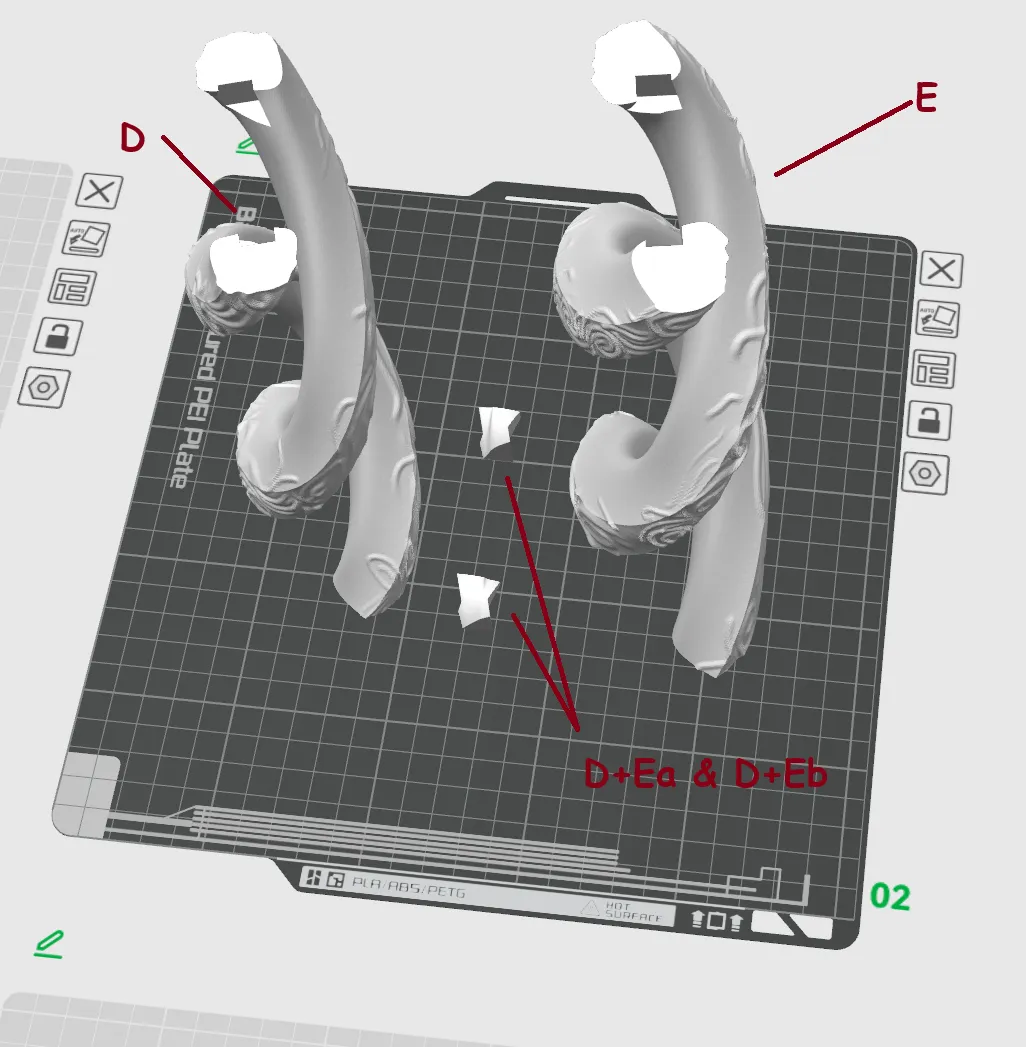
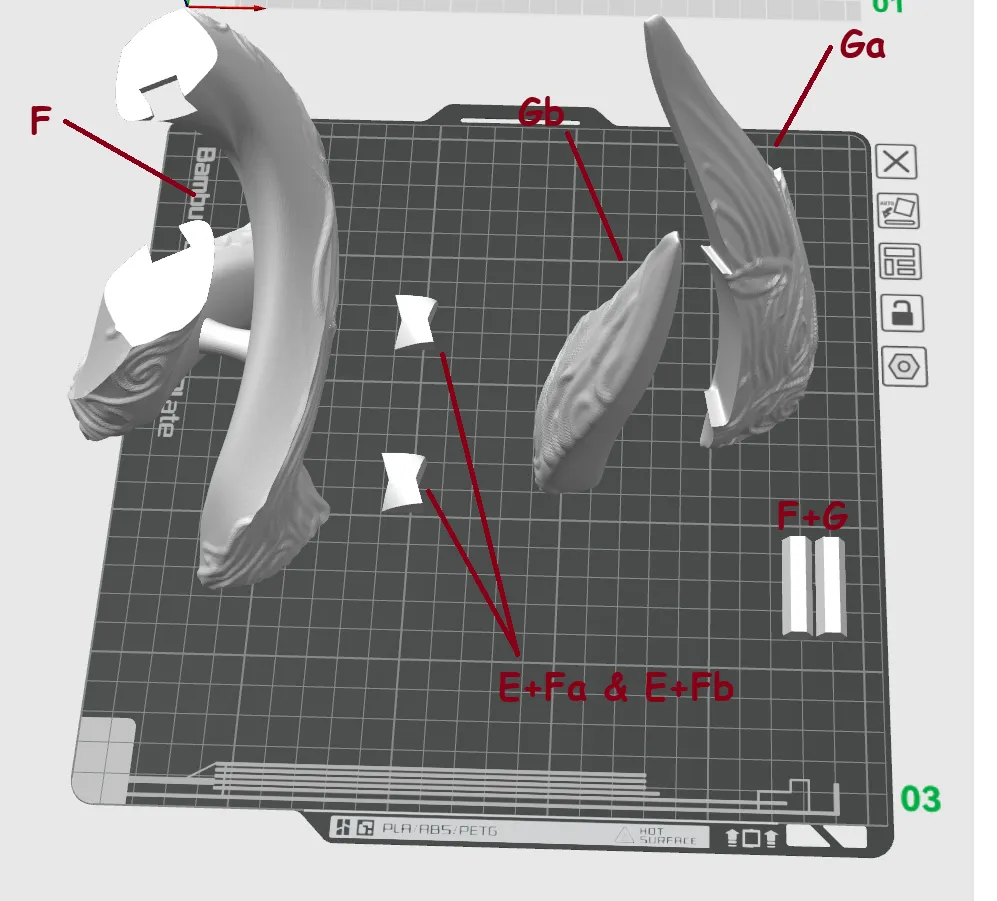
1) Handle
- Handle part A + handle part B are joined and glued using the large dowel A+B.
2) Blade – Base
- The assembled A+B is glued to blade part C using the dowels B+C and the blade plates B+C.
3) Spiral Blade (very important!)
- A+B+C is connected to blade part D using butterfly joints C+Da and C+Db.
- Then continue the same way:
- Part E with butterfly joints D+Ea and D+Eb
- Part F with butterfly joints E+Fa and E+Fb
- Finally, glue the blade tips Ga and Gb onto the sword using the dowels F+G.
Have fun printing, Tarnished!
License

You shall not share, sub-license, sell, rent, host, transfer, or distribute in any way the digital or 3D printed versions of this object, nor any other derivative work of this object in its digital or physical format (including - but not limited to - remixes of this object, and hosting on other digital platforms). The objects may not be used without permission in any way whatsoever in which you charge money, or collect fees.


Comment & Rating (31)