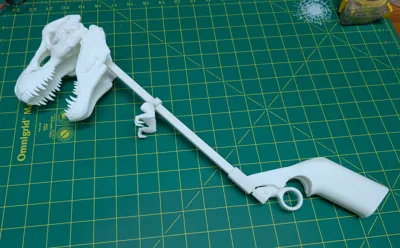
T-Rex Skull Grabber Handle (with optional arms)


Print Profile(1)

Description
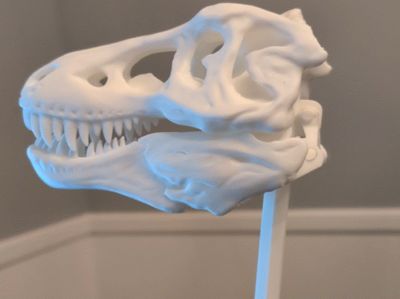
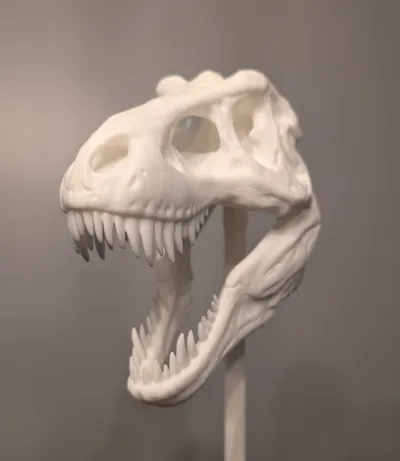
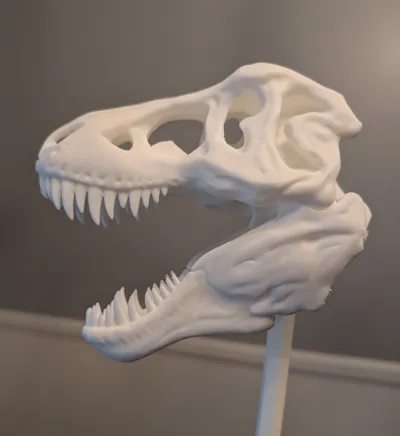
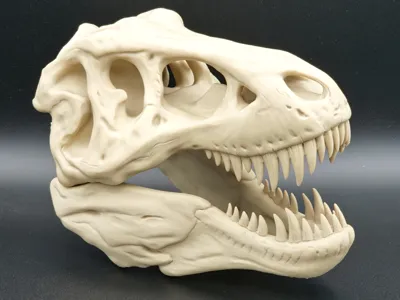
Here we have a T-Rex Skull incorporated into a grabber handle. Use it to grab things out of reach, or to annoy your family members.
Careful, the teeth are sharp. So not advised for young children.
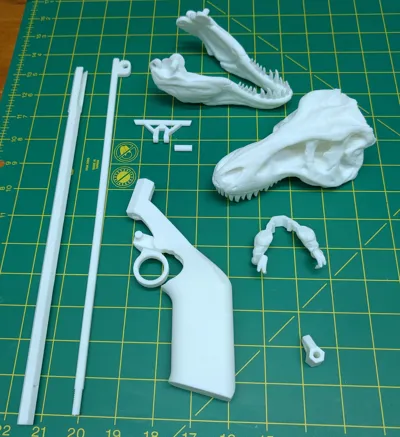
Assembly instructions below. I refer to each of the individual pieces with capital letters (Skull, Jaw, Arbor, Shaft, Pin, Rod, Bottom, and Handel).
1. Remove the semi-circle tab from the end of the Rod and insert it into the Shaft, such that the tab of the Rod (opposite the threads) slides into the slot in the top of the Shaft.
2. Temporarily thread on the Bottom piece onto the Rod until the threads are no longer visible. This step is only to chase the threads to make sure they are well formed. (See picture below)

3. Remove the Bottom piece.
4. Free the print-in-place hinge on the handle. Some force may be required, depending on your printer settings. But it should become loose with enough force.
5. Insert the Shaft into the Handle, being sure to take note of the key and slot orientation on each. Insert until fully seated, as indicated by the key being completely within the handle. (See picture below)

6. Thread the Bottom piece back onto the Rod. This must be done with the trigger moved out of the way. On the last turn, raise the trigger into place and make sure the trigger pin is inside the hole on the Bottom piece. (See picture below)

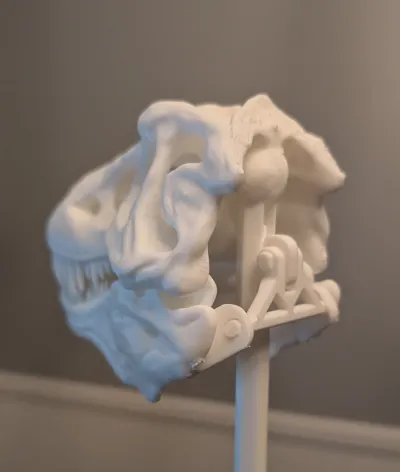
7. Insert the top of the Shaft into the hole in the Skull. When fully seated, the Rod should just barely touch the skull in it's fully up position. (See picture below)

8. Place the Jaw around the Shaft, with teeth pointed toward the Skull. Place the Arbor in the holes at the back of the Jaw while pinching the Jaw together, holding the Arbor in place (See picture below).

9. Snap the Jaw into the Skull while pinching it together with the Arbor in place.
10. Align the holes in Arbor and the Rod, and slip the Pin through to connect them together. Note: There are two Pin models included, one Tighter and one Looser. The Tighter one can be more difficult to install, so if you have trouble with that, try the Looser one. The Looser one is on the left on the build plate.

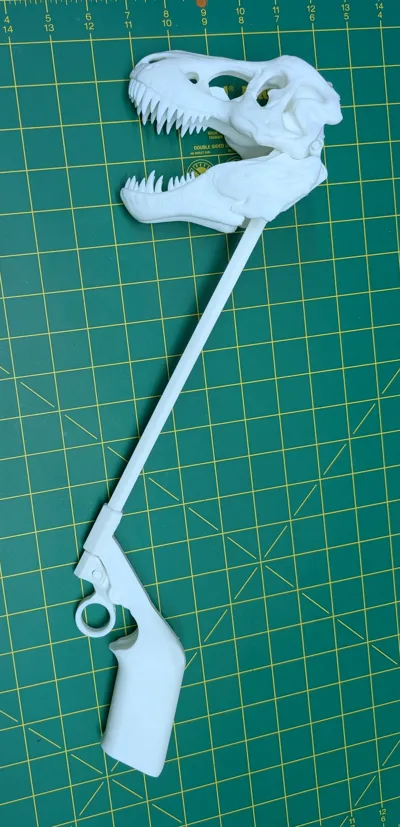
The grabber should now be fully assembled!
Comment & Rating (4)