
Geneva Mechanism
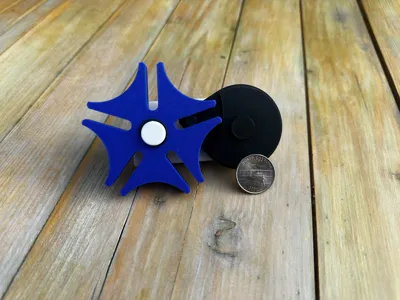
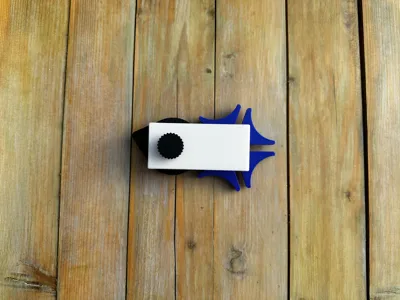
Print Profile(1)

Bill of Materials













Description
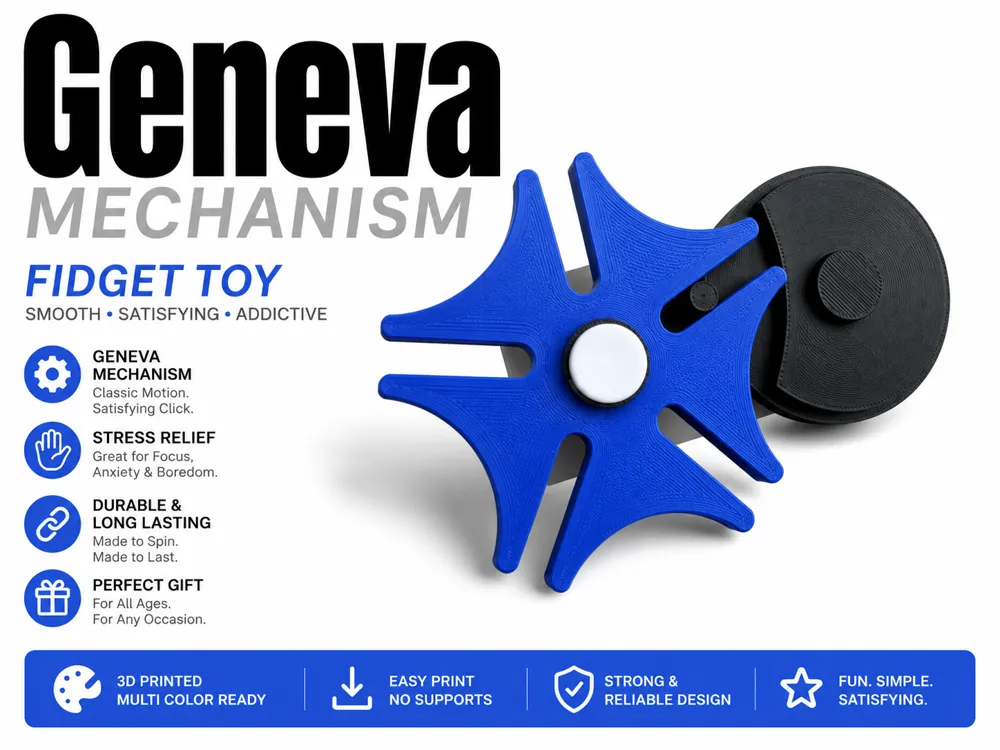
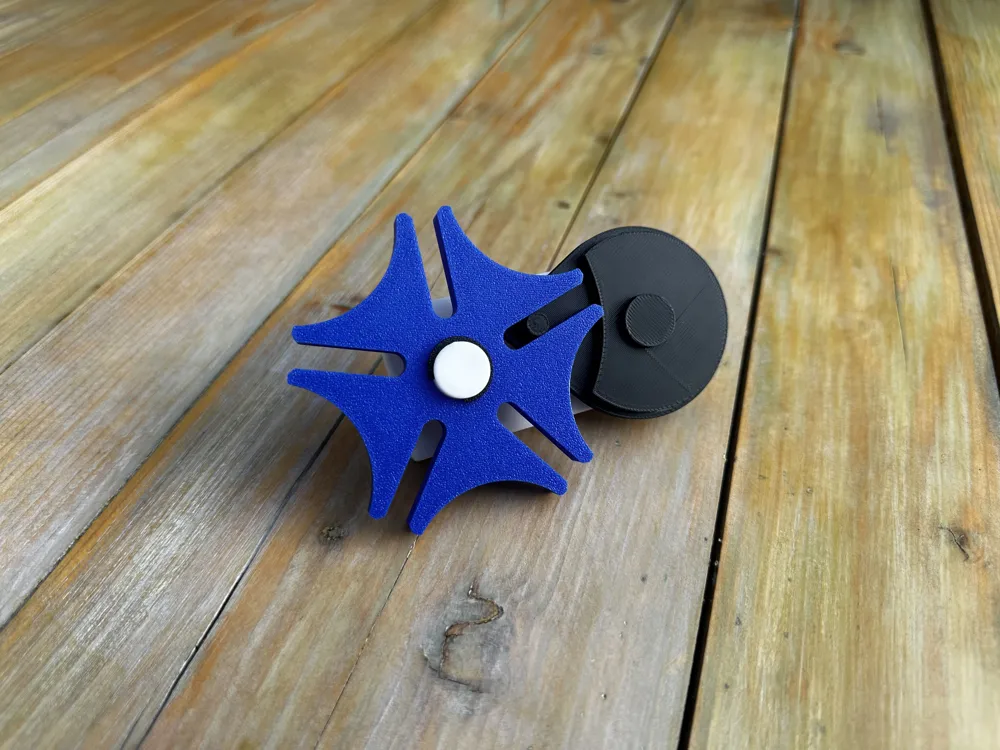
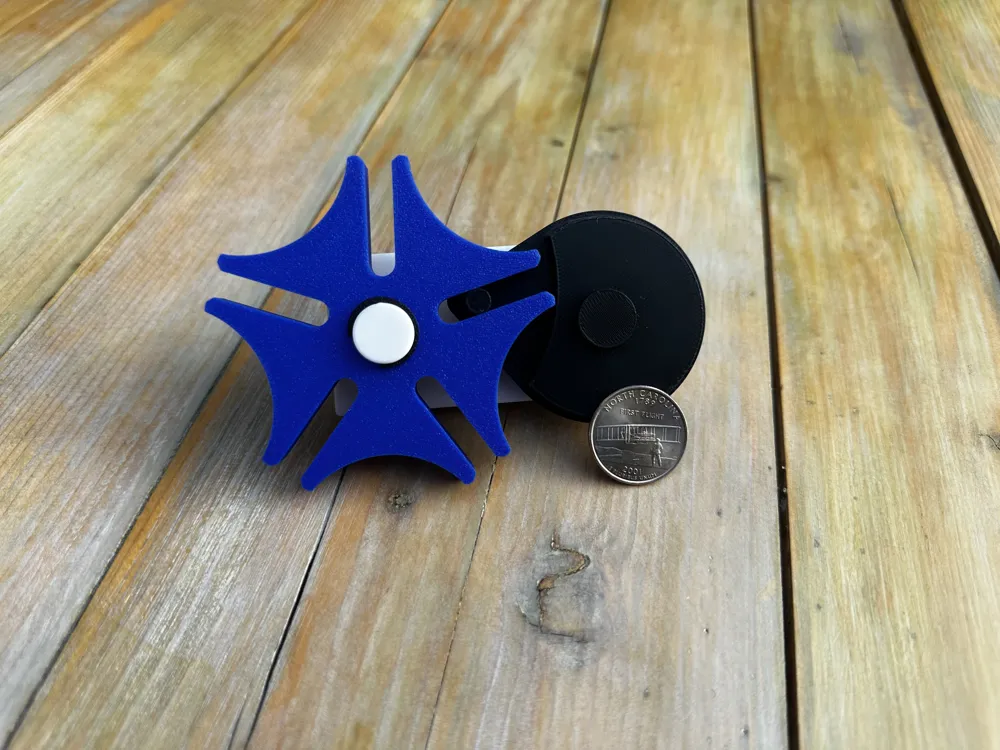
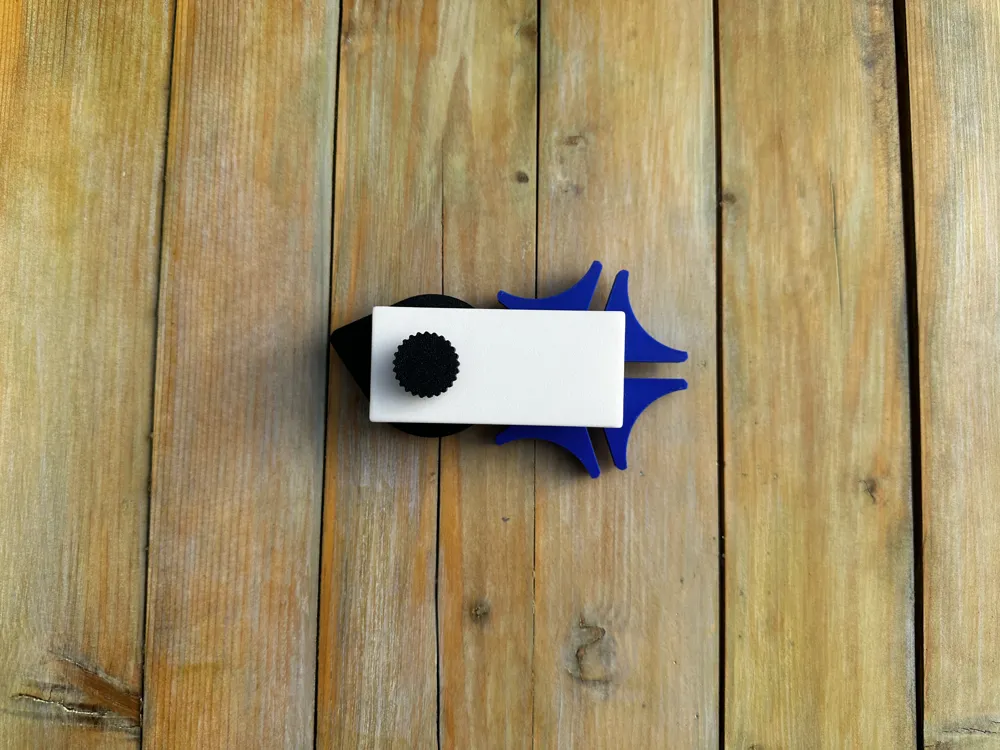
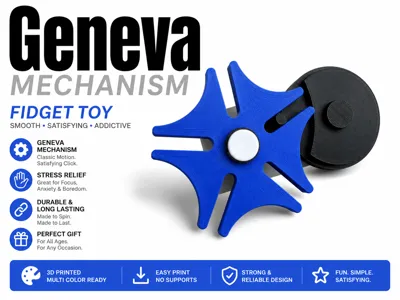
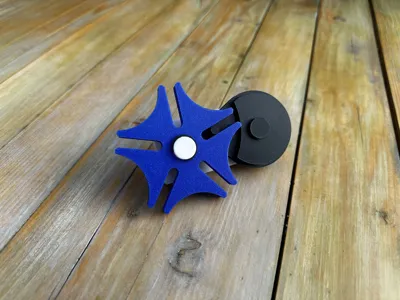
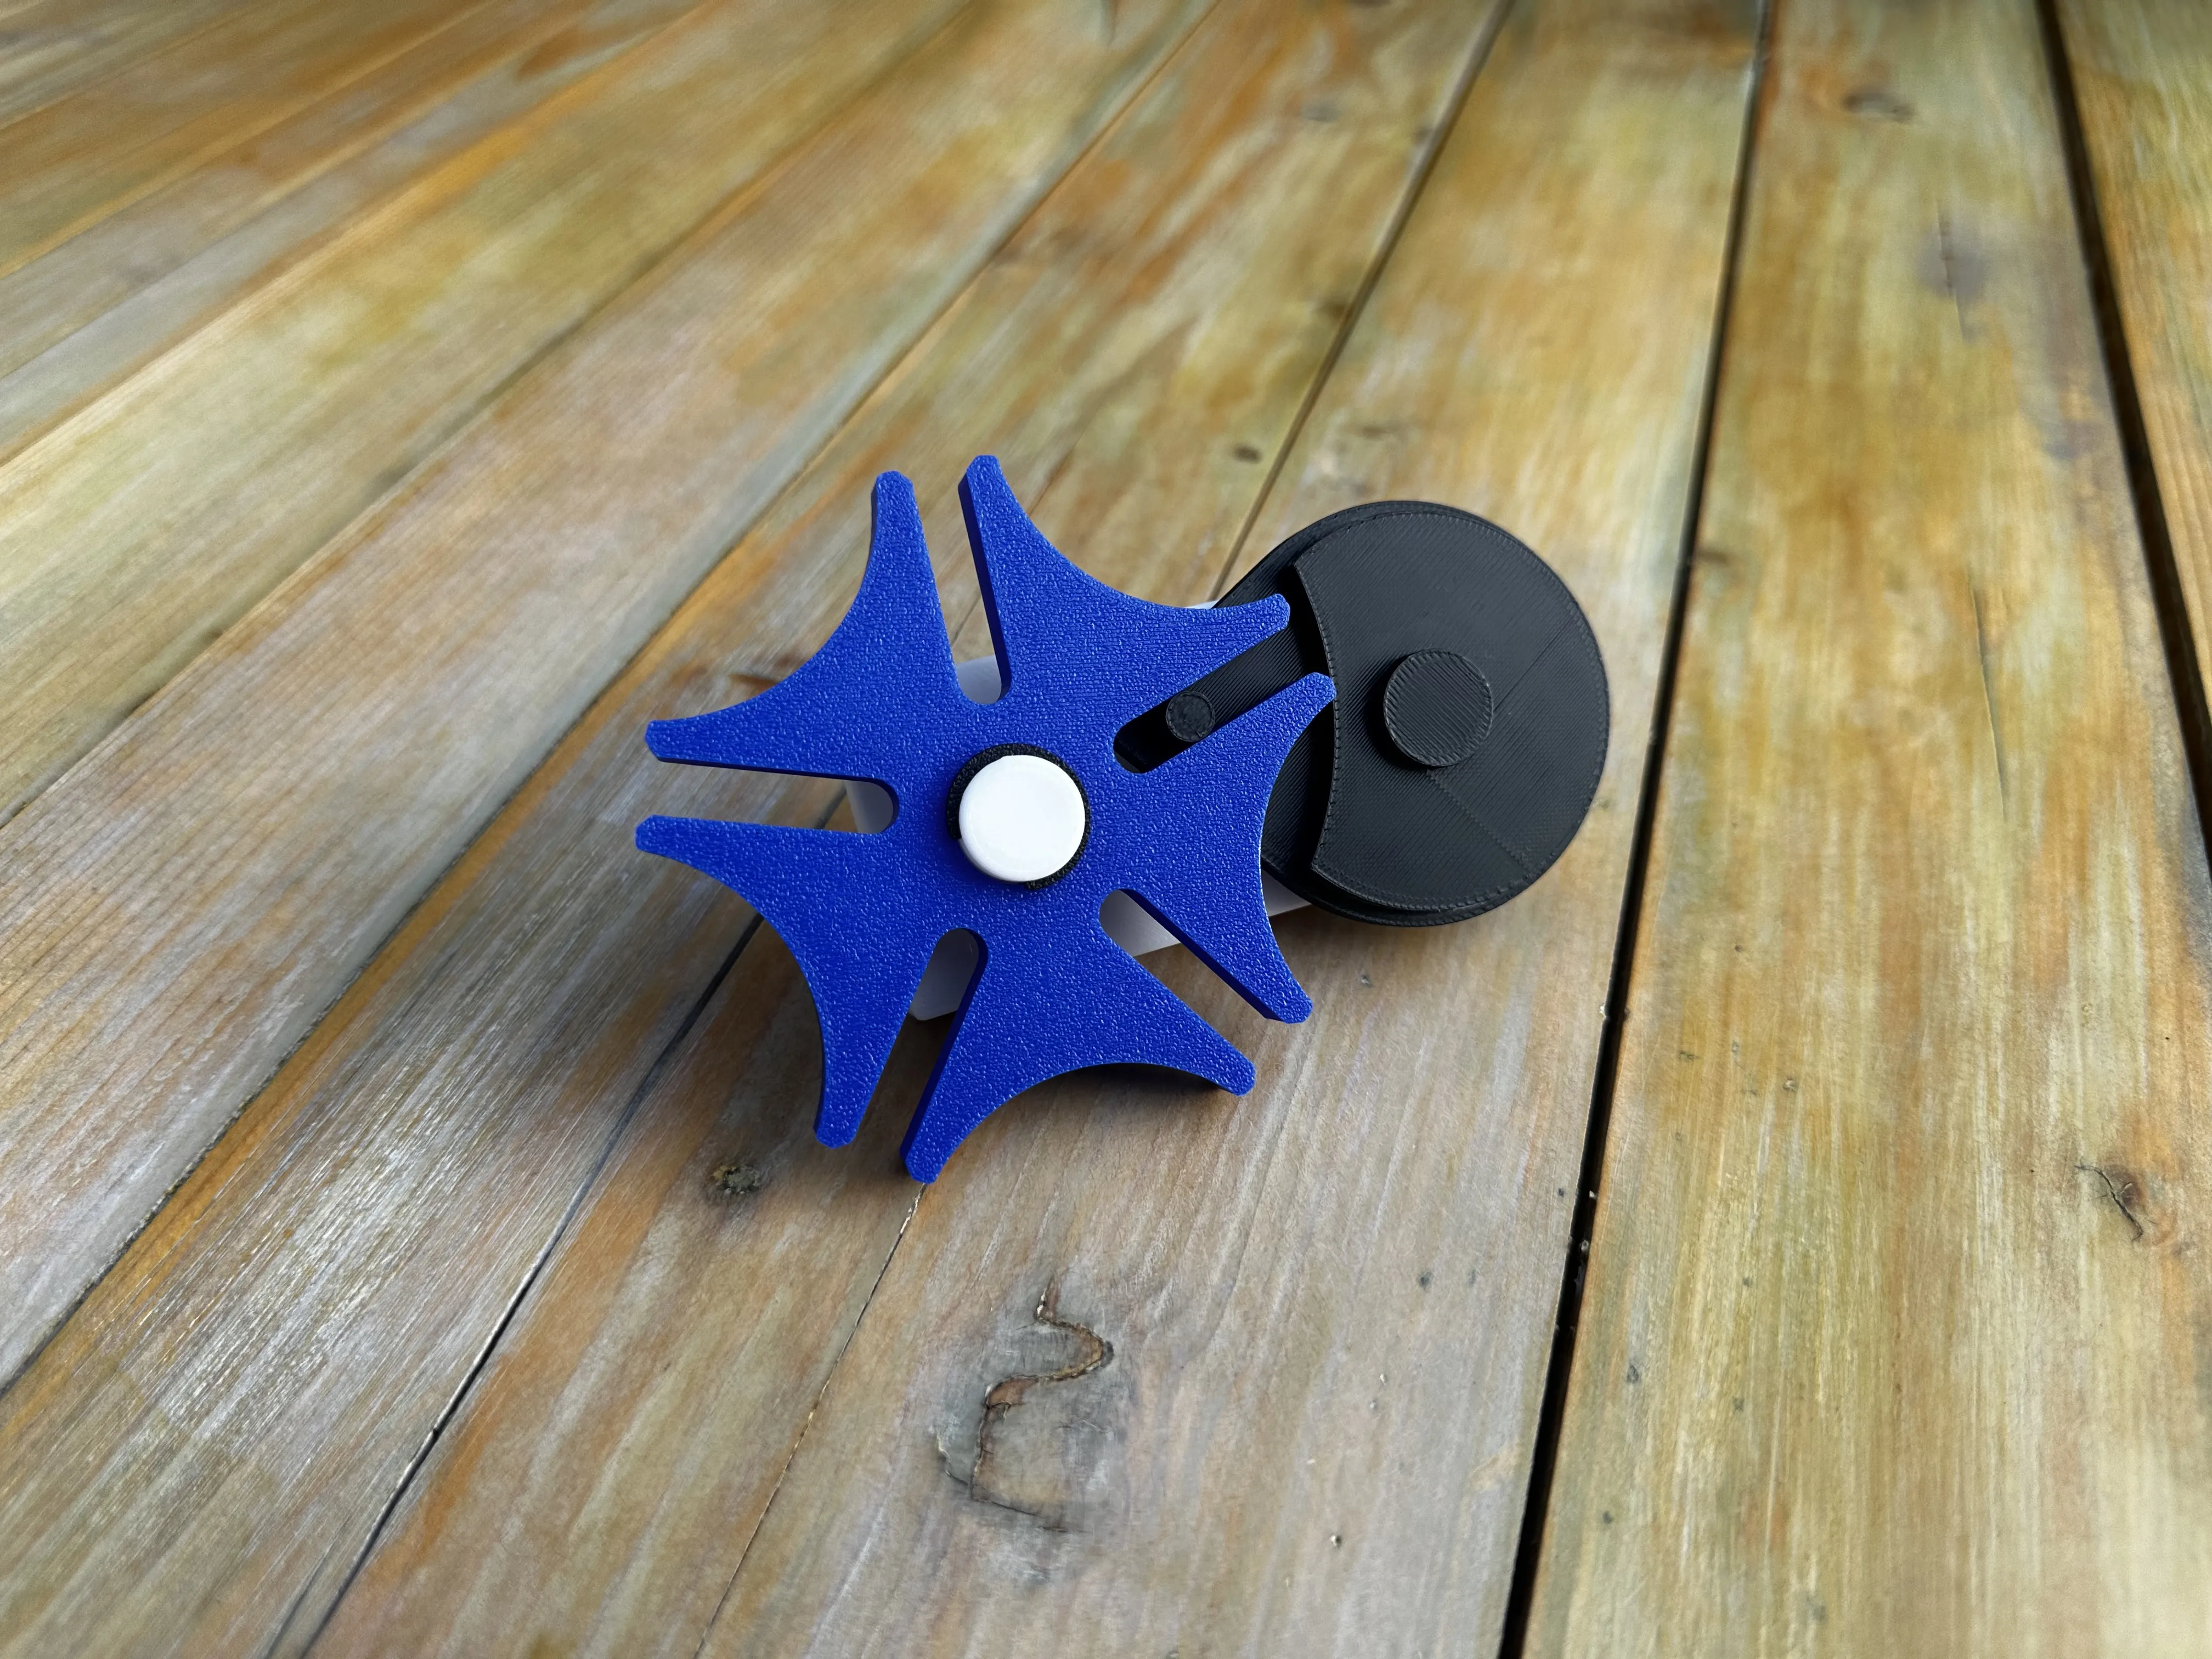
This is a simple, fully working Geneva mechanism that’s fun to print and satisfying to watch in motion. As the drive wheel spins, the Geneva wheel moves forward one step at a time and then locks in place before the next turn. It’s a great example of how smooth rotation can be turned into precise, controlled steps.
The parts fit together easily and the mechanism runs smoothly right off the printer. It works well as a hands-on learning piece, a mechanical desk toy, or just something cool to show how classic mechanisms actually work.
Assembly Instructions:
This assembly is quick and doesn’t require any tools. Everything press-fits together.
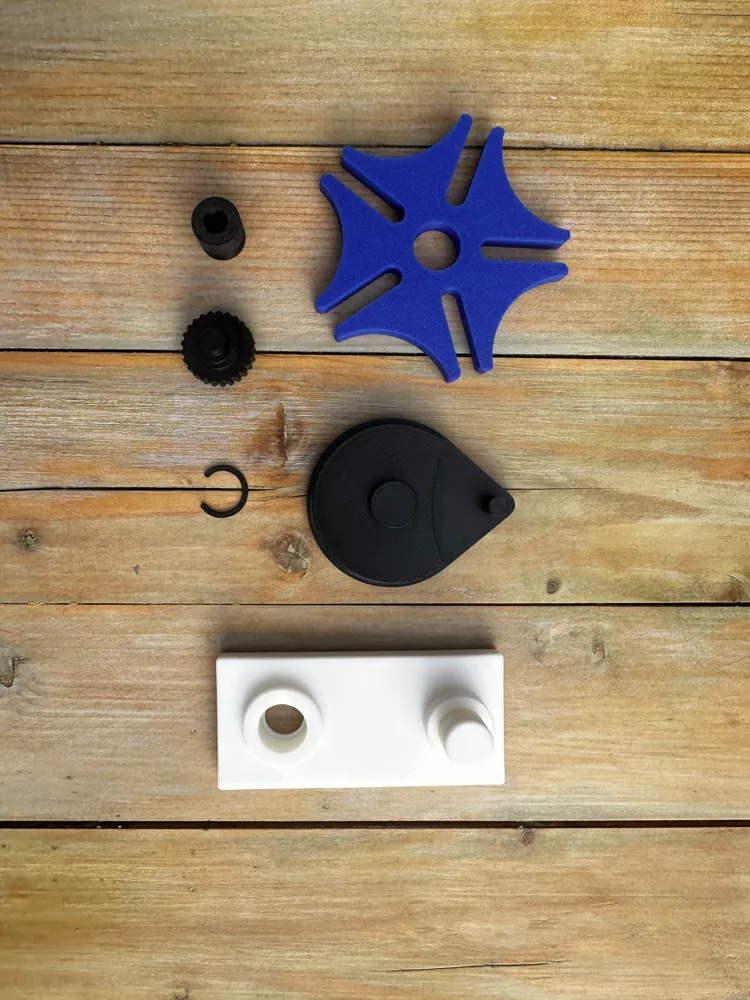
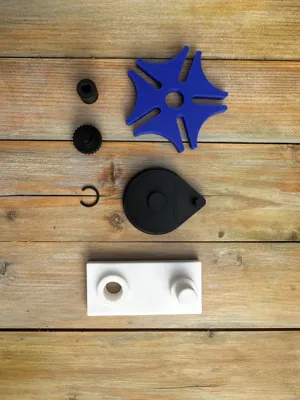
Parts Overview:
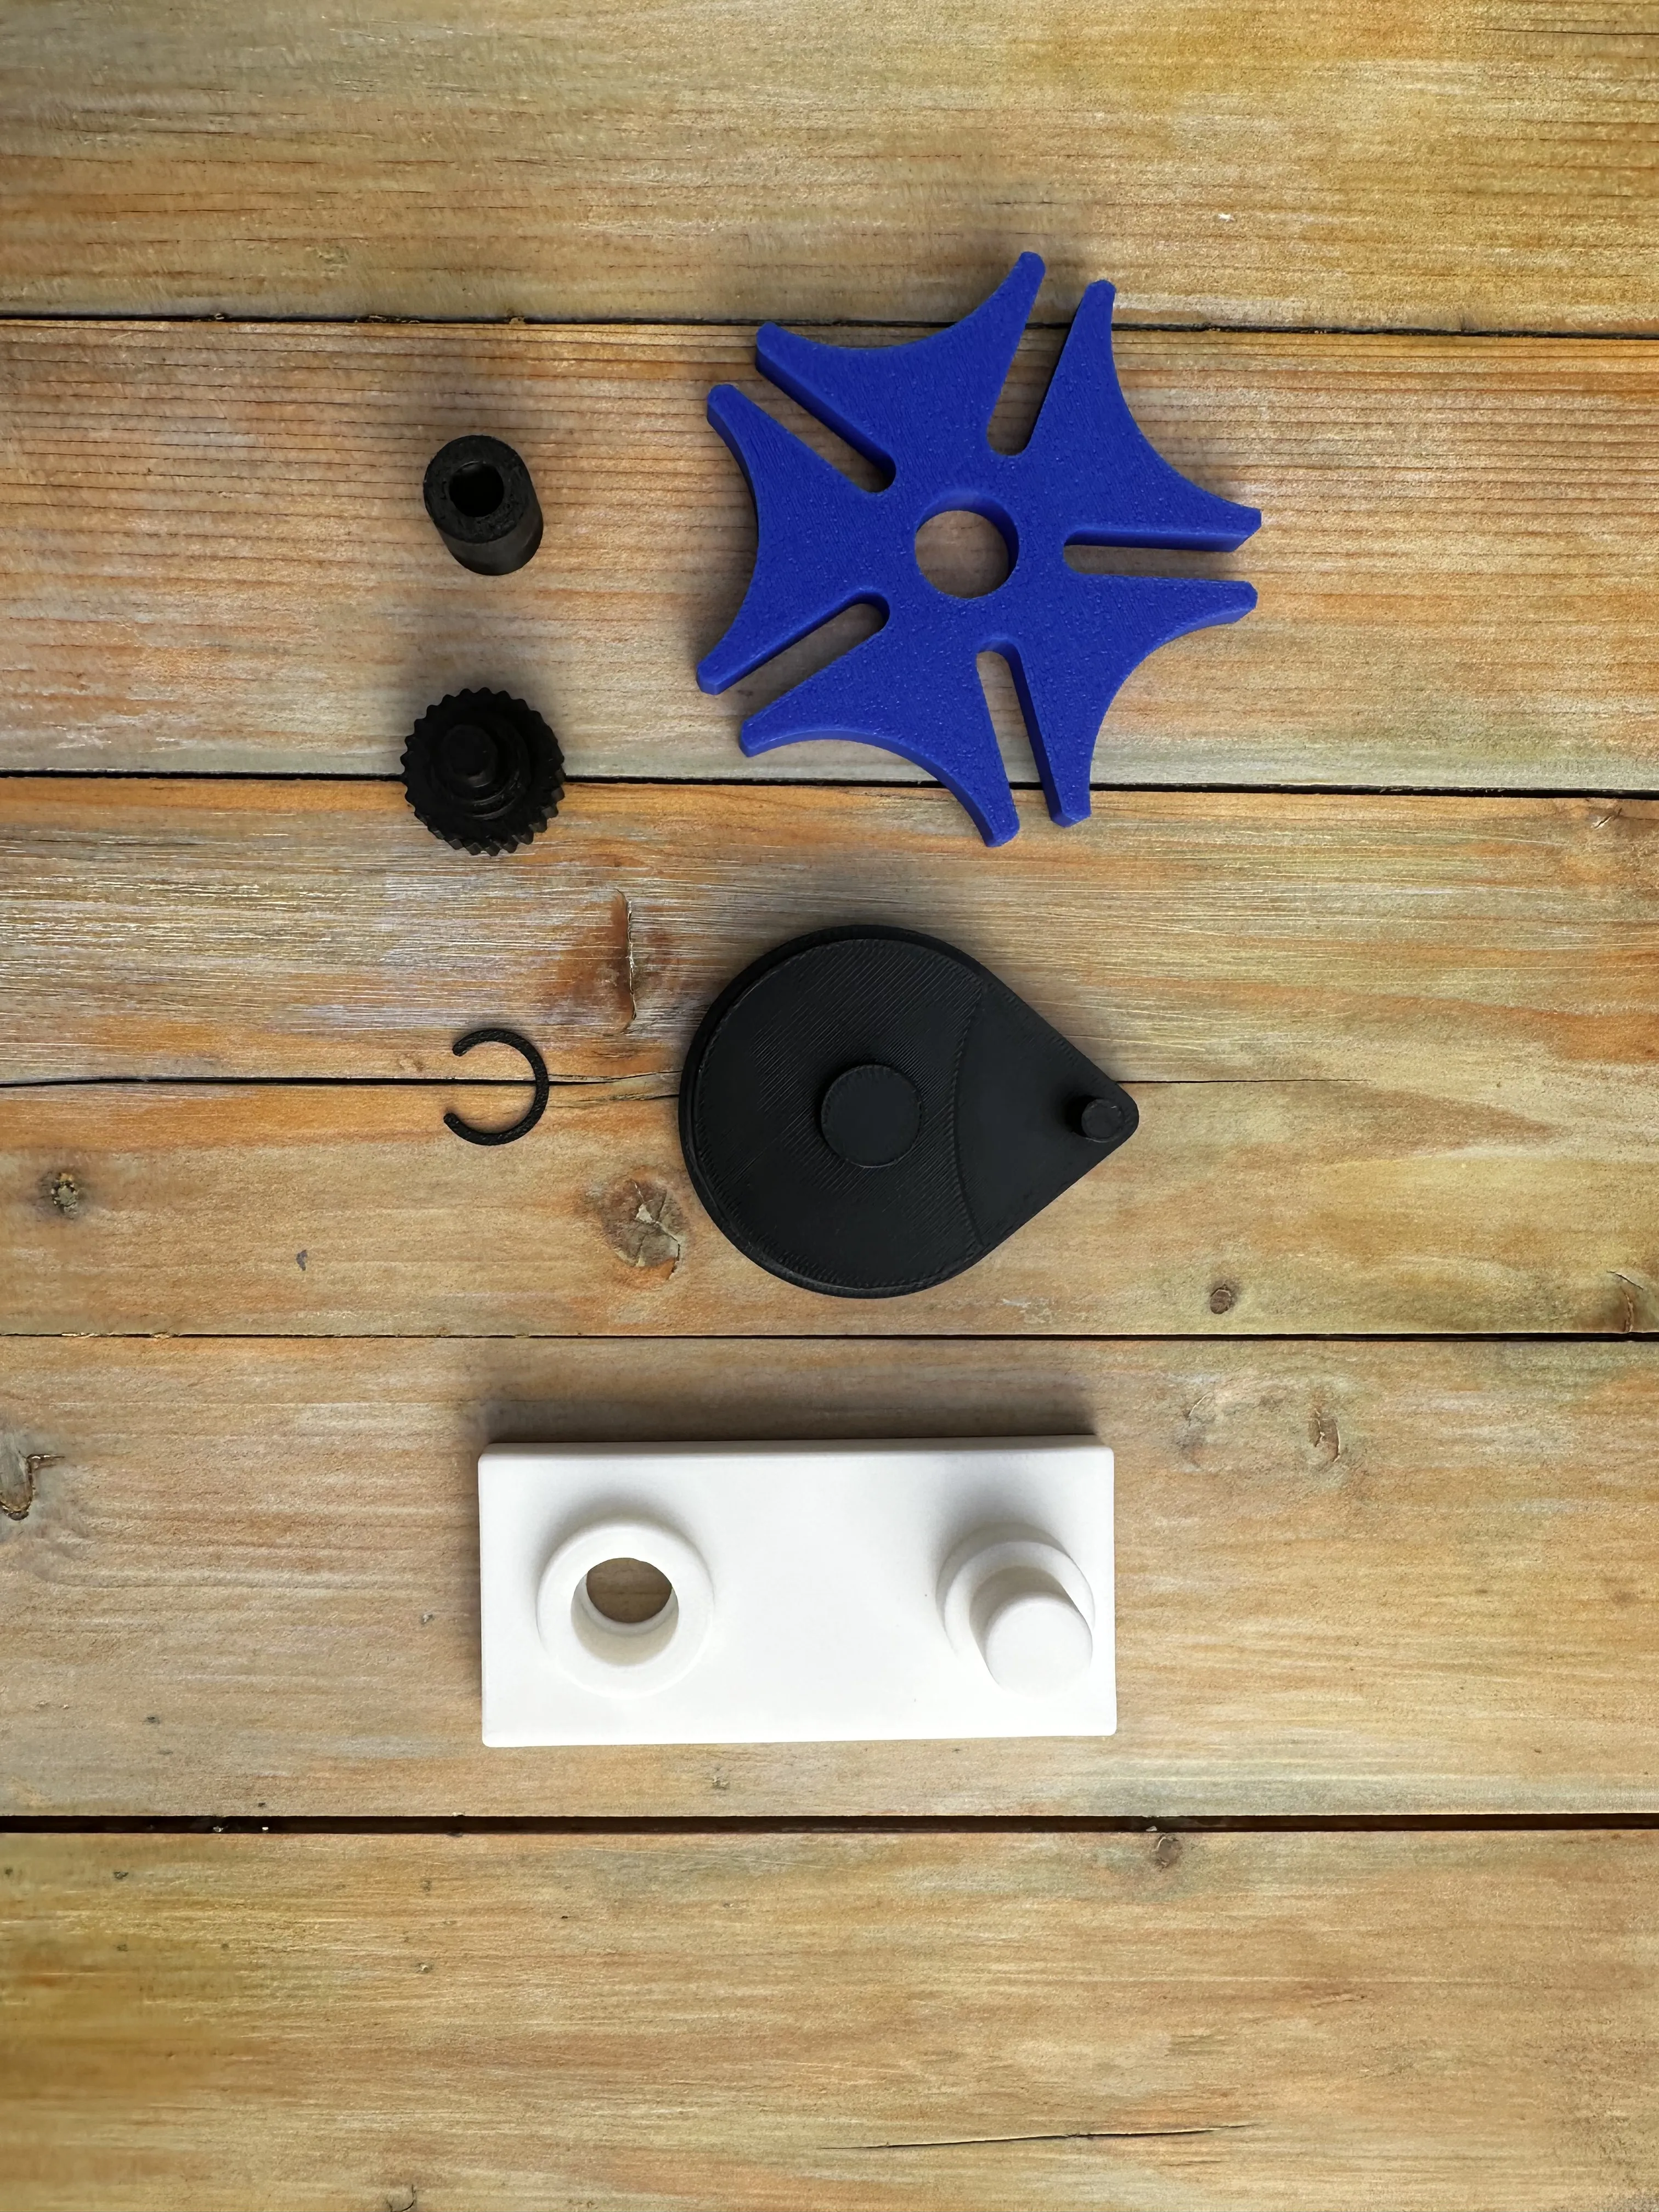
1× Base plate (white)
1× Drive wheel / cam (black, teardrop shape)
1× Geneva wheel (blue)
1× Knurled knob
1× Small spacer/bushing
1× Retaining clip (C-clip)
Step 1: Assemble the Drive Wheel
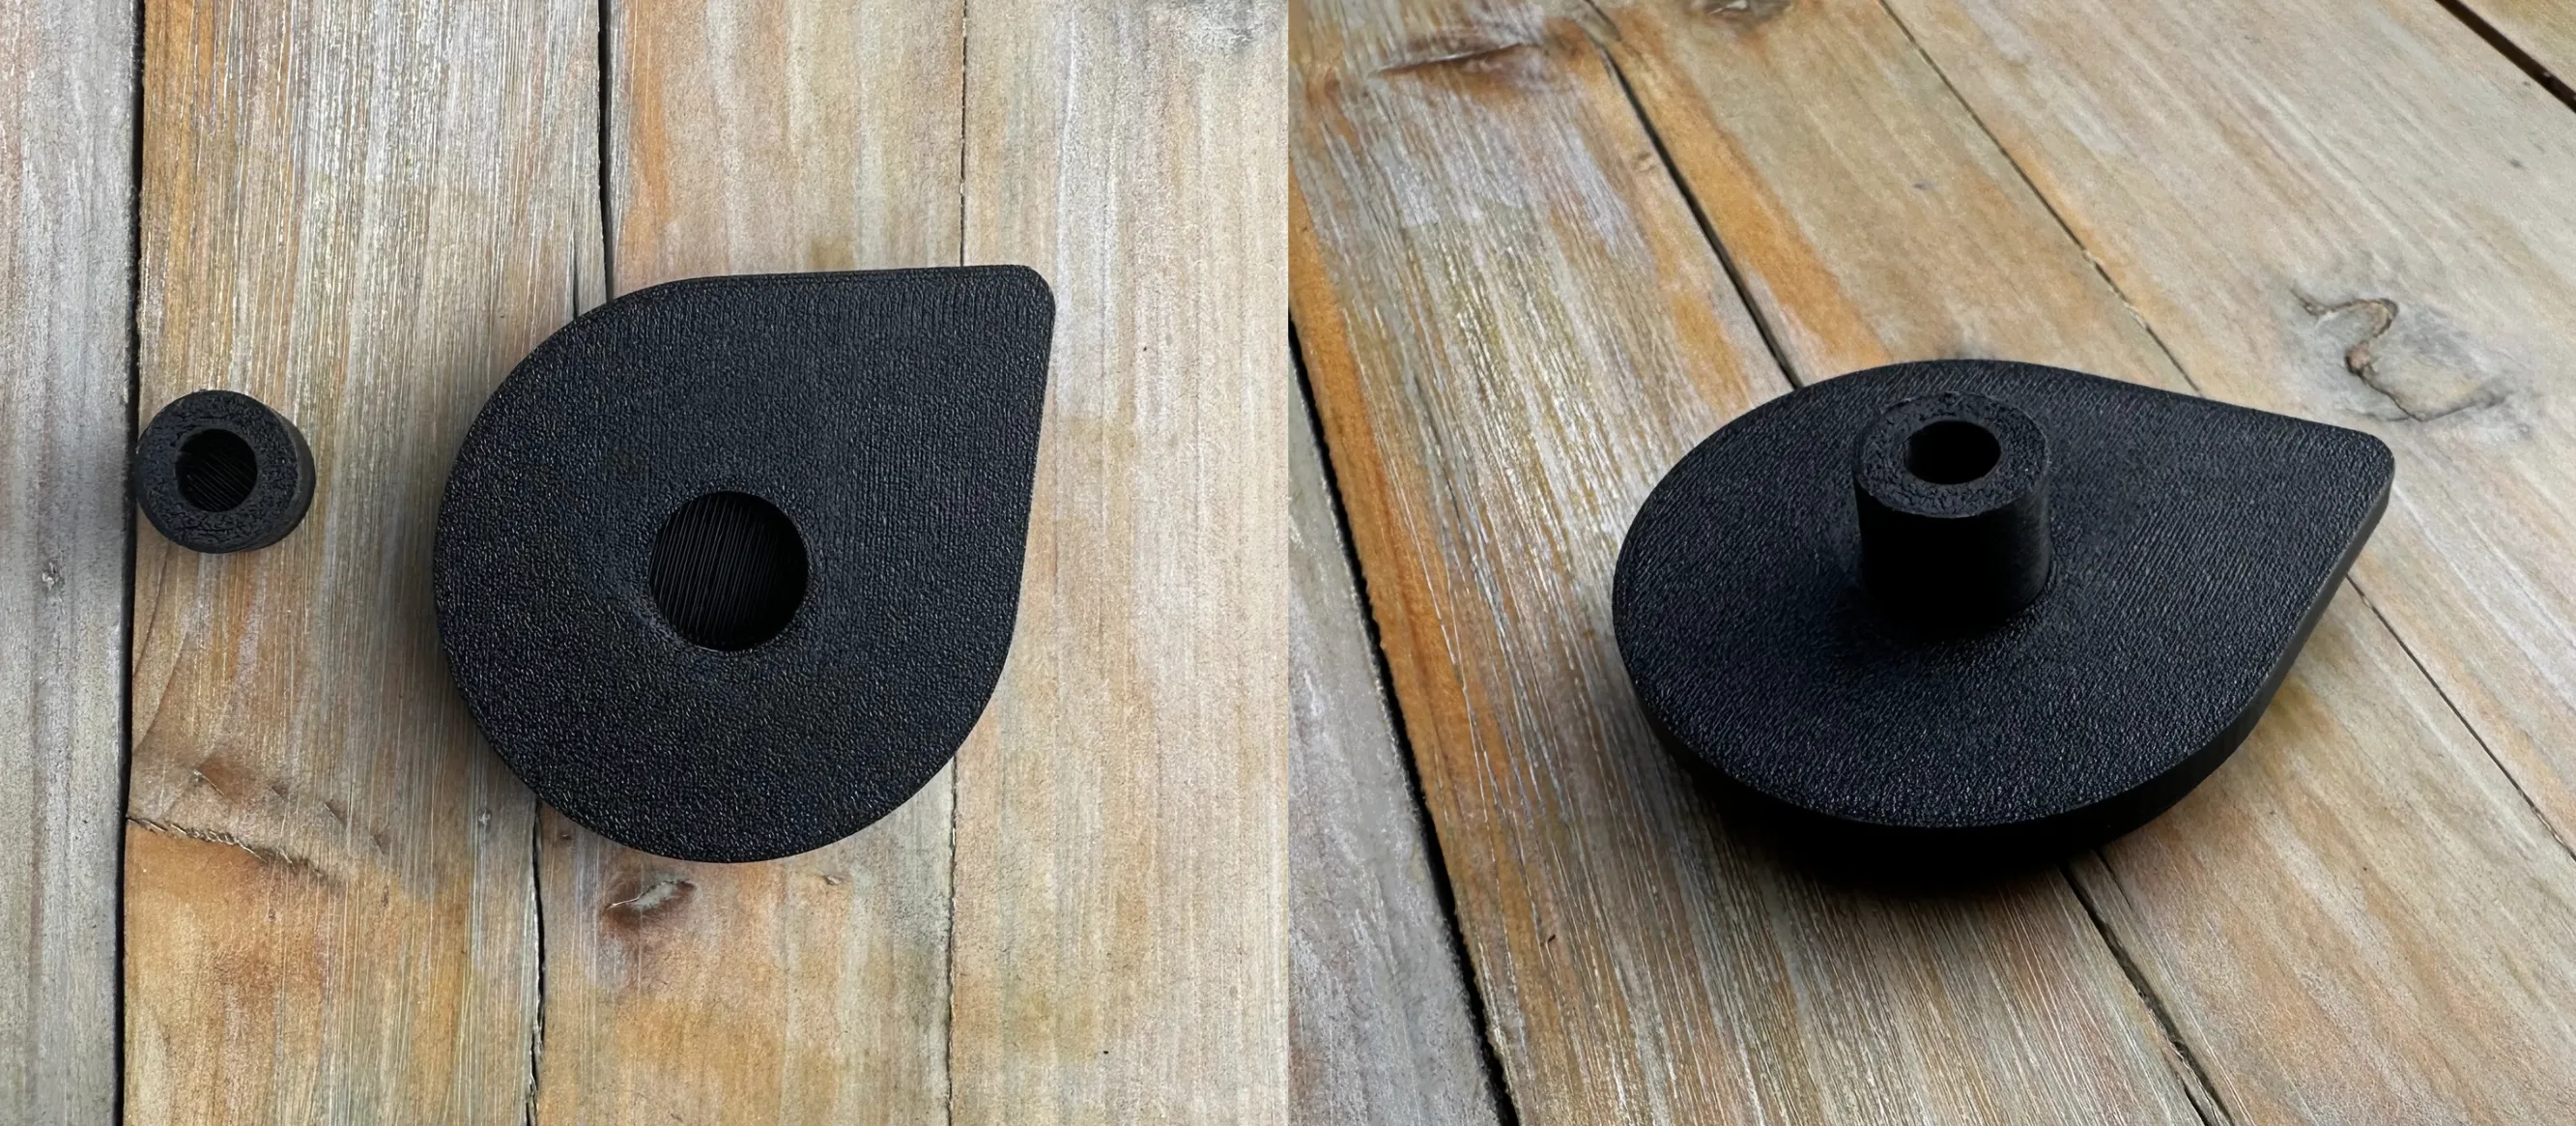
Flip the drive wheel/cam installed so the hole is facing up, insert the black small spacer/bushing into the hole. Make sure the spacer is fully seated and that its hole is also facing up.
Step 2: Mount the Drive Wheel
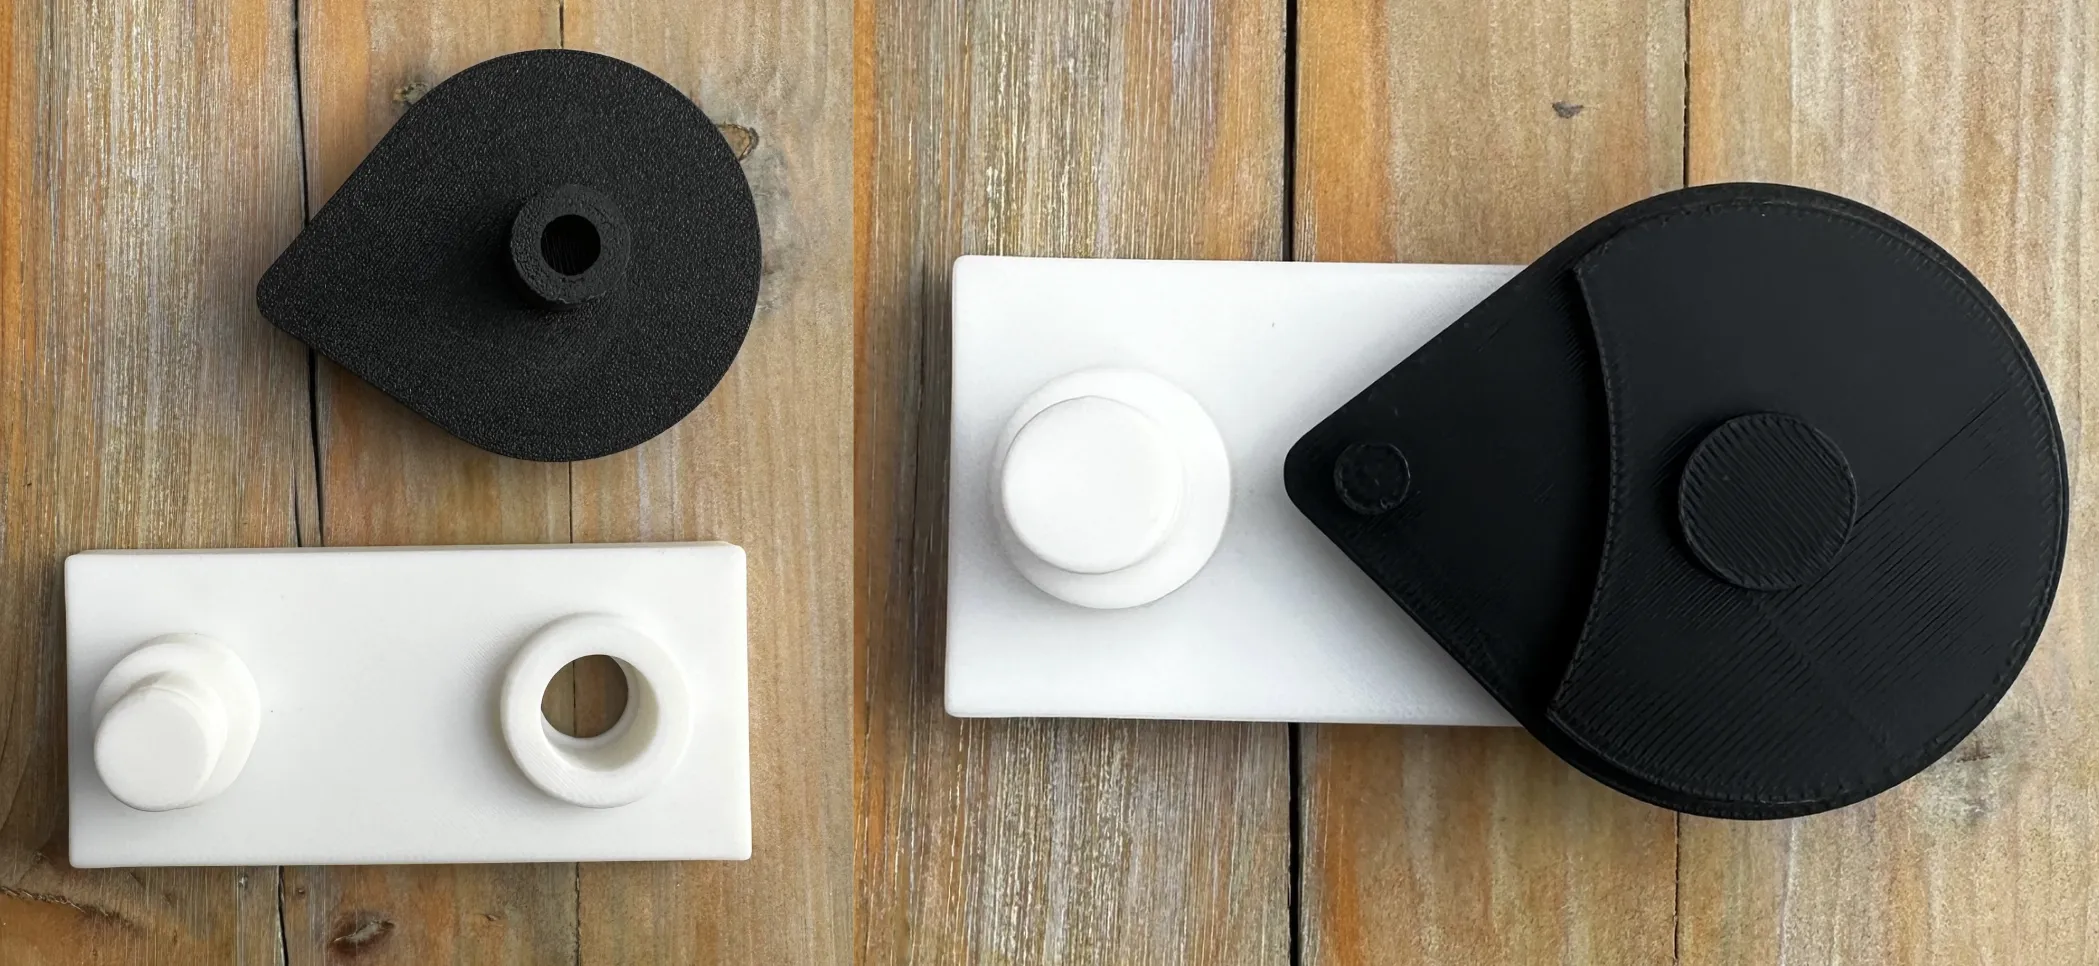
Insert the back of the black drive wheel/cam into the hole on the base until it sits flat. The drive wheel will not go all the way through the base. Make sure the drive wheel is facing up, with the locking pin on the cam facing upward.
Step 3: Attach the Knob
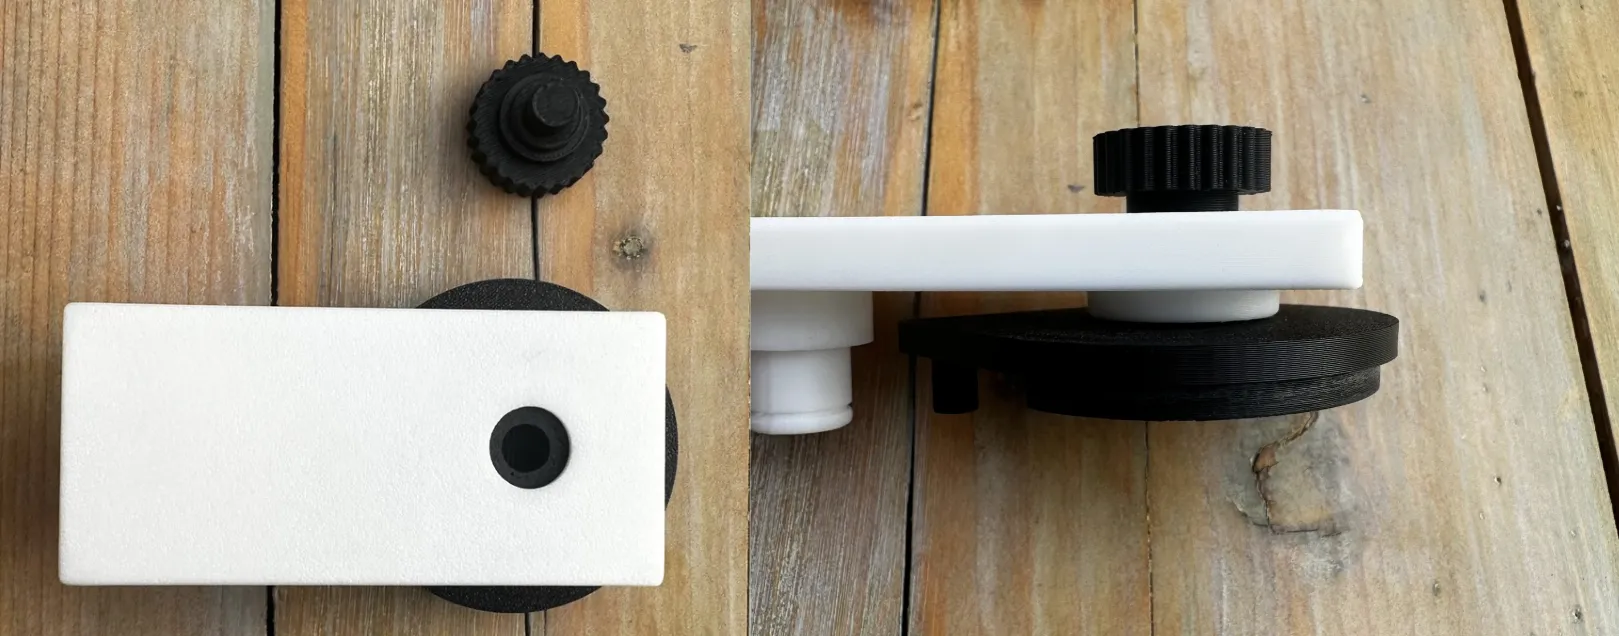
Flip the drive wheel/cam and base assembly upside down. Insert the pin on the back of the knob into the hole in the drive wheel/cam, then push it down firmly until it is fully seated. The drive wheel should spin freely when you turn the knob.
Step 4: Mount the Geneva Wheel
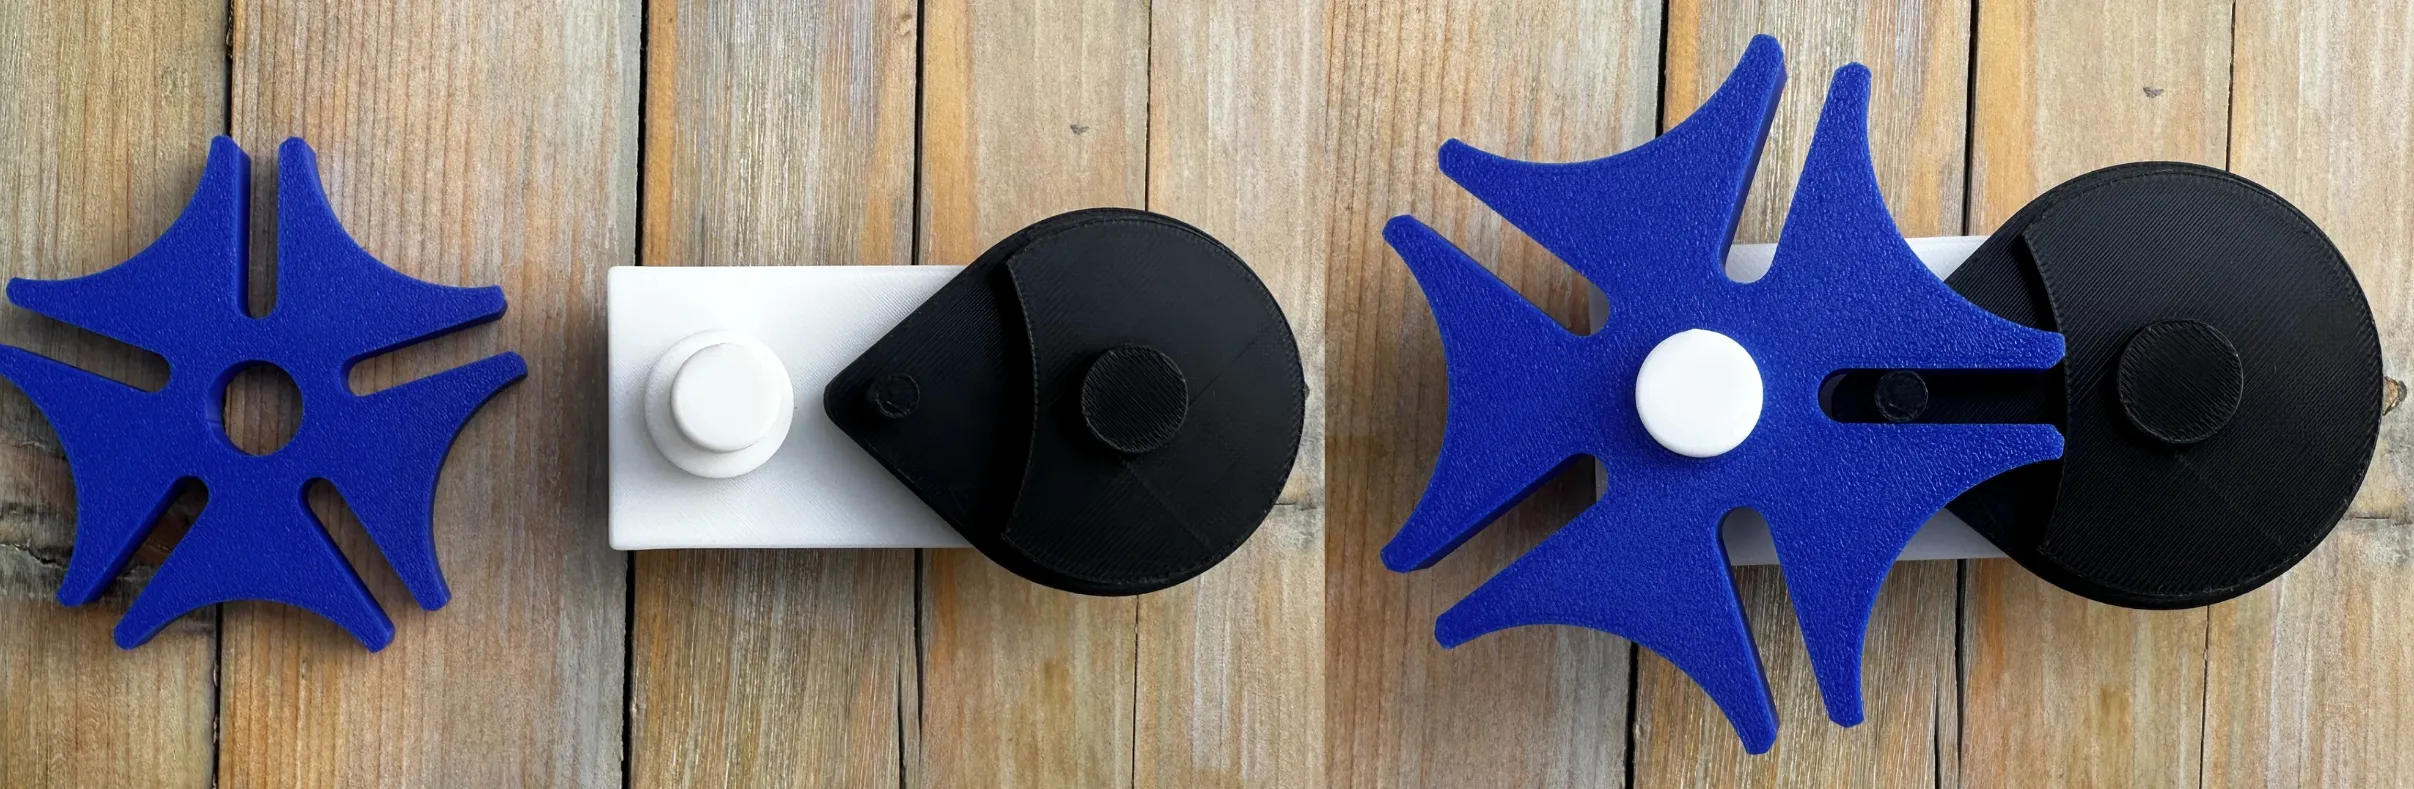
Slide the blue Geneva wheel onto the second post. Make sure the slots line up so the drive pin on the black wheel can enter one slot at a time.
Step 5: Secure with the Clip
Snap the C-clip onto the groove at the top of the Geneva wheel’s post. This keeps the Geneva wheel from lifting while still allowing it to rotate freely.
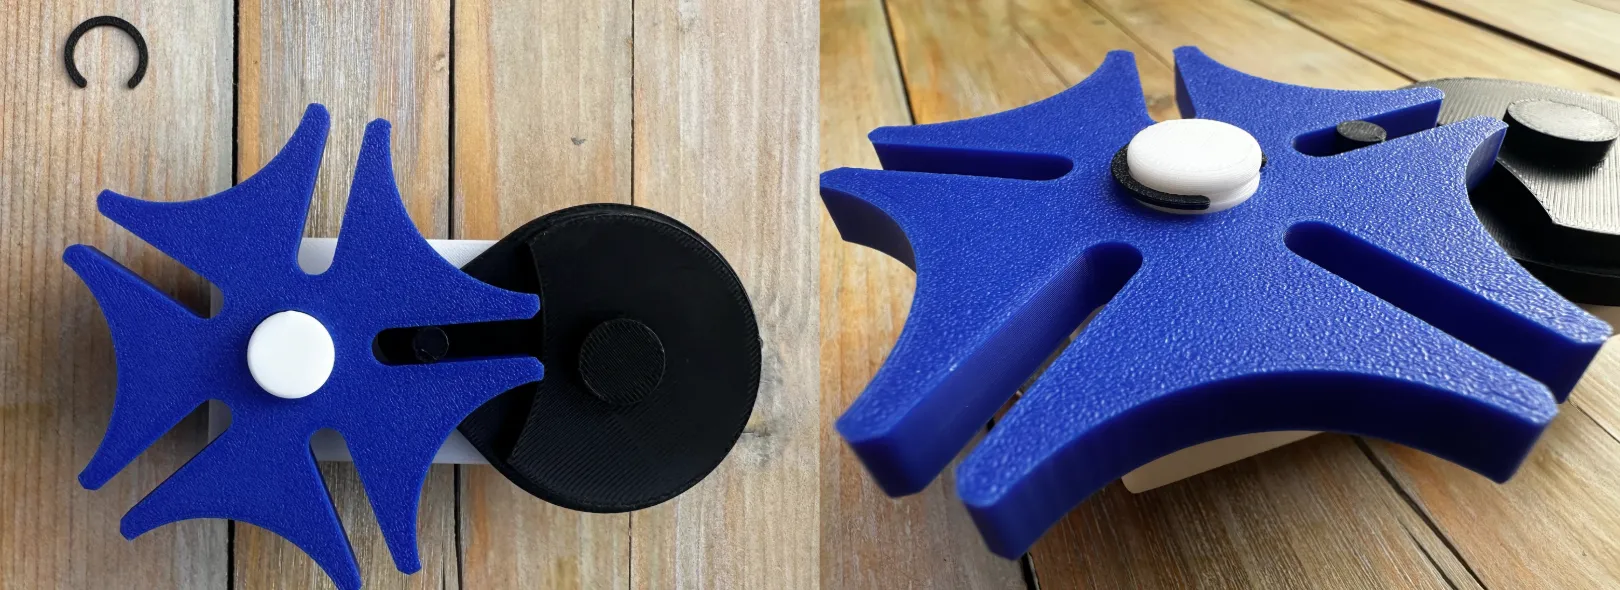
Step 6: Enjoy
Boost Me (for free)
Boosting this model helps support future designs — thanks!
License

You may create derivative works based on this object, provided that all such derivative works are published exclusively on the MakerWorld platform and include proper attribution to the original creator. You may not share, upload, host, distribute, or publish this object—or any derivative work of this object—on any other digital platform, marketplace, or distribution channel. Commercial use of this object and any derivative works is strictly prohibited. This includes, but is not limited to, selling, renting, sublicensing, or using the object in any context in which you receive monetary compensation or other financial benefits.


Comment & Rating (10)