
*Better Than Hardware Store* Drywall Anchor
Print Profile(1)

Description
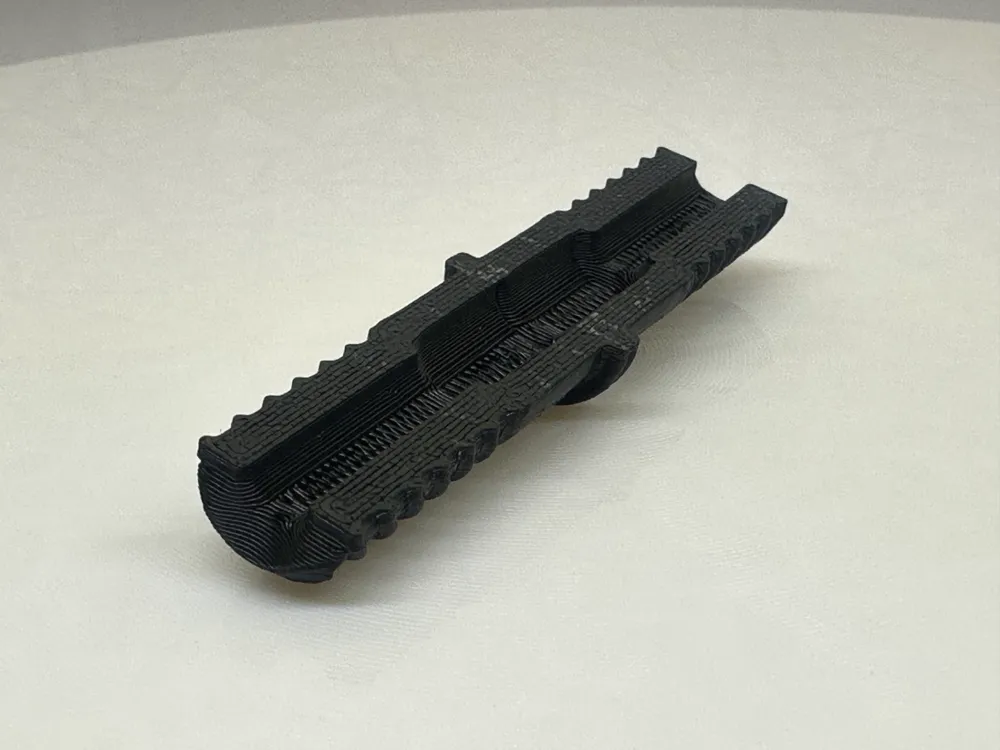
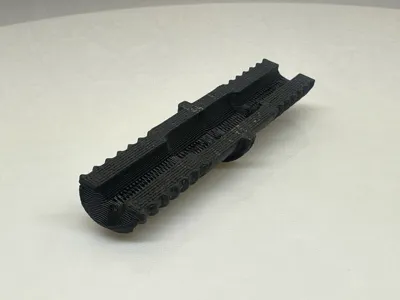
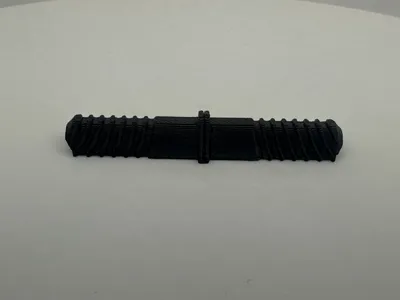
I'm not exaggerating when I say these are among the best drywall anchors I've ever used. Designed for layer line strength where you need it, and grip where your drywall needs it.
Gif toward the bottom, and ‘full video’ of my installation linked at the bottom
Boost Me (for free)
I take pride in what I create. Let me know you appreciate these designs and I'll keep putting things out as I feel they're good enough to share.
Boost me if you like this kind of functional print. It'll help me continue to perfect and upload these designs. It's free for you but means real money to me, so that I can put it toward filament and keep designing!
This very simple model prints on my Bambu printers in about 20 minutes each when printed individually, with roughly $0.04-$0.09 (USD) of PETG (at $10.99-$24.99/kg).
On that note, while PLA might work okay for printing and installing, I would strongly suggest you print in PETG or another material with properties that resist creep and deformation over time.
Don't sue me when your $500 PC monitors fall to the floor, I'm not responsible for the choices you make (including using this model at all for your project!).
Every use case is different, and every printer, roll of filament, condition of filament when used, and environment in which this part is used is different! What works great for me is not necessarily going to work well for you.
You can clone the object as many times as you like and print them simultaneously even faster, skipping the extra pre-print calibrations you would otherwise require for each anchor. I would suggest that you print only one at first to verify that the size will work for your project, and then clone and print the rest that you need.
---------------------------------------
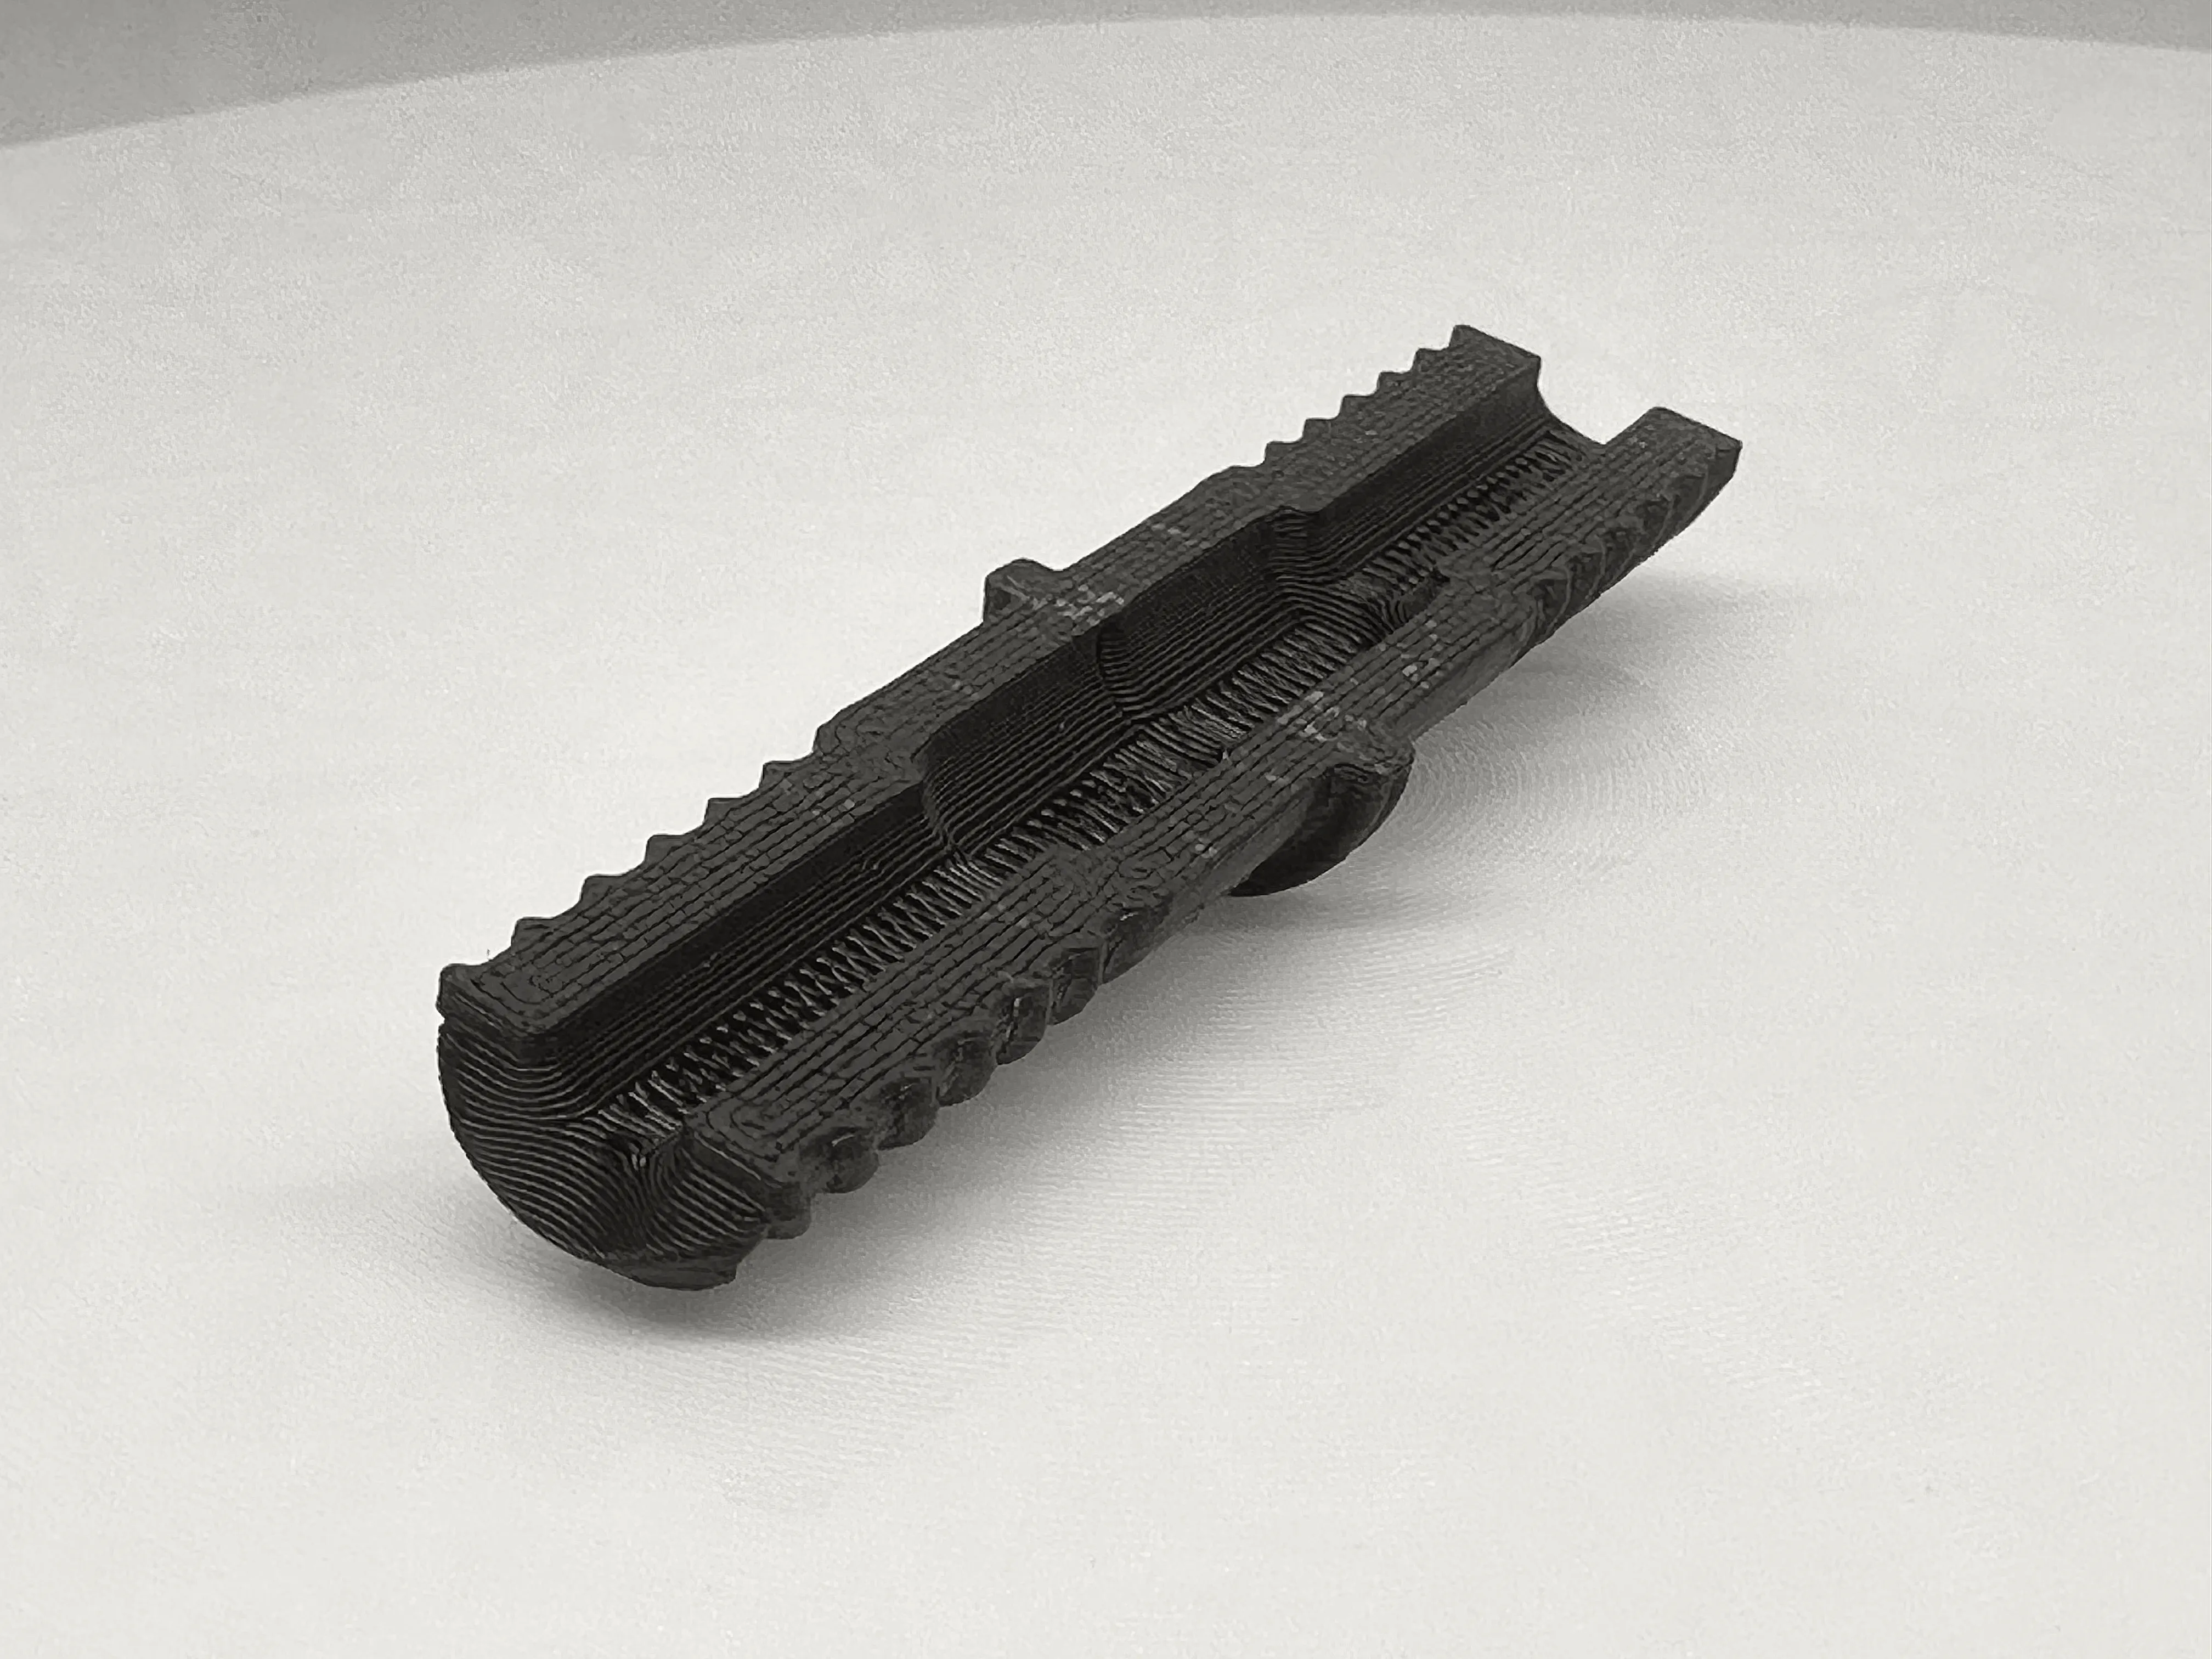
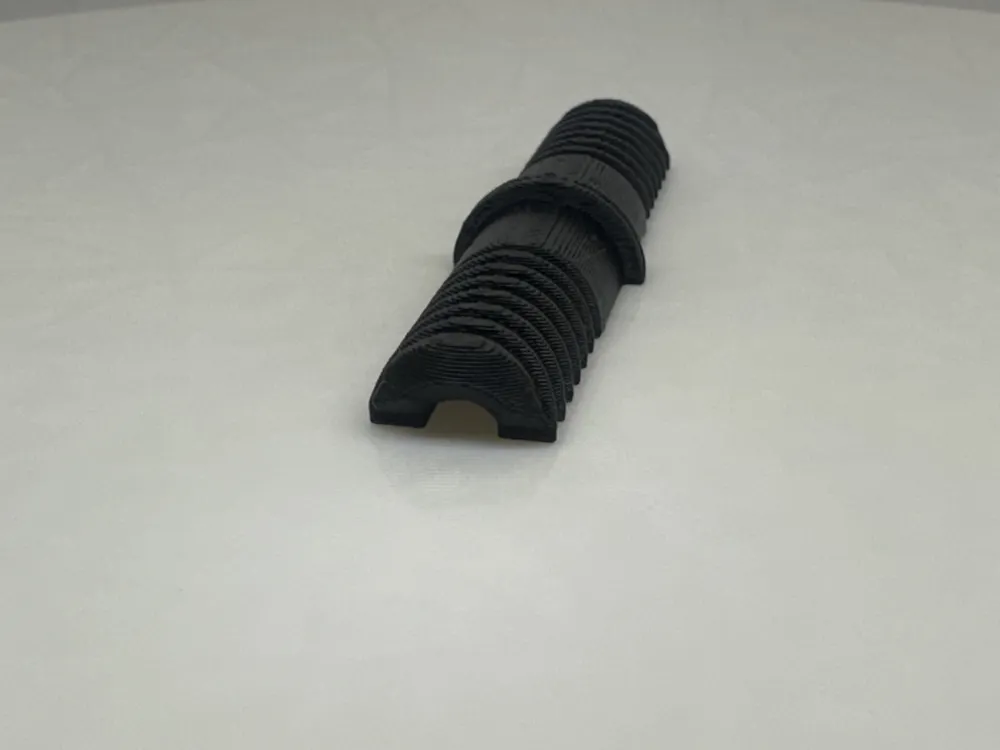
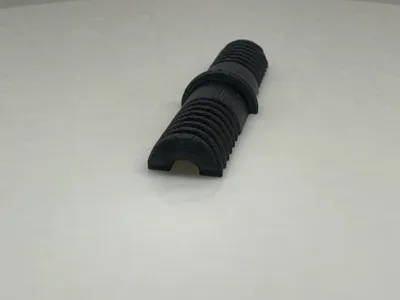
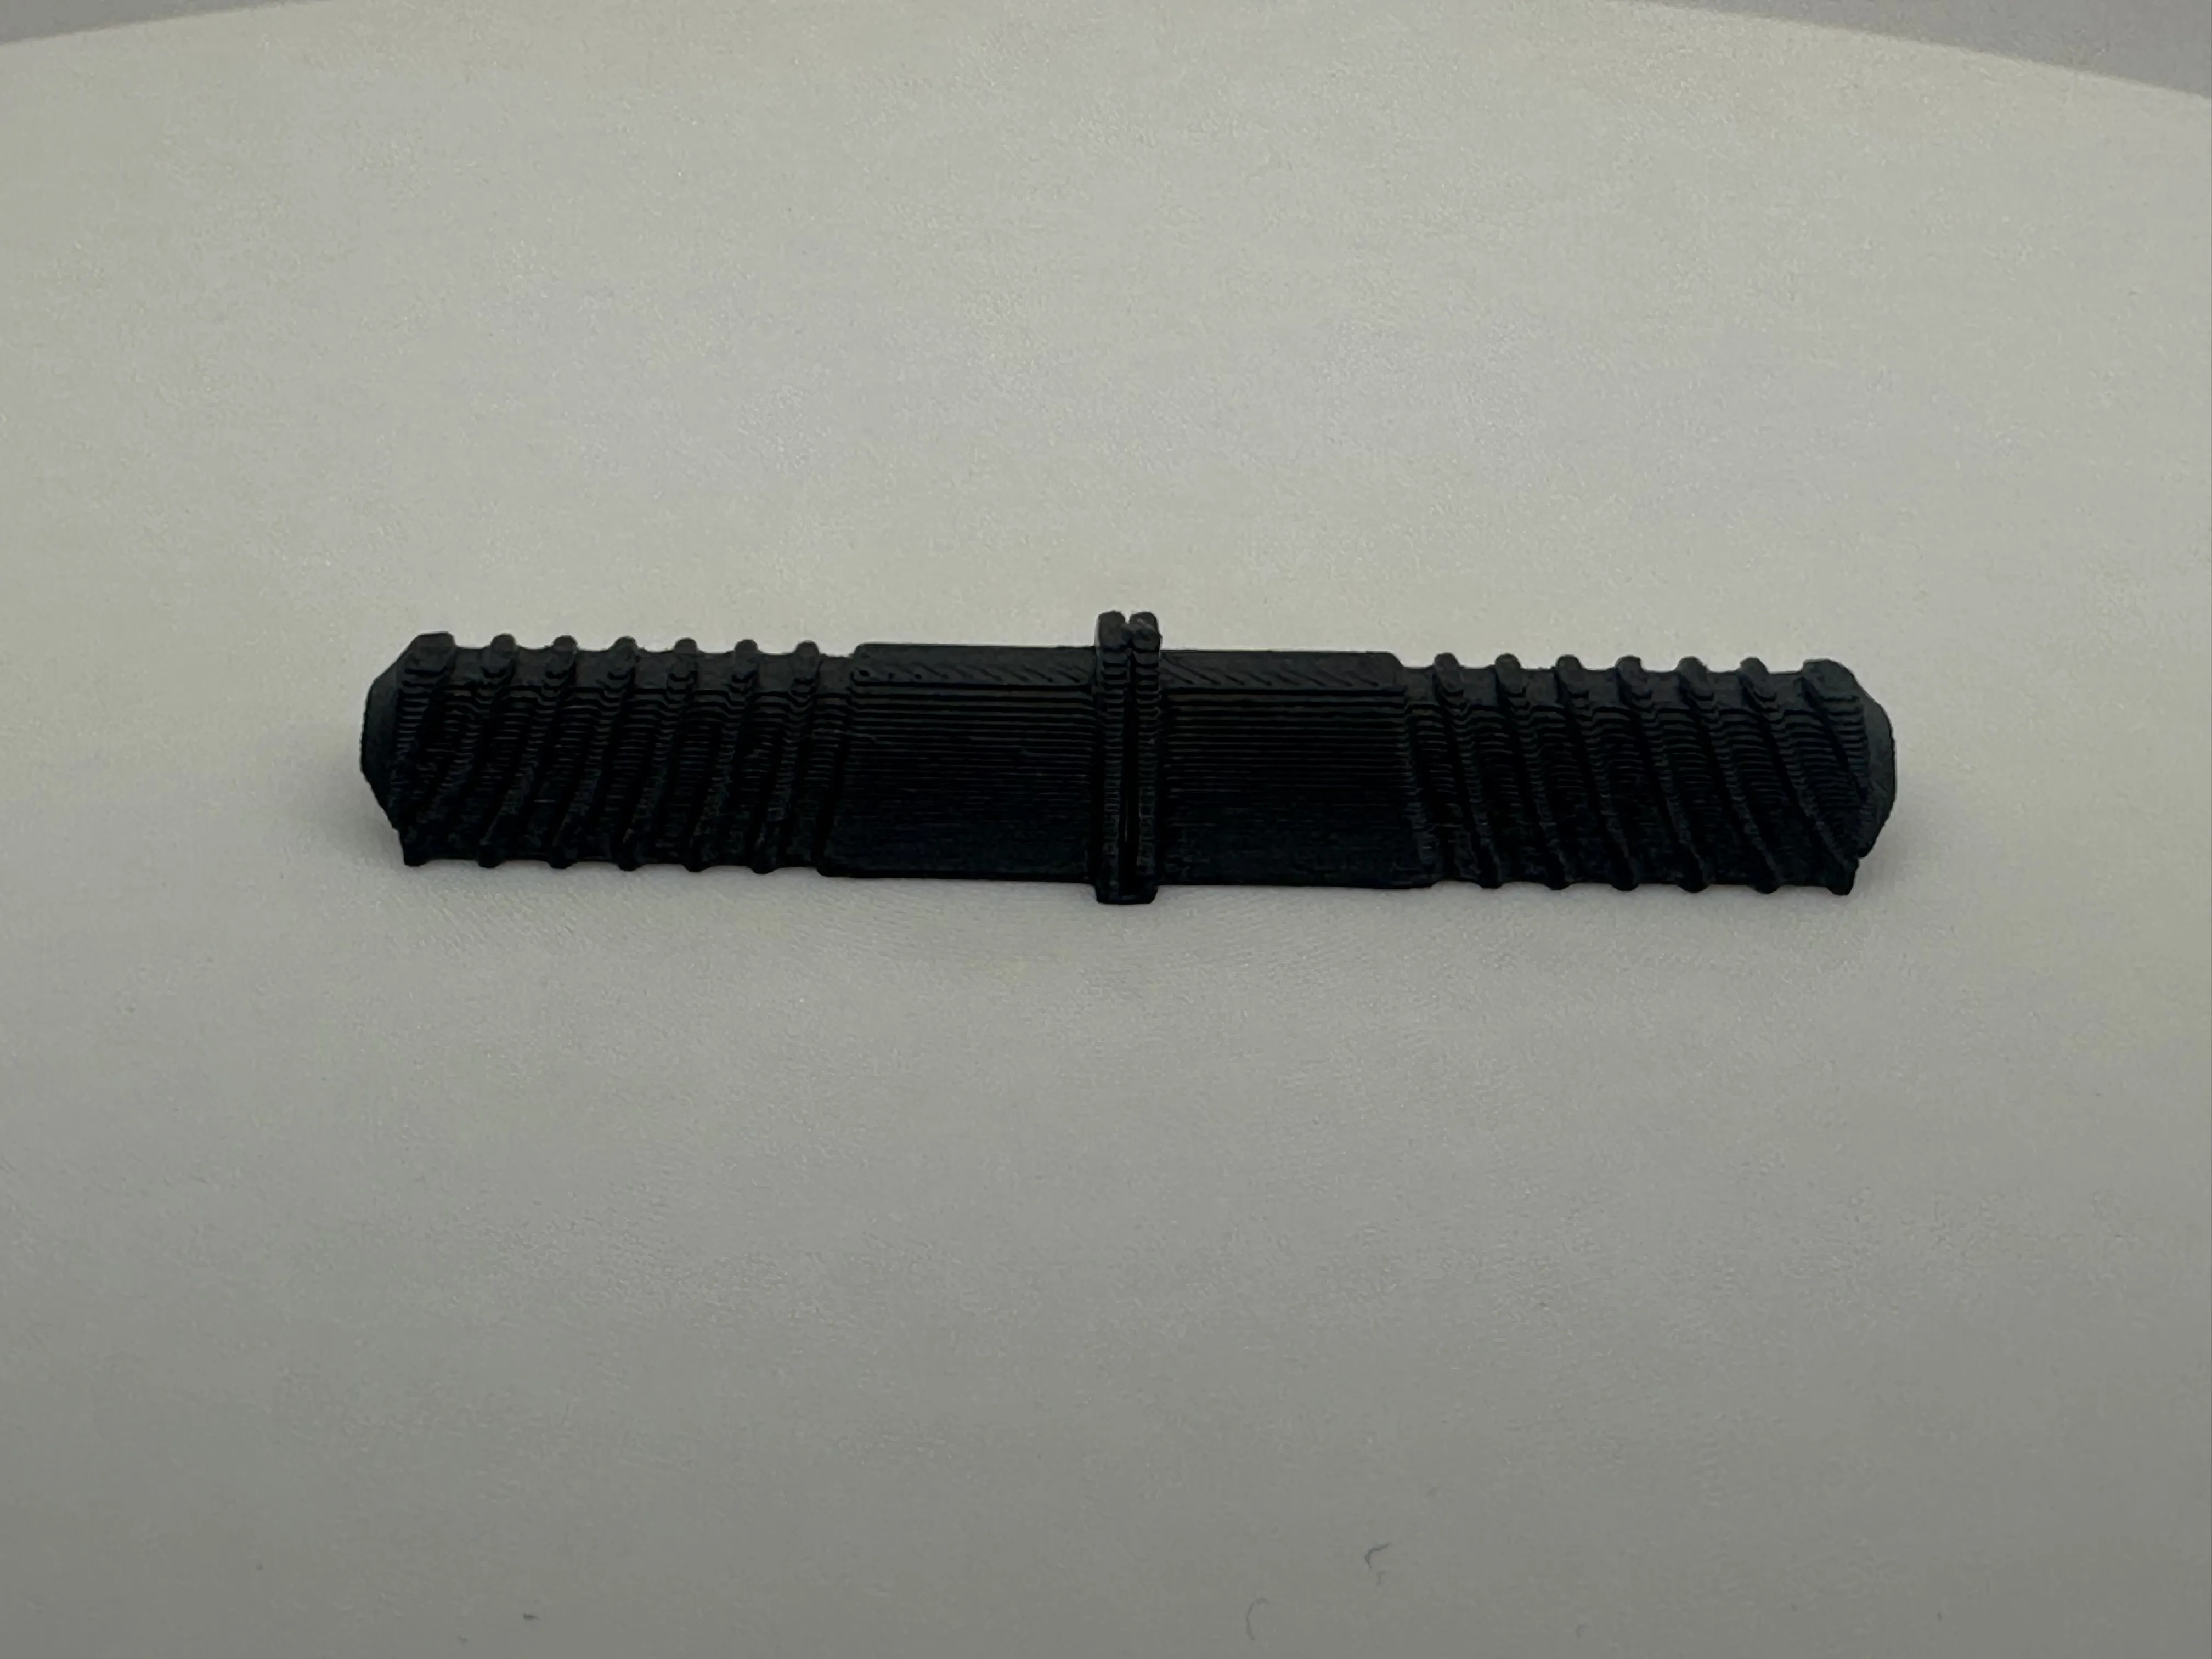
You could print the rounded overhang ‘better’ with adaptive layer thickness, but don't! You aren't concerned with making it pretty, you're concerned with making it strong.
I printed this with a 0.4mm nozzle, but you may have good results with a 0.6mm nozzle as well. Strength is usually better with thicker nozzles, but dimensional accuracy is reduced. For that reason, I would definitely not use a 0.2mm nozzle to print this, and I would not suggest you use a 0.8mm nozzle (or larger).
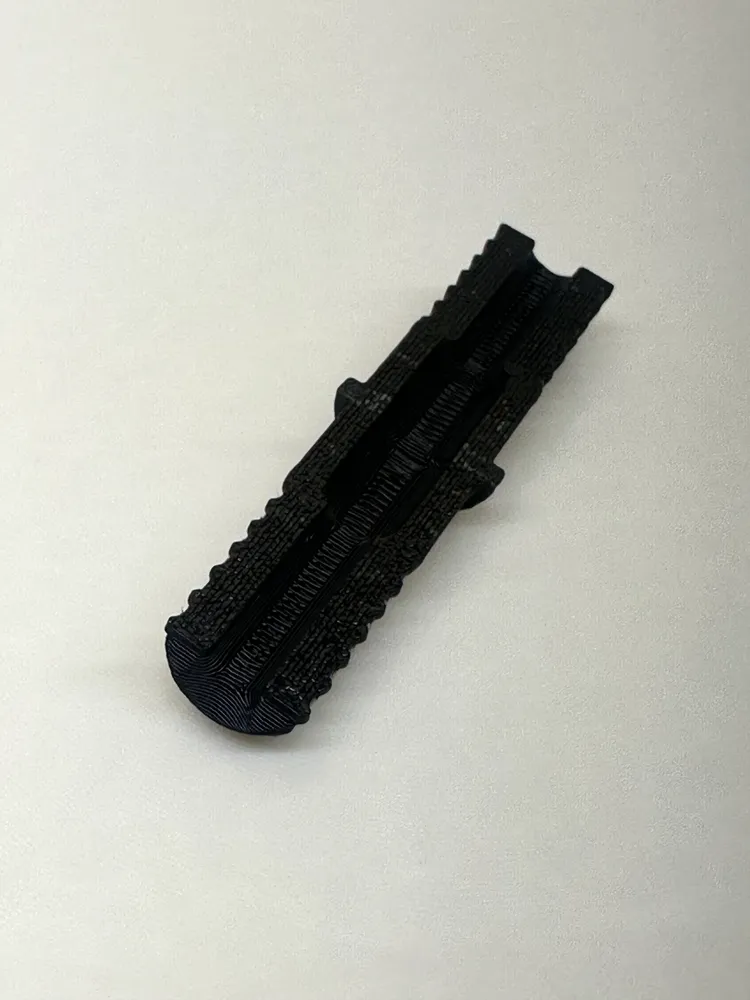
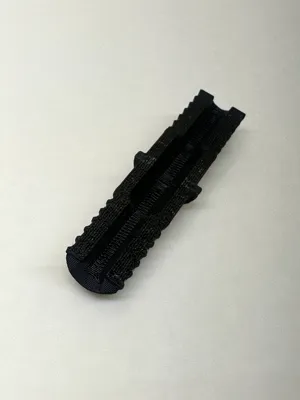
Some ugly bridging through that middle section won't hurt anything, and will just make the anchor spread a little further than I intended - no real risk here… although modern printers should bridge perfectly over that area using my profile with ease.
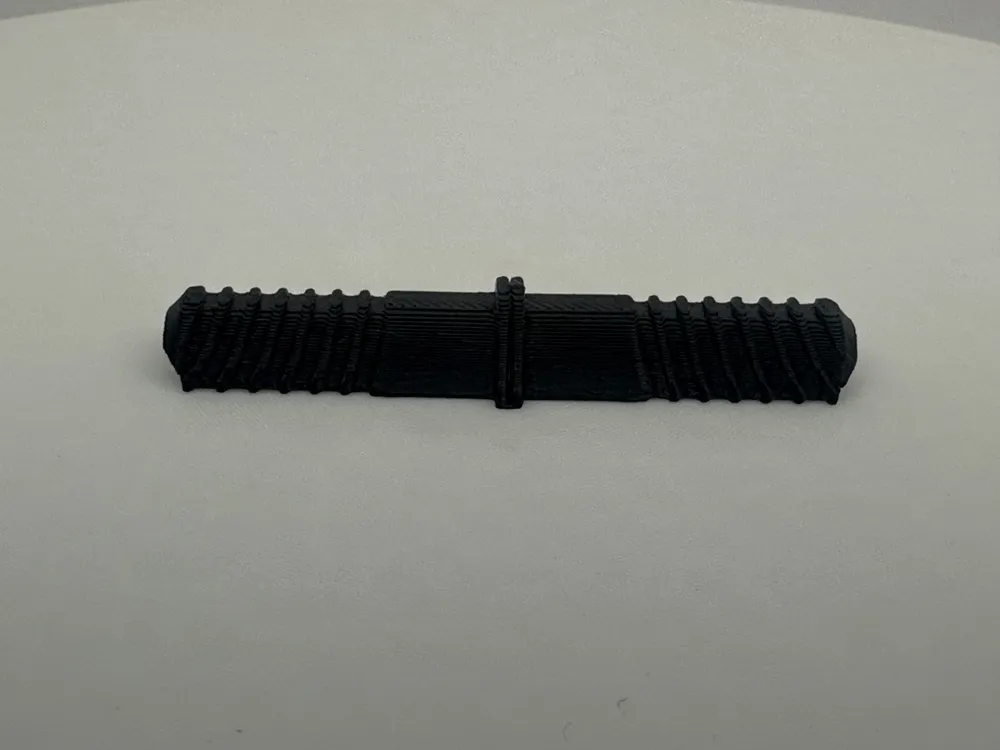
The print orientation as uploaded means three things:
Strength along each layer, instead of relying on layer adhesion to hold your mount in place - printing it any other way is just asking for your things to randomly crash to the floor one day!
Bed adhesion is not an issue, I printed mine on a textured PEI plate but you should have no problem printing this on any (clean) build plate of your choice.
The part is already willing to spread and anchor itself into the back of the drywall - you don't need the split to start at the head of the anchor, but it doesn't hurt anything.
Instructions:

Simply drill a 1/2" (13mm) hole in your drywall where it's unsupported by a stud, and press or tap this anchor into place.
Then use an appropriately-sized wood screw to anchor your mount, whatever it may be. My wood screws were about 1/4" (~6mm) in diameter (with 10mm flanged hex heads), but this anchor can work with screws slightly slightly larger.
I probably wouldn't try 5mm screws, and 7mm is about as large as I would go - you may have good results with other screws, but with what I keep on hand the only ones I could even test are M5 machine screws… the thread pitch is too fine IMO to work well for a wall anchor like this.
This demo shows me driving the screws with a 10mm socket on a ½" impact gun that I use for automotive work - I was very careful how much torque I applied, and I wouldn't recommend using one at all. I only took this video to show the strength of the anchors, considering this never works for typical commercial drywall anchors you'd buy at the hardware store, in my experience at least.
---------------------------------------
As always with my designs: If you want one of these made custom for a smaller or larger screw, please let me know and I'll make one and upload it. Just tell me your screw diameter (and make sure the thread pitch is coarse enough to use for this purpose!)
I'll probably end up tweaking this design for use with typical screws that come with wall mount kits, the ones not meant to bear much weight, and uploading that size as well. When I do, I'll edit this line and include a link to that design. I always test my prints before I make them available to others, so at the very least I need to find something else to mount in my house or office before then!
If you're seriously impatient or antisocial (trust me, I understand), you can probably successfully scale this object along the Y and Z axes as loaded in my profile, but there will be a limit to how small you can go (and I'm not sure what that limit is, I have not tested it). Use your best judgment. At some point, the thickness between the gripping ribs and the inner bore will be so thin that it will either fail while printing or when used in the wall. If you do scale it, I would suggest not scaling the X axis as it will make the part shorter or longer than I intended. Shorter may not matter to an extent, but longer will mean the gripping ribs won't contact the drywall the way they're supposed to. I would really just suggest you ask me to make one in the size you need, it won't take me long to get to modifying the original design.
Full video (parts sped up) here, with audio, of attaching that dual-monitor wall mount (you can hear the impact gun speed and see and hear the way it stops itself as it tightens, that part is not sped up)
I didn't get the insertion of the anchors on video, but they pushed right into the wall with moderate pressure from my thumb.
Enjoy!
License

You may create derivative works based on this object, provided that all such derivative works are published exclusively on the MakerWorld platform and include proper attribution to the original creator. You may not share, upload, host, distribute, or publish this object—or any derivative work of this object—on any other digital platform, marketplace, or distribution channel. Commercial use of this object and any derivative works is strictly prohibited. This includes, but is not limited to, selling, renting, sublicensing, or using the object in any context in which you receive monetary compensation or other financial benefits.


Comment & Rating (11)