
PRECision vesa mount Triple screen sim racing
Print Profile(1)

Description
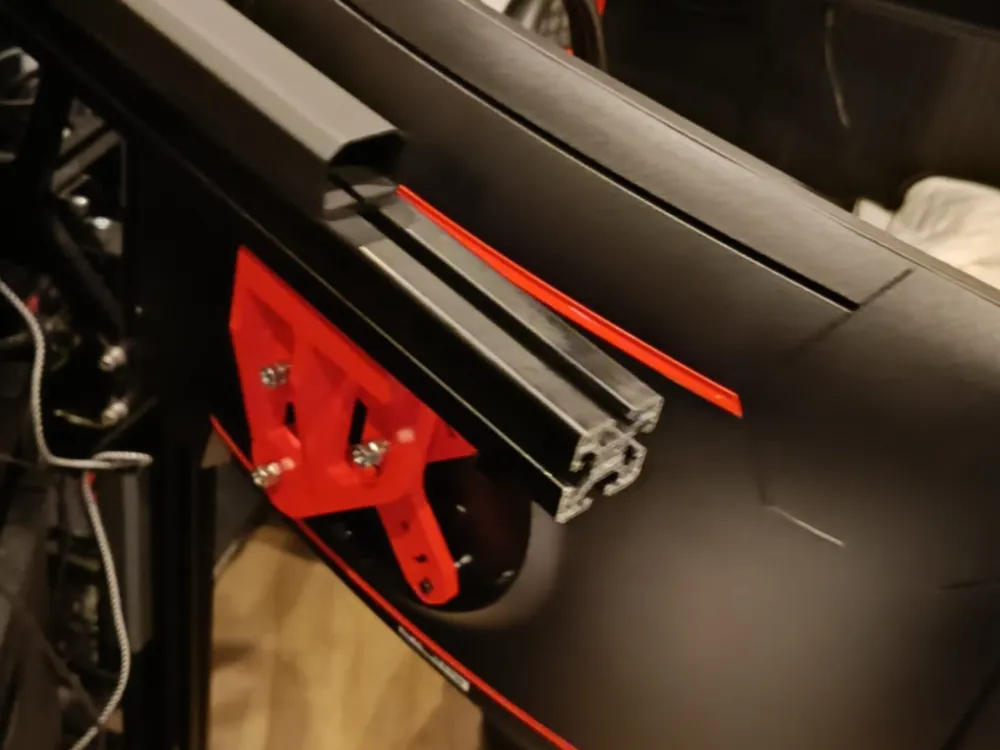
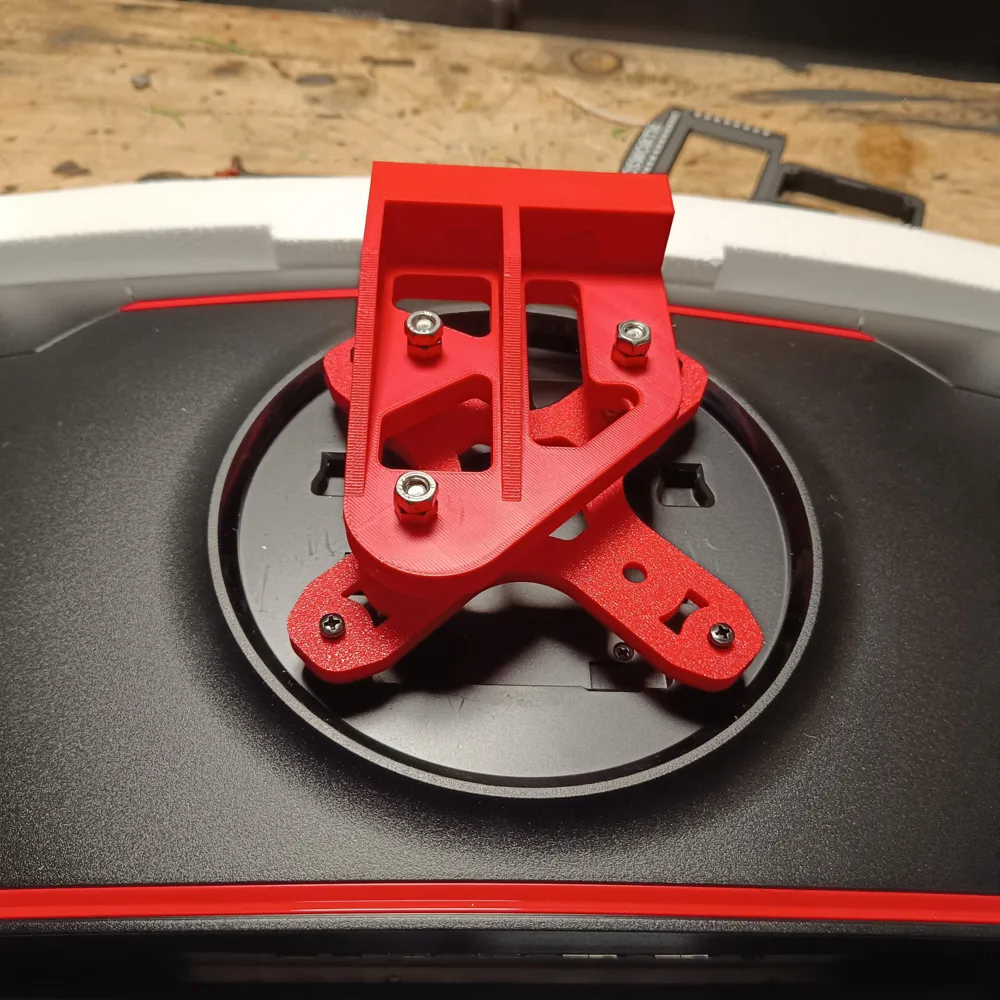
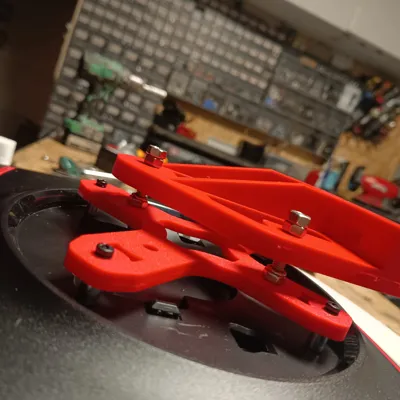
PRECision VESA Mount: Triple-Screen Alignment System
Achieving the perfect "gapless" alignment on a triple-monitor setup is often the hardest part of a sim-rig build. The PRECision VESA Mount is a heavy-duty, 3D-printable solution designed specifically to give you the fine-tuning control needed to eliminate gaps and align horizons across three displays.
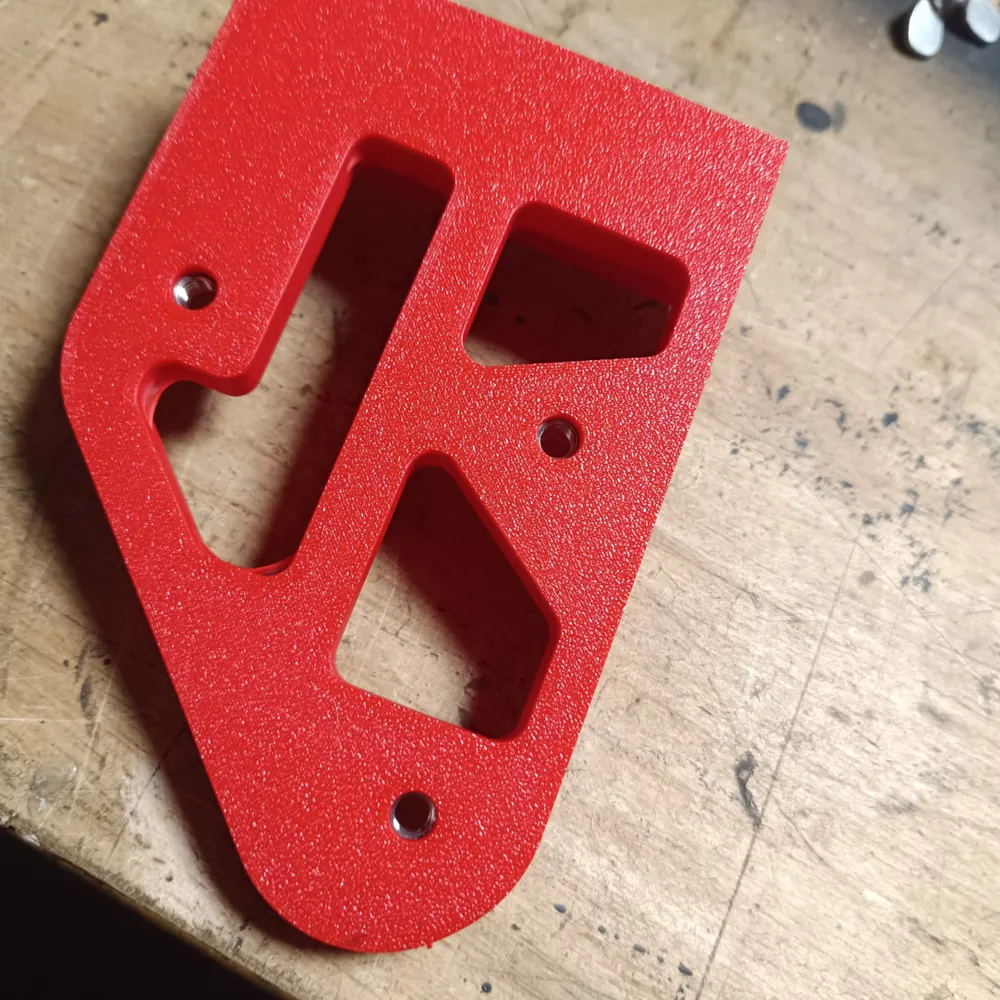
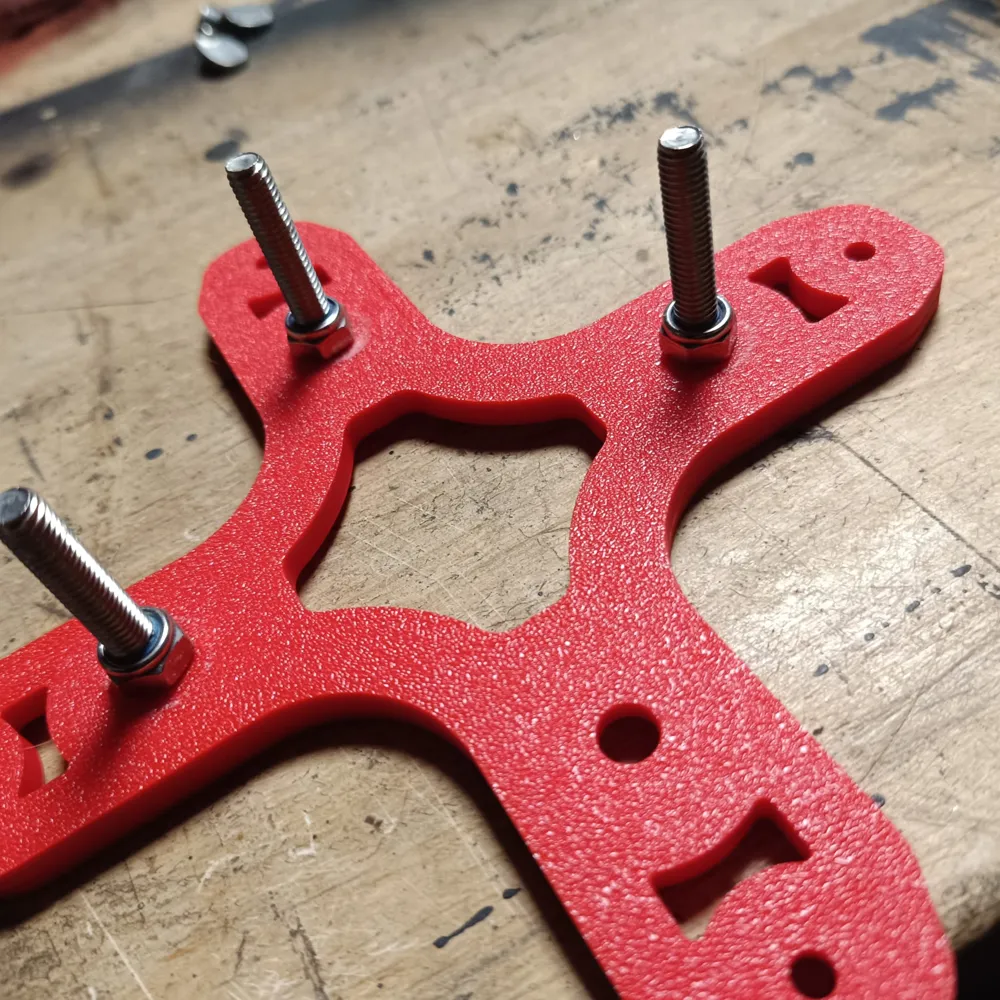
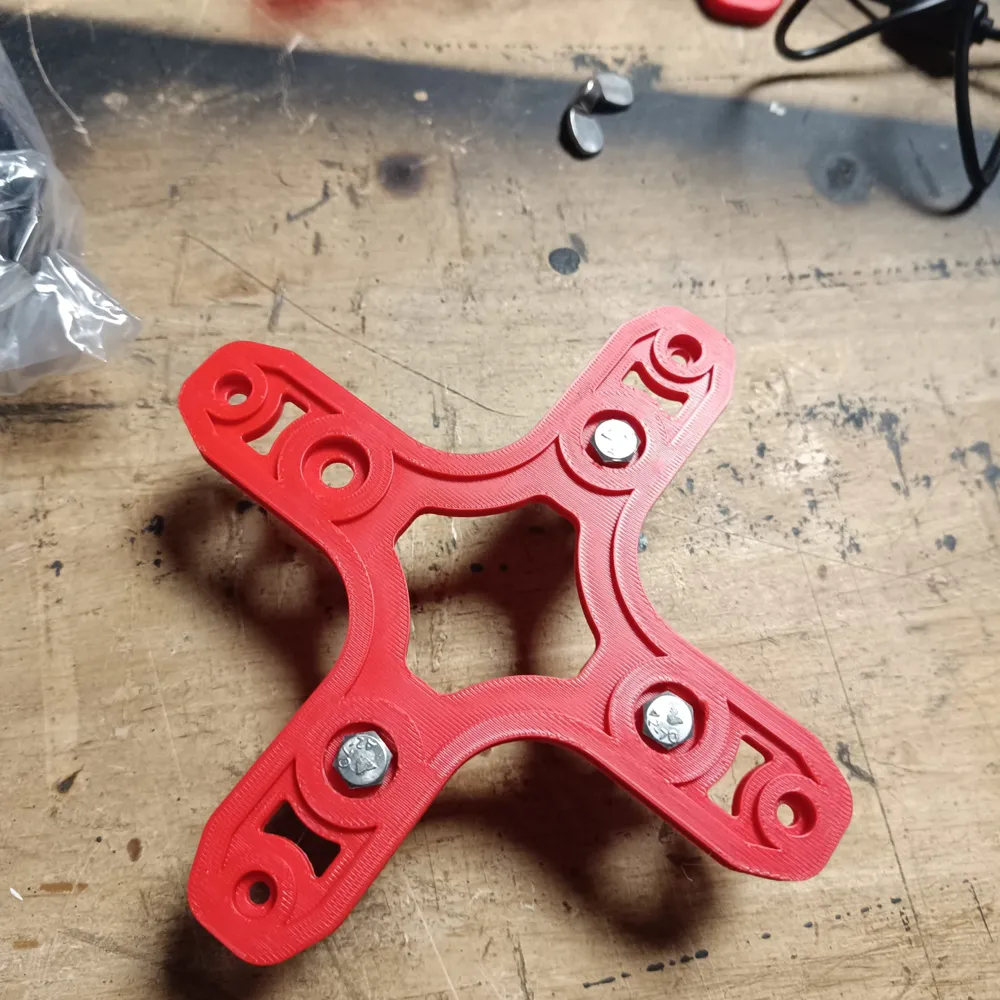
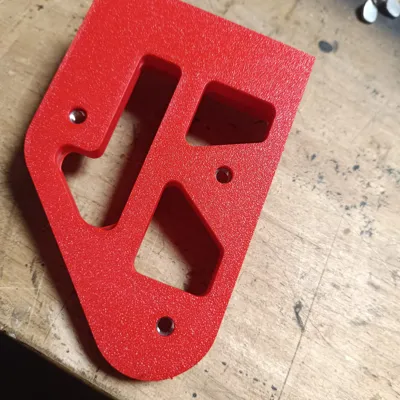
“”""Pause at layer 34 for inserting captive m6 nut “”""
🏁 Engineered for Sim Racing & Productivity
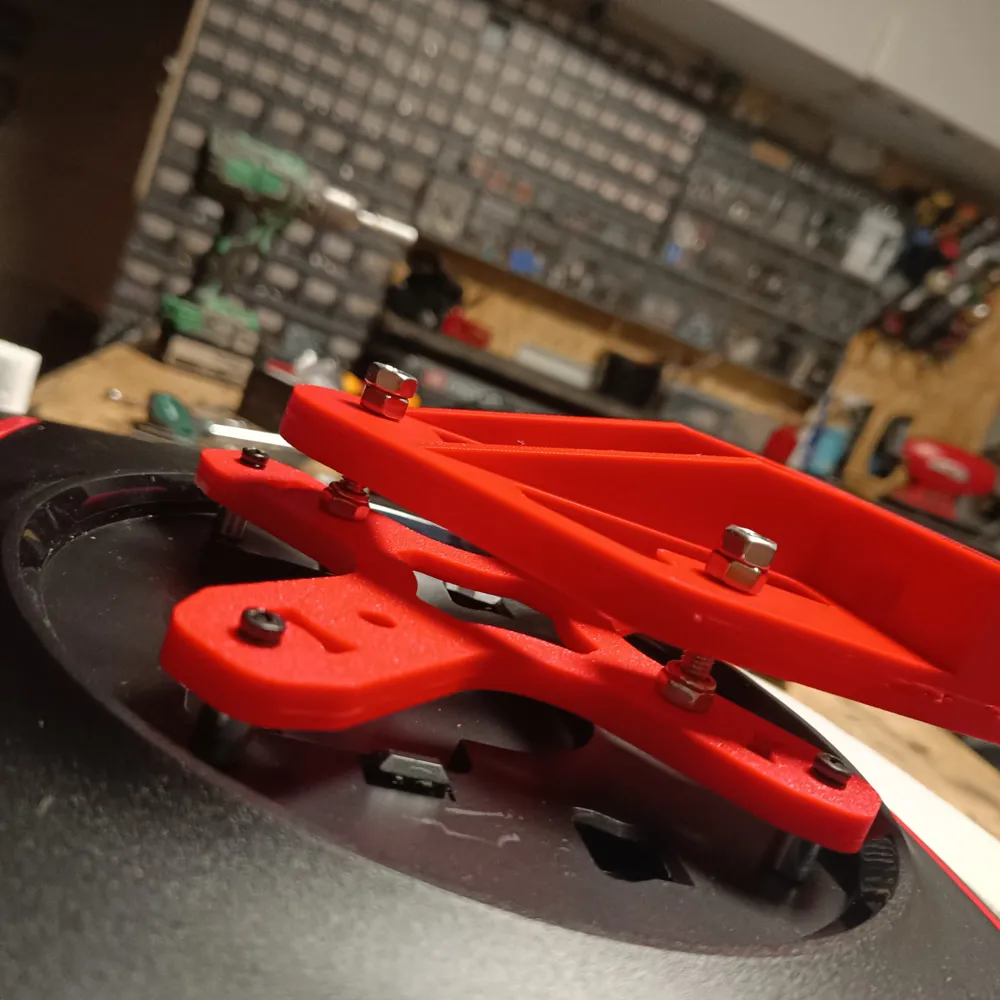
- Micro-Adjustability: The "Precision" system allows for fine 3 dimensional adjustments to compensate for monitor arms.
- Triple-Screen Optimized: Designed to get it dialed in
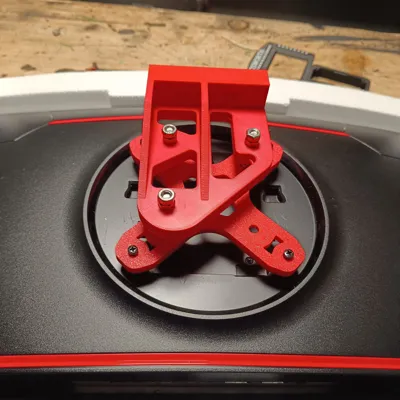
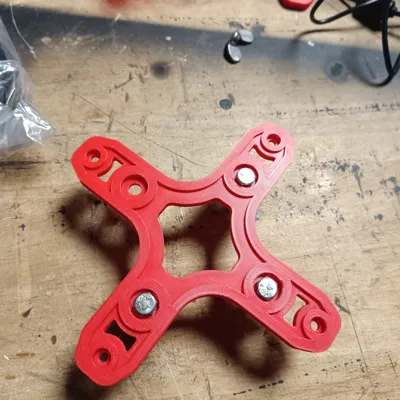
- Standardized Fit: Fully compatible with VESA 100x100 patterns.
- Heavy Duty: Reinforced stress points to ensure your side monitors stay perfectly angled over time.
🛠️ How to Align Your Triple Setup
Precision is key when setting up three screens. Follow this guide to get a seamless view:
- The Center First: Mount your center monitor using the plate in its neutral position.
- The Side "Vario" Adjustment:
- Step 1: Attach the mounts to your side monitors and hang them on your rig.
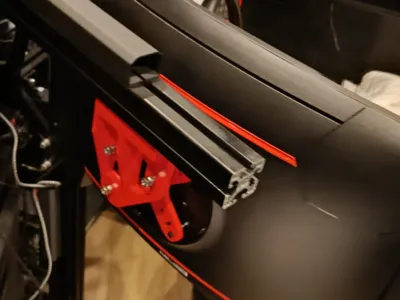
- Step 2: Slide the monitor to the center screen en tighten the bolt vor the extrusion.
- Step 3: Adjust the "tilt" or "yaw" via the mount slots to close the V-gap between the bezels.
- Locking it Down: Once the bezels are touching and the image is continuous across all three screens, tighten the adjustment bolts firmly.
- Final Check: Use a spirit level across the top of all three monitors to ensure a perfectly flat horizon.
📦 Recommended Hardware
To complete the assembly, you will need:
- M4 Bolts & Nuts: For the VESA holes (Length depends on your monitor depth).
M6 Hardware:
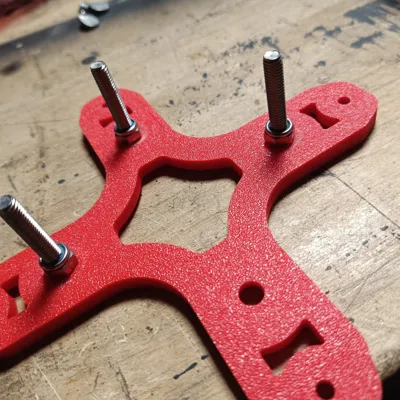
- For the vesa adaptor to the mount use M6x100 hex bolt for the max adjustment
- M6 nuts insert them when the print pauzes 3x and
- M6 nylon locknut
- M6 nuts for adjusting
- M8 wit T nut for mounting to extrusion
License

You shall not share, sub-license, sell, rent, host, transfer, or distribute in any way the digital or 3D printed versions of this object, nor any other derivative work of this object in its digital or physical format (including - but not limited to - remixes of this object, and hosting on other digital platforms). The objects may not be used without permission in any way whatsoever in which you charge money, or collect fees.


Comment & Rating (7)