
Lithophane Cube Lamp - LED Lamp Kit-001
Print Profile(1)

Bill of Materials



Description
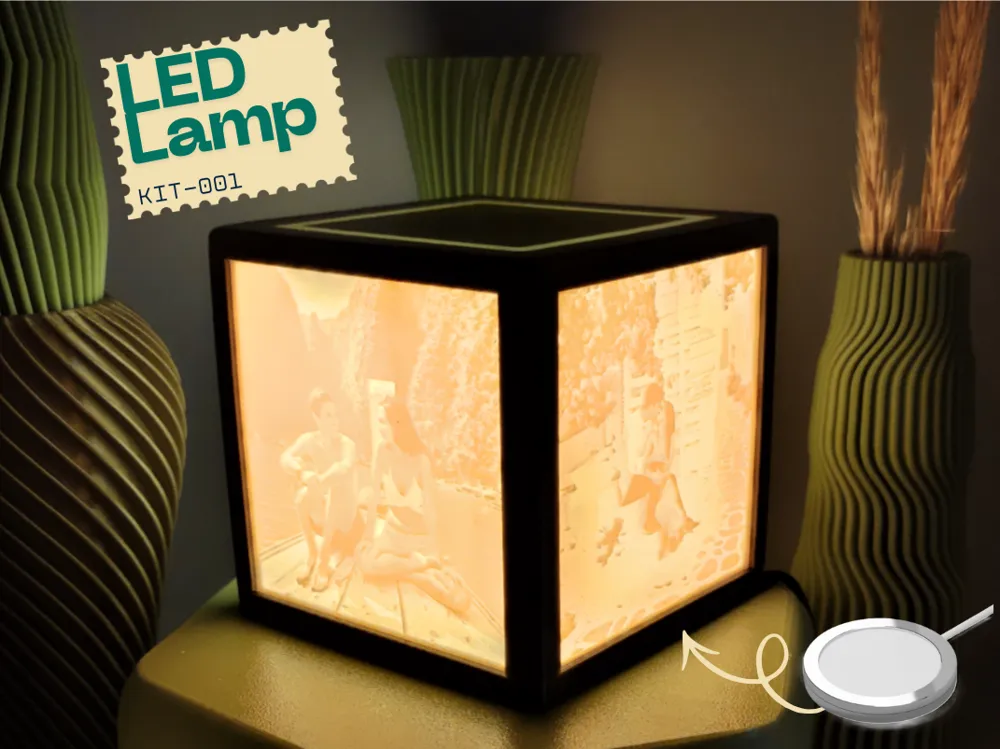
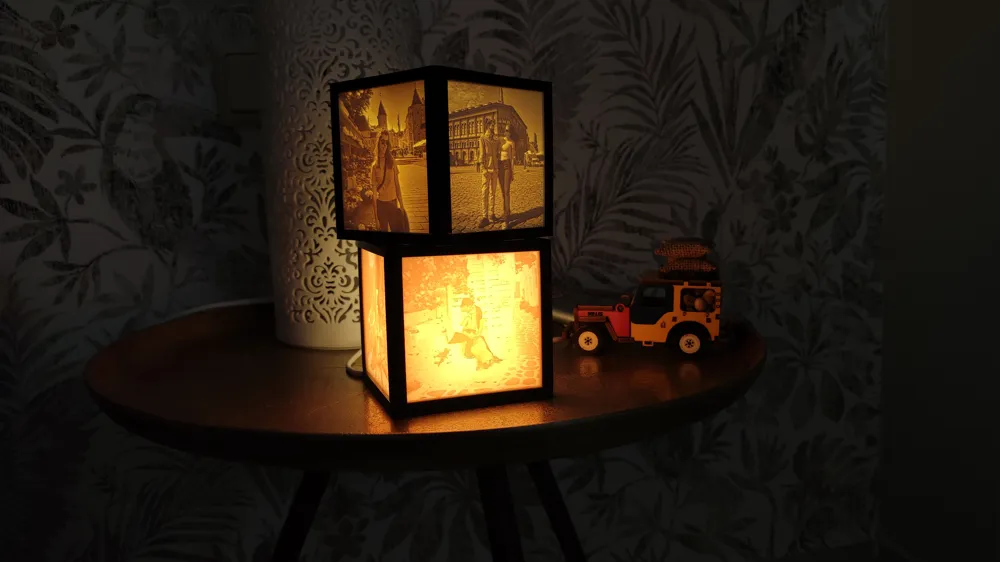
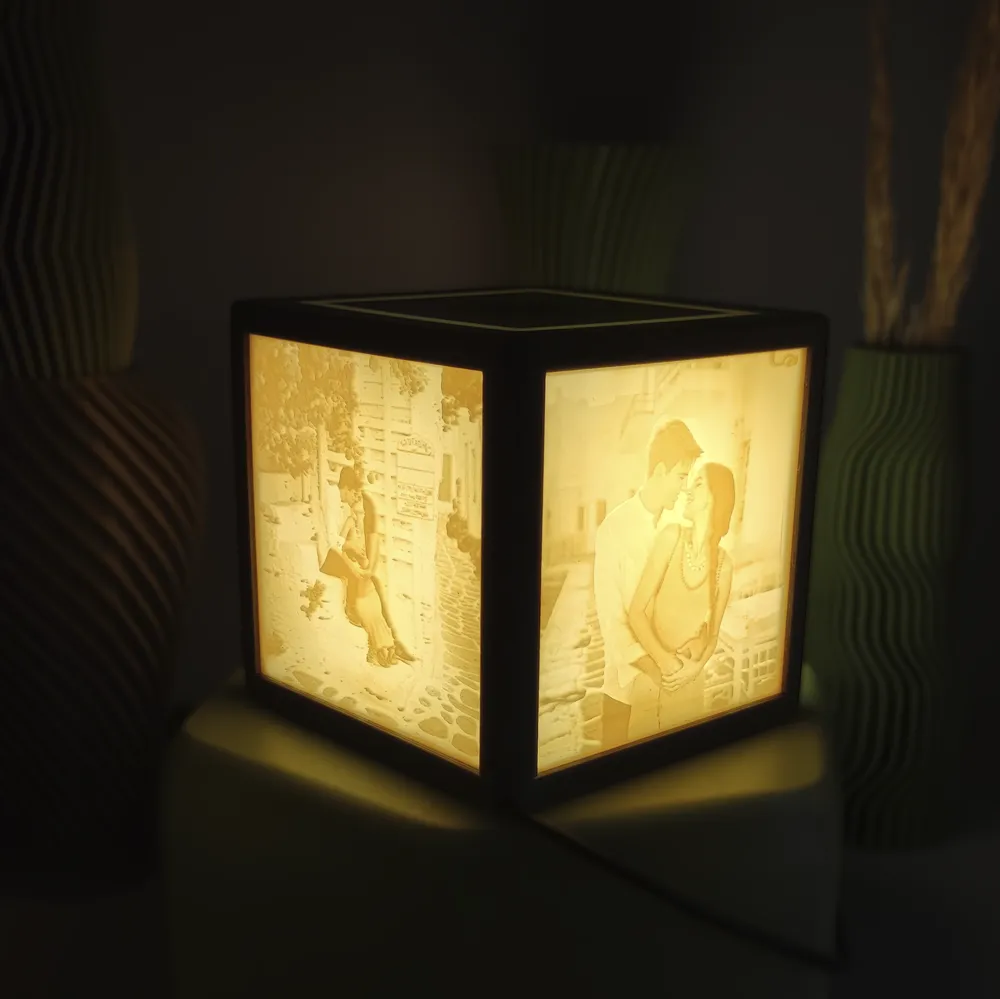
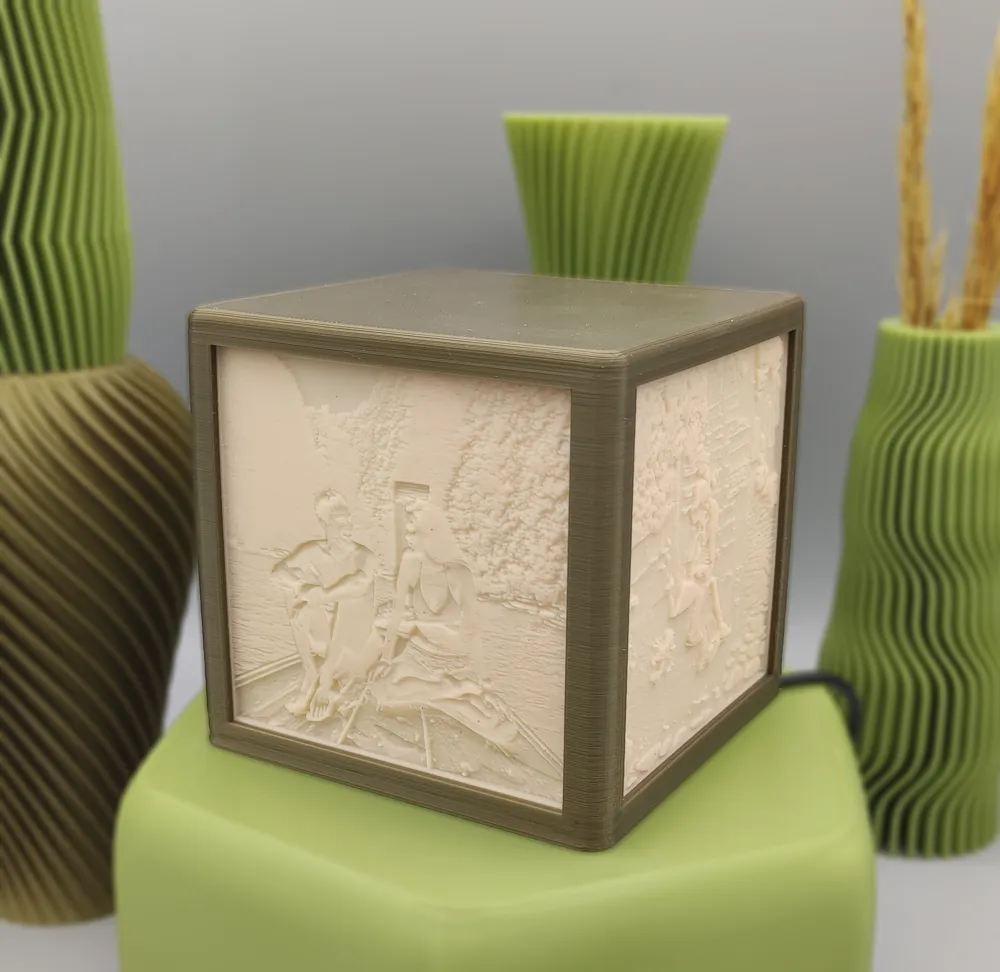
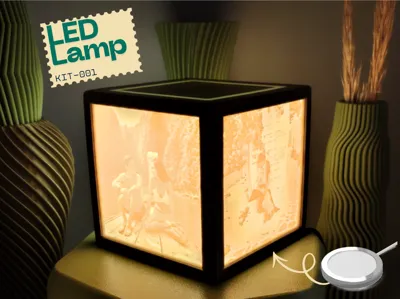
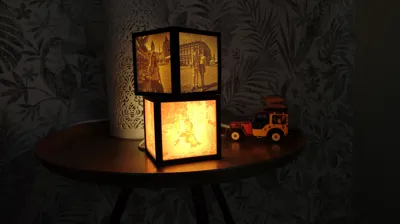
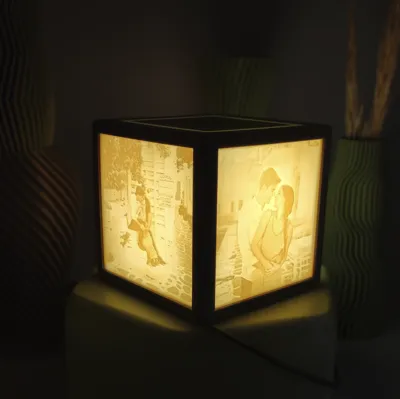
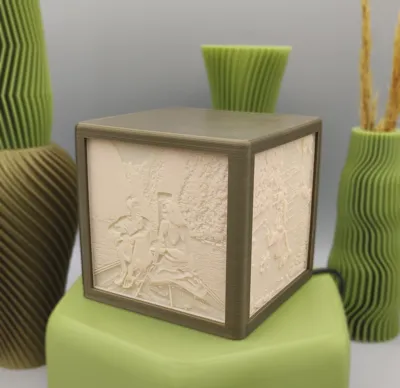
Cube lamp with 3D printed lithophanes
NEW! Compatible with LED Lamp Kit-001
Turn your favorite photos into a unique and personalized lamp. This minimalist and modern cube not only illuminates but also transforms any space with the delicate relief of your lithophanes and the soft glow of a top light strip for an elegant finish.
Boost Me (for free)
I'm working to offer increasingly refined designs and better support for each model.
I'm still starting out, so I greatly appreciate any Boost: it helps me stay motivated and earn points to invest in a better machine, which translates to more reliable prints and more time to create better designs for everyone. Thank you for your support! 🙏
✨ Key Features
- Minimalist and Modern Design: perfect for nightstands, desks, or cozy corners.
- Fully Customizable: generate square lithophanes from your images using free tools like 3dp.rocks/lithophane.
- Recommended lithophane size: 84.9 mm × 84.9 mm, thickness 2.44 mm (see documentation).
- Low-cost and easy construction: uses materials available from Maker's Supply.
🛠️ What you'll need
- 1x LED Lamp Kit-001
- 2x M2.5 countersunk screws (4–6 mm) (optional).
- Glue (optional)
- 4x custom lithophanes (84.9 × 84.9 mm, 2.44 mm).
⚡ Quick Assembly Guide
- Insert the LED Lamp Kit-001 into the BASE and secure it with the ring.
- Pass the cable through the bottom channel to the corner exit.
- Place the light diffuser to improve light uniformity inside. (Optional)
- Slide 4 lithophanes into the side rails of the TOP.
- Join the BASE + TOP with the snap fit.
- Secure with glue or 2x M2.5 countersunk screws (4–6 mm), or both.
🖨️ Printing Recommendations
- Orientation: Print each 3D model in the original orientation provided in the 3MF for best results.
- Seam Placement: Fix the seam line on the inner side of each rail so that the outer surfaces remain clean and uniform.
- Lithophane Material: Use skin-colored, off-white, ivory, or bone filament/resin for a more elegant look when the lamp is off. (The BASE and TOP can be printed in any color of your choice.)
- LED Color Balance: Choose the LED tone opposite to the lithophane material color (e.g., use a cooler LED if the lithophane material is warm, and a warmer LED if it's cool) for the best visual effect.
- Lithophane Thickness: Adjust the minimum thickness according to LED brightness and desired contrast, for both resin and filament.
- Resin: allows greater detail and smoother transitions. Best option overall.
- Filament: Economical option, ensure at least two perimeters everywhere to prevent light leakage.
💡 Why you'll love it
✔ A truly personalized lighting piece.
✔ Affordable and easy to assemble. (Now even easier).
✔ A thoughtful and unique gift.
✔ Designed for easy 3D printing (no supports).
License

You shall not share, sub-license, sell, rent, host, transfer, or distribute in any way the digital or 3D printed versions of this object, nor any other derivative work of this object in its digital or physical format (including - but not limited to - remixes of this object, and hosting on other digital platforms). The objects may not be used without permission in any way whatsoever in which you charge money, or collect fees.


Comment & Rating (15)