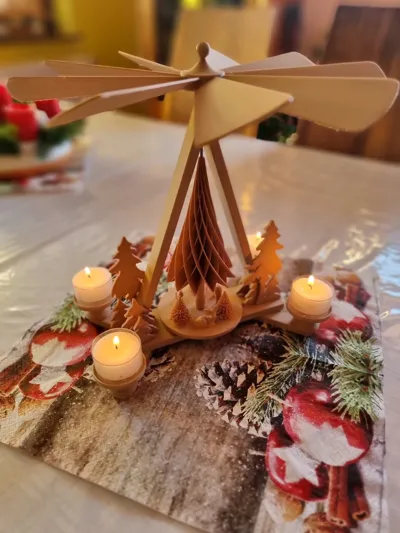
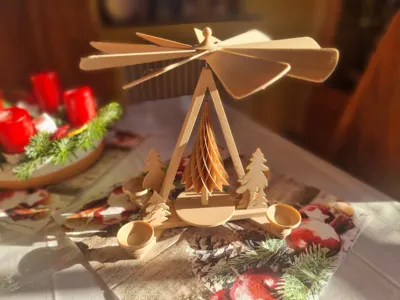
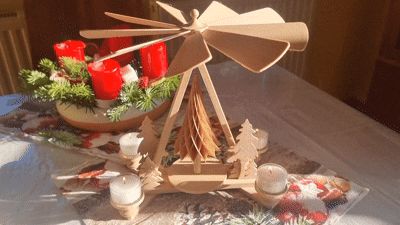
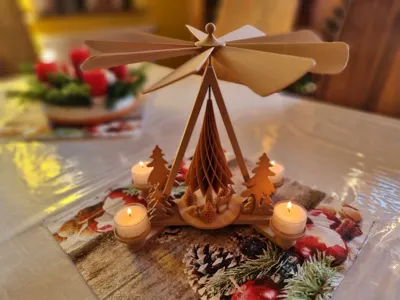
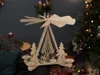
Christmas Pyramid


Print Profile(1)
Bill of Materials
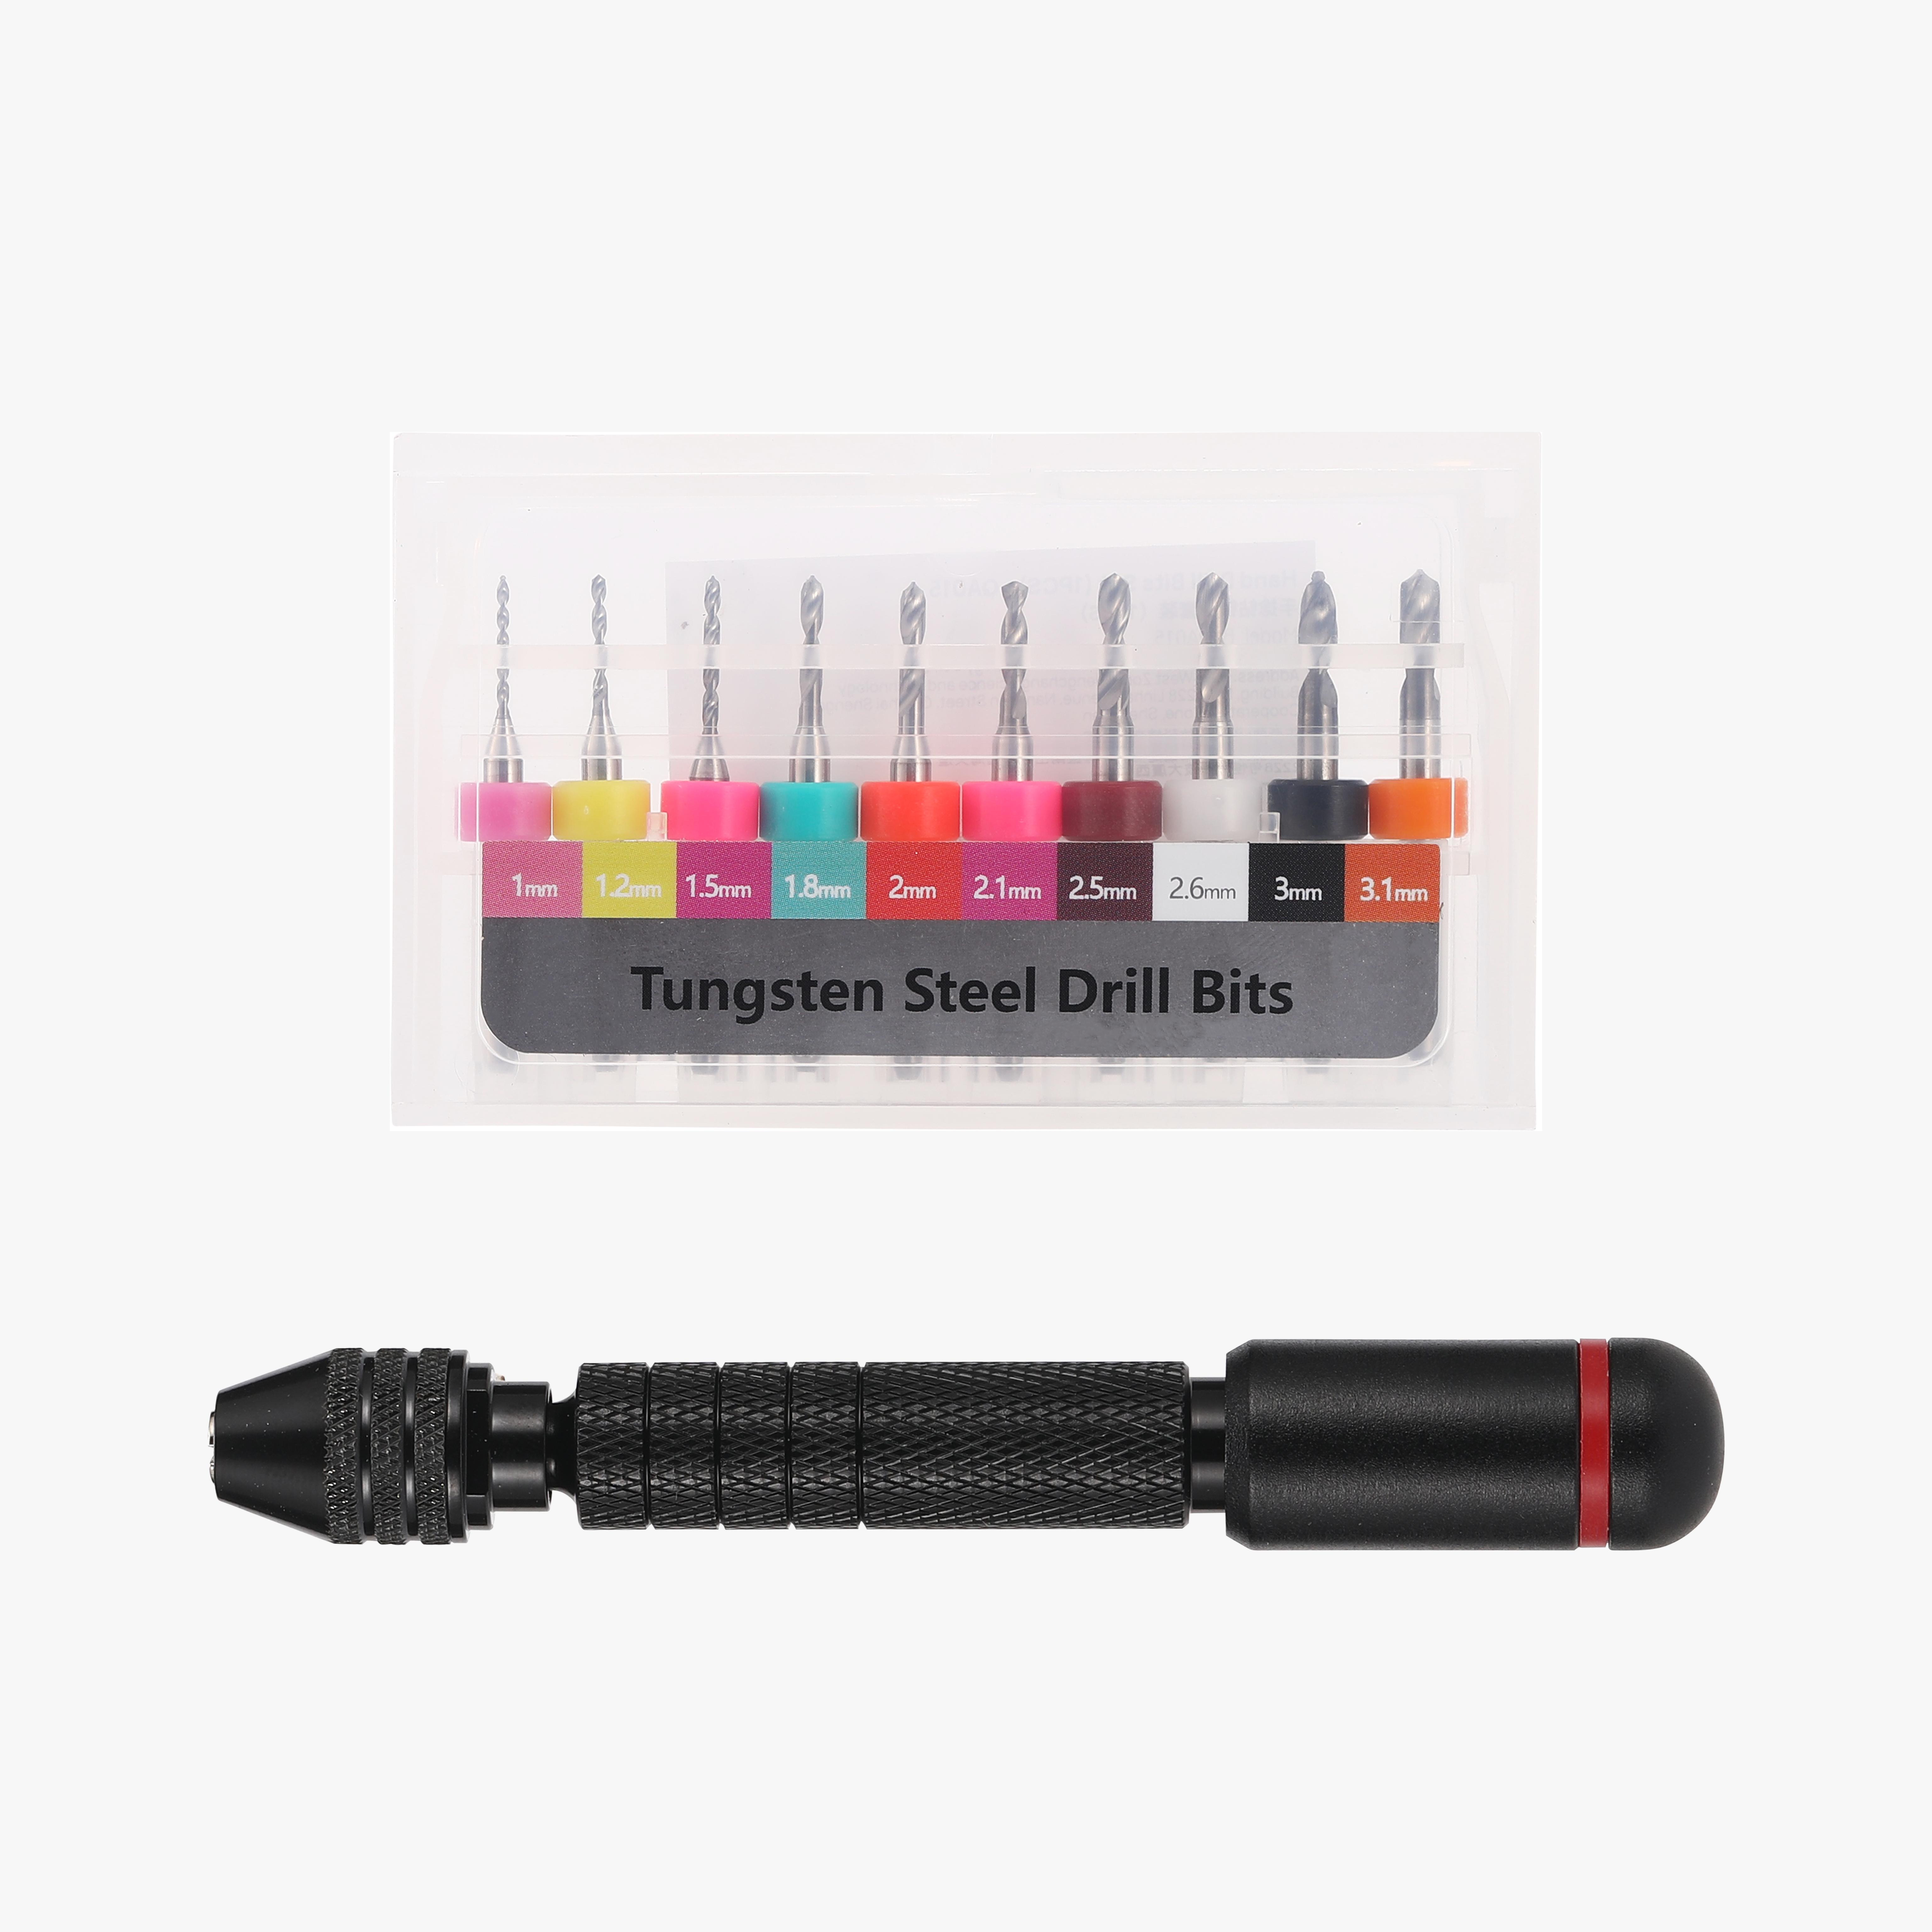


- Ø2x70mm Metal Rundstab/ -Draht x 1: zB. aus Kleiderbügeln, Nägeln, Draht...
- Ø10x5mm Glaslager x 1: https://www.ac-holzkunst.de/Pyramidenlager-Glas-10-mm-Glaslager-fuer-Pyramide
Description
This traditional Ore Mountains Christmas pyramid is the result of many hours of work, numerous ideas, and great attention to detail. From the first draft to the final model, I developed everything myself, always with the goal of creating an atmospheric and timeless pyramid that brings joy to the Christmas season
Many considerations went into the design – both visually and functionally. It was important to me to ensure easy assembly with household items, as well as good printability. The model is designed to be ideal as a festive decoration, creating a beautiful atmosphere on a table or windowsill
Since MakerWorld and the community thrive on sharing and learning from each other for me, I am making this model available for free. If you like the pyramid, I would be very happy if it also becomes part of your Christmas season
❗️Caution, read carefully❗️:
- Do not leave the pyramid running unattended especially with PLA Wood fan blades, these tend to deform towards the candle after long running times or when stationary →Fire hazard!
- Therefore, I recommend printing the pyramid partially or completely in white, so the blades can be printed from PETG, ABS, or ASA.
- Heat deflection temperature: PLA 50-60°C, PETG 70-85°C, ASA up to ~93°C, ABS 95-100°C


- there are 2 candle holder variants, one for tealights or one for pyramid candles (Nozzles with drip catcher are required)
- PLA and PETG fan blades are not designed for the version with pyramid candles
What you need:
- Super glue or alternative adhesive
- possibly drill bit Ø2mm; 2.5mm for rework
either a 1ct coin into which you create a depression (e.g. with a ball from an empty spray can)
or a glass bearing d=10mm, height ~5mm

a Ø2.0x70mm metal rod (other materials are certainly possible but could increase friction)

a tip from a standard ballpoint pen

for assembly:
- I recommend additionally securing the tealight/candle holders with super glue
- first insert the ballpoint pen tip into the underside of the turntable and glue if necessary
- insert the 1ct coin or glass bearing with the recess facing up into the base frame and glue if necessary
insert the turntable into the base frame, then insert the steel rod and place the wings on top
→ the drill holes may need to be re-drilled
The decoration of the turntable is deliberately kept open. Small trees, deer, figures, or other Christmas elements can be individually selected and placed according to your own taste
I welcome feedback, comments, and constructive criticism and am open to suggestions for improvement. Feel free to write to me about how you like the project or what, in your opinion, could still be optimized. I will try to respond as quickly as possible ☺️
I am open to remixes and further developments, however, these are only permitted after prior consultation and with my express consent. Feel free to contact me if you are interested. 😎
I deliberately decided to share the 3D model for free with the Maker community, so that as many people as possible can enjoy it. If you like the model, have already printed it, or appreciate my work, you can voluntarily support me HERE
- https://ko-fi.com/l3gendaerer/goal?g=0
Every donation helps me continue to invest time, passion, and new ideas into such projects. Thank you for supporting tradition and creativity. ❤️
License
You shall not share, sub-license, sell, rent, host, transfer, or distribute in any way the digital or 3D printed versions of this object, nor any other derivative work of this object in its digital or physical format (including - but not limited to - remixes of this object, and hosting on other digital platforms). The objects may not be used without permission in any way whatsoever in which you charge money, or collect fees.
Comment & Rating (0)