Search models, users, collections, and posts

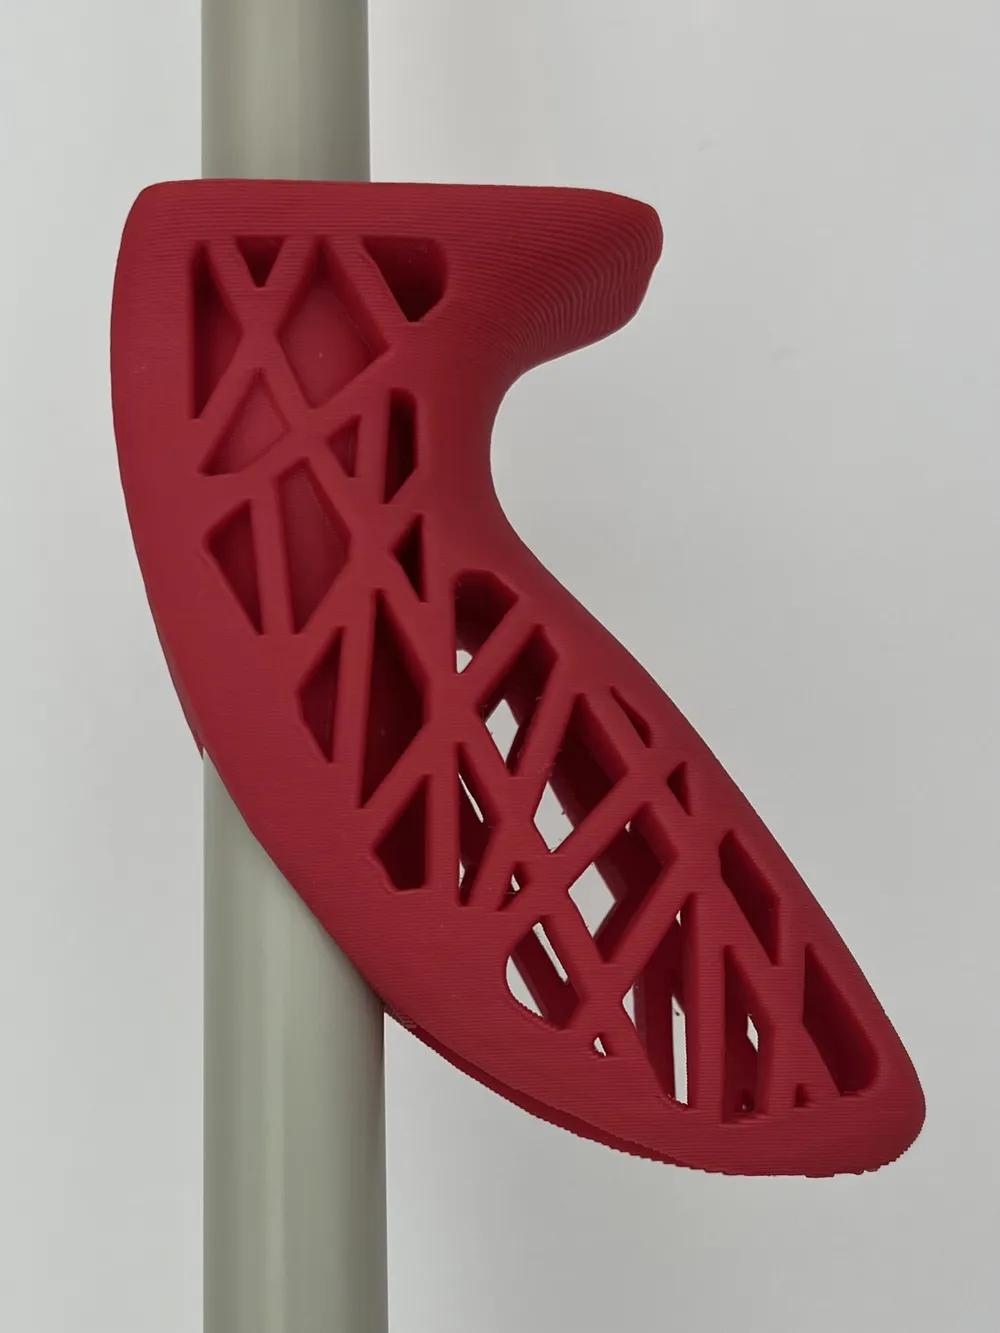
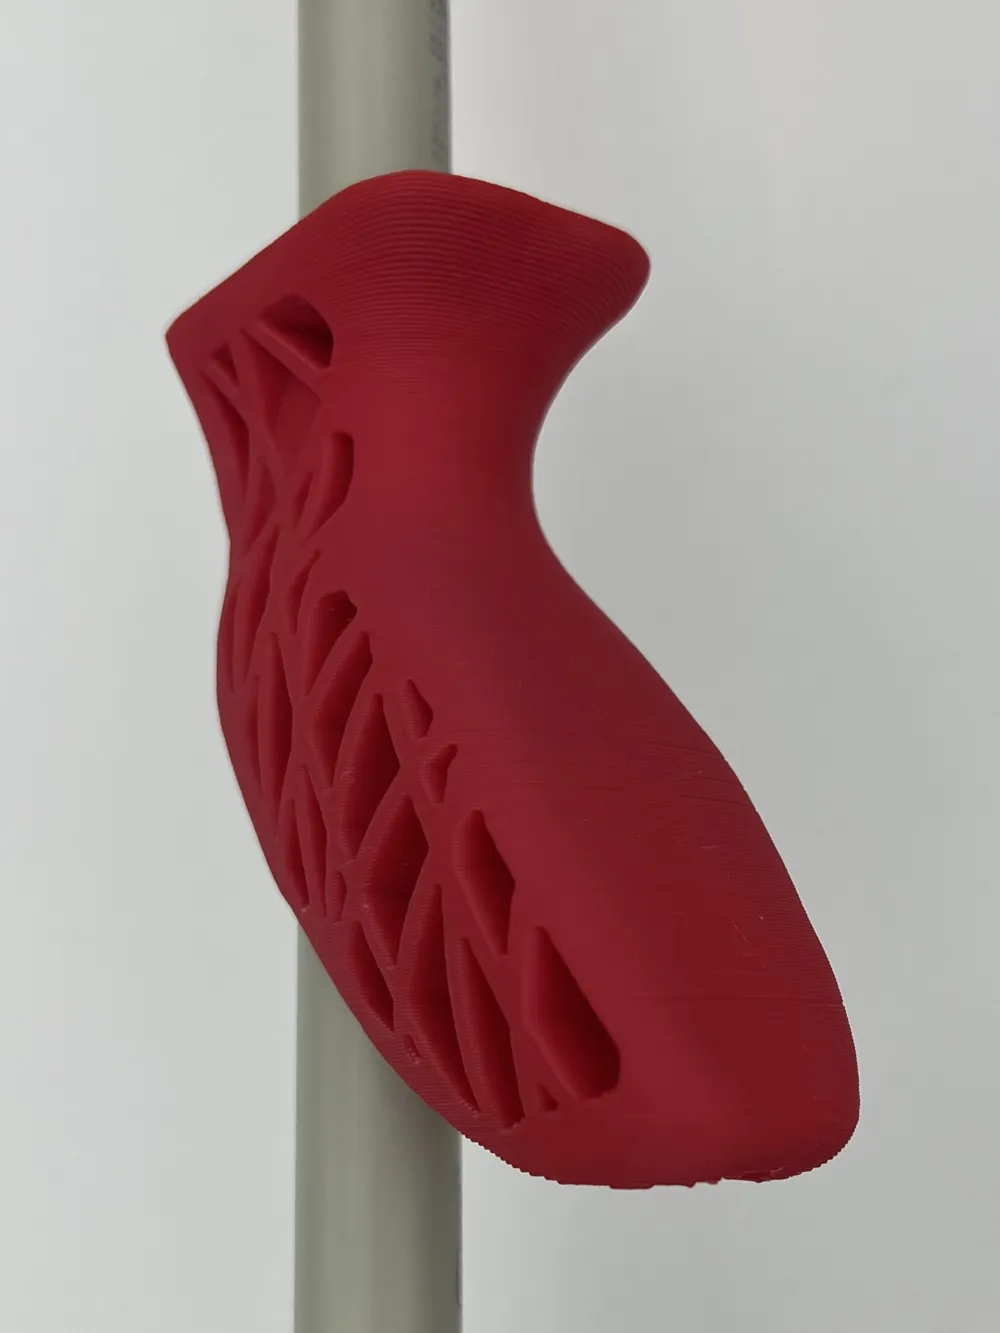
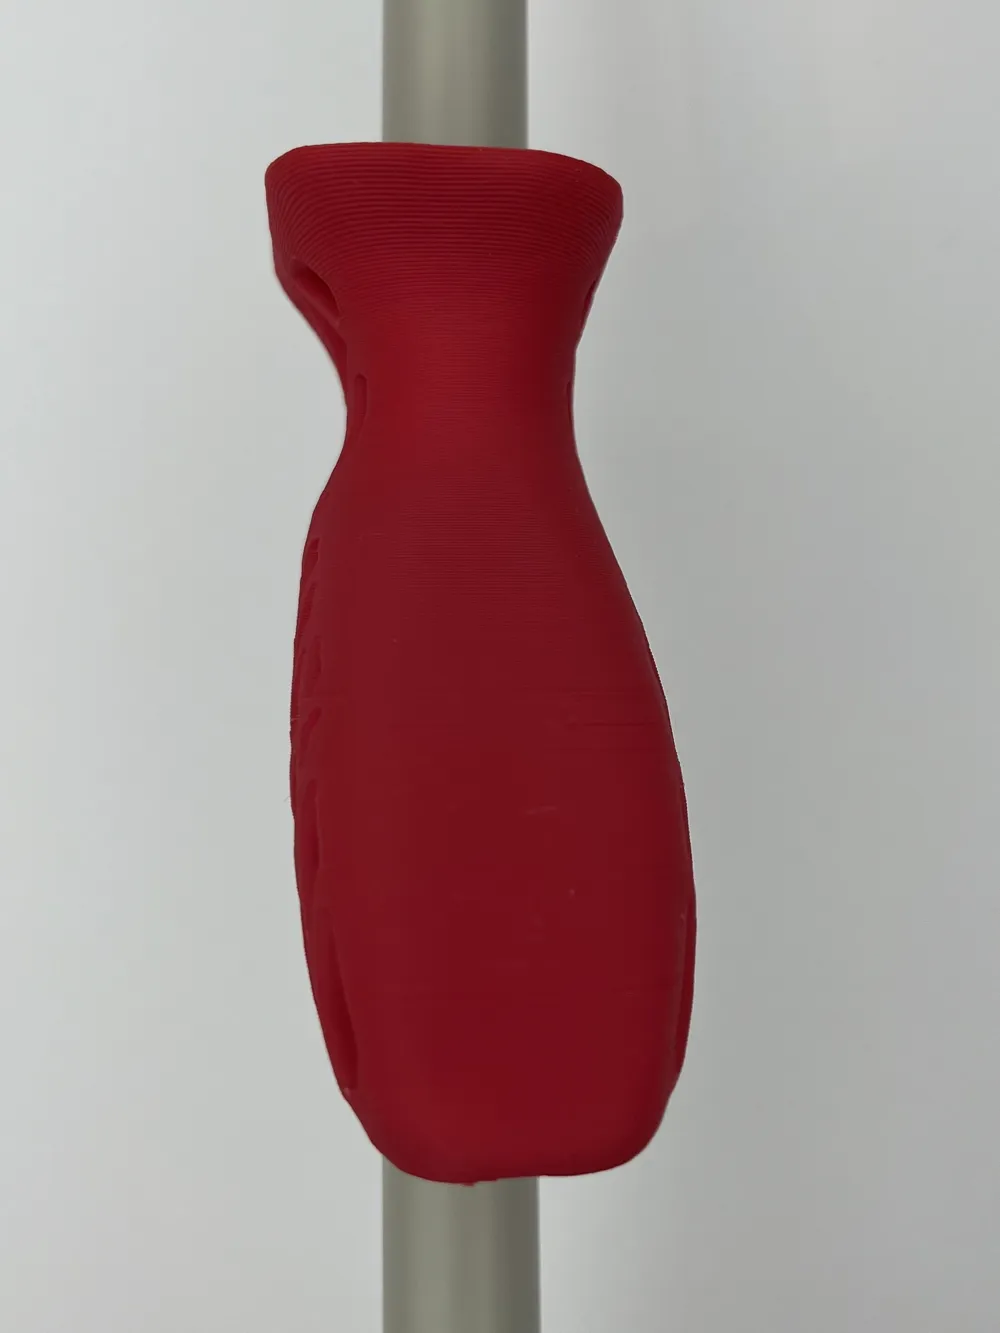
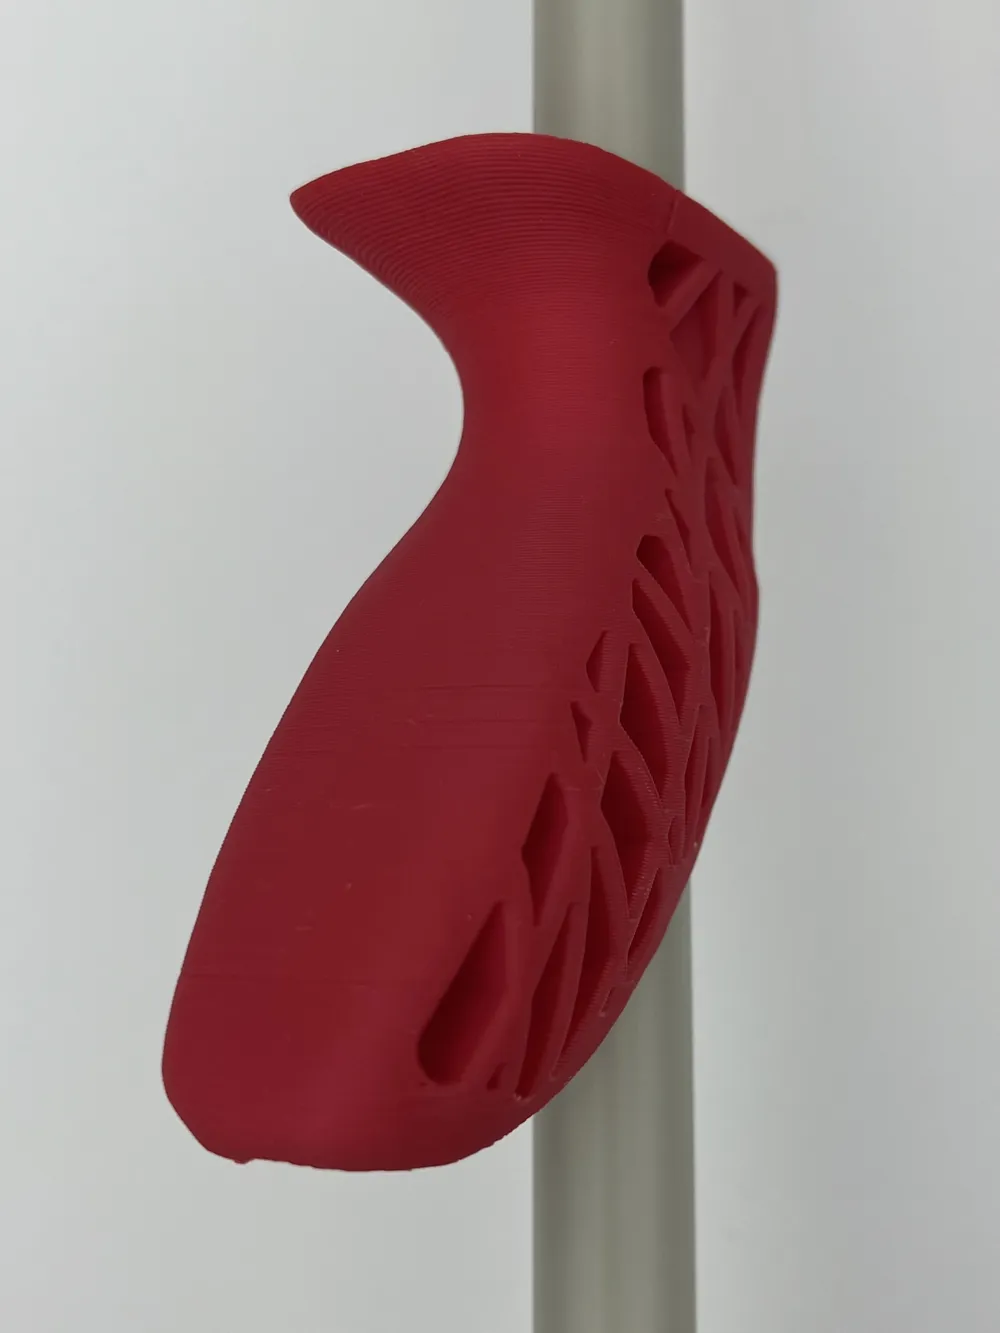
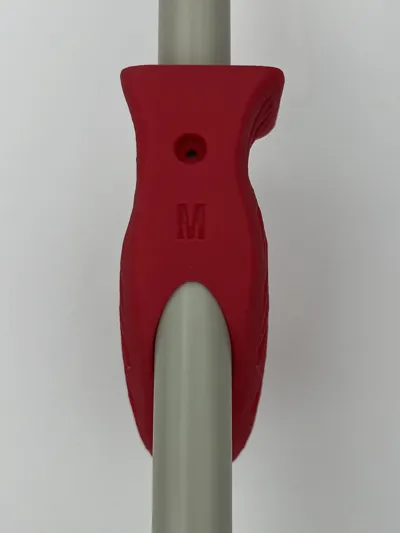
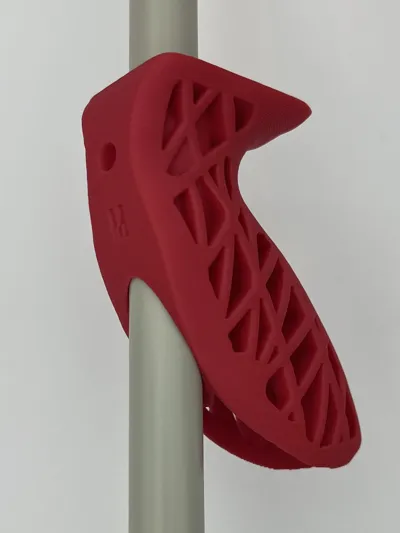
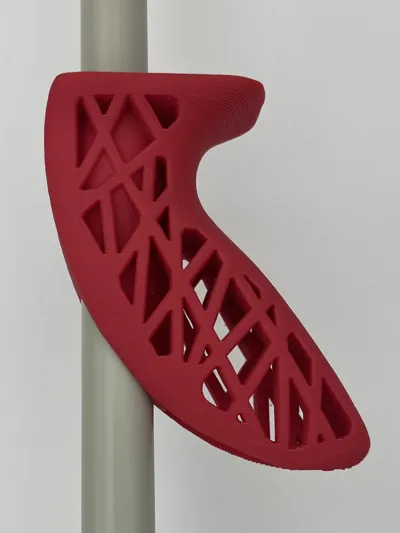
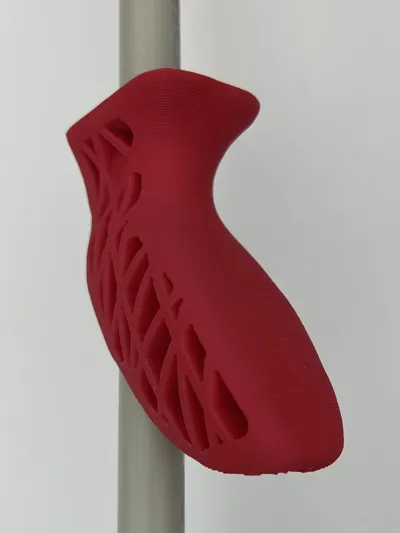
Grip for No Bow
IP Report
Print Profile(6)
LARGE Grip Pipe OD 16 mm LH+RH+Coupler
Designer
4.2 h
1 plate

MEDIUM Grip Pipe OD 16 mm LH+RH+ Coupler
Designer
3.8 h
1 plate

SMALL Grip Pipe OD 16 mm LH+RH+ Coupler
Designer
2.9 h
1 plate

LARGE Grip Pipe OD 20 mm LH+RH+ Coupler
Designer
4.9 h
3 plates
Click to see more
Open in Bambu Studio
Boost
30
80
22
1
95
44
Released
Description
Description
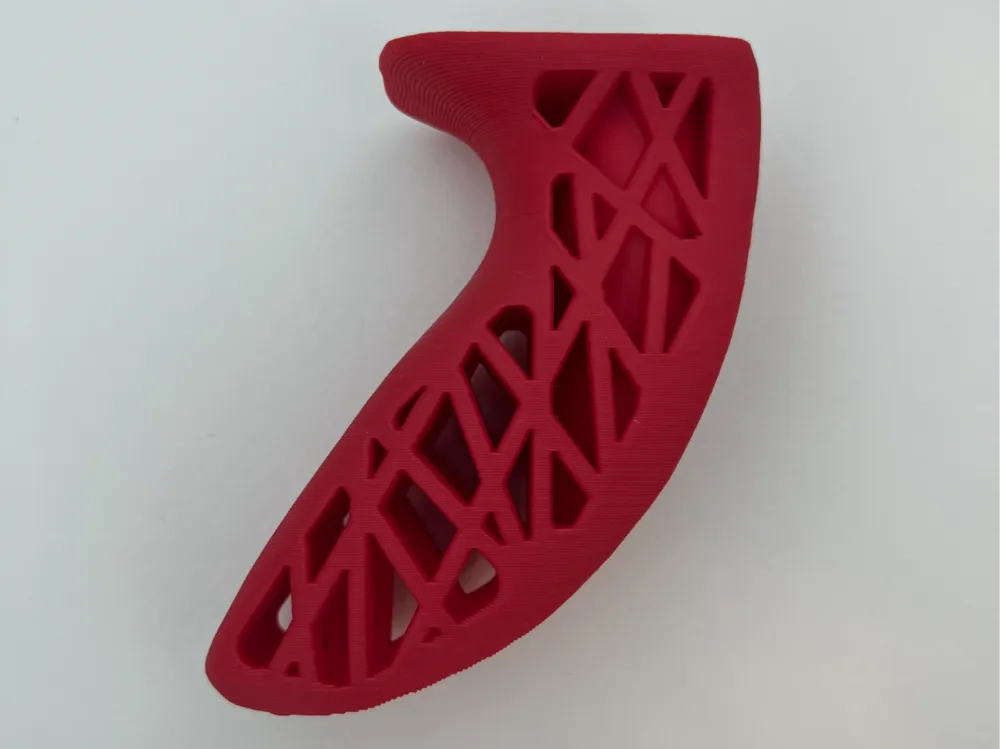
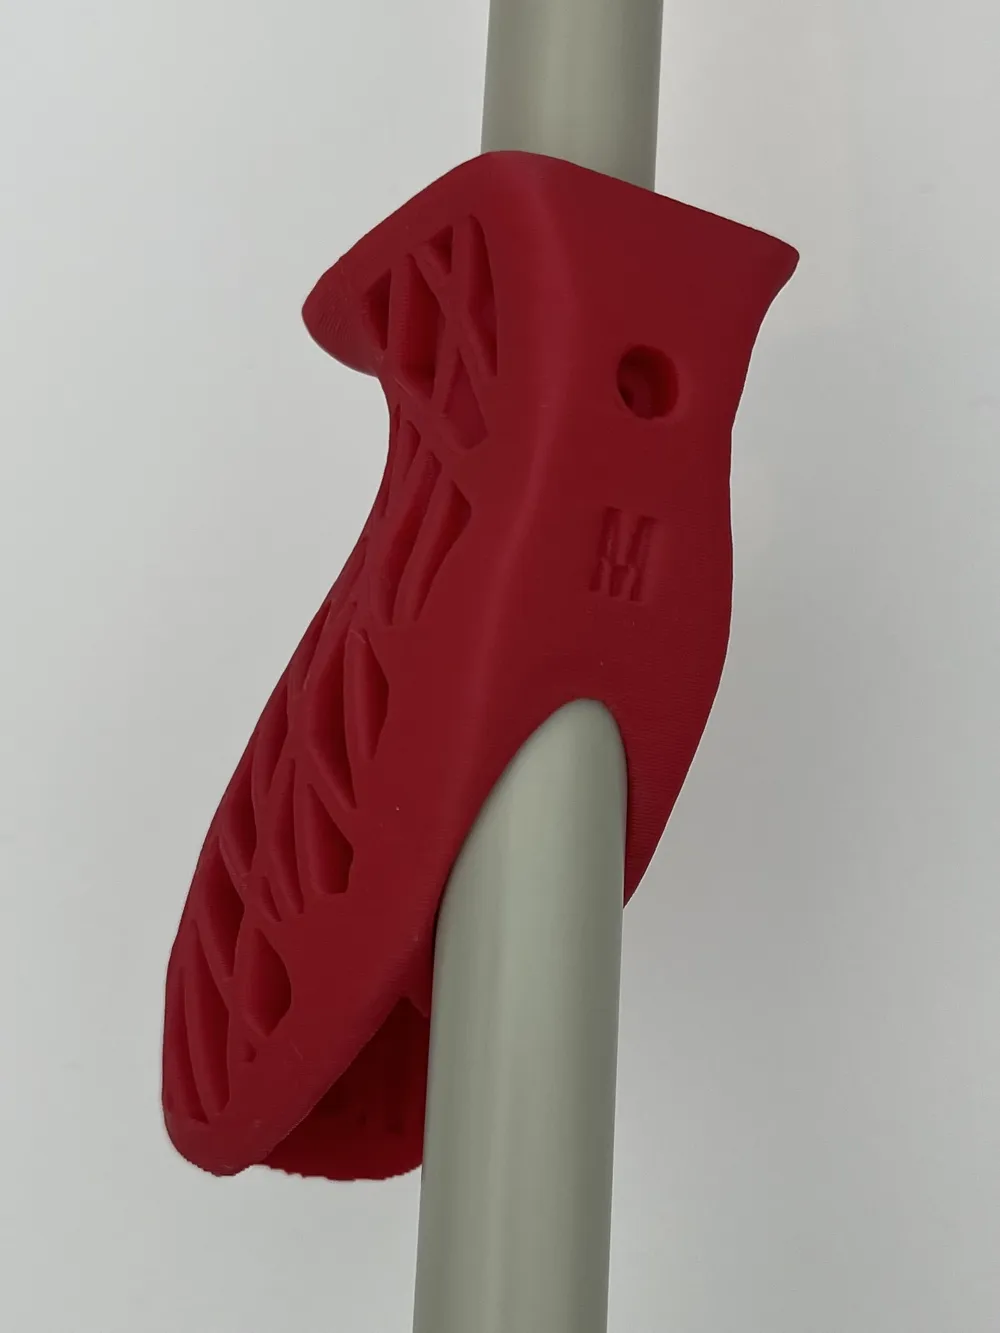
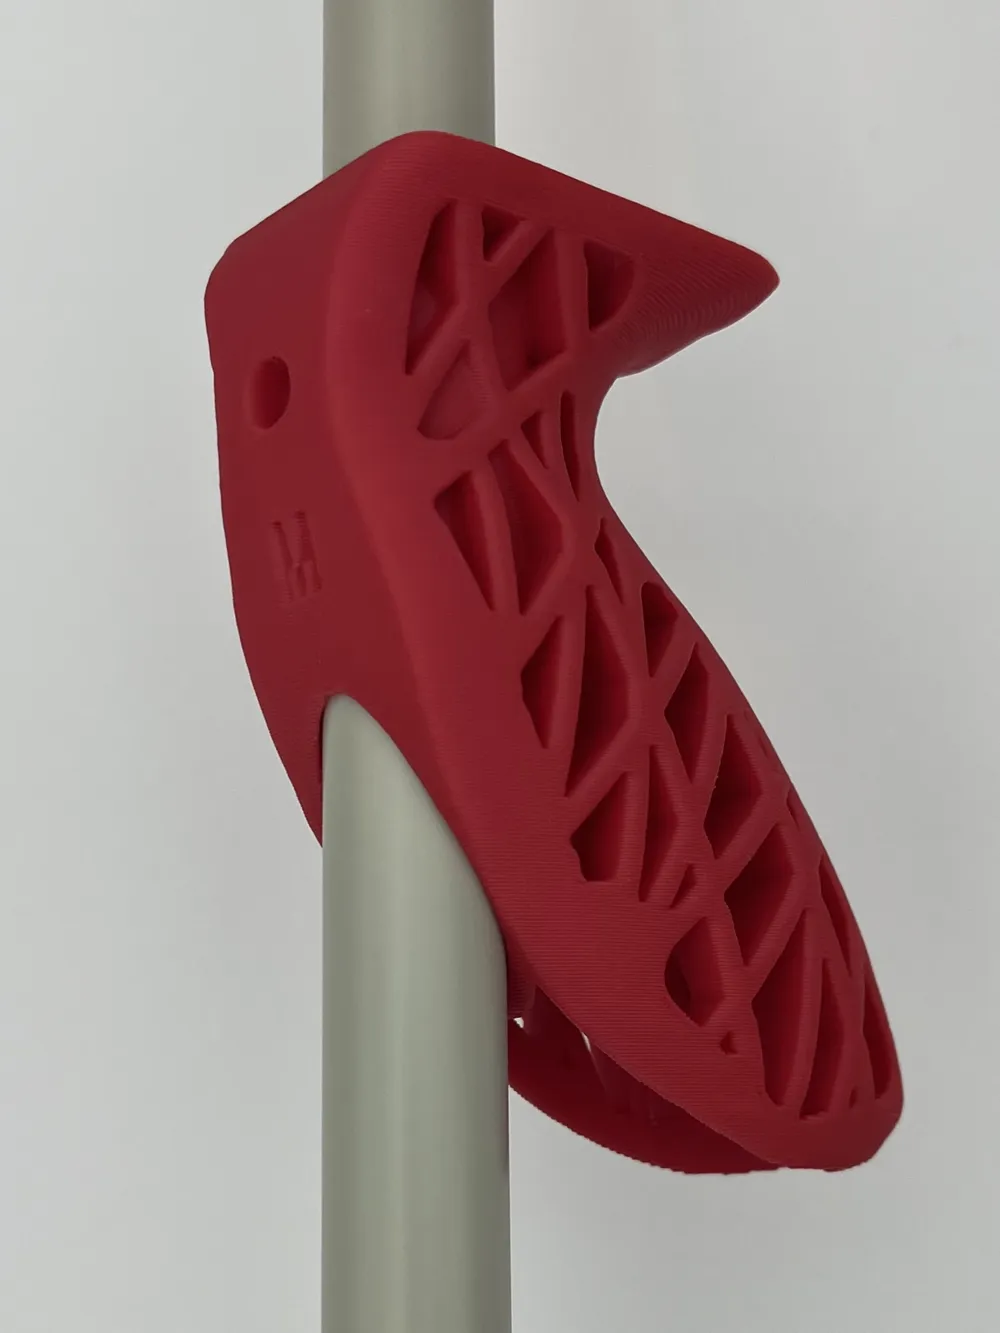
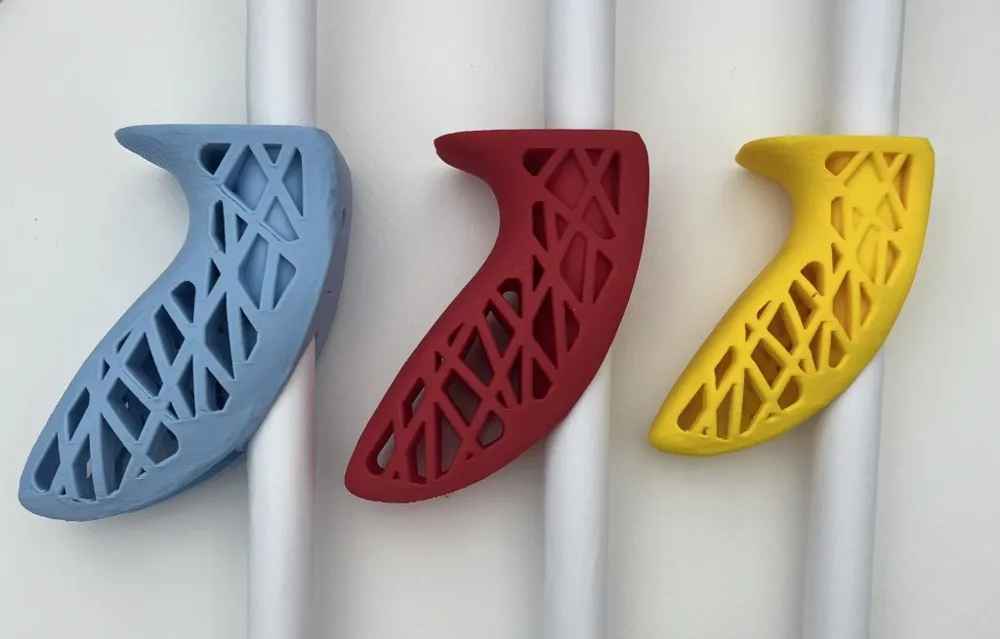
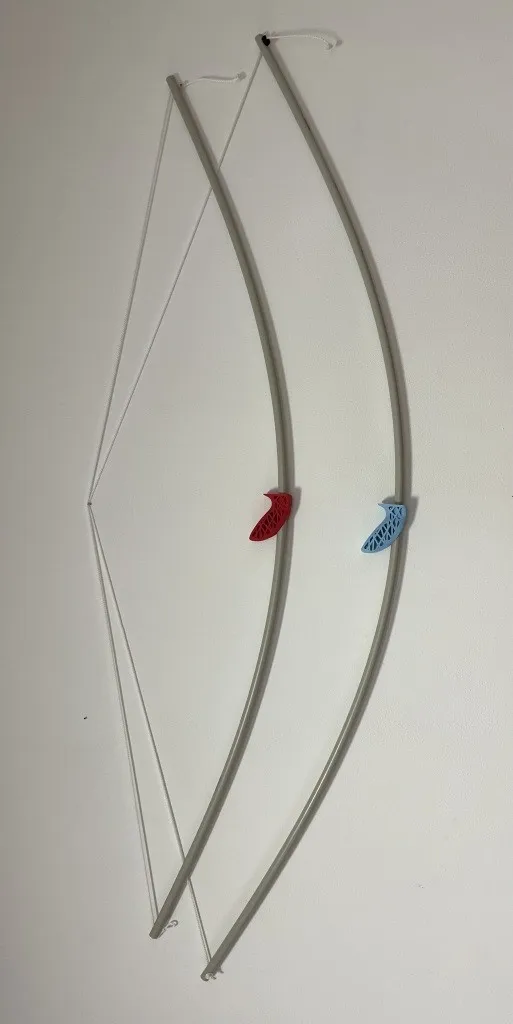
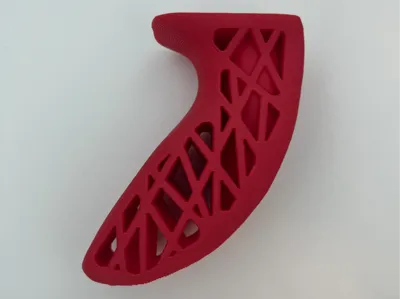
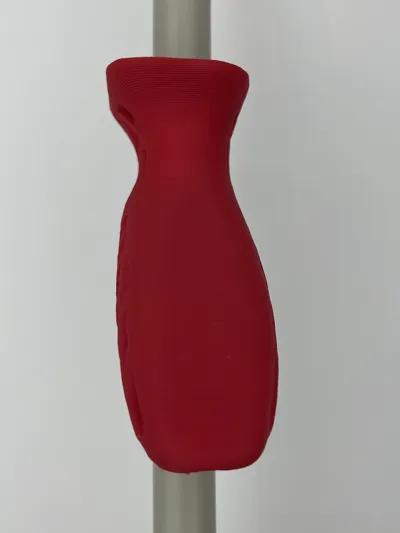
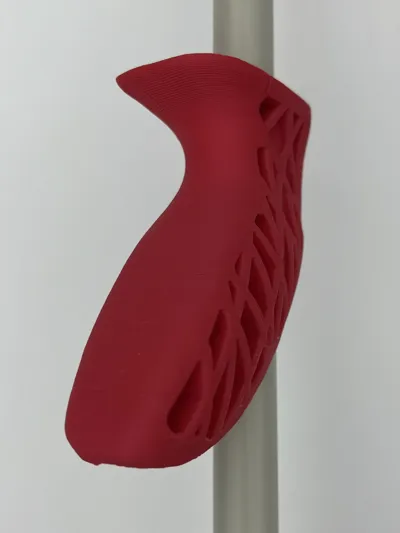
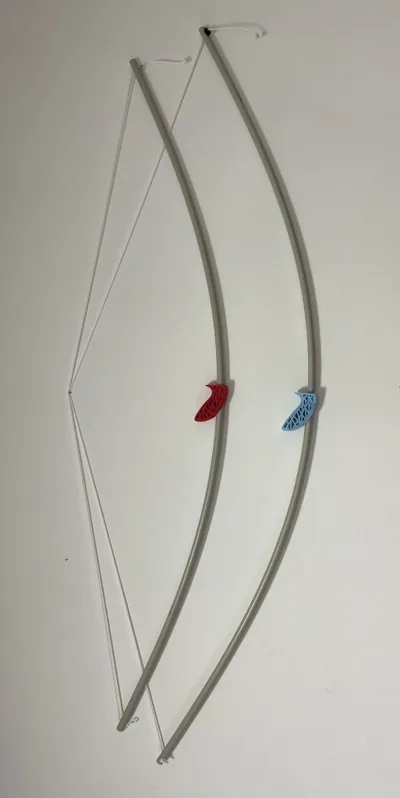
Grip for No Bow – a training pipe bow of no poundage.
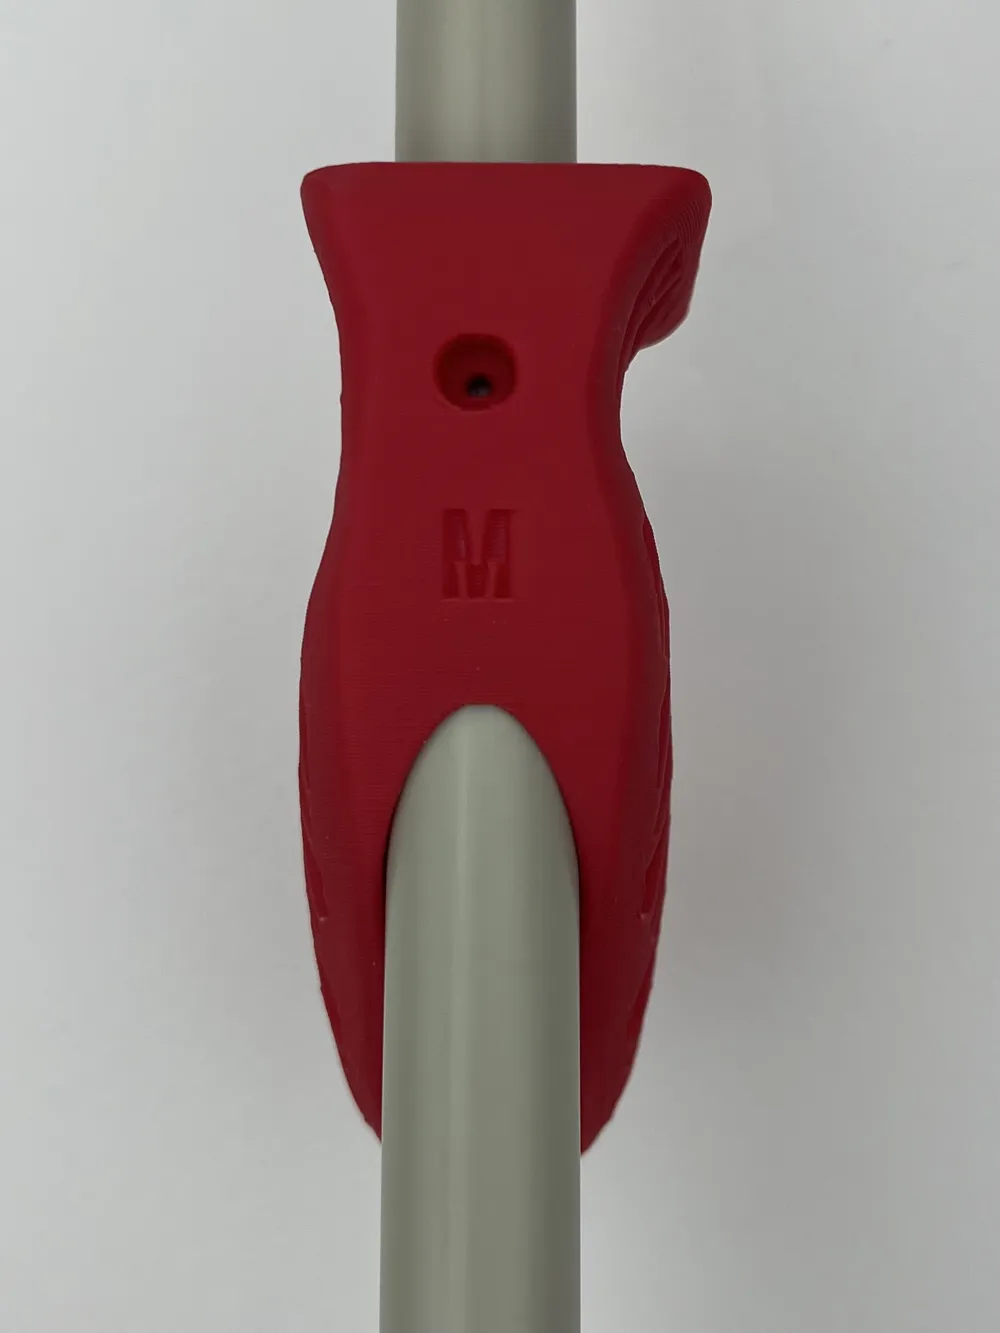
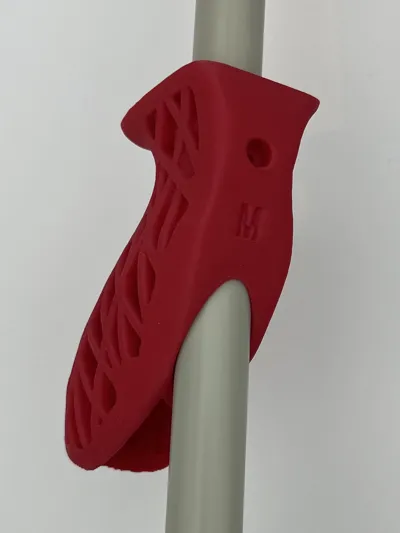
Front countersink to optionally secure the grip in place with a screw or to secure the coupler (take down version).
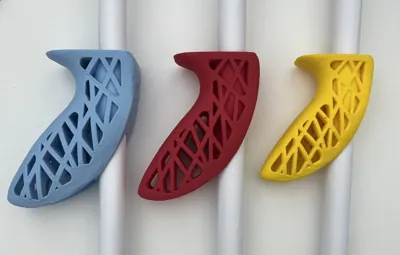
- Three sizes: Large (adult), Medium (junior), Small (kids)
- LH/RH versions (according to commonly used reference of archer’s drawing hand, i.e. LH grip is held with the right hand)
Take down version: grip + coupler to connect the pipes.
Hardware requirements
- Pipe OD 16 mm, ID 10 mm (all sizes) OR pipe OD 20 mm (Large only):
- 180 cm adult size
- 160 cm kids size
- Drawstring (cord) dia 3-4 mm: adult size 200 cm long, junior/kids size 180 cm long
- Optional:
- Shrink Tube (for center serving)
- Spring Cord Lock (secure drawstring after „stringing“ the bow)
- Electrical Tape (define the grip position
Tools to make the No Bow
- Hacksaw
- Drill: small, based on the size of the drawstring used (approx. 3 or 4 mm)
- For a take down version: bit 8 mm (center hole – mid cut)
- Optional: Heat Gun (Shrink Tube)
Materials
- PLA, PETG
Assembly
One-piece bow:
- Cut the pipe to length. Either drill small holes for the drawstring 20 mm from the ends or create string grooves by making diagonal notches.
- If using a shrink tube for the center serving, put it on the drawstring at this moment.
- Thread the drawstring through the end holes and secure well. Optionally, secure only one end and use a spring cord lock at the other end to easily „string“ and „unstring“ the No Bow.
- Position the shrink tube correctly and heat it to make the center serving.
- Optionally mark the grip position on the pipe by winding electrical tape above and hunder.
Take down version:
- DO NOT cut the pipe in half yet.
- Cut the pipe to length. Either drill small holes for the drawstring 20 mm from the ends or create string grooves by making diagonal notches.
- Mark the middle of the pipe length. Check the orientation of string holes or notches and mark the center in the FACE-BACK direction of the bow. Drill a 8 mm hole through (it is better to start with a smaller hole first and then use a larger drill to prevent slipping).
- Cut the pipe in the middle of this hole, which creates notches to fit the coupler and prevent the pipes from turning.
- If using a shrink tube for the center serving, put it on the drawstring at this moment.
- Create string loops for tip notches or thread the drawstring through the end holes and secure well. Optionally, secure only one end and use a spring cord lock at the other end to easily string and unstring the No Bow.
- Position the shrink tube correctly and heat it to make the center serving.
- Optionally, mark the grip position on the pipes by winding electrical tape above and under.
- Enjoy practicing!
Notes
The construction of the training bow of no poundage has been introduced by Marc Dellenbach who calls it “Zero Bow”. Being a training tool, it is ment to help archers understand and develop proper technique based on repetition.
License

This user content is licensed under a
Creative Commons Attribution-Noncommercial-Share Alike


Comment & Rating (22)