The Giant Wheel - Christmas Wheel Ferris


Print Profile(1)

Bill of Materials


- VITI M3 x 1: KIT CON VARIE MISURE
Description
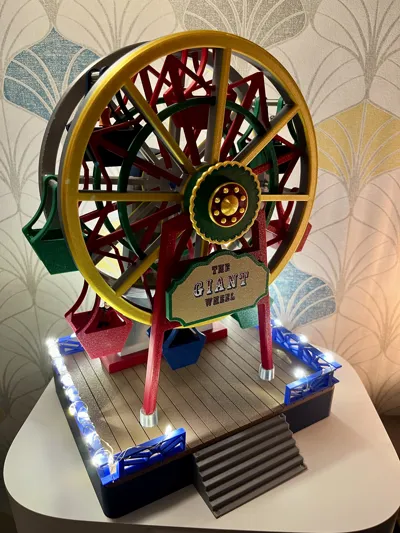
🎡 The Giant Wheel - Christmas Wheel Ferris

Bring the magic of the amusement park directly to your home with The Giant Wheel, a Ferris wheel with timeless charm, designed to be the centerpiece of any miniature village
The Giant Wheel is the result of several hours of design and printed tests to ensure that all parts work smoothly, making assembly simple and intuitive
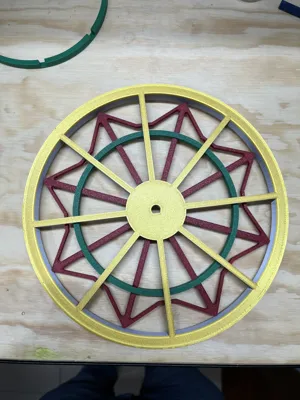
All multi-color parts are divided into components and can have their colors changed without using the paint bucket tool (go to objects and change the color as desired)

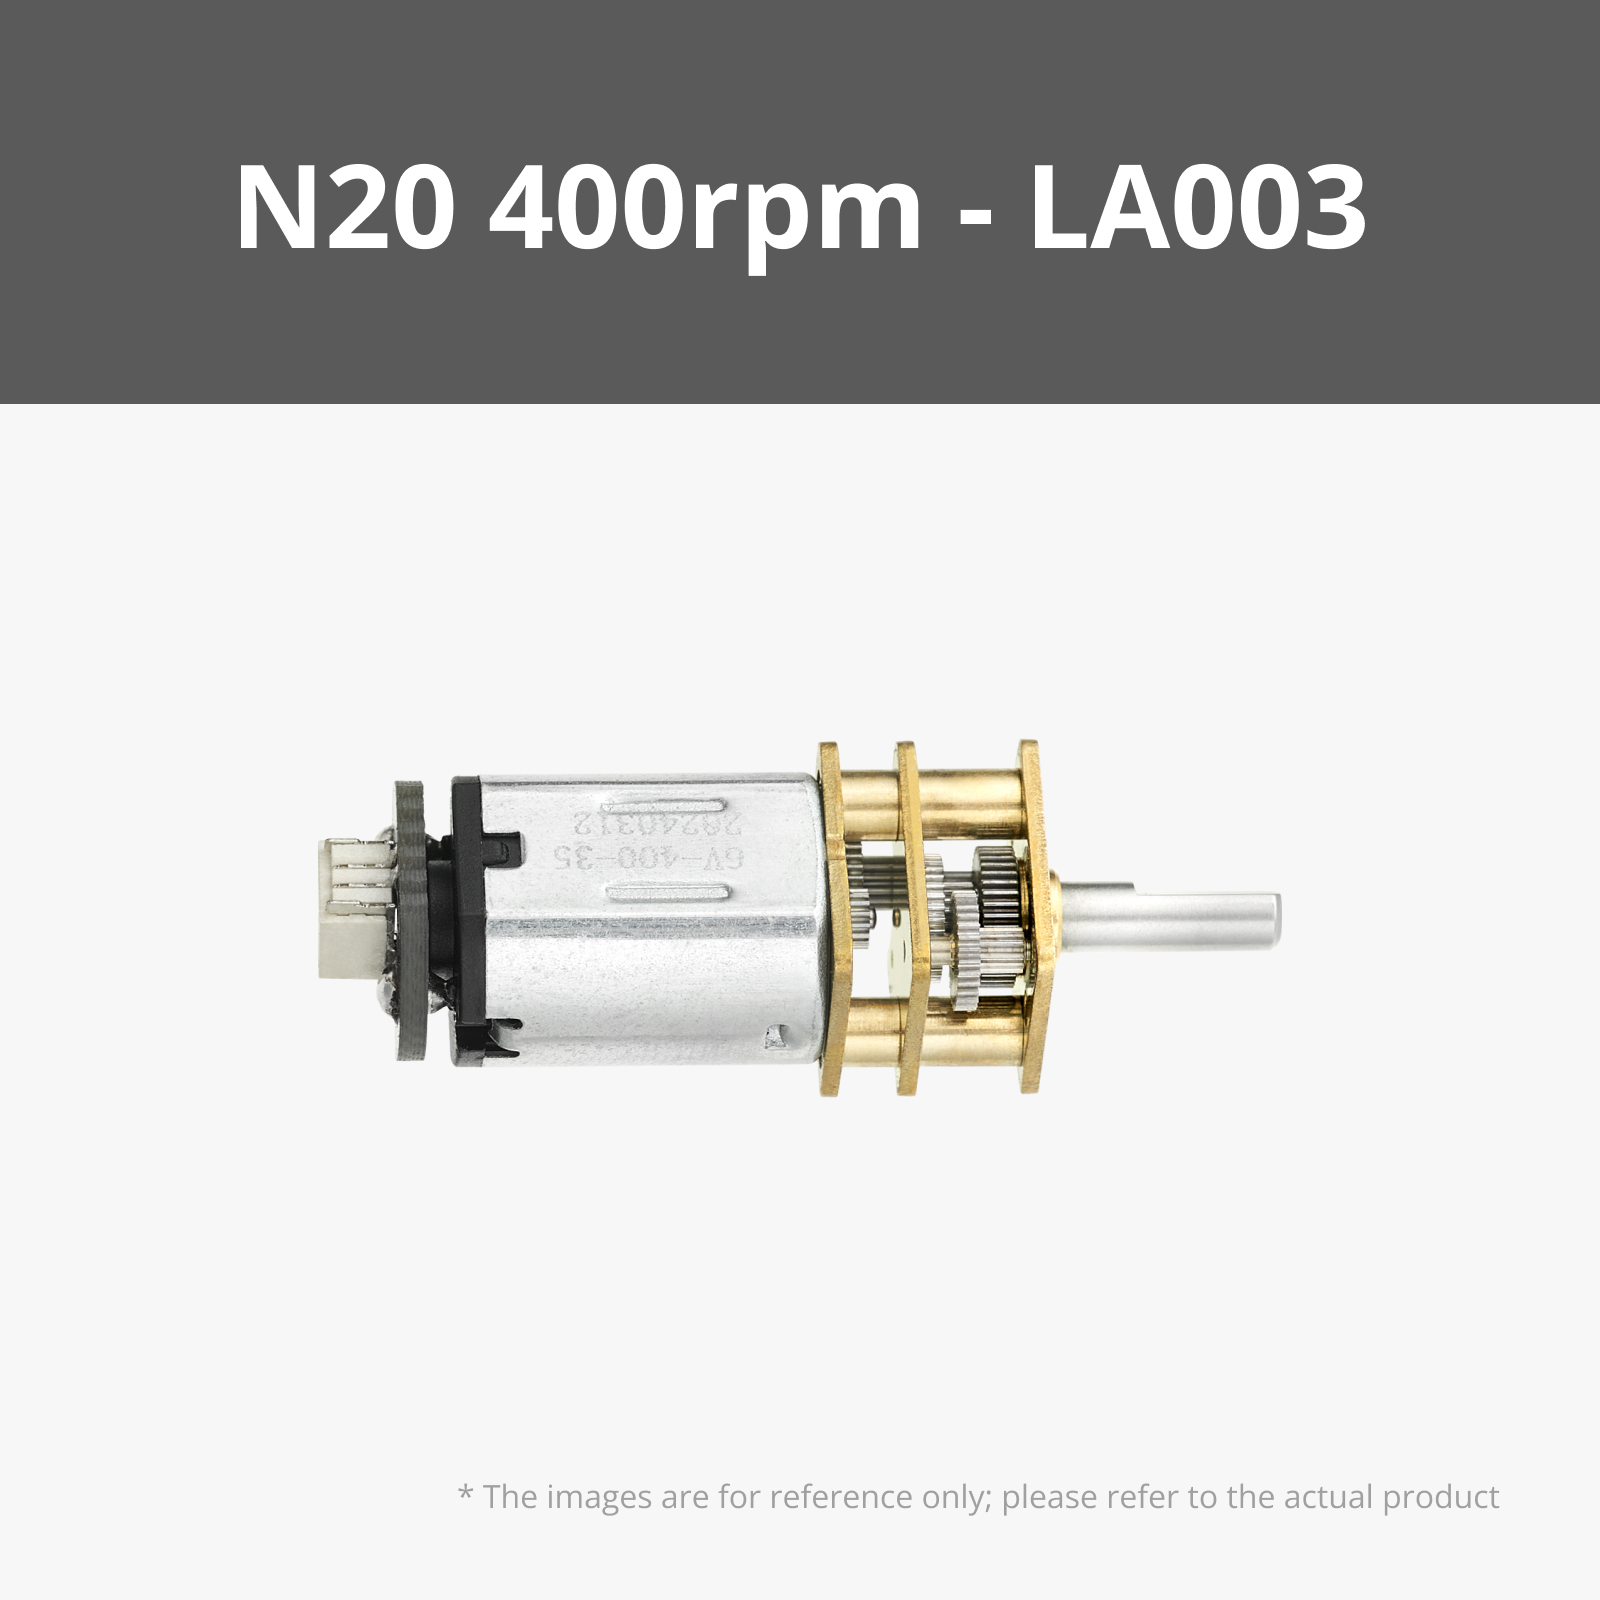
The electronic part is very elementary, you will only need to use:
- One N20 mini motor https://www.amazon.it/Motoriduttore-velocità-Gearbox-Riduttore-Giocattolo/dp/B09ZKW17KW/ref=asc_df_B09ZKW17KW?mcid=6f494c472c773324afbeb06932fc6329&tag=googshopit-21&linkCode=df0&hvadid=719544141537&hvpos=&hvnetw=g&hvrand=10434297566116679271&hvpone=&hvptwo=&hvqmt=&hvdev=c&hvdvcmdl=&hvlocint=&hvlocphy=9216166&hvtargid=pla-1668550360201&psc=1&hvocijid=10434297566116679271-B09ZKW17KW-&hvexpln=0
- PWM 1803BK low voltage DC motor speed controller https://www.amazon.it/ARCELI-Regolatore-velocità-Interruttore-Regolabile/dp/B07RHMMM9W/ref=sr_1_4?__mk_it_IT=ÅMÅŽÕÑ&crid=3RD1W1N1HYA8U&dib=eyJ2IjoiMSJ9.lTQfVITsK6pm78faDhuW0G1c9uuLiHnm3QCa32xpZ-PCaCxi5vNvn6bAVTGtHFPxJU8_UXTZvsvw7VQux4Cxskt-SYKfZ9IVRPMZmuWR7wmiSsIYrR4AOtIRAwH8jP9bFfhAt-NZopOGTcJIBvwRGLTUEX0UQjXcbwNyPPr6lcNK5OktKbX0MJYr0JfqjcMVqxV-UvlKwFVNaAcb85TXfSgrqXJk-slkWqeoxxlACcxua59QMfhFPIiTQeI4zBwCIzAphd0lct3hguih8IP_F3NfgQZtlaVtiIJxca6tbk.TMRrHfihnuDwlnVOCrtS-KmKMhJpHC4B0NvO43p8FzY&dib_tag=se&keywords=regolatore+di+velocità+5v&qid=1766147469&s=industrial&sprefix=regolatore+di+velocità+5v%2Cindustrial%2C75&sr=1-4
- a USB cable, I used a 4mm diameter cable
- 608zz ball bearings
- 2 or 4 M3 x 6 screws for speed controller fastening
- glue
Attached, in addition to the complete 3mf file, I am providing a .step file modifiable in Fusion 360 for the box part that contains the voltage regulator, as the holes may vary slightly from one regulator to another
Instructions for quality printing
The model has been optimized to ensure clean printing and intuitive assembly
- Support Optimization: Many parts are designed to be printed with minimal supports, preserving the surface finish
- Recommended Layer Height: 0.20mm
- Interlocks: all interlocks are designed for easy assembly, but glue is recommended for most components to ensure better stability during rotation
Useful assembly step photos:


Thank you all for your support
Boost Me (for free)
If you like my project, let me know with a Boost. Thank you
Membership
License
You shall not share, sub-license, sell, rent, host, transfer, or distribute in any way the digital or 3D printed versions of this object, nor any other derivative work of this object in its digital or physical format (including - but not limited to - remixes of this object, and hosting on other digital platforms). The objects may not be used without permission in any way whatsoever in which you charge money, or collect fees.
Comment & Rating (5)