
Tooth Fairy Buddy
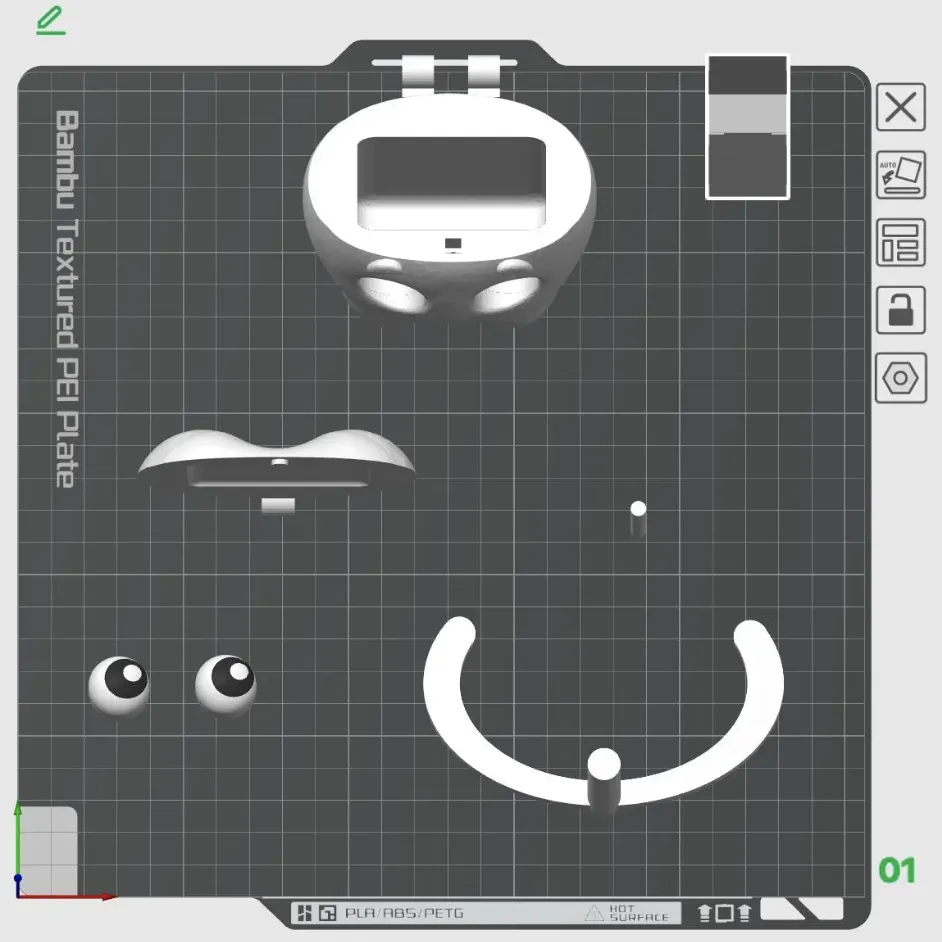
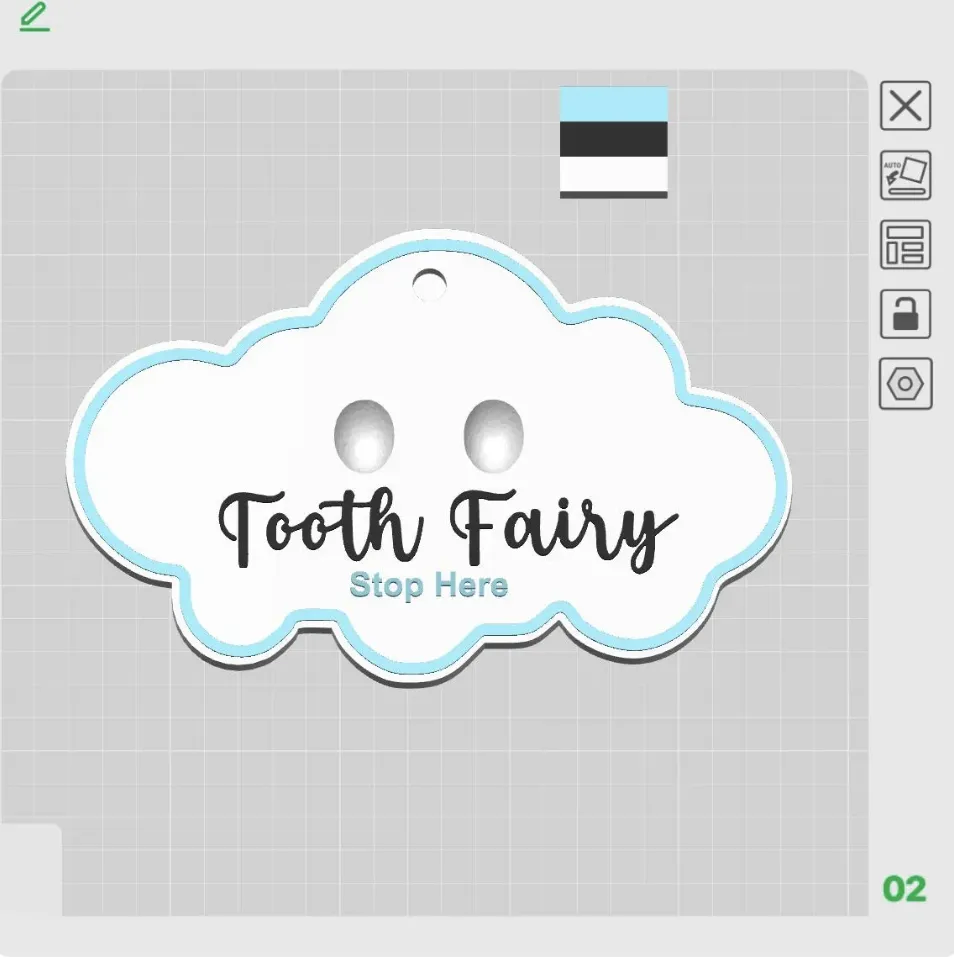
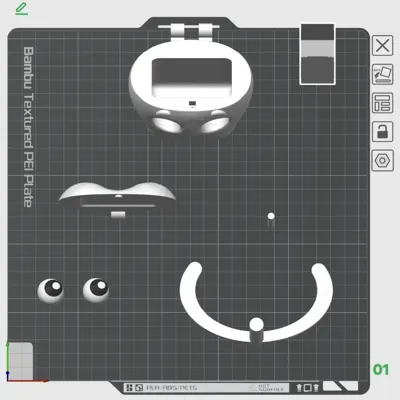
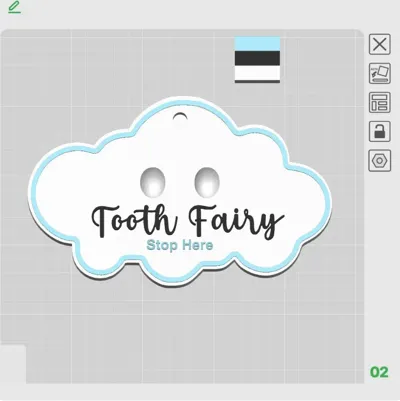
Print Profile(2)


Description
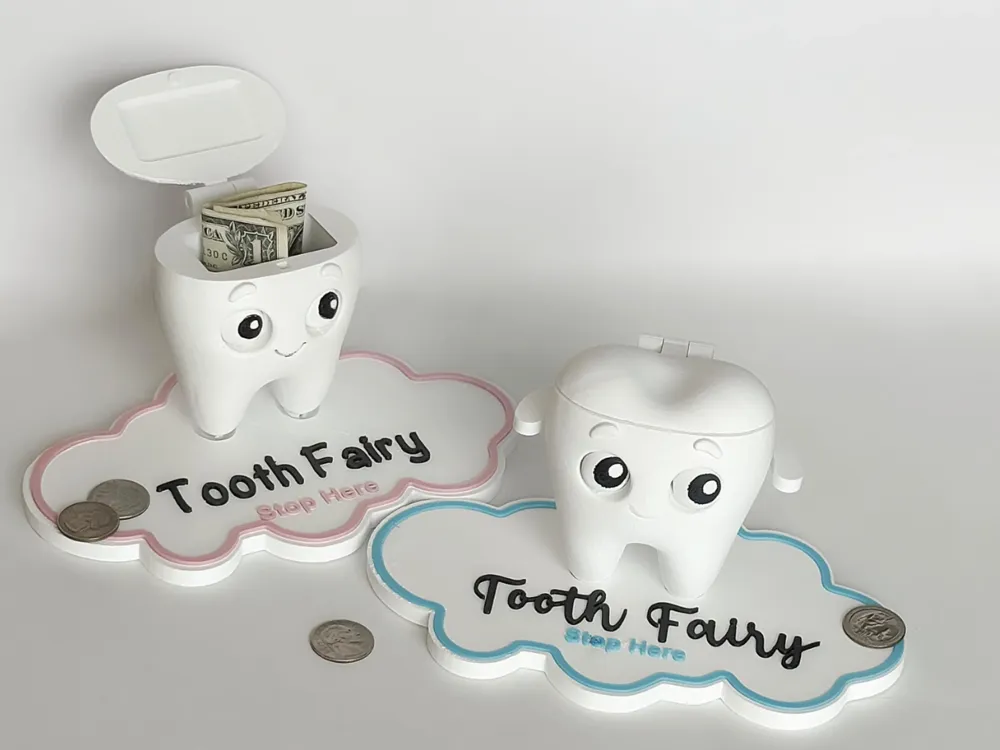
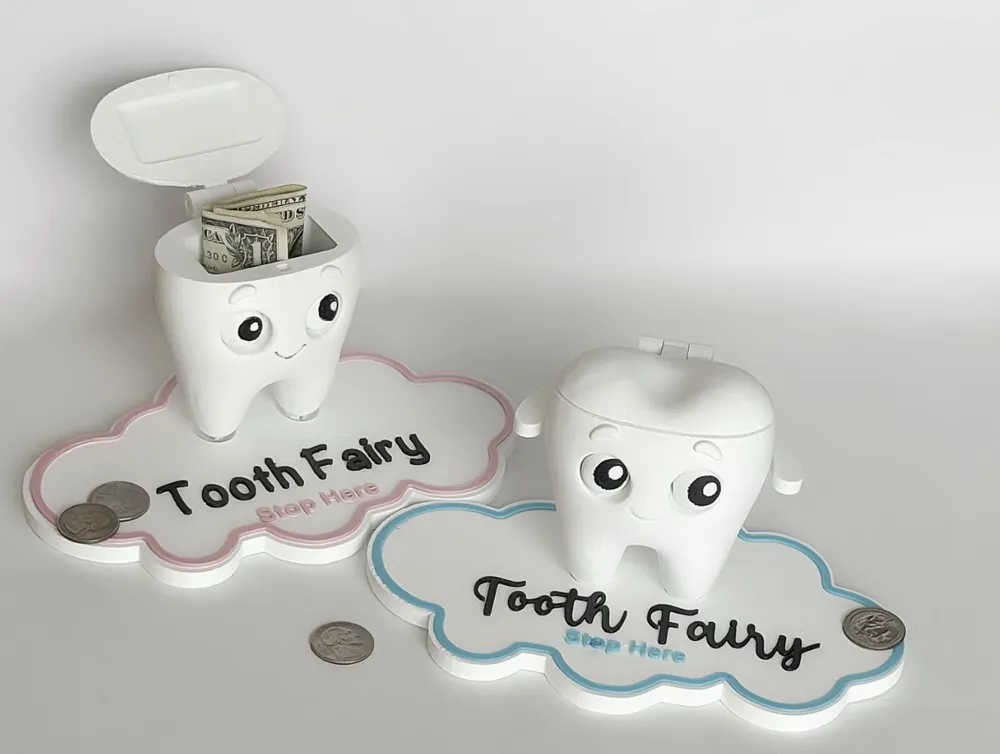
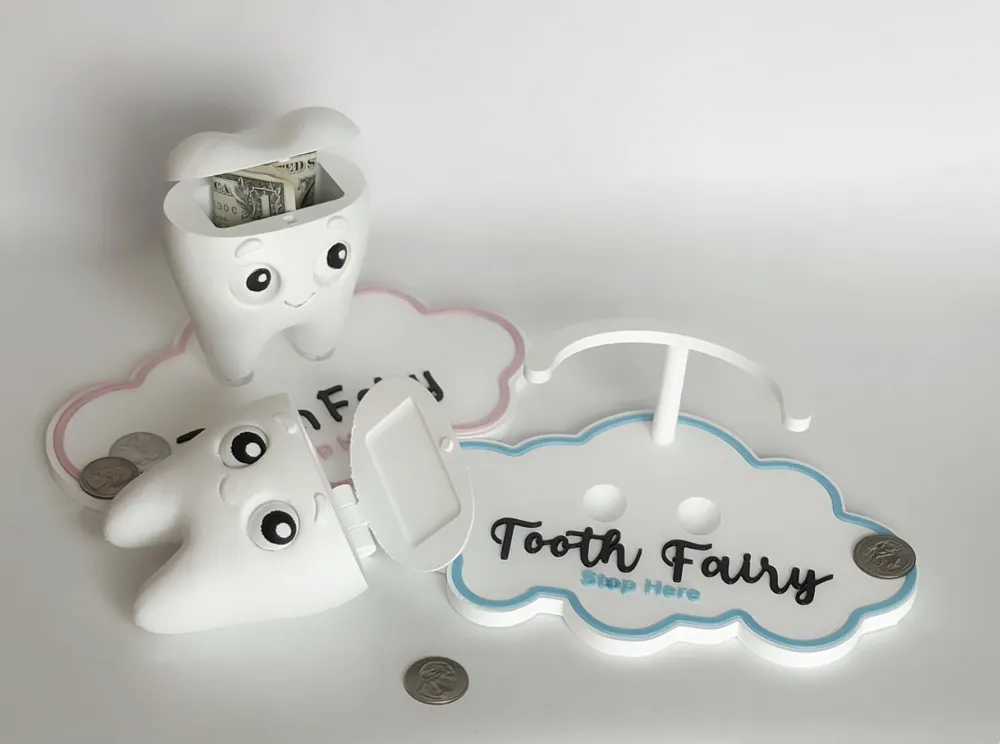
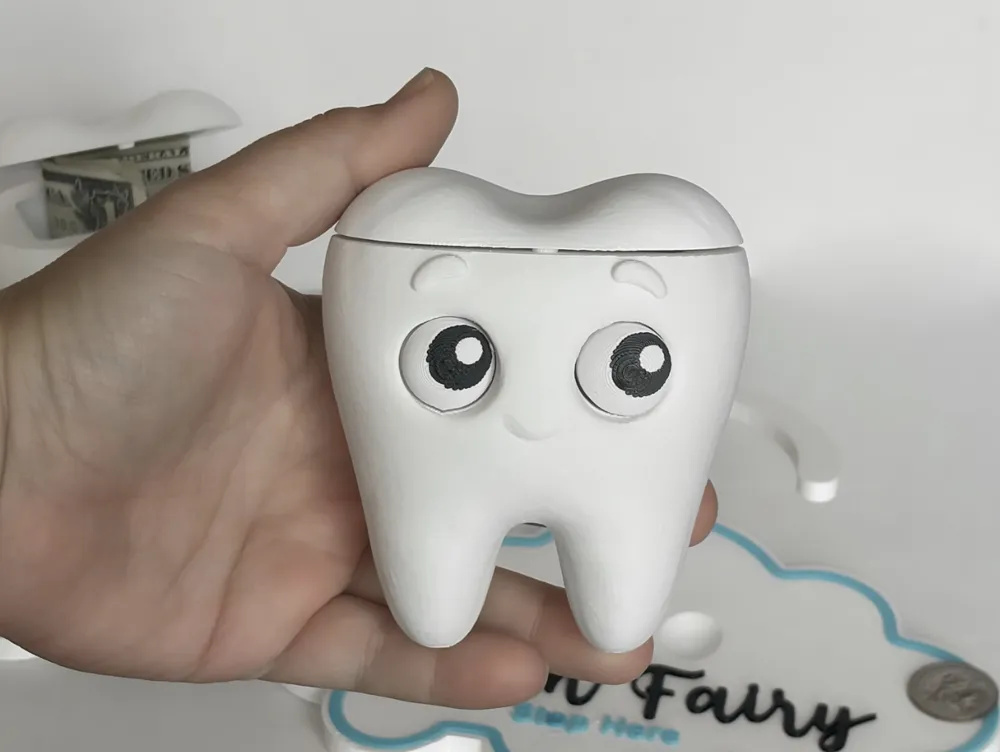
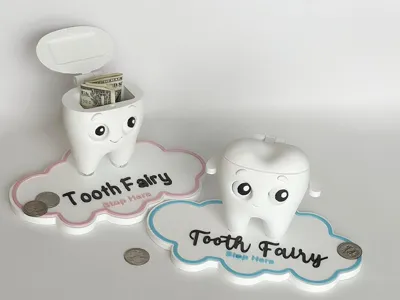
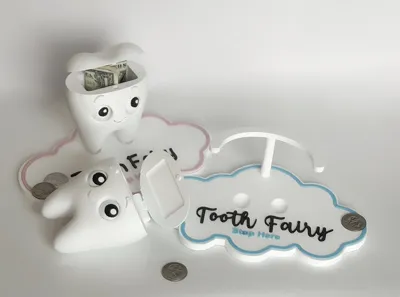
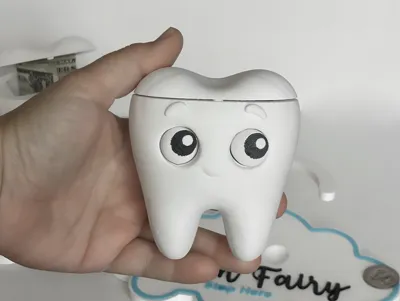
Make tooth fairy visits magical with the Tooth Fairy Buddy! This 3D printable tooth character holds your child’s lost tooth and leaves space for the fairy to tuck in money, candy, or small surprises. Comes with a customizable stand and can be printed in any color.
3D PRINTING SETTINGS
Settings for a smooth layer for stand plate.
For a seamless base layer
Use the "Interface shells" setting: This is the most reliable solution for preventing artifacts where the text meets the base. When enabled, the slicer will print a solid top layer for the entire base first, then print the raised text on top of that flat surface.
In Orca Slicer: "Interface shells" is a standard option.
In Bambu Studio: You may need to enable "Developer Mode" to access this feature in the advanced settings.
Alternatively, turn off "Only one wall on top surfaces": In Bambu Studio, some users report success by going to Quality (Advanced) settings and setting "Only one wall on top surfaces" to "Not Applied".
Recommended ironing settings
Apply these settings in the Quality tab under the Ironing section.
Ironing Type: Choose "All top surfaces" to apply the finishing pass to both the base and the top of the raised letters.
Ironing Speed: 60–65 mm/s. Slower speeds generally produce better results.
Ironing Flow: 22–30%. A lower flow rate prevents over-extrusion and leaves a cleaner finish. Too low can cause small gaps, while too high can create blobs.
Ironing Line Spacing: 0.15–0.2 mm. This sets the distance between each ironing pass. A smaller value creates a finer finish but takes longer.
Ironing Pattern: Try Rectilinear for a consistent matte finish with parallel lines. For a radial effect on circular logos, Concentric can be effective.
Monotonic Top/Bottom Order: Enabling this setting under the Infill tab helps ensure the top surface lines are printed in a single direction, which improves consistency and appearance.
Design and preparation tips
Raise the text: If possible, design the text to be at least one layer high, so it is printed completely separate from the base layer. This ensures the base is a perfectly flat surface before the text is added.
Increase top layers: Use at least four or five top layers to provide a perfectly solid foundation for ironing. With a low infill percentage, the top layer can sag and cause defects.
Dry your filament: Excess moisture in the filament can cause inconsistent extrusion and poor surface quality.
Use a monotonic infill pattern: Similar to the monotonic top/bottom setting, using a monotonic infill can reduce surface imperfections.
License

You shall not share, sub-license, sell, rent, host, transfer, or distribute in any way the digital or 3D printed versions of this object, nor any other derivative work of this object in its digital or physical format (including - but not limited to - remixes of this object, and hosting on other digital platforms). The objects may not be used without permission in any way whatsoever in which you charge money, or collect fees.


Comment & Rating (132)