
DIY Desktop Speakers (Logitech Z333/Dayton PS95-8)
Print Profile(7)


Bill of Materials


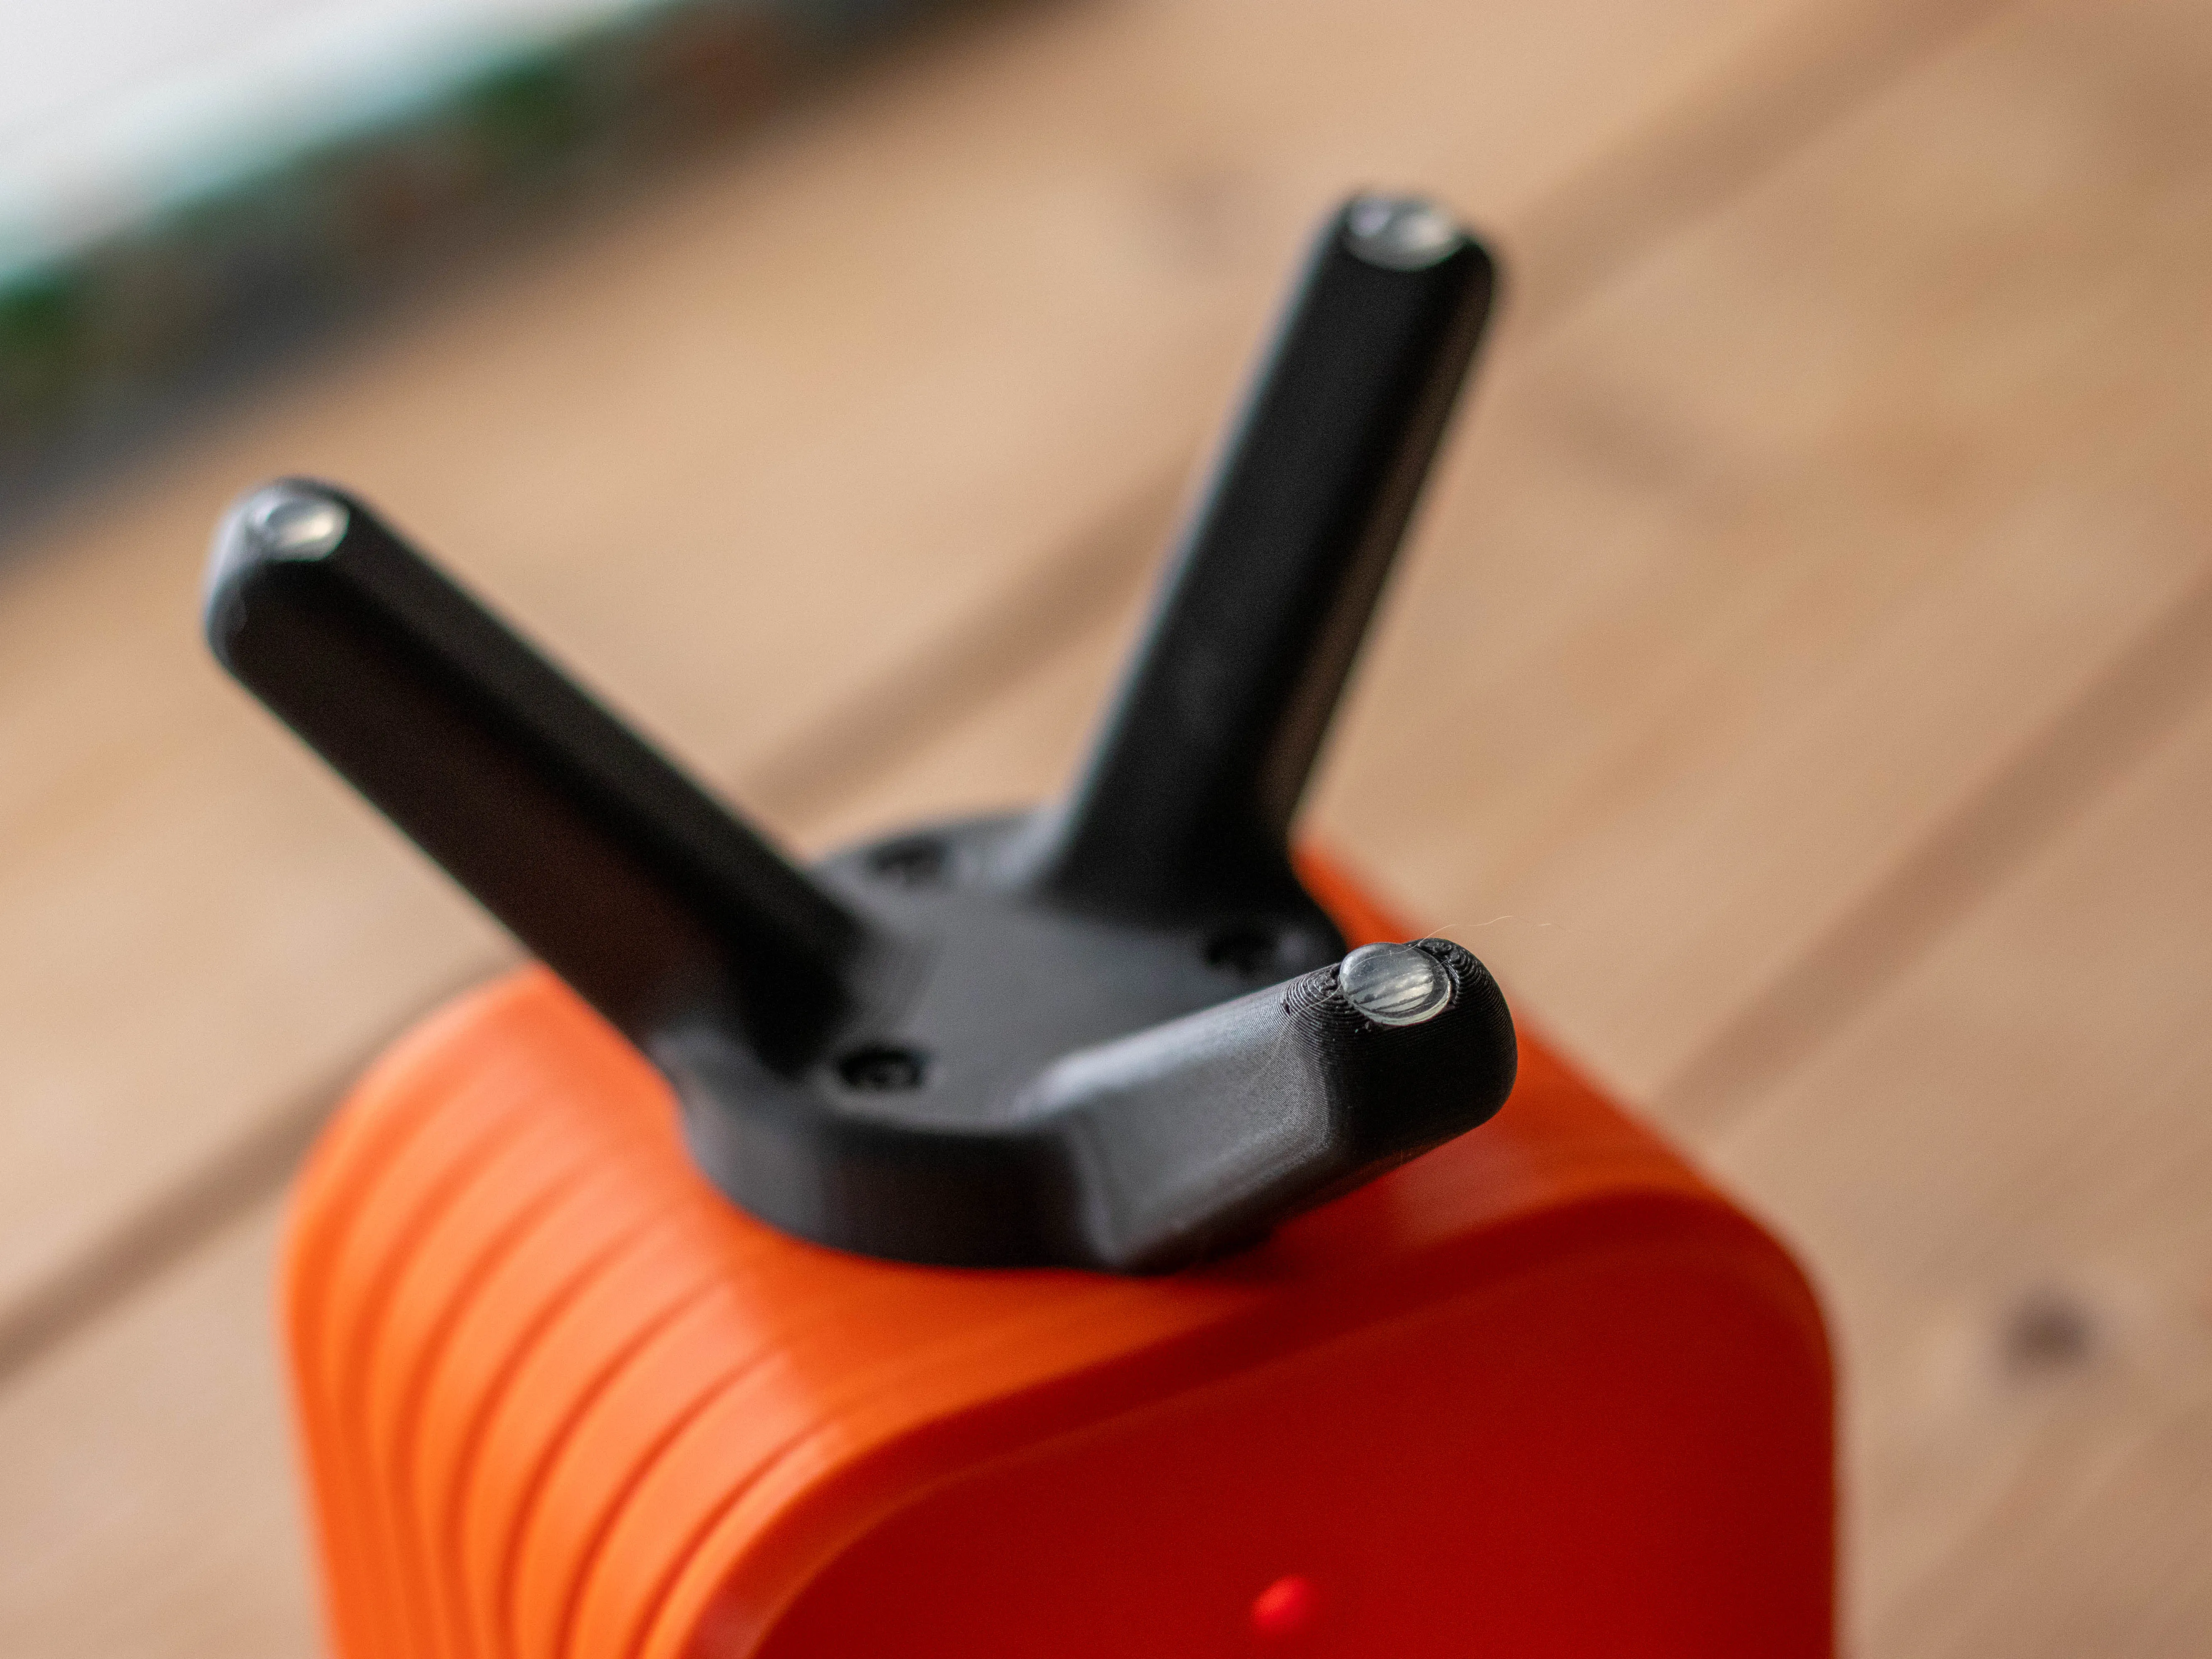
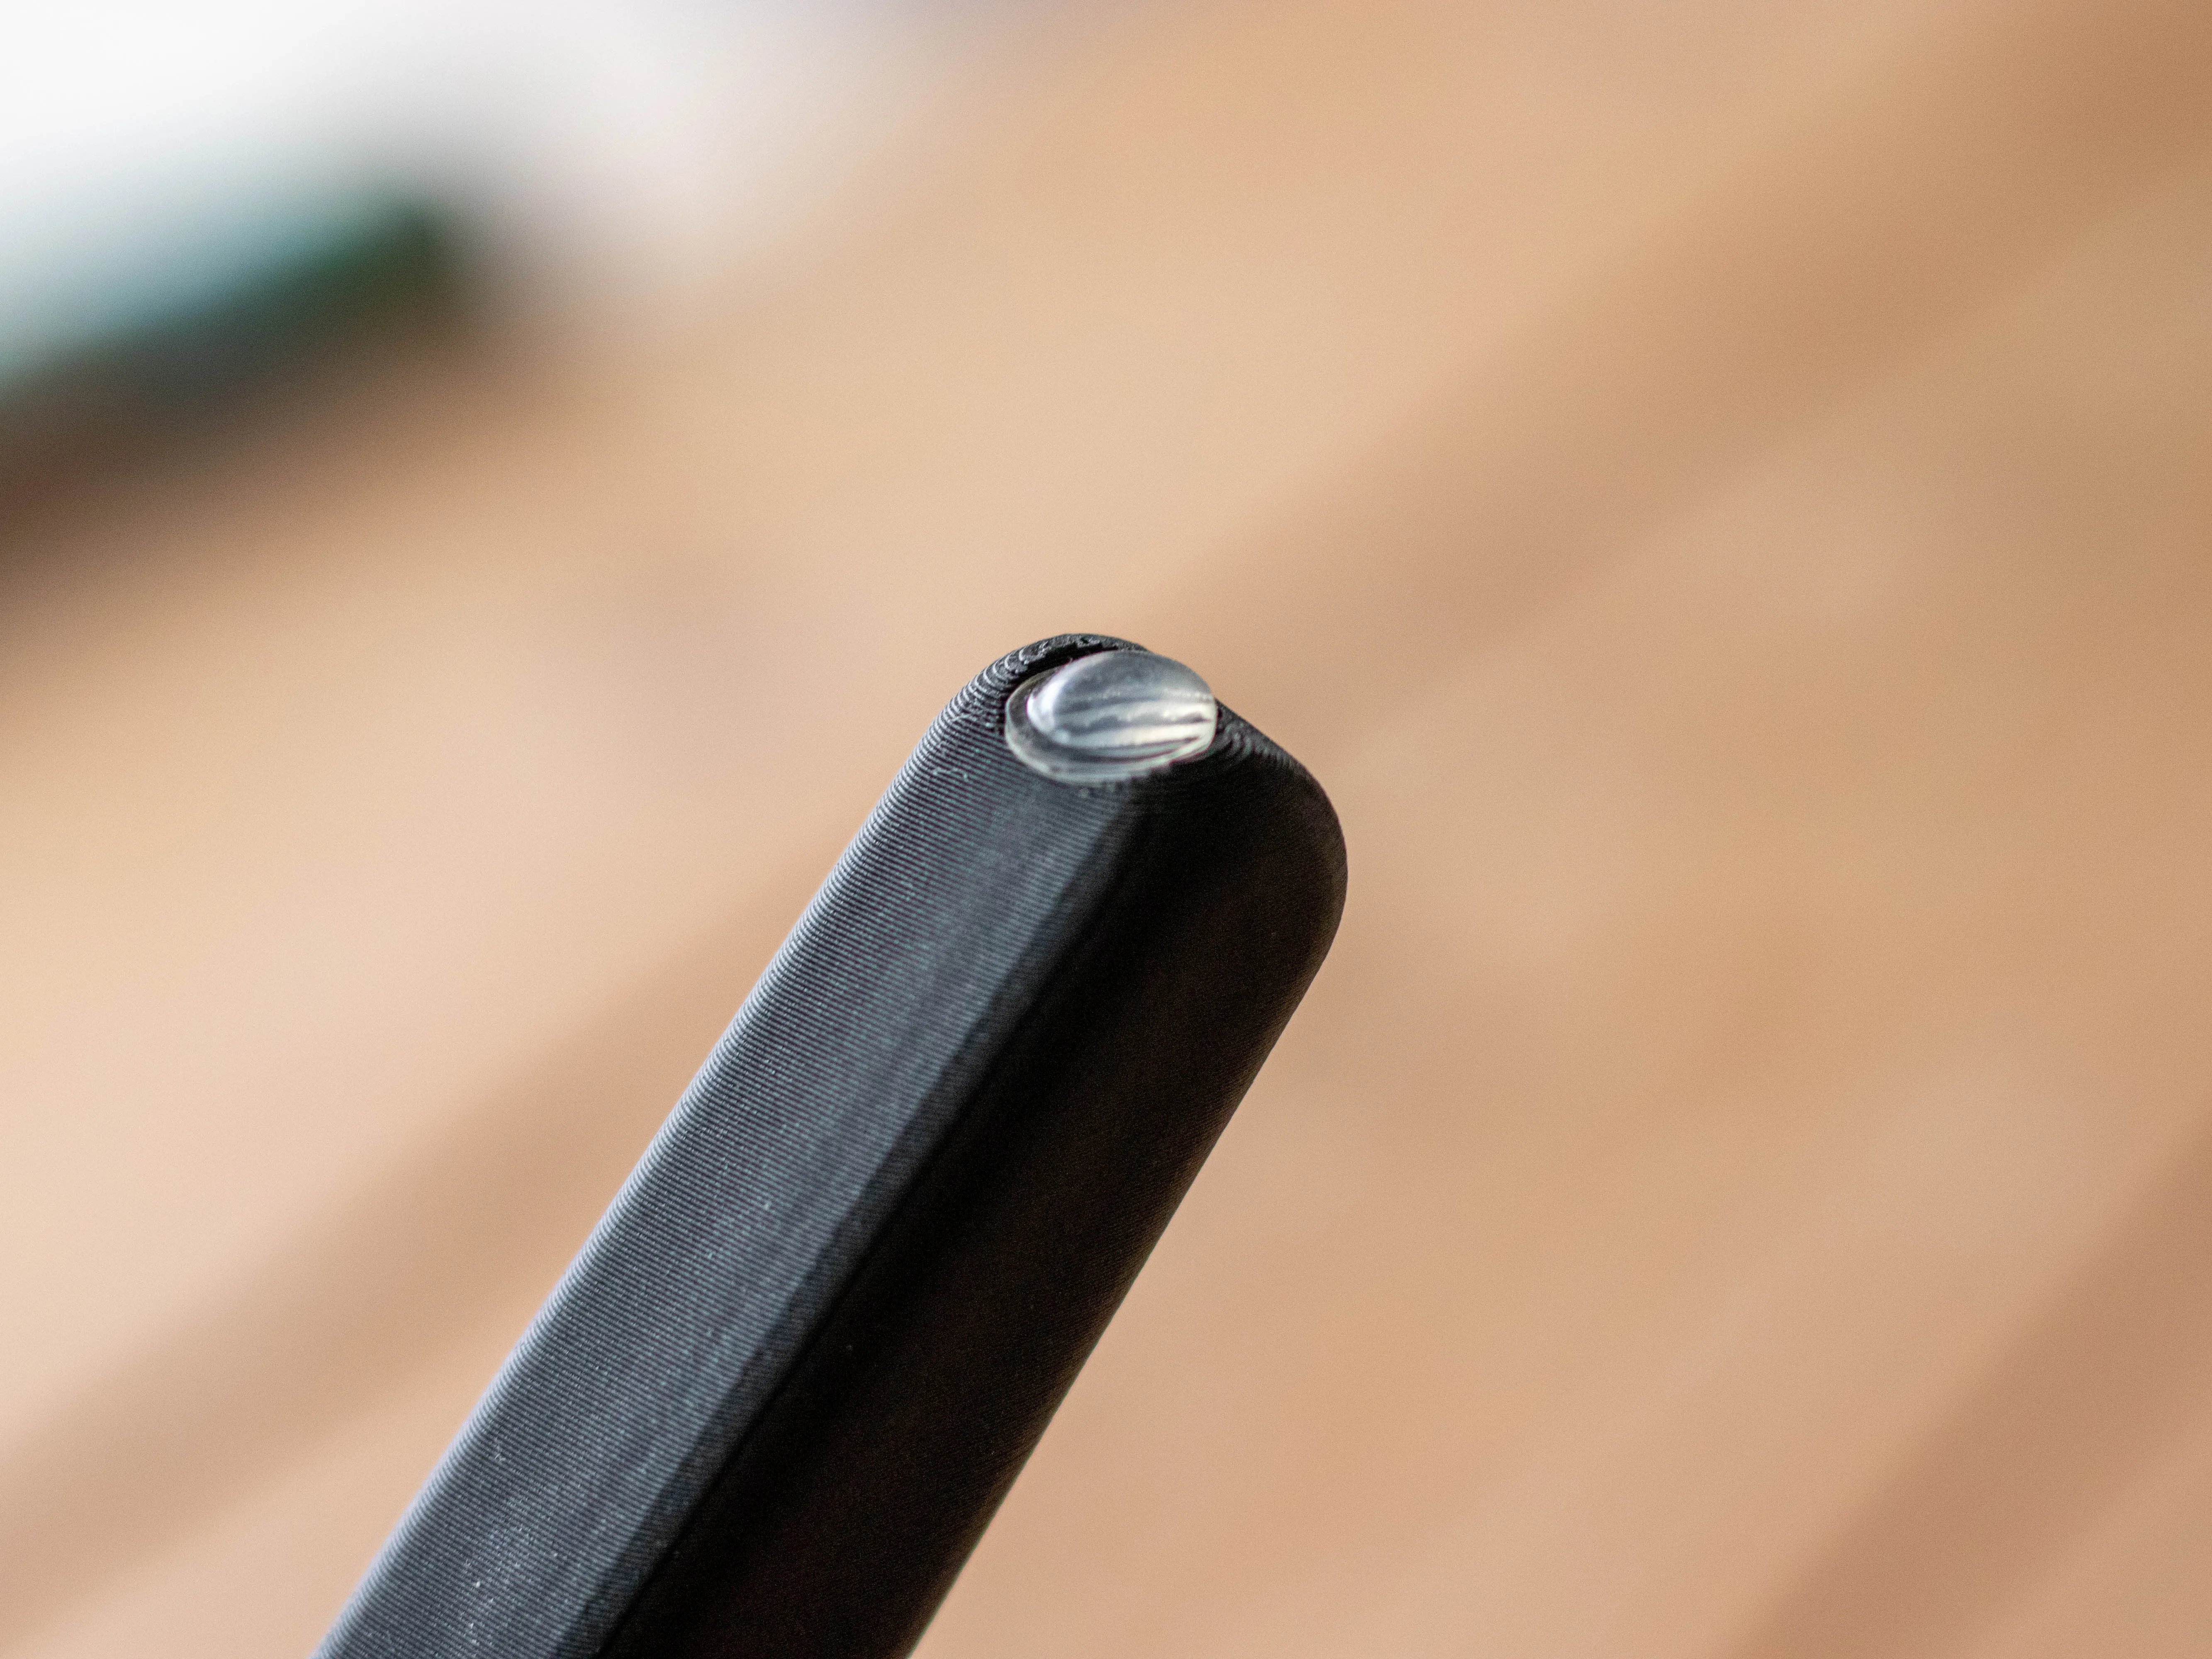
- Anti Slip Silicone Rubber Feet Pads (8x2.5 mm) x 6:
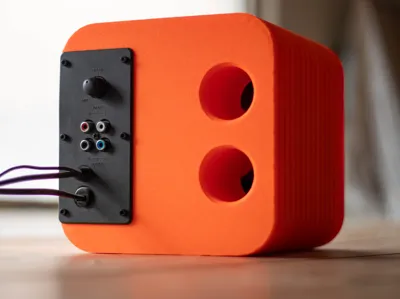
- Speaker Binding Posts x 1: Box has 2x 5mm holes. If you are planning to use Dayton Drivers.
Description
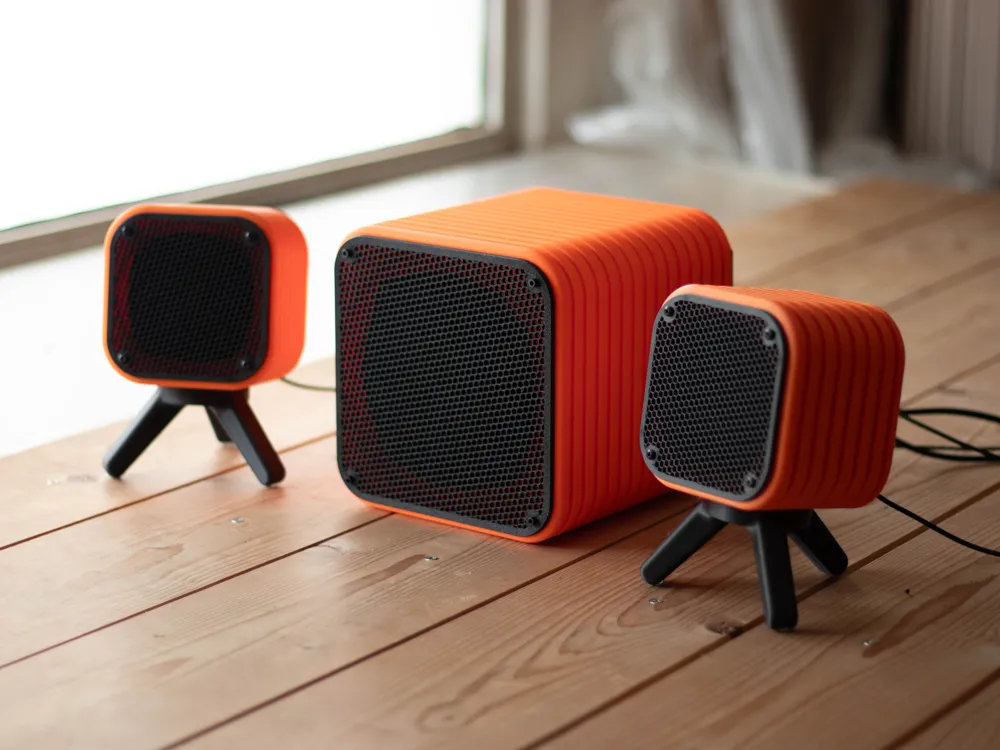
UPDATE: Added Subwoofer Enclosure for Logitech Z333
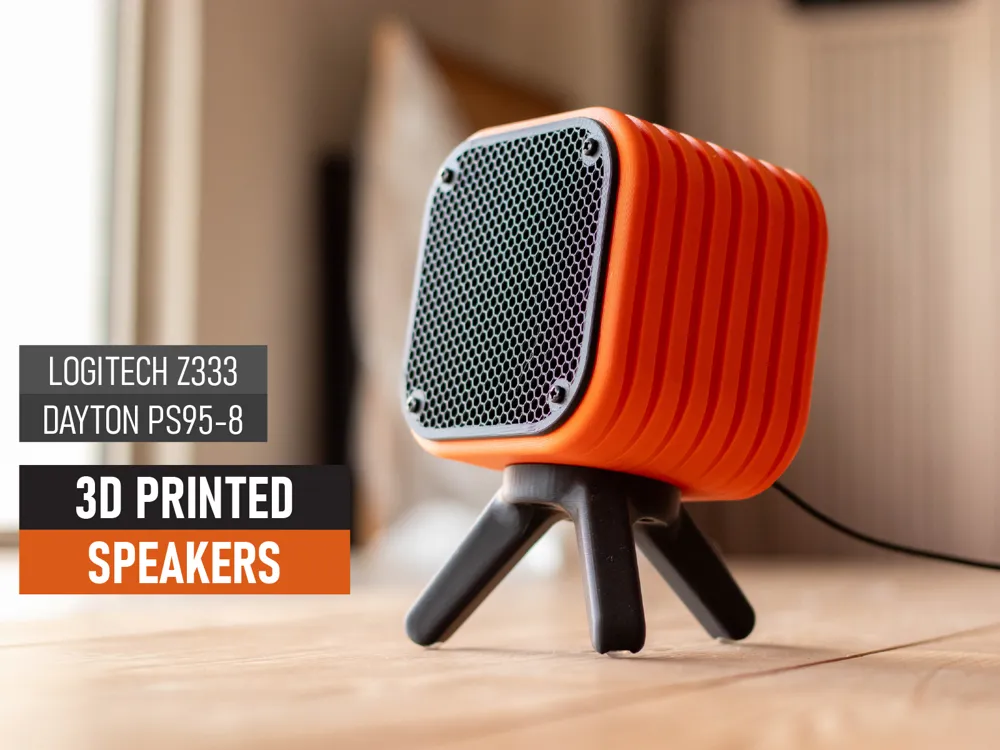
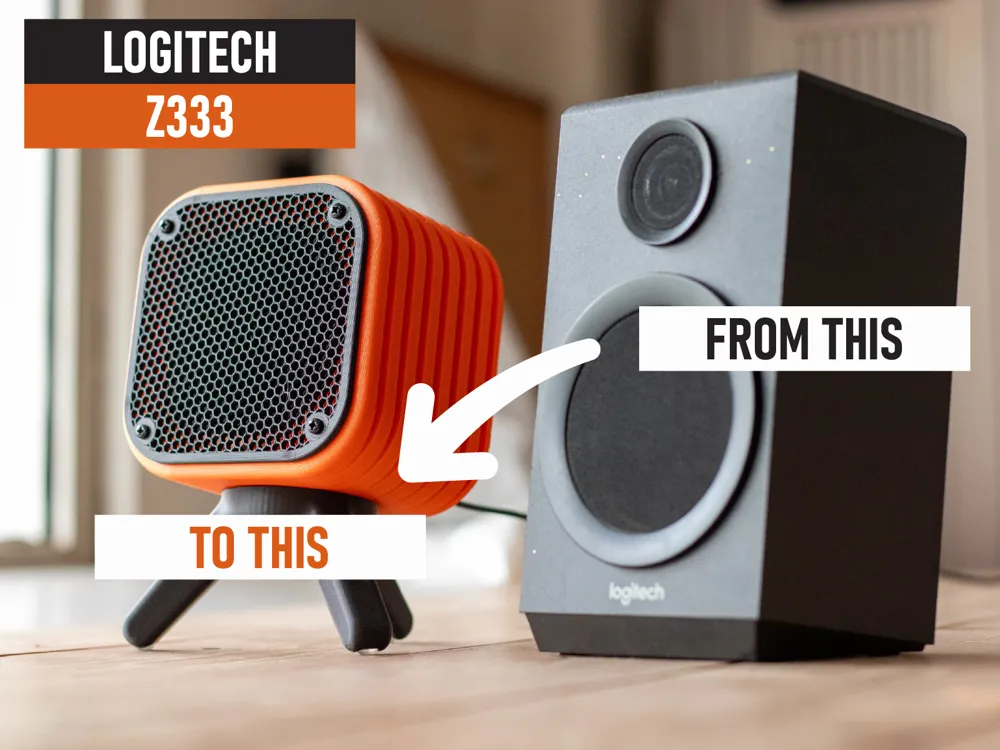
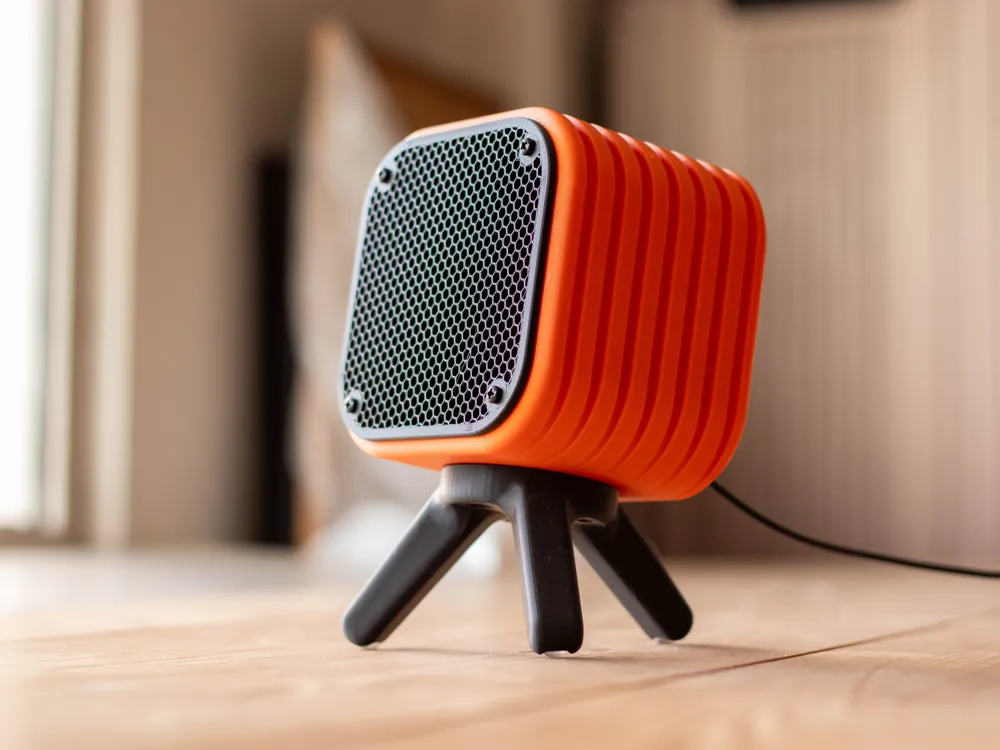
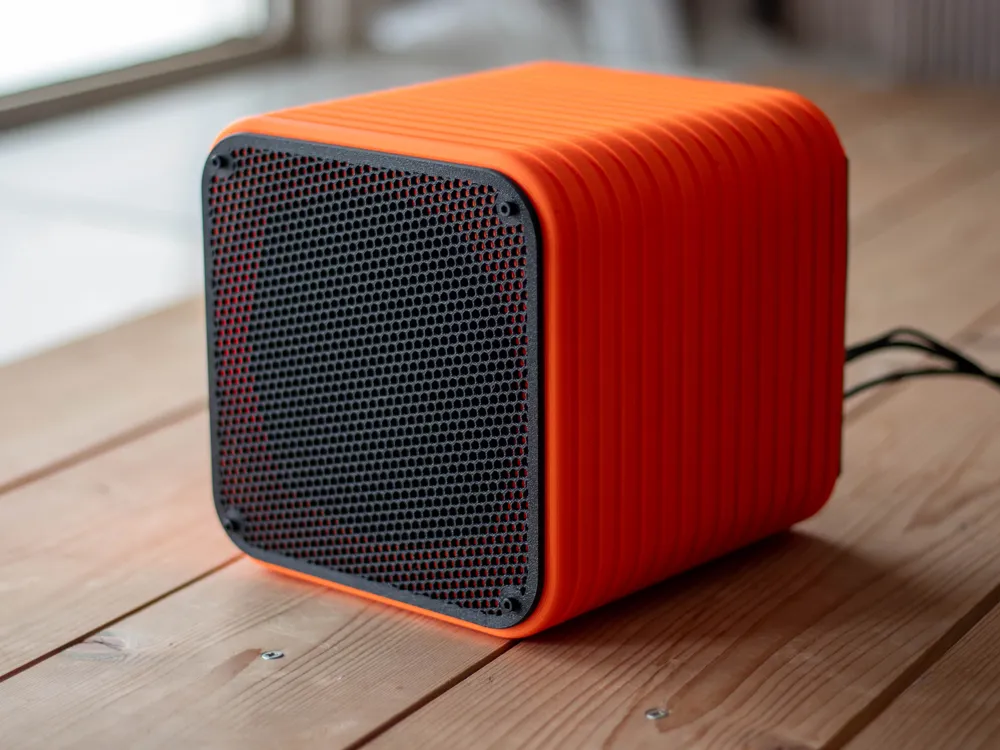
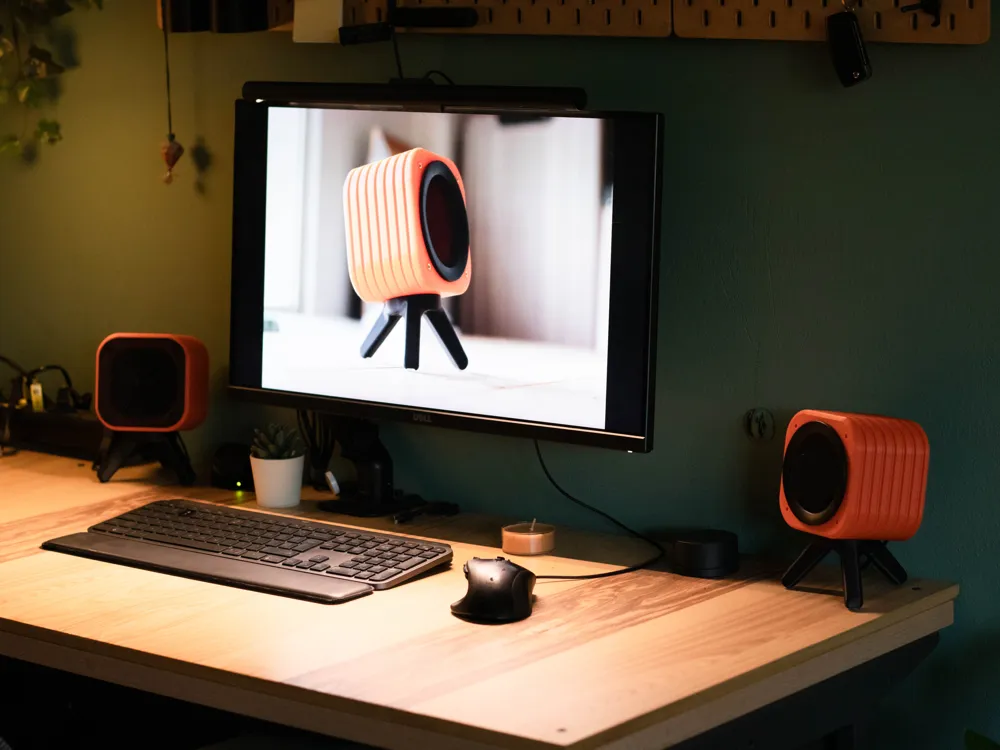
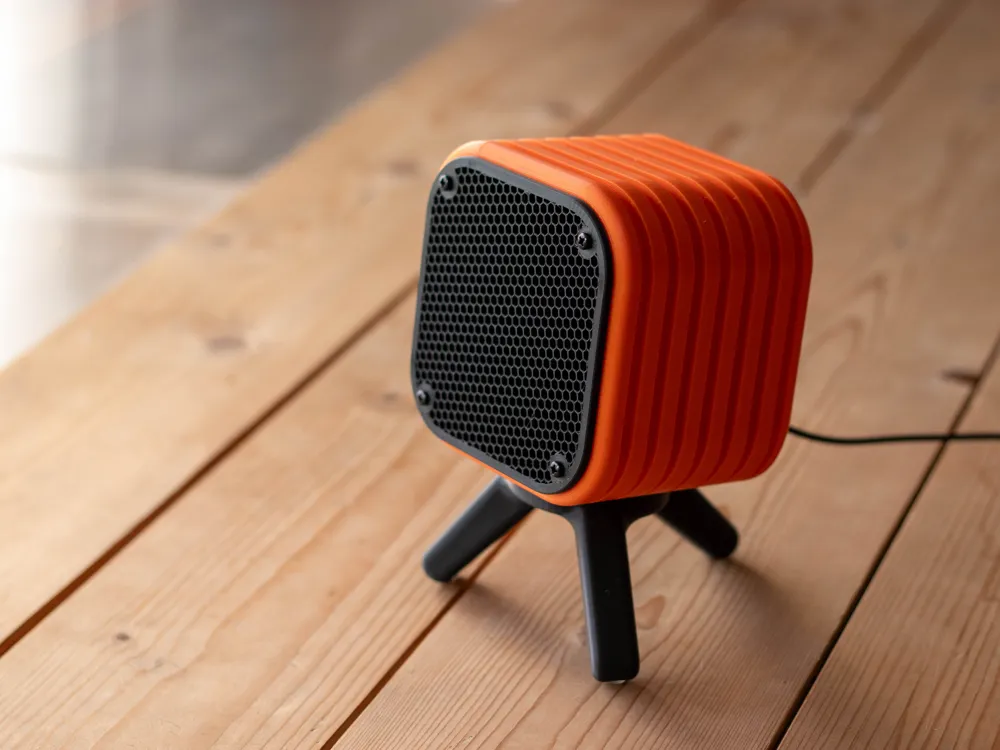
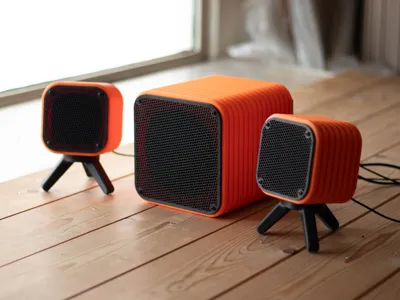
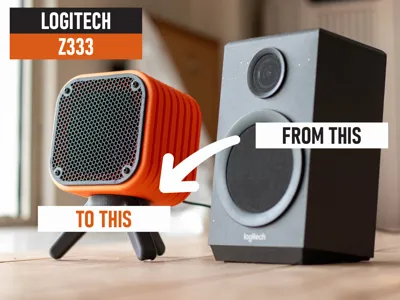
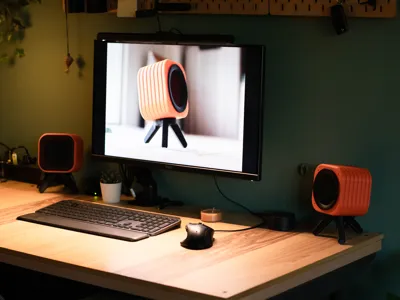
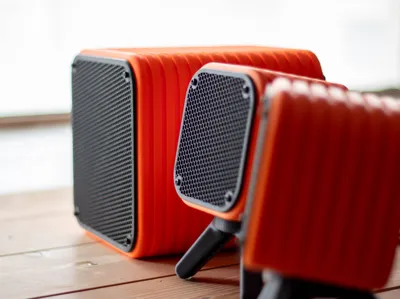
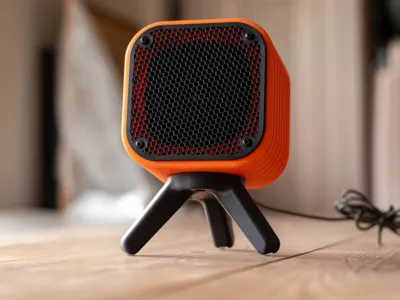
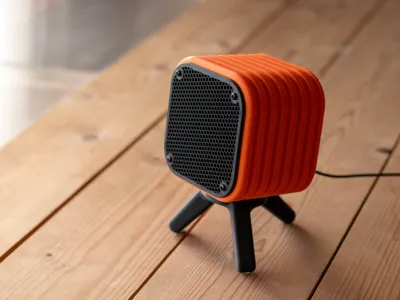
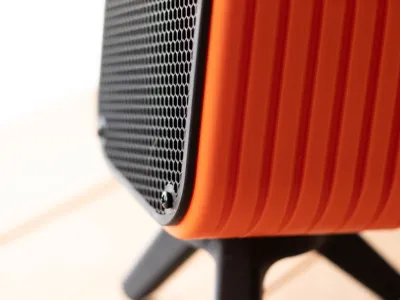
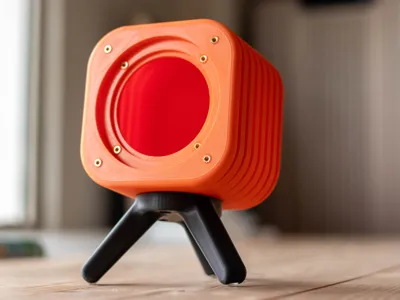
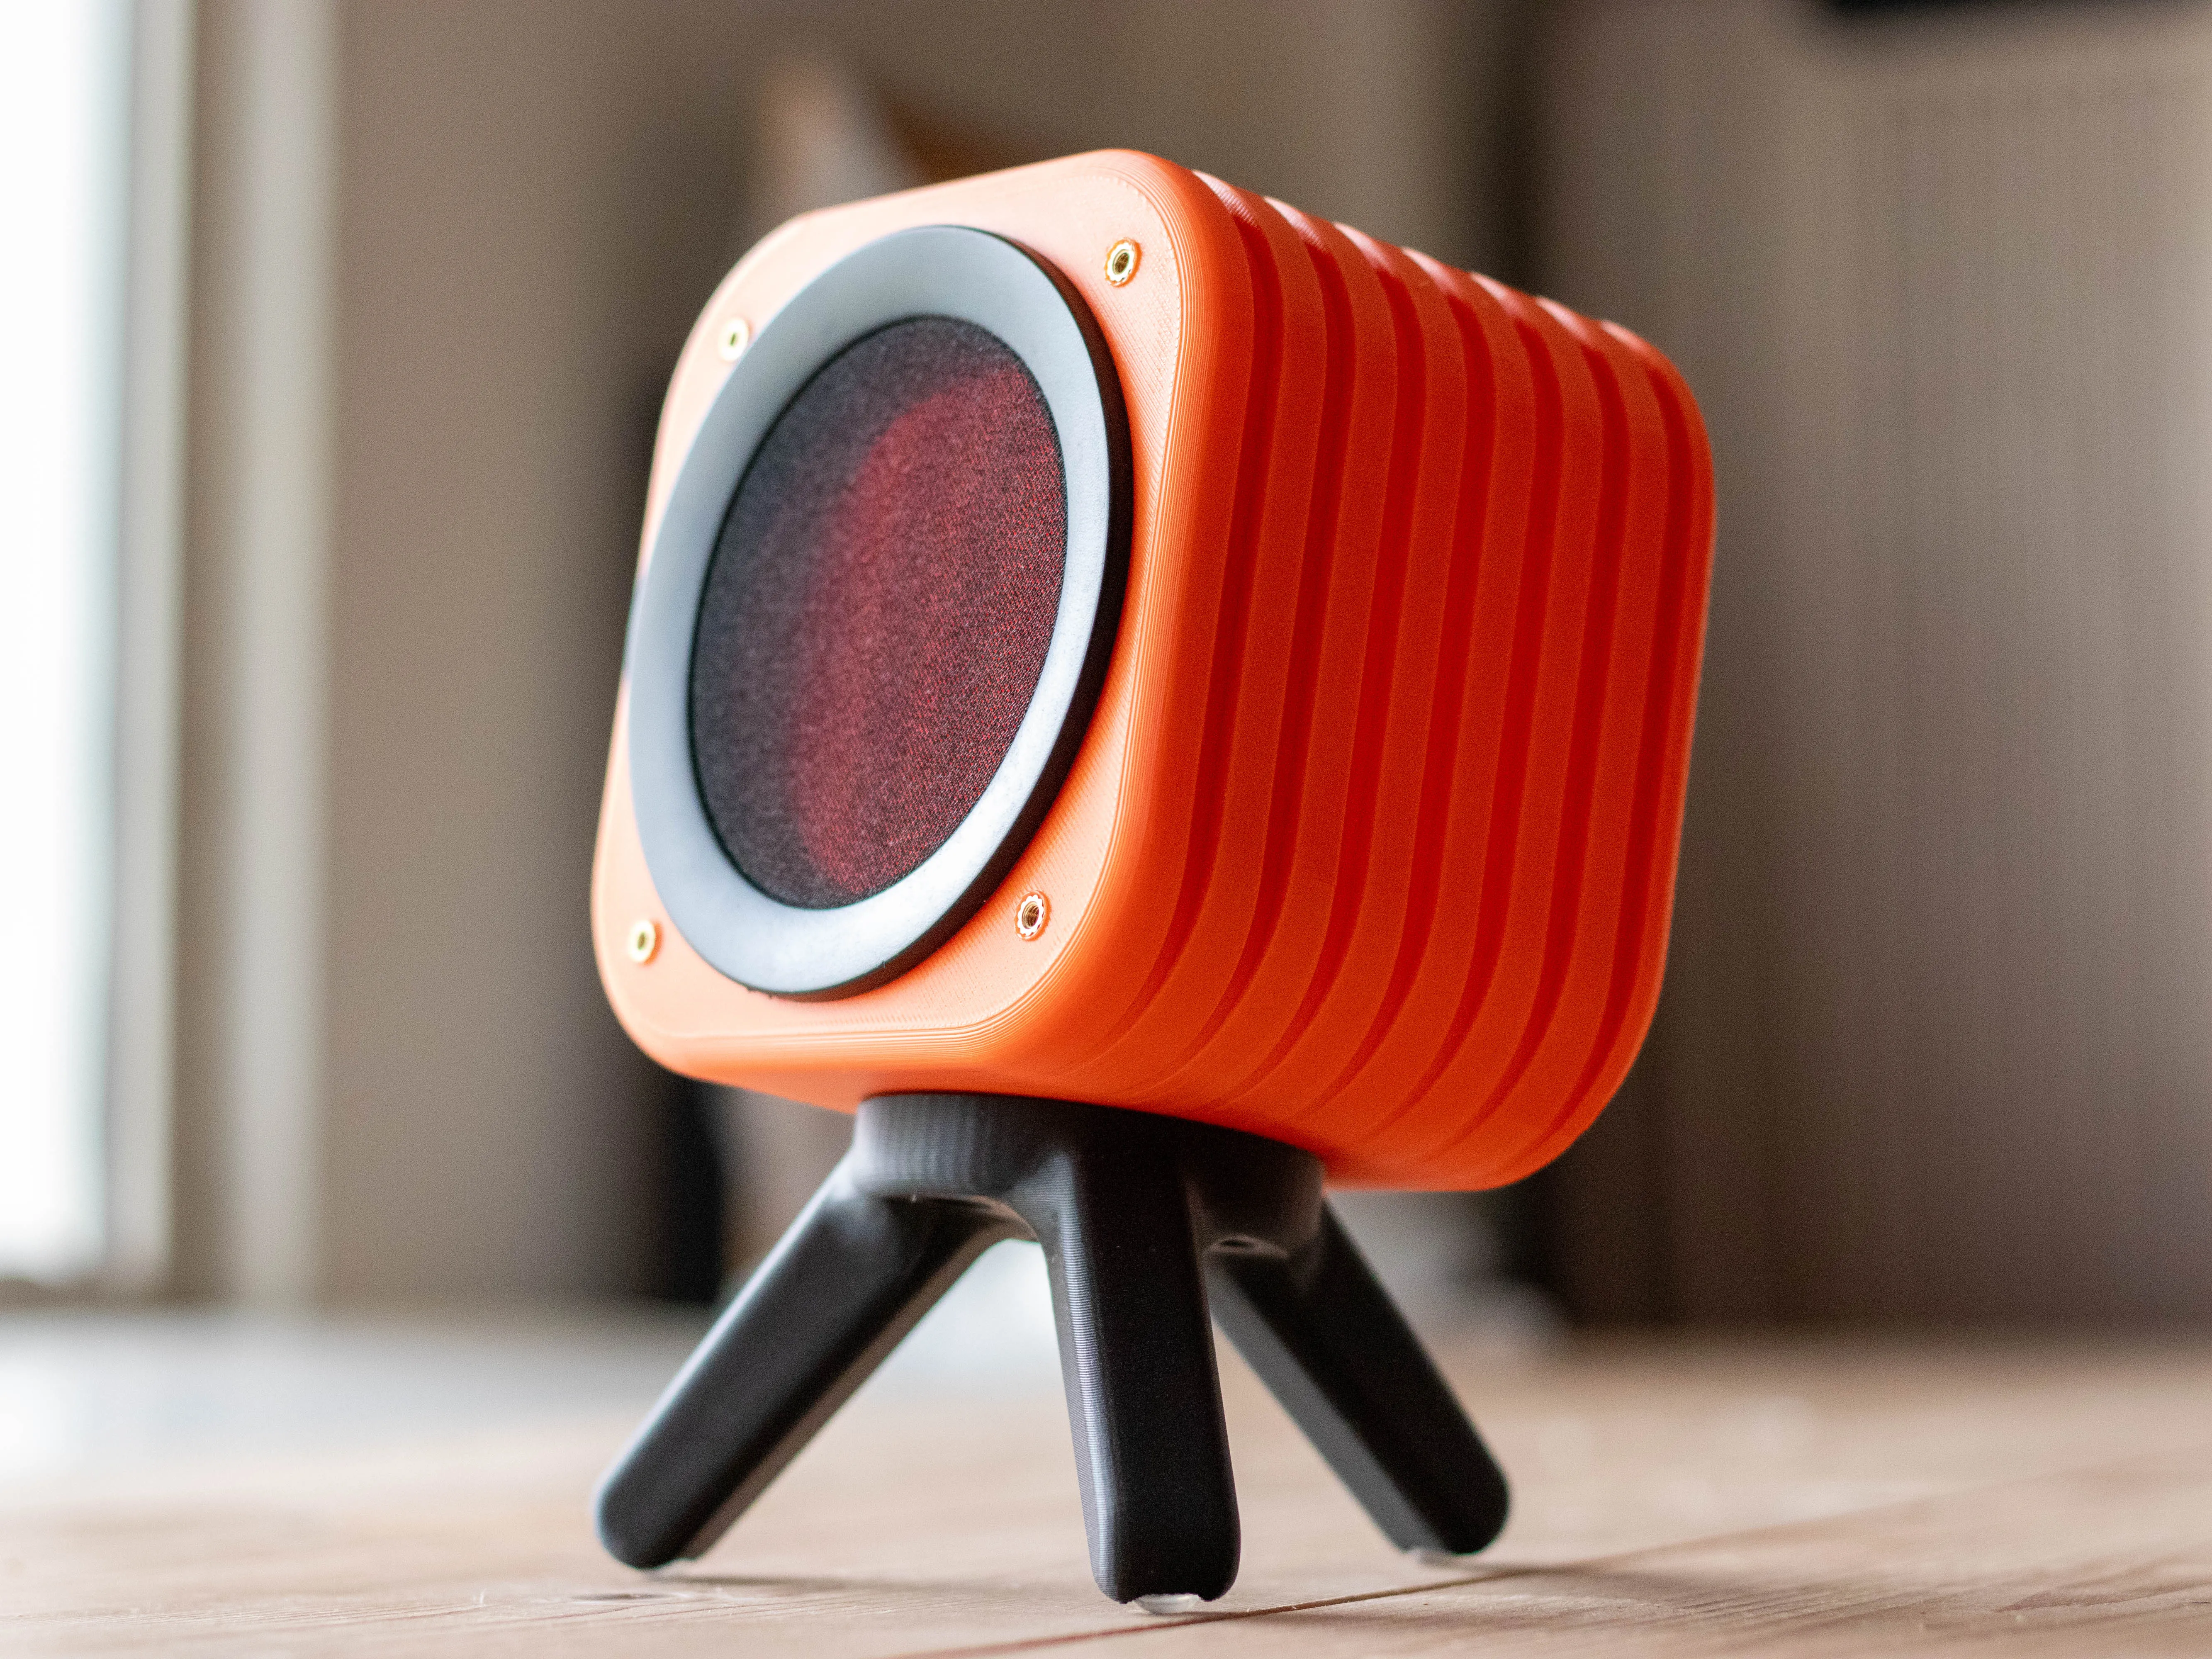
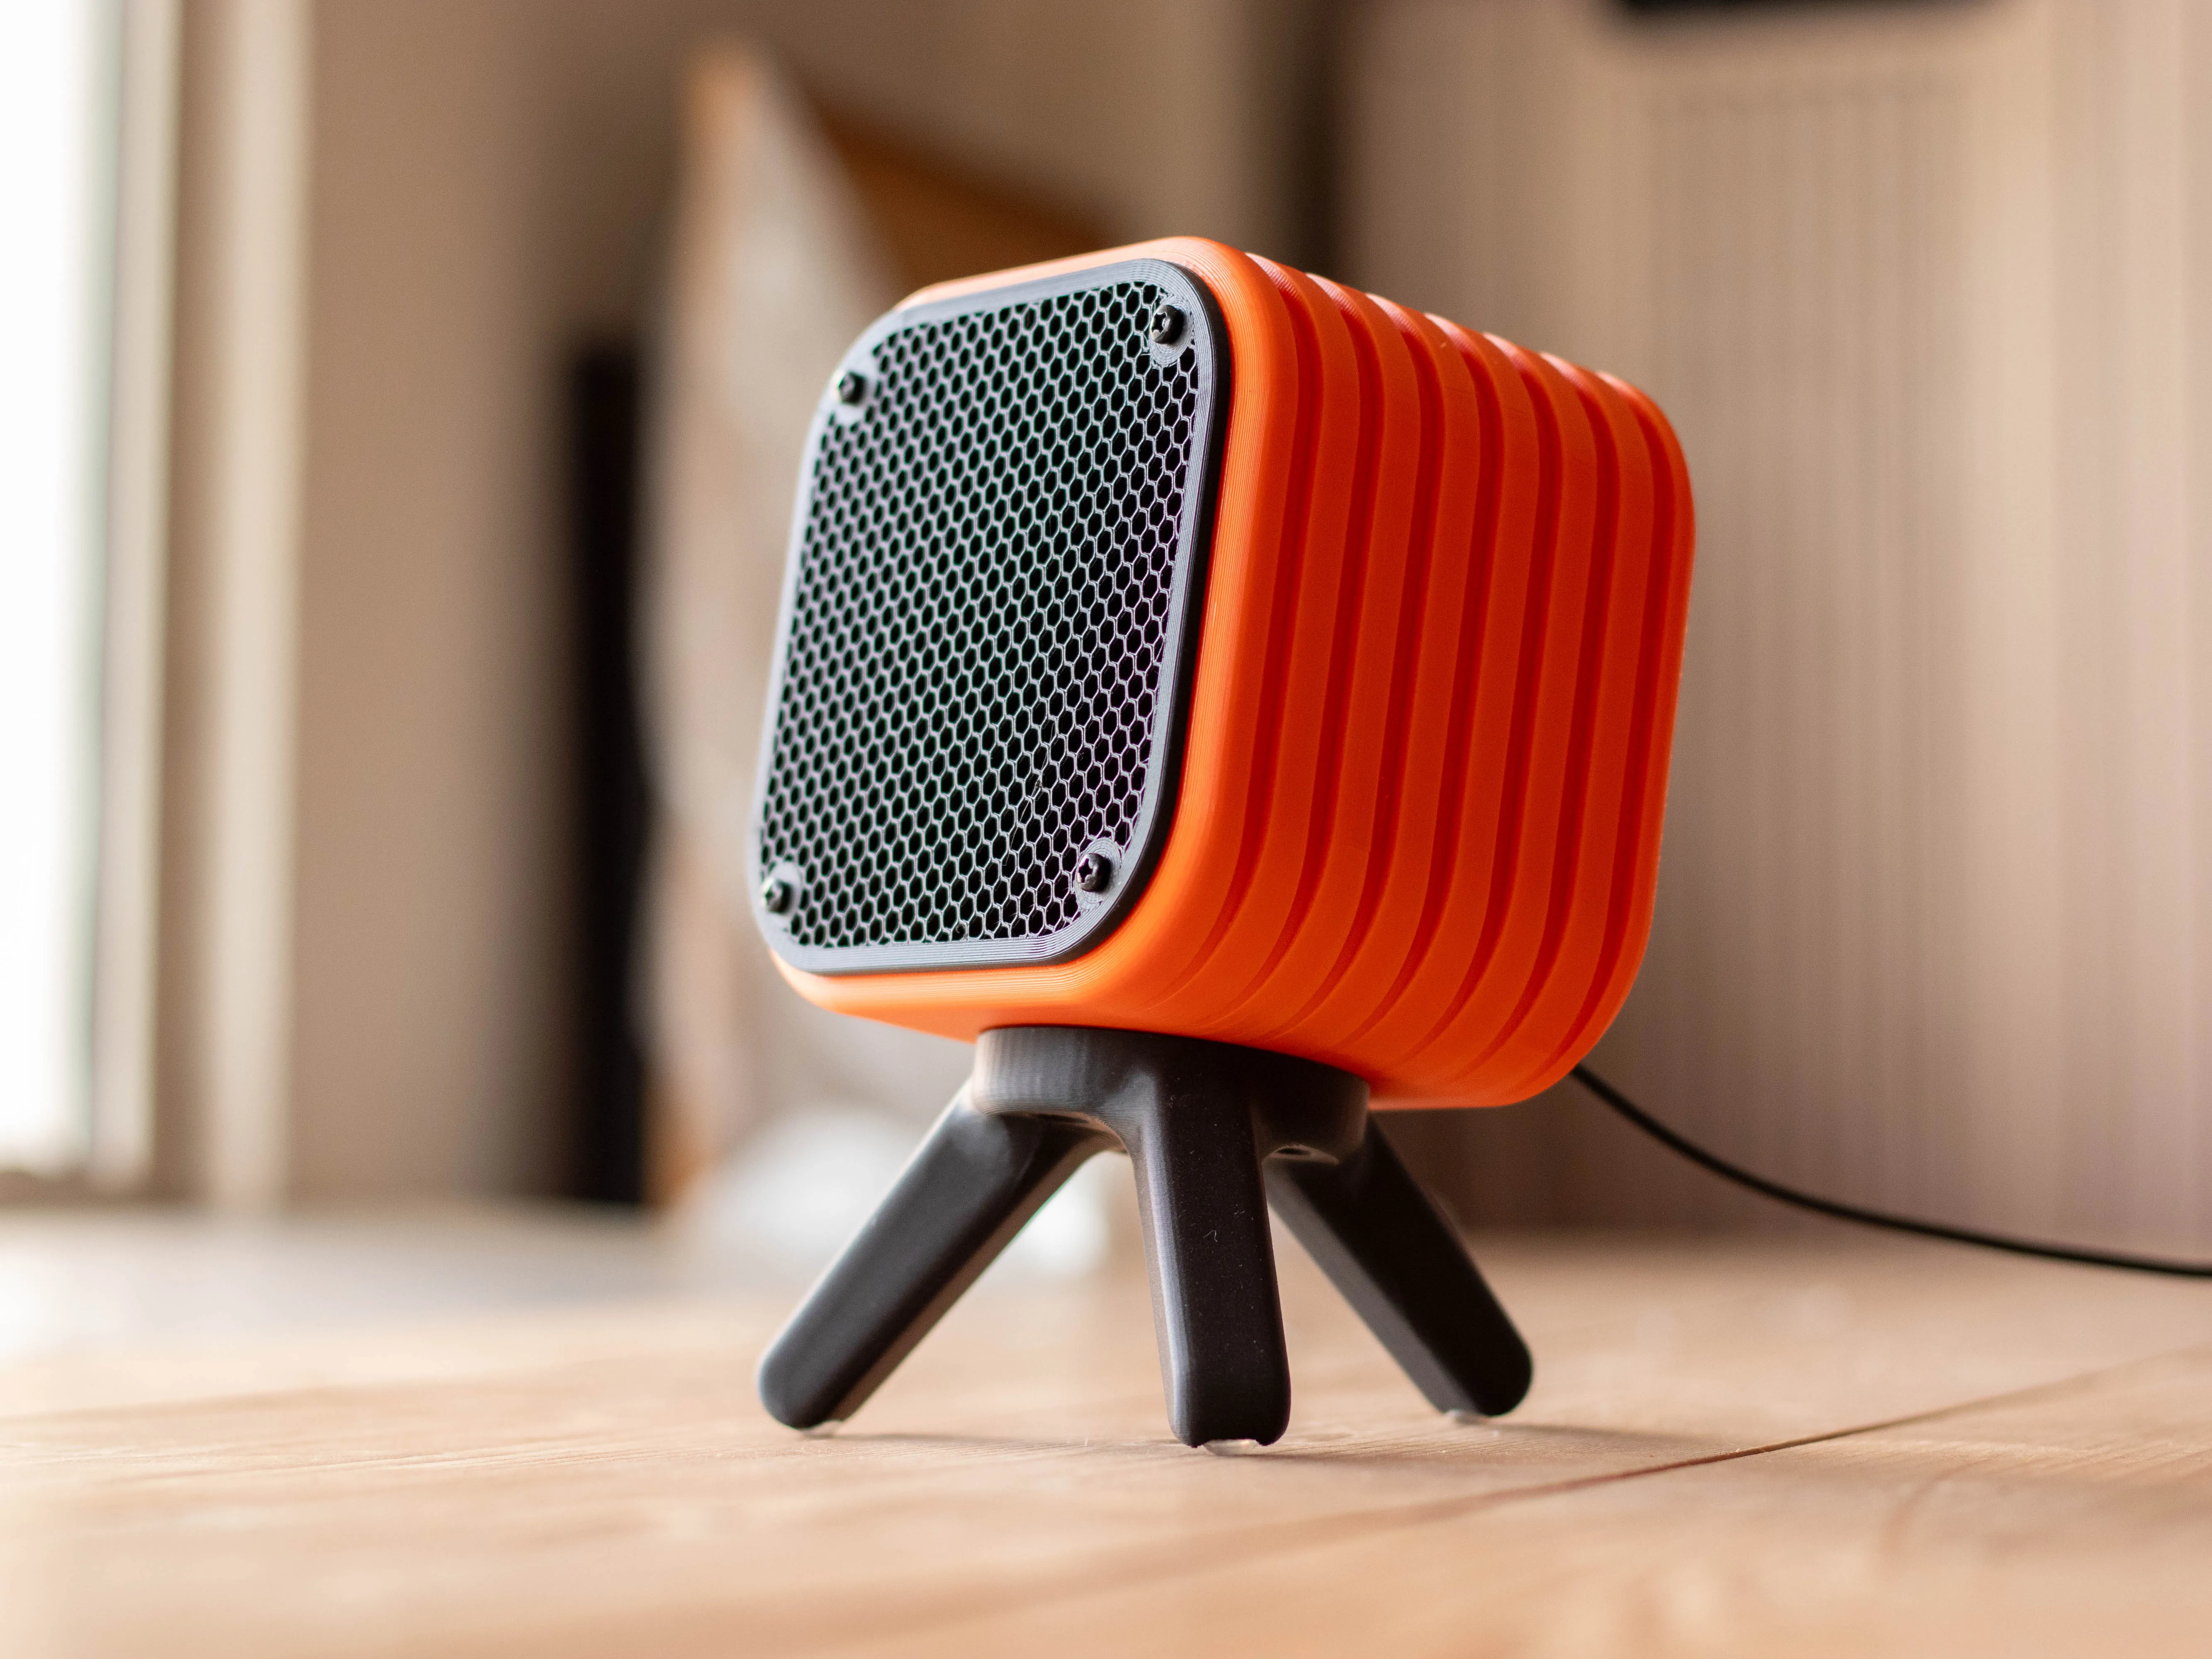
I didn't like the bulky look of the original Logitech Z333 Speaker so I designed a much cleaner and stylish box. I don't know about the performance of the speaker, it sounds almost the same to me, but it's not really my thing.
Speakers
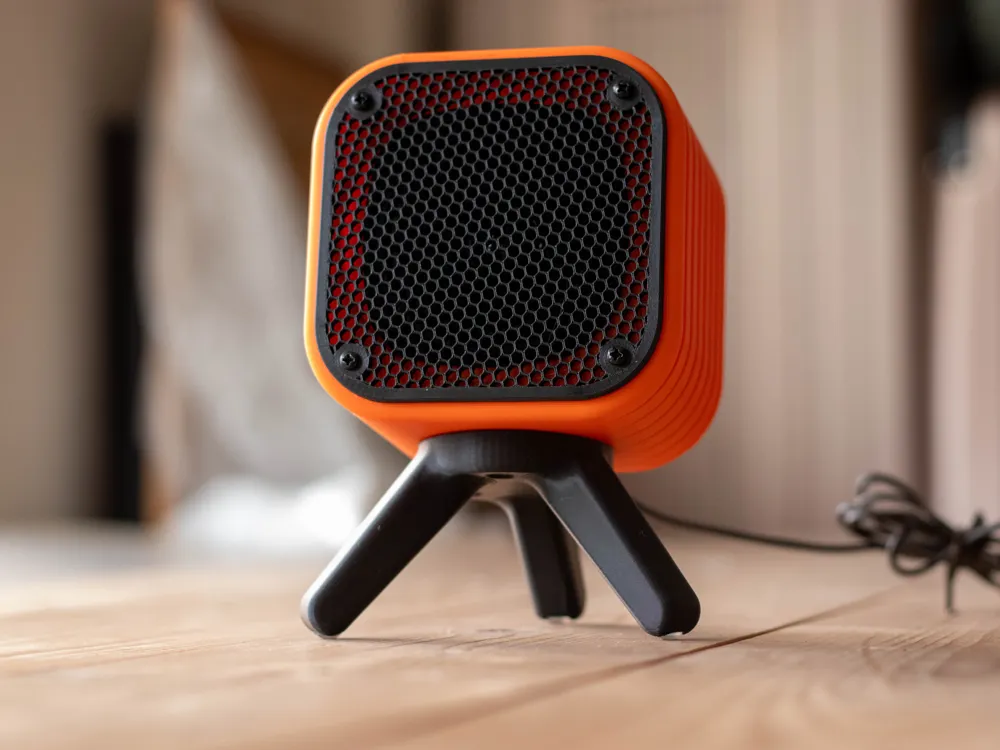
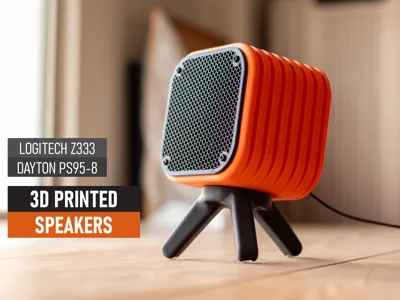
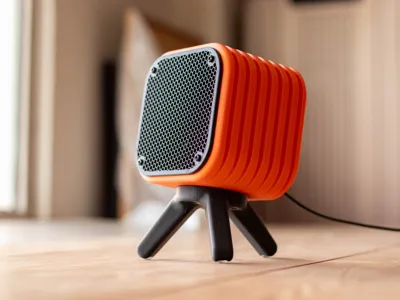
This is a fully 3D-printed Desktop Speaker Box designed to:
- Upgrade your Logitech Z333 / Z337 / Z533 speakers or
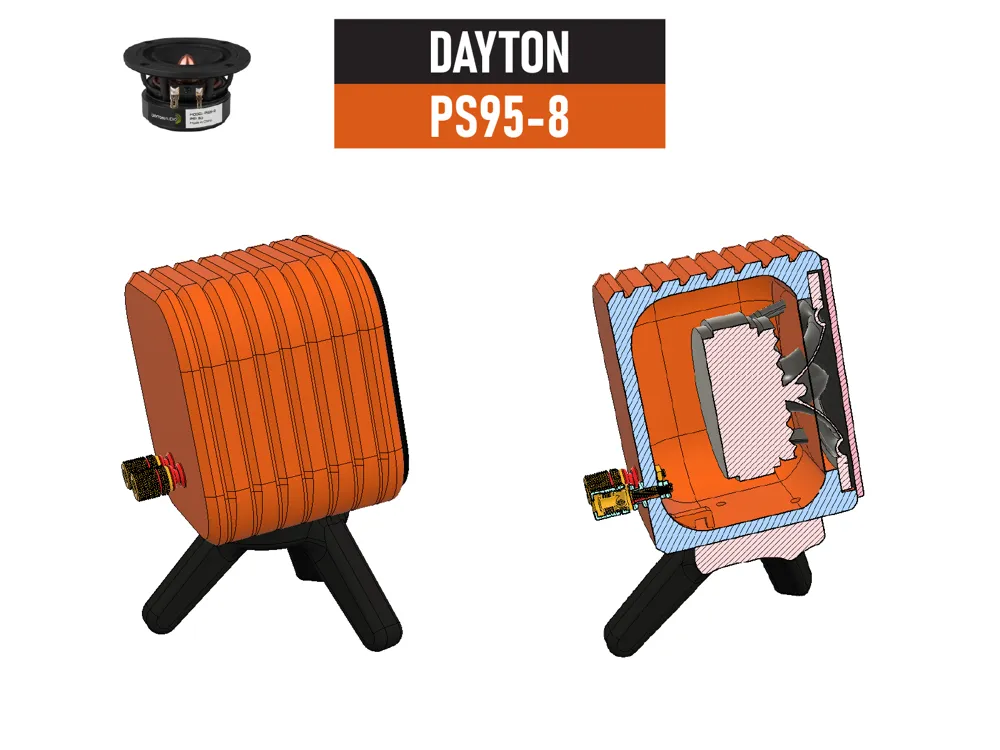
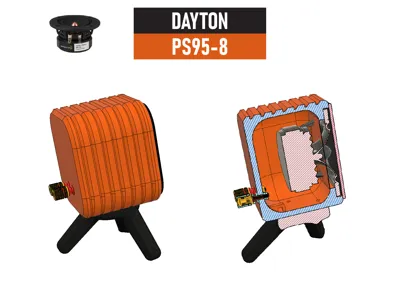
- Build new speakers using the Dayton Audio PS95-8 full-range driver.
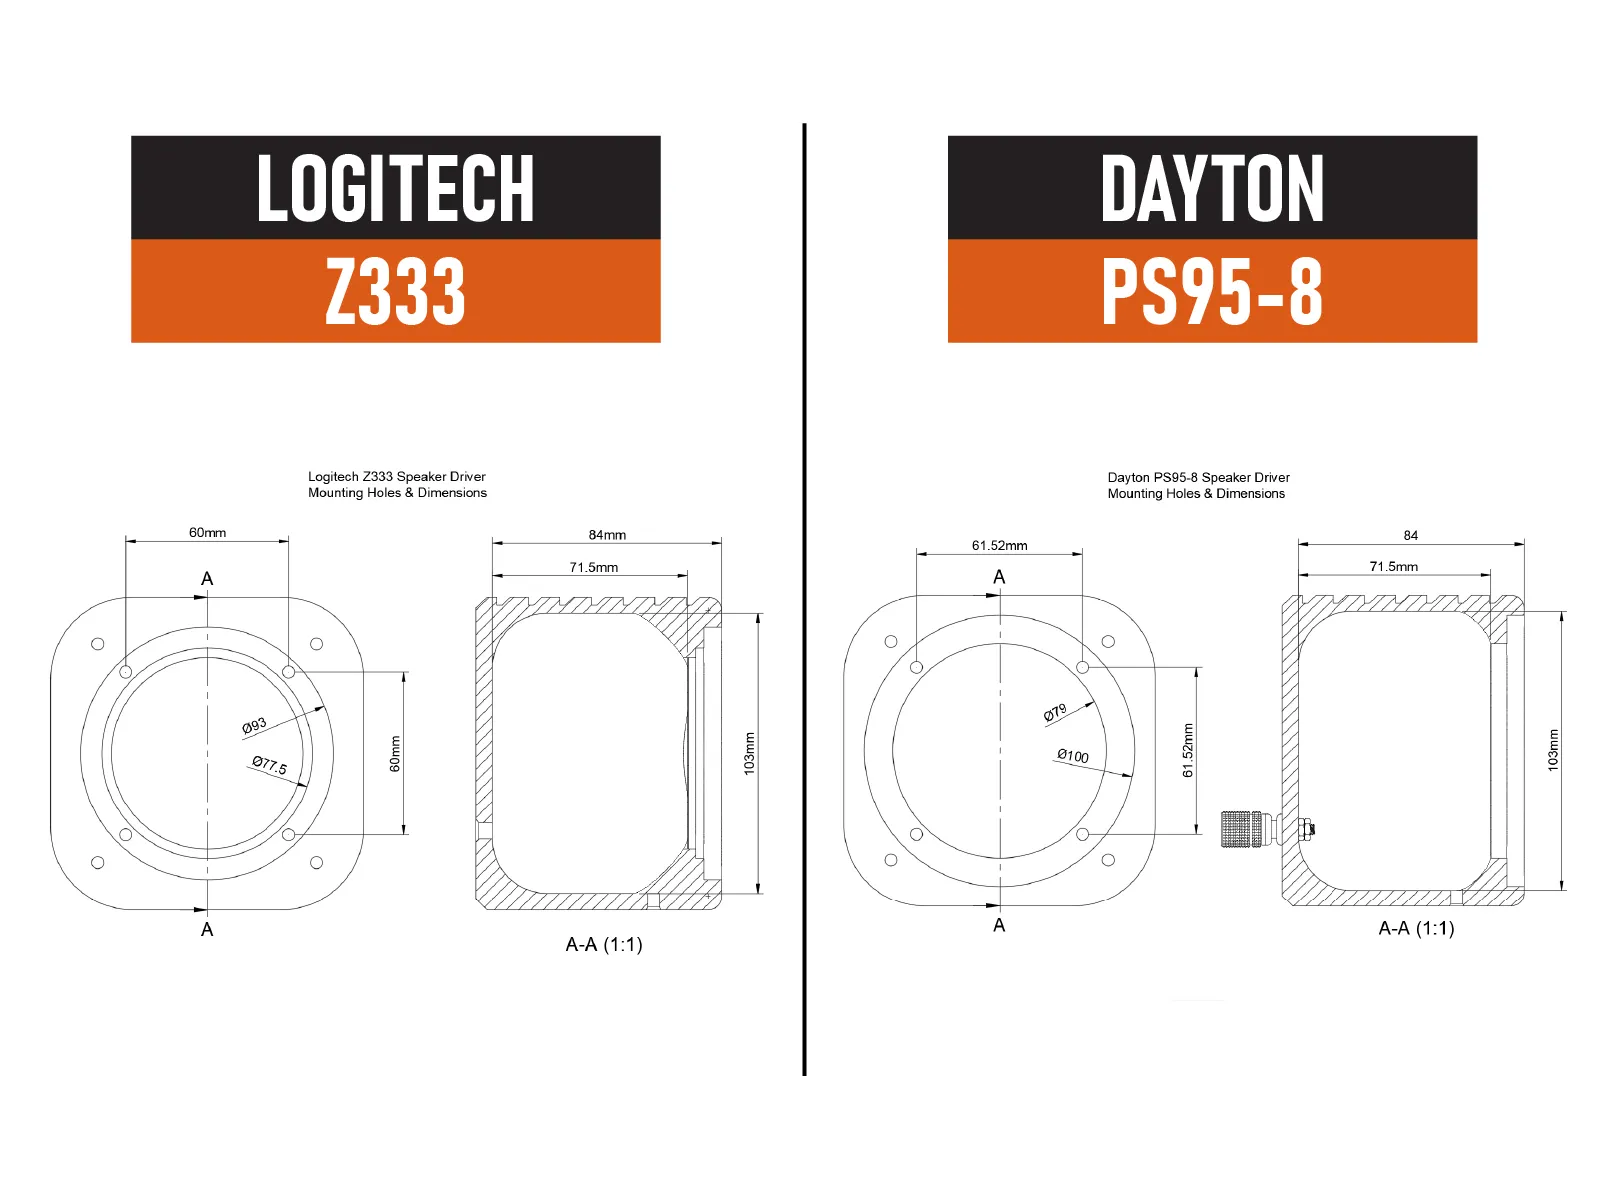
Other drivers might be compatible, check the dimensions and mounting holes below.
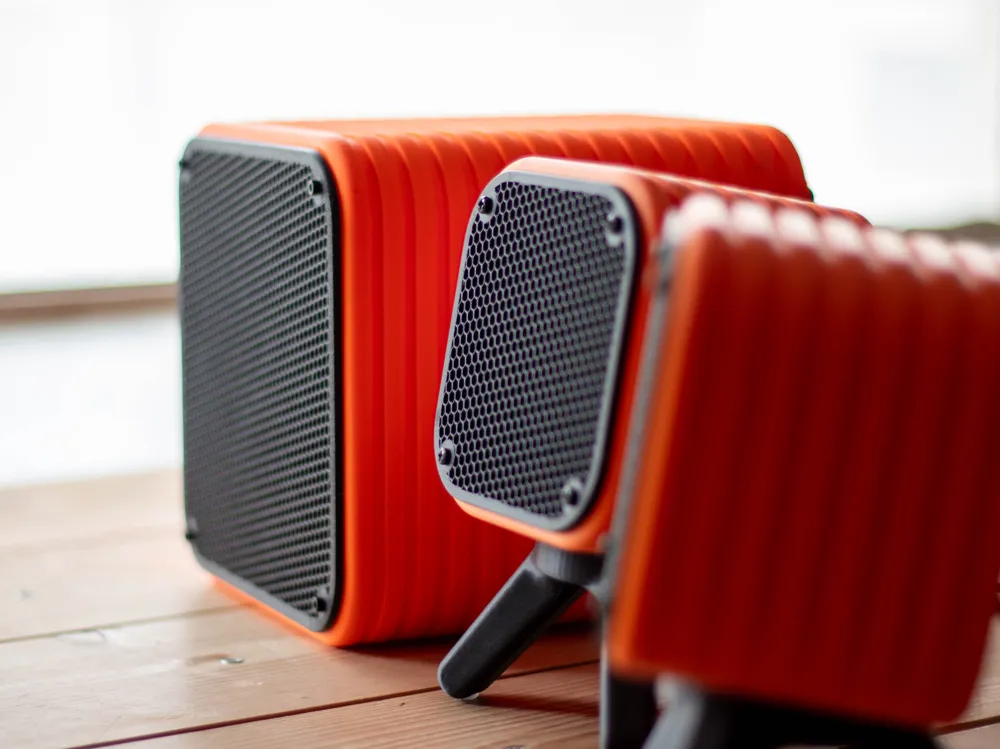
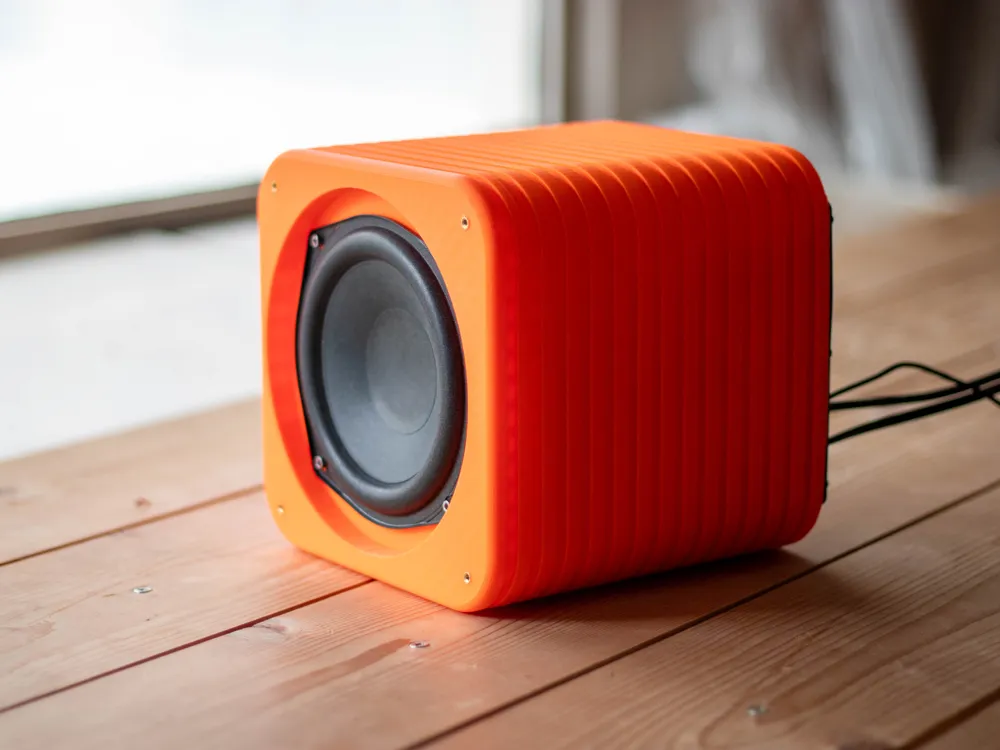
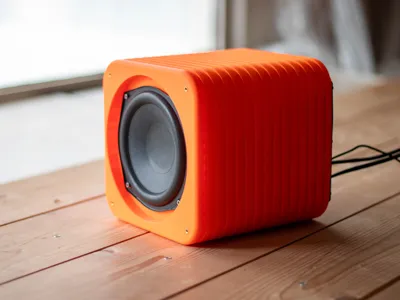
Subwoofer
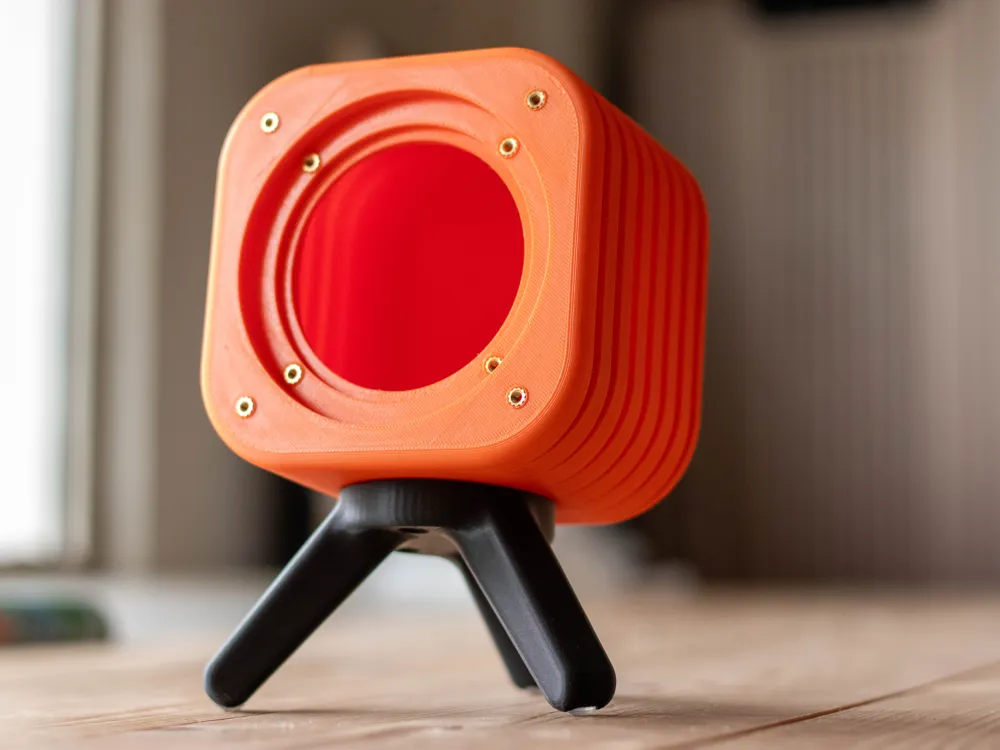
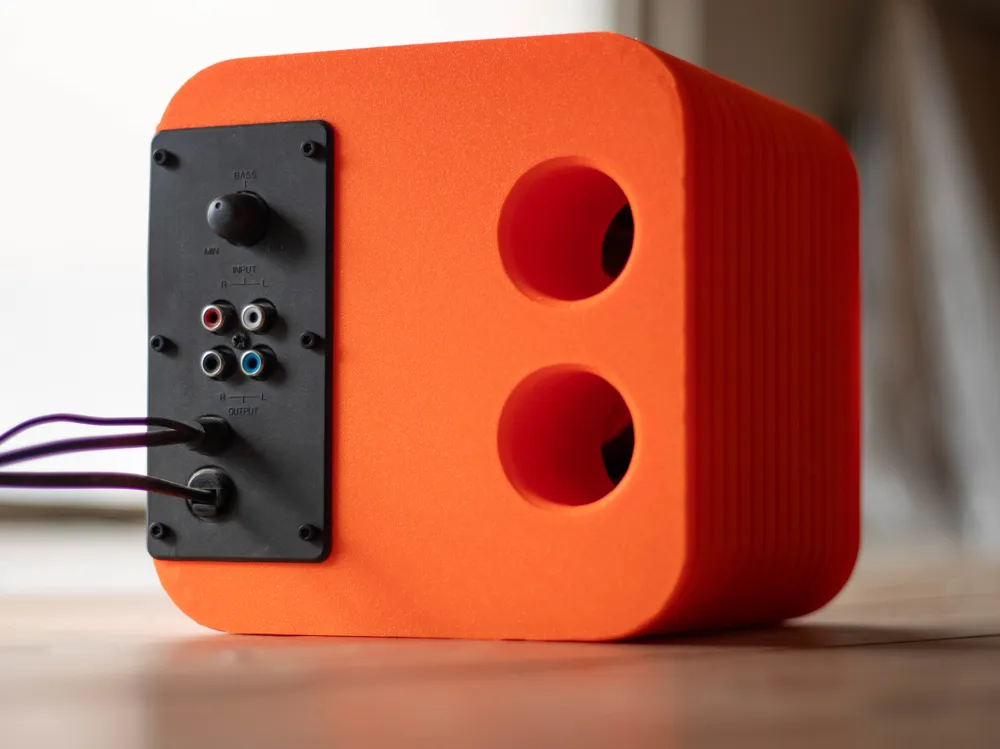
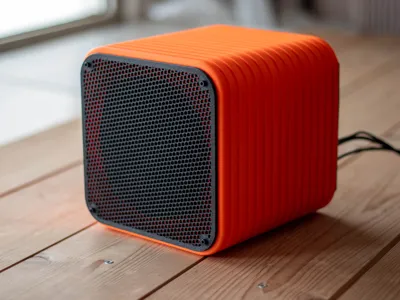
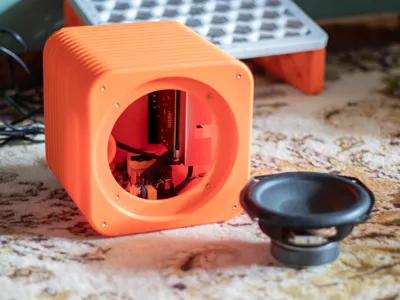
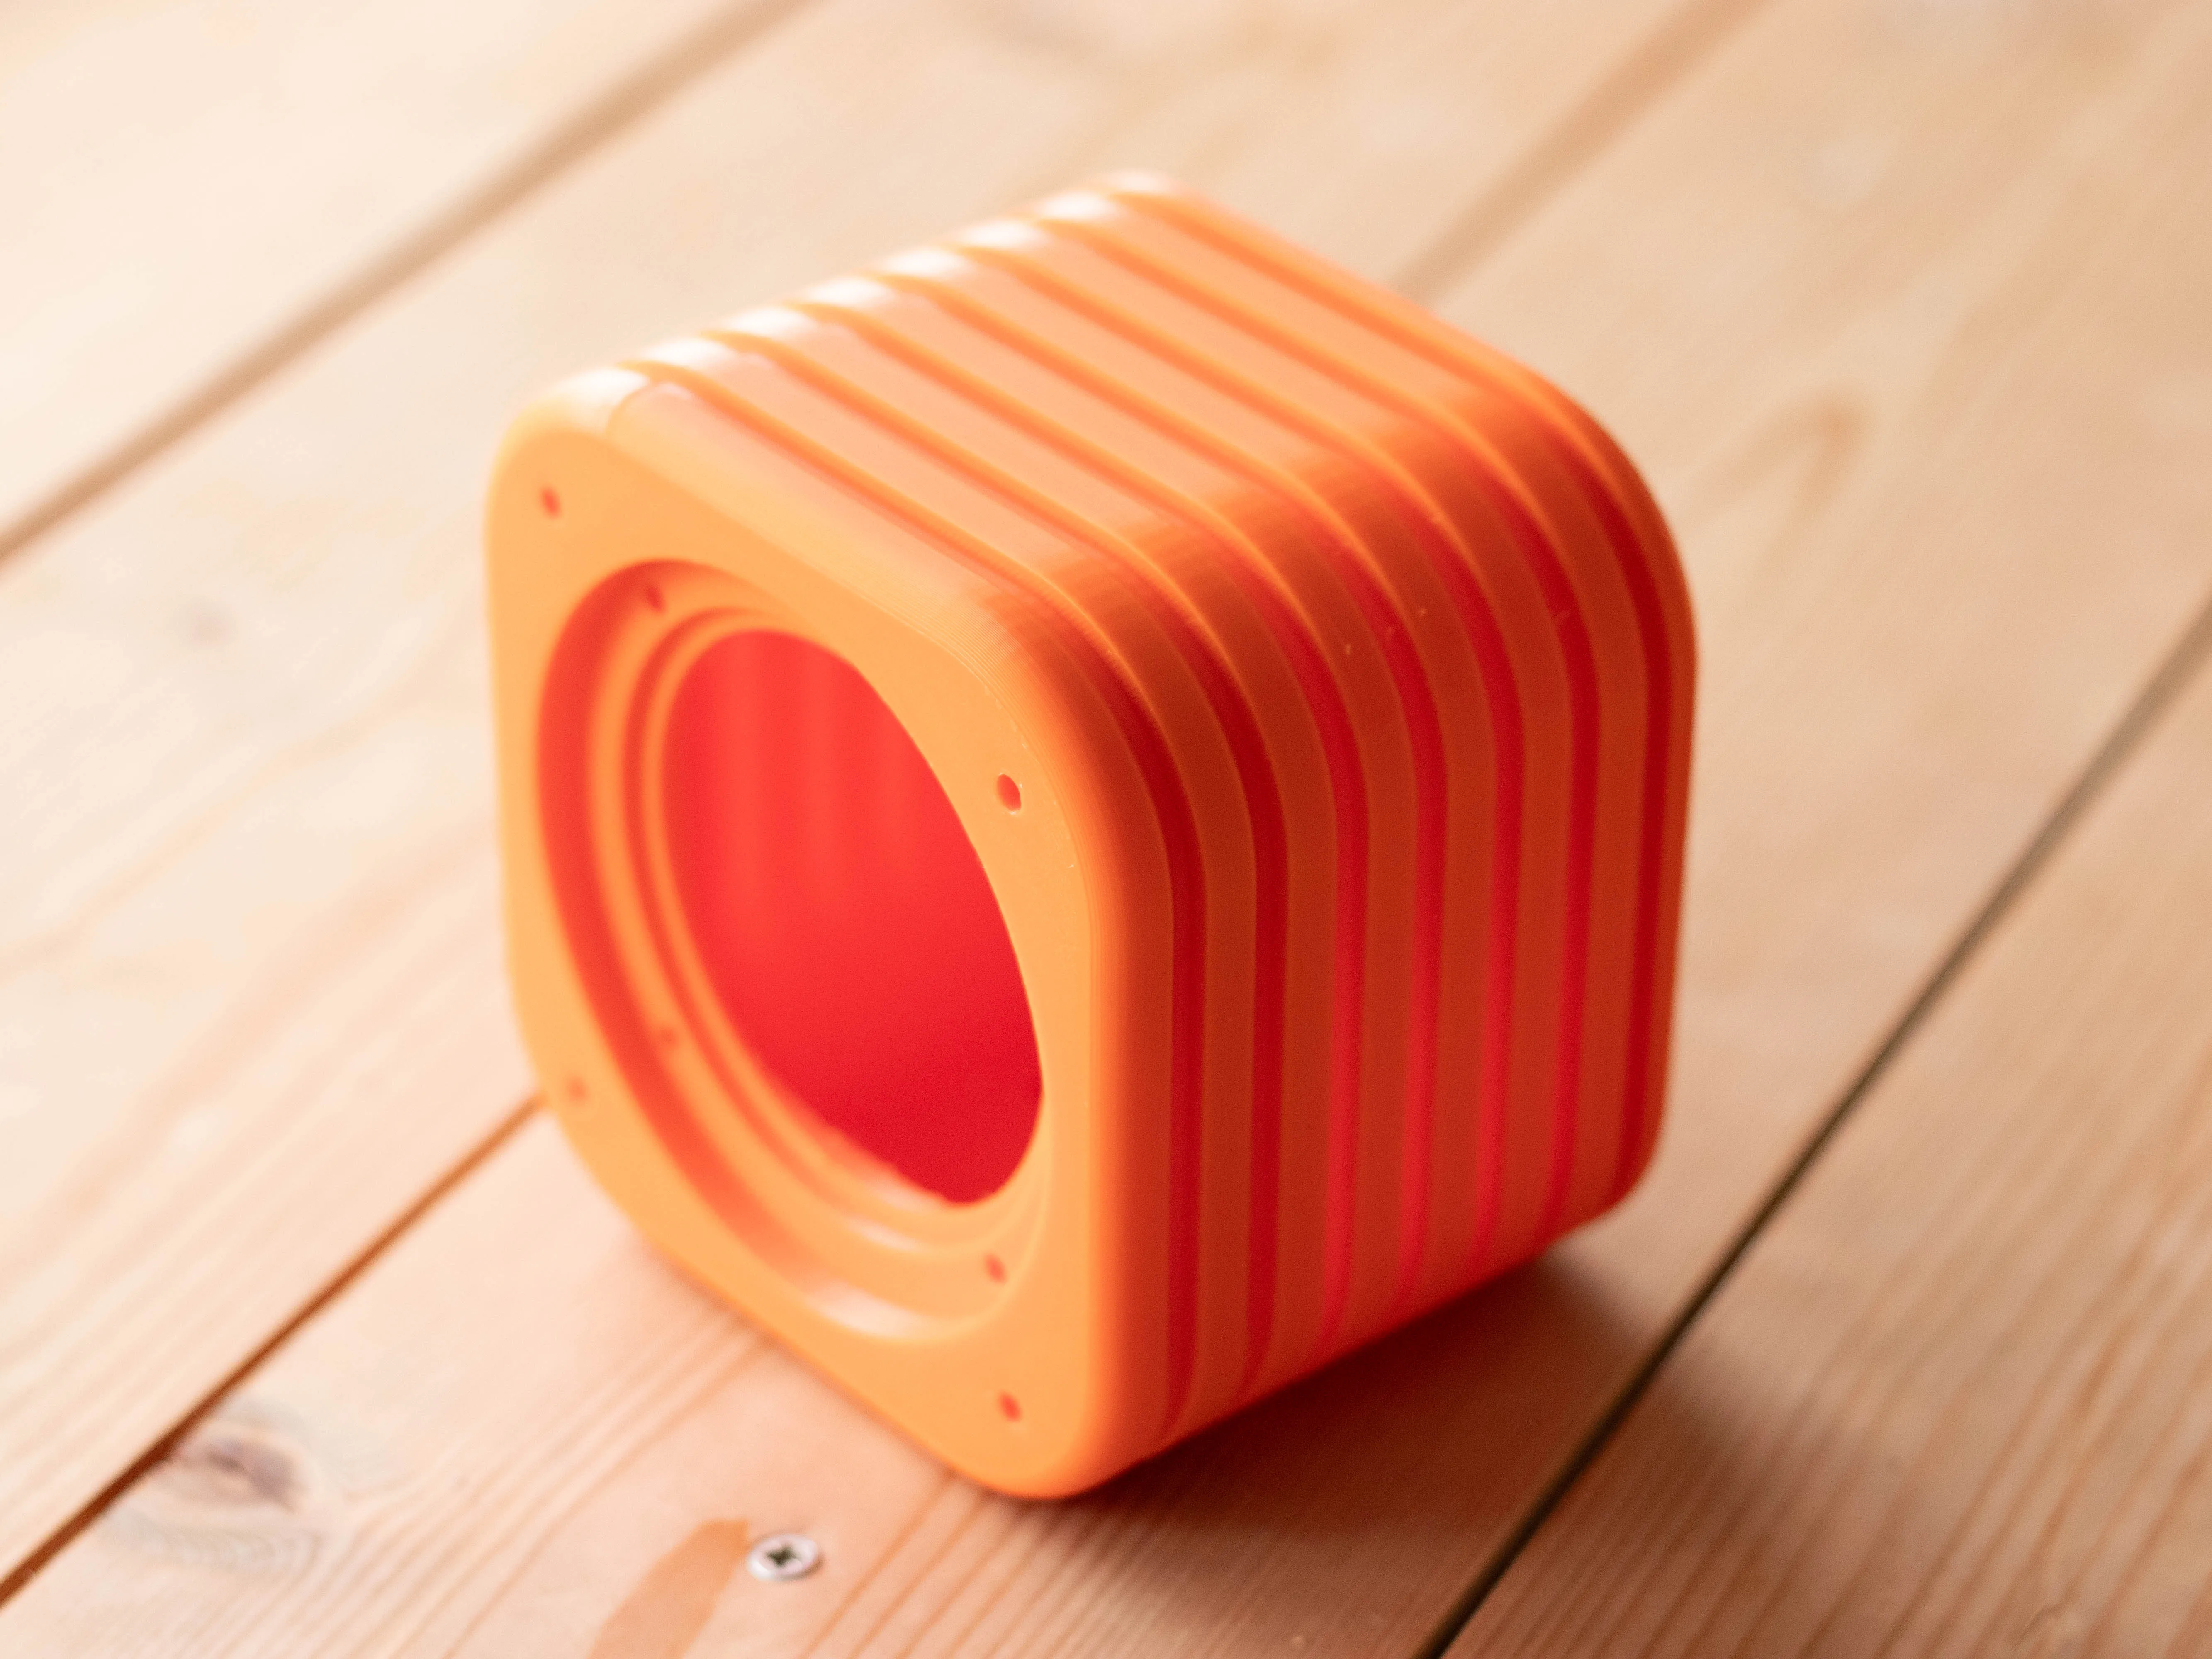
Fully 3D Printed Subwoofer enclosure for Logitech Z333.
Printing
- The files are already optimized for printing without supports.
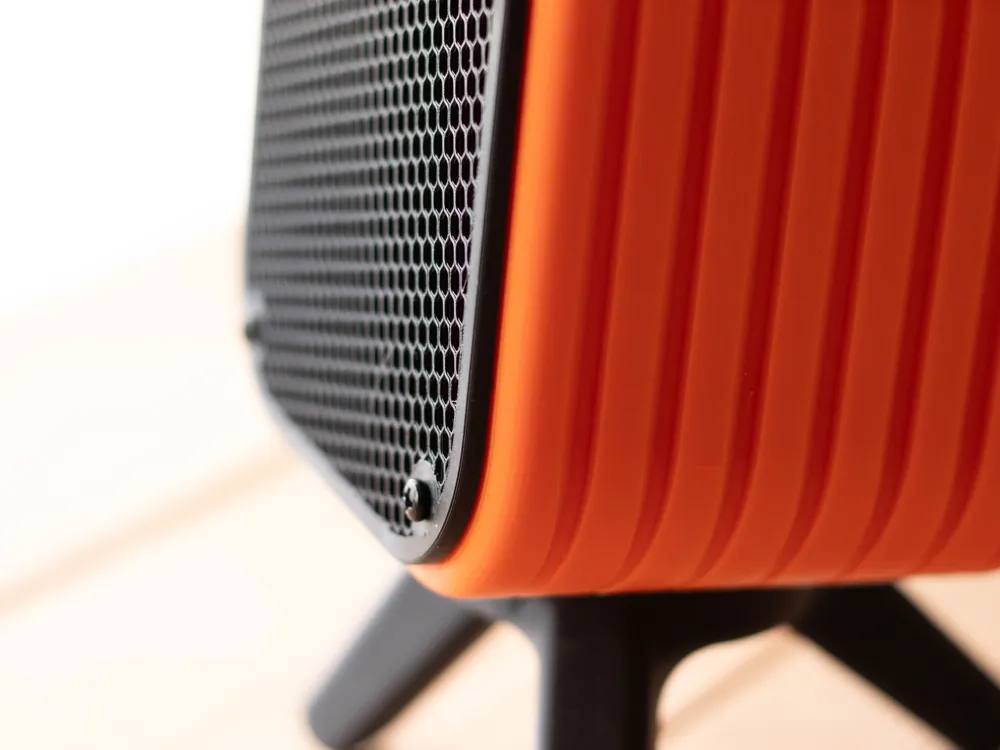
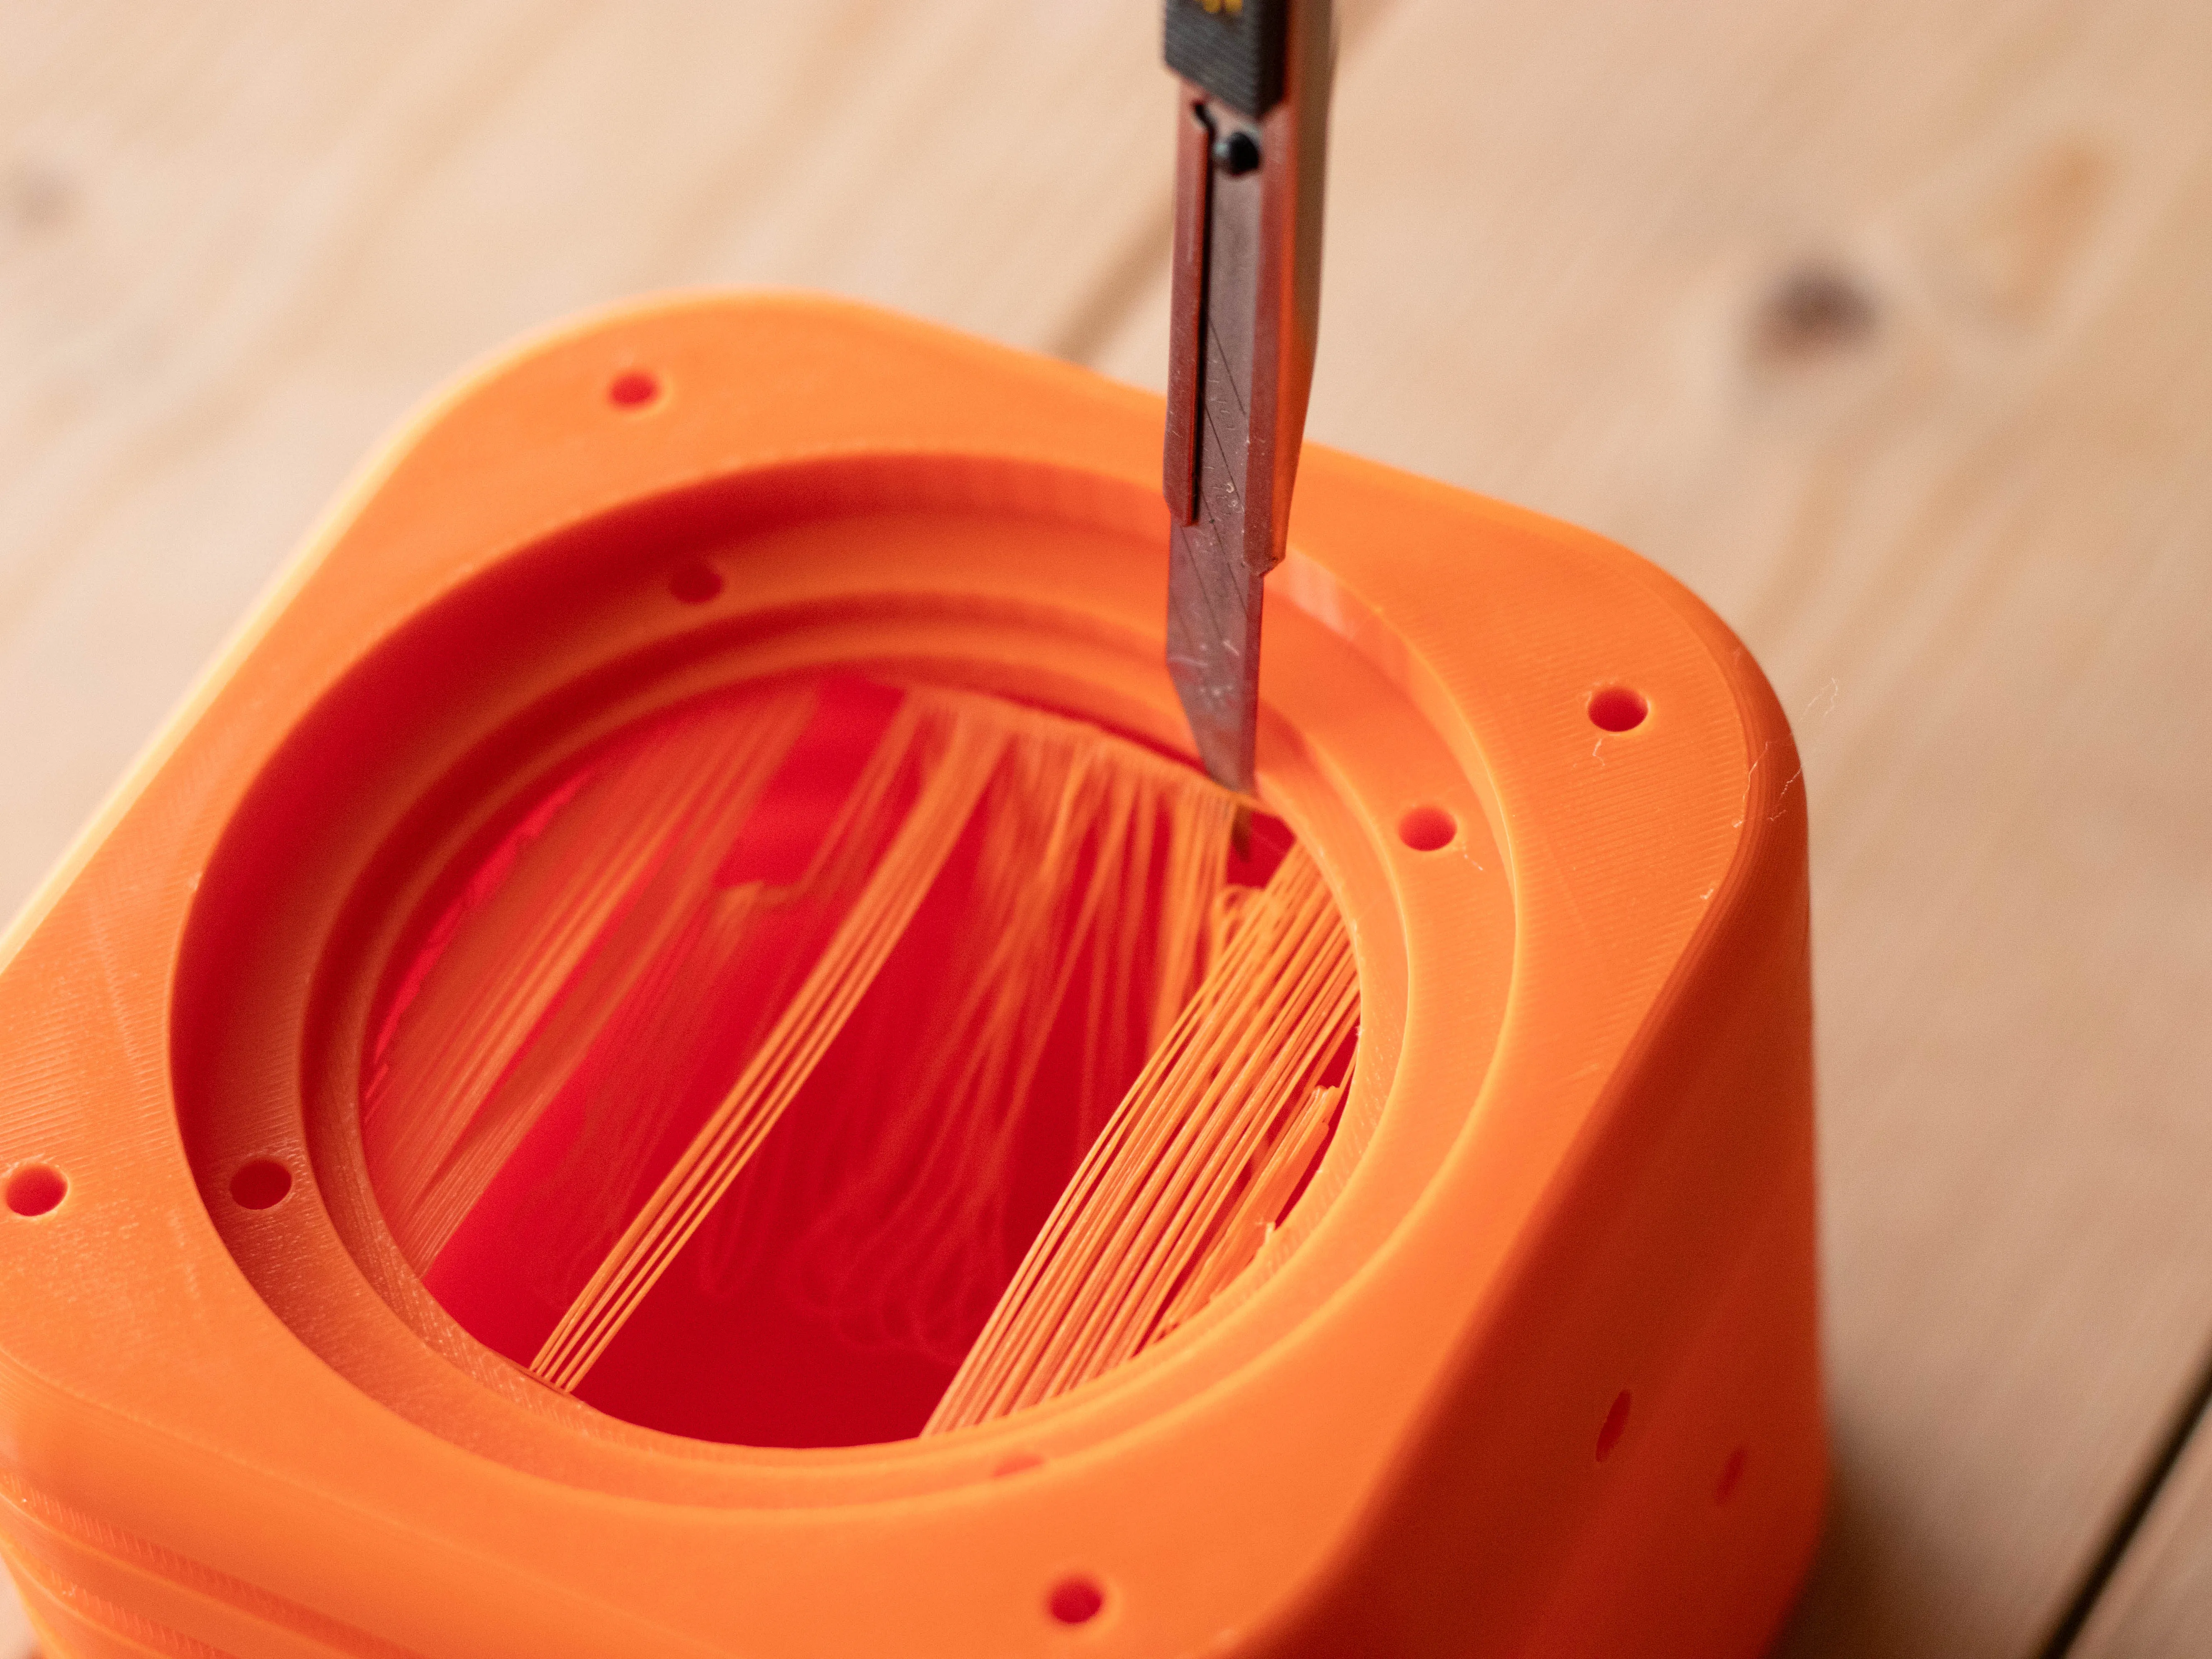
- The Speaker Grill/Cover model has different print settings. Zero Top and Bottom layers in order for you to choose and customize your grill holes and shape based on the infill pattern.
Hardware Parts
- Logitech Z333 Speaker or Dayton Audio PS95-8 Driver
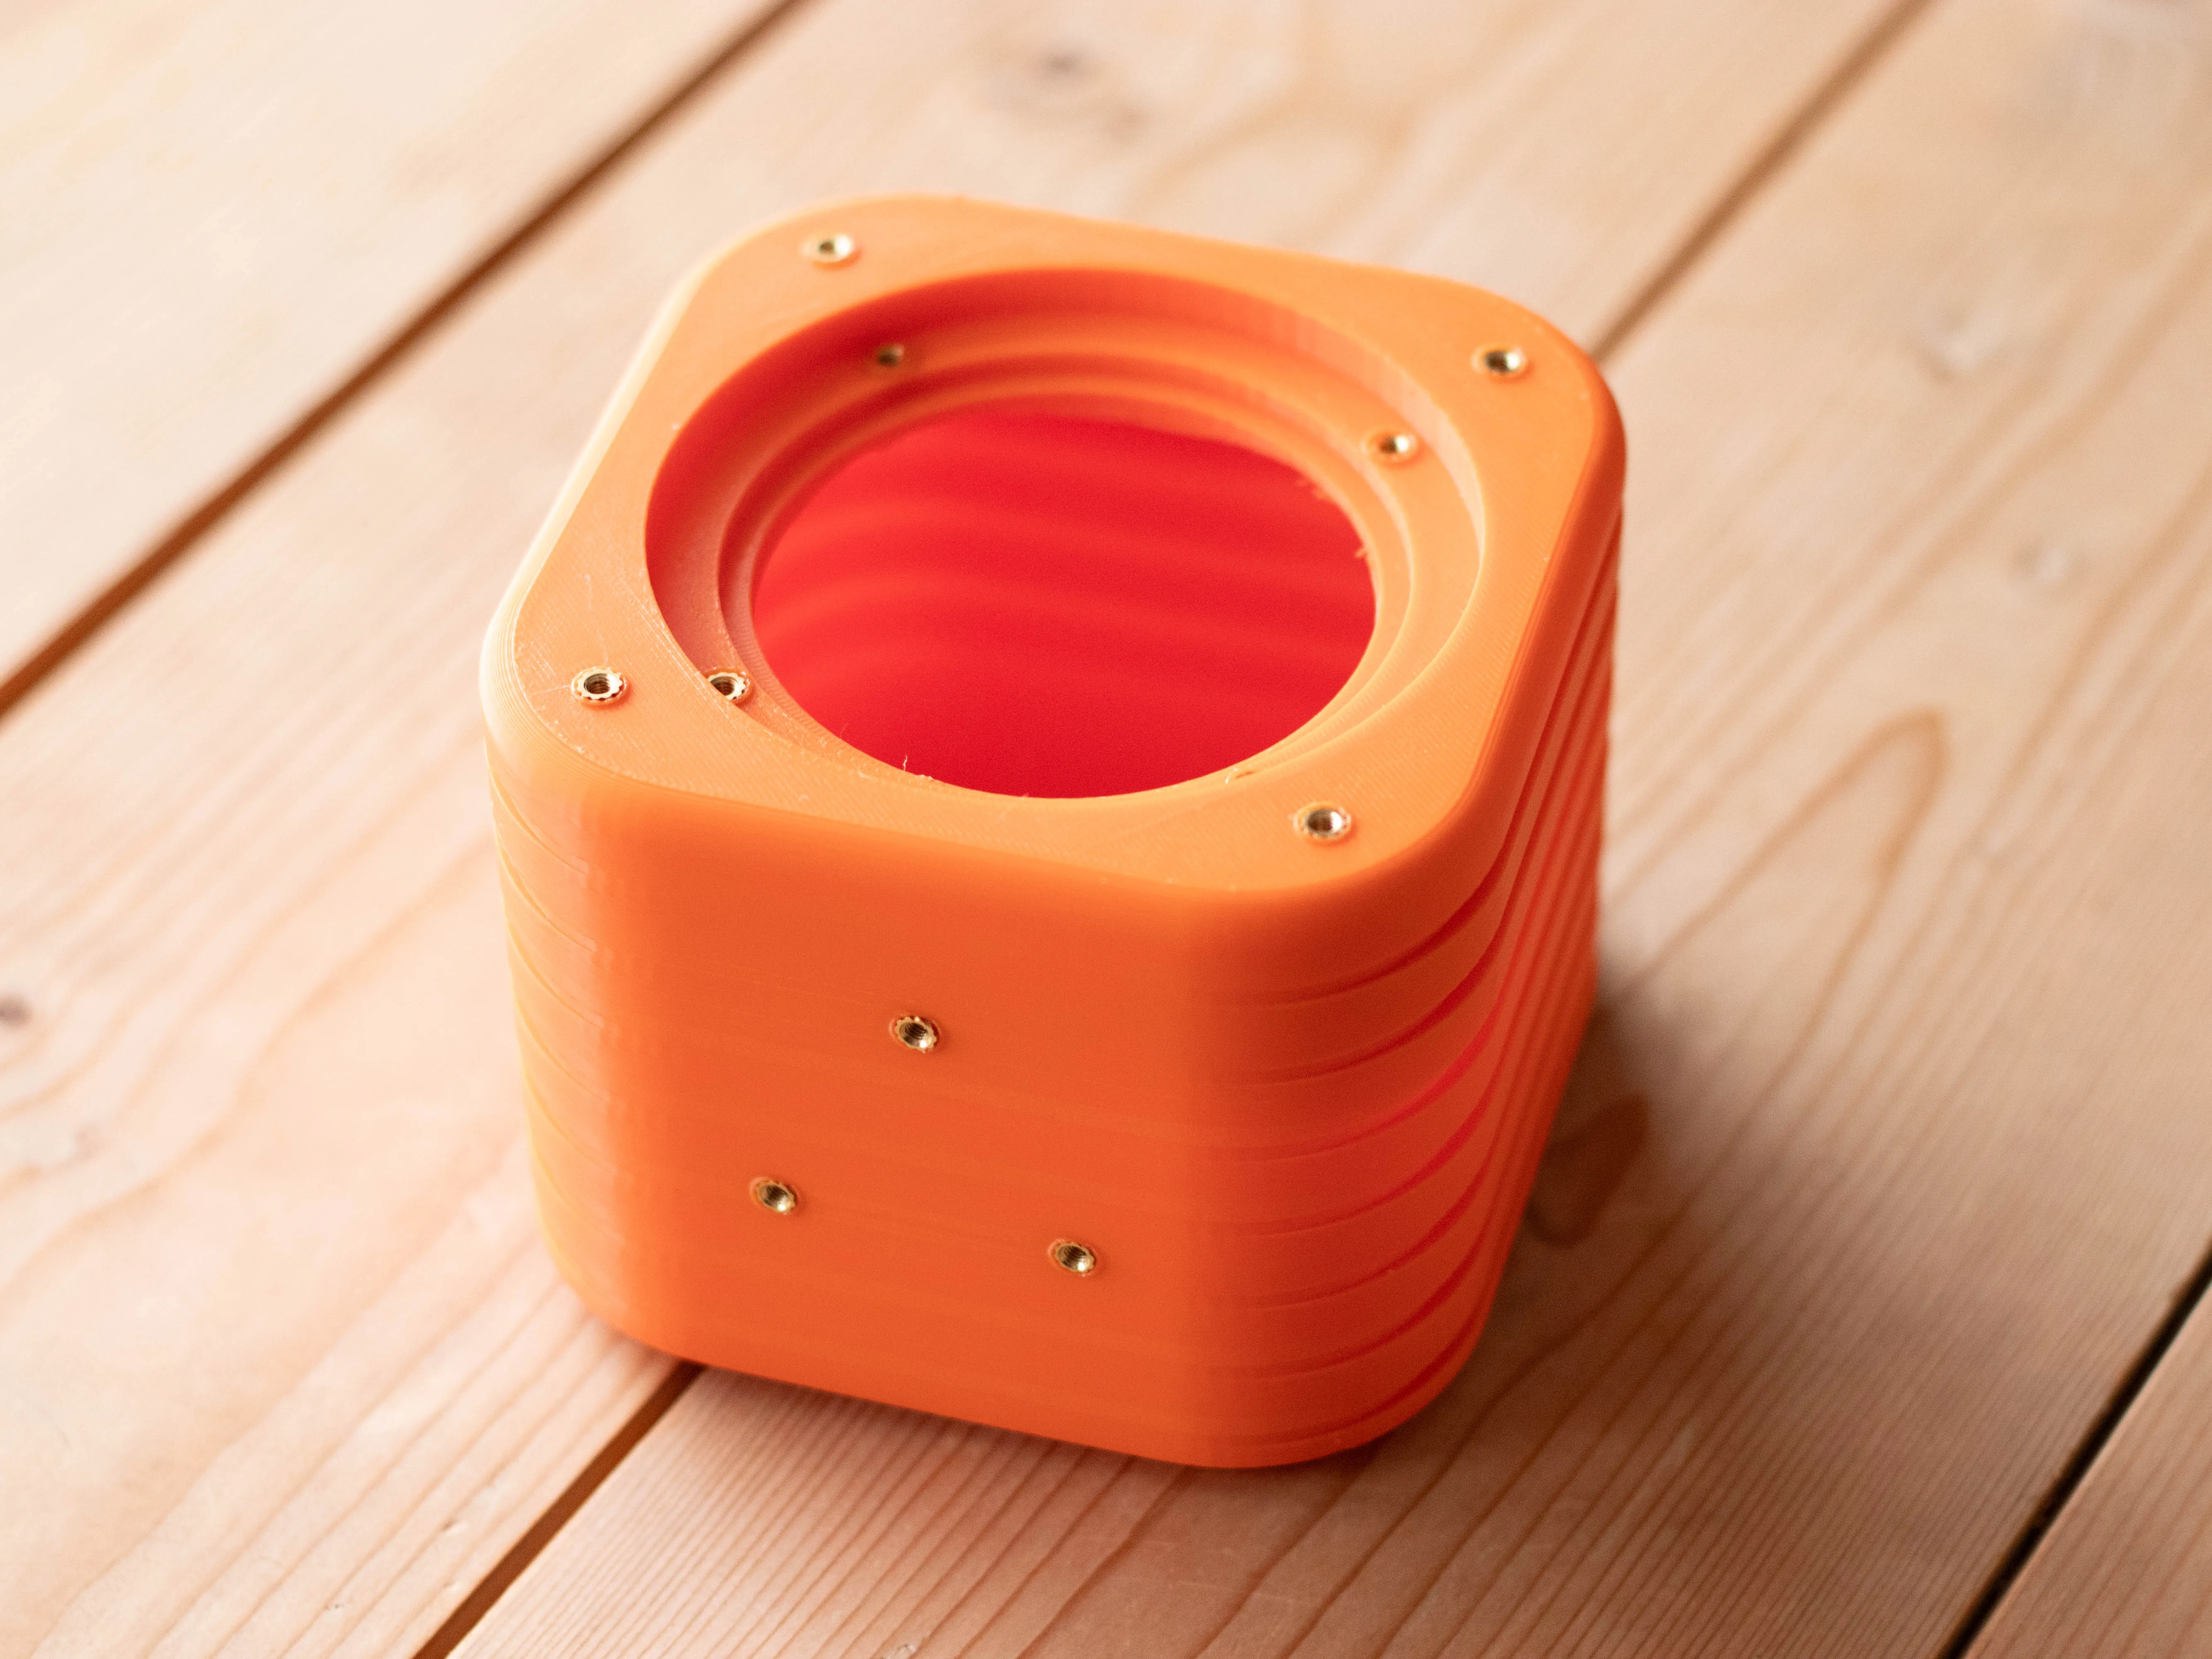
- (22x) Heat Insert Nuts M3x5
- (12x) Screws M3x6 for Cover/Grill
- (12x) Screws M3x6 for Speaker Driver Mount
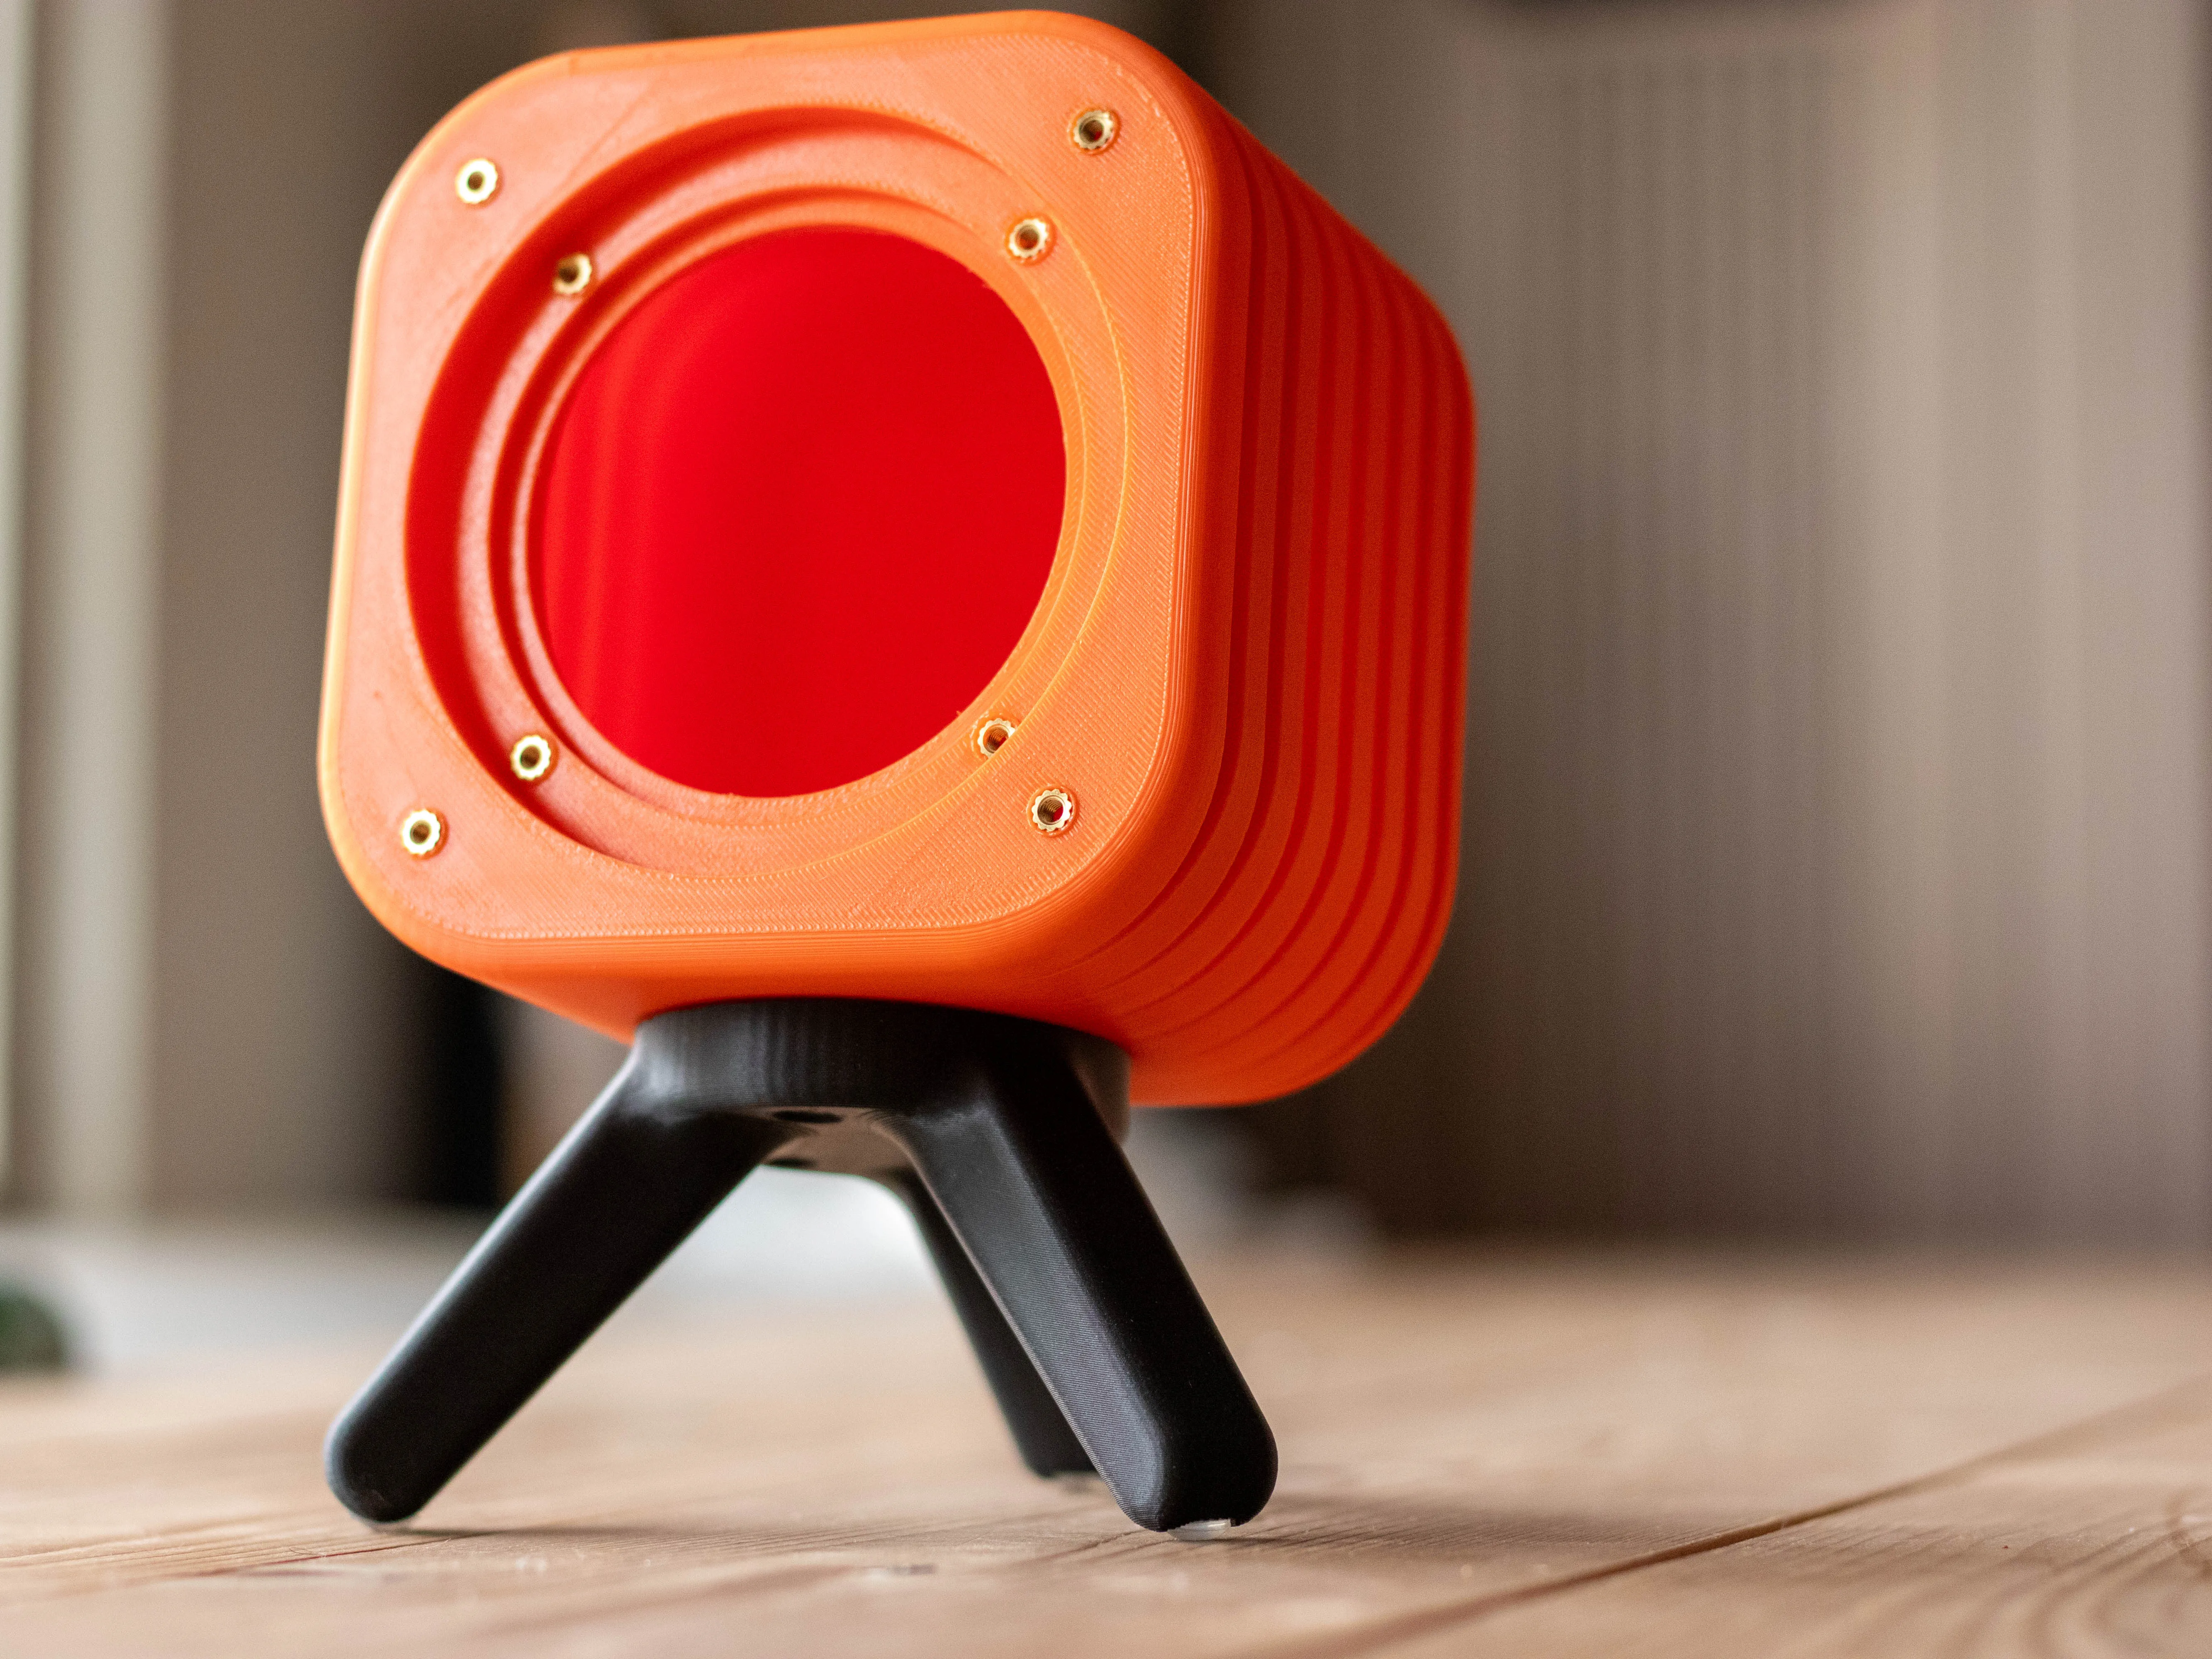
- (6x) Screws M3x12 for Speaker Feet Mount
- (6x) Anti Slip Silicone Rubber Feet Pads (8x2.5 mm)
Speaker Assembly
- [LOGITECH Z333] Disassemble the old Logitech Z333 Speaker (Video).
- [LOGITECH Z333] De-Solder the speaker driver wires (Note the polarity).
- [LOGITECH Z333] Remove the original speaker wire from the old speaker box.
- [LOGITECH Z333] Keep the cloth inside the speaker to reuse it on the new speaker box.
- Remove the sacrificial layer in the speaker driver hole.
- Add all 22 heat inserts to the speaker boxes.
- Pass the speaker wire though the back hole.
- Solder the wires to the speaker driver (Note the polarity).
- Secure the wire to the bottom of the box with a tire up.
- Put the cloth from the original box inside the new speaker.
- Screw everything together.
- The original Cover/Grill can be used instead of the 3d printed one.
If you are using the Dayton Speaker Driver there are two holes (5mm diameter) in the back to screw Speaker Binding posts.
Subwoofer Assembly
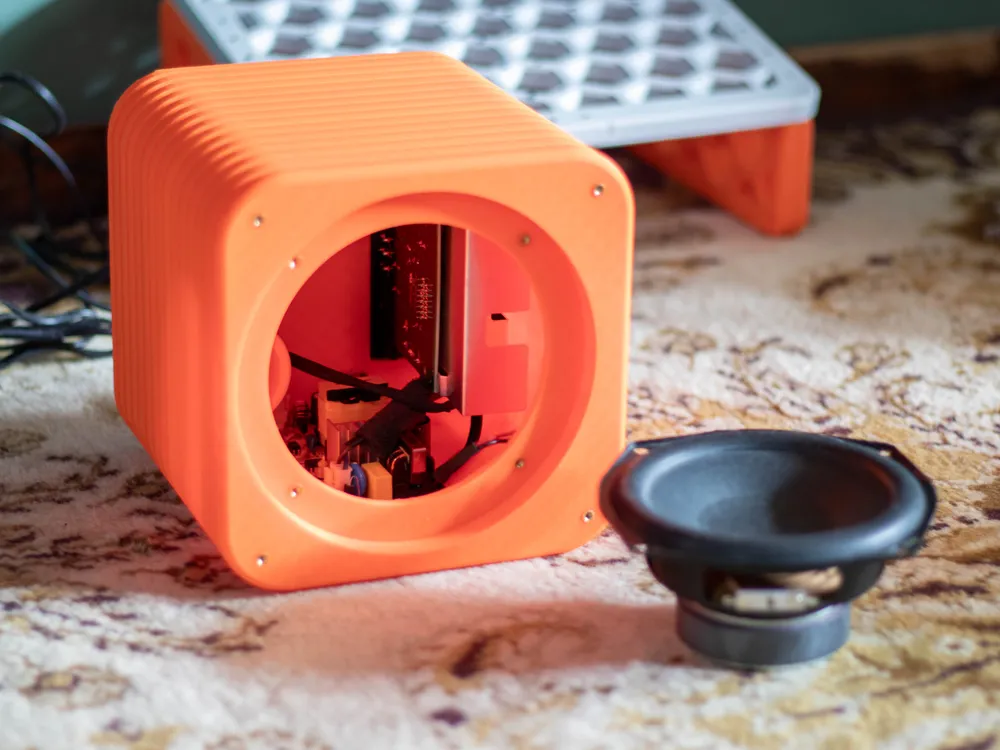
- Remove the sacrificial layer in the speaker driver hole.
- Add all 14 heat inserts to the Subwoofer Box.
- Add the Back Plate and secure it with screws.
- Place Internal Electronics Plate inside the subwoofer.
- Fit the back side of the plate in the horizontal slot at the back of the subwoofer.
- Screw the 2 front screws of the plate.
- Solder the wires to the subwoofer driver (Note the polarity).
- Screw the subwoofer.
- Screw the front cover.
- Add Feet Pads or Screw the 3D printed Feet.
Dimensions
Support me: https://ko-fi.com/geroulas
Build More:
License

You shall not share, sub-license, sell, rent, host, transfer, or distribute in any way the digital or 3D printed versions of this object, nor any other derivative work of this object in its digital or physical format (including - but not limited to - remixes of this object, and hosting on other digital platforms). The objects may not be used without permission in any way whatsoever in which you charge money, or collect fees.


Comment & Rating (83)