
Mini Yarbo Model with Swappable Attachments
Print Profile(4)


Description
UPDATES:
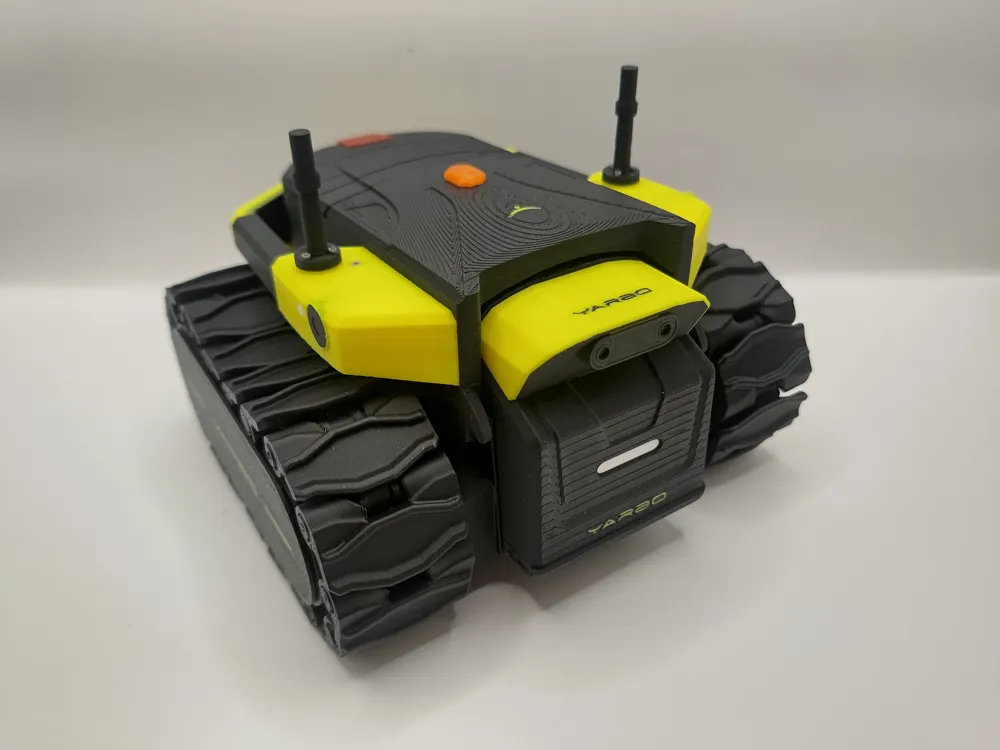
1/13/26 - Added an alternate version of the main body that has the shorter antennas.
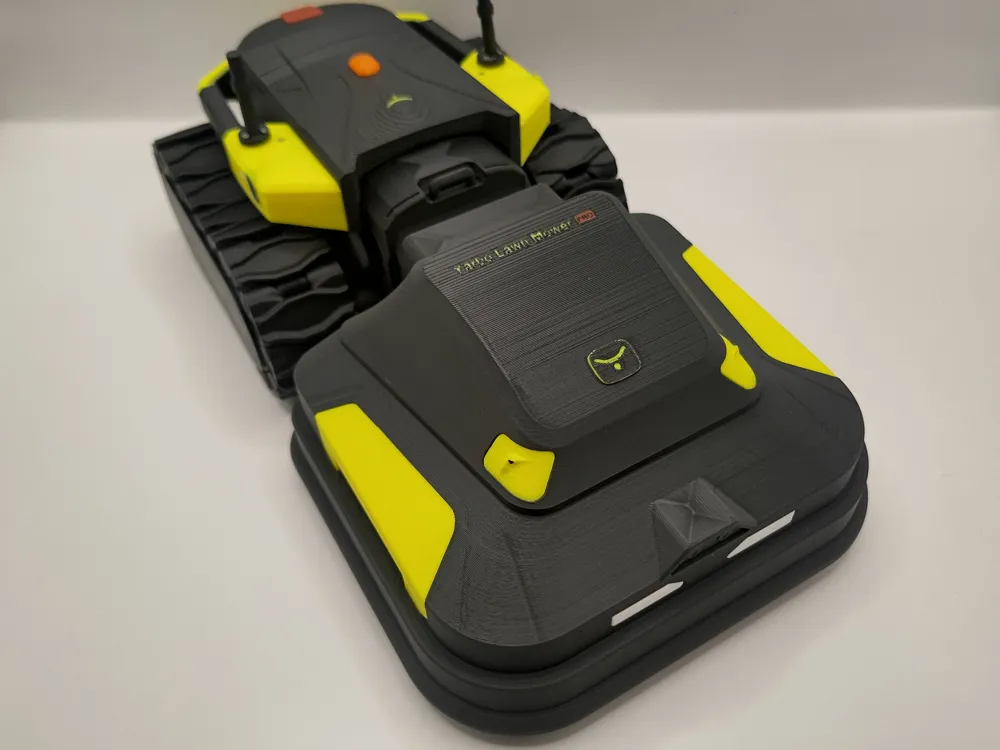
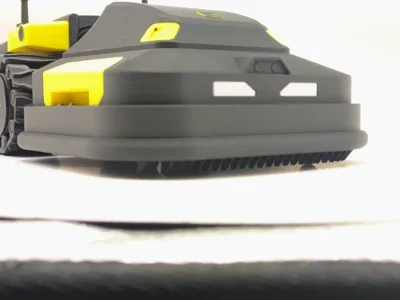
1/10/26 - Added both versions of the lawn mower attachments.

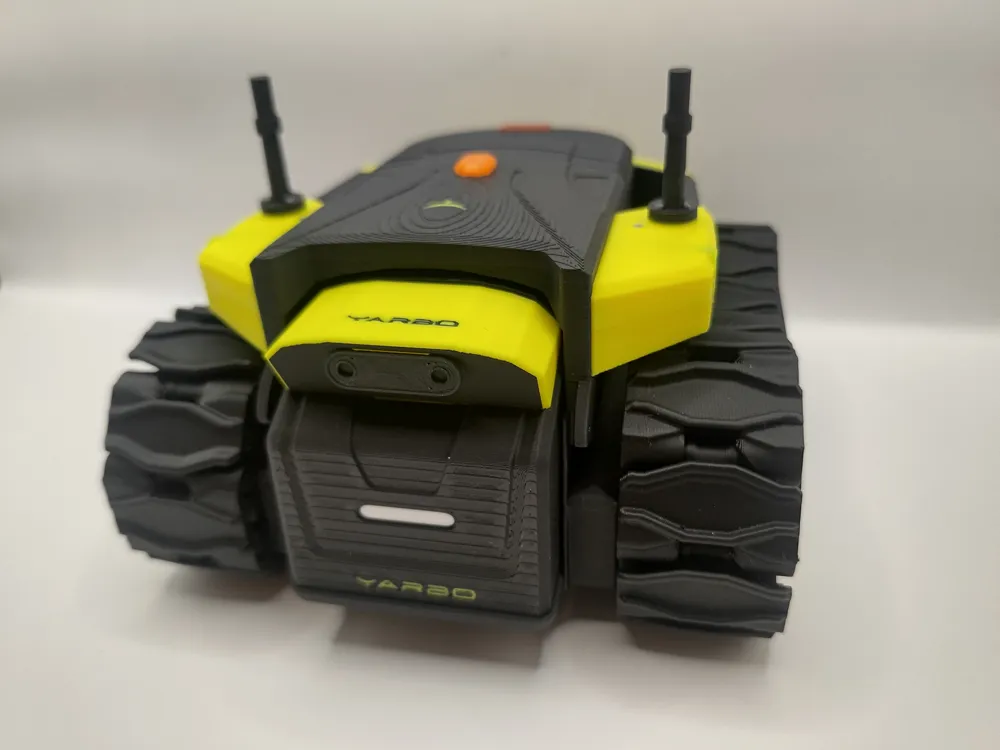
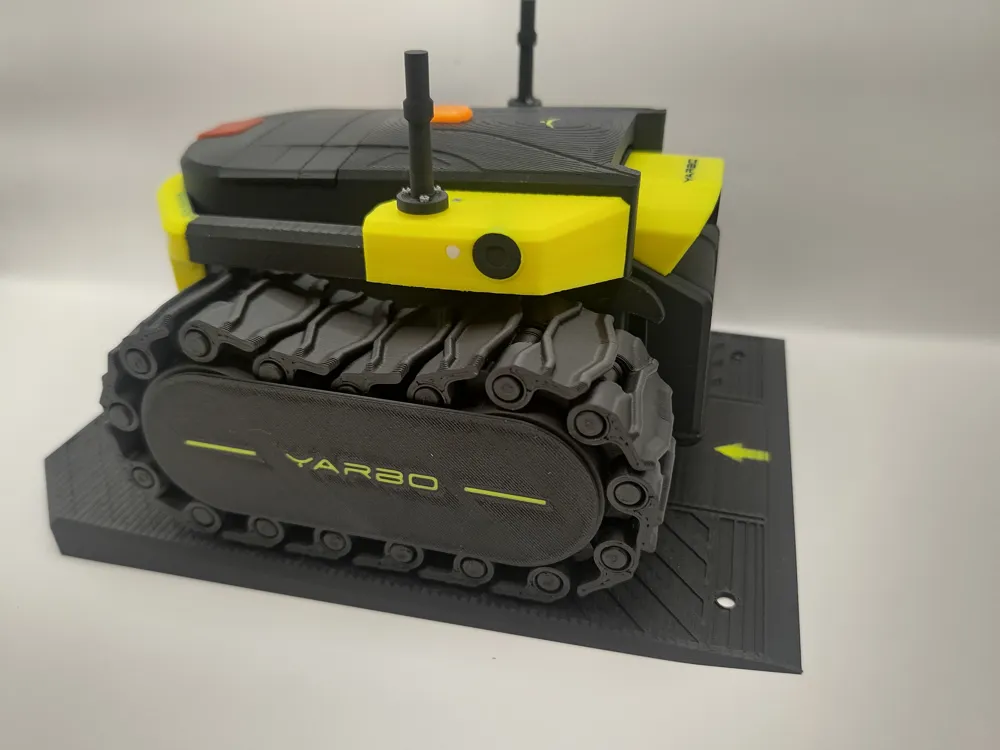
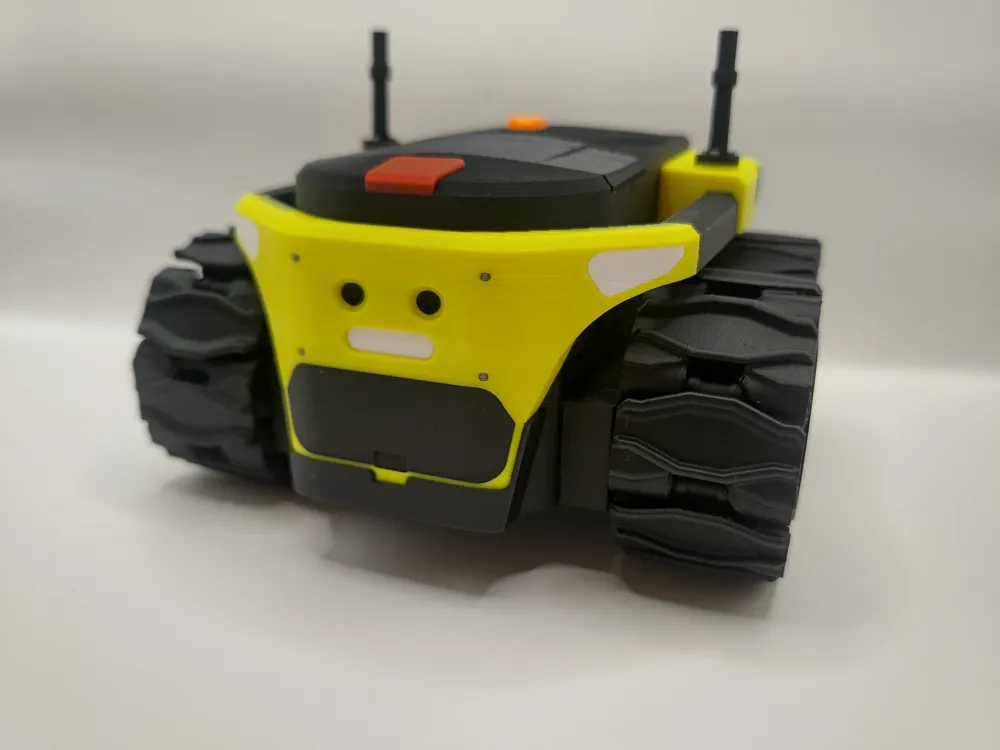
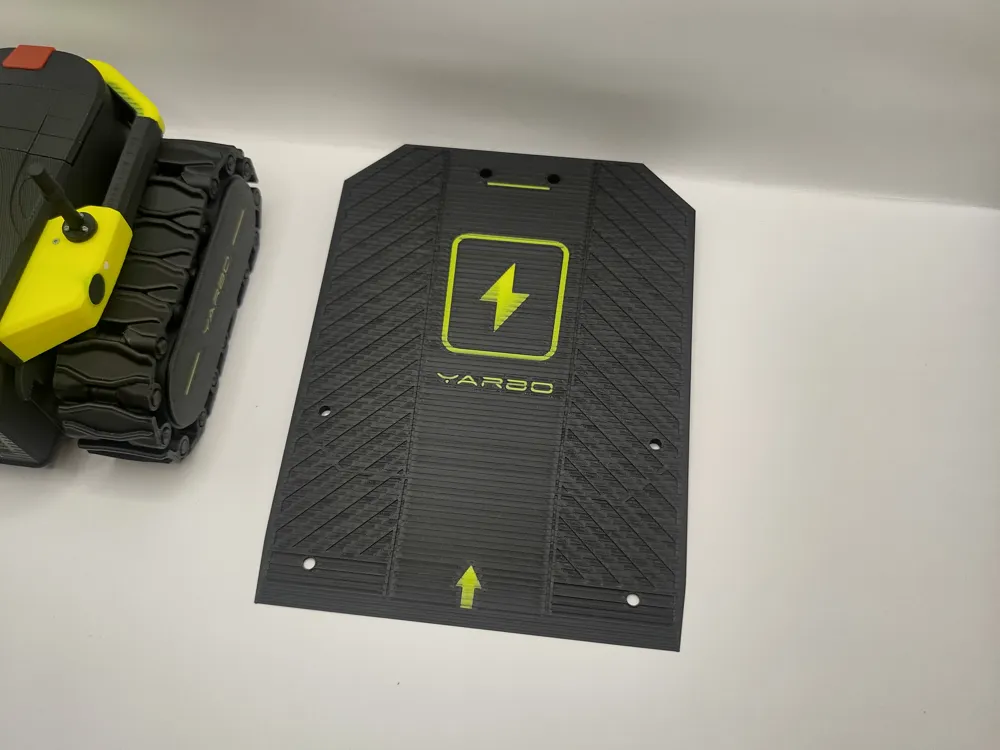
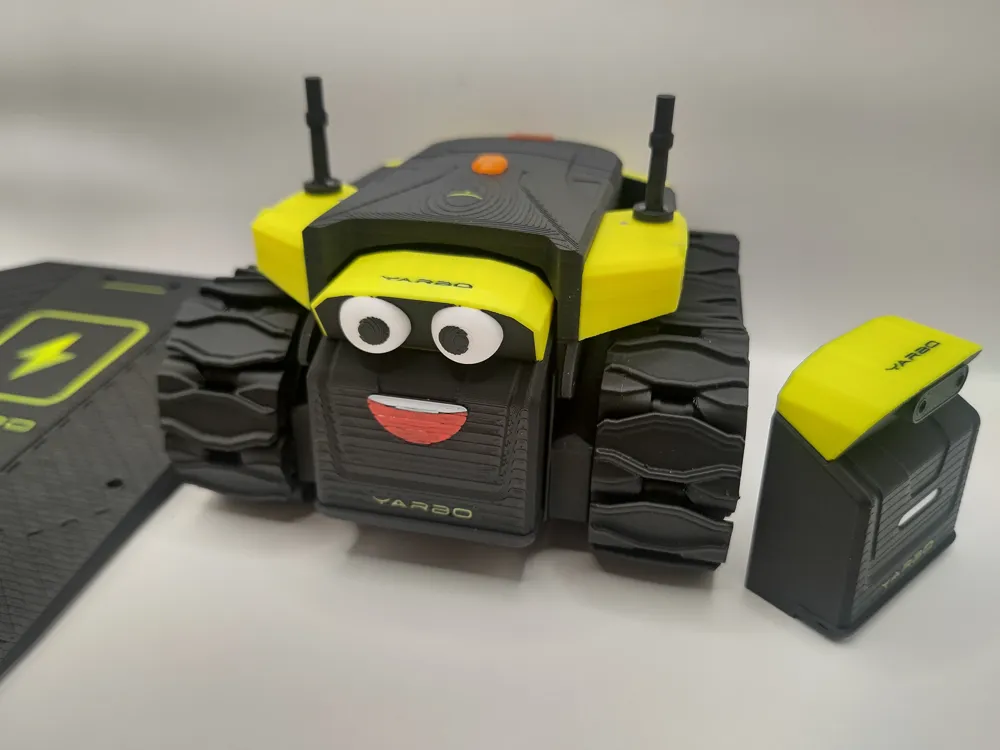
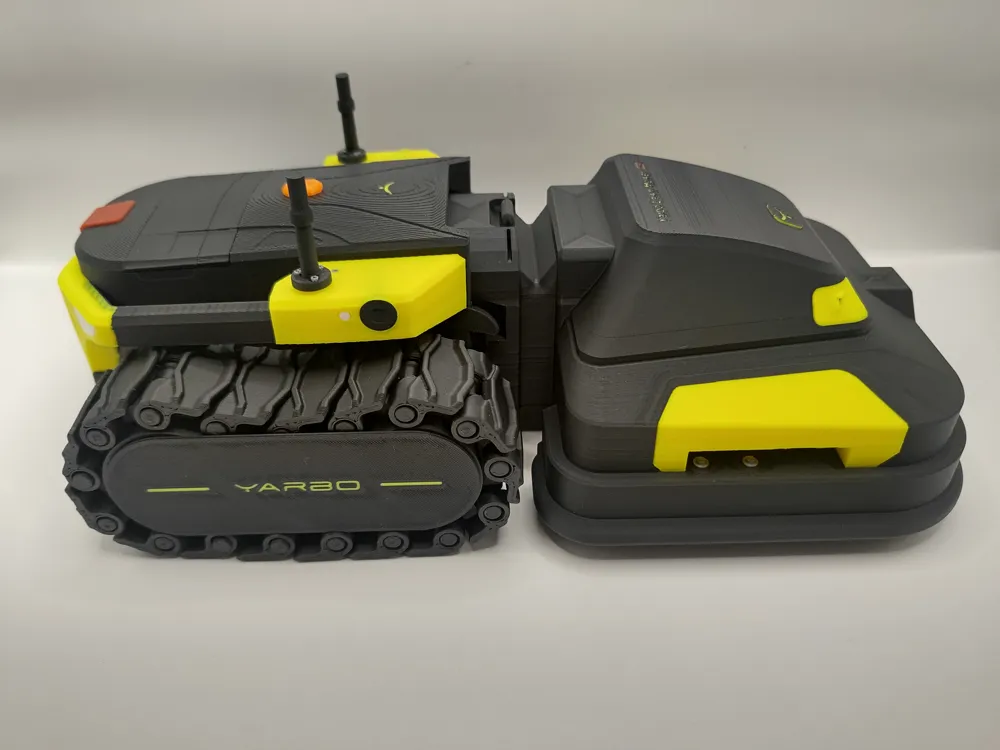
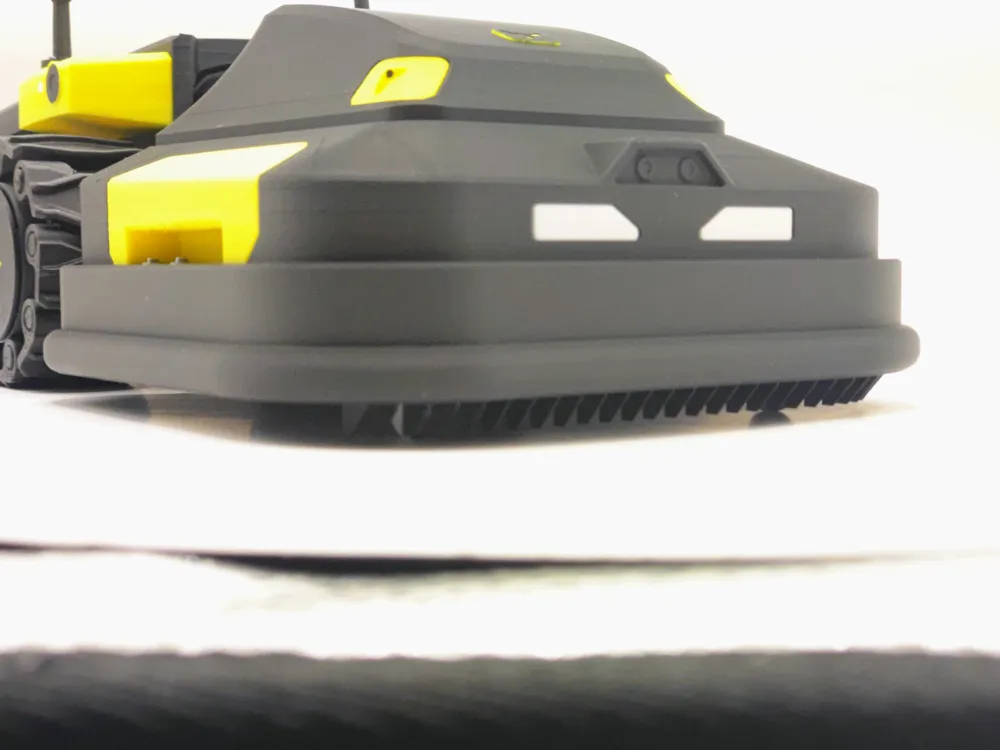
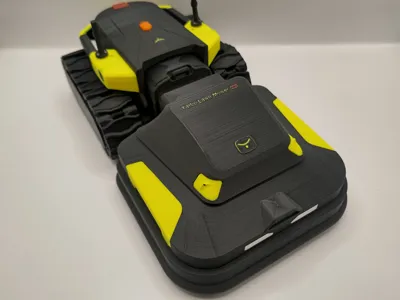
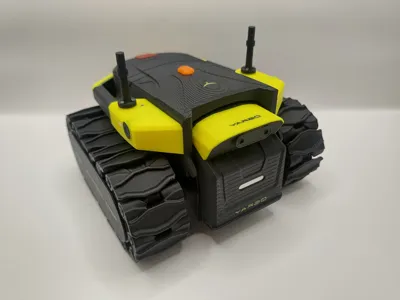
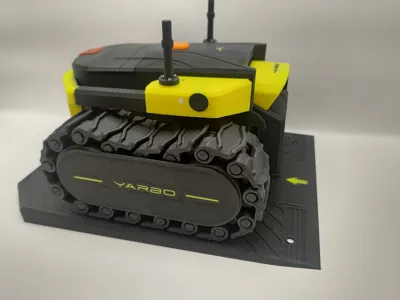
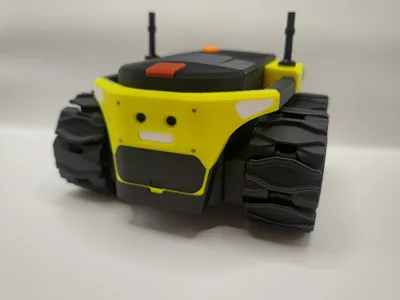
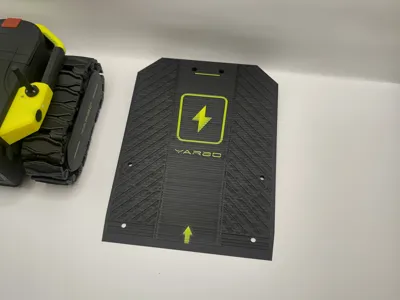
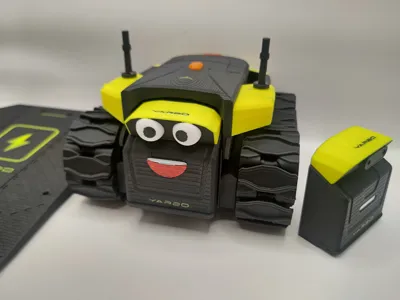
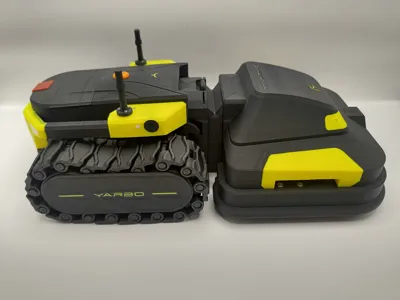
This is a custom-designed recreation of the Yarbo autonomous yard robot. It features moving tracks (designed by MottN), magnetic swappable attachments, a docking station, and an openable storage compartment that can hold one of the SAM modules in it.
In the project file I've set the black filament profile to raise the Supertack plate temperature to 50 degrees and raised the no cooling setting to the first 2 layers. This is needed to print the lower layers with the track clips. I've opted to use PLA support material for the interface layers, but you can use whatever material you want for support. If you don't want a lid that opens, you can assemble the lid and the main body together in the slicer and have them print together.
Instead of redesigning the wheel (or tracks rather), I opted to use MottN's Finger Treads Fidget Track V2 as an add-on. Follow the link to download a set of his tracks that will clip into place on my Yarbo model. The track cover will then clip on over the tracks. Notes below.
- Only the low-profile treads like the “original” pattern will fit.
- Scale the tracks to 127%. Depending on your machine and material, you may need to adjust the scale slightly.
- Be sure to leave him a boost for his awesome model.
Magnets needed:
Pauses have been set up in the project file at various heights to insert the magnets.
- (6) 5x2mm for an attachment
- (2) 3x2mm for the lid compartment
- (2) 3x1mm for the lid
Boost Me (for free)
Please leave me a boost to help keep me motivated and making more!
License

You shall not share, sub-license, sell, rent, host, transfer, or distribute in any way the digital or 3D printed versions of this object, nor any other derivative work of this object in its digital or physical format (including - but not limited to - remixes of this object, and hosting on other digital platforms). The objects may not be used without permission in any way whatsoever in which you charge money, or collect fees.


Comment & Rating (31)