
RPi-5 Touch Console Enclosure
Print Profile(1)

Description
Boost Me (for free)
show ur support
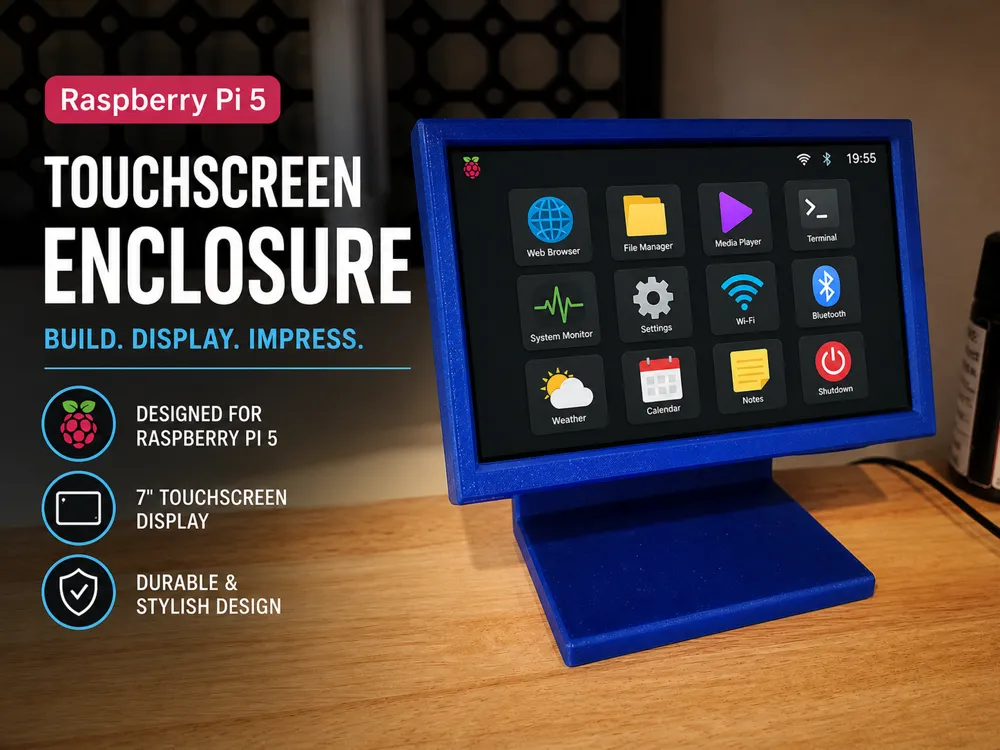
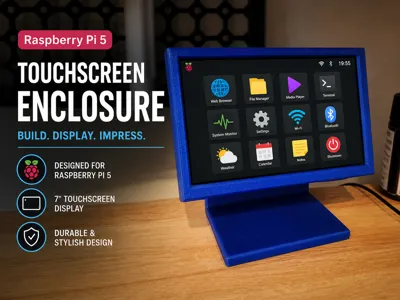
Raspberry Pi 5 Desktop Touchscreen Stand (7")
recommened software
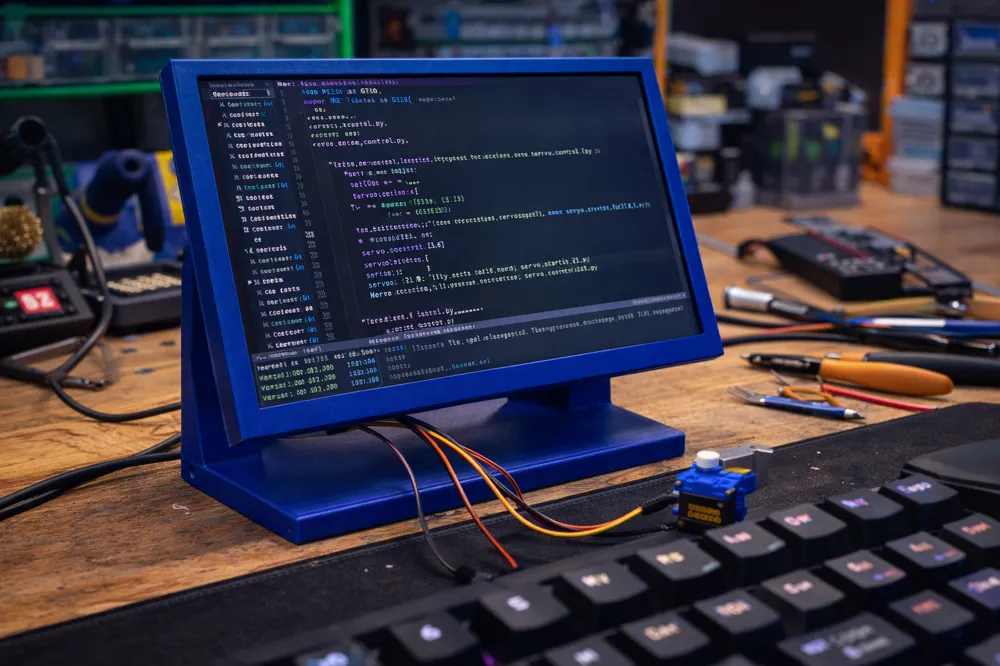
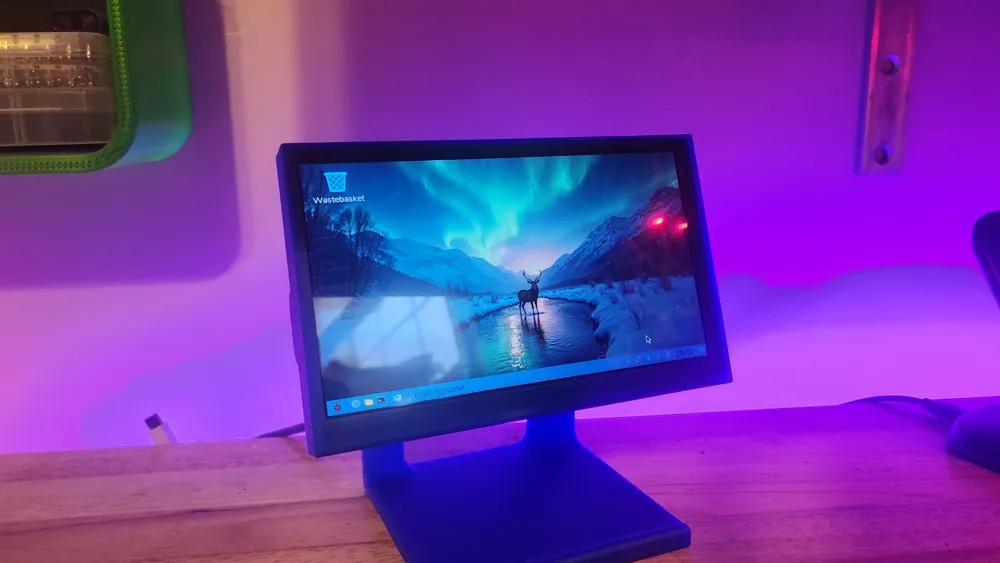
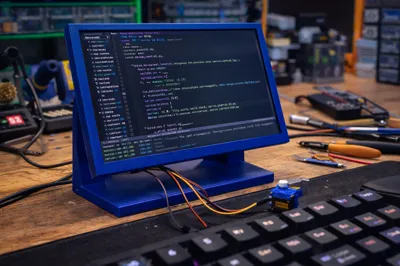
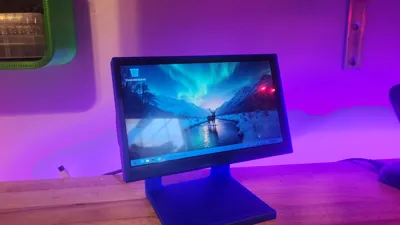
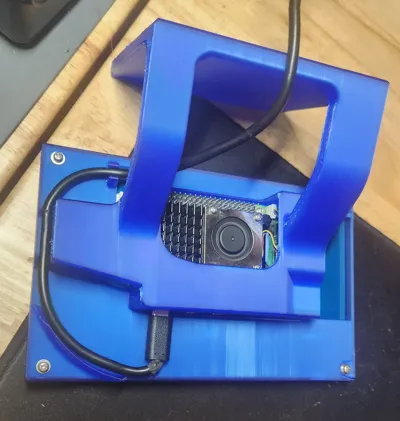
A compact 3D-printed desktop stand designed to hold a Raspberry Pi 5 and a 7-inch DSI touchscreen as a single, clean unit. The Pi mounts behind the screen for a tidy setup, comfortable viewing angle, and full access to ports.
Designed around:
* Vemico Raspberry Pi 5 Kit 8GB RAM with Active Cooler
https://www.amazon.com/dp/B0DFMNHL62
*
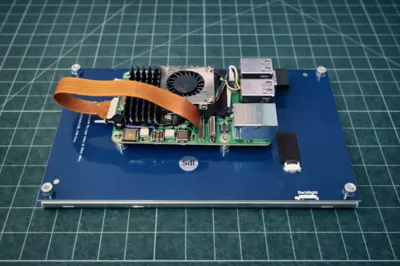
* 7" IPS DSI Touchscreen (800×480, Capacitive)
https://www.amazon.com/dp/B0D3QB7X4Z
*
Features
* Built for Raspberry Pi 5 (older versions will work screen)
*
* Fits the listed 7" DSI touchscreen
*
* Stable, desk-friendly viewing angle
*
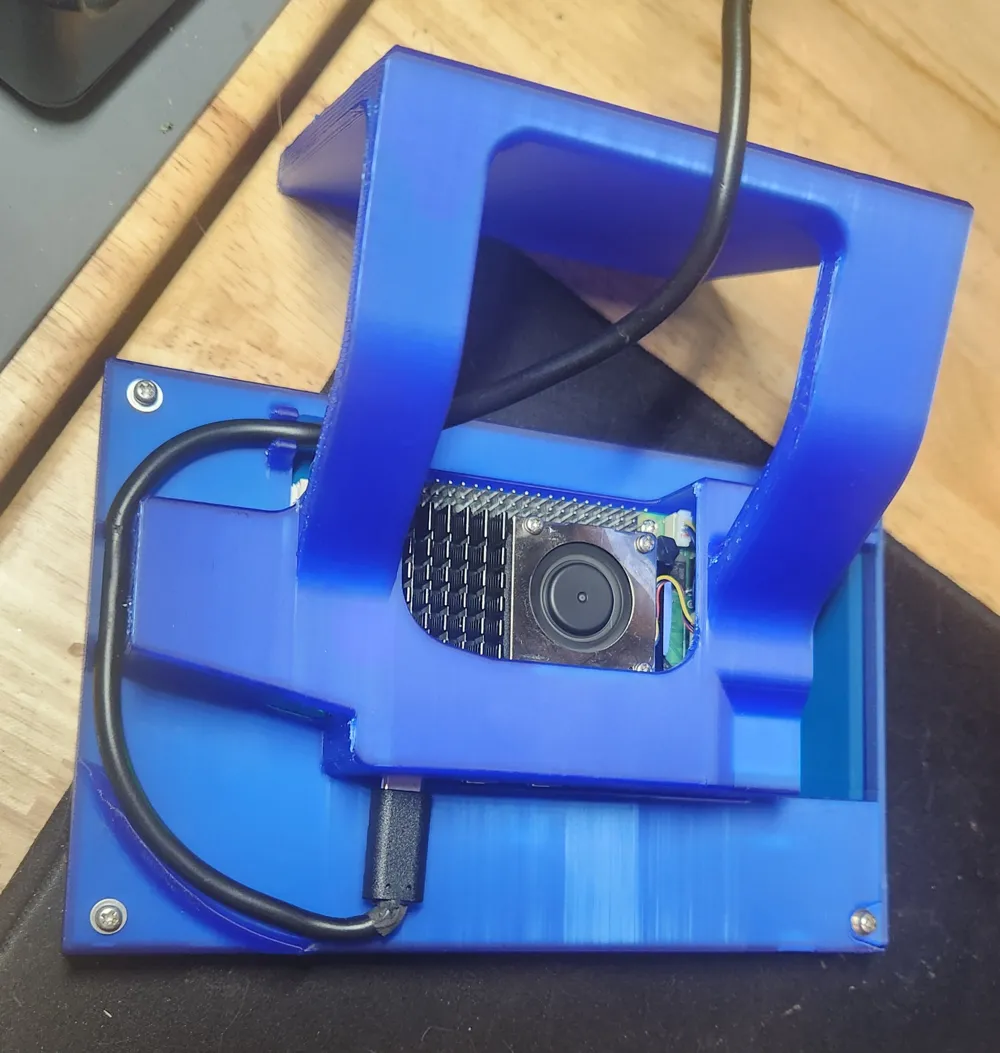
* Open access to USB, HDMI, GPIO, and power,
* In the Future i might work on a better version with SD card extender for exterior mounting.
*
* Compact footprint with clean cable routing
*
* Allows airflow for active cooling
*
Printing & Hardware
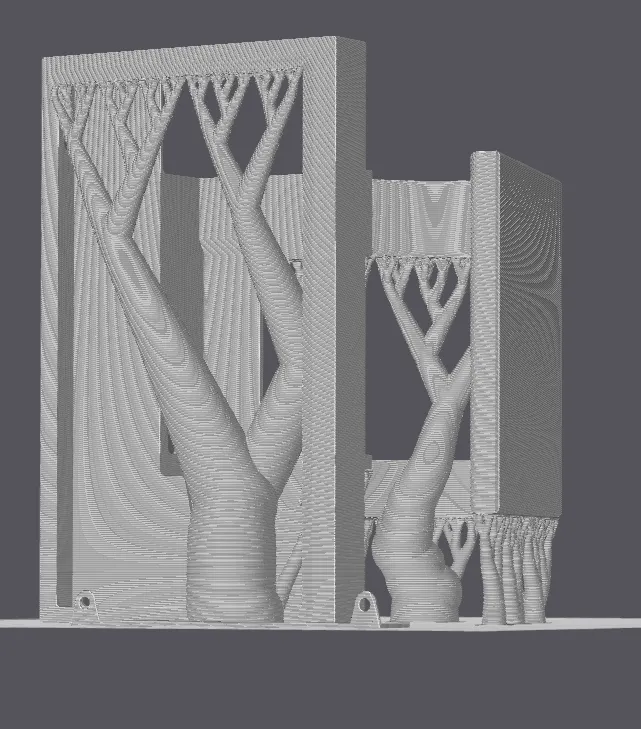
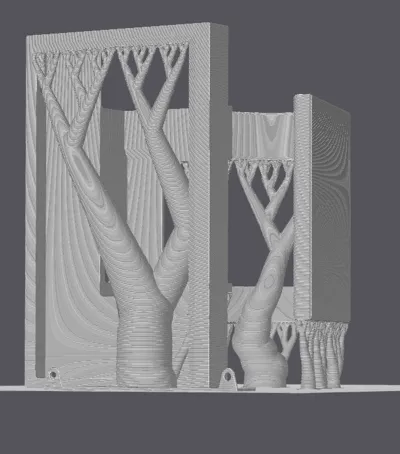
* Supports required
*
* Prints well in PLA, PETG, or ABS
*
* Uses 4 - M2.5 screws and washers
Installation
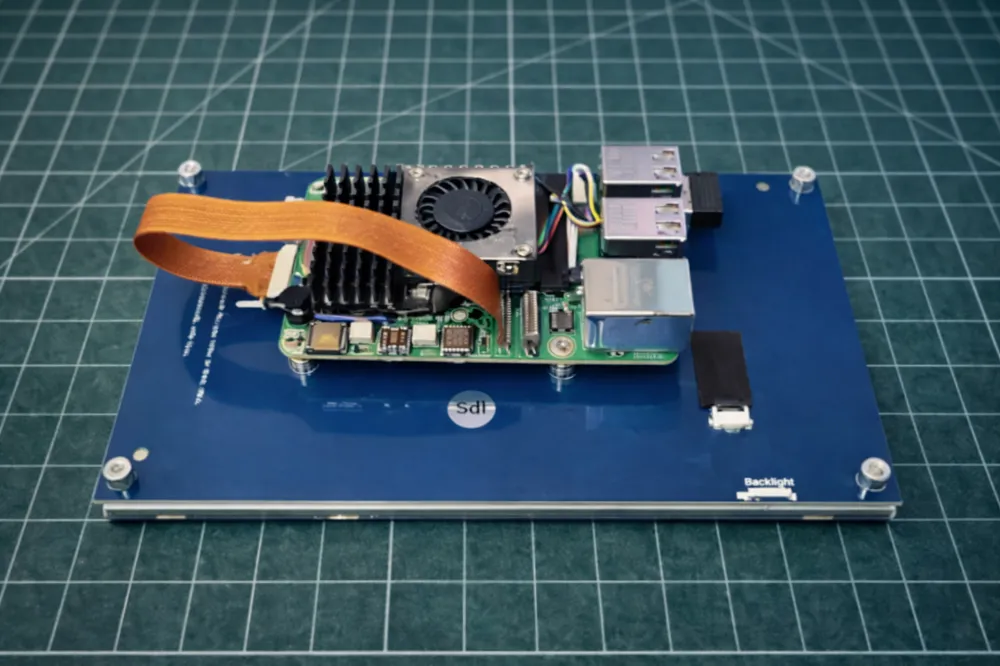
1. Ensure the Raspberry Pi is firmly attached to the back of the screen, with the ribbon cable connected.
2. Carefully align the combined unit and slide the screen and Raspberry Pi into the side of the 3D print, taking care not to snag the USB ports or put stress on the ribbon cable. it should be a tight fit.
3. Install screws and power cable. I used a heat gun on the power cable to create 90 deg angle.
*
Ideal for dashboards, home automation panels, retro gaming setups, and general Pi desktop use.
License

You may create derivative works based on this object, provided that all such derivative works are published exclusively on the MakerWorld platform and include proper attribution to the original creator. You may not share, upload, host, distribute, or publish this object—or any derivative work of this object—on any other digital platform, marketplace, or distribution channel. Commercial use of this object and any derivative works is strictly prohibited. This includes, but is not limited to, selling, renting, sublicensing, or using the object in any context in which you receive monetary compensation or other financial benefits.


Comment & Rating (16)