
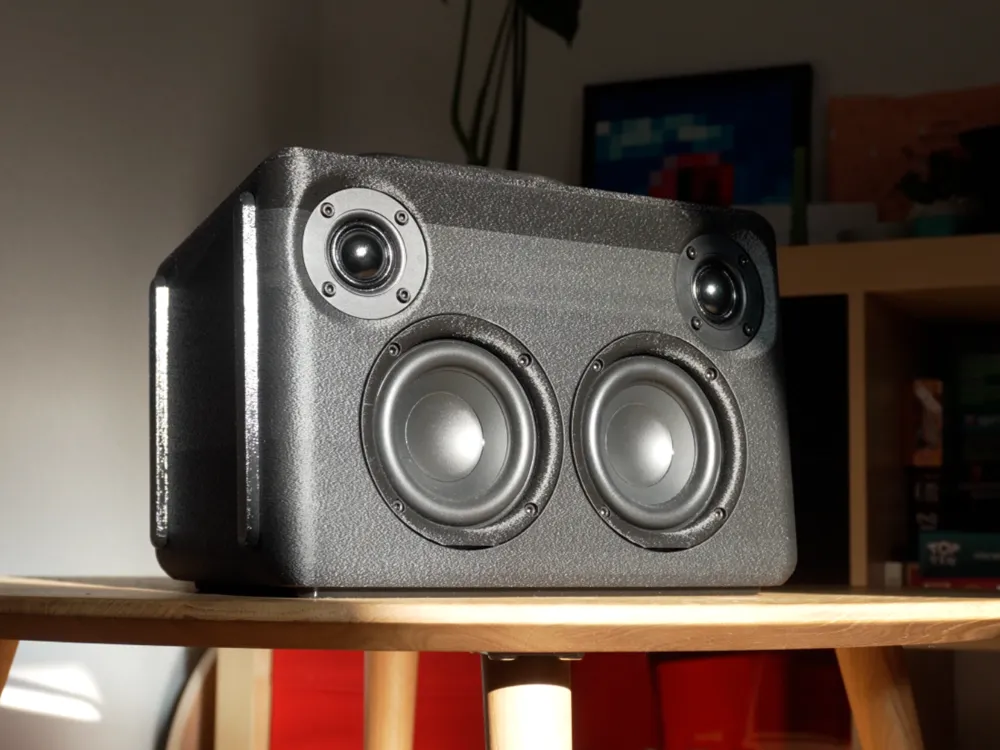
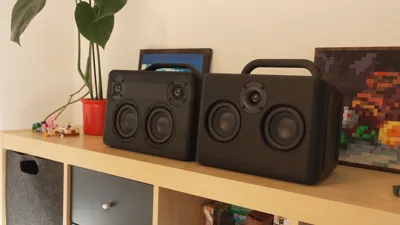
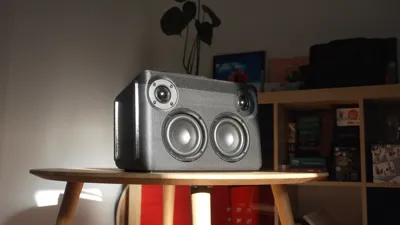
Battery Powered Bluetooth Boombox V2
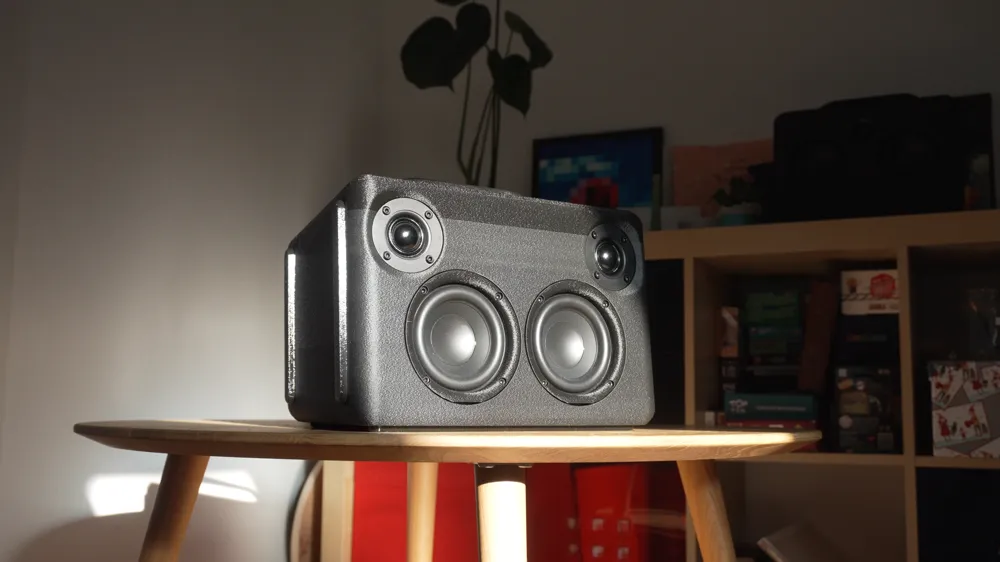
Print Profile(4)




Description
DIY Guide Boombox V2
Boost Me (for free)
Support further free 3D printable Speaker Projects!
The construction of this speaker is based on this YouTube video:
General Information
All files (Fusion360 project, DSP profile, parts list + instructions in PDF) can be HERE downloaded
Print settings:
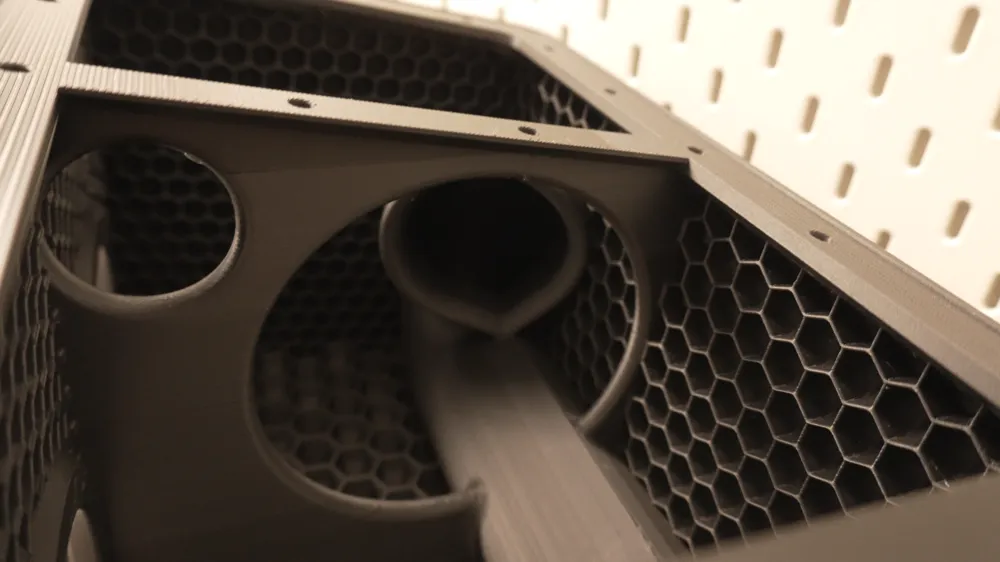
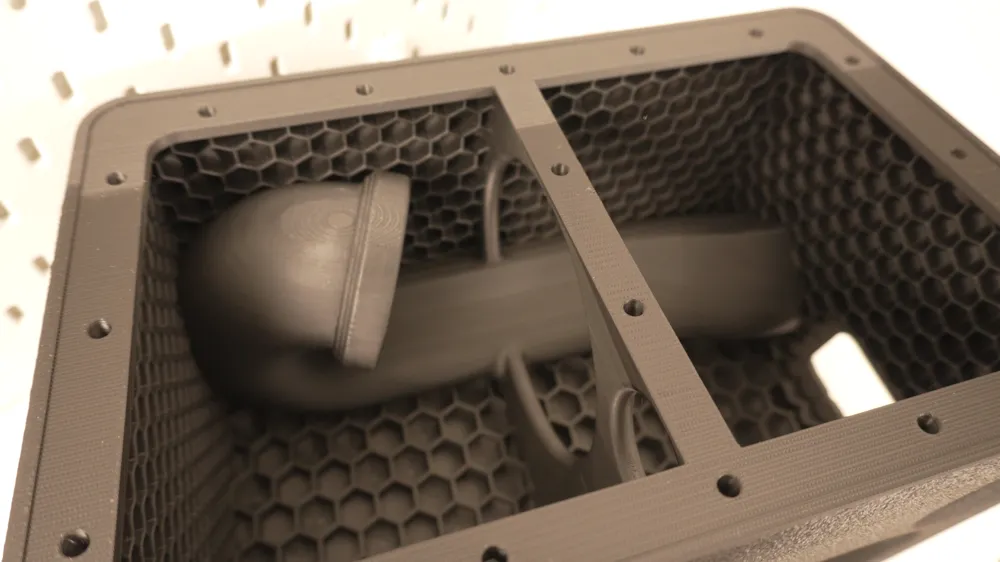
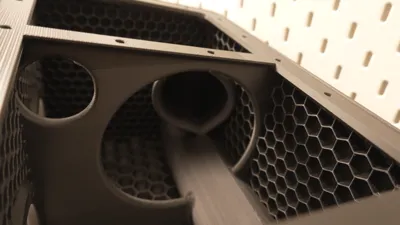
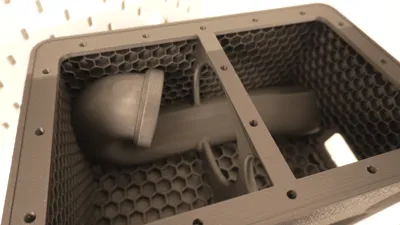
- 30% Gyroid Infill
- 4-5 walls
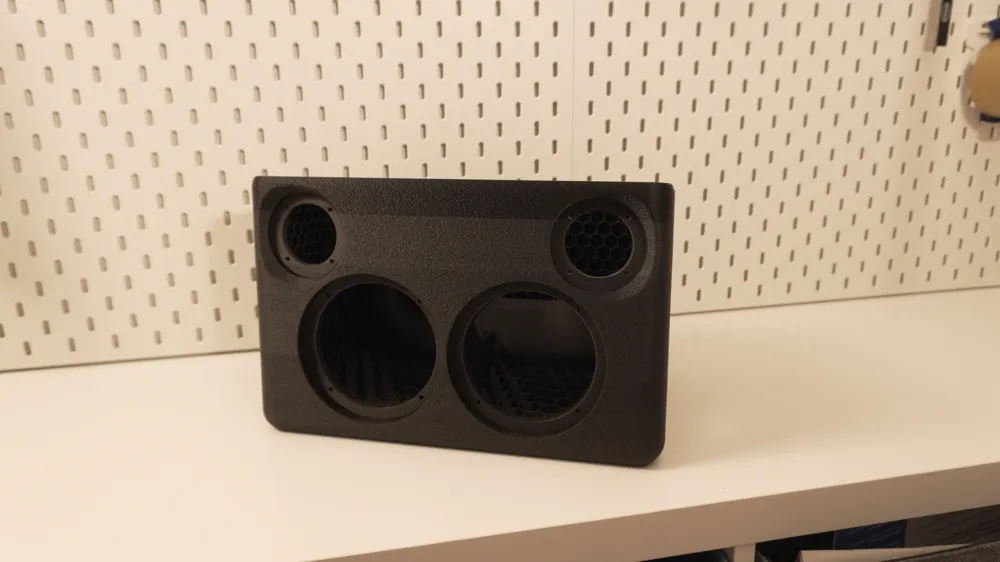
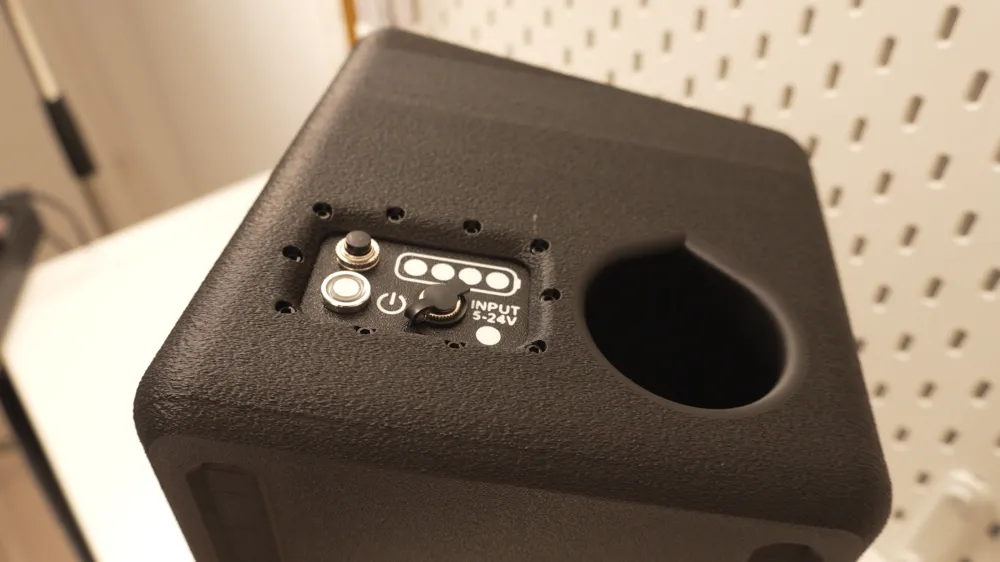
- Fuzzy Skin 0.5mm point spacing, 0.3mm thickness (In my print profiles, the outer walls are manually painted, all other walls must not have fuzzy skin, otherwise this leads to problems)
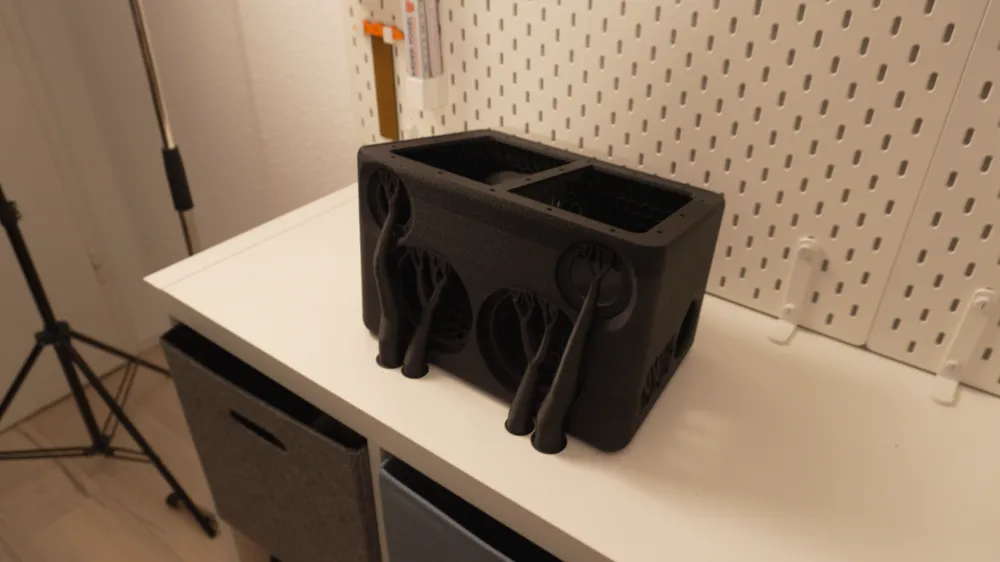
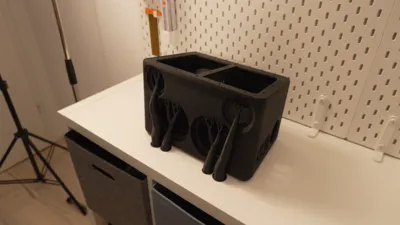
- Support: Tree (In my print profiles, the relevant support areas are painted, these should also not be modified)
Special notes:
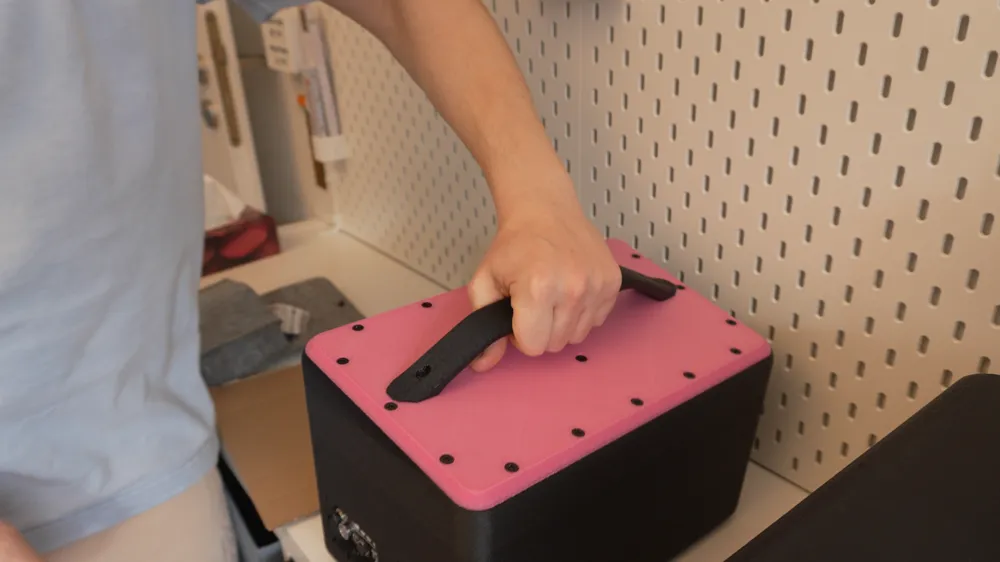
- When printing the lid, a pause must be set at the layer where the nuts are overprinted. During the pause, the M3 nuts must be inserted
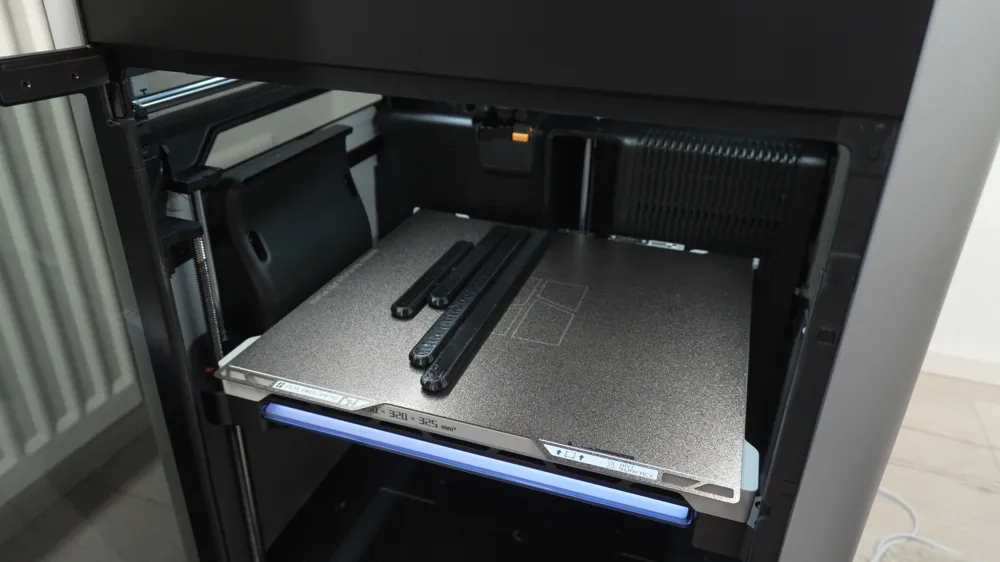
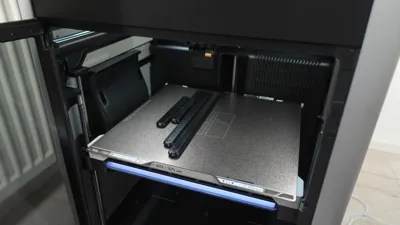
- The TCP115 adapter rings must be printed upright as in the profile, so that the rough finish is identical to the housing. If there are problems with bed adhesion, the skirt loops can be increased.
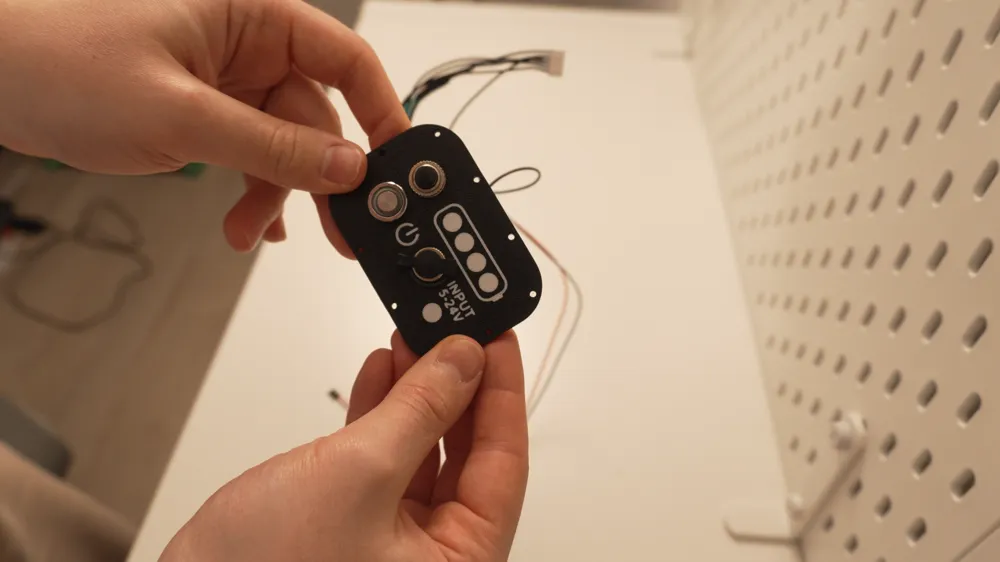
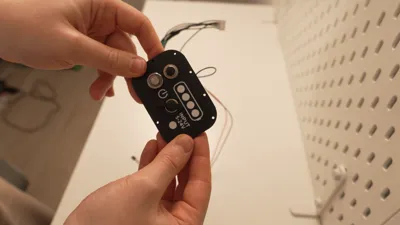
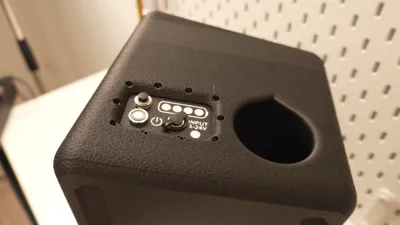
- For printing the control panel, multi-material function is required.
- For outdoor use in summer, the speaker should preferably be printed in PETG . Normal PLA can soften and deform with prolonged sun exposure and warm temperatures. PLA HT would also be an option
Single Print (Printer minimum size 324mm)
With a large 3D printer like the H2 series from Bambu Lab, the housing can be made in a single print
- In case of warping problems, the auxiliary fan can be deactivated and the print bed temperature increased
- Just pray that the 3-day print runs through
Dual Print (Printer minimum size 220mm)
For small 3D printers, there is an extra print profile for devices like P1S, A1, etc. Unfortunately, the print is still too large for the A1 mini
The speaker housing is printed in 2 parts and then glued together using 3D printed dowels
- Lower risk of failed prints, as the printing time of a single part is significantly reduced
- Small risk: Warping at the glue joint, so that dowels may no longer fit. Therefore, ensure the best possible bed adhesion, possibly also by using skirt loops
- To get the perfect dowel size, you should print them for testing and scale them accordingly depending on the fit. Depending on the printer and filament, tolerances may vary.
- Gluing: I recommend a 2K epoxy adhesive for gluing. Ideally, the parts should be pressed together during the entire drying process for a reliable connection.
Voluntary Support
Developing such projects requires a lot of time, cost, and effort. If you liked the project, you are welcome to leave a small donation on a voluntary basis via the link below, which will also help finance future projects!
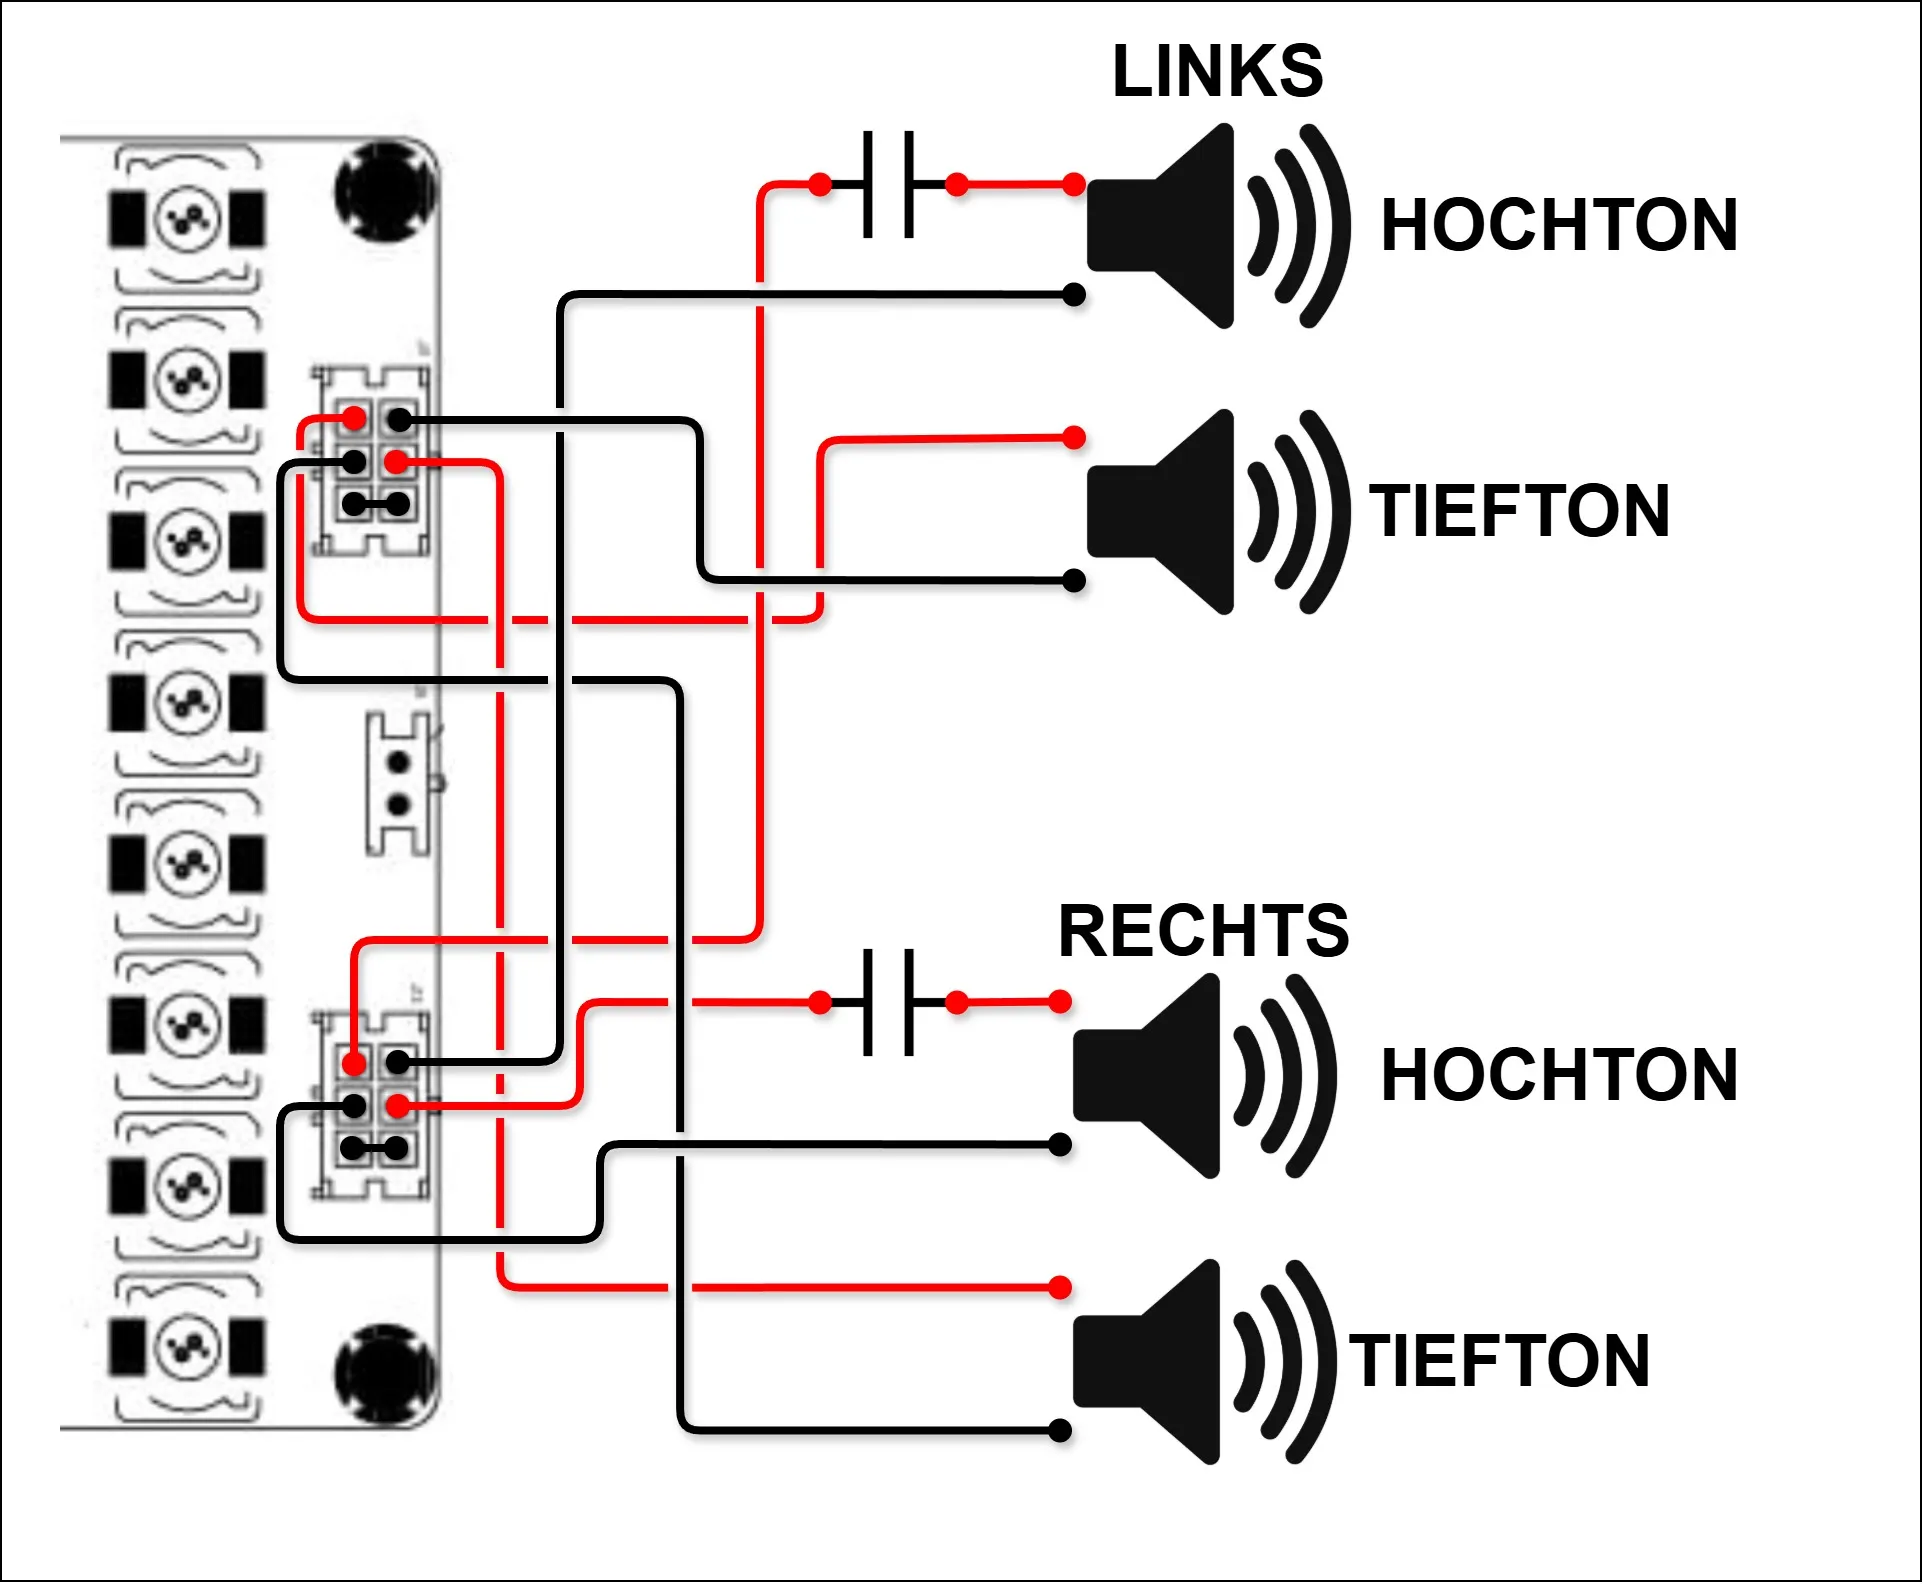
CORRECTION: The wiring shown in the video is not correct. This picture shows the correct wiring. Alternatively, you can also refer to the original instructions from Wondom, which are also correct
Documentation (1)
License

You may create derivative works based on this object, provided that all such derivative works are published exclusively on the MakerWorld platform and include proper attribution to the original creator. You may not share, upload, host, distribute, or publish this object—or any derivative work of this object—on any other digital platform, marketplace, or distribution channel. Commercial use of this object and any derivative works is strictly prohibited. This includes, but is not limited to, selling, renting, sublicensing, or using the object in any context in which you receive monetary compensation or other financial benefits.


Comment & Rating (173)