
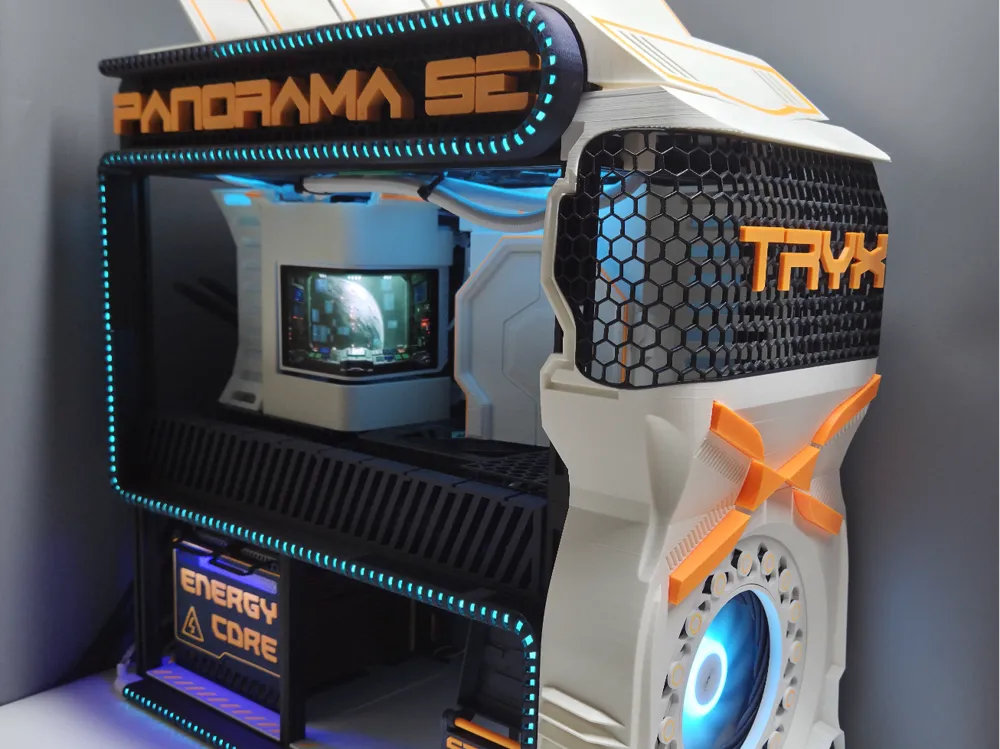
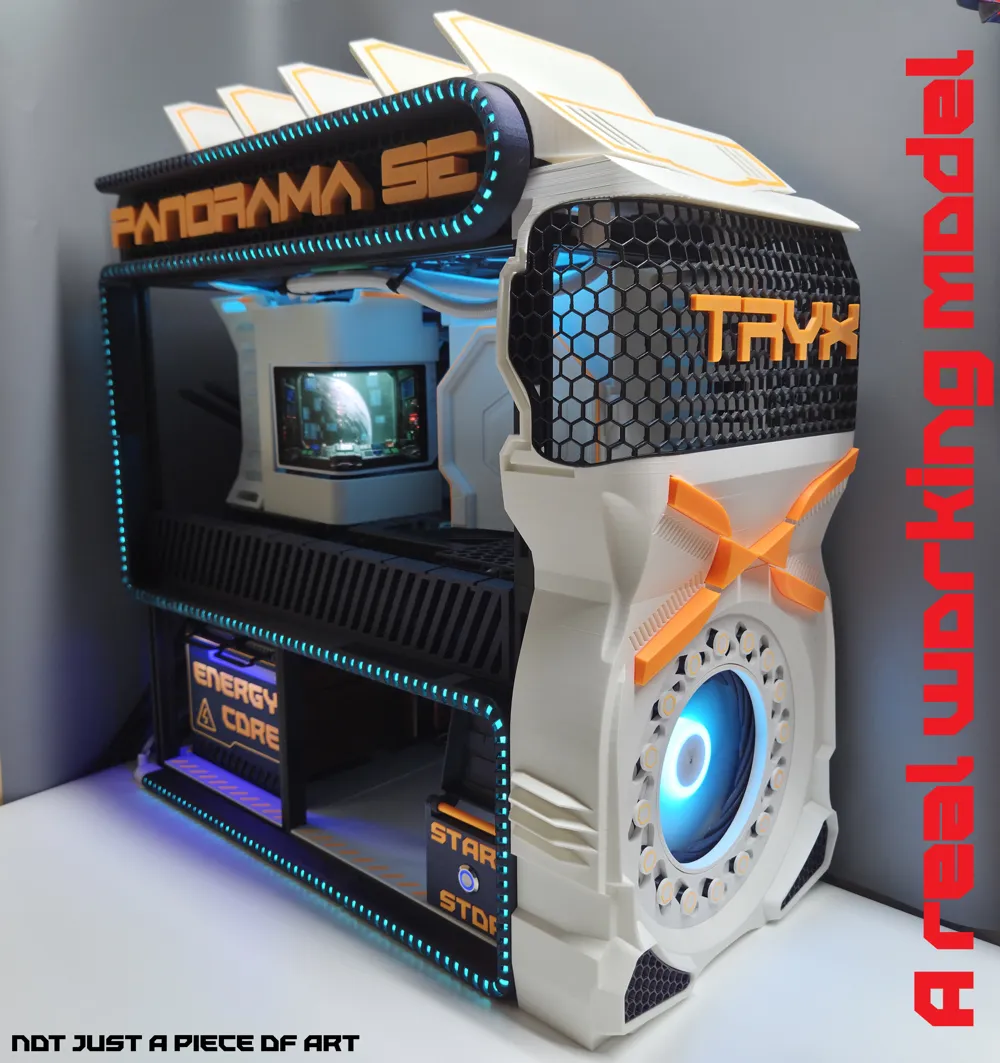
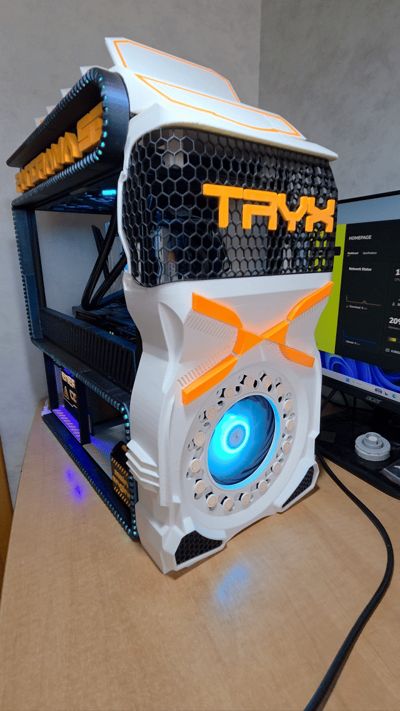
TRYX Open frame Spaceship Diorama PC

Print Profile(11)


Description
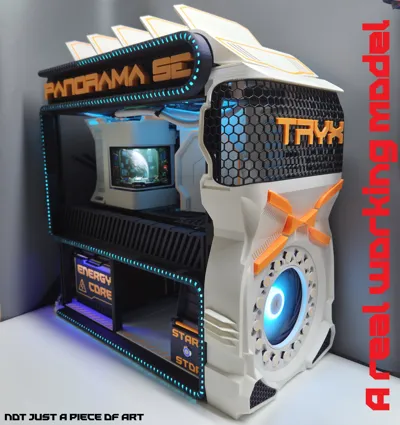
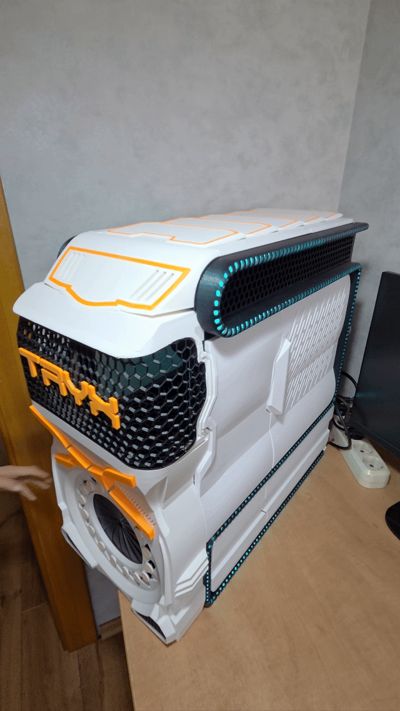
• A real working model, not just a pretty piece of art.

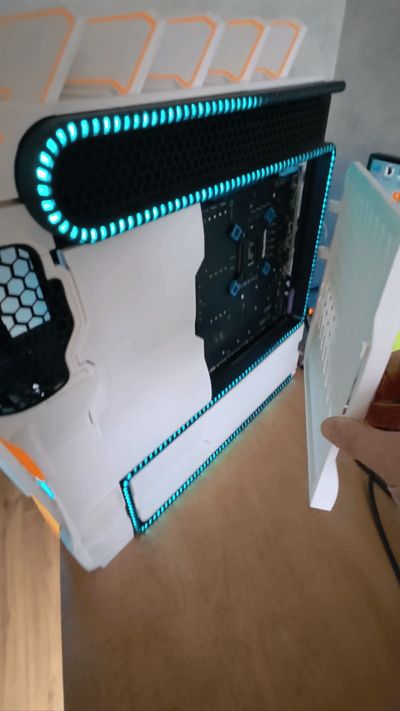
• Well-thought-out wiring layout. Wires are connected at the back, not sticking out from the front or sides. They don't catch the eye.

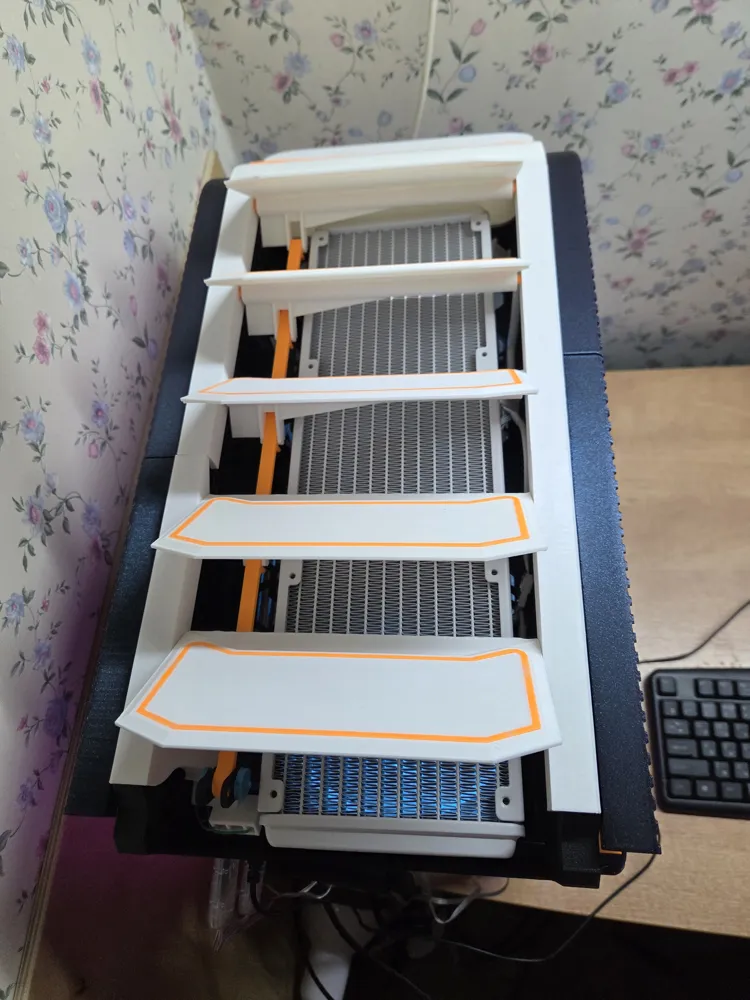
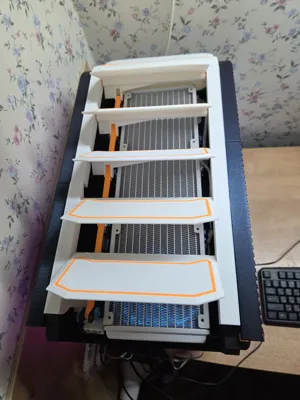
• Protection of the TRYX radiator from dust during periods of inactivity. The louvers close when the power is turned on.

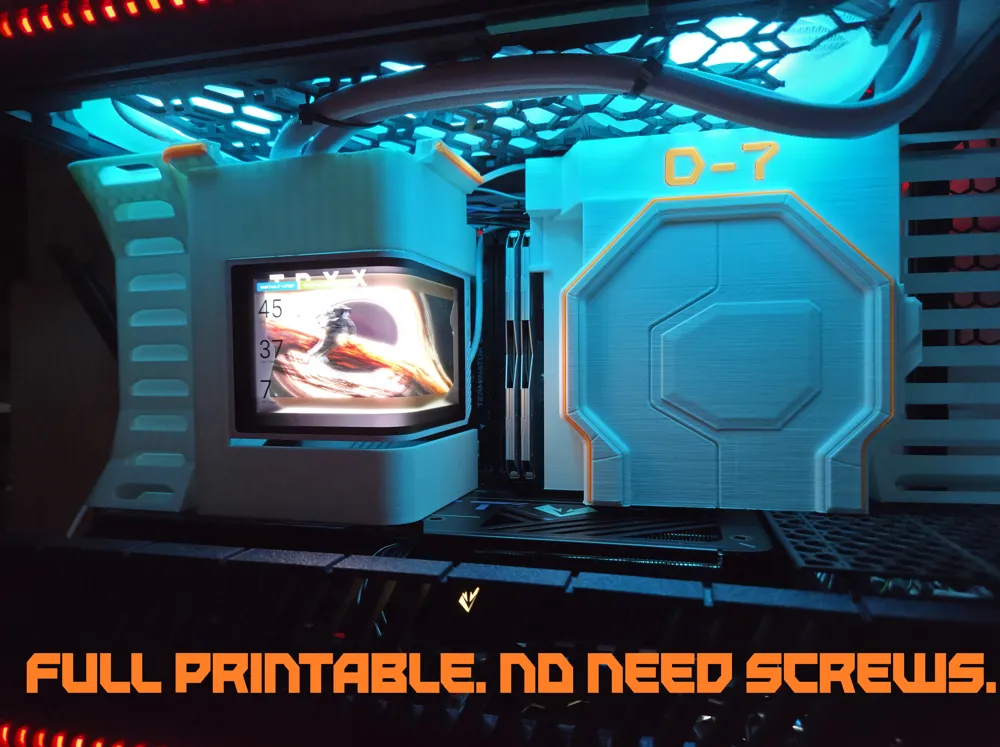
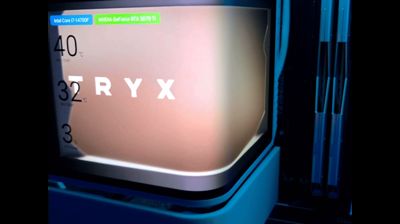
•Thoughtful design . The entire concept revolves around transforming the TRYX display into a spaceship control panel. The display takes on a meaningful purpose rather than just hanging in the air.
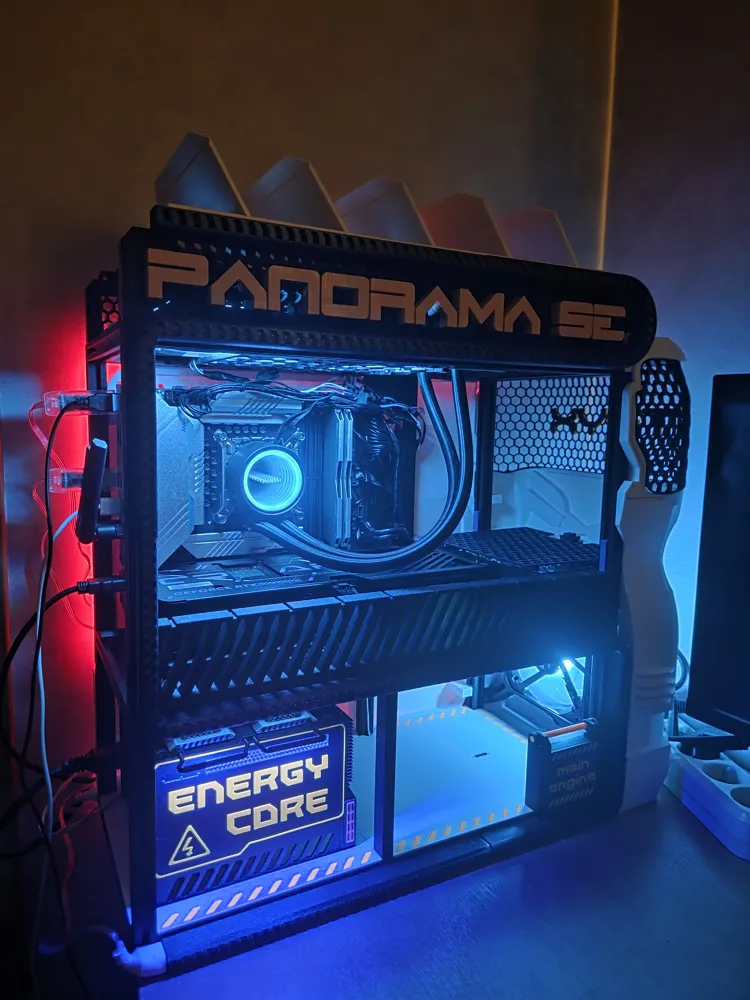
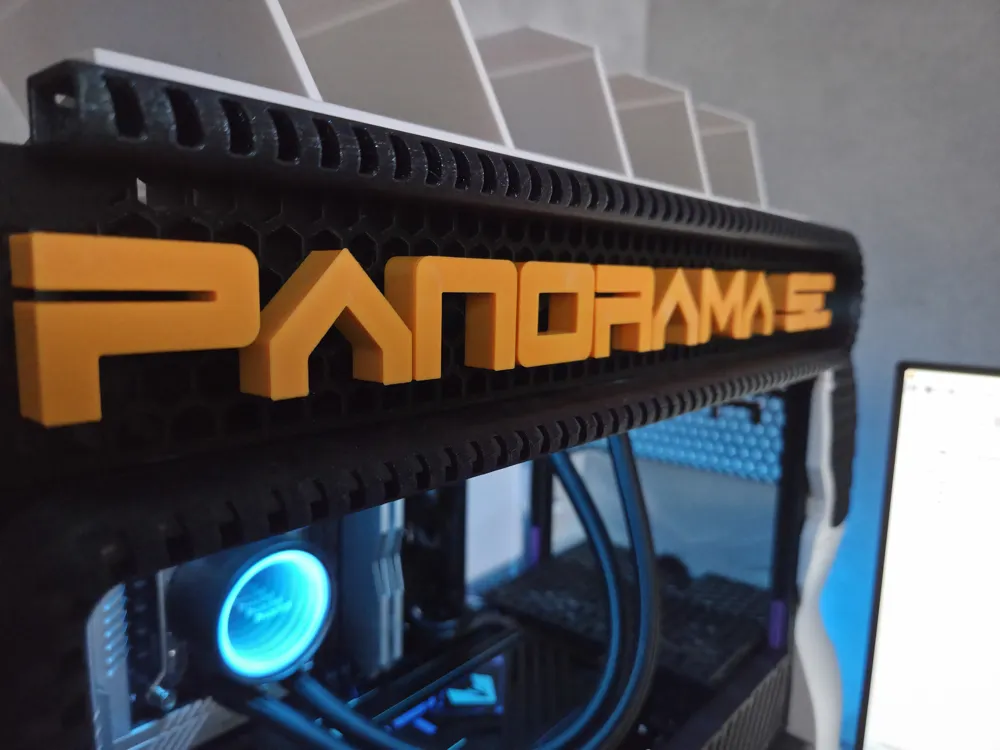
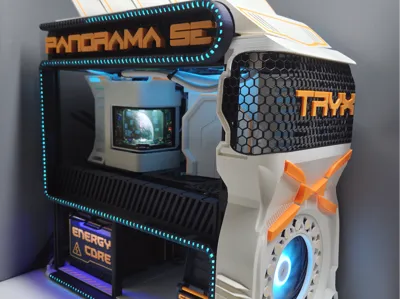
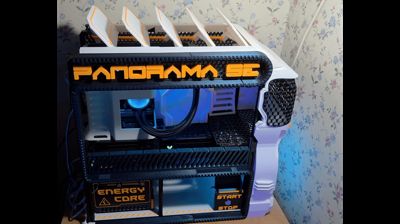
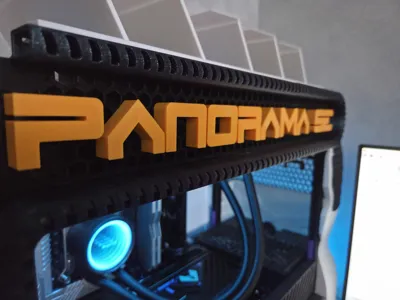
When I first saw the TRYX Panorama SE curved screen, I immediately imagined a spaceship's information display. It's just as unusual, futuristic, and cool! This led to the idea of turning a PC into a spaceship! The curved display will serve as the core of the project, displaying the ship's status. This will provide ample room for creativity, as space travel is not always boring or monotonous!
An example of using a TRYX display to bring a diorama to life
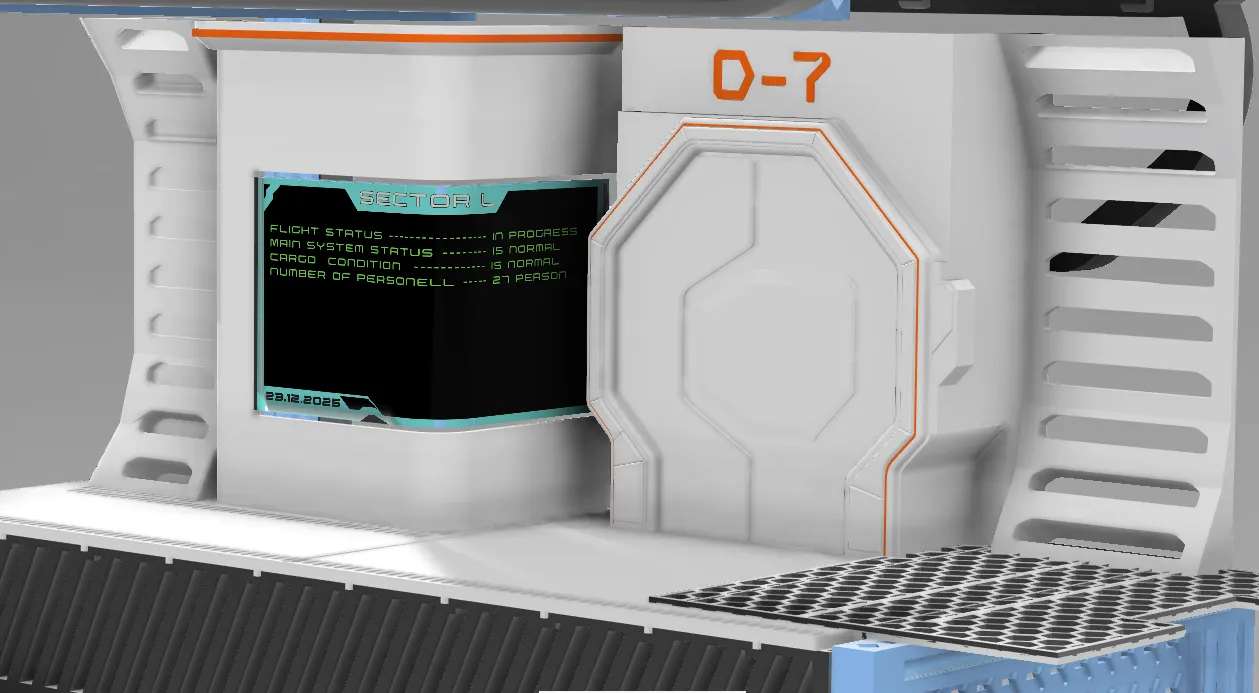
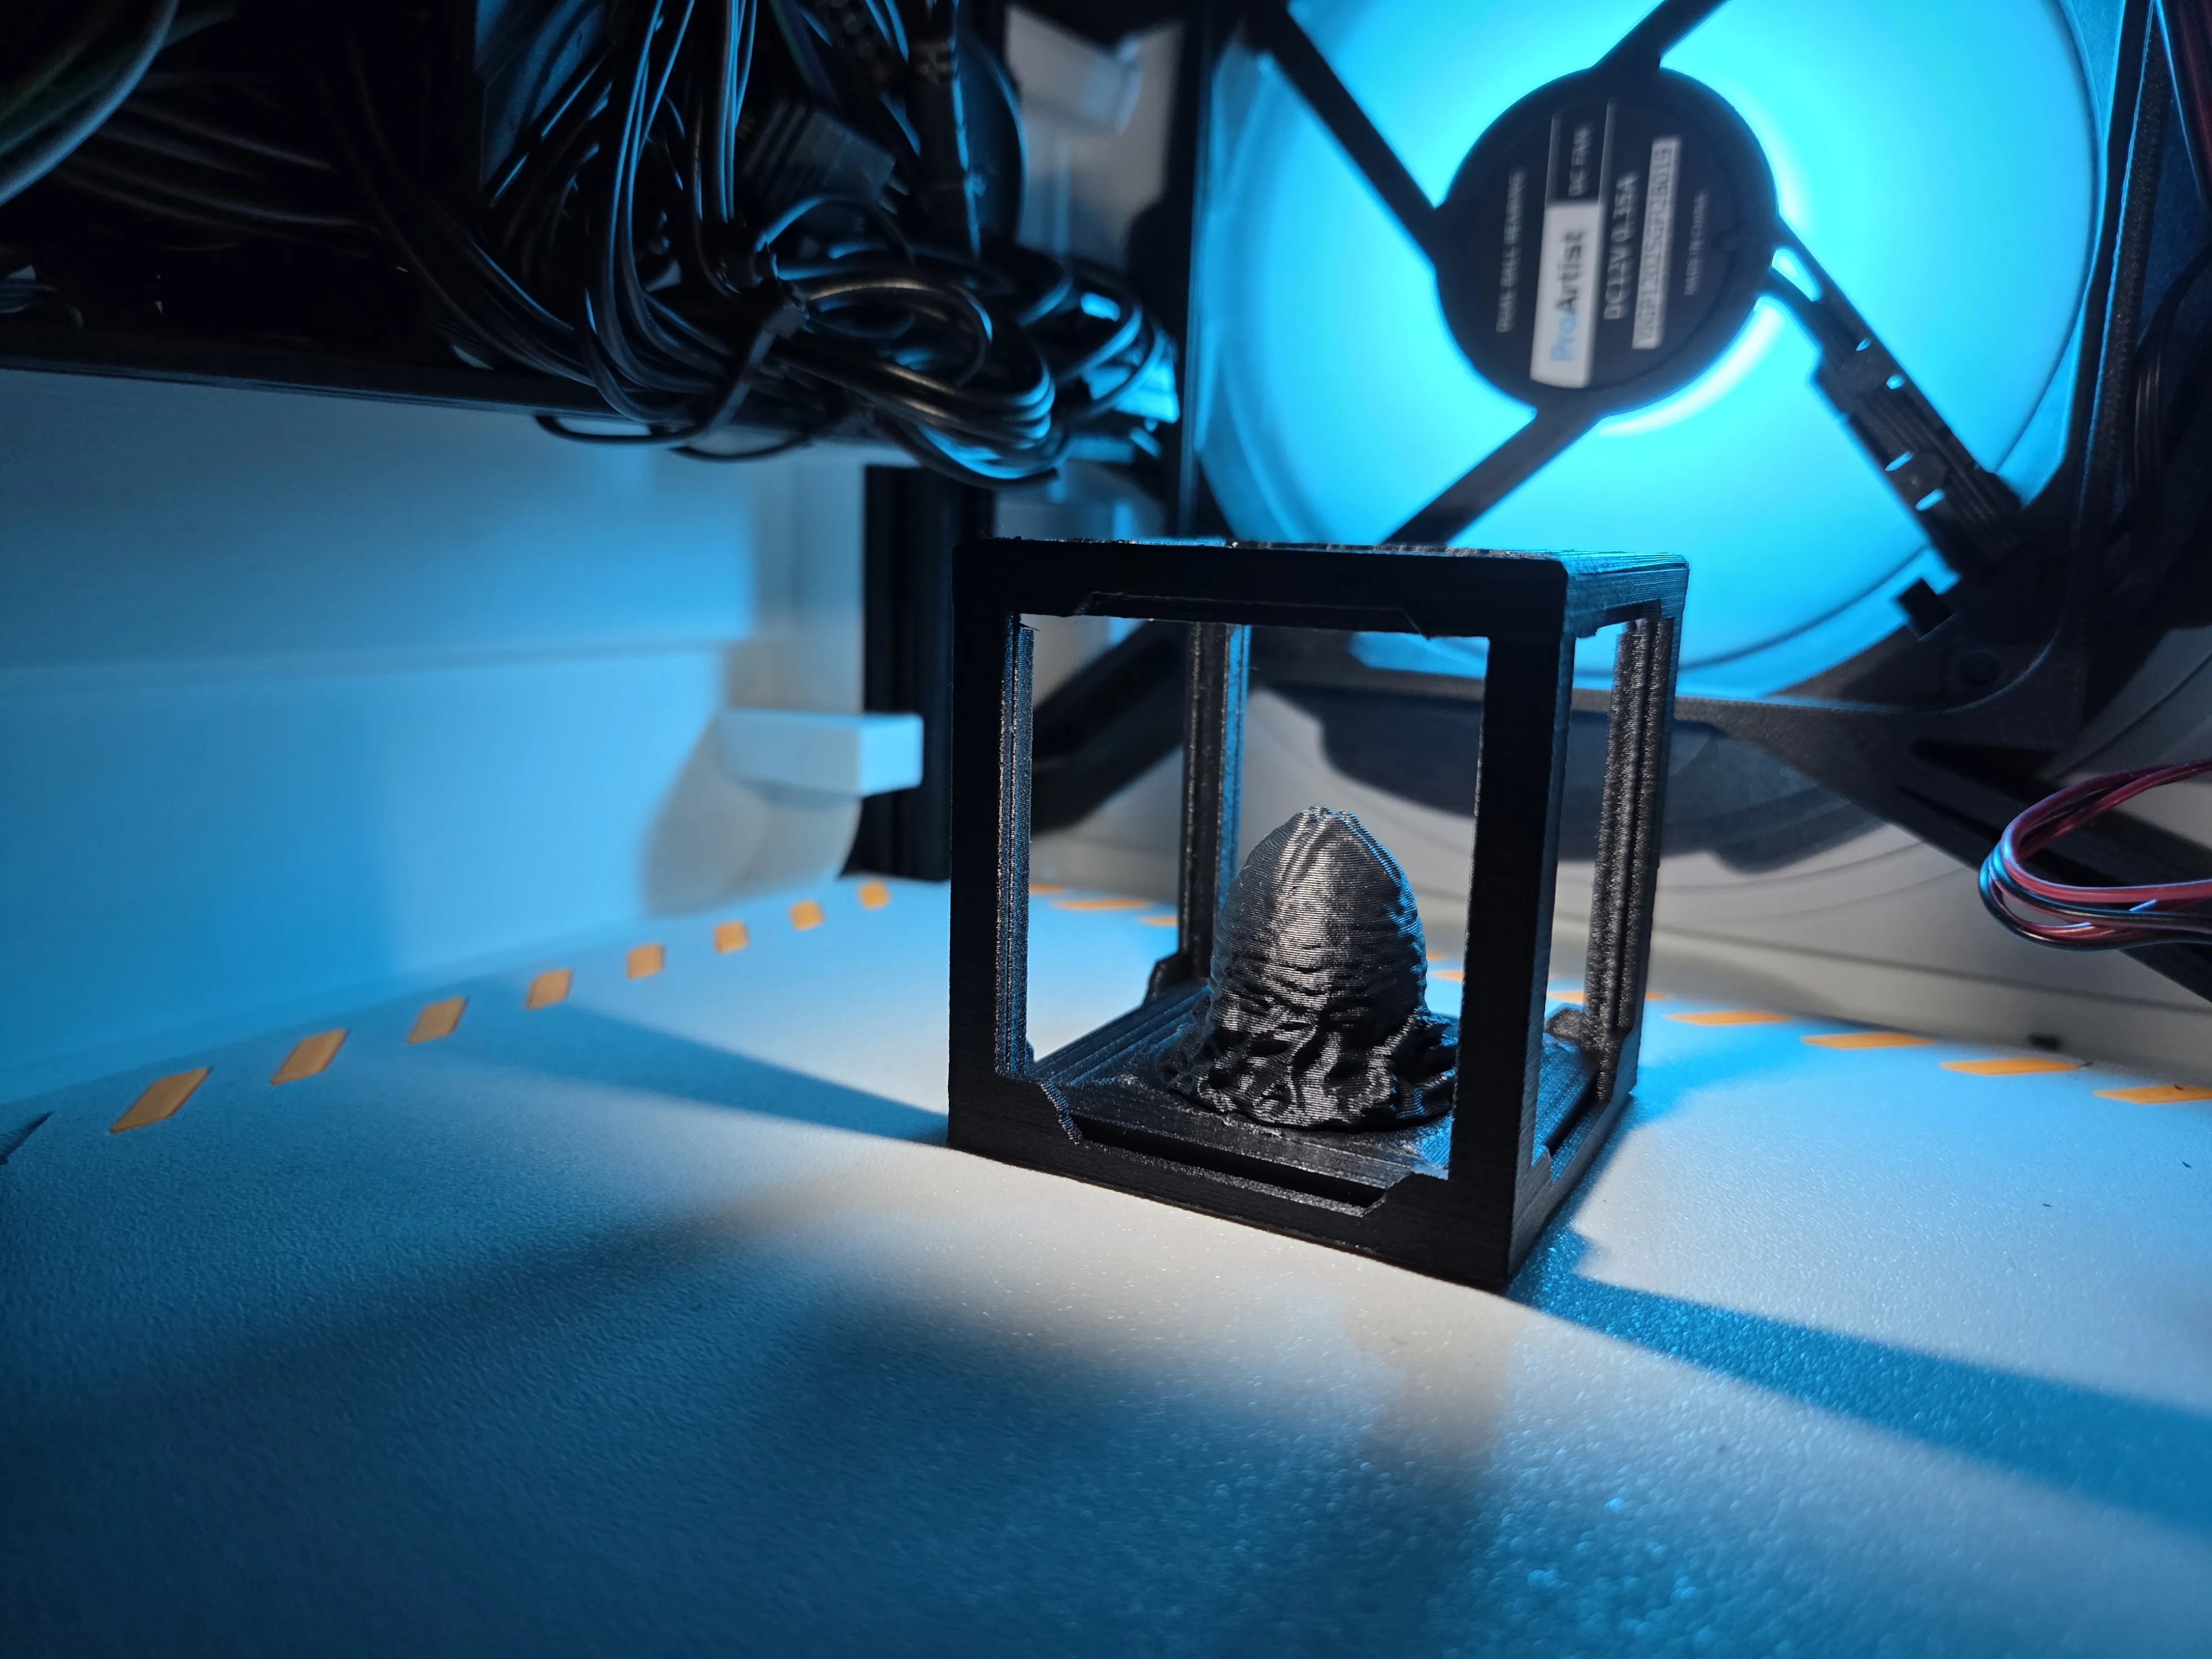
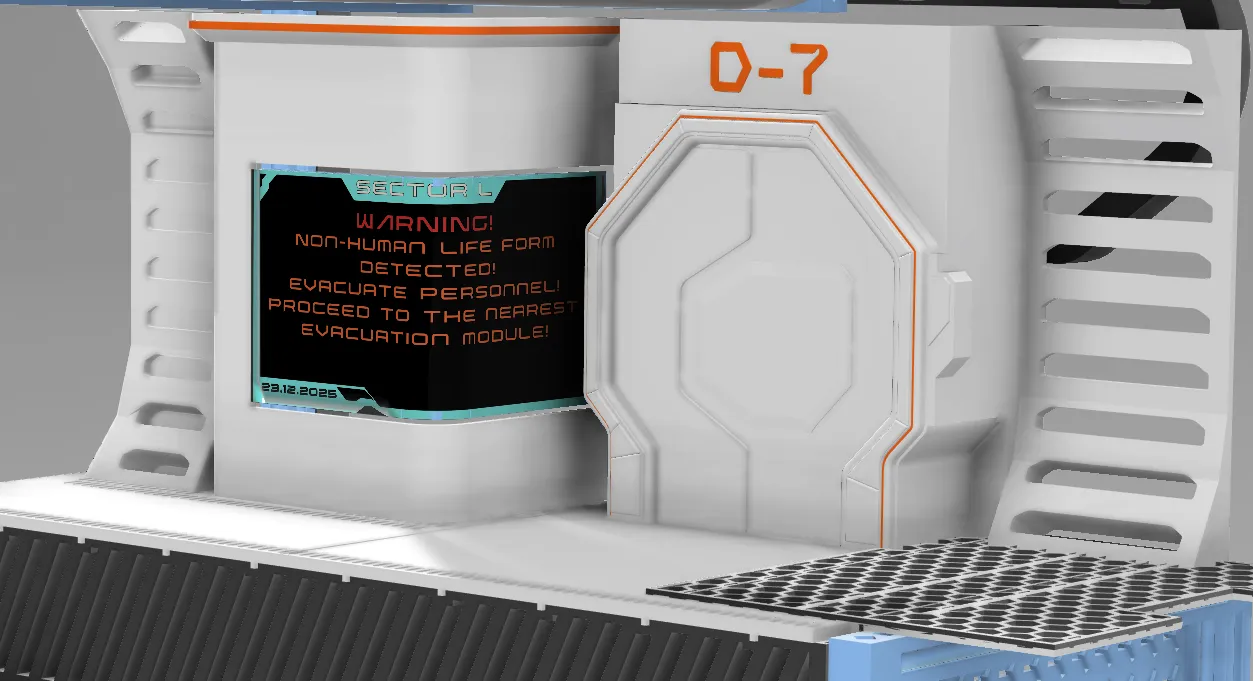
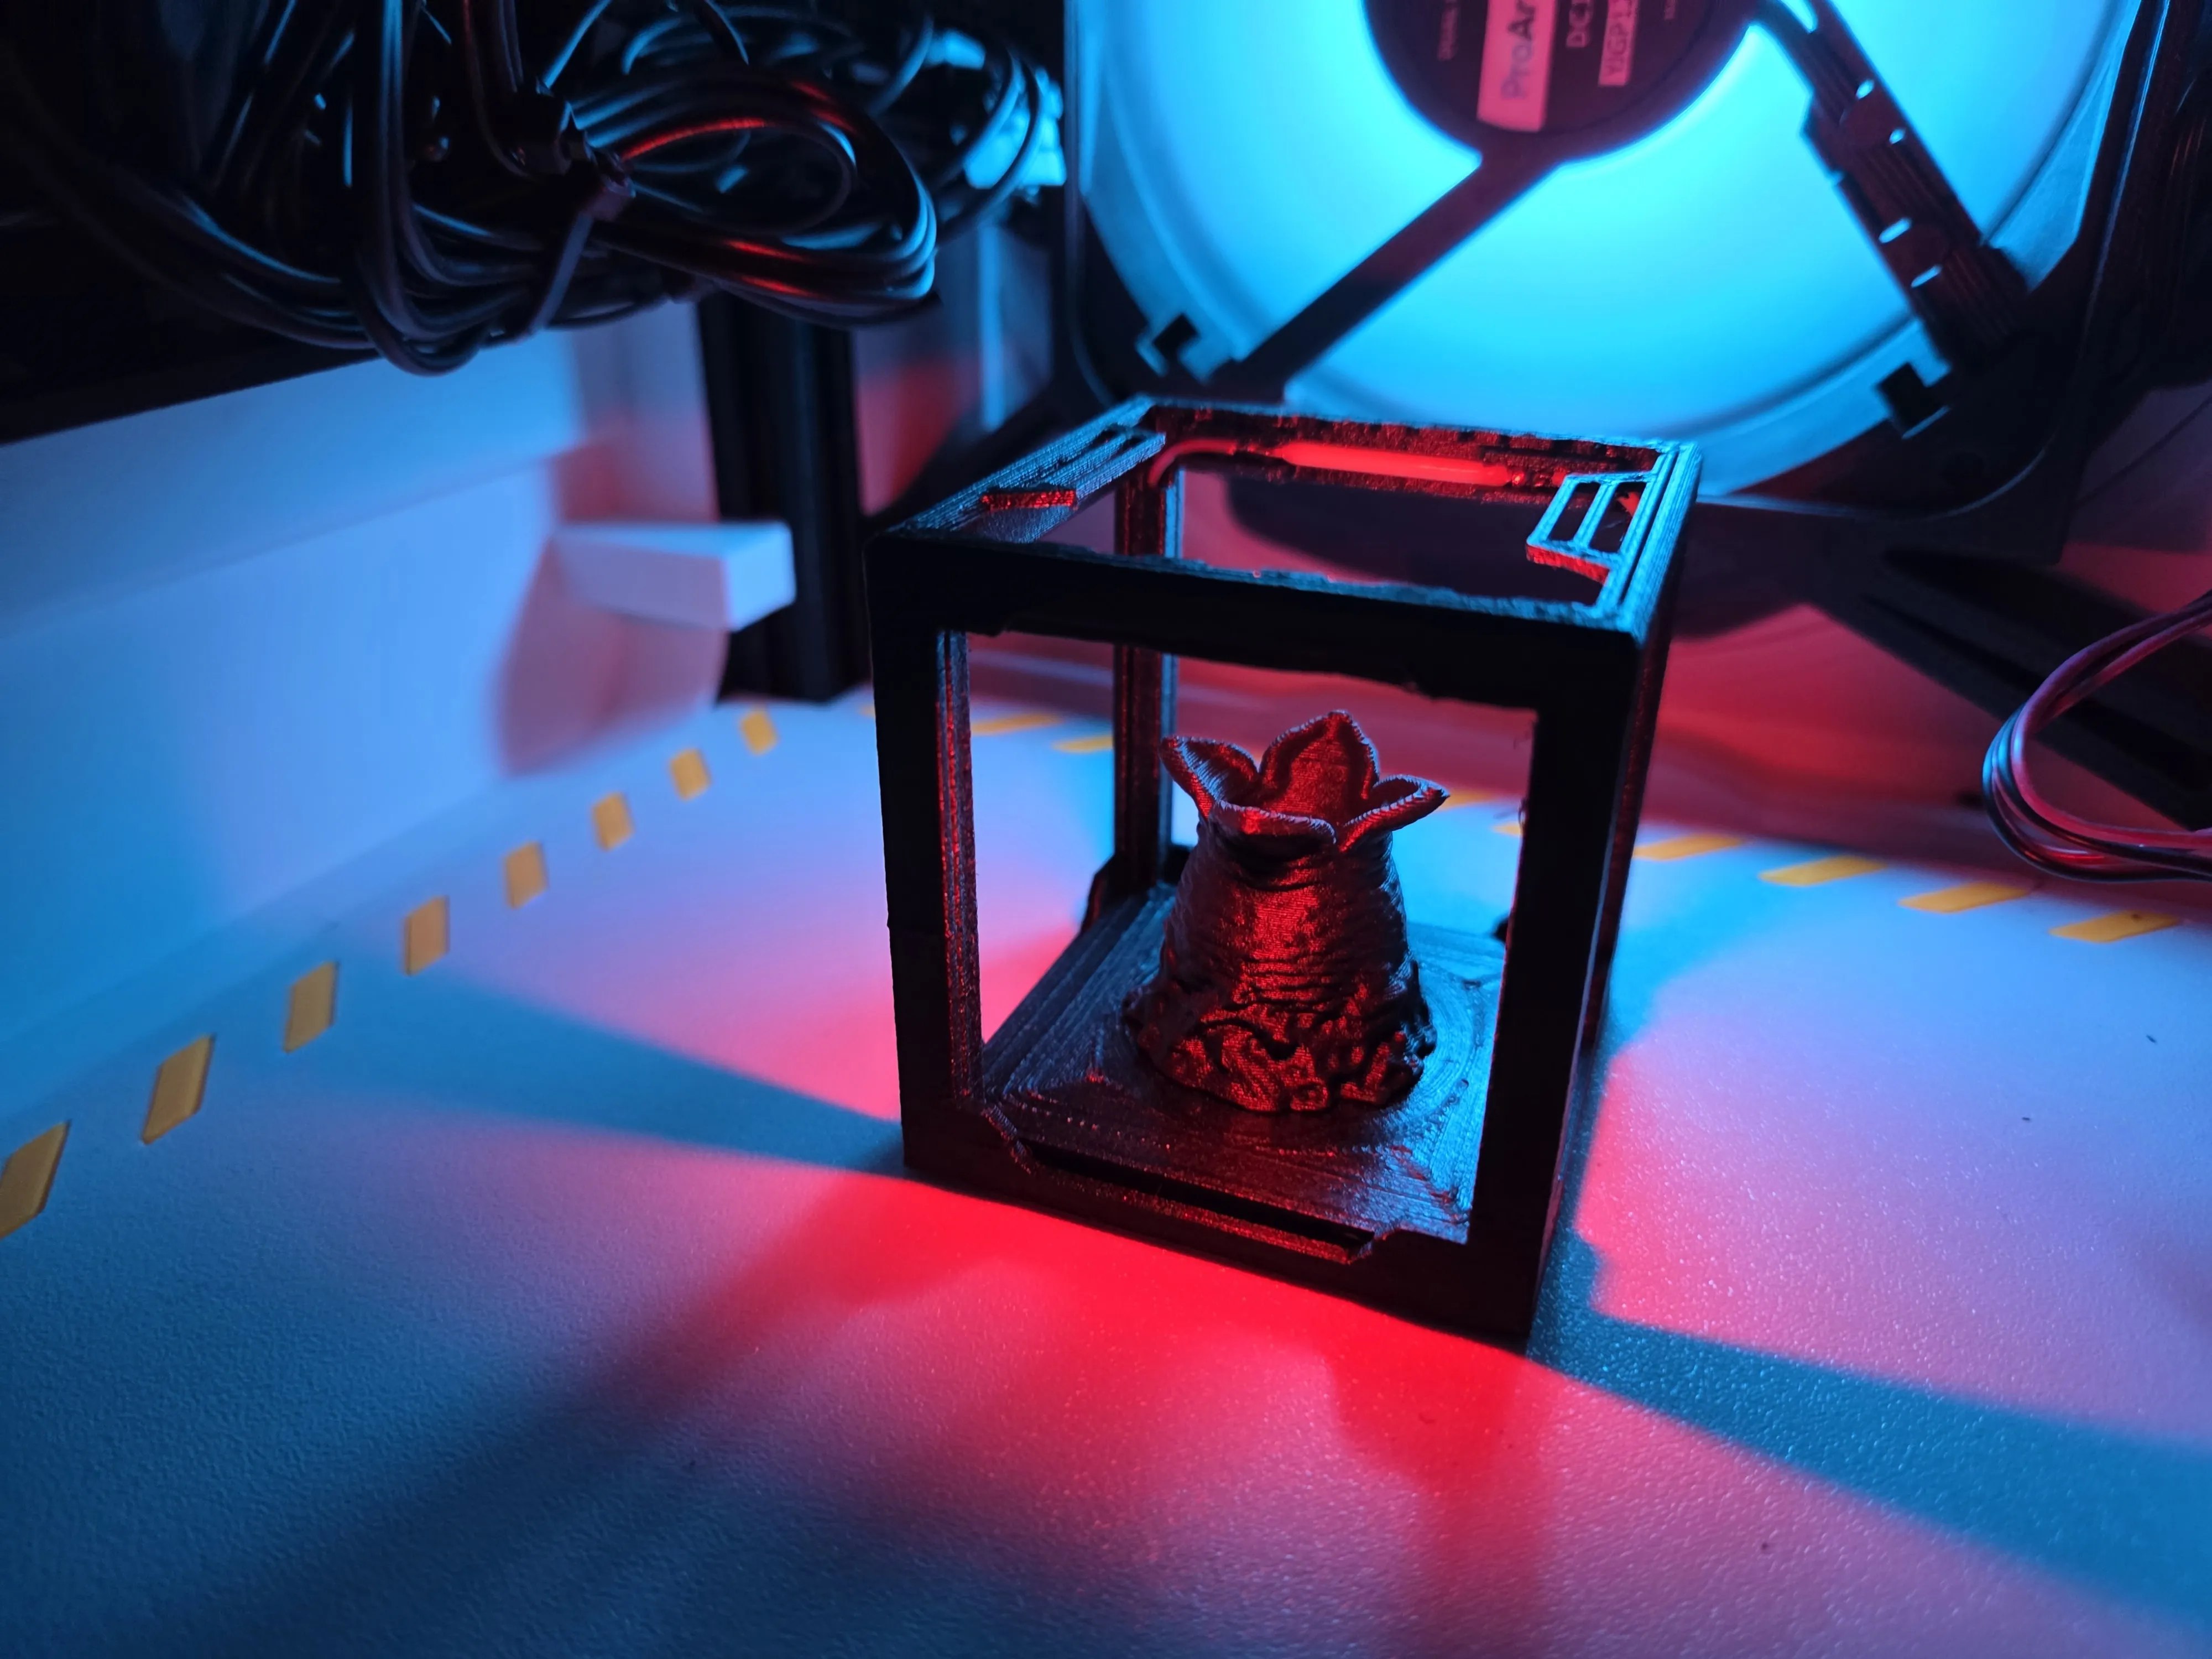
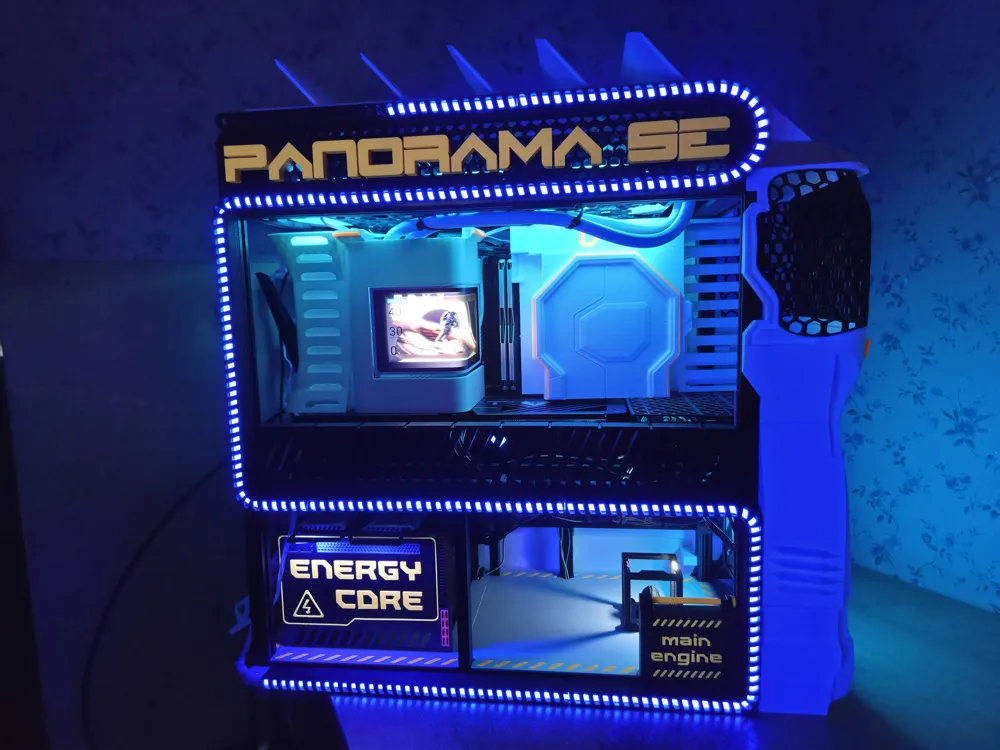
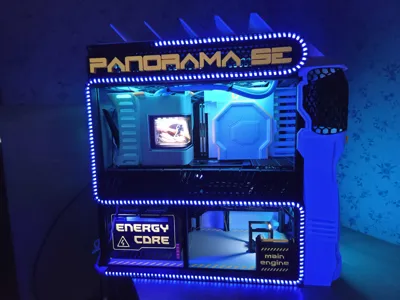
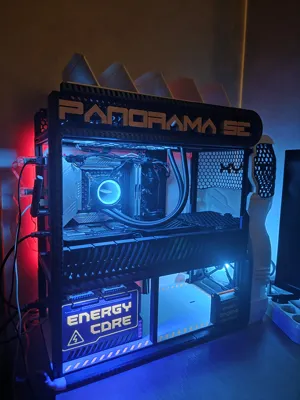
All computer components will be transformed into ship components. The curved display is the core of the project. It sets the atmosphere. It is located at the intersection of the ship's corridors and will display flight information and system status. Therefore, placing the display inside the computer makes more sense.
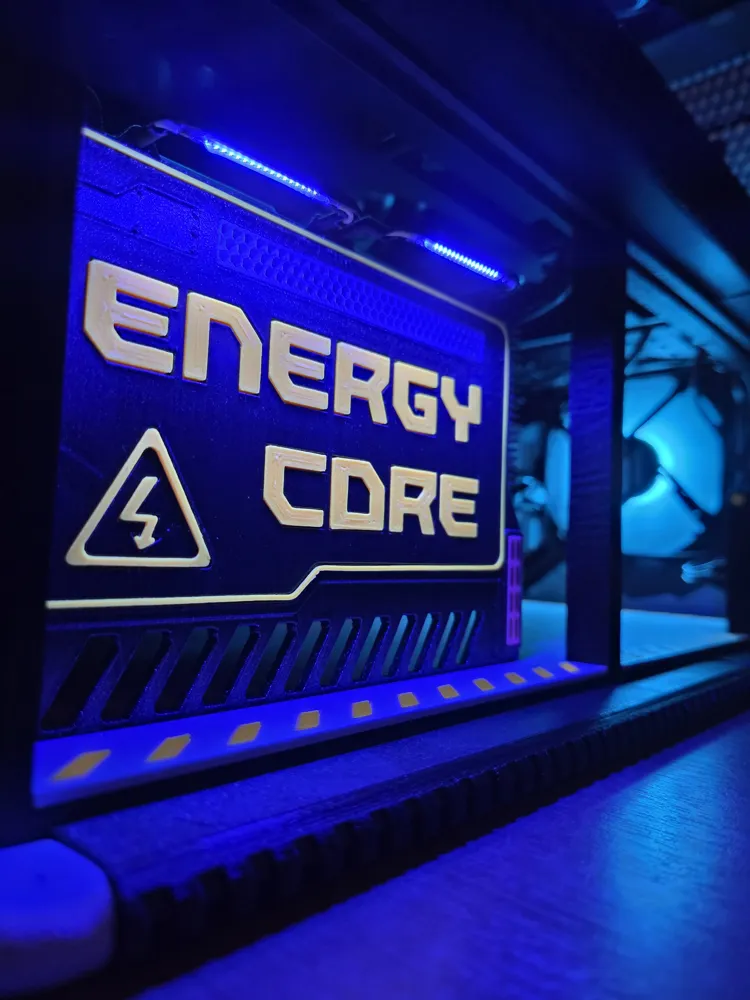
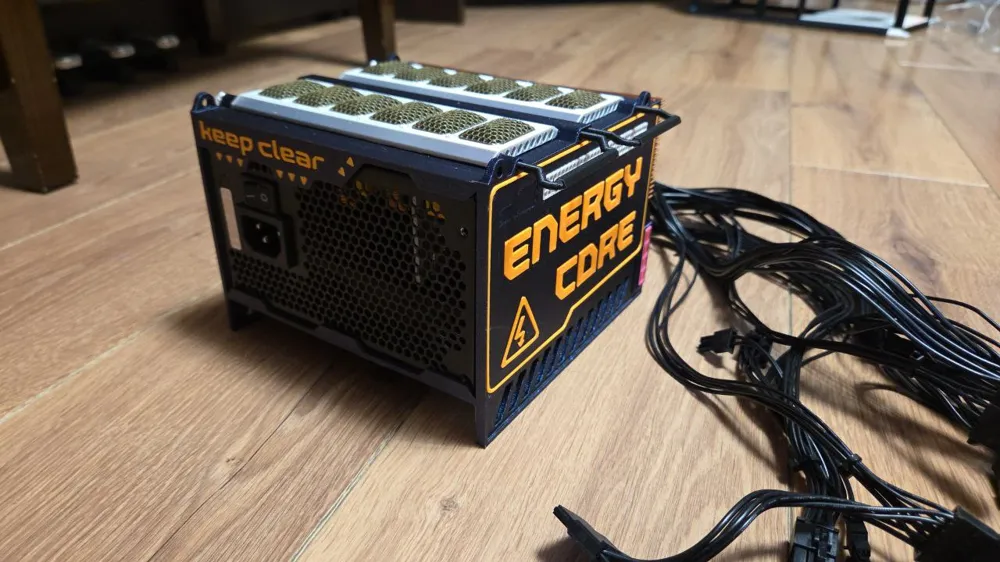
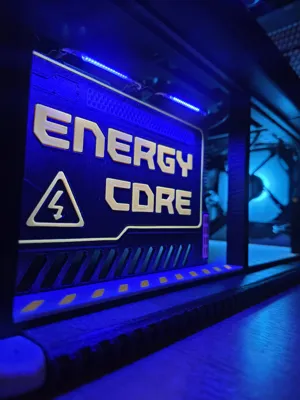
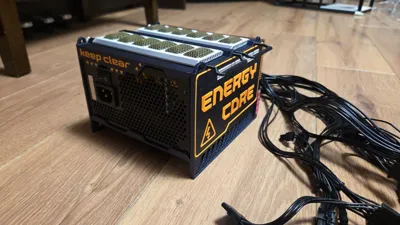
The rest of the computer's components are also seamlessly integrated into the spacecraft's design. For example, the massive graphics card serves as a partition between the floors. The power supply is housed in a futuristic enclosure and acts as the ship's power source.




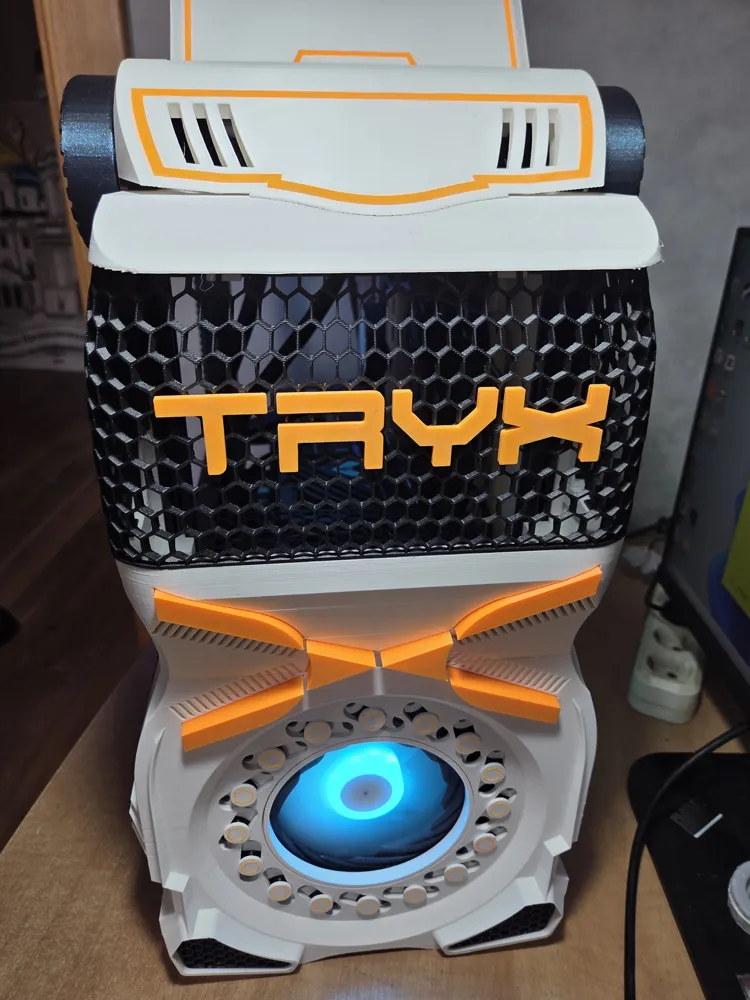
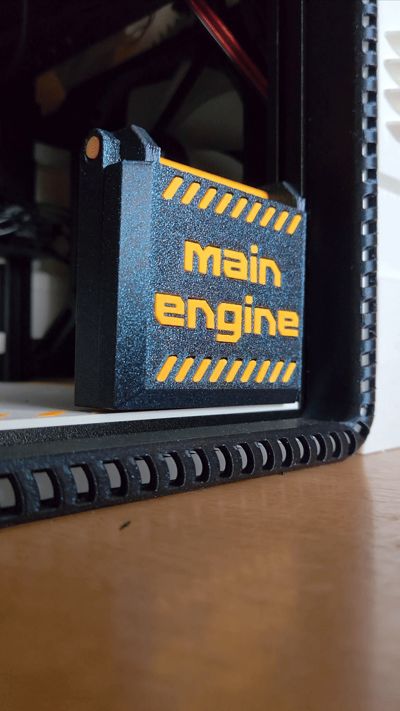
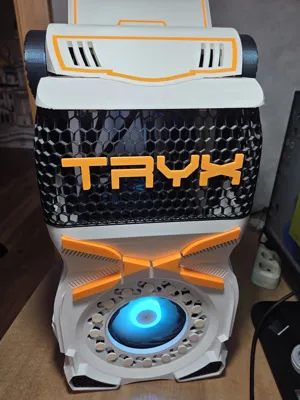
The cooling fan is, of course, the engine. And the cooling radiators are beautifully located behind the movable steering panels.
At the moment, I don't have a TRYX PANORAMA SE, but the project is specifically designed for it. All dimensions are taken into account, and it can easily be integrated into the project.
Features of the project:
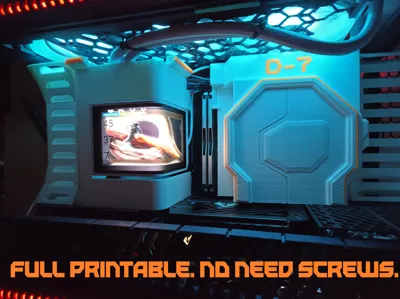
• Fully printable project
• Does not require bolts or nuts.
• Very simple and reliable assembly
• Variability. Components can be moved without any problems.
• Does not require programming
• Moving elements that enliven the project (blinds and aperture)
• Does not require AMS
• Materials that glow in UV are used
• Stylishly selected colors that convey the style of space flight fiction
This project supports MATX motherboards.
The frame is printed from PETG-CF, the GPU holder from ASA-CF.
I recommend using ASA and ABS, as they better tolerate high temperatures.
I don't like that in modern assemblies, massive graphics cards just hang on their connector. In my project, I use a supporting frame for the graphics card. The graphics card will no longer hang in the air. The frame is removable and can be printed and replaced if it doesn't fit your graphics card.
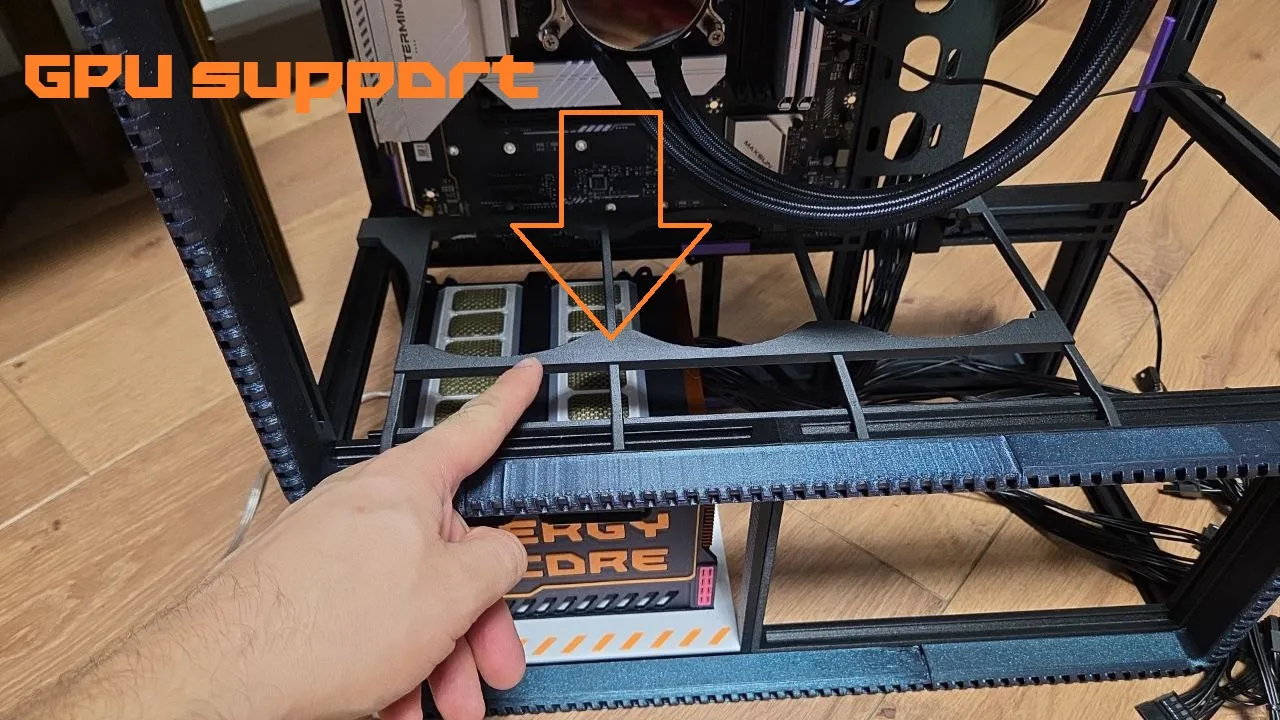
The entire structure is assembled without the use of screws. This is a fully printable project.

The assembly resembles a construction set.
See the assembly description in the attached file.
In addition to 3D printed parts, you will need:
Mini Micro Metal Gear Motor 3v – 2 pc
imit switch – 4 pc
LED strips 2.5 meters (6*15mm) – 2 pc
three-pin Pogo pins – 4 pairs
COB LED 40mm – 2 pc
Resistor 220 Omh – 2 pc
5V relay with four contact groups – 1 pc
Documentation (1)
License

You shall not share, sub-license, sell, rent, host, transfer, or distribute in any way the digital or 3D printed versions of this object, nor any other derivative work of this object in its digital or physical format (including - but not limited to - remixes of this object, and hosting on other digital platforms). The objects may not be used without permission in any way whatsoever in which you charge money, or collect fees.


Comment & Rating (103)