Digit Fidget Massager


Print Profile(2)


Description
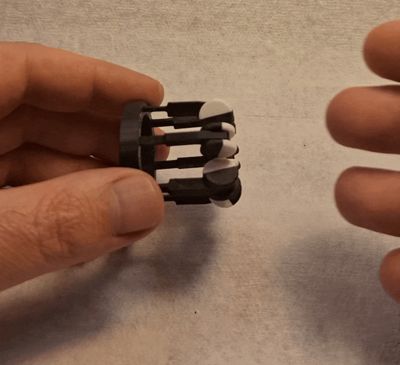
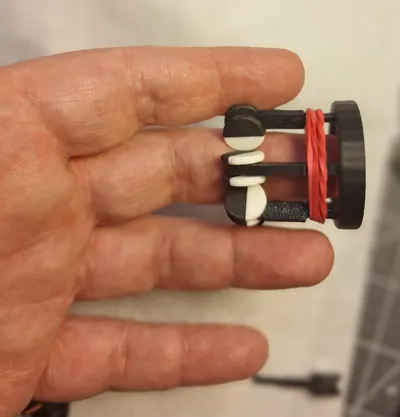
Digit Fidget Massager
Because it Feels Good! A quick, fun print that feels even cooler than it looks! The Digit Fidget Massager is designed to help relieve stress, keep your hands busy, and maybe even ease a bit of finger tension and improve circulation.
- Quick Print time: ~45 minutes for single row version.
- Assembly: 5 minute. Snap-fit, no glue required
- Design: Modular with more variations coming soon
Options
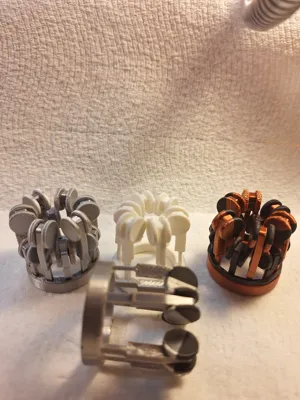
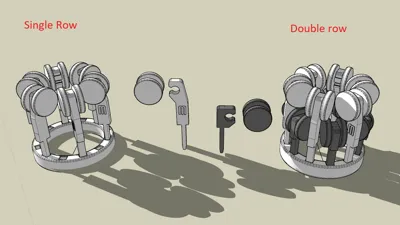
- There are several configurations possible with this print. One, two or three rows of wheels/rollers. For the basic model just print the ring and a single set of 6 springs and wheels (+1 spare of each). The longer of the springs is best for a single row.
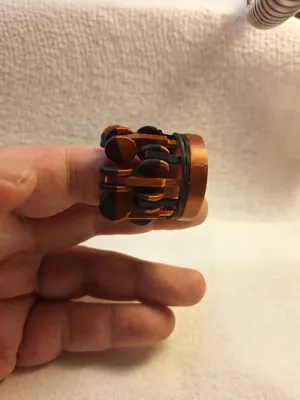
- Wrapping a rubber band around the springs makes it much tighter.

Spare Parts
- One extra spring and wheel are included as spares.
NOTE: I made the tolerances really tight so it will assemble without glue. But if you find the fit too tight I also included a looser fit version of the ring. You may have to use glue with that one to keep the pins in place. Just tip each pin in a puddle of superglue before inserting. Recommend super glue gel.
Assembly Instructions
- Clean the Parts
- Remove any brim and support material from all printed pieces. Especially the axels on the wheels and the socket they go in.
- TIP: Use 220-grit sandpaper to quickly remove left over support and smooth the wheels.
- Attach the Springs to the Wheels
- Firmly hold the wheel or place on a firm surface.
- Position a spring over the wheel axel and press down firmly with your finger until it snaps into place.
- With the short springs it really helps to lie the spring down on a table and press the wheel straight down into place.
- Check Wheel Movement
- Spin each wheel several times to work it in and to make sure it turns freely.
- If any wheel feels tight, check the axle area for support materials.
- Prepare the Ring
- The ring has two distinct sides.
- For a single row of wheels. Use the side with six holes OR put a spring in every other hole on the 12 hole side.
- On the side of the ring with 12 holes you can put 6 short and 6 long springs for two rows.
- For 3 rows use both sides of the ring and two short and one long set of springs.
- Insert the Pins
- Working in one direction (clockwise) go around the ring, insert one pin into each hole.
- Hold the ring on its side, steady with one hand and press each pin firmly into place with the other.
- The last pin is the most tricky since it gets tight.


Boost Me (for free)
License
You shall not share, sub-license, sell, rent, host, transfer, or distribute in any way the digital or 3D printed versions of this object, nor any other derivative work of this object in its digital or physical format (including - but not limited to - remixes of this object, and hosting on other digital platforms). The objects may not be used without permission in any way whatsoever in which you charge money, or collect fees.
Comment & Rating (47)