
leospacelab SpaceMouse DIY remix
Print Profile(2)
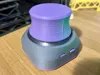
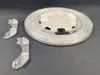
Bill of Materials




- Screws kit x 1: https://amzn.eu/d/do7o181
- STEMMA QT for QWIIC cable x 1: https://it.aliexpress.com/item/1005005715850146.html
- 4900 QT Py RP2040 QWIIC x 1: https://it.aliexpress.com/item/1005005775933838.html?spm=a2g0o.tesla.0.0.58a61oSQ1oSQFh&afTraceInfo=1005005775933838__pc__c_ppc_item_bridge_pc_main__k823reH__1766084627118&gatewayAdapt=glo2ita
- M2.5 x 3.5 x 2.5 brass inserts x 1: https://amzn.eu/d/714cT67
- STEMMA magnetometer x 1: https://it.aliexpress.com/item/1005007590874378.html?spm=a2g0o.order_list.order_list_main.11.76a93696zw1lg5&gatewayAdapt=glo2ita
- silicone anti-slip pads x 1: https://amzn.eu/d/8DCInh9
- 8 RGB LED ring 27mm x 1: https://amzn.eu/d/d7qfovX
- 8 RGB LED ring 31mm x 1: https://it.aliexpress.com/item/32978235319.html
Description
🚀 leospacelab SpaceMouse DIY remix
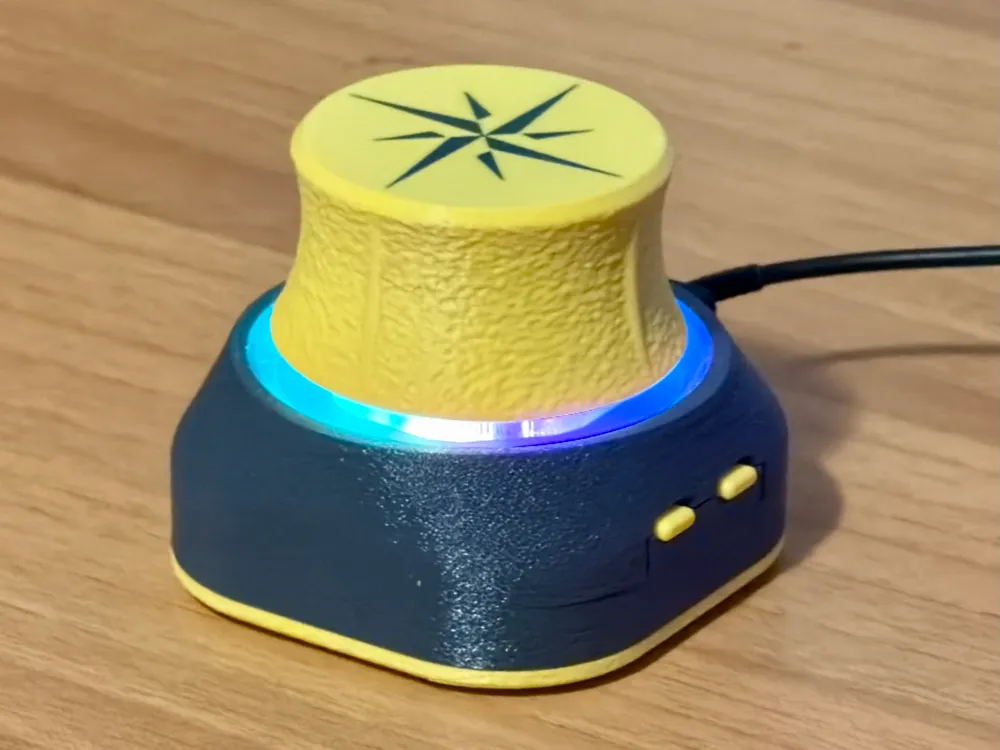
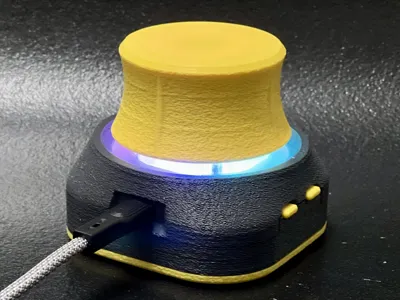
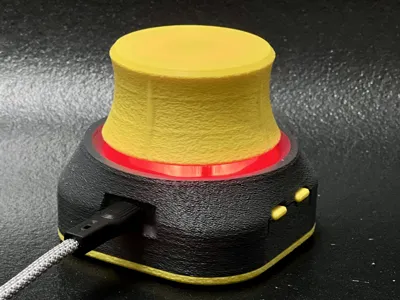
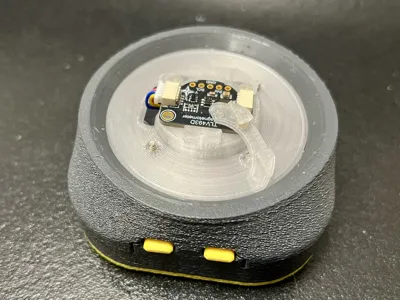
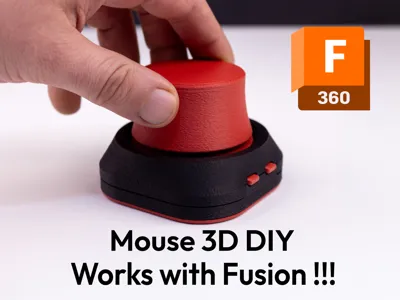
Mechanical remix of a DIY SpaceMouse, redesigned for NeoPixel LED support, improved ergonomics, and easier firmware flashing — while preserving the original magnetic, spring-based mechanics.
This remix is intended to be used with the latest versions of the AdaSpace3D firmware, which introduce advanced LED modes and native 3Dconnexion driver support.
🎥 Video
▶️ Watch the SpaceMouse in action
🧩 Overview
This is a mechanical remix of the popular DIY SpaceMouse project.
While the external appearance remains very close to the original, the internal structure and base have been redesigned to:
- integrate an 8-LED NeoPixel ring
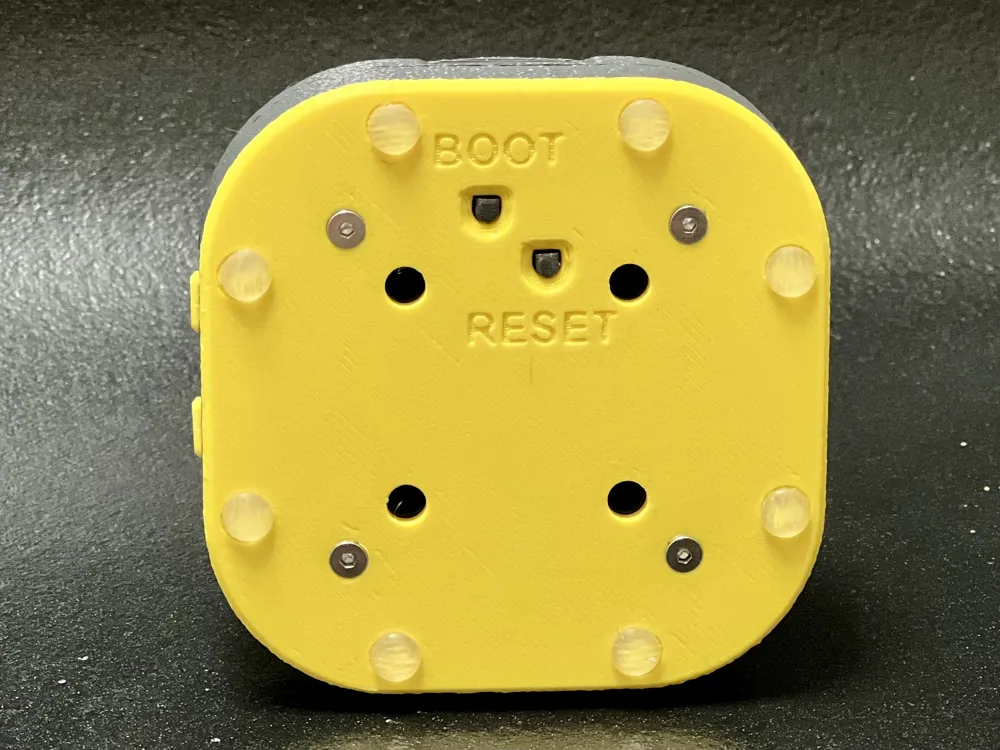
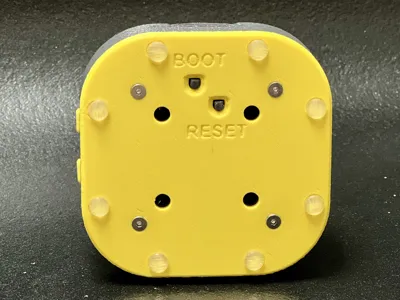
- allow BOOT / RESET access without disassembly
Most parts are not interchangeable with the original design.
🔧 Mechanical Remix – Key Changes
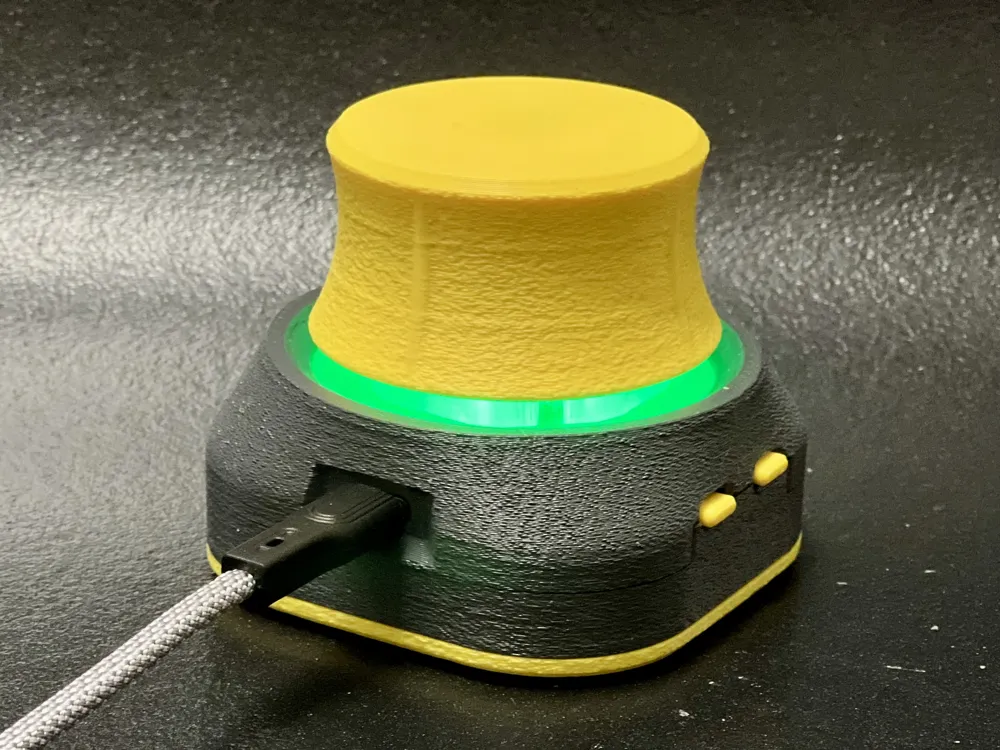
💡 Designed for NeoPixel LED support
This remix was specifically redesigned to integrate an 8-LED NeoPixel ring, introduced in the most recent AdaSpace3D firmware revisions.
The original hardware design did not support addressable RGB LEDs.
As a result, the internal layout and base geometry were reworked to properly host, expose, and diffuse the NeoPixel PCB.
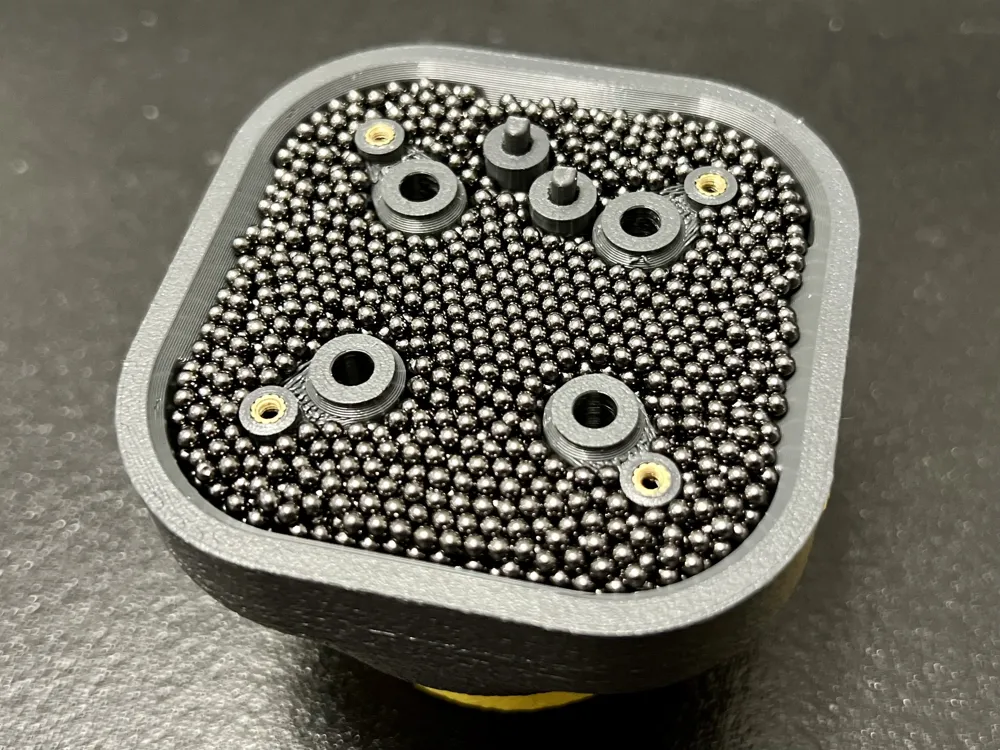
⚖️ Single optimized base variant
The base is provided in one single height variant, optimized for:
- correct overall mass
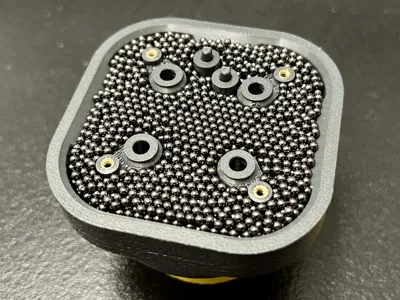
- improved stability when filled with lead shot
The original project included three different base heights.
In my experience, the selected height offers a very good balance between ergonomics (knob height) and stability.
When filled with 2 mm lead shot, the base brings the total weight to about 400 g.
If a different height is preferred, I can easily add alternative versions.
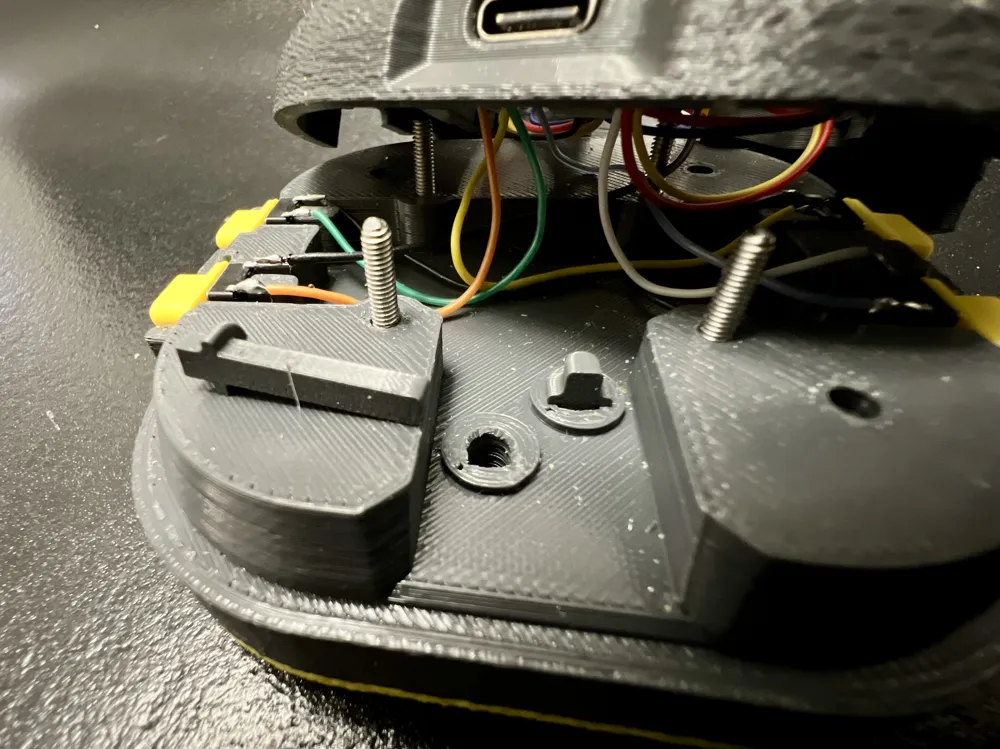
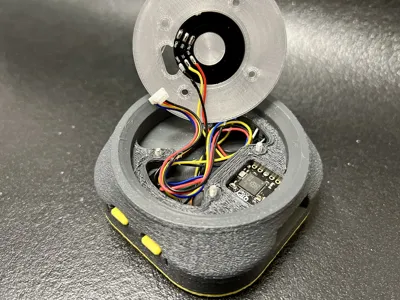
🔘 External BOOT / RESET access (no disassembly)
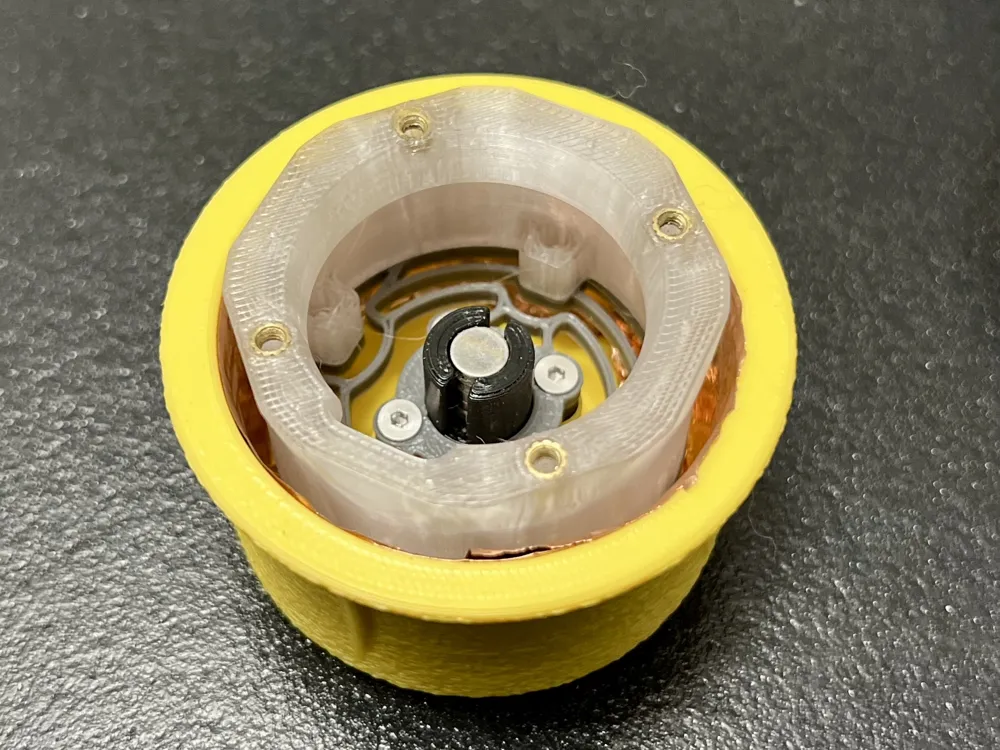
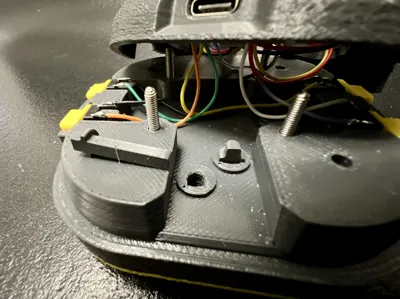
The lower body and bottom cap include two internal shafts, accessible from underneath.
They allow direct actuation of the BOOT and RESET buttons on the Adafruit RP2040 board:
- no need to open the enclosure
- no need to disconnect USB
- flashing and rebooting are fast and safe
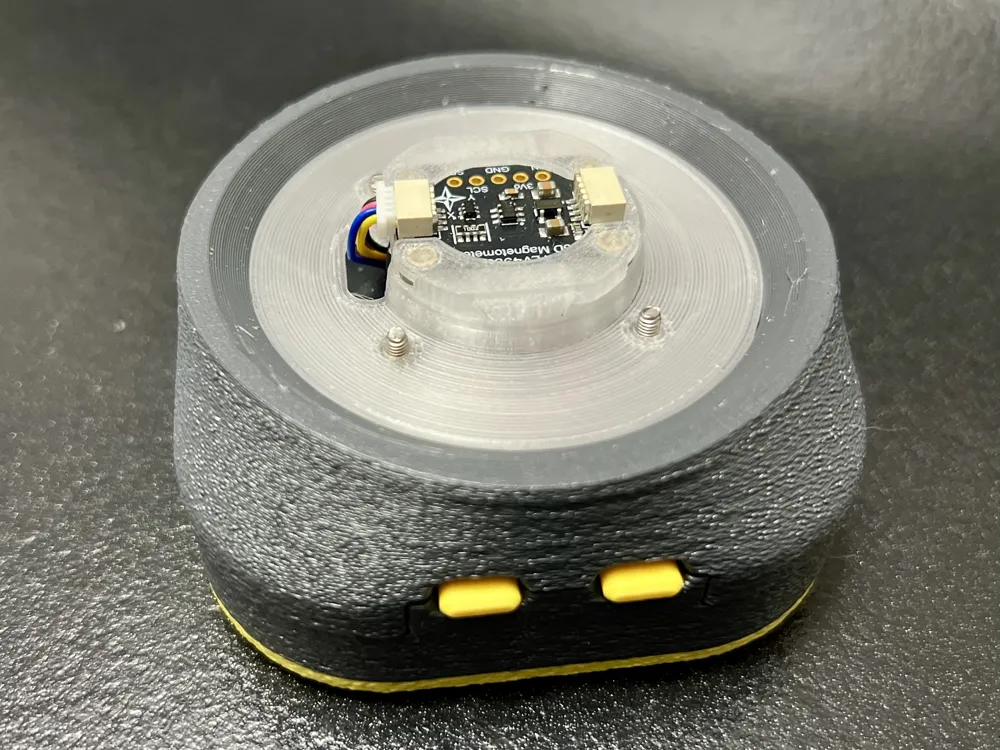
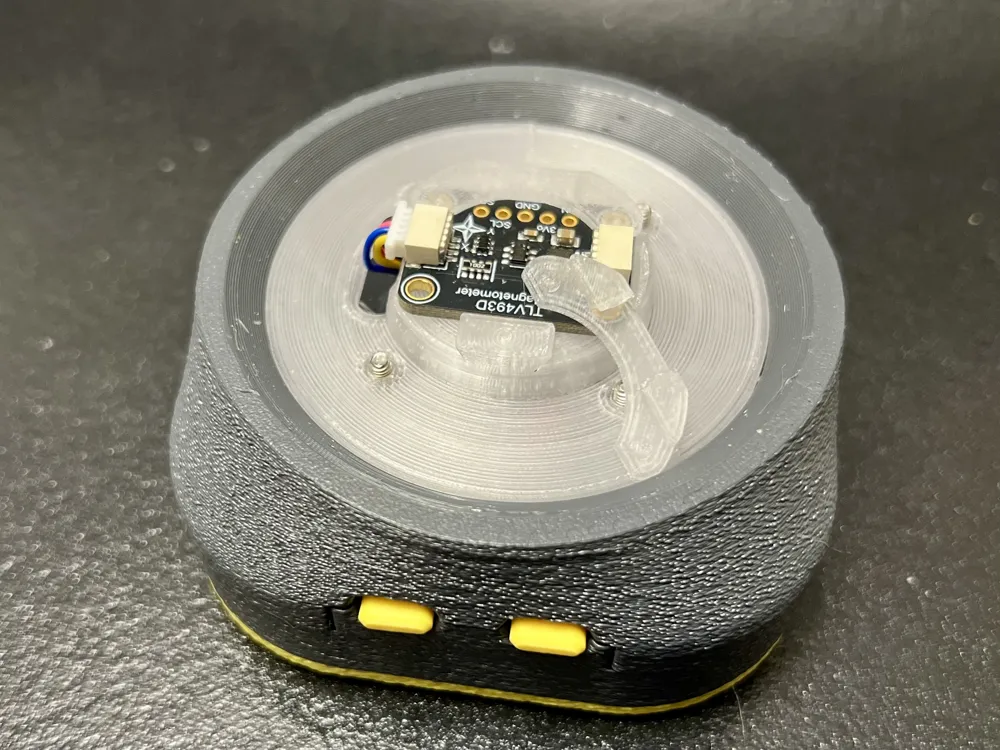
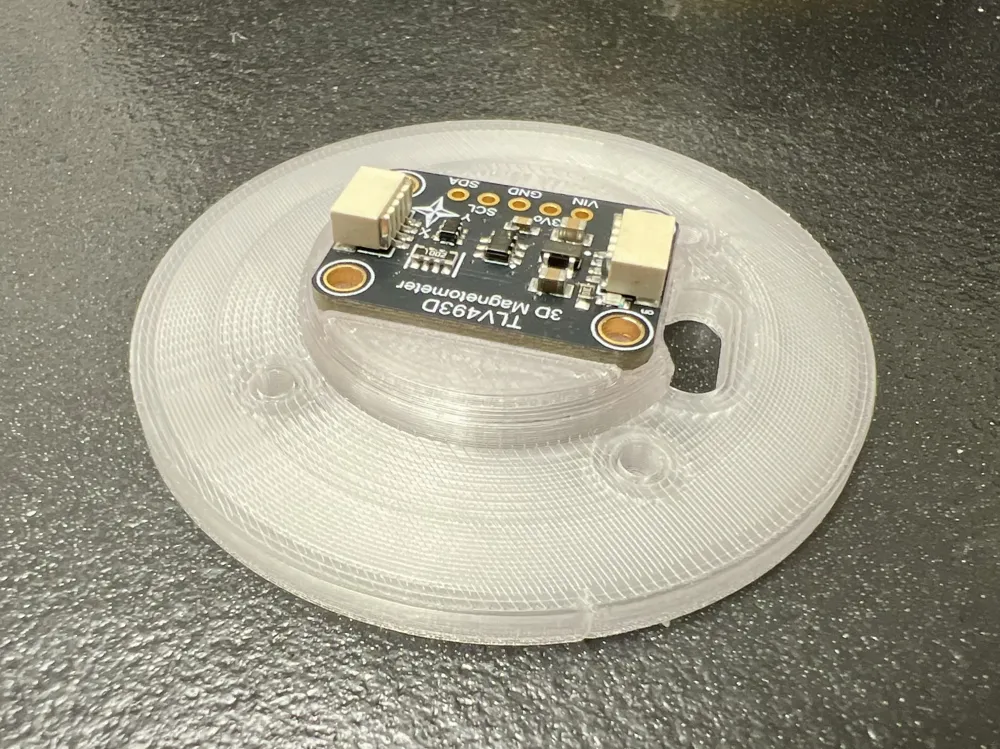
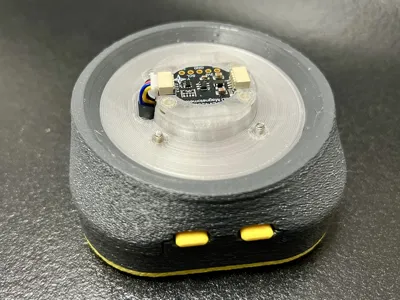
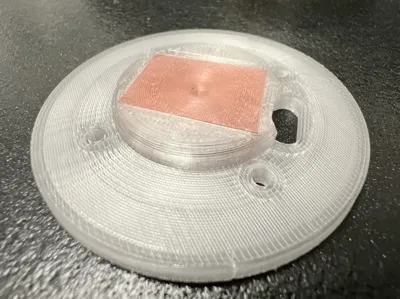
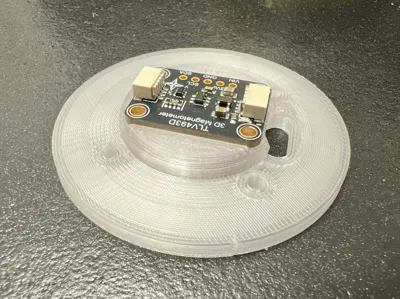
🧲 Redesigned magnetometer support
The magnetometer base has been redesigned to:
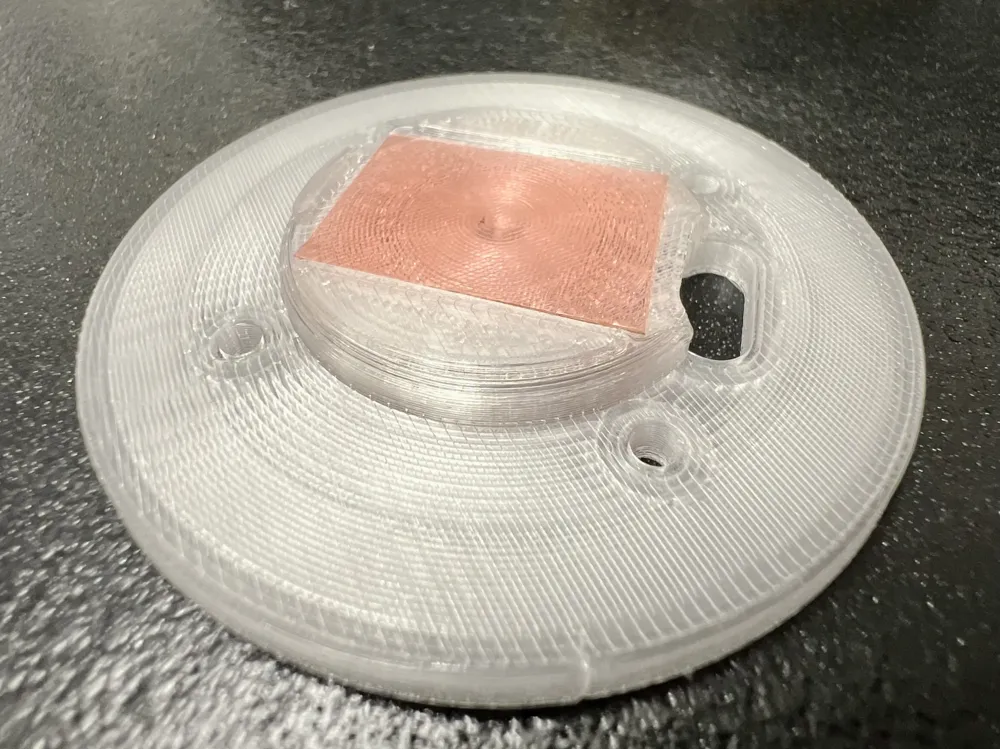
- host the NeoPixel PCB underneath the sensor
- allow LED visibility through light or translucent filaments
Three variants are provided:
Mechanical clamp - 27 mm NeoPixel version
No glue required, side clamps with dovetail guides (A special thanks to TrudTilp for the original idea), designed to accomodate a 27 mm NeoPixel LED ring
Mechanical clamp - 31 mm NeoPixel version
No glue required, side clamps with dovetail guides (A special thanks to TrudTilp for the original idea), designed to accomodate a 31 mm NeoPixel LED ring
Adhesive version - 27 mm NeoPixel version
Perimeter retainers only, intended for use with double-sided tape, compatible with a 27 mm NeoPixel LED ring.
Brass heat-set inserts have been completely removed.
🌀 Simplified spring selection
Only the medium spring from the original project is included, as it offers the best overall compromise in feel and control.
The other original spring variants remain fully compatible.
🧭 Updated magnet carrier variants
Four neodymium magnet carrier variants are provided to fine-tune sensitivity.
- same base thickness across all versions
- different magnet seat heights
- geometry differs from the original design
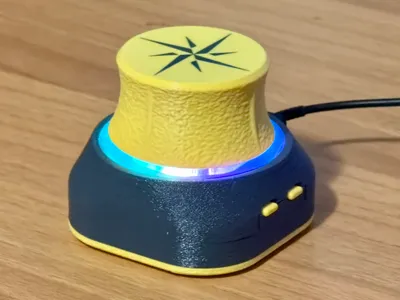
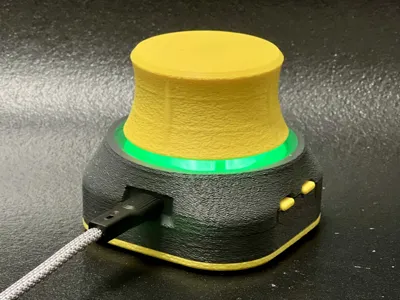
✋ Ergonomic knob redesign
The knob has been redesigned to more closely resemble the 3Dconnexion SpaceMouse Compact.
It now features four tactile reference bumps at the cardinal directions, which help users perform cleaner and more separated X/Y roll movements instead of combined diagonals.
An additional variant, knob45_v4.stl, is also provided for users who prefer to use the soft or hard springs, while maintaining the correct orientation of the tactile reference points.
⚠️ Compatibility Notice
With the exception of:
- the spring(s)
- the four side button actuators
- the knob mounting concept
➡️ all other printed parts are redesigned and not interchangeable with the original project.
_______________________________________
🚧 Temporary note
While waiting for the firmware release with extended LED features, an experimental version is available via Google Drive.
The motion handling and button behavior are unchanged compared to the previous firmware; only additional LED modes have been introduced.
This version includes LED Modes 3, 4, and 5; configuration requires editing UserConfig.h (and AdaSpace3D.ino for Mode 5) before compilation.
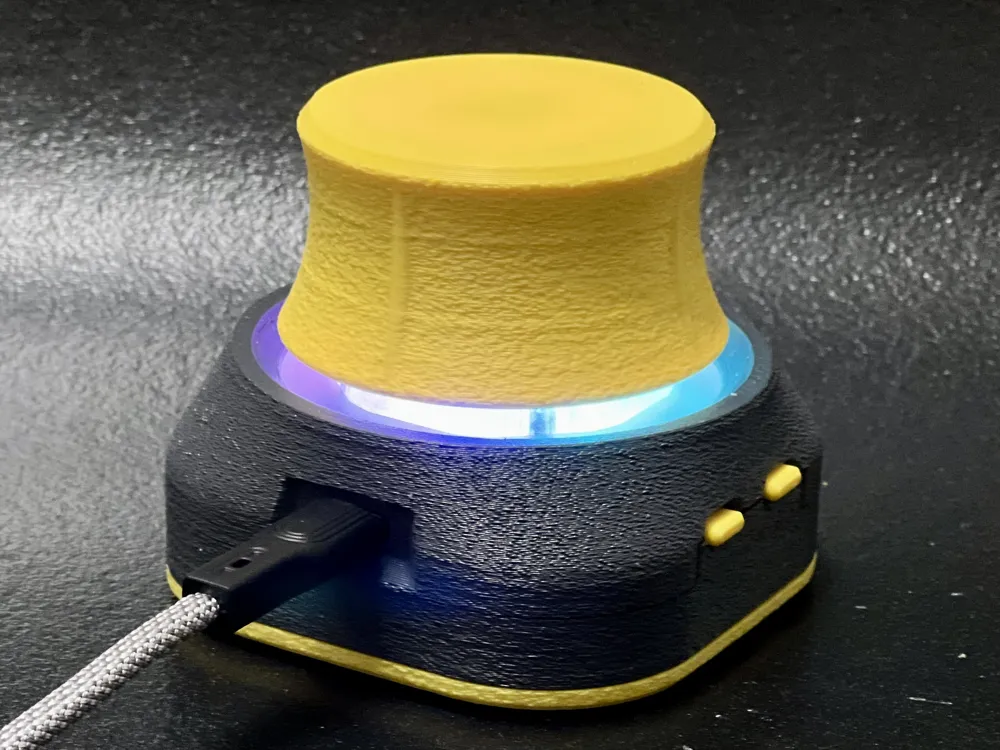
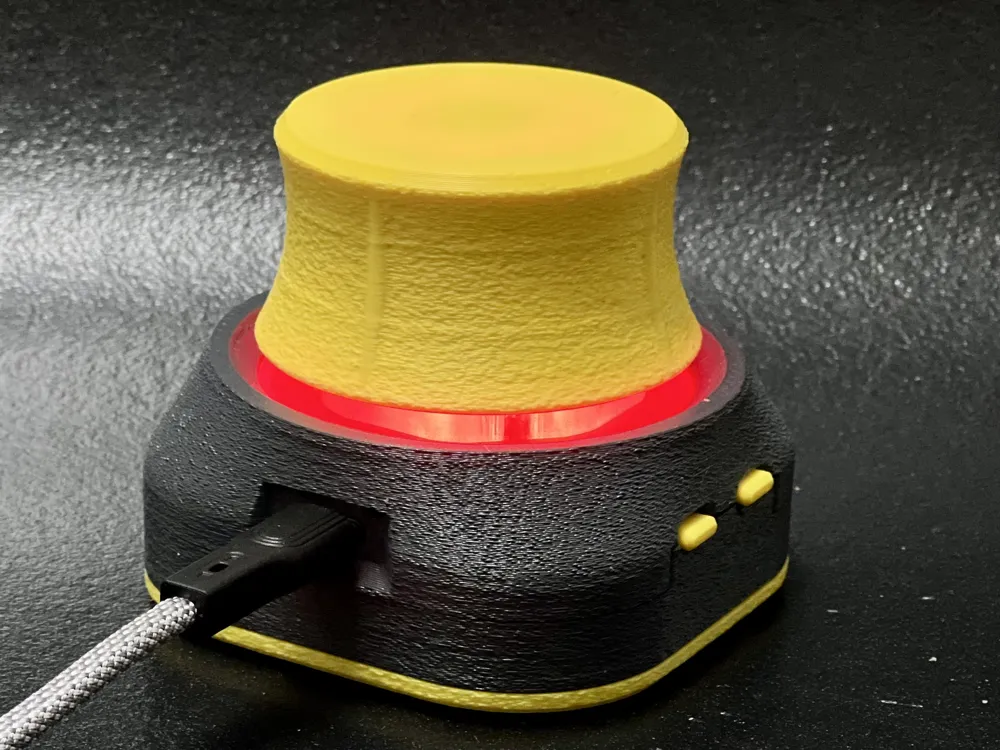
Regarding the LEDs, this experimental firmware introduces Modes 3, 4, and 5, in addition to the existing Modes 0, 1, and 2:
- Mode 3 enables a rotating rainbow effect with soft colors.
- Mode 4 enables a rotating rainbow effect with brighter, more vivid colors.
- Mode 5 allows switching between LED Mode 1 and LED Mode 4 when one of the buttons is pressed.
The desired LED mode must be selected by editing the UserConfig.h file before compilation.
Mode 5 also requires a small modification to the AdaSpace3D.ino file. This is where you define which button will toggle the LED mode between Mode 1 and Mode 4: in the line
if (hidButton == 16 && pressed)
replace 16 with the button number of your choice.
Naturally, the RP2040 cannot detect which mode the driver is currently using, so it will switch the LED mode every time the selected button is pressed. Personally, when I open Fusion 360, I first check which mode is active (Pan/Zoom or Rotations) and align the LED behavior accordingly—so that the breathing LED mode corresponds to Pan/Zoom, and switching to Rotations activates the rotating rainbow effect.
For compilation, please refer to the instructions available on GitHub.
You can download the firmware here.
_______________________________________
🧩 Printable Parts Included
This remix includes the following 3D printable parts.
1️⃣ knob v4.stl
- redesigned main knob
- slightly larger than the original
- inspired by the 3Dconnexion SpaceMouse Compact
- four tactile ridges at the cardinal points
2️⃣ magnet 0.stl – magnet 1.stl – magnet 2.stl – magnet 3.stl
Neodymium magnet holders with different heights.
Choose according to:
- magnet size
- desired sensitivity
Only the magnet seat height differs between versions.
3️⃣ medium spring.stl
- redesigned but functionally equivalent
- best balance between stiffness and control
Other original spring variants remain compatible.
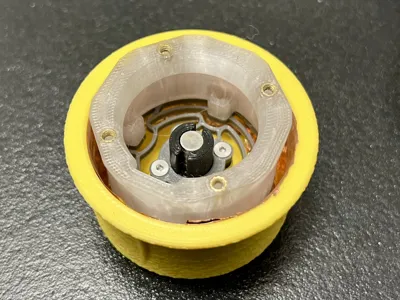
4️⃣ 💡 internal structure v3.stl
- internal structure mounted on the magnetometer base
- redesigned mainly for overall height
Recommended material: translucent or white (non-opaque) filament
→ improves NeoPixel light diffusion and visibility
5️⃣ magnetometer clamp.stl (×2)
- new part
- two pieces required
- slide in using dovetail joints
- provide lateral and vertical retention of the magnetometer PCB
6️⃣ 💡 mag support clamp.stl
Magnetometer support base with 27mm LED ring integration
(mechanical retention version).
- hosts the 27 mm 8-LED NeoPixel PCB underneath
- magnetometer fixed using perimeter stops + side clamps
Recommended material: translucent or white (non-opaque) filament
→ improves NeoPixel light diffusion and visibility
6️⃣alt. 💡 mag support clamp 31mm NP.stl
Magnetometer support base with 31mm LED ring integration
(mechanical retention version).
- hosts the 31 mm 8-LED NeoPixel PCB underneath
- magnetometer fixed using perimeter stops + side clamps
- dedicated print profile
Recommended material: translucent or white (non-opaque) filament
→ improves NeoPixel light diffusion and visibility
→ this version is brighter than the mag support clamp.stl
7️⃣ 💡 mag support LED.stl
Alternative magnetometer support base
(adhesive version).
- same geometry as above
- hosts the 27 mm 8-LED NeoPixel PCB underneath
- magnetometer fixed using double-sided tape
Recommended material: translucent or white (non-opaque) filament
→ improves NeoPixel light diffusion and visibility
8️⃣ upper body v3.stl
- fully redesigned enclosure
- very similar external appearance
- modified internal dimensions
- acts as upper mechanical stop for the NeoPixel PCB
9️⃣ button shaft.stl (×2)
BOOT / RESET mechanical actuators.
- two pieces required
- inserted from top to bottom
- D-shaped cross-section
- optimized for horizontal printing
🔟 lower body v3.stl
- fully redesigned
- two D-shaped openings on the bottom
- allows external BOOT / RESET actuation
1️⃣1️⃣ button.stl & button small.stl
Side button actuators.
- identical geometry to the original project
- four pieces required
- two thickness variants
- choose based on switch type
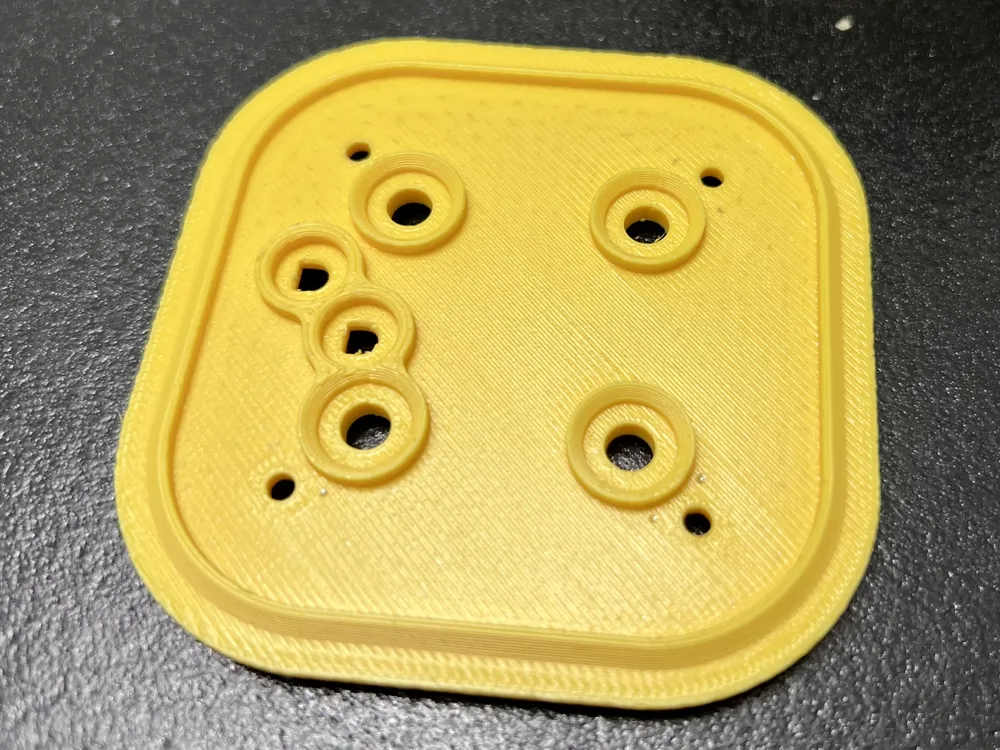
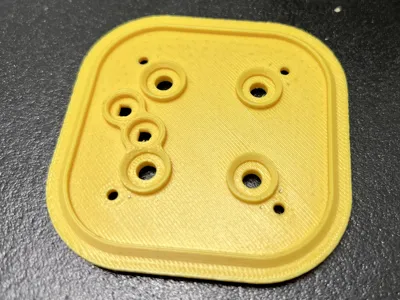
1️⃣2️⃣ base cap v3.stl
Bottom cover.
- redesigned and reinforced
- accommodates BOOT / RESET shafts
- increased thickness for strength
- includes 6 recesses for Ø6 mm silicone anti-slip pads
💡 Printing Notes – LED Visibility
Some parts of this project are designed to allow light from the NeoPixel LEDs to pass through the printed material.
For best visual results, it is strongly recommended to print these parts using:
- Translucent filaments, or
- White / natural filaments with low opacity (non fully opaque)
Fully opaque or dark filaments will significantly reduce LED visibility.
For no-translucent filaments, the 31 mm 8-LED NeoPixel ring is recommended.
🔩 Assembly Notes & NeoPixel Wiring
Assembly of this remix follows the same instructions as the original project by LeoSpaceLab.
All mechanical steps, tolerances, and general build logic remain unchanged unless explicitly stated below.
👉 Please refer to the original project for full assembly guidance:
SpaceMouse DIY, No Springs, Fusion360, Magnets” by LeoSpaceLab
NeoPixel Wiring (Additional Step)
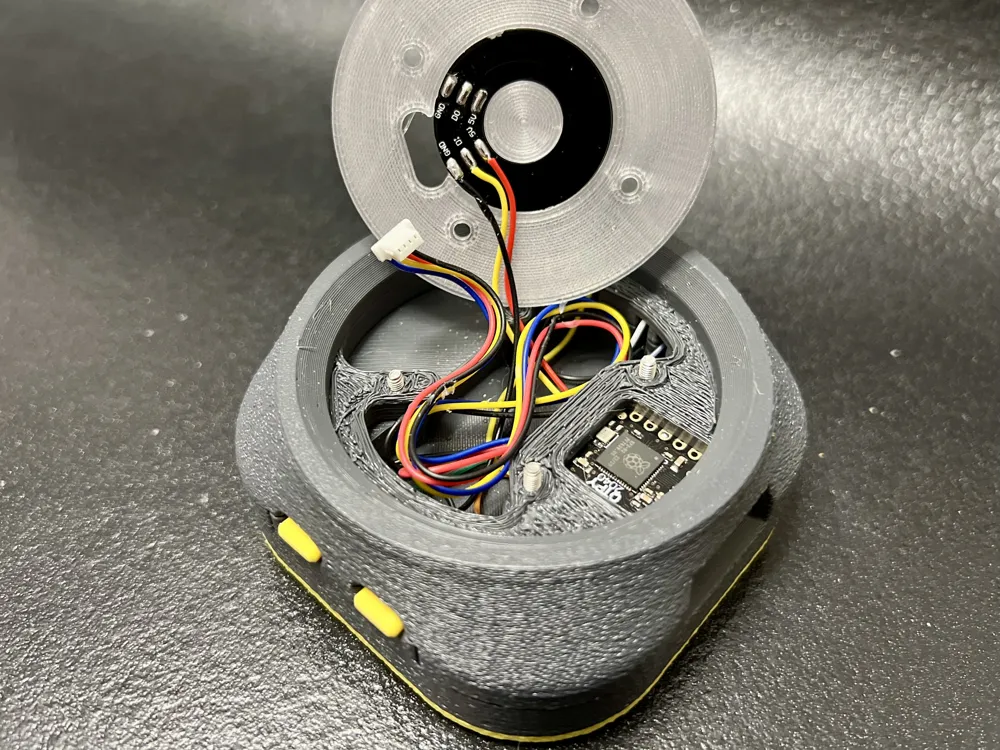
This remix introduces an 8-LED NeoPixel ring, which requires a small additional wiring step not present in the original design.
The NeoPixel ring linked in the BOM typically comes with two 3-wire cables (input and output) for daisy-chaining.
For this project:
- Both cables must be desoldered and removed
- Only three direct connections are required
Required connections
NeoPixel Pad | Connects To | Notes |
| GND | Common GND of the four side buttons | Shared ground |
| 5V | RP2040 pad labeled 5V | Power |
| DI (Data In) | GPIO 4 | Pad labeled MI, located between SCK and MO |
- GPIO 4 is used by the firmware as the NeoPixel data line
- The DO (Data Out) pad of the NeoPixel ring is not used
This wiring scheme matches the expectations of the AdaSpace3D firmware, which drives NeoPixels directly on GPIO 4.
Notes
- No additional resistors or level shifters are required
- A reference photo may be added in a future update, but the description above is sufficient for experienced builders
🛒 Bill of Materials (Non-Printable Parts)
These components are required in addition to the STL files:
🎛 Electronics
- Adafruit QT Py RP2040
- Infineon TLx493D Magnetometer (or equivalent 3-axis magnetometer breakout)
- Equivalent Adafruit NeoPixel Ring / Strip (8 LED 27mm)
- Equivalent Adafruit NeoPixel Ring / Strip (8 LED 31mm)
- STEMMA QT for QWIIC cable
⚙️ Fasteners & Hardware
- M2.5 screws (various lengths)
- Heat-Set Inserts (M2.5)
- Neodymium Magnets Ø6×2 mm
- Silicone Anti-Slip Pads (Ø 6 mm) e.g., self-adhesive bumpers
🧰 Optional / Consumables
- Double-sided tape for magnetometer stick-in variant
- Lead pellets / BB shot for filling the base
🙏 Acknowledgments & Credits
This remix is based on the excellent original project by leospacelab, whose work laid the foundation for this entire design.
Original project:
“SpaceMouse DIY, No Springs, Fusion360, Magnets”
by leospacelab
The original model introduced a clever and elegant magnetic, spring-based mechanism and a well-balanced overall design, which proved to be both robust and enjoyable to use.
This remix builds upon that foundation by:
- redesigning the internal structure
- adding NeoPixel LED support
- improving usability and serviceability
while fully preserving the original concept and spirit.
All credit for the original idea and mechanical principles goes to LeoSpaceLab.
This work exists thanks to the quality and openness of the original project.
📜 License & CAD Files Notice
This remix is released under the same license as the original project:
Creative Commons Attribution–NonCommercial–ShareAlike 4.0 (CC BY-NC-SA 4.0)
- attribution to the original author is preserved
- commercial use is not permitted
- derivative works must use the same license
Although I normally include STEP / CAD files to actively encourage open-source remixing, this release provides STL files only.
This choice was made out of respect and consistency with the original project, whose author distributes CAD sources through separate channels rather than alongside the printable files.
The intent of this remix remains fully aligned with the spirit of open hardware:
to improve, adapt, and share — while honoring the original creator’s choices.
Boost Me (for free)
Love this project? A boost helps bring more ideas to life.
This remix is based on

License



Comment & Rating (70)