
Quick Filament Ironing Test - Smoother Surfaces
Print Profile(1)

Description
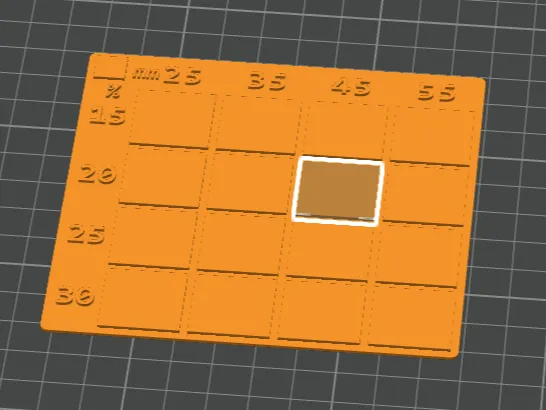
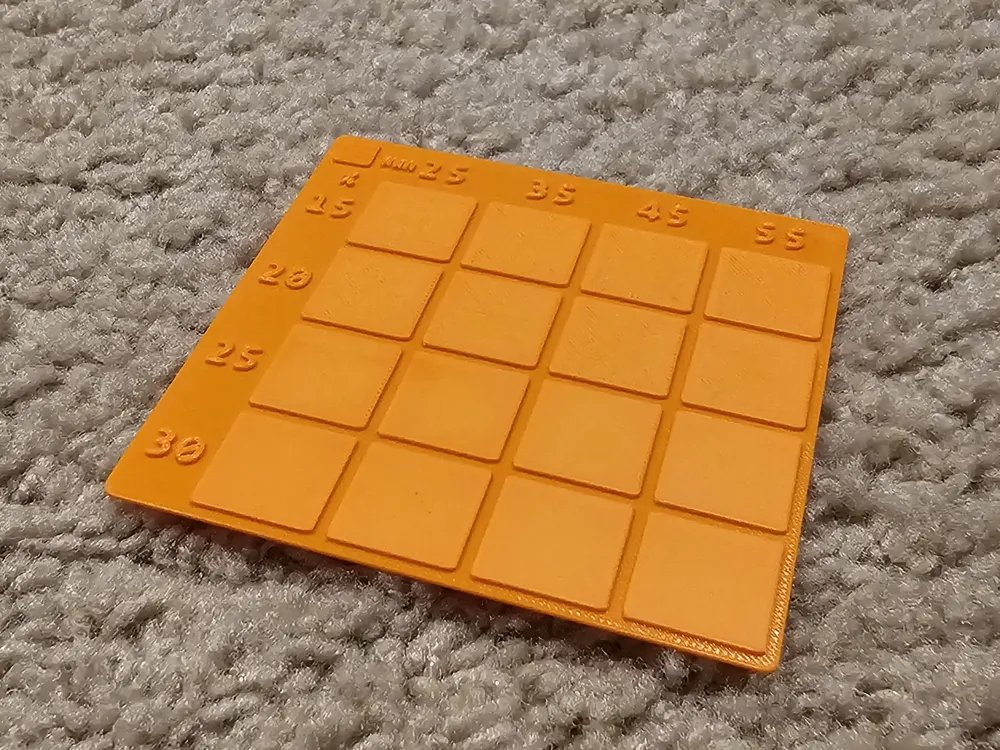
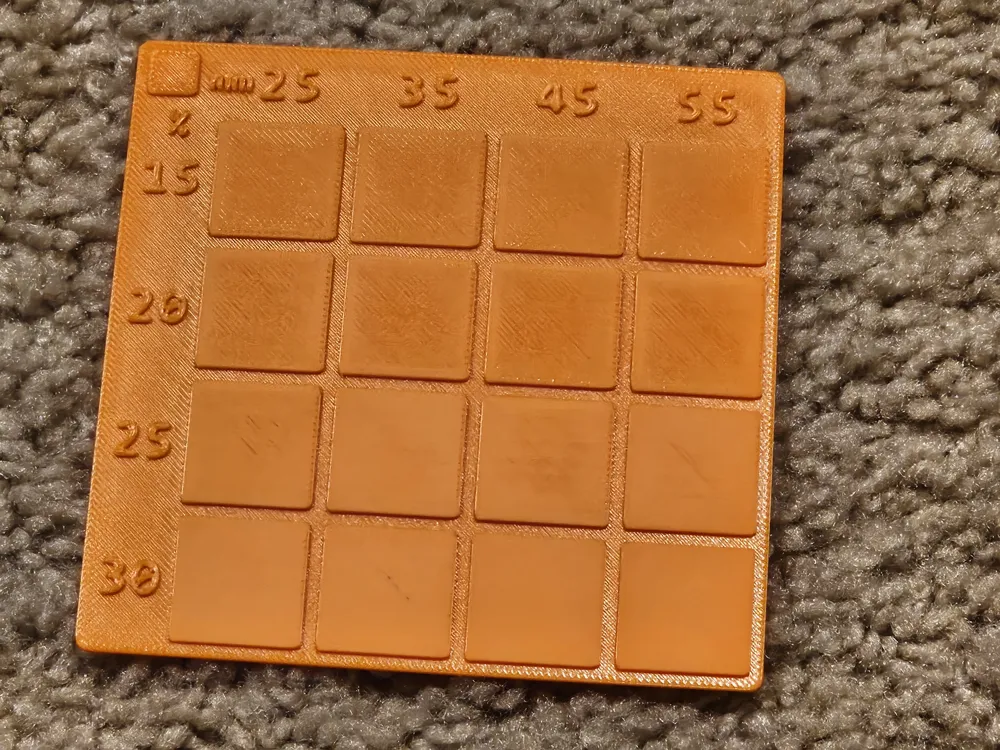
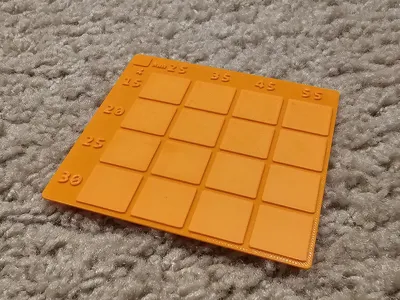
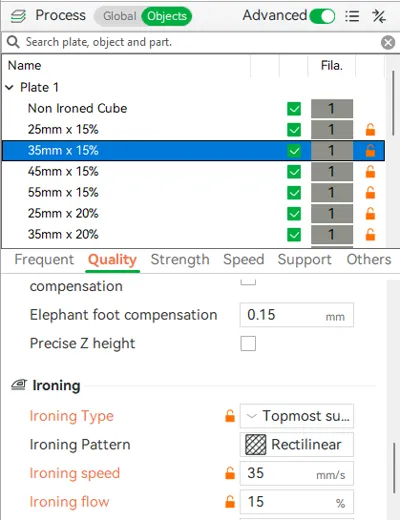
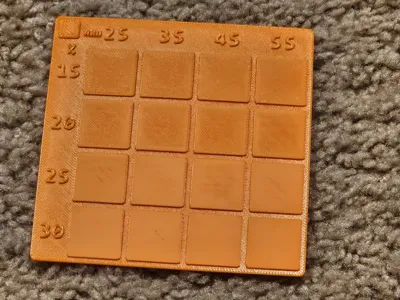
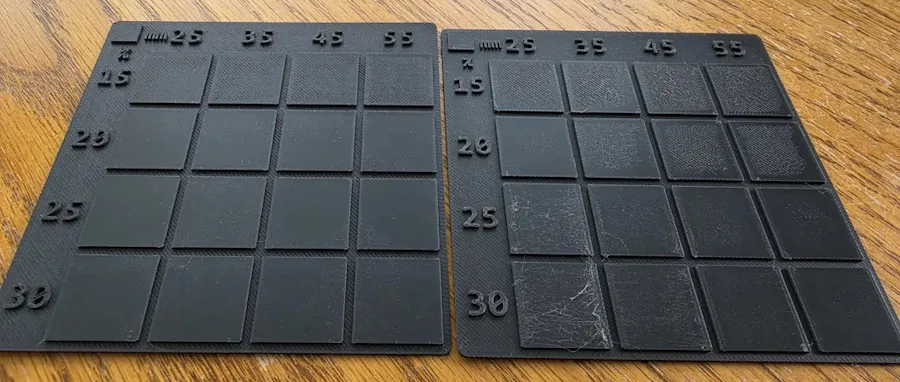
This is a standard quick ironing test I created as I didn't like the options out there even though there are plenty. Most go too slow on the speed and way too low on the percentage. And the big ones can take 2 hours to print. I designed mine for around the sweet spot that I found for most of my filaments, 25 - 55 mm/s and 15% - 30% flow, and it prints in less then a hour.
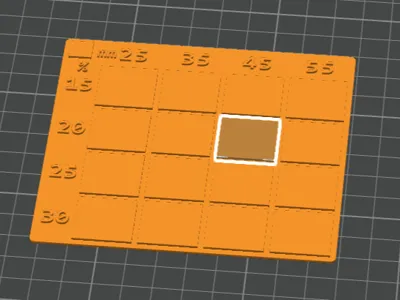
I've also included the FreeCad file I made so you can modify it yourself. Everything in the FreeCad file is labeled and all the text is easily changeable without having to redo anything other then changing the text. So you can make your own custom ironing test with values that work best for you. The way I made the file you could also easily make this bigger or smaller with more test squares although I feel a 4 x 4 is the best bang for your buck.
Tips For Ironing
Ironing isn't “hard” but a couple things need to happen for it to come out good so here is my guide:
- Make sure your filament is dry. You might get away with a print with wet PLA but you won't get away with ironing it. Ironing wet filament leaves wispy strands everywhere. Here is some Bambu Matte PLA. The one on the left was dried for 12 hours at 45*, the one on the right was used right out of the bag. It is otherwise the exact same print on the same printer:
Make sure your flow rate is calibrated. If it's under by even .02 or .03 it won't look good no matter what an iron calibration says. Anyone that says "I don't do ironing, I just increase the top layer flow" is doing so because they are already under extruding.
Make sure you have enough top layers to actually support the topmost layer. Four minimum, five is even better (at 0.20) for a full 1mm. Under "Strength" this would be "Top Shell Thickness". The better your top layer is supported the better the ironing will be. Personally for things I iron I also make sure under "Speed" that the top surface is set down to 80mm/s.
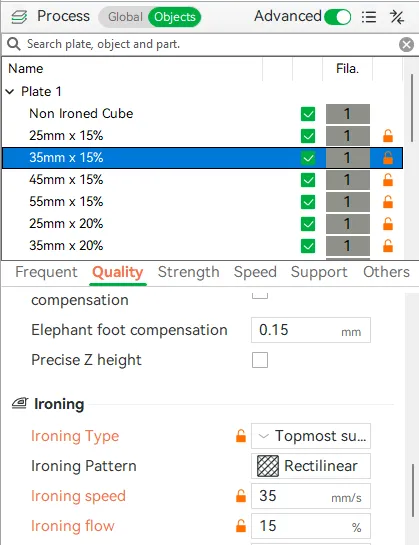
- Make sure to do this ironing calibration after your filament is dried and flow calibrated. Never use someone else's settings as they probably won't work for your printer and your filament. You need to calibrate the settings for you. In general your results should be applicable across a certain brand/type so for me on my H2C I usually use 45mm/s and 25% flow for all my Matte PLA. But my ABS-GF is 25mm/s @ 20% and if I used the same settings as my Matte PLA I'd have lines everywhere.
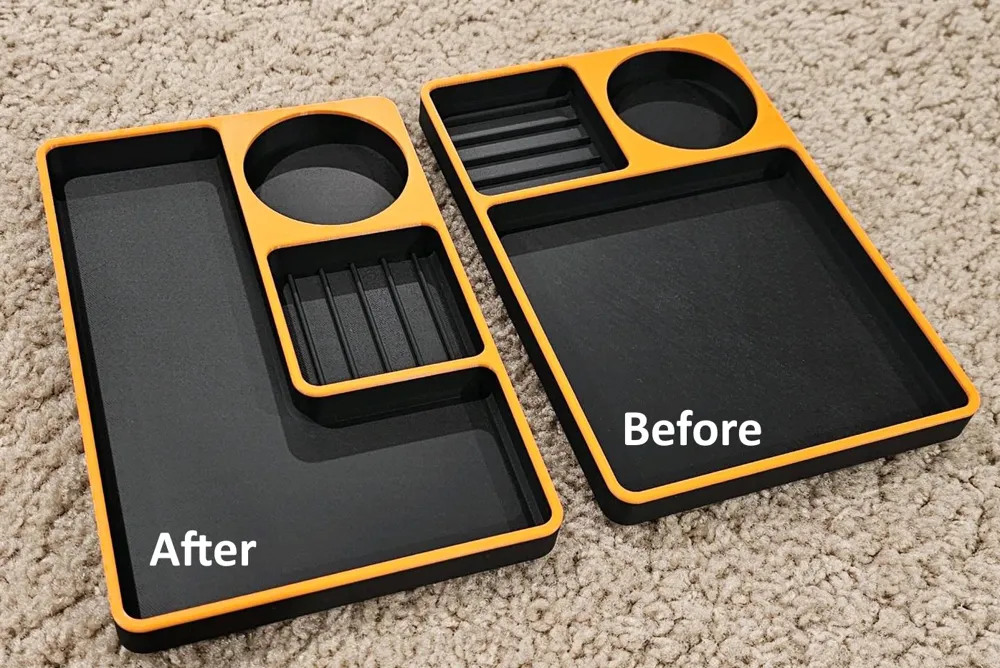
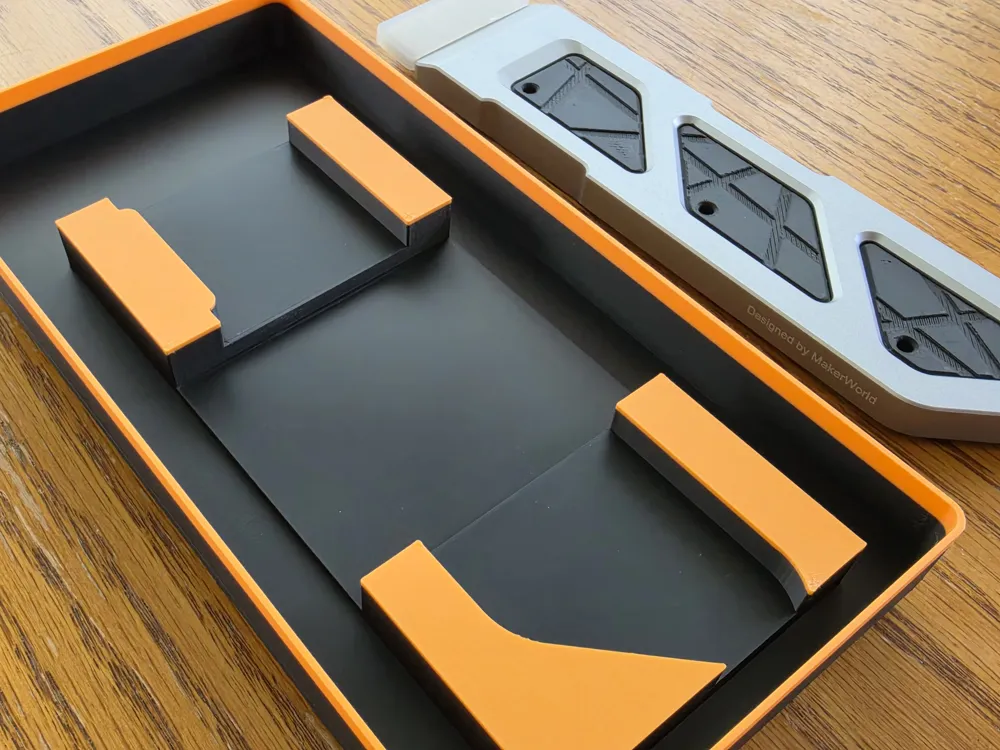
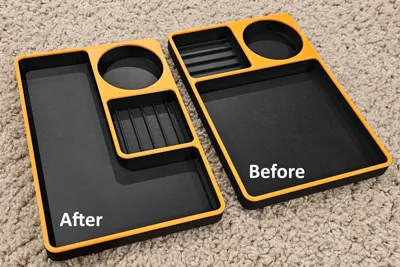
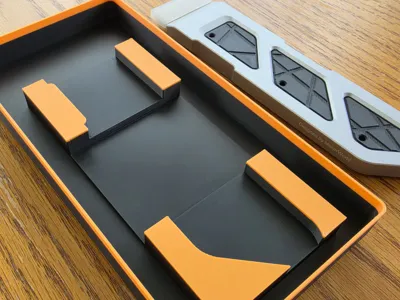
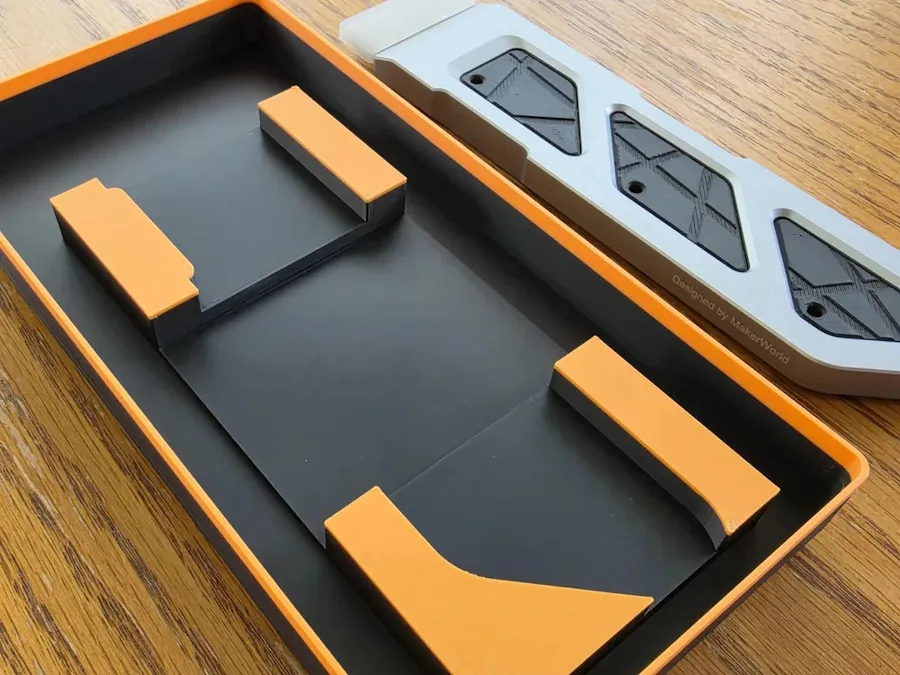
Once you have your settings down you can produce some near injection molded parts that no longer look printed. This image is one of my other models and is not touched up or edited in any way. Bambu matte PLA in charcoal and mandarin orange, both dried and flow calibrated (the charcoal was slightly under, the orange was fine):
Good luck on your ironing journey!
Boost Me (for free)
All of my models are free to download. I have no patreon, donation links, or affiliate links in any of my listings. With that said if you want to give me a like or a free boost I would very much appreciate it. Thank-you.
License

You may create derivative works based on this object, provided that all such derivative works are published exclusively on the MakerWorld platform and include proper attribution to the original creator. You may not share, upload, host, distribute, or publish this object—or any derivative work of this object—on any other digital platform, marketplace, or distribution channel. Commercial use of this object and any derivative works is strictly prohibited. This includes, but is not limited to, selling, renting, sublicensing, or using the object in any context in which you receive monetary compensation or other financial benefits.


Comment & Rating (74)