Search models, users, collections, and posts
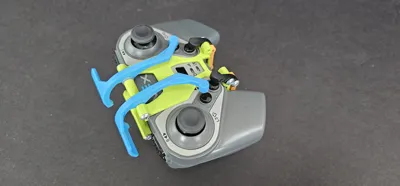
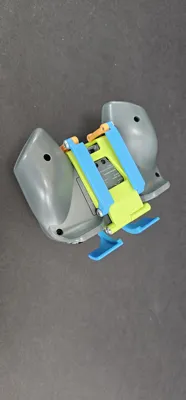
VEX IQ controller Scuff - Redesign
IP Report


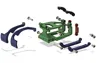
Print Profile(1)

Print set - complete set with settings.
Designer
2.6 h
1 plate
Open in Bambu Studio
Boost
24
34
33
5
126
49
Released
Description
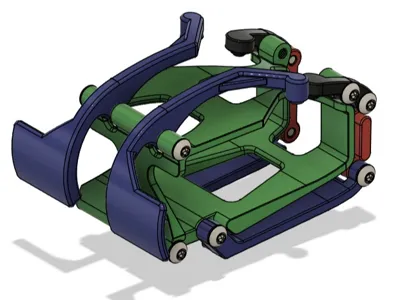
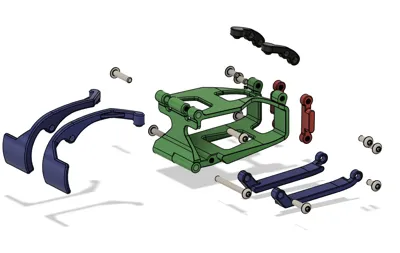
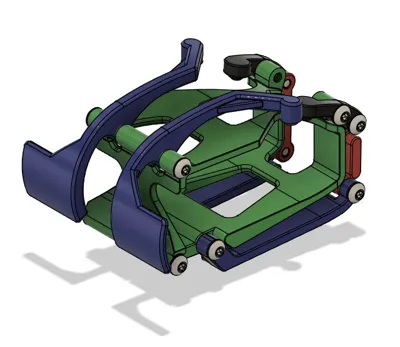
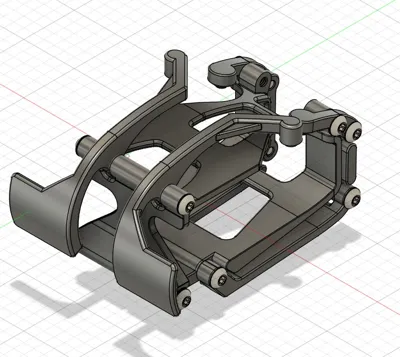
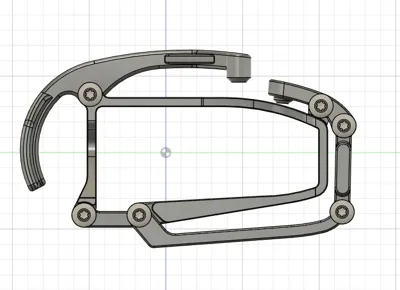
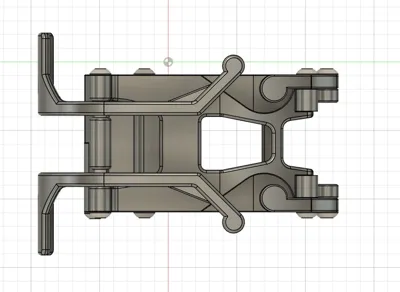
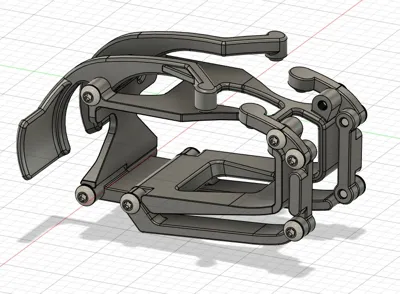
VEX IQ controller “scuff”.
This is a reworked version of my orginal Controller Scuff. I switched all the hardware to standard V5 #8 bolts so most robotics programs will have those on hand. You will need (8) #8-32 x 3/8", (2) #8-32 x ¾", (1) #8-32 x 1.5"
I also reworked the structure to strengthen the parts and repair some issues.
If you are looking for a different variation - Check out my 2 button Scuff design
https://makerworld.com/en/models/2419070-vex-iq-scuff-controller-2-button#profileId-2652896
Documentation (1)
Assembly Guide (1)
License
This user content is licensed under a
Creative Commons Attribution-Noncommercial-Share Alike
Comment & Rating (33)