45° Angled LED Strip System ( with 90° Corners)


Print Profile(1)

Description
Boost Me (for free)
Boosting me will keep me going, thank you for your support! :)
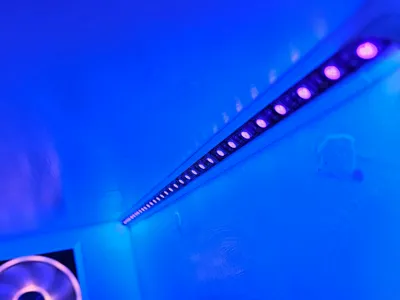
Upgrade your lighting setup with this modular 45-degree mounting system. Designed to hold standard LED strips, this profile directs light at a 45-degree angle, making it perfect for under-cabinet lighting, desk backlighting, or display shelves.
The angled design helps eliminate harsh glare by directing light outward rather than straight down, creating a smoother, more professional ambient glow.
Key Features:
📐 Perfect 45° Angle: Projects light into the room or onto a wall for optimal diffusion and visibility.
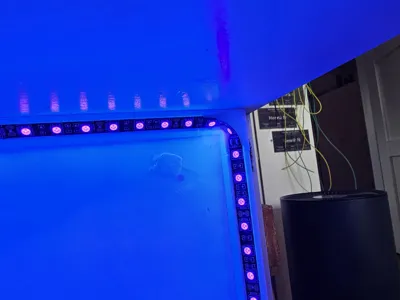
🧩 Modular System: Includes 200mm straight sections and compact 30x30mm 90-degree corner pieces, allowing you to create a seamless continuous run of light around bends.
📏 Precision Fit: Designed with an 11mm wide mounting surface, providing the perfect fit for standard 10mm wide LED strips with just enough clearance for easy installation.
- 💡 Glare Reduction: Hides the raw LED strip from direct line-of-sight when mounted under shelves or desks.
Dimensions & Compatibility:
- Straight Segment Length: 200mm (Fits on standard build plates like Ender 3, Bambu Lab A1/X1/P1, Prusa MK3/4).
- Corner Segment Dimensions: 30mm x 30mm.
- Internal Channel Width: 11mm.
- Max LED Strip Width: 10mm (Standard 5050 or 3528 strips).
Printing Recommendations:
- Material: PLA is suitable for most standard LED strips. If you are using high-density/high-wattage LEDs that get hot, PETG is recommended to prevent warping.
- Color:
- White: Recommended for maximum light reflection.
- Black: Recommended if you want the mount to "disappear" into the shadows.
- Infill: 15% (Structural strength isn't critical here).
- Orientation: Print the straight pieces standing on their end (vertical) or flat on their back face depending on your bed adhesion. Corner pieces should be printed flat.
Installation Instructions:
- Clean your mounting surface (desk, wall, shelf).
- Attach the printed mounts to your surface using Double-Sided Tape (VHB) or a dab of hot glue/super glue.
- Line up the 90° corner pieces where needed.
- Peel the backing off your LED strip and press it firmly into the 11mm channel.
License
You shall not share, sub-license, sell, rent, host, transfer, or distribute in any way the digital or 3D printed versions of this object, nor any other derivative work of this object in its digital or physical format (including - but not limited to - remixes of this object, and hosting on other digital platforms). The objects may not be used without permission in any way whatsoever in which you charge money, or collect fees.
Comment & Rating (6)