
Universal PSU enclosure with sliding lid
Print Profile(1)

Description
Boost Me (for free)
A boost will go a long way, thank you for supporting me! :)
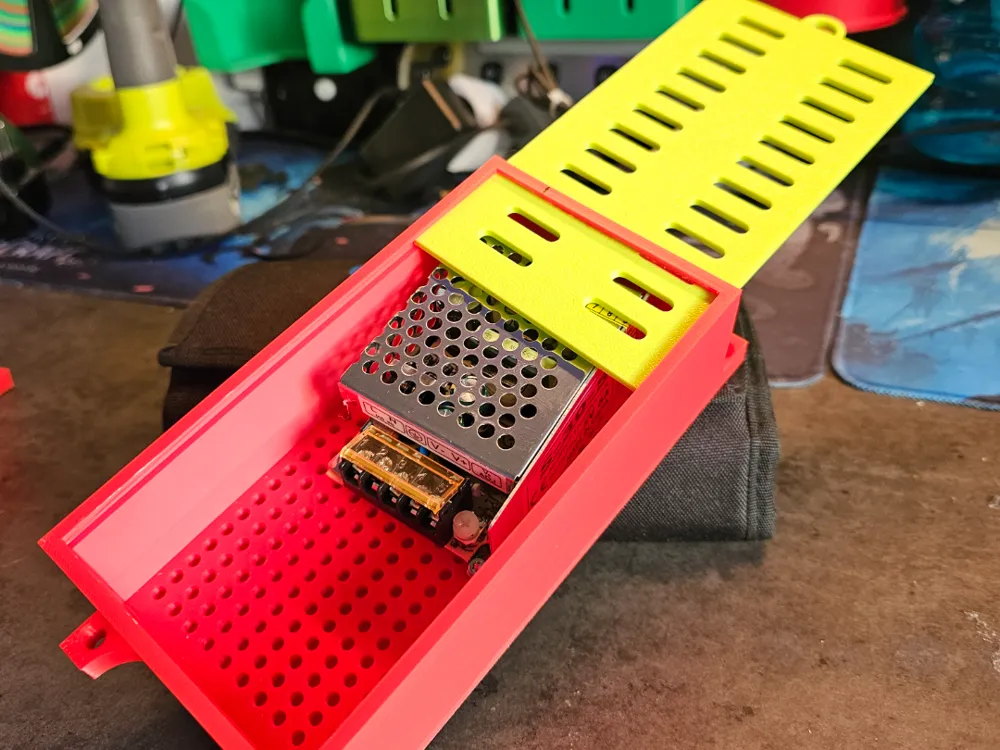
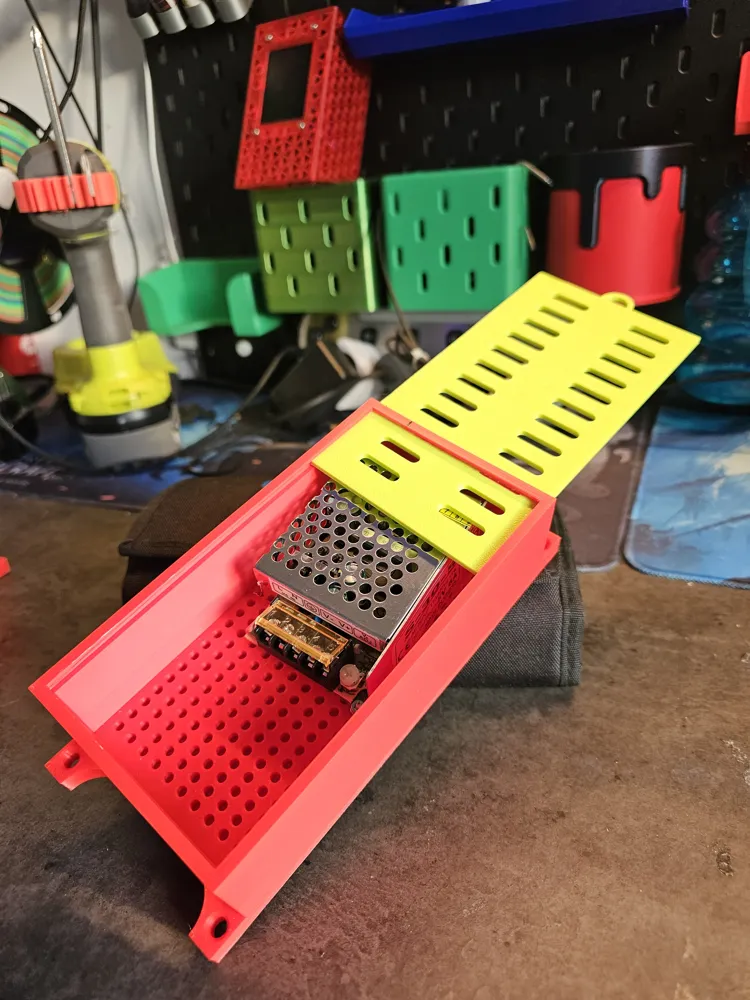
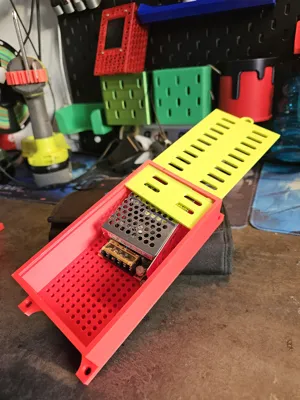
A robust, adaptable enclosure designed to house generic switching power supplies (LED/3D Printer style) safely and securely.
Unlike cases designed for just one specific model, this design features a grid of mounting holes on the bottom. This allows you to install heat-set inserts exactly where you need them to match your specific power supply's mounting points.
Key Features:
🔧 Universal Grid Mounting: The solid base features a grid of holes specifically sized for M3 heat-set inserts. This allows you to position your PSU securely regardless of its specific screw hole spacing.
📏 Wide Compatibility: Fits power supplies up to 140 x 70 x 34mm.
🔌 Cable Management: Generous internal space allows room for wire management, WLED controllers (ESP32/Dig-Uno), or buck converters to be housed safely inside.
🛡️ Safety First: Fully encloses high-voltage AC terminals to prevent accidental contact.
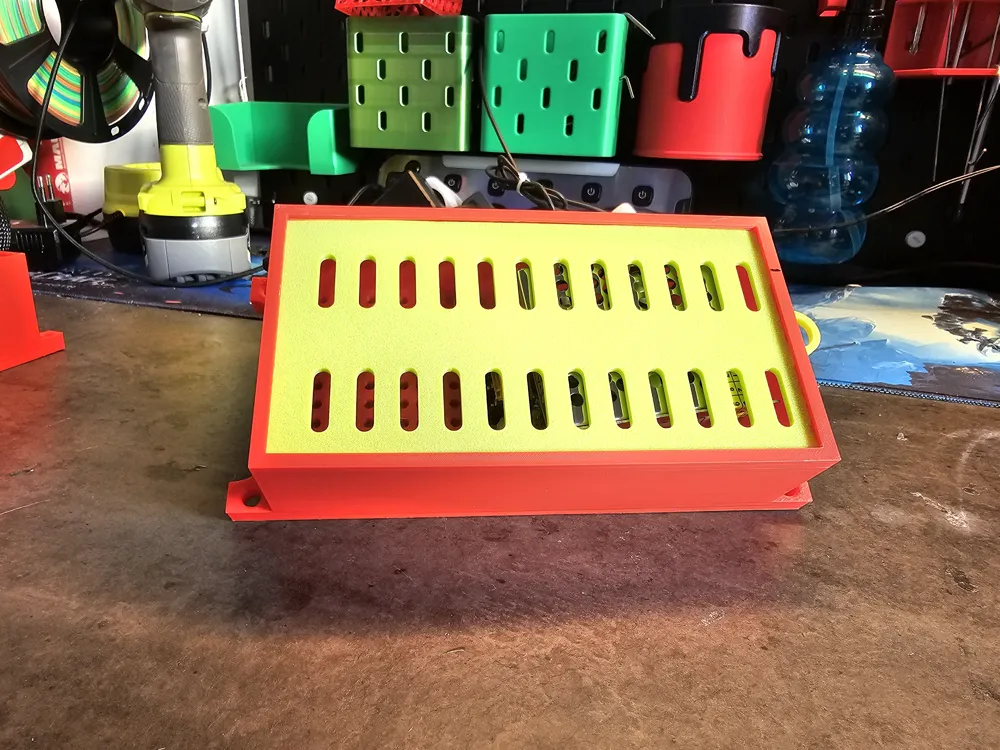
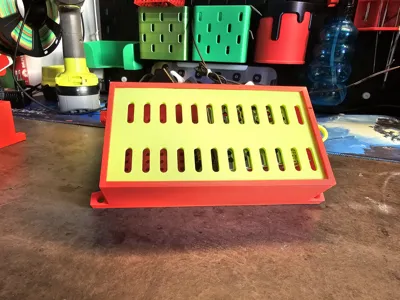
💨 Passive Cooling: The slotted lid allows heat to escape while keeping the electronics protected.
↔️ Sliding Lid: Two-part sliding lid design offers quick access to terminals without needing to unmount the box.
- 🧱 Versatile Mounting: Integrated heavy-duty tabs for mounting to walls, under desks, or inside control cabinets.
Compatibility:
- Max PSU Dimensions: 140mm (L) x 70mm (W) x 34mm (H)
- Fits most standard "brick" style LED power supplies (e.g., LRS series).
Hardware Required:
- M3 Threaded Heat-Set Inserts (Standard size) - Quantity depends on your PSU, usually 2-4.
- M3 Screws (6mm or 8mm length recommended to secure the PSU).
- Wood Screws (for wall/desk mounting).
Printing Recommendations:
- Material: PETG (Highly recommended for heat resistance), though PLA+ is acceptable for low-power applications.
- Wall Loops: 3 (Recommended for strong mounting tabs).
- Infill: 15-20% Grid.
- Supports: Minimal supports may be required for the sliding lid overhangs depending on your printer's bridging capability.
Assembly Instructions:
- Place your PSU into the case to identify which holes in the bottom grid align with your PSU's mounting points.
- Use a soldering iron to press M3 heat-set inserts into those specific holes.
- Secure the PSU to the case using M3 screws.
- Slide the lid sections into the grooves.
- Mount the unit to your workspace using the side tabs.
License

You shall not share, sub-license, sell, rent, host, transfer, or distribute in any way the digital or 3D printed versions of this object, nor any other derivative work of this object in its digital or physical format (including - but not limited to - remixes of this object, and hosting on other digital platforms). The objects may not be used without permission in any way whatsoever in which you charge money, or collect fees.


Comment & Rating (0)