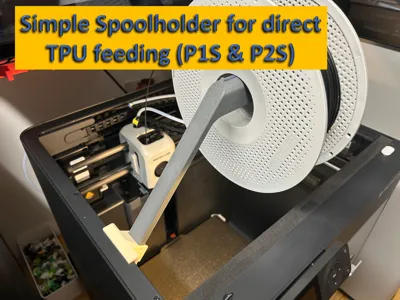
Spool holder for direct TPU feed (P1S / P2S)


Print Profile(3)


Bill of Materials

Description
Simple Spool Holder for TPU Feed P1S and separate print profile for P2S
Update 27.04.26: the side guide tabs for the filament spool were slightly raised
Update 19.01.26: additional print profile for the P2S added
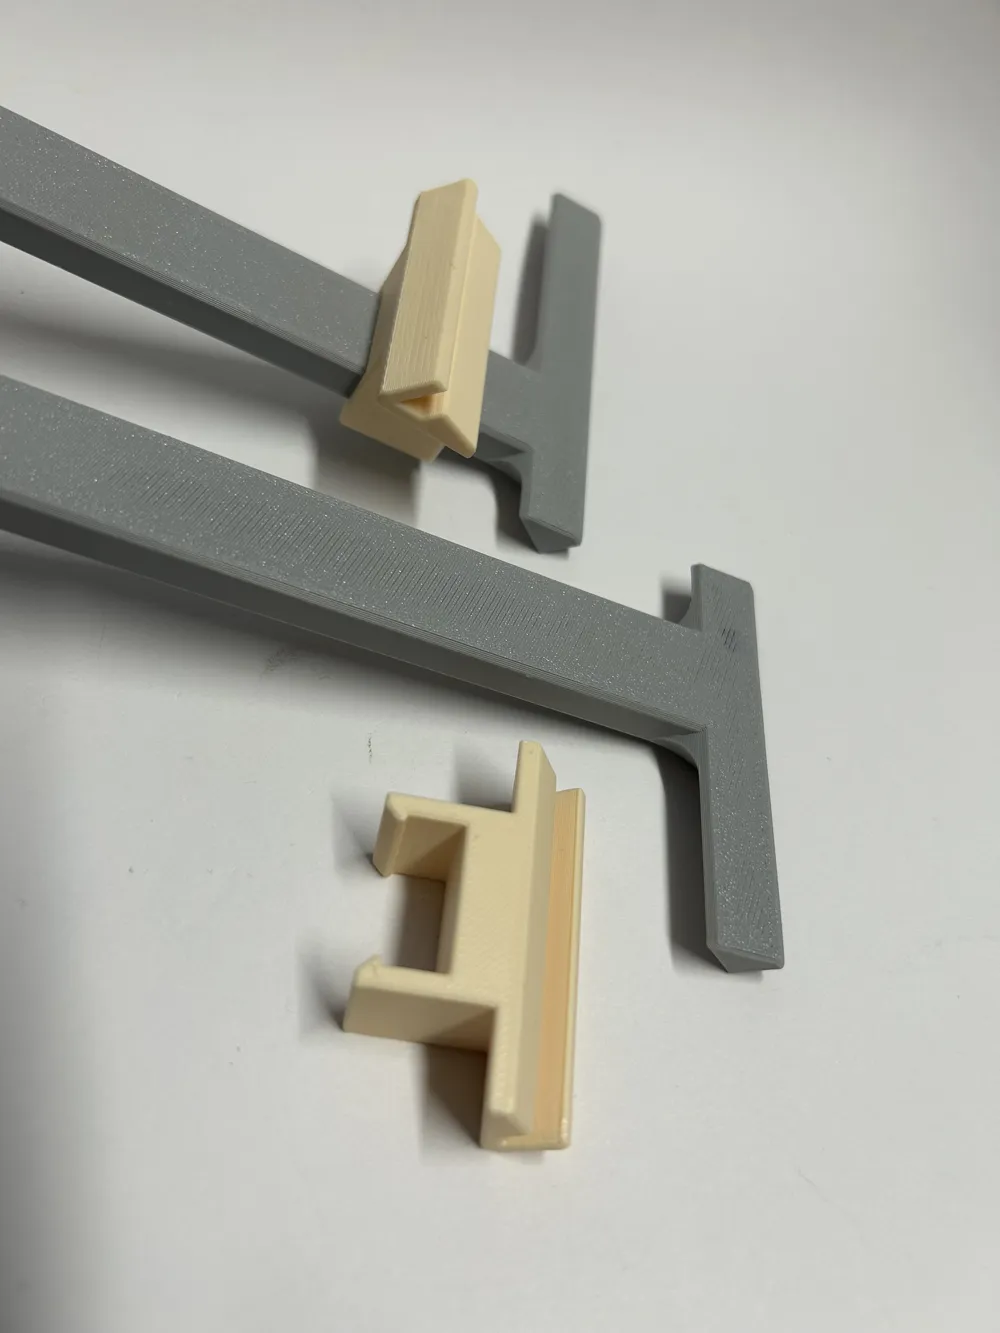
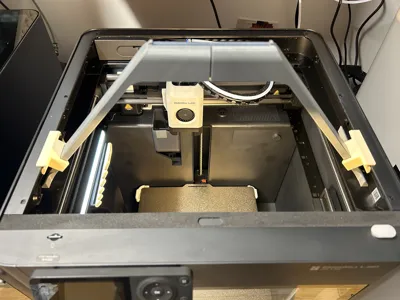
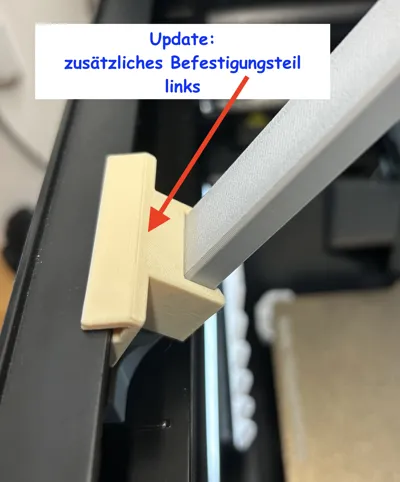
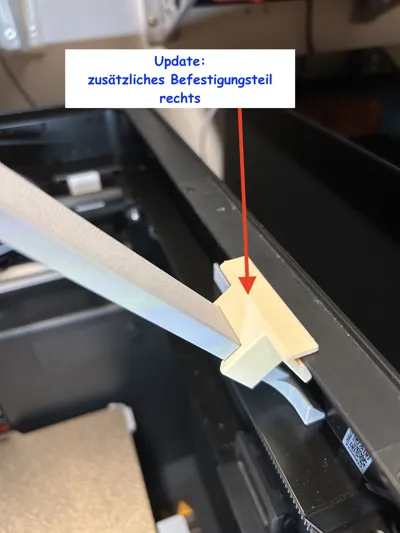
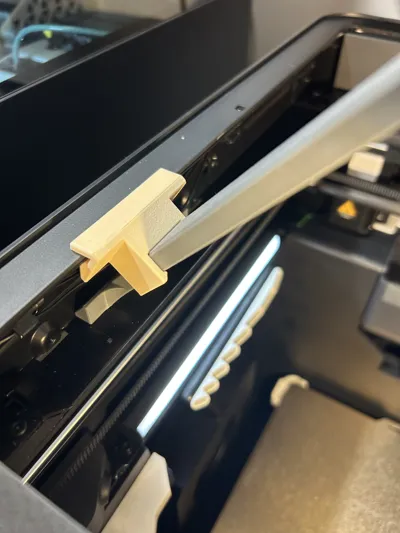
UPDATE 16.01.26: I have now added two fixing clips that prevent the holder from tilting during fast print head movements
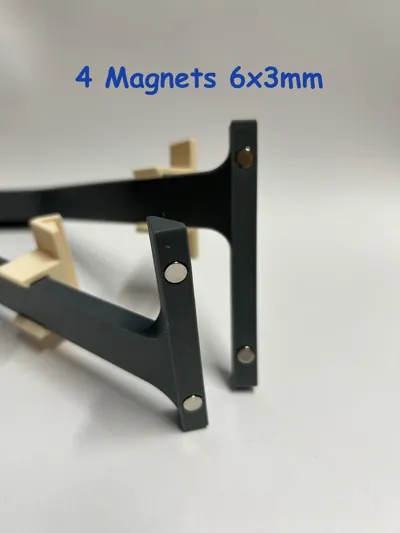
As an alternative (or additionally) there are now 2 holes on the underside of each contact surface into which 4 magnets 6x3mm can be inserted
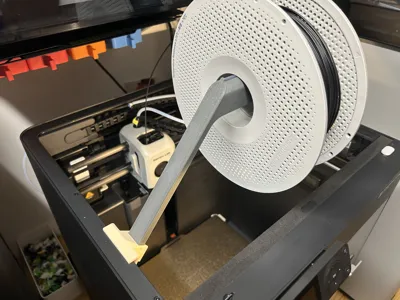
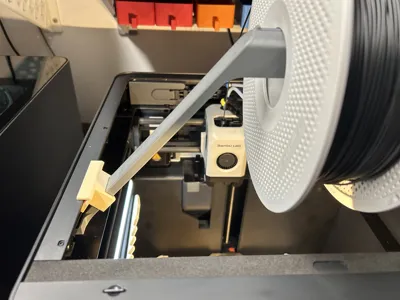
Soft TPU filaments are fed directly into the extruder and therefore require a spool holder directly above the printer
This is a very simple filament spool holder with the following advantages:
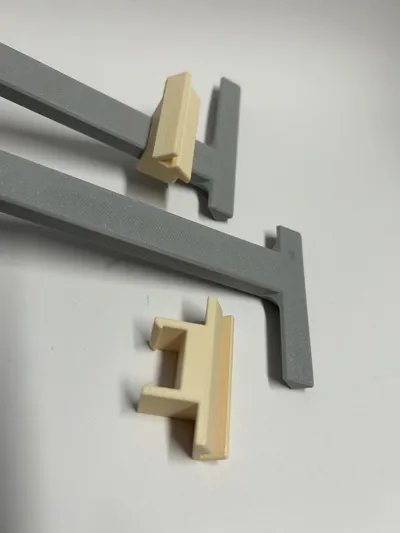
- Only 2 parts + 2 fixing clips, the parts can be printed together on one build plate
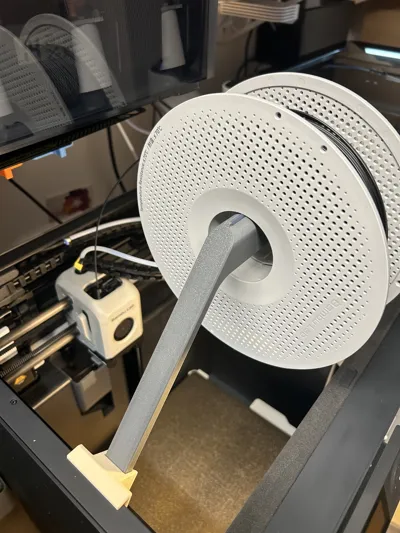
- Low material consumption, only approx 80g filament, and yet stable enough for a 1kg spool
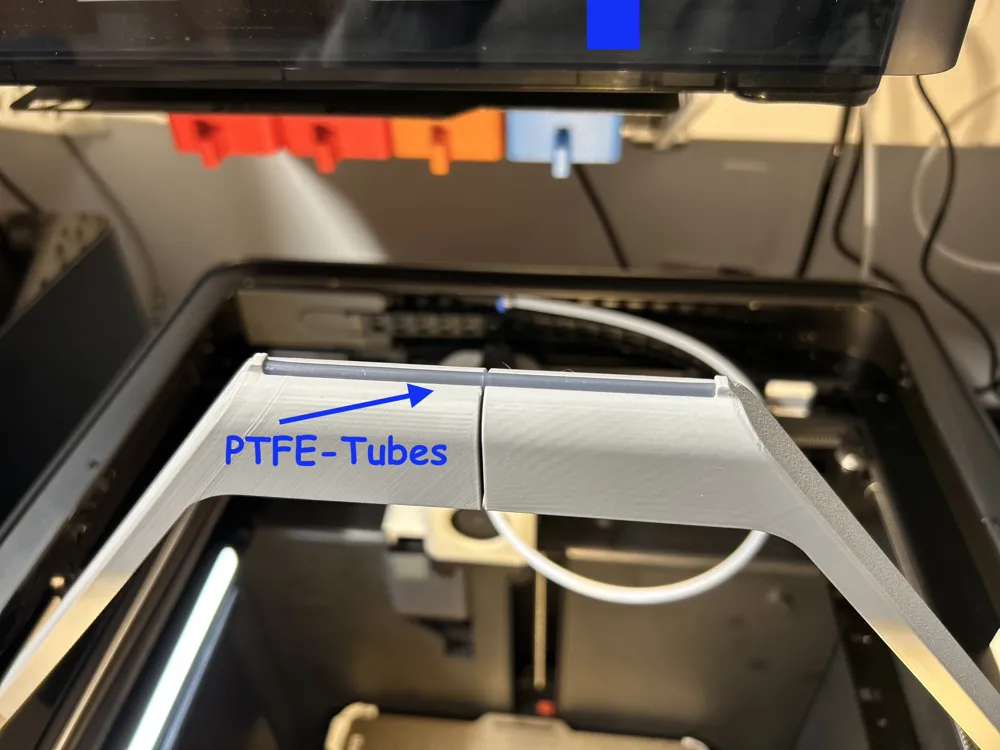
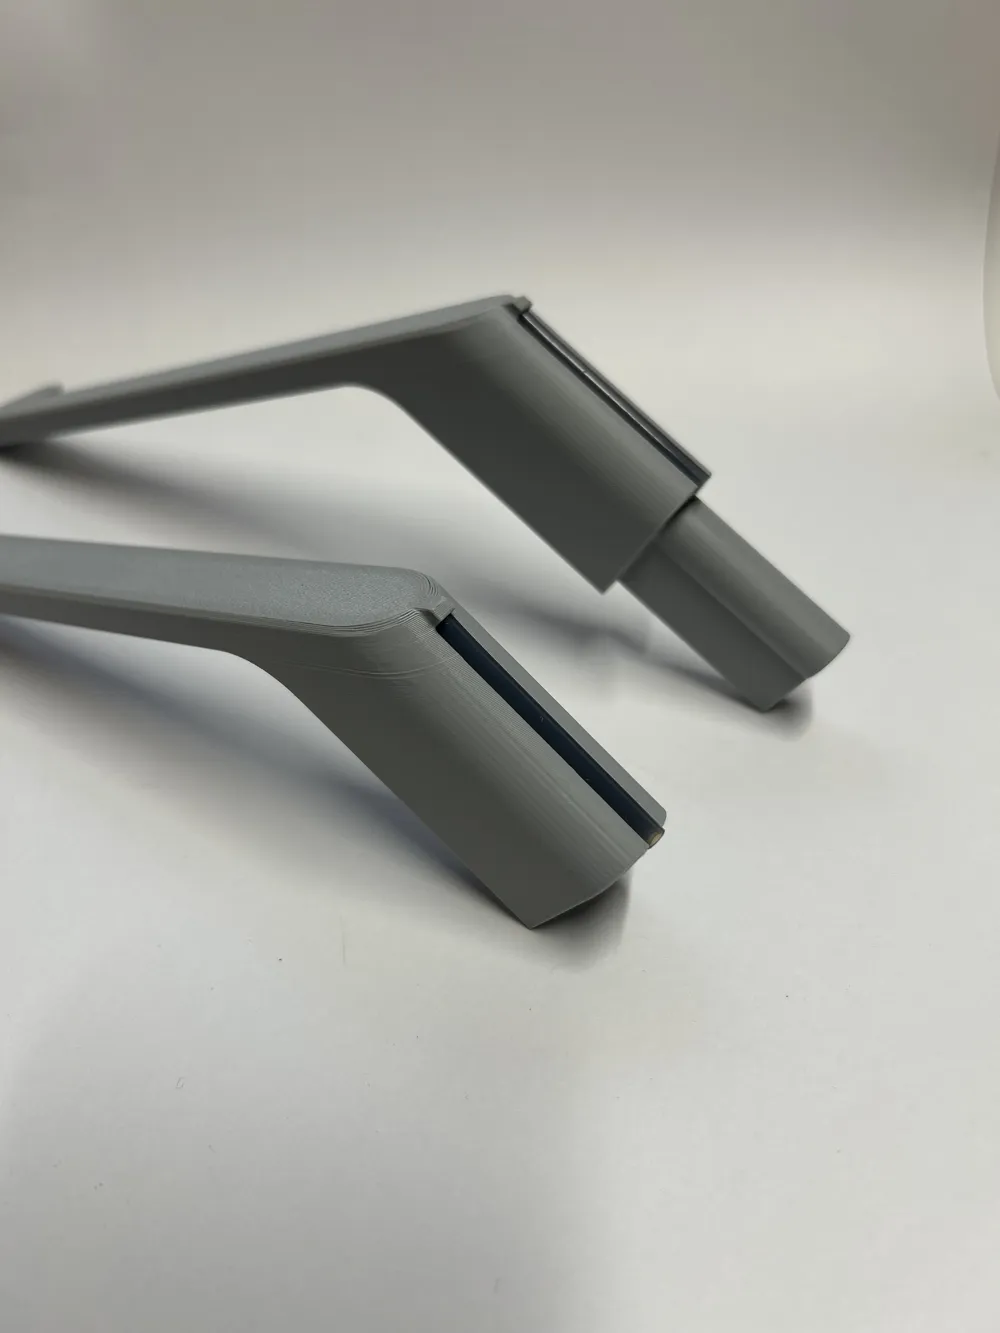
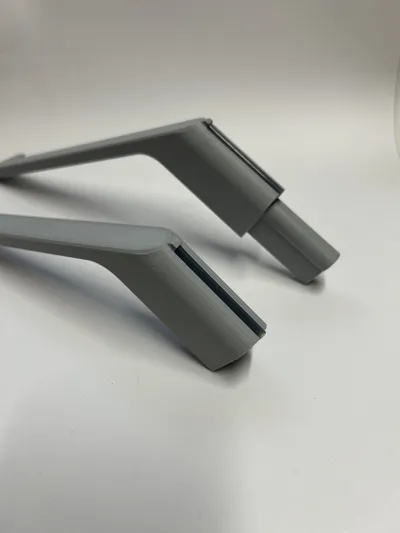
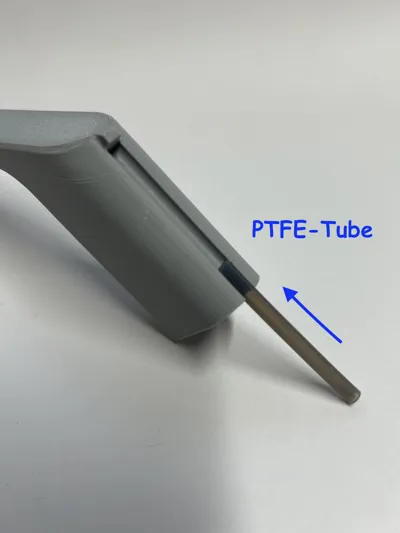
- Plain bearing: a piece of PTFE tube (standard tube for filament guidance) can be inserted at the contact surface of the spool to reduce friction
- No assembly required: the holder is inserted directly into the printer
Note: I also tried a solution with ball bearings, but the problem arose that with fast movements of the print head, the spool continued to turn and filament was unwound. This means it is better if the spool has a little bit of friction
When using plastic spools, the PTFE tube is not absolutely necessary; when using cardboard spools, it is better if the PTFE tubes are mounted
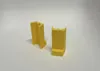
If a little more friction is desired, the PTFE tubes can be replaced by two parts. (see additional print profile)
The parts are inserted laterally into the holder instead of the PTFE tubes.
The spool then runs on the 4 edges and thus has a little more friction, and the spool does not run on so easily.
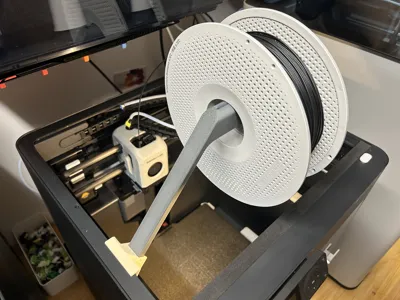
The holder is very easy to assemble: The two parts are plugged together, and the spool is placed on the guide simultaneously. Then the holder is simply placed inside on the side metal rails and rests against the side walls. (The longer support is on the right side)
The fixing clips are simply clipped onto the holder on the left and right for the P1S (P2S only on the right),
and pushed into the correct position when inserted
The groove on the clip then encloses the upper frame of the housing (the holder may need to be slightly compressed for this)

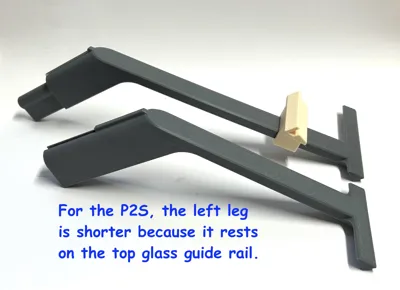
For the P2S (separate print profile) the left leg is slightly shorter, and the leg rests on top of the glass guide rail
No fastening clip is mounted on the left side
Feel free to also check out the PTFE tube holder for securing the disconnected tube on the print head:

Boost Me (for free)
If you like the design, I appreciate a 'boost me'
Membership
By signing up as a member, you receive permission to use physical prints of my models for commercial purposes.
 © Staprin3D
License
You shall not share, sub-license, sell, rent, host, transfer, or distribute in any way the digital or 3D printed versions of this object, nor any other derivative work of this object in its digital or physical format (including - but not limited to - remixes of this object, and hosting on other digital platforms). The objects may not be used without permission in any way whatsoever in which you charge money, or collect fees.
Comment & Rating (137)