Diy Drone Le Feixia


Print Profile(5)


Description
This model uses the Leflyer drone kit. All accessories required for installation are included in the kit, so no additional accessories need to be purchased
Link:https://mobile.yangkeduo.com/goods1.html?ps=XzcsT8hvho


2026.5.7 Update: Added quick-release battery protective shell, installation tutorial as follows
 |  |
 |
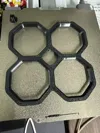
The accessories needed are as follows, as shown in the figure:

Installation Steps
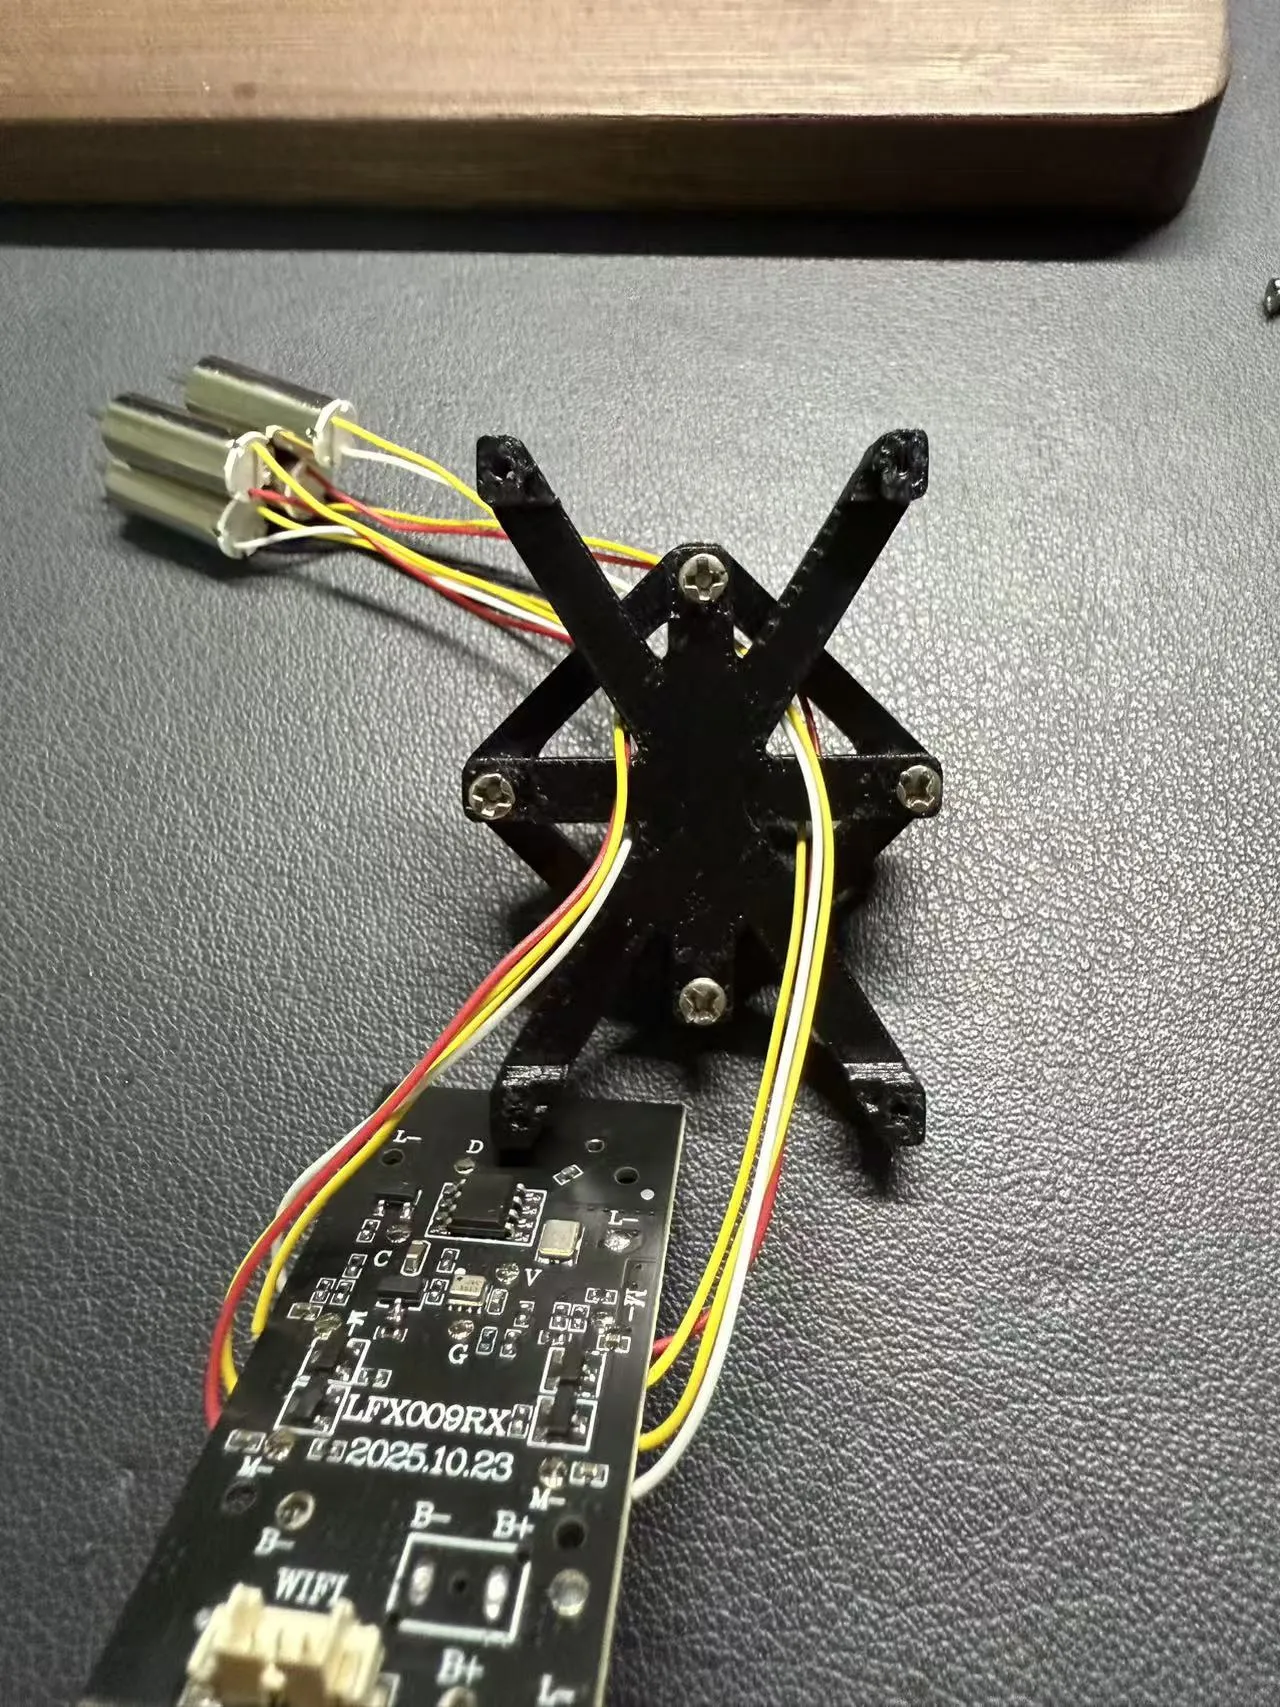
First, install the motherboard onto the bracket

Thread the wires through the riser bracket

Secure the motherboard bracket and riser bracket with screws (Since the reserved screw holes are relatively small, if it's difficult to screw in, you can first use one screw to turn it once to expand the hole, then it will be easier to install)
Thread the wires through the hole in the middle of the protective cover

Secure the motherboard bracket and protective cover with screws

Place the motherboard onto the motherboard bracket, aligning with the positioning slots

Cover with the motherboard cover plate and secure with screws

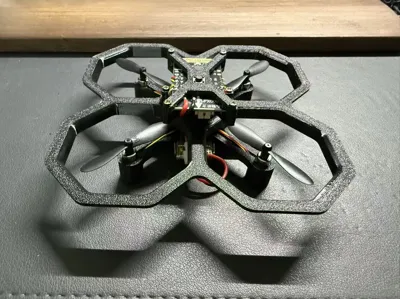
Appearance after installation

Thread the power cord through the gap between the motherboard bracket and the protective cover to the middle hole

Install the rubber band to secure the battery

Installation direction for the upper part and motor bracket

Thread the motor through the rubber band

Tuck the wire harness into the wire slot and install the motor into the reserved hole

Secure the motor bracket with screws

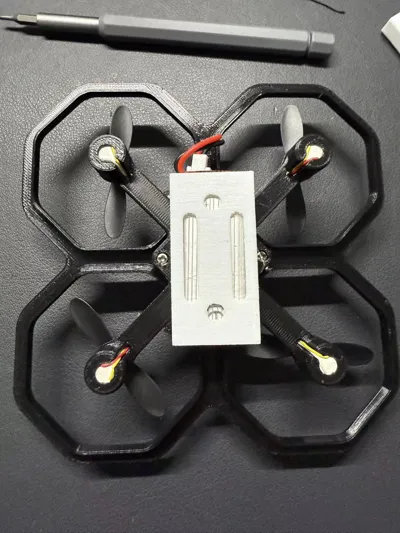
Install the A propeller, corresponding to the motor with red and yellow wire harnesses


Install the B propeller, corresponding to the motor with white and yellow wire harnesses
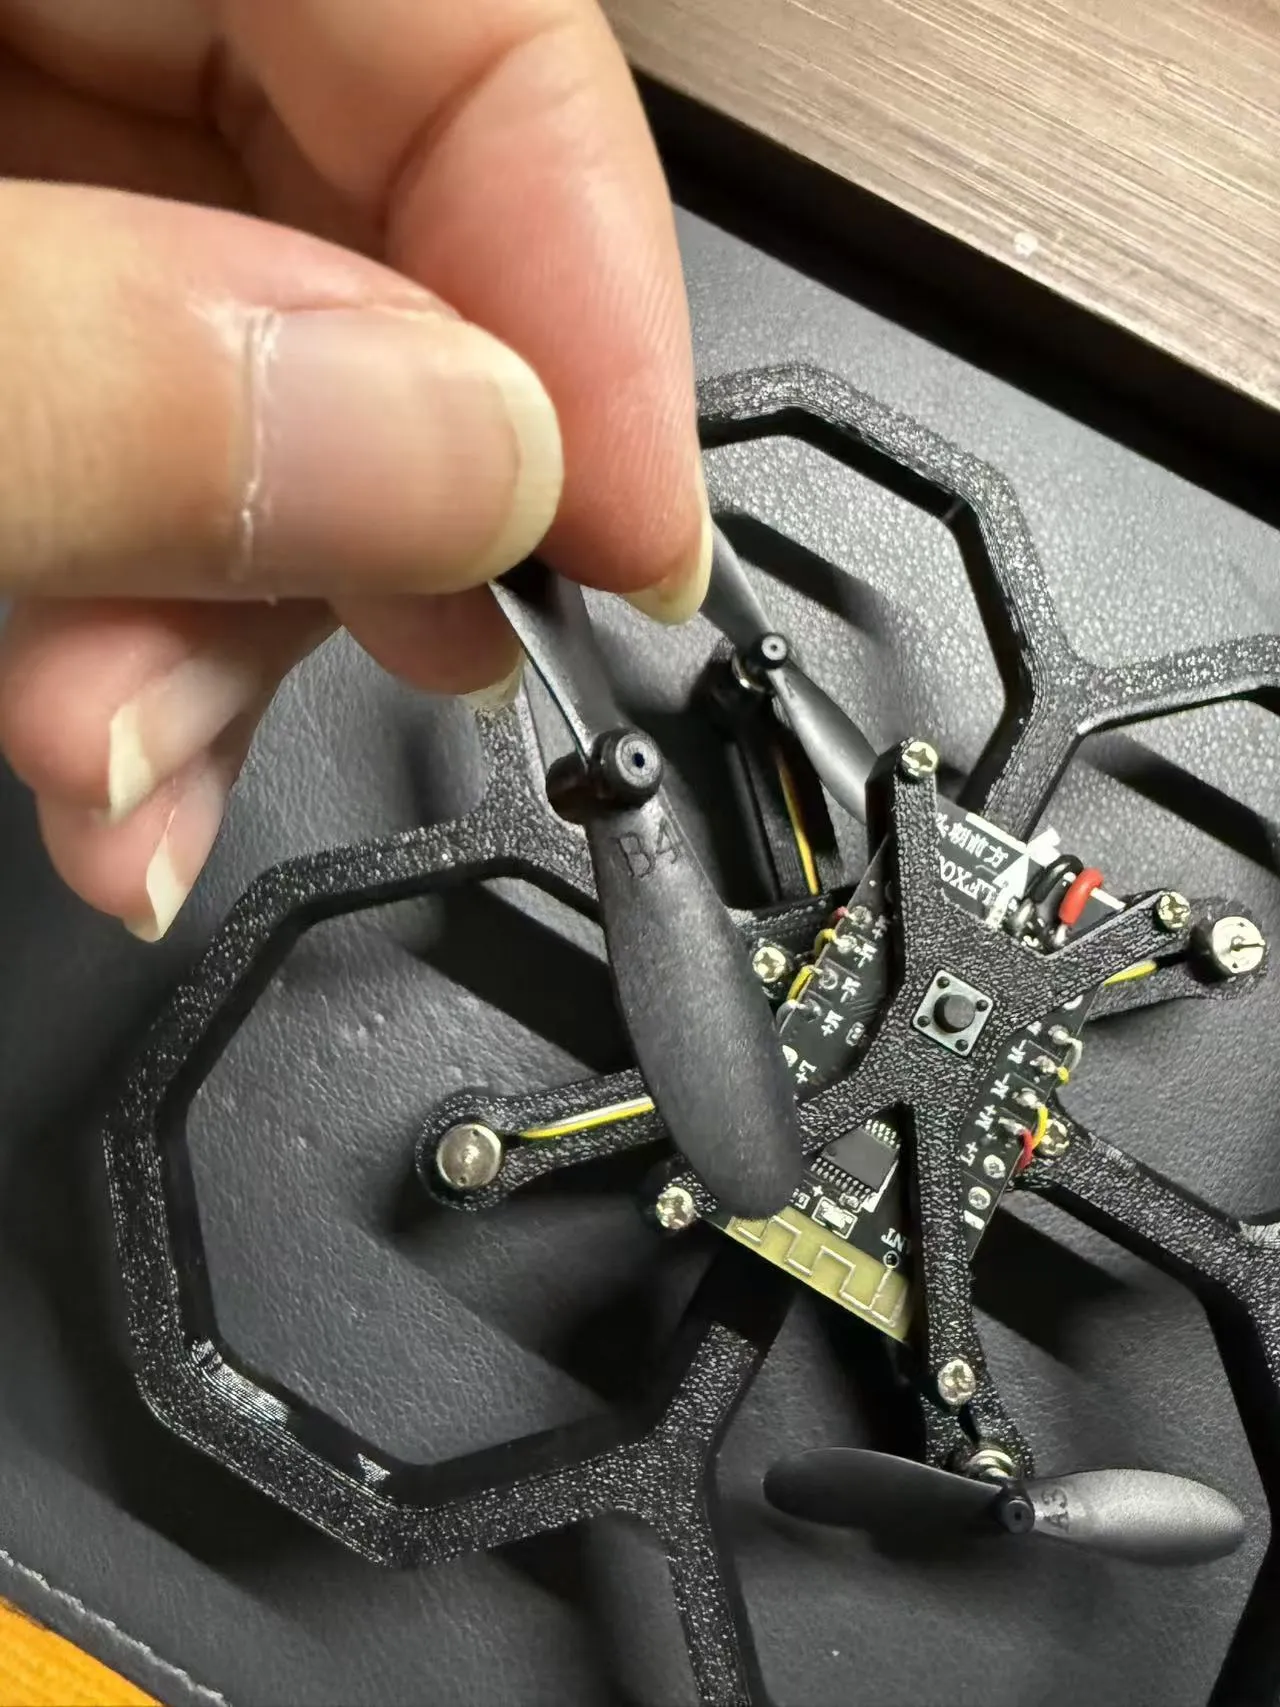

Secure the battery, connect the power cord, and you're ready to play happily

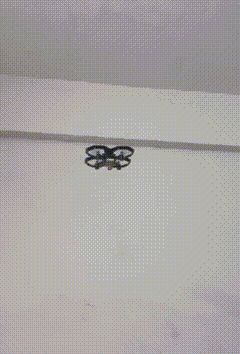
Note: The drone should be placed on a horizontal surface, with the motherboard's arrow pointing forward, not towards yourself. Long press the button to power on, and the motherboard's blue indicator light will flash

Long press the remote control's power button to turn it on. A solid blue light on the drone's motherboard indicates it is connected. Long press the calibration button to calibrate. After calibration, press the one-key takeoff button or push the throttle stick up twice to take off

License
You shall not share, sub-license, sell, rent, host, transfer, or distribute in any way the digital or 3D printed versions of this object, nor any other derivative work of this object in its digital or physical format (including - but not limited to - remixes of this object, and hosting on other digital platforms). The objects may not be used without permission in any way whatsoever in which you charge money, or collect fees.
Comment & Rating (0)