Magura BAT Adjuster Knob Retaining Nut / Clip


Print Profile(1)

Description
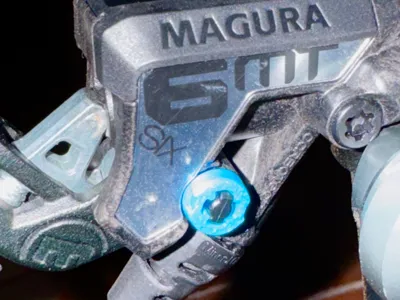
Some models of the Magura MTB brake levers (MT6, MT7, MT8, etc.) have something called a BAT adjuster. I don't know what this stands for, but it's a knob attached to a shaft that you can spin to adjust the bite point, or maybe it's the throw, of your brakes.
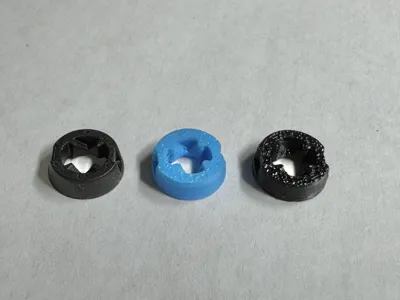
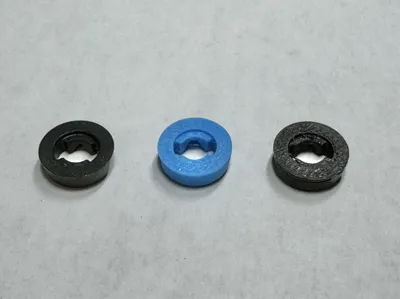
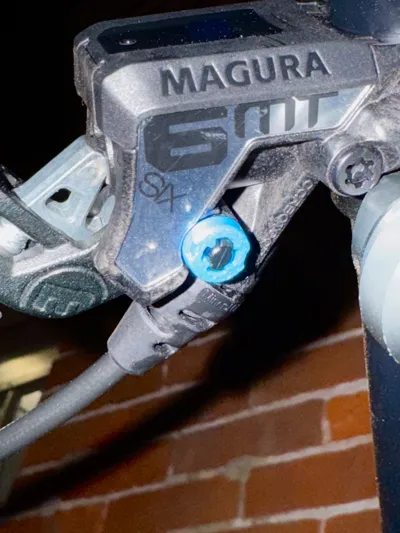
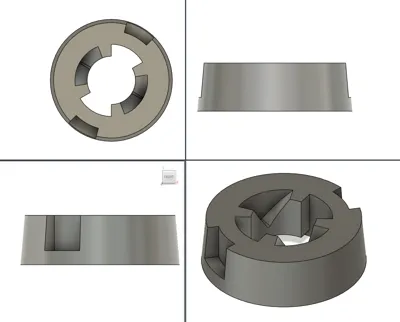
Magura levers are unidirectional-- you can flip them over to use on the left or right side, and they work equally well for the front or rear brake. But if you have one of these BAT adjusters, you'll probably want to reverse it, so it's on the top. In order to reverse it, you just use your fingers to turn this teensy tiny little plastic retainer nut 90 degrees so that it unclips from the post, then carefully remove it and the spring behind it. Next you can gently squeeze the lever and remove the BAT adjuster. Insert it into the topside of the brake, and reinstall the spring and nut the same way they came out.
I learned the hard way that you've gotta be careful when you do this! The nut slipped out of my fingers as it rotated, and the spring behind it shot it, I dunno, probably into orbit. Or even beyond. I was in my windowless basement, but that little tiny plastic ring was GONE FOREVER. I'm confident I'll never find it again. But I don't feel confident riding my bike without it! A replacement kit for all of the pieces is like $10 + tax and shipping, plus I'd have had to wait a week. Who wants to wait when you want to ride your bike tonight?
So I very carefully removed the one from the other brake lever, got out my calipers, and set to work in Fusion. Parts are carefully measured, parts are eyeballed, but I gotta say, my replacement piece printed and fit perfectly, first try! I printed in PETG but this piece isn't under much strain so you can probably get away with making it in PLA. I included a plate for each in the file. Printed on my P1S with the stock 0.4mm nozzle and .08mm layer height. I put four on each plate because this part uses almost no filament (BBL estimates 0.64g at the cost of a single penny) , and I wanted to give each layer a little bit of time to cool before the next one went down.
I hope this helps you! It really helped me.
Comment & Rating (0)