


Print Profile(1)

Description
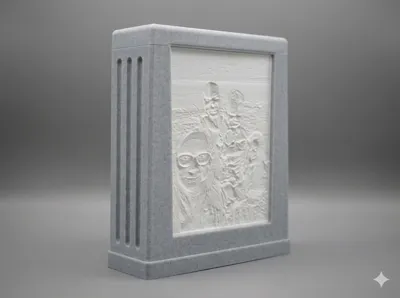
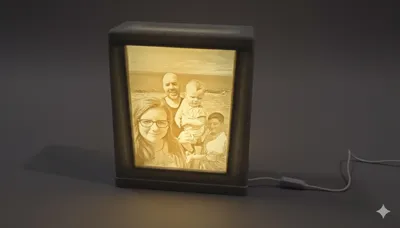
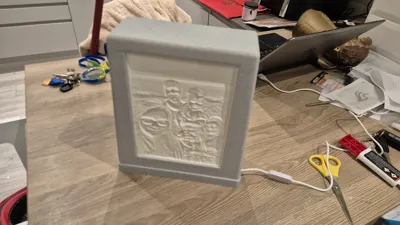
Double-Sided Weighted Lithophane Frame
I recently started experimenting with lithophanes but couldn’t find a decent double-sided frame to fit a specific spot in my room. I decided to design my own, and after being tasked with making two more for Christmas gifts, I figured I would share the design with you all.
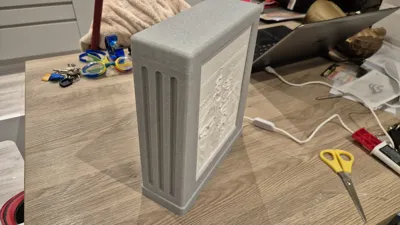
This is a simple, robust design featuring a weighted base to keep it stable. I used a Bambu printer, but this should work on any machine.
🛠 Bill of Materials (BOM)
To complete this build, you will need:
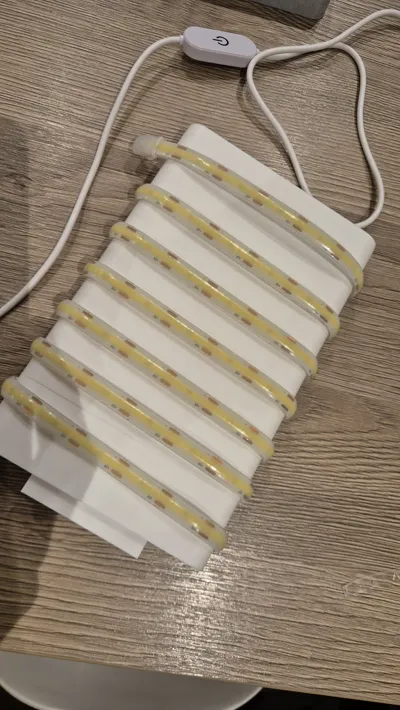
- Light Source: 2m LED rope light (USB with dimmer switch). Cost approx £6.00.
- Weights (Optional): ~26x M8 x 40mm (i think 26, i cant remember and its now glued together) repair washers (adds weight to the base to prevent tipping by pets or kids). - Not 100% Required, Can be left empty -
- Magnets: 4x magnets (6mm x 2mm) for the lid. - Not 100% required -
- Fasteners: CA Glue (Super Glue) and/or 2x 30mm wood screws. - Screws Optional, Especially if not adding weight to the base. -
- Epoxy: Optional, for securing the LED strip.
🖨️ Lithophane Generation Settings
You need to generate your own lithophanes to fit this frame. I used the Bambu MakerLab Generator, but you can use your preferred tool provided you stick to these dimensions:
- Width: 160mm
- Height: 210mm
- Border: 4mm thick and 4mm deep (This is crucial for the fit).
🏗️ Assembly Instructions
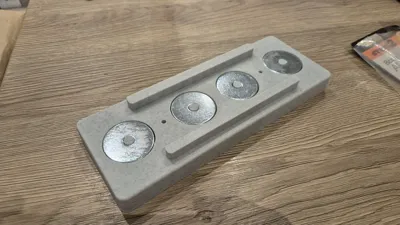
1. Prepare the Base
- Add the repair washers to the printed base. Use a small dot of CA glue between them to keep them from rattling or shifting.
- Note: The base is optional. If you prefer a lighter frame, you can skip the washers and base entirely; just hot glue the cable into the exit hole of the main body.
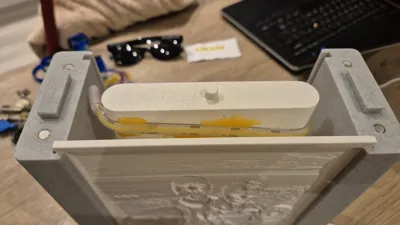
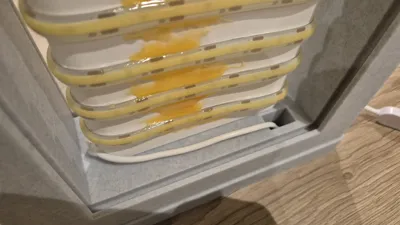
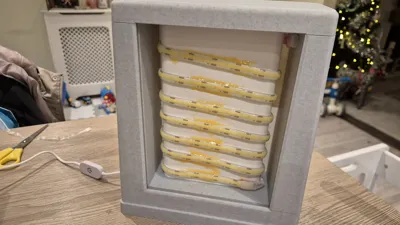
2. Lighting the Core
- Wrap your 2m rope light around the 3d printed center bar.
- Tip: The adhesive on cheap rope lights is often poor. I applied some epoxy along the edges to ensure it stays permanently attached to the core.
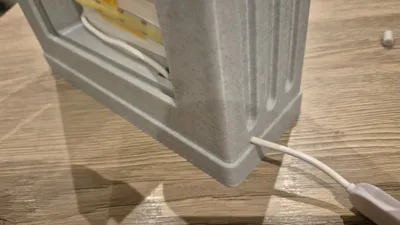
3. Routing the Cable
- Drop the USB cable through the square hole in the main body and run it out of the channel at the bottom.
4. Connect Body to Base
- Fix the main body to the weighted base. You can use CA glue, 2x 30mm wood screws, or both for extra security.
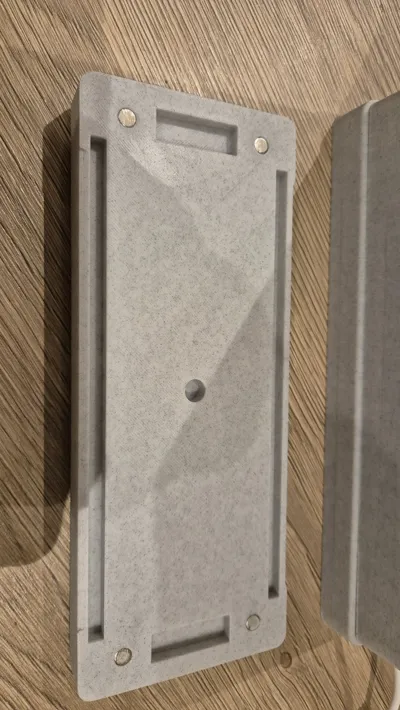
5. Top Alignment
- Insert the printed pin into the top of the light bar.
- Insert the 2x alignment blocks into the top of the main body (these help locate the lid).
- Note: These are designed as a push-fit, but you can glue them if you prefer.
6. Magnets
- Glue the 6x2mm magnets into the recesses in the body and the lid using a tiny drop of CA glue.
- Important: Double-check your polarity before gluing to ensure the lid snaps shut rather than repelling!
📊 Material Usage
- Frame: ~650g of filament.
- Lithophanes: ~250g (for both).
I think it looks great, and hopefully, you lot do too!
License
You may create derivative works based on this object, provided that all such derivative works are published exclusively on the MakerWorld platform and include proper attribution to the original creator. You may not share, upload, host, distribute, or publish this object—or any derivative work of this object—on any other digital platform, marketplace, or distribution channel. Commercial use of this object and any derivative works is strictly prohibited. This includes, but is not limited to, selling, renting, sublicensing, or using the object in any context in which you receive monetary compensation or other financial benefits.
Comment & Rating (0)