


Print Profile(1)

Description
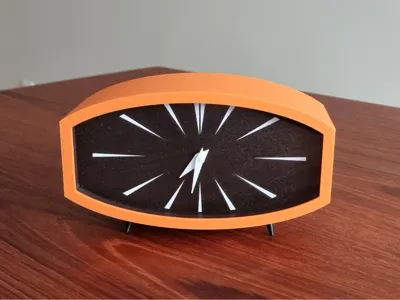
Mid-century mantle table clock
This is a stylish clock for a desk/mantle/table.
The design is purely based on a mantle/desk mid-century clock from Germany.
For the clock, you will need a clock movement mechanism with a thread length of 9 mm (not to be confused with the overall shaft length of 16 mm).
https://www.amazon.co.uk/Opopark-Movement-Mechanisms-Mechanism-Replacement/dp/B08M31RB7Q
If you have a different clock movement, I have included a step file with hands and a clock holder, allowing you to modify them to suit your needs.
The design is meant to be glueless, but as printing all the clock face with the clock mechanism holder turned out to be challenging in a one-nozzle printer, I separated those parts.
Other than glueing the clock face to its base and legs to the chassis, the rest don't need glue.
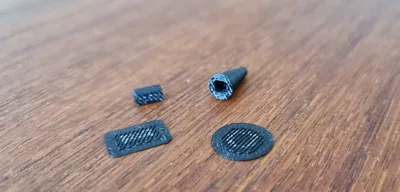
The clock movement holder is made to be a press fit, so you don't have to use this ugly nut, which ruins the design.
The clock looks best with 3mm acrylic glass at the front.
I attached the DXF file with geometry for cutting.
If you are not lucky enough to have a CO2 laser for cutting acrylic, you can easily order it cut to shape in one of the services widely available online (as I did).
If you don't want to use the glass, swap the short spacer STL on the 3rd plate with the Clock_spacer_short_NO_GLASS.stl.
I separated parts on a single plate to make it simple for printing, but feel free to arrange the models as you wish.
I have added brims around feet and joints for better plate adhesion.
Assembly instruction:
Print all parts
Prepare acrylic glass
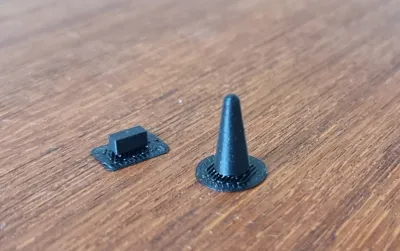
Glue together joints and legs x 4 and glue them into the chassis
Glue in clock movement holder together with the clock face
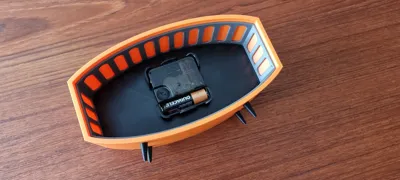
Press fit clock movement into holder with glued-in clock face (don't forget the battery ;) )
Press fit hour hand and then the minute hand
Place inside chassis acrylic glass inside the chassis
Place inside chassis the short spacer on top of the glass
Place inside the chassis the assembled clock movement holder with clock face and hands on top of the short spacer
Place inside chassis long spacer on top of the movement holder
Press fit back cover.
All done.
Enjoy your time ;)
Comment & Rating (6)