Cybertruck Vault Molle Brackets


Print Profile(1)

Description
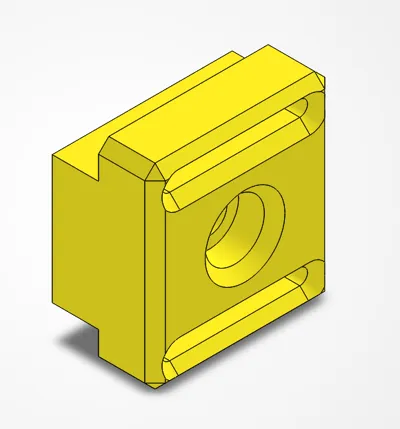
Tesla Cybertruck MOLLE adapters for mounting accessories.
Additional requirements: (Non-affiliate links)
Stainless Steel M6 Bolts: 30mm and 35mm are the only ones needed, so you can choose another kit.
Velcro Straps:
To install the brackets on the molle panel:
- There are 4 different MolleAttachmentBrackets to choose from. Depending on the standoff you need from the MOLLE panel, choose the 30mm or 35mm M6 MolleAttachmentBracket and also depending the width of velcro straps you need (5/8" or 1" velcro straps). The 3MF file has the 4 different configurations on different plates.
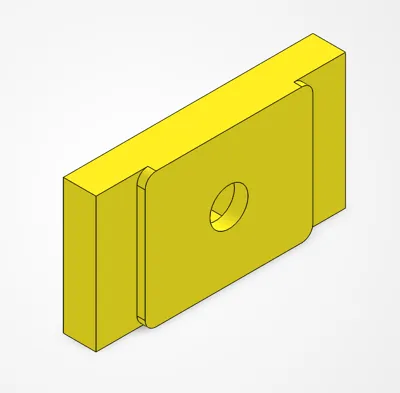
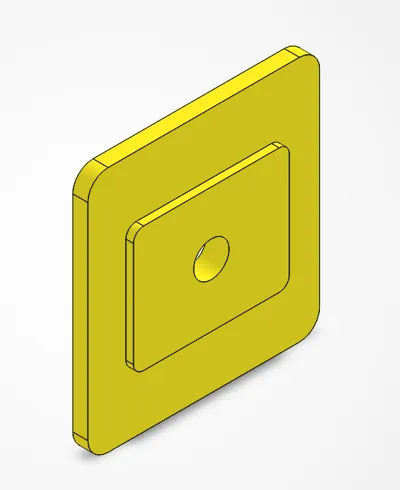
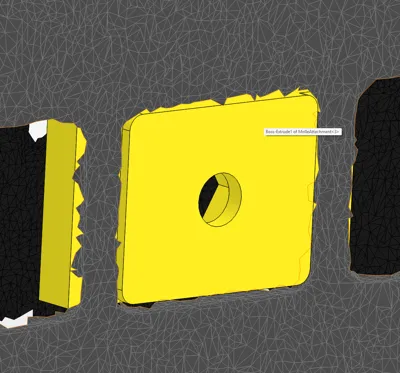
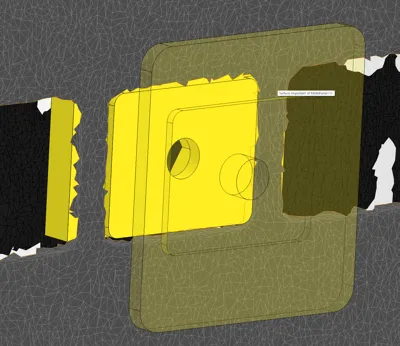
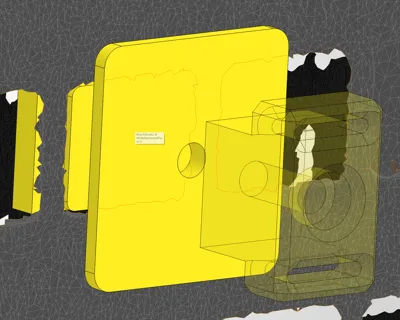
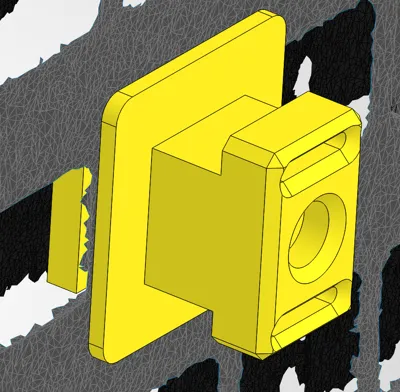
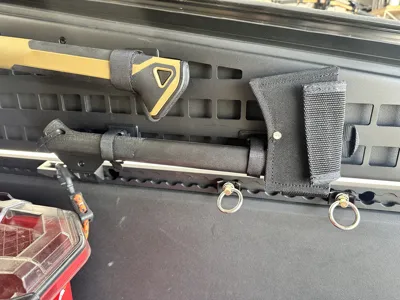
- Print the desired configuration. Insert the M6 nut on the backside of MolleAttachment. Use the M6 bolt to make sure the nut is inserted all the way. Insert the M6 bolt through the printed MolleAttachmentBracket (Picture 4), slide the MolleAttachmentFace (Picture 3) so the flat face (non raised face) is touching the MolleAttachmentBracket.
- Insert the MolleAttachment part (Picture 2) by sliding it in horizontally through one of the molle holes, while keeping it held in place from the back with a finger so it doesn't drop. The piece has a raised center section that fits within the molle hole so it doesn't slide around. (Picture 5)
- While holding the MolleAttachment part, place the combined MolleAttachmentBracket and MolleAttachmentFace with the raised center section towards the molle panel. The raised center section will also slot within the molle hole so it doesn't slide around. (Pictures 6, 7, 8)
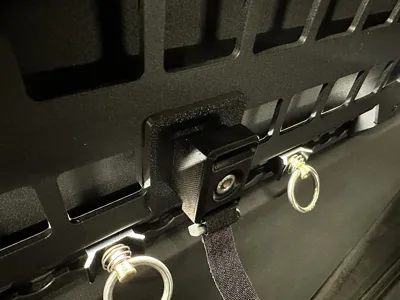
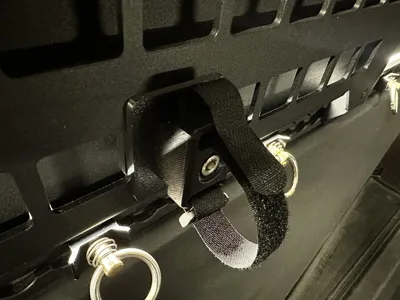
- Tighten the M6 bolt. (Pictures 9, 10)
- Slide the velcro straps onto the slots of the MolleAttachmentBracket.
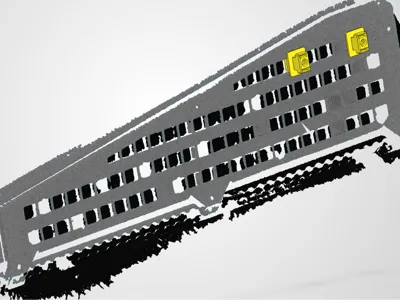
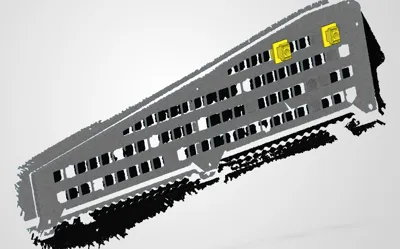
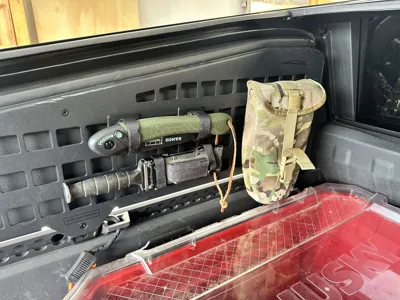
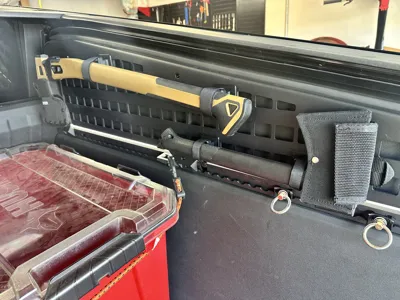
Additional pictures demonstrates accessories mounted in the vault.
License
You may create derivative works based on this object, provided that all such derivative works are published exclusively on the MakerWorld platform and include proper attribution to the original creator. You may not share, upload, host, distribute, or publish this object—or any derivative work of this object—on any other digital platform, marketplace, or distribution channel. Commercial use of this object and any derivative works is strictly prohibited. This includes, but is not limited to, selling, renting, sublicensing, or using the object in any context in which you receive monetary compensation or other financial benefits.
Comment & Rating (2)