
Compagnon 309 - Build your expressive robot
Print Profile(5)


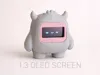
Description
Boost Me (for free)
If you like this project, don’t forget to boost it — it really helps support my work.
Boosts are appreciated ❤️
I’m working on this project alone and dedicating my free time to it, so please be understanding. So far, I’ve only received constructive feedback and discussions — thank you all 🙂
Update – June, 2026
AliExpress links have been updated. To make things easier and avoid any soldering-related issues, a direct link to a pre-soldered ESP32-C3 is now included.
Thanks to Daemon66666 for pointing this out.
Update – May , 2026
- Added time zone support
- Automatic update detection
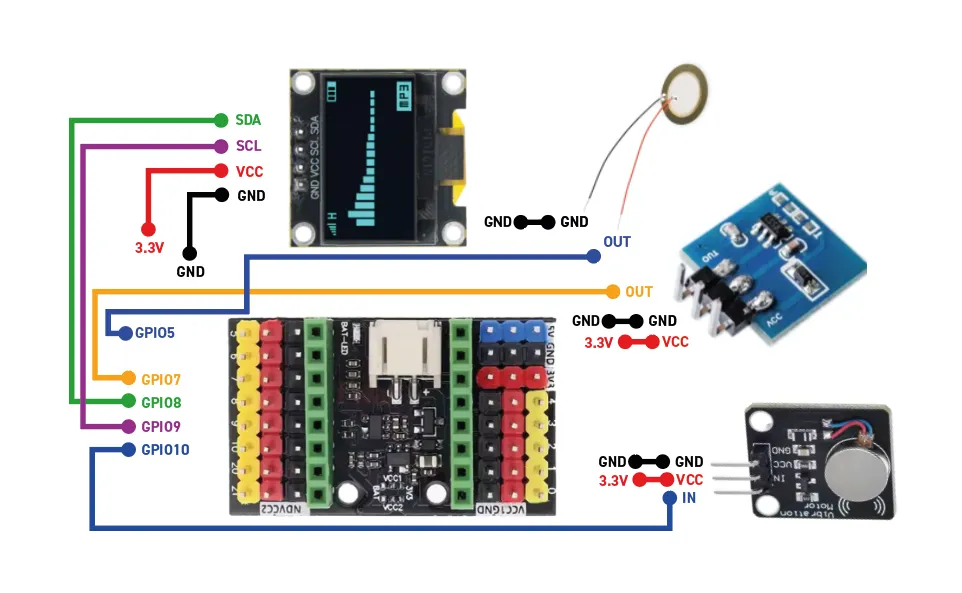
- Added a small tilt module on GPIO1 — shake the Yeti and it will get angry.
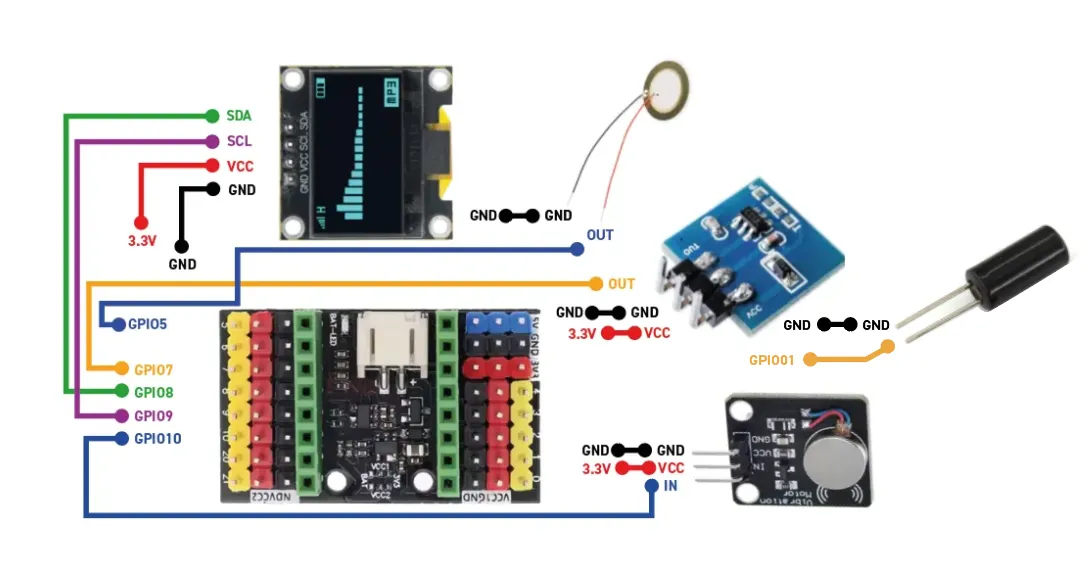
Le piezo buzzer, le module vibreur et le capteur tilt sont des ajouts facultatifs qui apportent plus d’interactions et de personnalité à votre compagnon.
Vous pouvez déjà le construire et l’utiliser uniquement avec l’ESP32-C3, l’écran et le capteur tactile capacitif.
Update – March , 2026
Implemented in the stable version
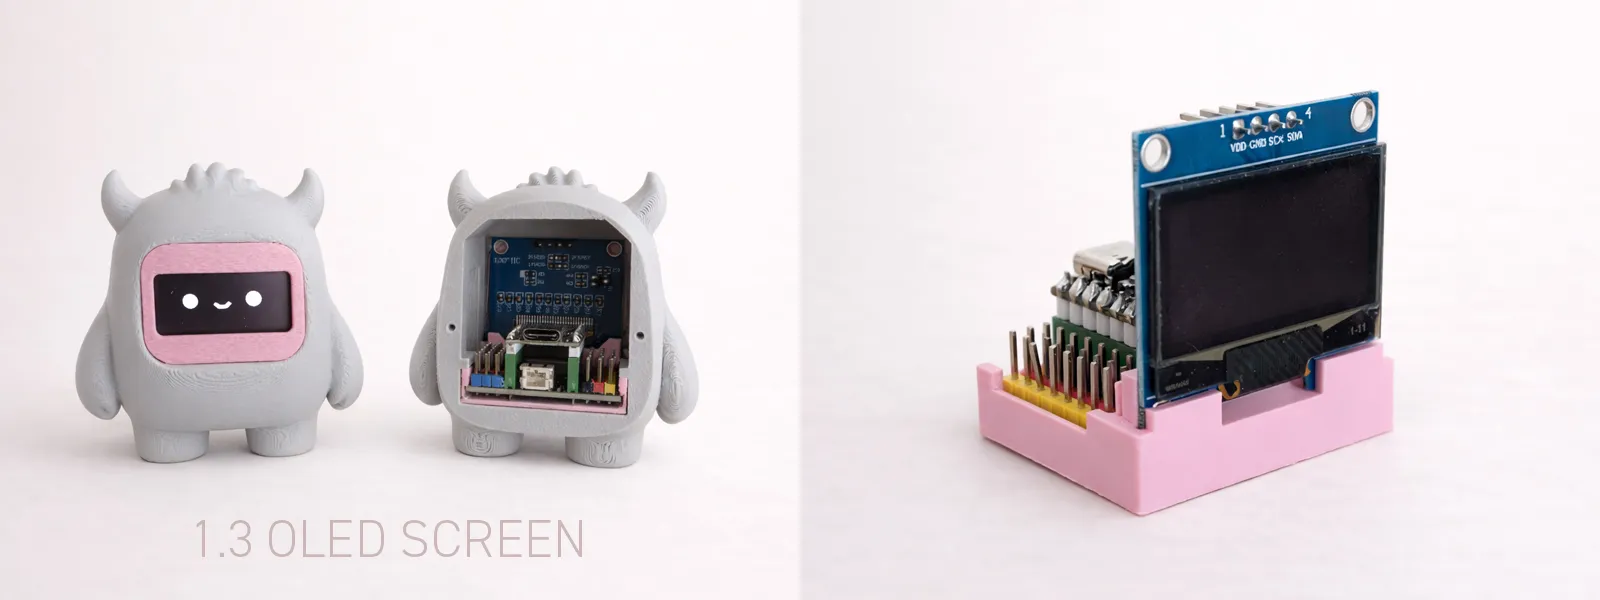
1.3" Oled screen profile added
- Compatibility with 0.96" and 1.3" displays in the same code
- Redesign of the Yeti control interface
- Added a settings page
- firmware: V0.3-2003UI
- Website redesign.
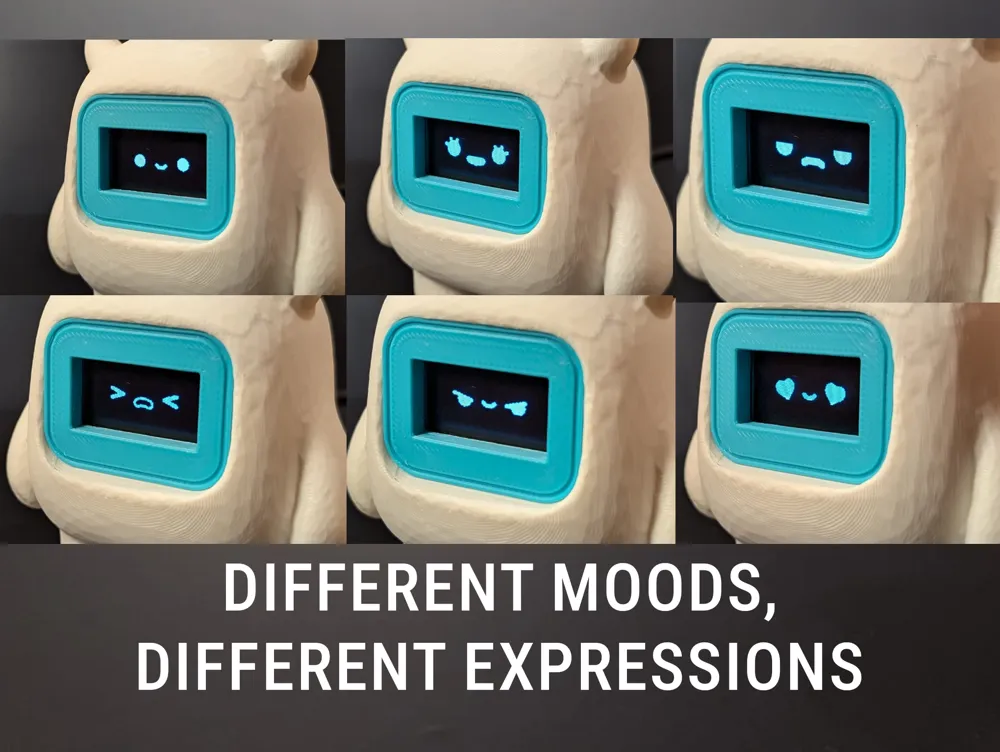
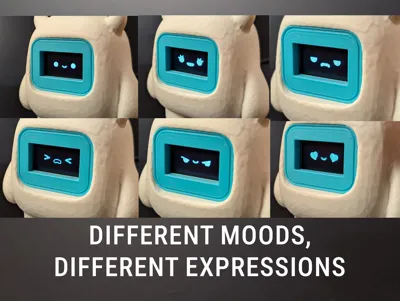
- Added two new expressions. (Angry & fire eyes (animated))
- Addition of a text display system




- You can now disable unwanted slides in the “Info” section.
- Play the Dino game directly with your computer mouse while the game runs on the Yeti’s face.
- Trigger the vibration motor (short vibration).
- Sound beep.
- A piezo buzzer can be added to GPIO5 on the ESP32-C3.
- Double-tap simulation.
- Long-tap simulation.
- Select which emotion is displayed.
- Child mode fully implemented.
- Dino Jump–style game to the information panel
Big thanks to Lepczynski - Tech, Cloud & AI for this amazing video! Please support him by following his channel, liking the video and sharing it!”
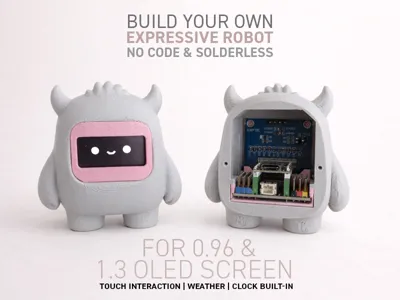
You may also notice a version for a 1.3" display, which works exactly like the 0.96" version, but with a larger screen.
A dedicated 3D project is of course in progress and will be released very soon 🙂
Update — January 08, 2025
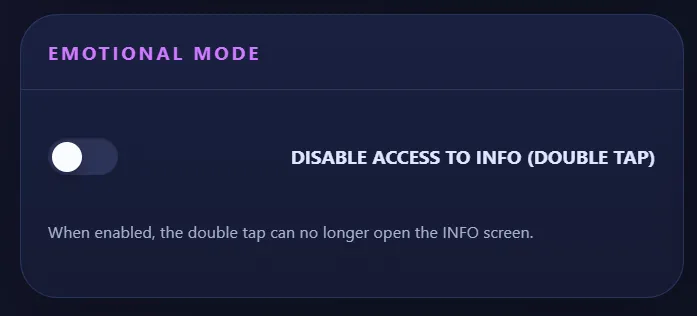
ChildMode → emotional Mode
When Child Mode is enabled, the double tap no longer opens the INFO screen.
- If Child Mode is enabled while in face mode: the double tap is disabled.
- If Child Mode is enabled while in INFO mode: a double tap will exit the INFO screen, and it will no longer be possible to enter it again.
Of course, this mode can be enabled or disabled at any time via yeti.local.
A vibration motor module can now be added to GPIO10. https://leroyd.com/
When in face mode, a long press to display the “love” expression will also activate the vibration, causing the companion to vibrate.
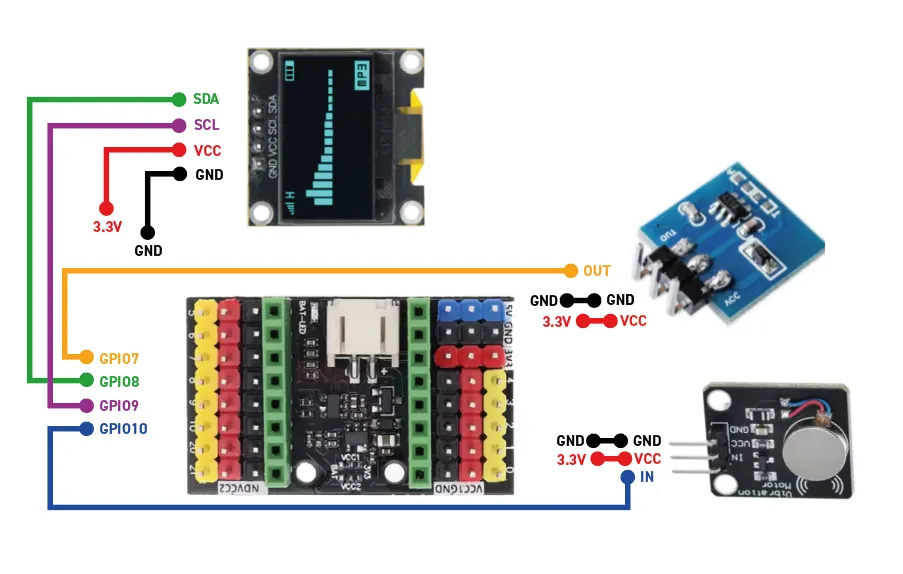
Update — December 29, 2025 - 100% solder-free - Done!
- A new solderless printing profile has been added.
This profile requires a small ESP32-C3 expansion board.
The wiring remains unchanged and can now be done using quick-connect Dupont cables.
This board simply adds multiple GND and 3.3V connections.
You can find the AliExpress link on leroyd.com in the hardware list.
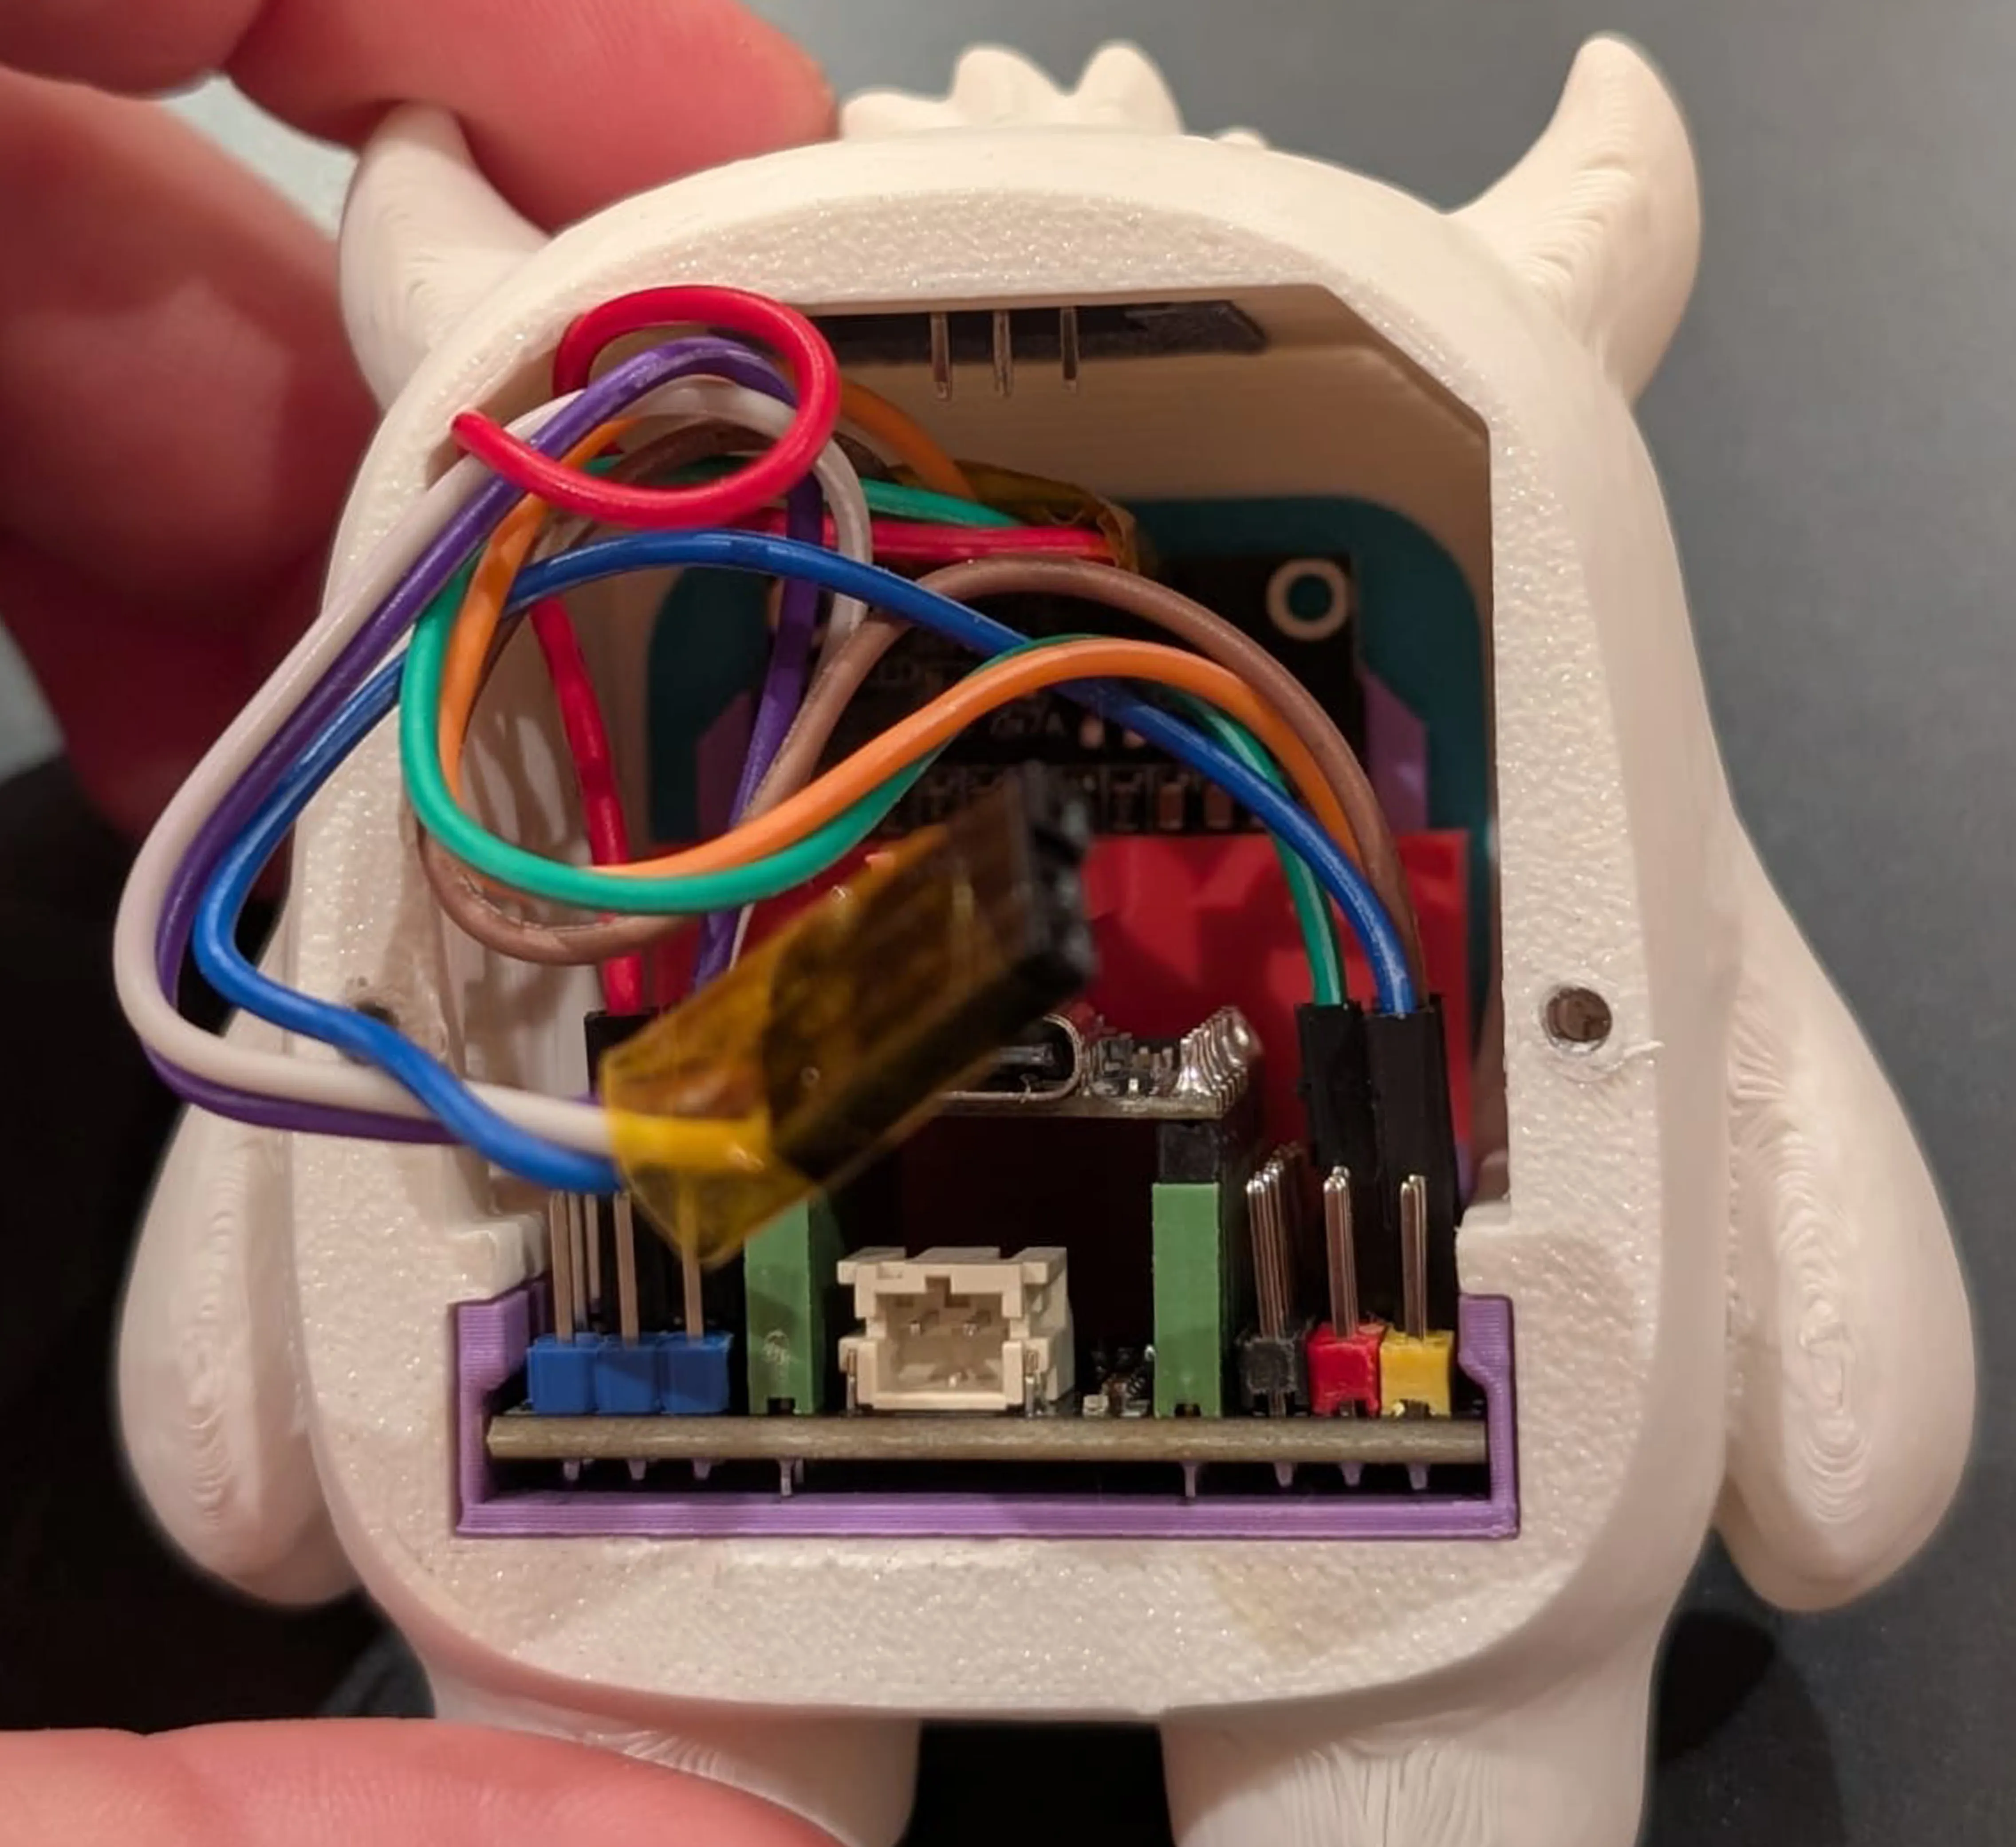
Update — December 27, 2025
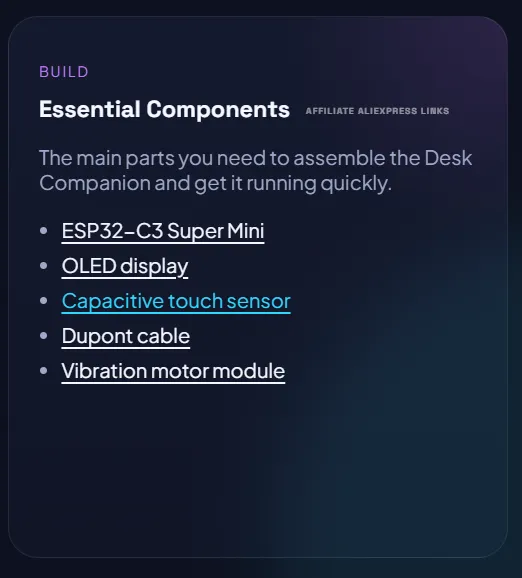
- The hardware list (AliExpress links) is now available on the web installer page — leroyd.com.
- Added the india time zone (UTC+5:30) to the simple presets for easier configuration. Thanks to sunnymishra for the suggestion 🙂
- Added the time zone (UTC+8) to the simple presets for easier configuration. Thanks to user_1788609181 for the suggestion 🙂
Update — December 19, 2025
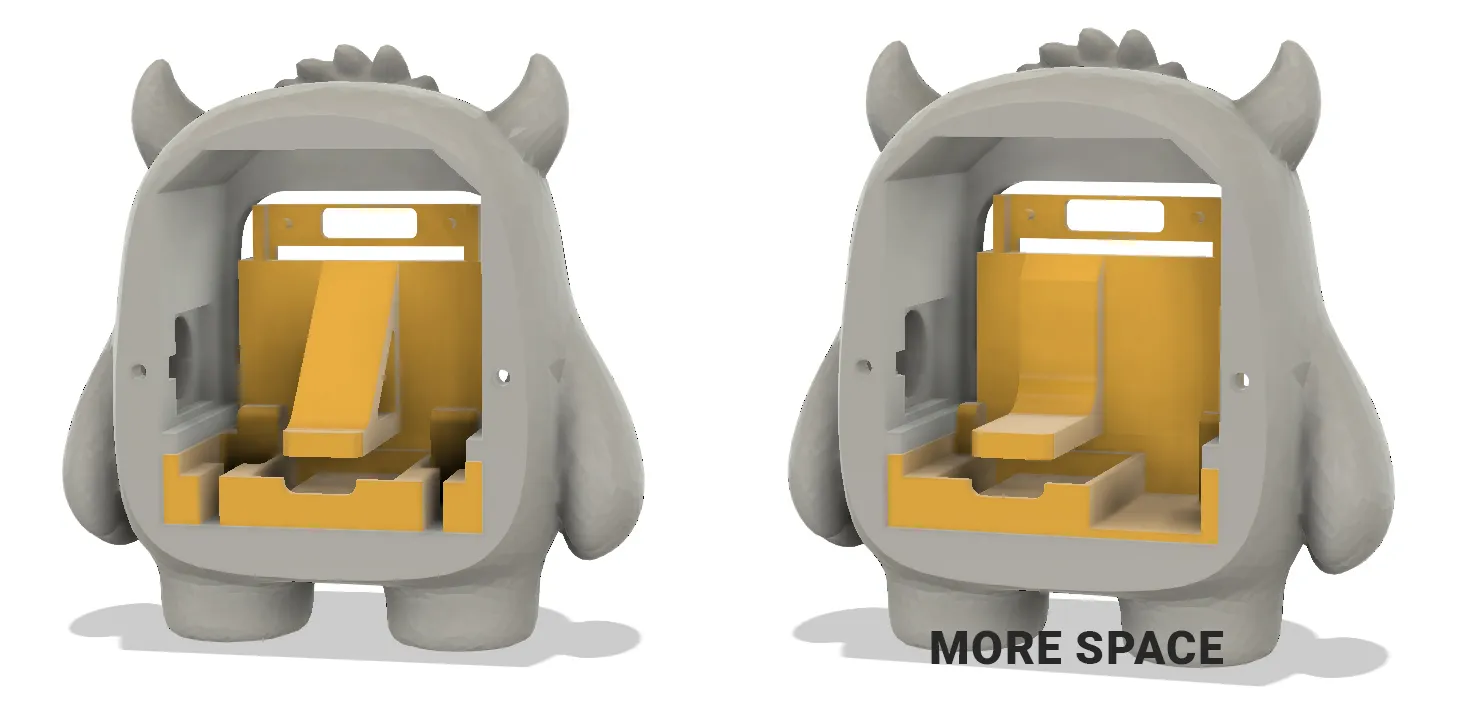
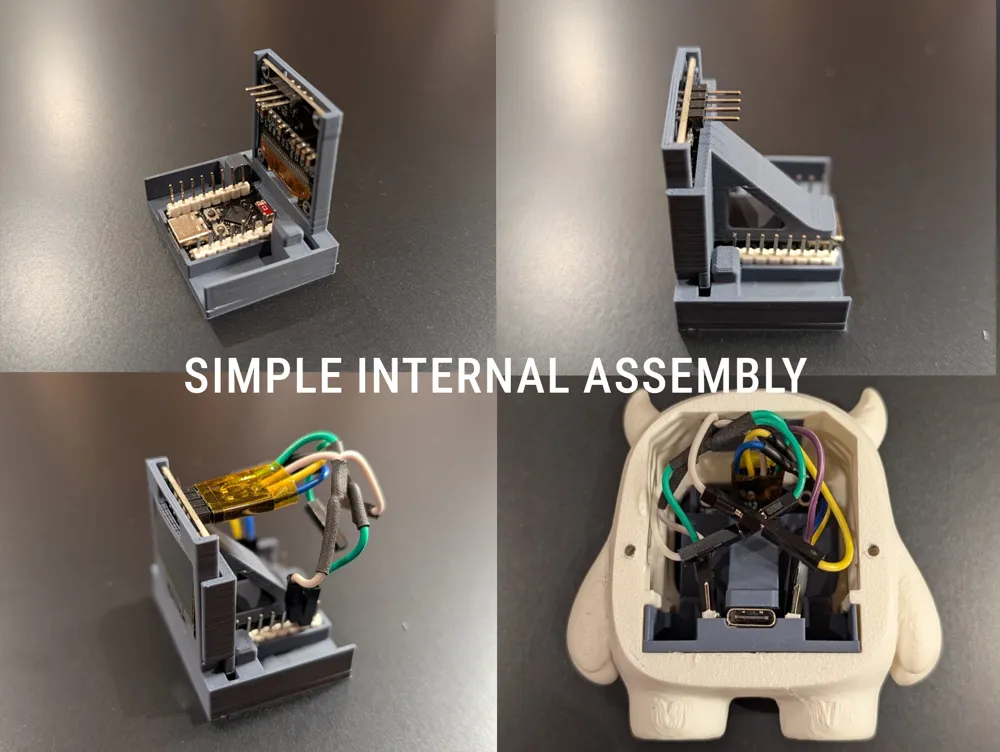
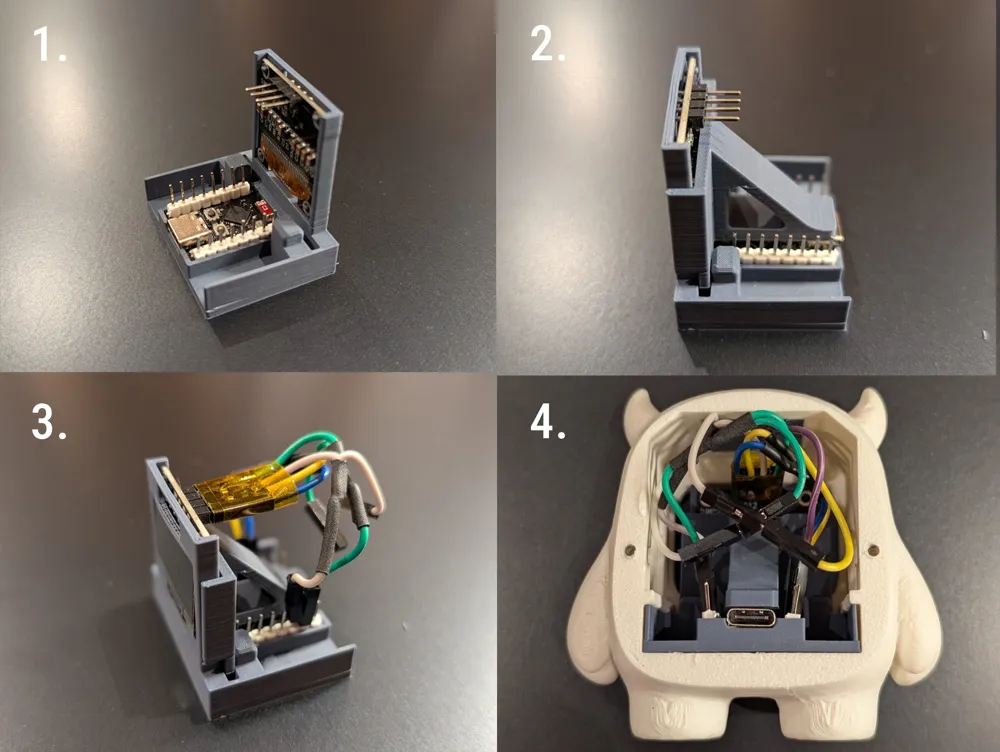
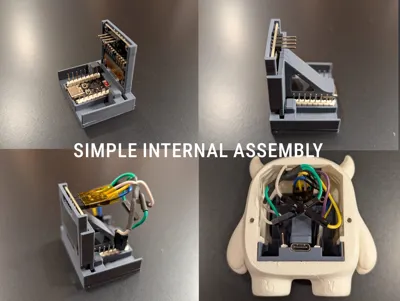
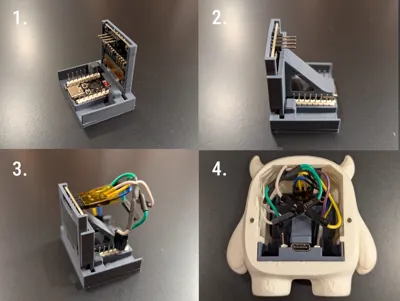
I redesigned the internal layout of the Yeti to maximize usable space.
The ESP32-C3 has been shifted to the left (rear view), freeing up the central volume and improving internal clearance.
The main body remains unchanged.
Only the rear panel needs to be reprinted, to properly align the USB port with the new ESP32-C3 position.
This new layout allows:
- better cable management
- more room for a battery or additional modules
- a cleaner and more accessible assembly
Update — Dino Jump-Style game

Dino Jump–style game to the information panel
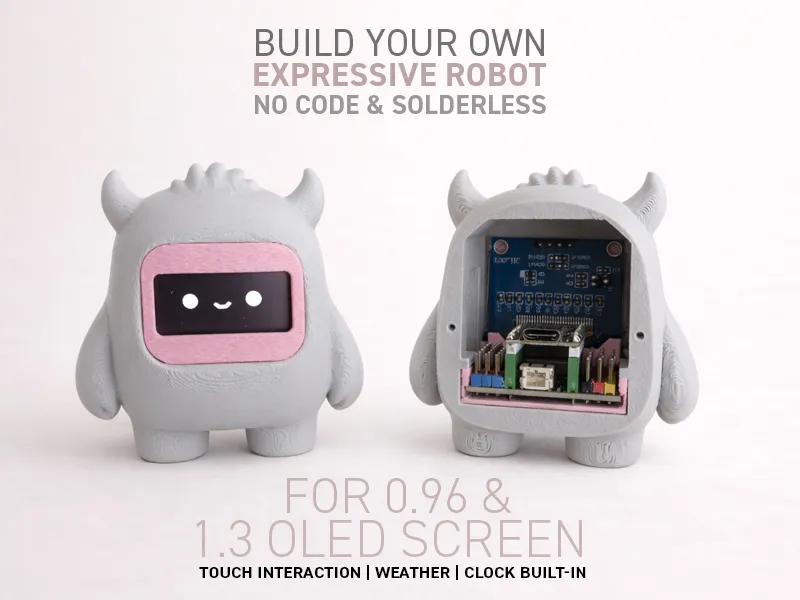
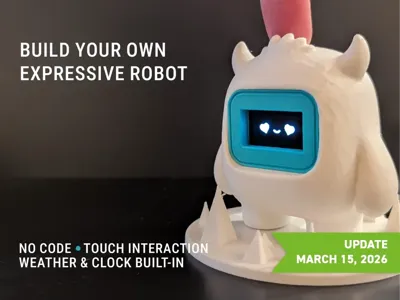
YETI — Expressive Interactive Robot (ESP32-C3)
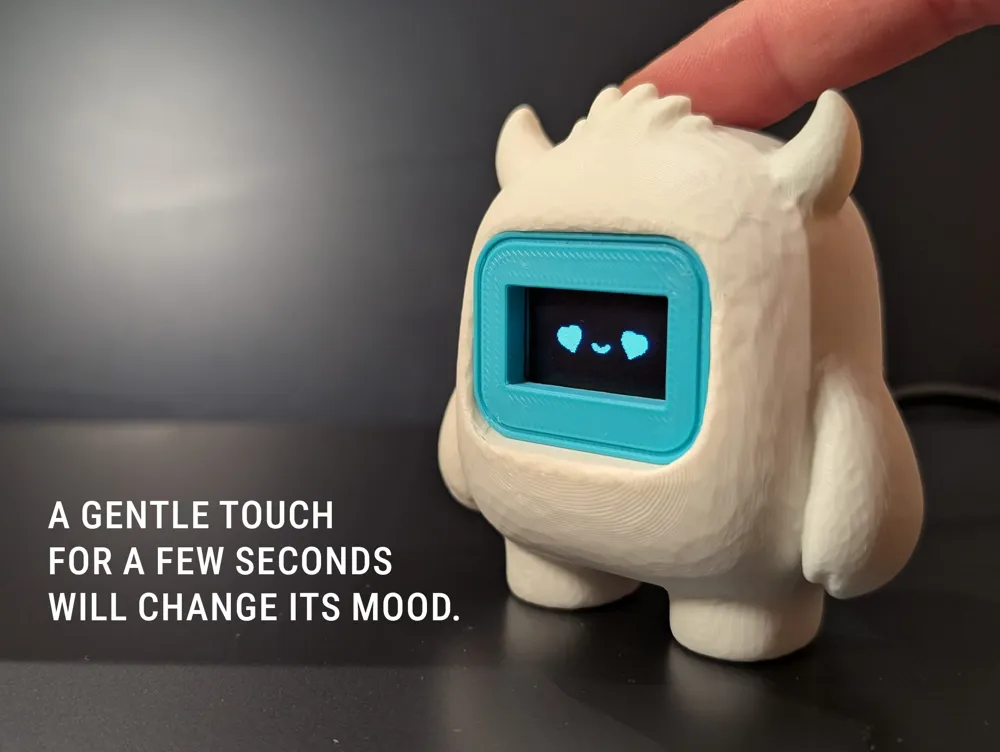
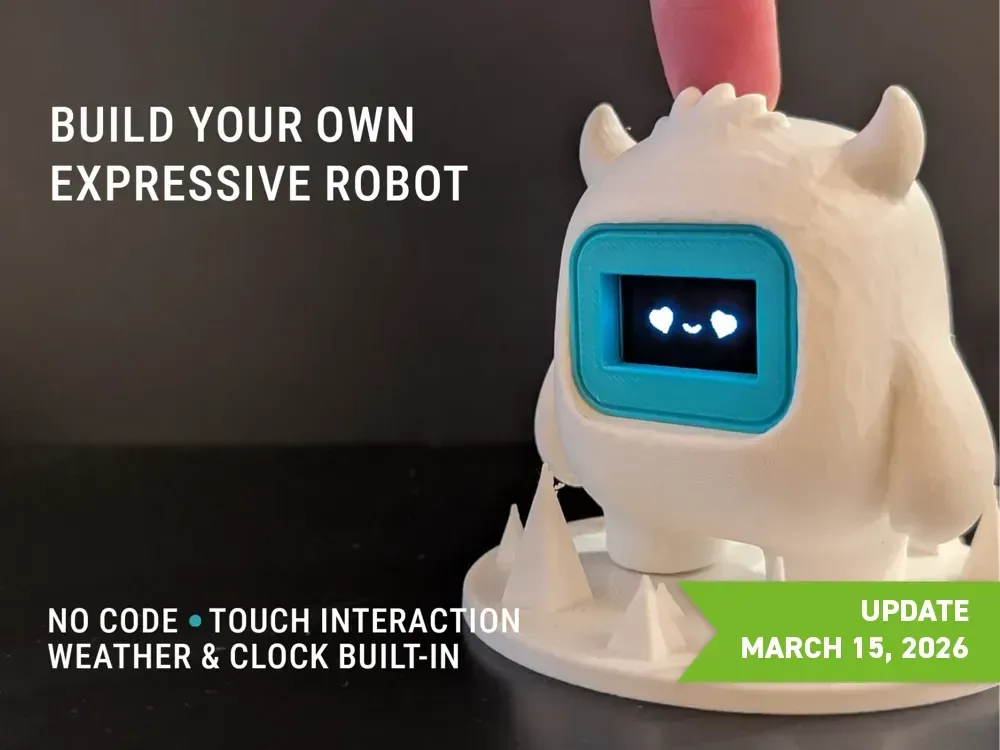
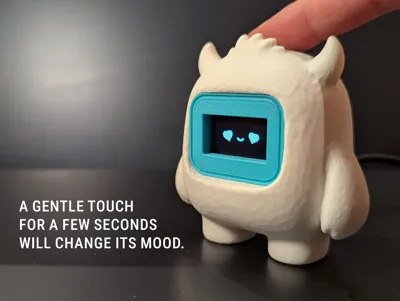
YETI is a small expressive interactive robot designed as a living desk object, not just a gadget.
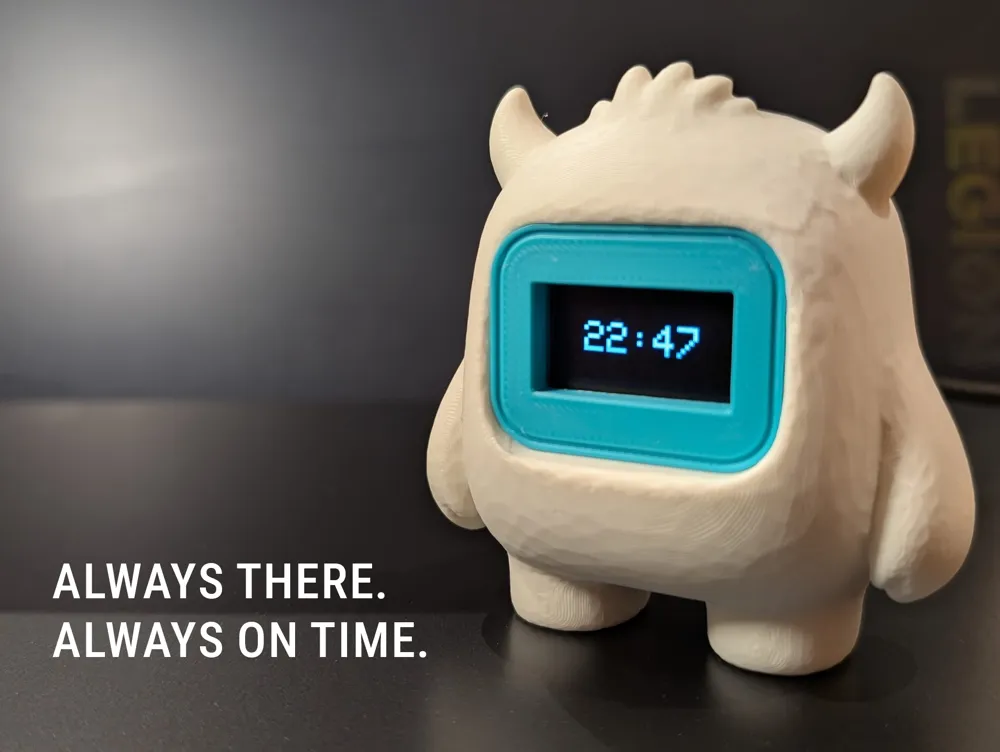
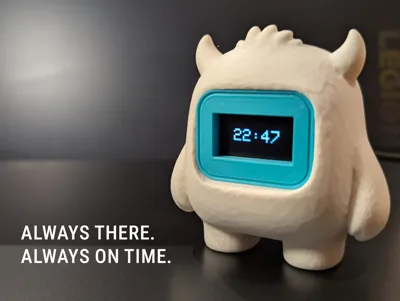
It displays animated expressions, reacts to touch, and works as a weather station and connected clock — all without writing a single line of code.
The project is intentionally:
- easy to assemble
- beginner-friendly
- expandable for advanced makers
✨ Key Features
- Multiple animated expressions
- Capacitive touch interaction
- Automatic sleep mode when idle
- Built-in weather station (Open-Meteo)
- Clock with adjustable time zone
- Local web interface
- No-code firmware installation & setup
- Based on ESP32-C3 Super Mini
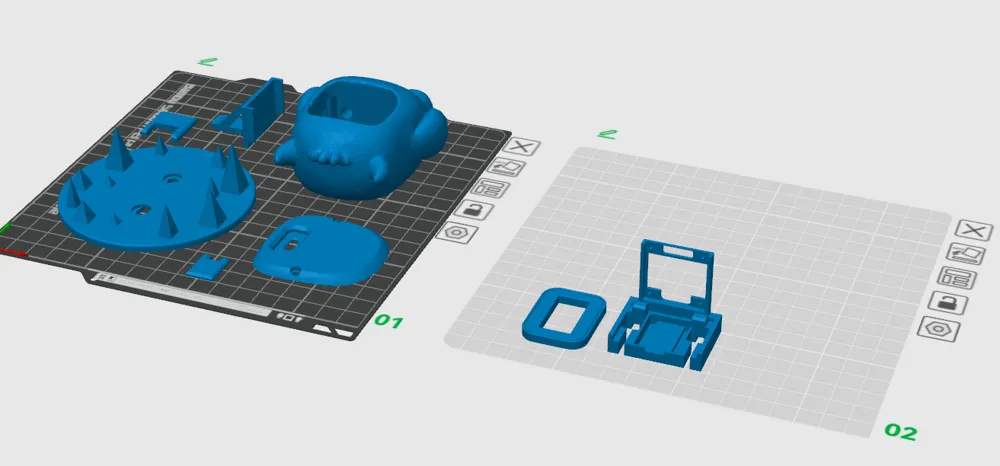
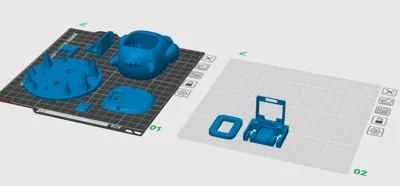
🧱 3D Printing & Mechanical Design
The enclosure is designed for:
- clean internal integration
- progressive, logical assembly
- stress-free cable routing
Optional magnet mounting
Each foot includes a slot for an 8 × 2 mm neodymium magnet, allowing:
- attachment to metal surfaces
- better stability on a base
👉 Completely optional.
🔌 Required Hardware
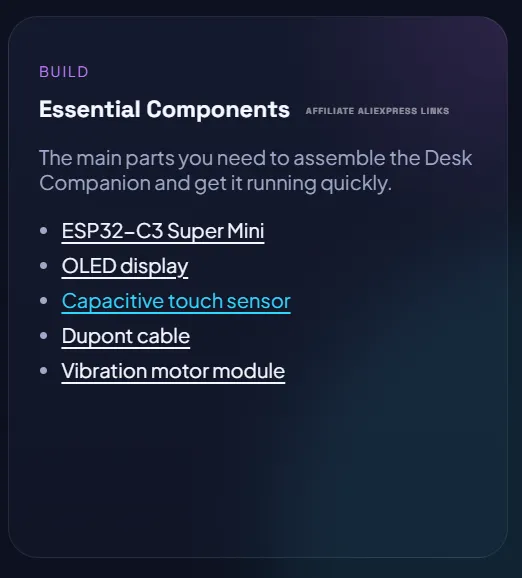
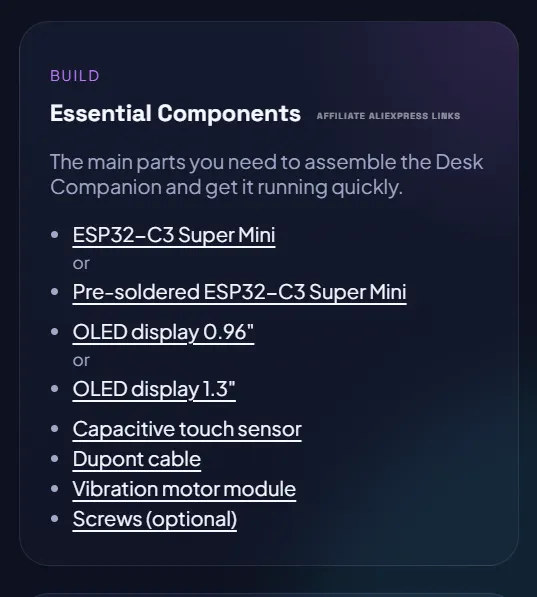
The hardware list (AliExpress links) is now available on the web installer page — leroyd.com.
- ESP32-C3 Super Mini (required)
- 0.96" OLED display (I²C)
- Capacitive touch sensor (TTP223 or compatible)
- Dupont wires
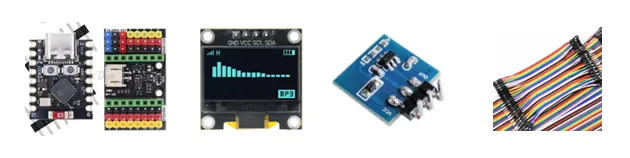

Oled : Width: 26.00 mm (~1.024 in) - Height: 26.07 mm (~1.027 in)
🔗 Wiring
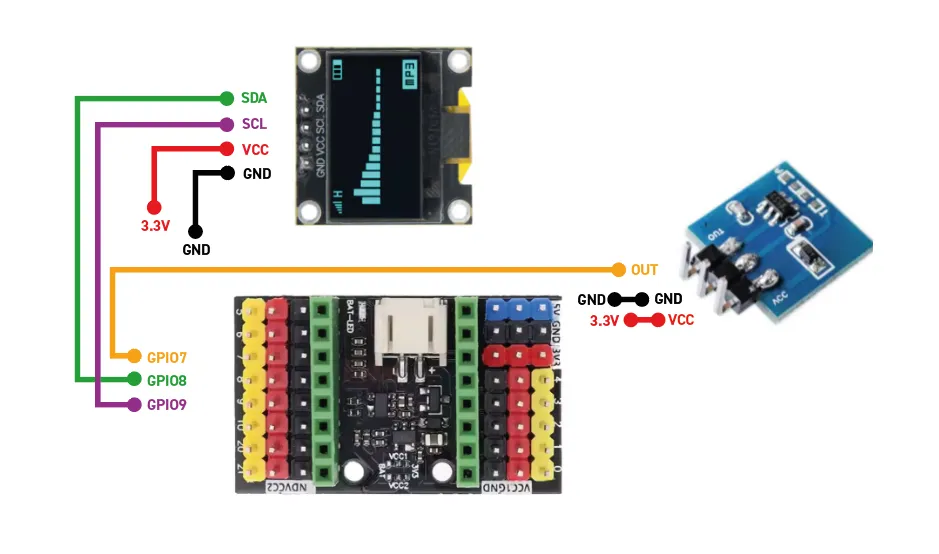
OLED Display (I²C) → ESP32-C3 super mini
- VCC → 3.3V
- GND → GND
- SDA → GPIO 8
- SCL → GPIO 9
Recommended SDA/SCL cable length:
≈ 7 cm (≈ 2.75 inches) — indicative only.
Touch Sensor (TTP223)
- VCC → 3.3V
- GND → GND
- I/O → GPIO 7
From KORNect (thanks to him):
Note regarding the TTP223 touch sensor: on his setup, it did not work when connected to GPIO 7, but worked correctly when connected to GPIO 5.
This information is shared in case other users encounter similar behavior.
The sensor fits into a dedicated 18 × 16 mm slot
(≈ 0.71 × 0.63 inch)
👉 The module must not exceed this size.
Touch sensor assembly
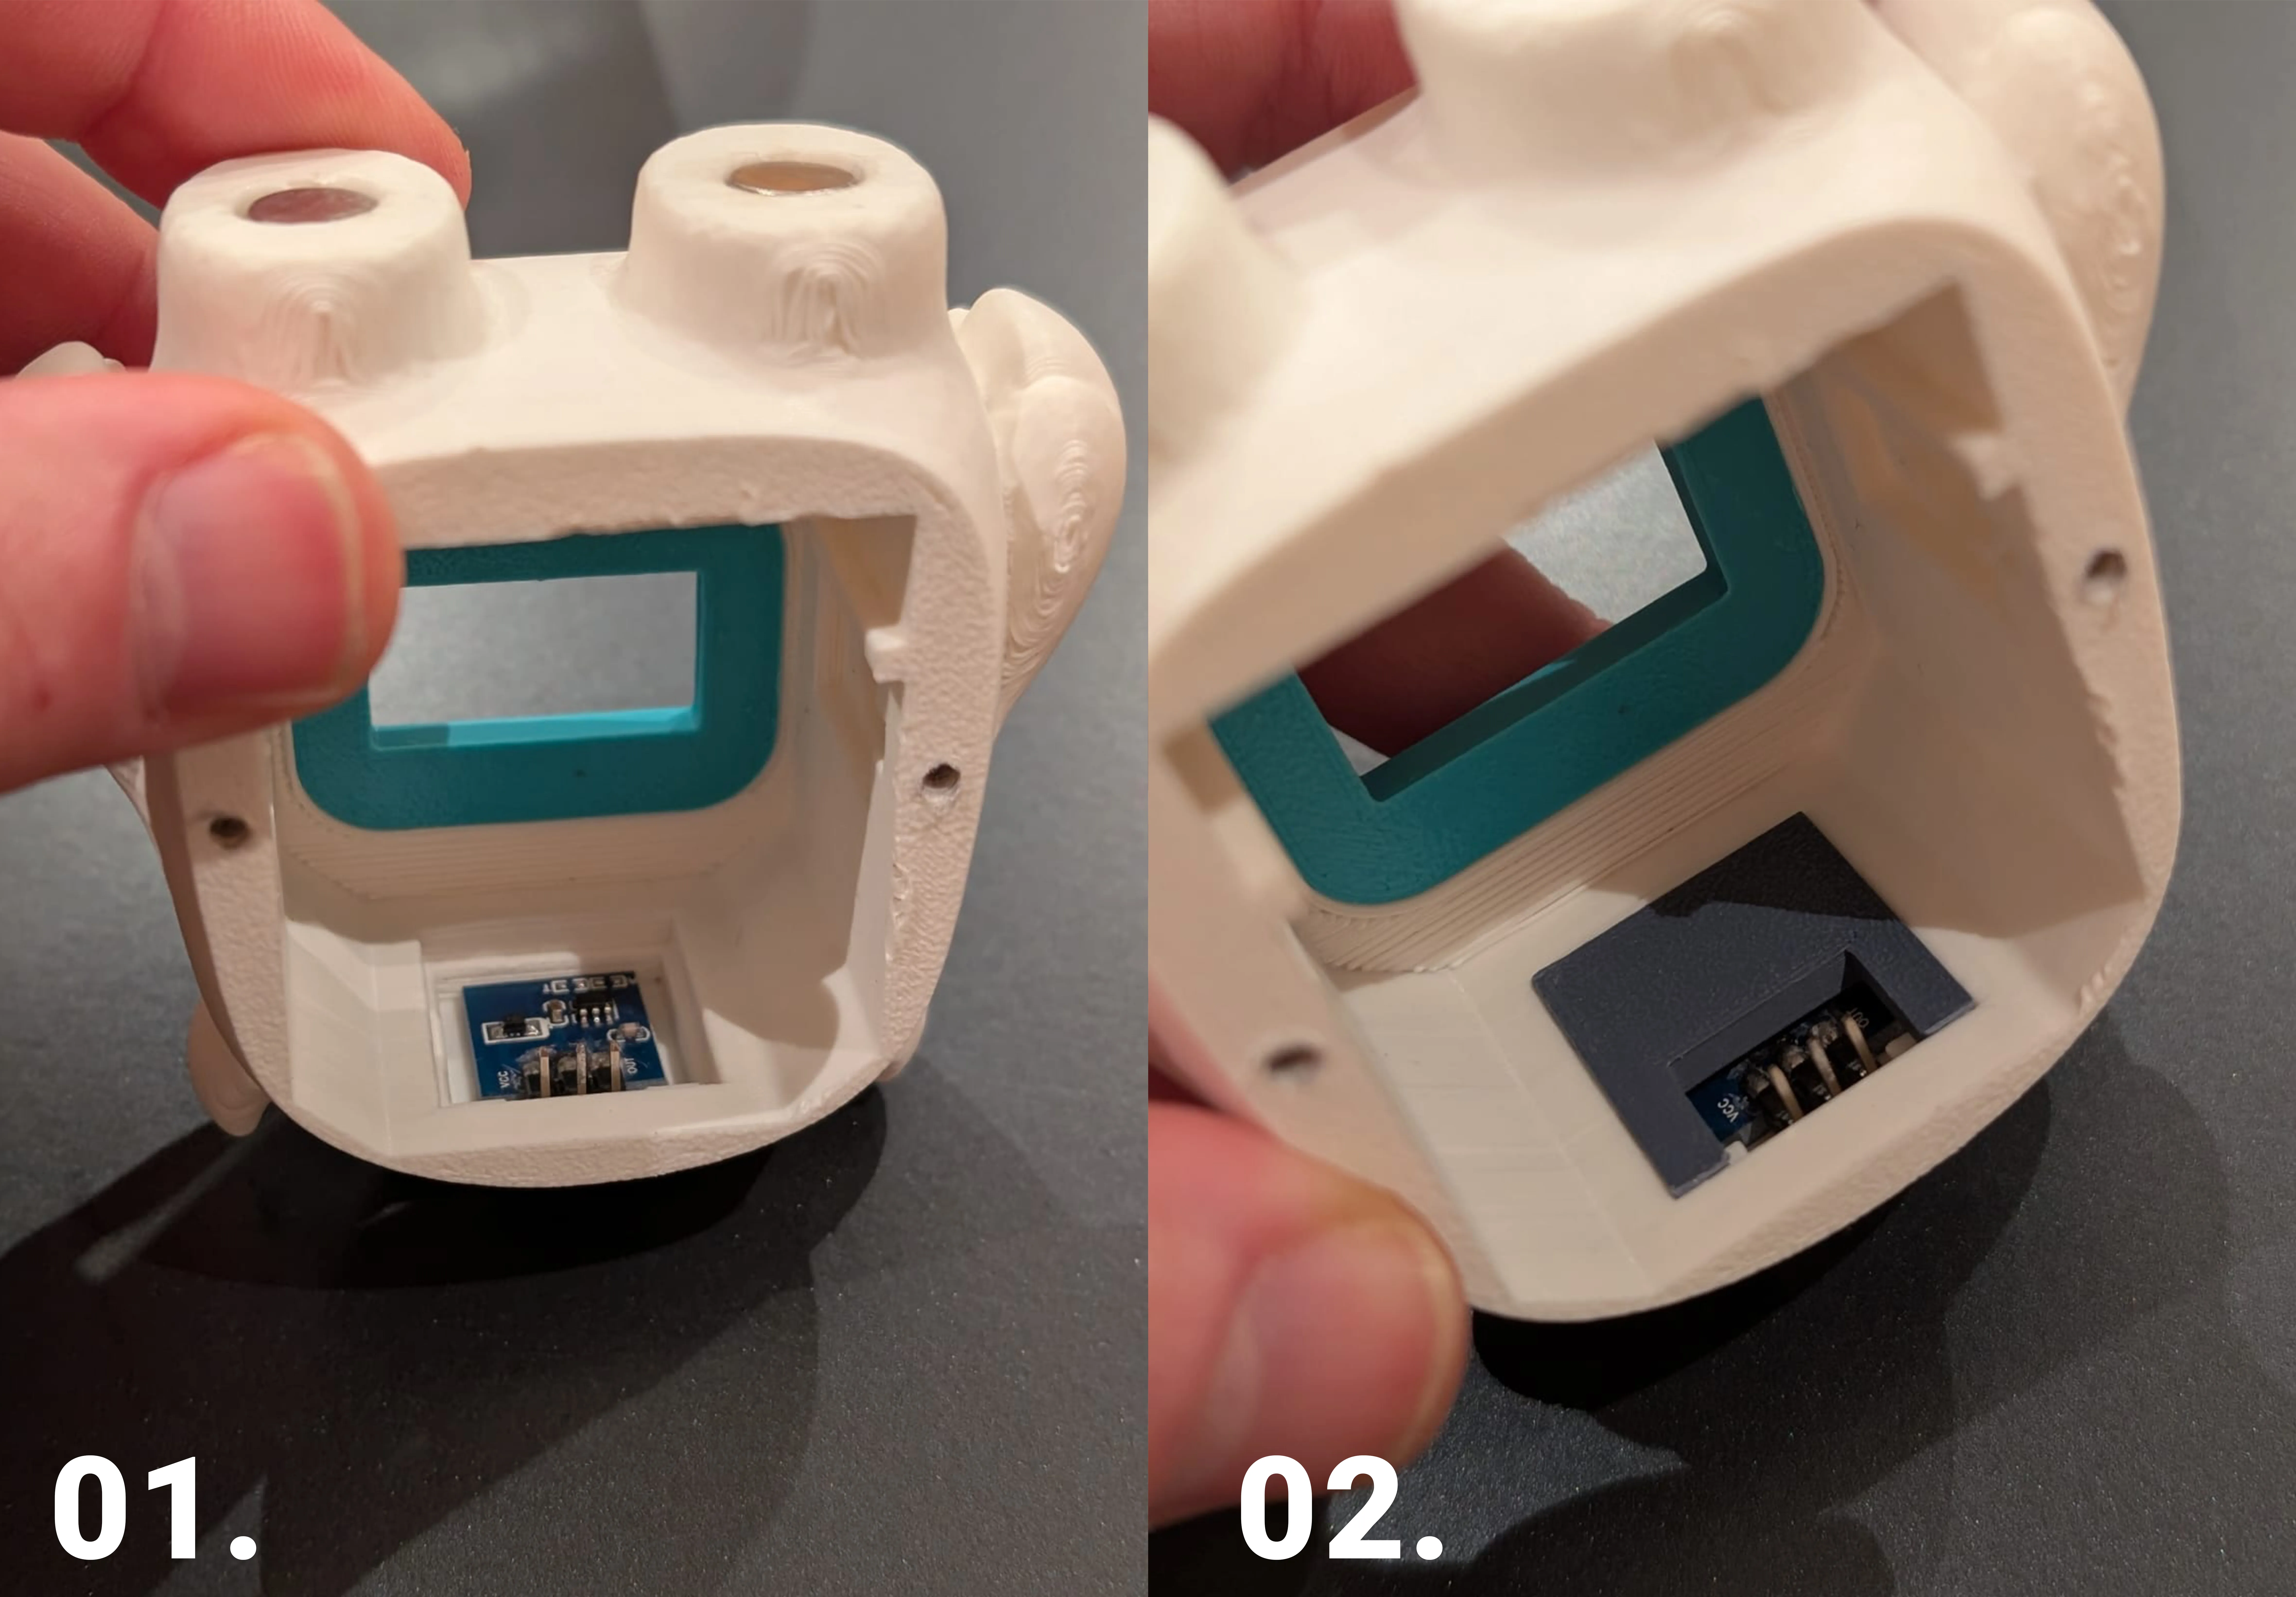
- Insert the touch sensor into its slot, with the pins facing toward the inside of the Yeti.
- Place the cover and press it firmly into position.
🤝 Interactions
- Single tap → change expression
- No interaction for a few minutes → sleep mode
- Double tap → information screen:
- weather (Open-Meteo)
- local time
- connectivity status
- local IP address
🔧 Firmware Installation & Configuration (FULL TUTORIAL)
No coding required.
Everything is done directly from your web browser.
1️⃣ Requirements
- Supported browsers:
- Chrome
- Edge
- USB data cable (not charge-only)
- ESP32-C3 Super Mini connected via USB
2️⃣ Firmware Installation
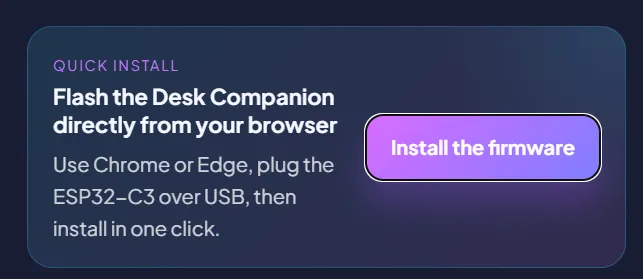
- Go to the official installation page:
👉 https://leroyd.com - Click install the firmware to launch the web installer
- Select the serial port corresponding to the ESP32-C3
- Confirm firmware installation
- Wait for the flashing process to complete
👉 The firmware is flashed locally via the browser.
3️⃣ First Boot — Access Point (AP) Mode
If you skip the Wi-Fi connection step, the C309 will automatically and immediately switch to offline mode (see end of description).
After flashing, on first boot only:
- YETI starts in AP mode
- A Wi-Fi network appears (YETI / Setup)
Steps:
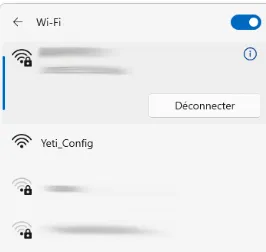
- Connect to the YETI Wi-Fi network
- Open the configuration page (192.168.4.1)
- Set:
- Wi-Fi credentials
- location (latitude / longitude)
- time zone
- Save settings
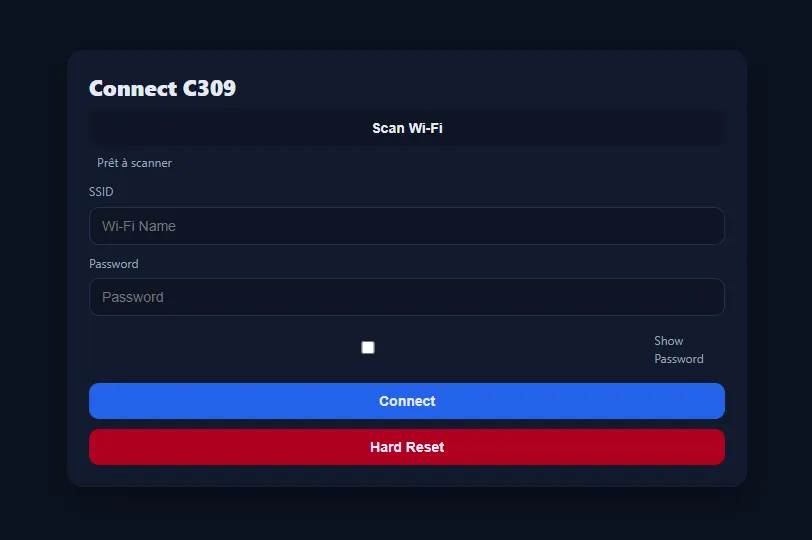
👉 Once configured:
- AP mode is disabled
- YETI reboots automatically
4️⃣ Normal Use — yeti.local
After setup:
- Access the interface at:
👉 http://yeti.local
Replace 55.123, 55.123 in the left column with your own GPS coordinates
(latitude and longitude).
Select your time zone in the right column.
Click “Save” to apply the changes.
This will update the current outdoor temperature and the local time displayed on your Yeti.
Note: An English version of this configuration page will be available soon.
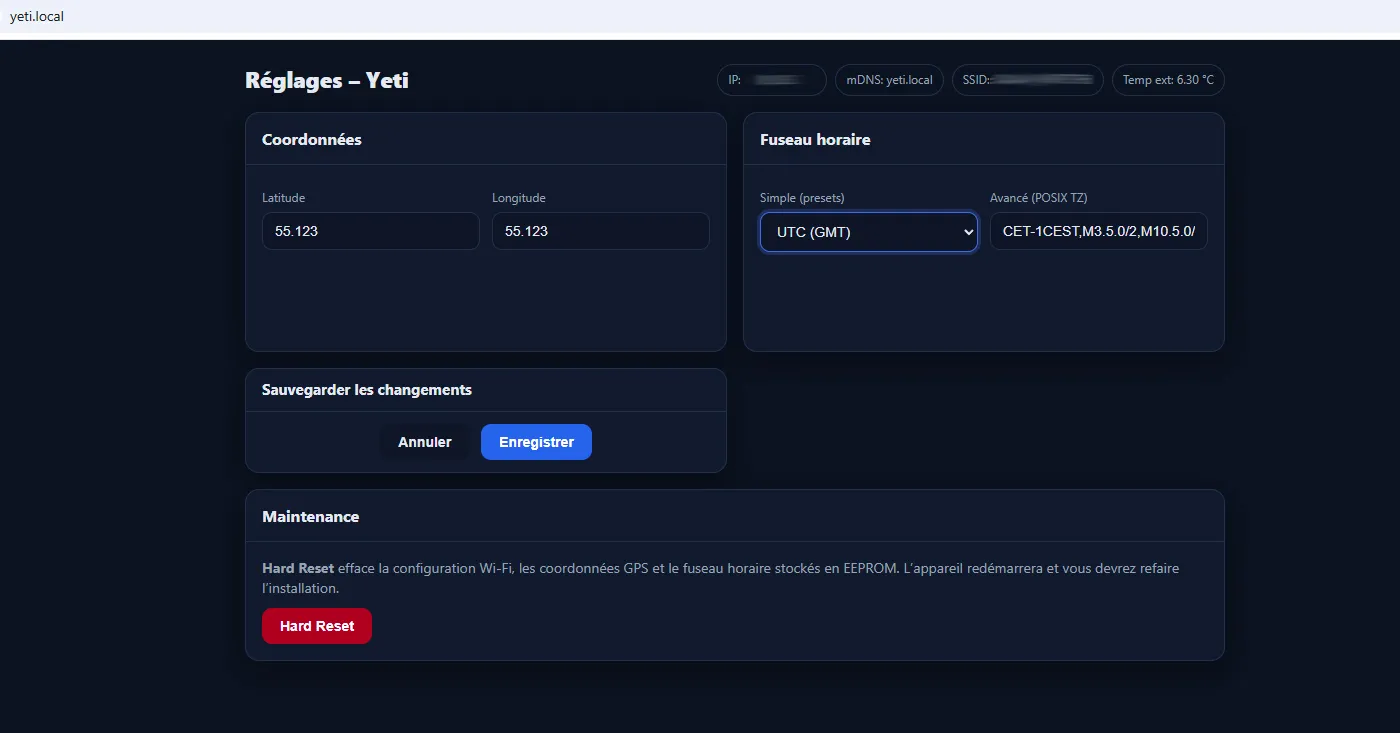
- From this page you can:
- adjust time settings
- update location
- check network status
👉 Everything runs locally, no cloud, no account.
Offline Mode
If you skip the Wi-Fi connection step, the C309 will automatically and immediately switch to offline mode.
In offline mode, you have access to face mode:
- Faces change automatically every 2 minutes
- Single tap: instantly switch to the next face
- Long tap (+3 seconds): display the “love” emote, then return to the happy face
Information Mode (double tap)
Information mode contains 3 screens:
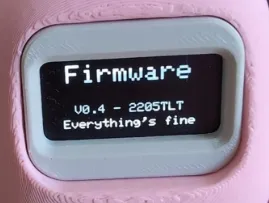
- Firmware
Displays the installed firmware version and information - Connectivity status
Wi-Fi / offline status - Wi-Fi connection
On this screen, perform a long tap (+3 seconds) to make the C309 access point appear again in your network list.
Connect to it to configure your Wi-Fi network.
🔮 Expandability
A dedicated slot is provided for a micro vibration motor:
- optional
- not implemented in the web installer yet
- available for advanced makers to experiment
🧊 Project Philosophy
YETI is designed to be:
- simple
- calm
- durable
A small desk companion
you set up once… and keep.
License

You shall not share, sub-license, sell, rent, host, transfer, or distribute in any way the digital or 3D printed versions of this object, nor any other derivative work of this object in its digital or physical format (including - but not limited to - remixes of this object, and hosting on other digital platforms). The objects may not be used without permission in any way whatsoever in which you charge money, or collect fees.


Comment & Rating (431)