
Print Profile(1)
Description
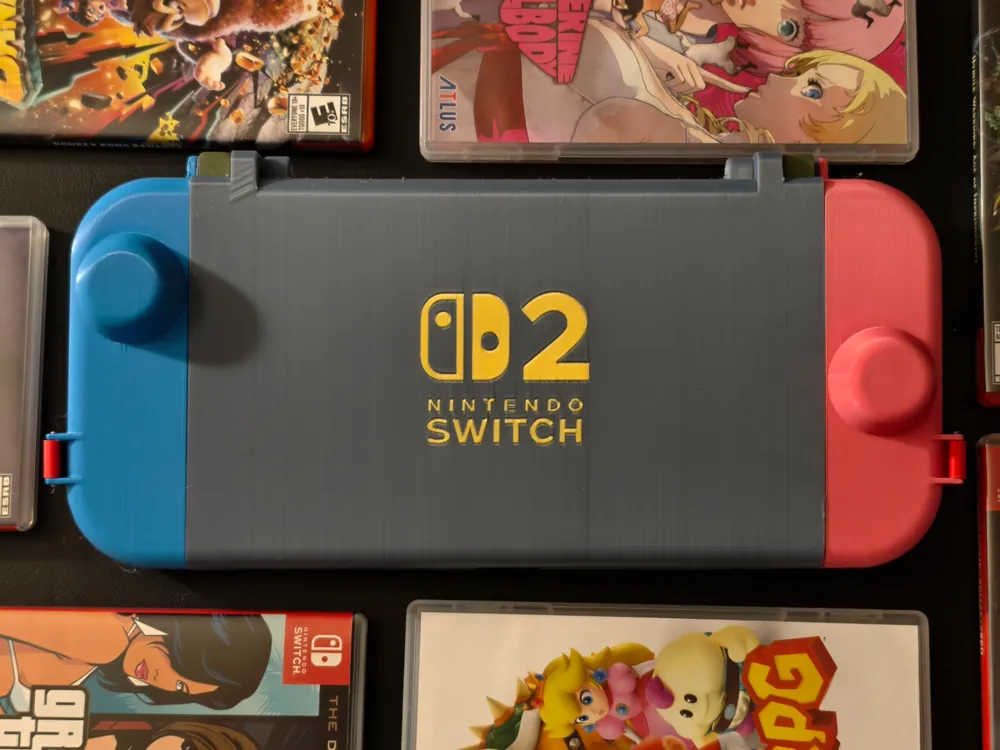
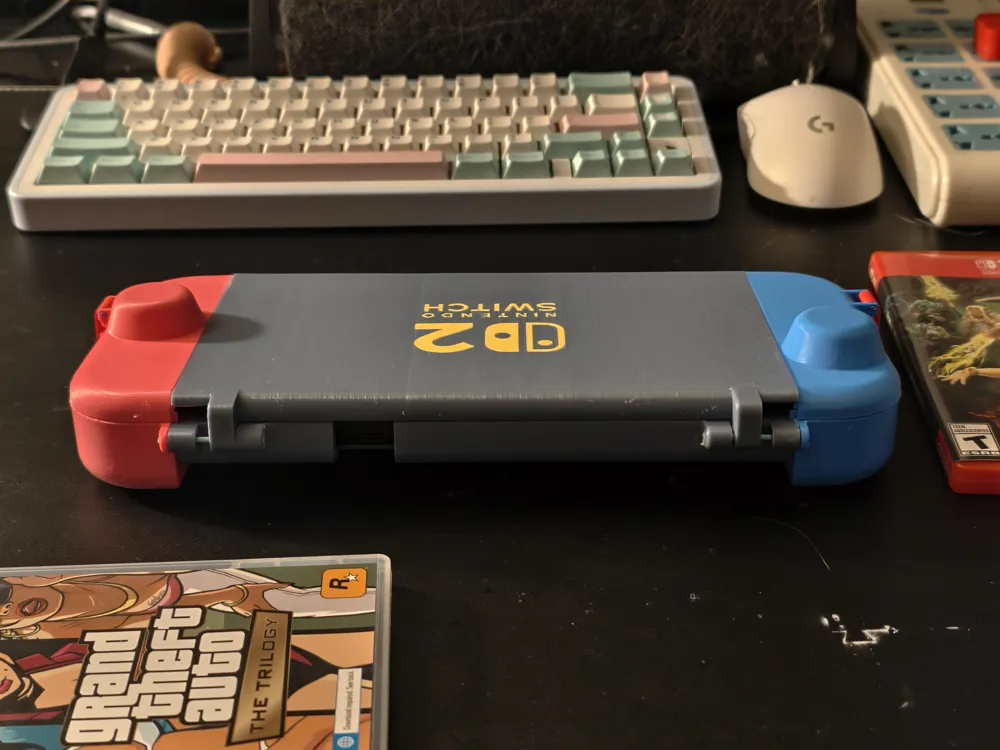
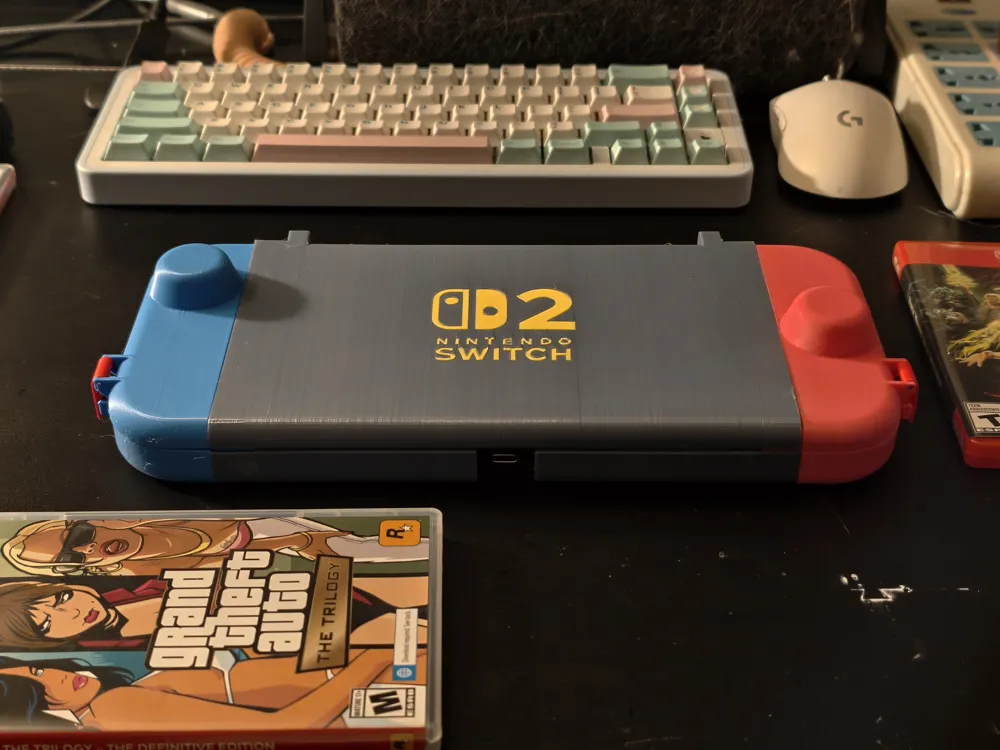
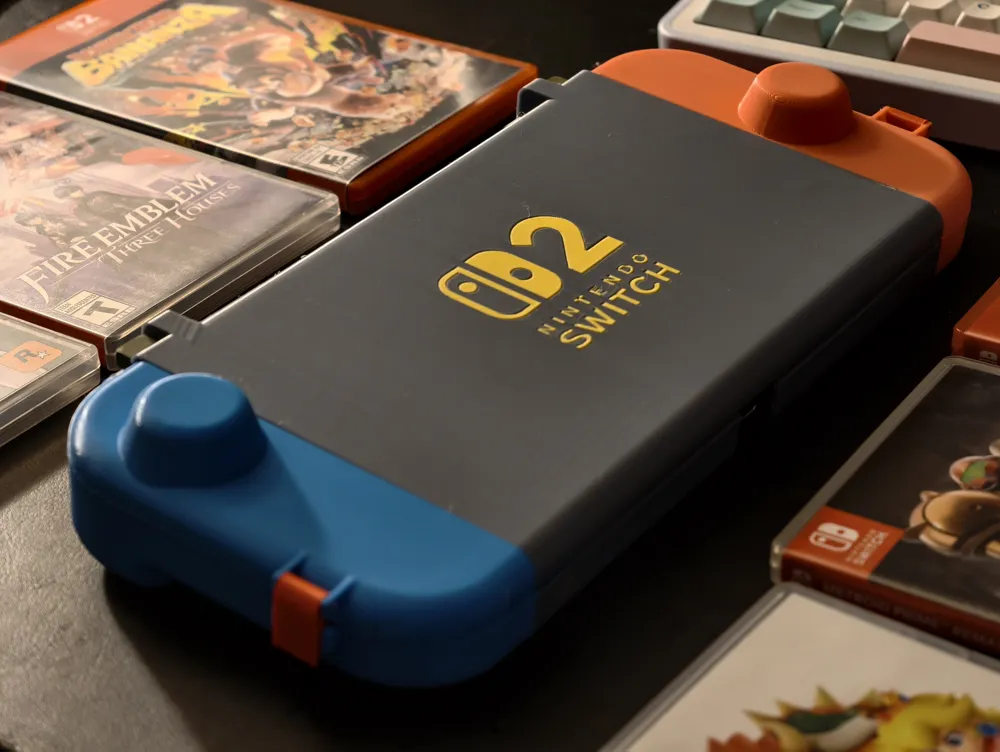
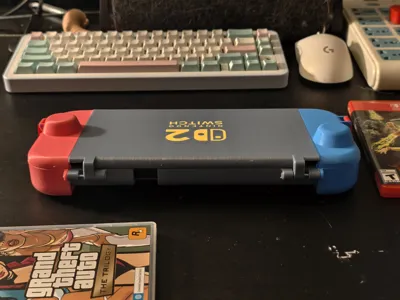
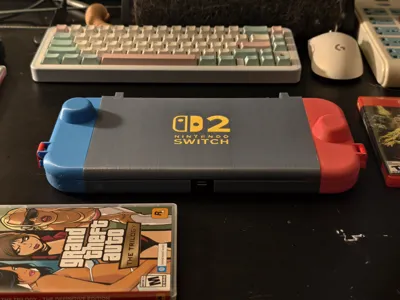
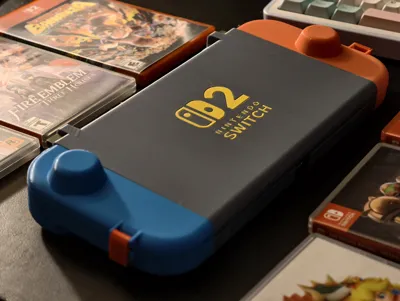
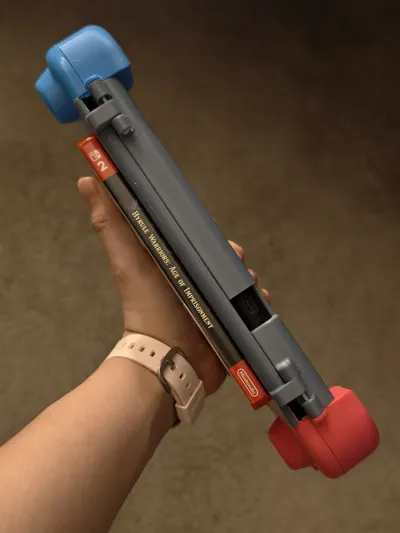
Hard Shell Carrying Travel Case Solution for the Nintendo Switch 2! Rev2!
PLEASE NOTE!: This is a relatively advanced model to print. You have to be familiar with the fundamentals of 3D printing and how support works to get a result that's satisfying to you
Hard shell case for other switch(es)
Switch Lite hard shell case can be found here
Switch OG/OLED hard shell case can be found here
I want something that can do the following but I didn't find one so I made my own
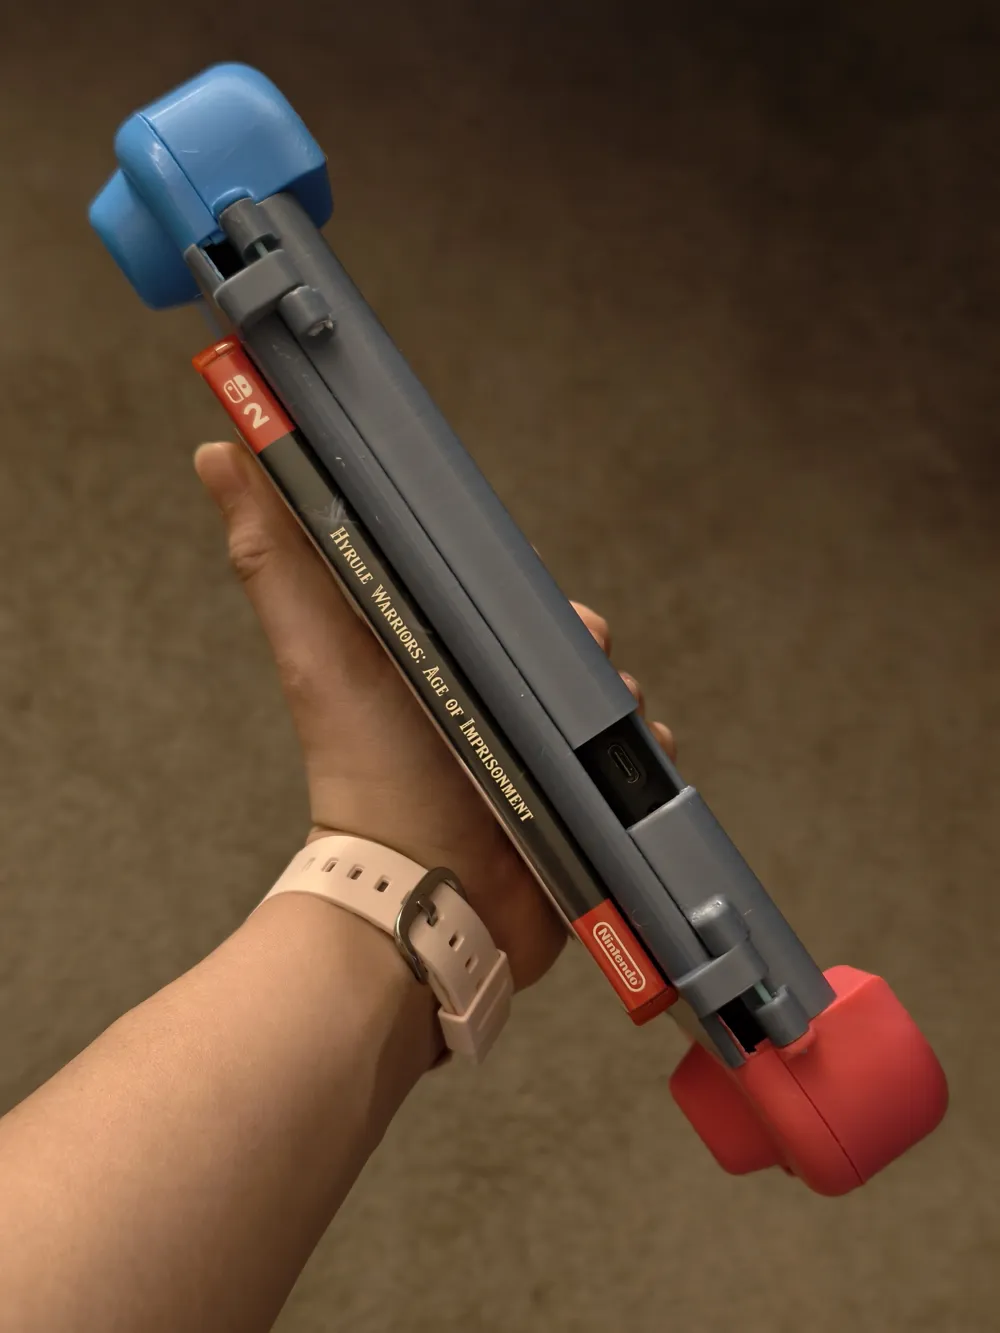
- Ultra slim and not a huge box, can easily fit into the handheld bags I already have for Switches and Steam Deck etc.
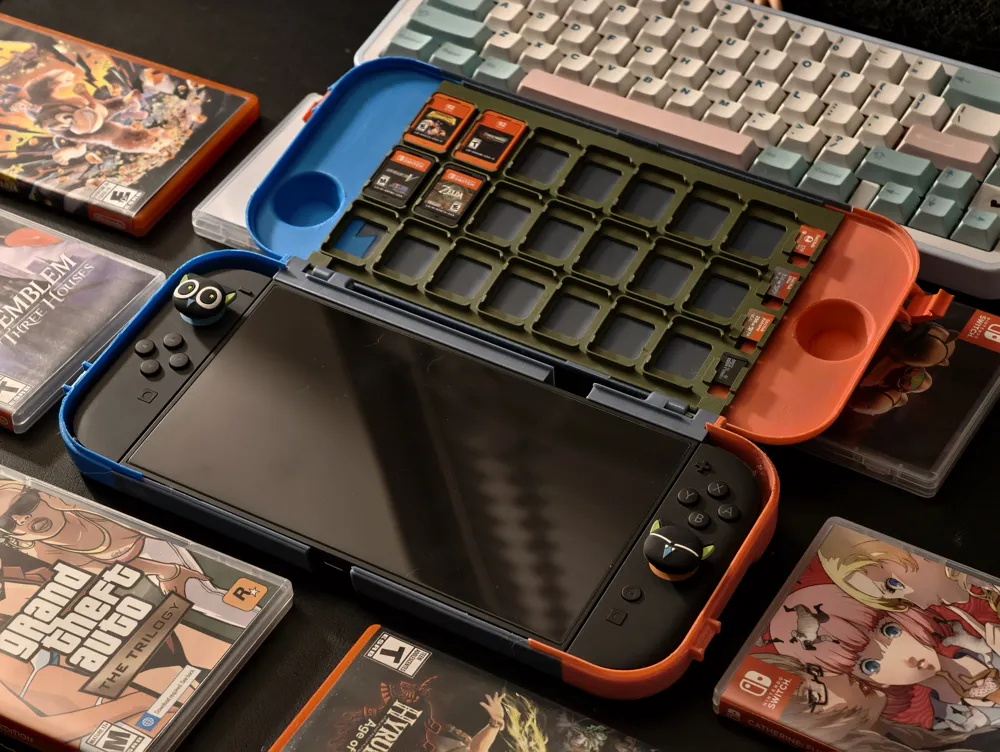
- Does not require taking off the Joy Cons. Putting in and taking out should be very straight forward.
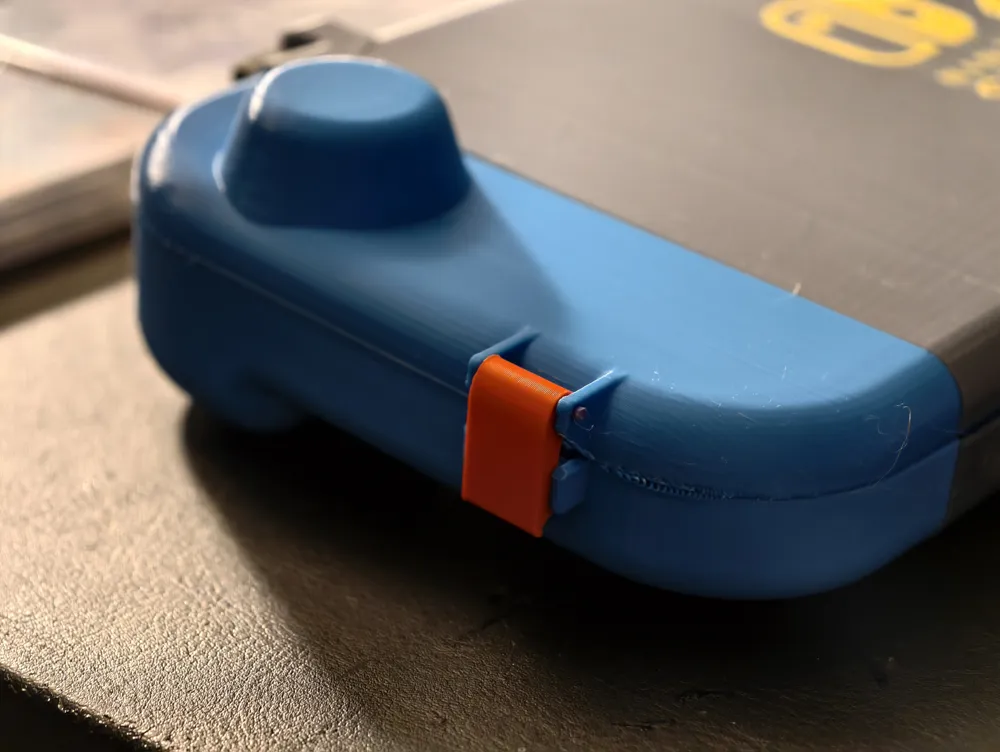
- Does not require hardware at all. No screws, no bolts, just 3D printing filament.
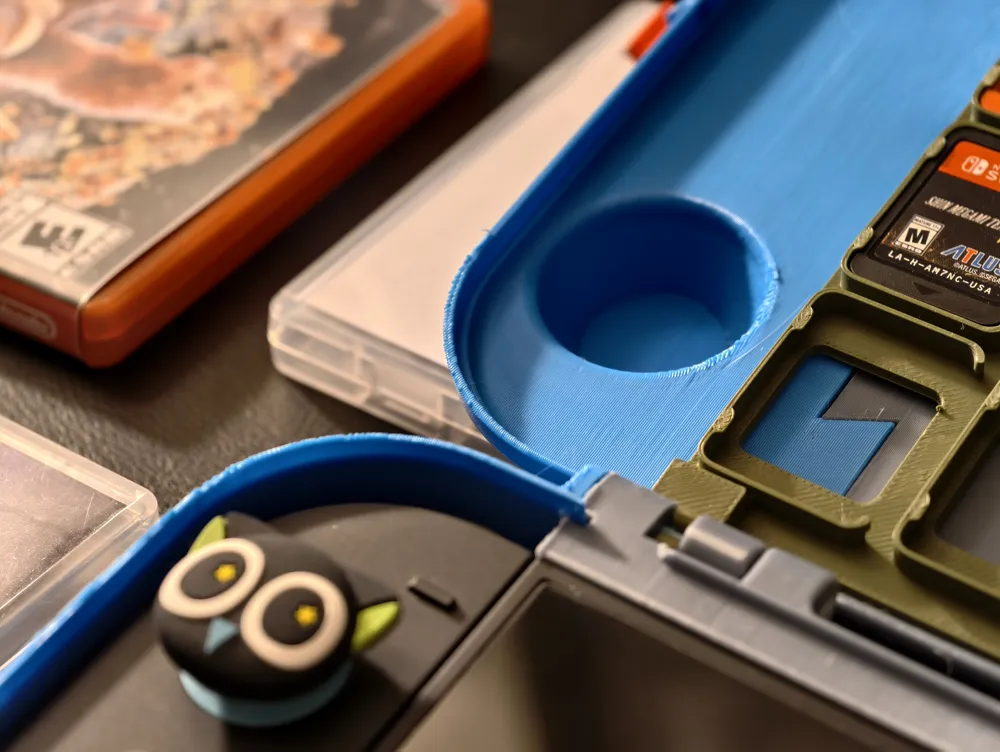
- Can fit my weirdly shaped large thumbgrip caps.
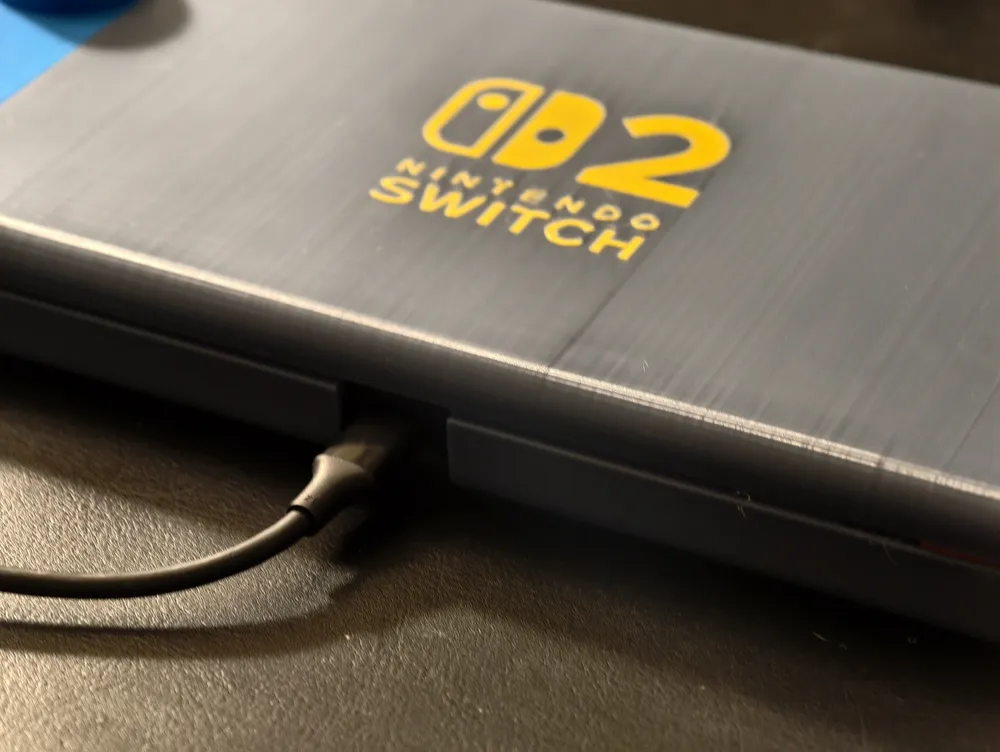
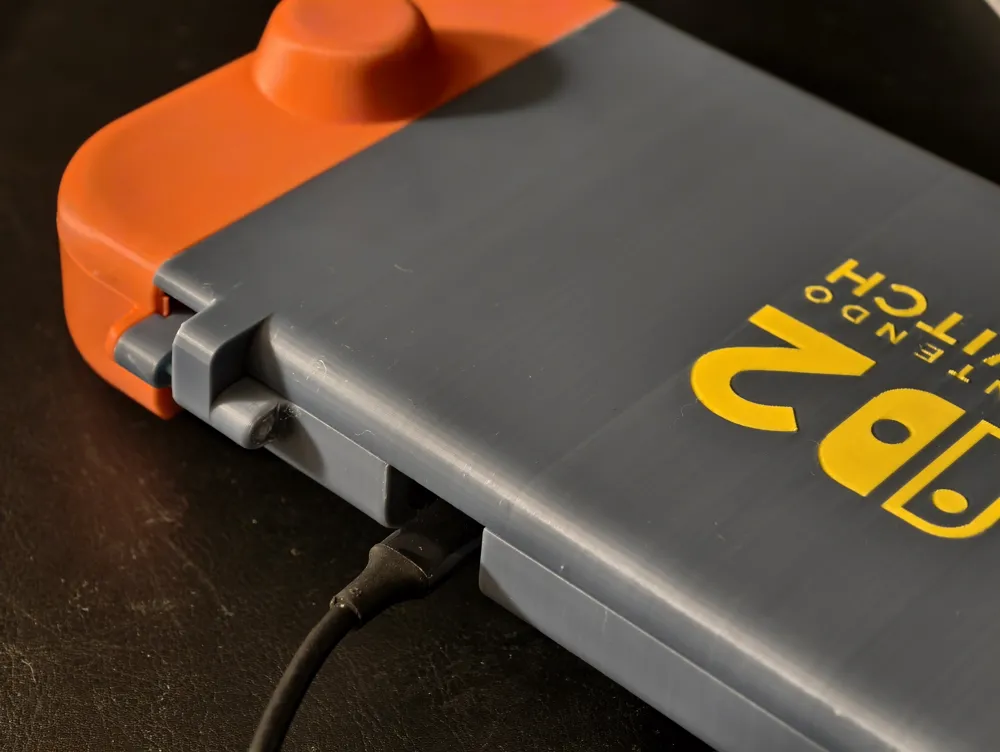
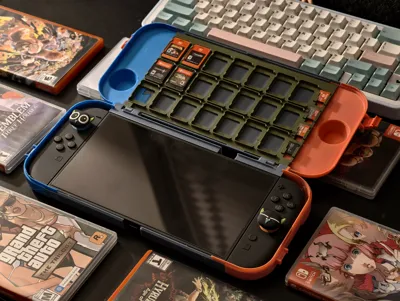
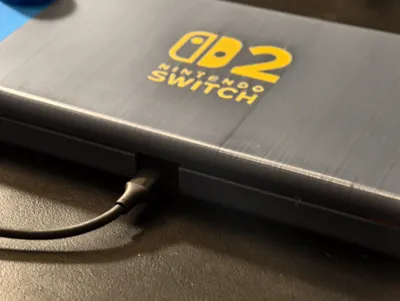
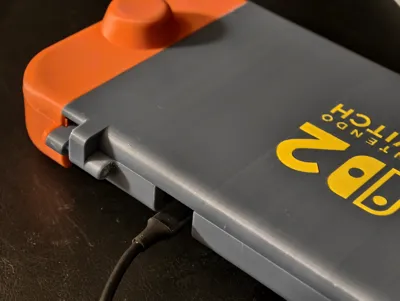
- Can be charged while inside.
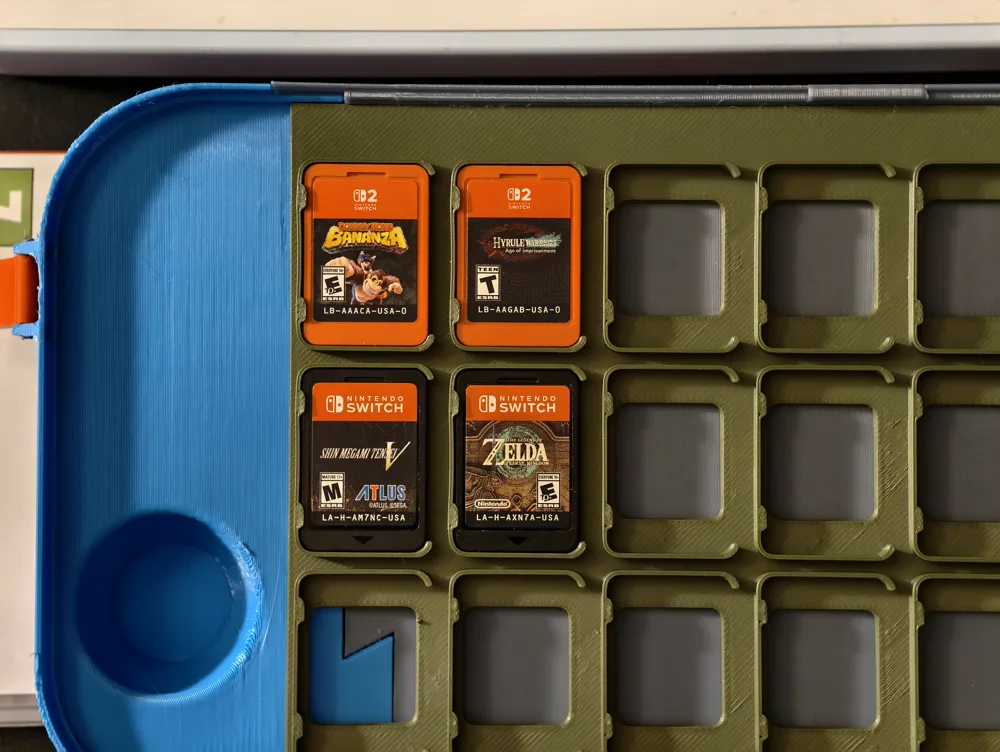
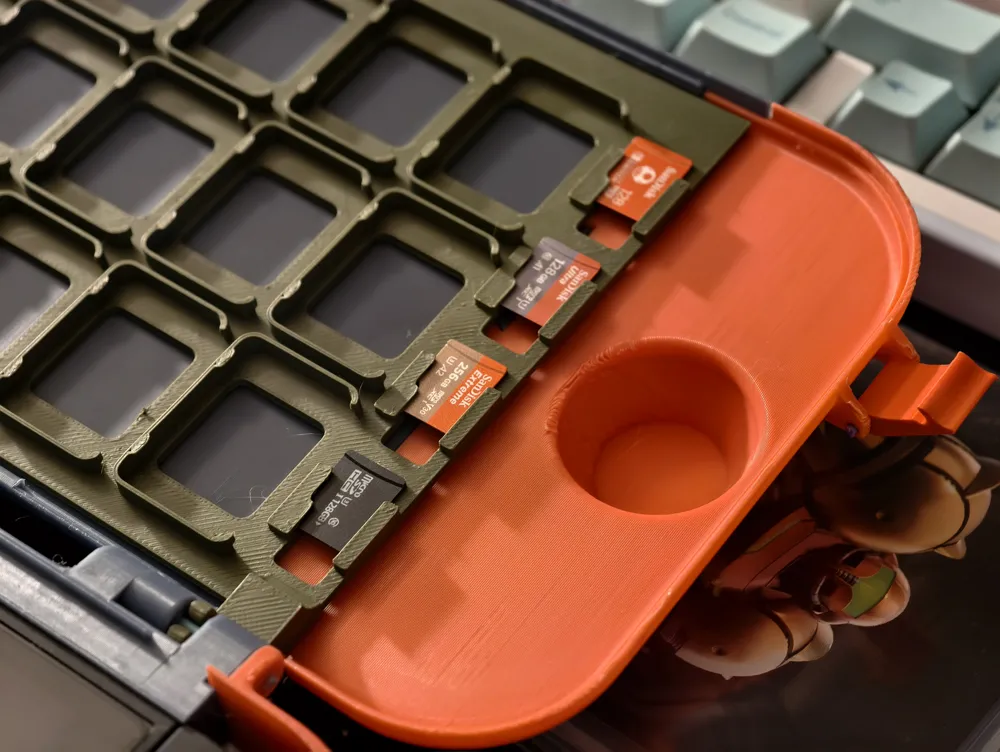
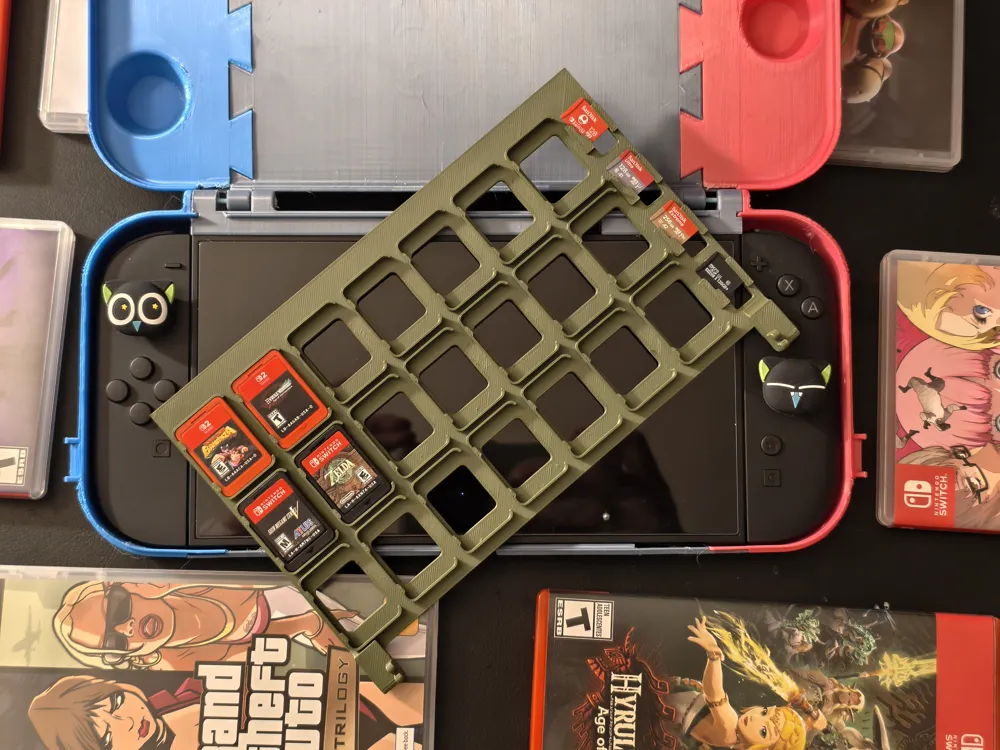
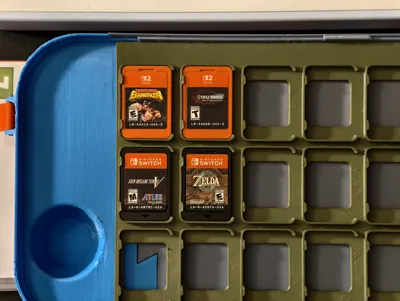
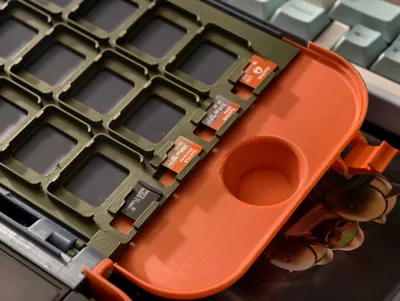
- Can carry both cartridges and microSD cards.
BEFORE YOU PRINT:
- AGAIN, THIS IS A RELATIVELY ADVANCED AND SIZABLE PRINT. Make sure you know what you are doing before proceeding so you don't waste filament. Be sure to dial in your machine settings, support details and other parameters before you hit the print button.
- PLA is a pretty hard plastic, but it should not scratch the console body or the screen as far as I tested. If you are concerned about the cartridge carrier bumping into the screen, you can apply a tempered glass screen protector. Or print the entire thing in PETG, which is softer.
- I strongly recommend printing using a cool plate SuperTack or at least use stick glue, as it requires a very high adhesion to not fail.
- The two main compartments (lid and case) have X-Y hole compensation enabled to 0.1. Adjust according to your filament's properties.
- Slow down by height is enabled, otherwise there will be swirling shapes the higher the model, especially on A1 models.
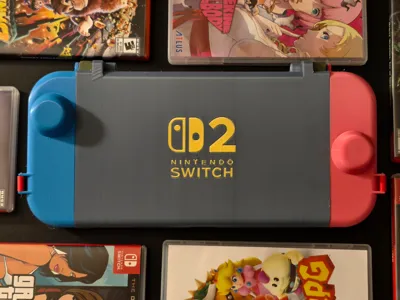
- To NOT have a Nintendo logo, just set all components on the lid to be the same filament.
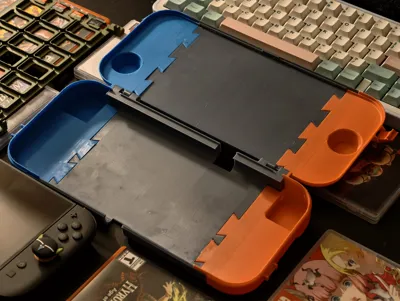
- The JoyCon compartments and lid/case need to be glued together.
- Despite my best effort, there will very likely be fitment issues and requires you to file/sand down some portion for parts to fit nicely. Specifically the rounded corners of the lips on the JoyCon casings.
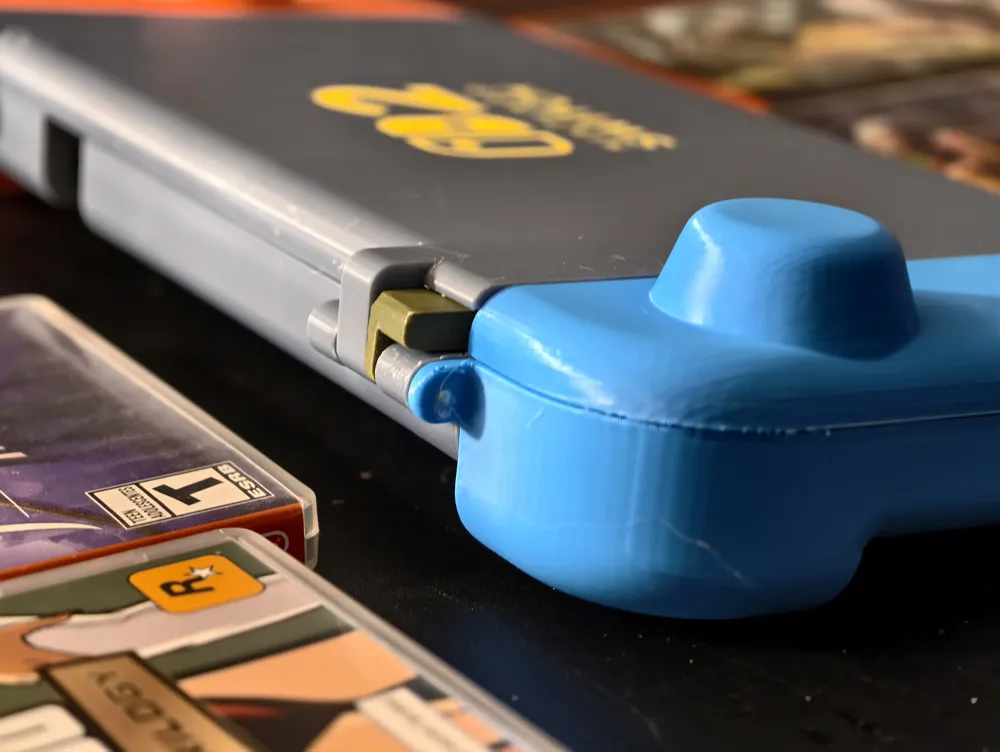
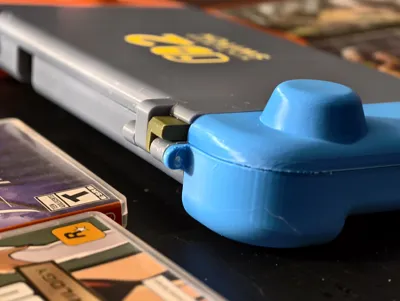
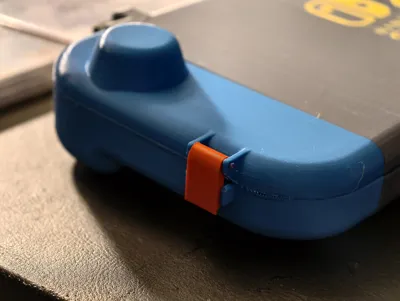
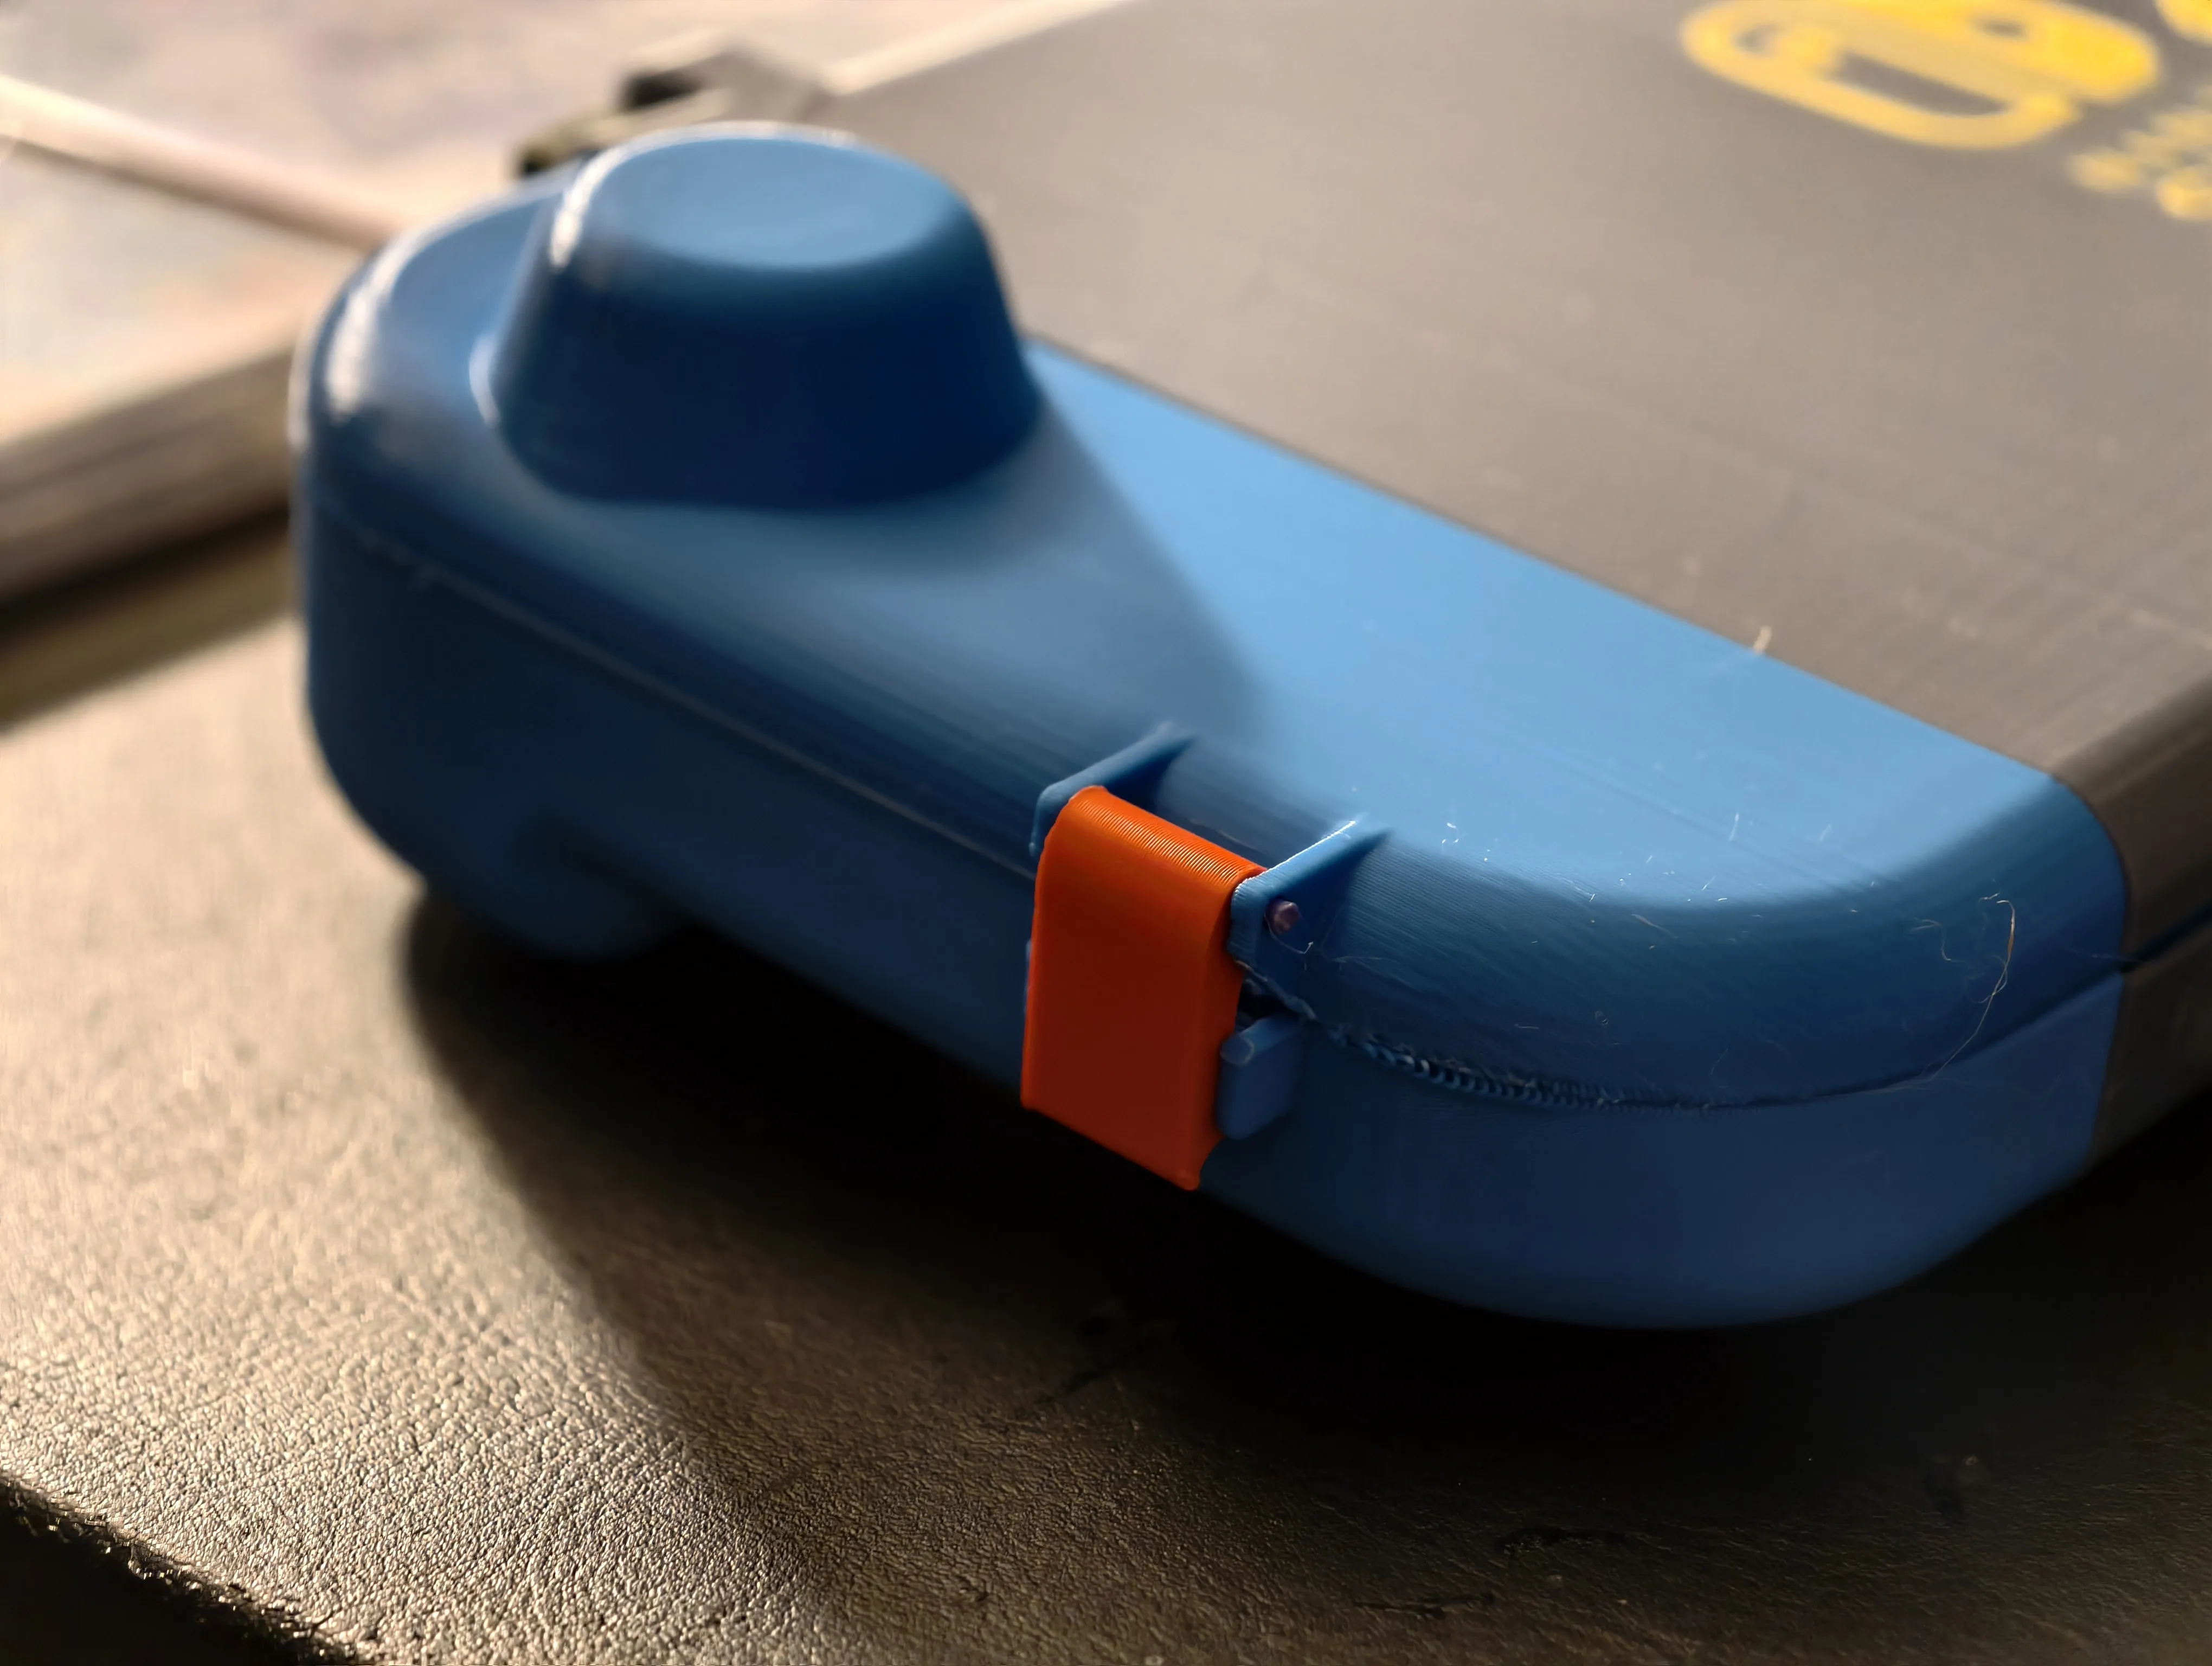
- The hinges and clips are held together using just regular 1.75mm filament. If you find it hard inserting the filament, try inserting from another side to loosen the holes a bit, or use a needle nose plier to push the filament.
- If you find the filament slipping out of the hinge, you can put a tiny bit of super glue on the both sides of the hole to hold the filament in place. This allows the hinge to rotate freely but not slipping out.
Boost Me (for free)
You also get points for boosting me!
Some Notable Features of this Case
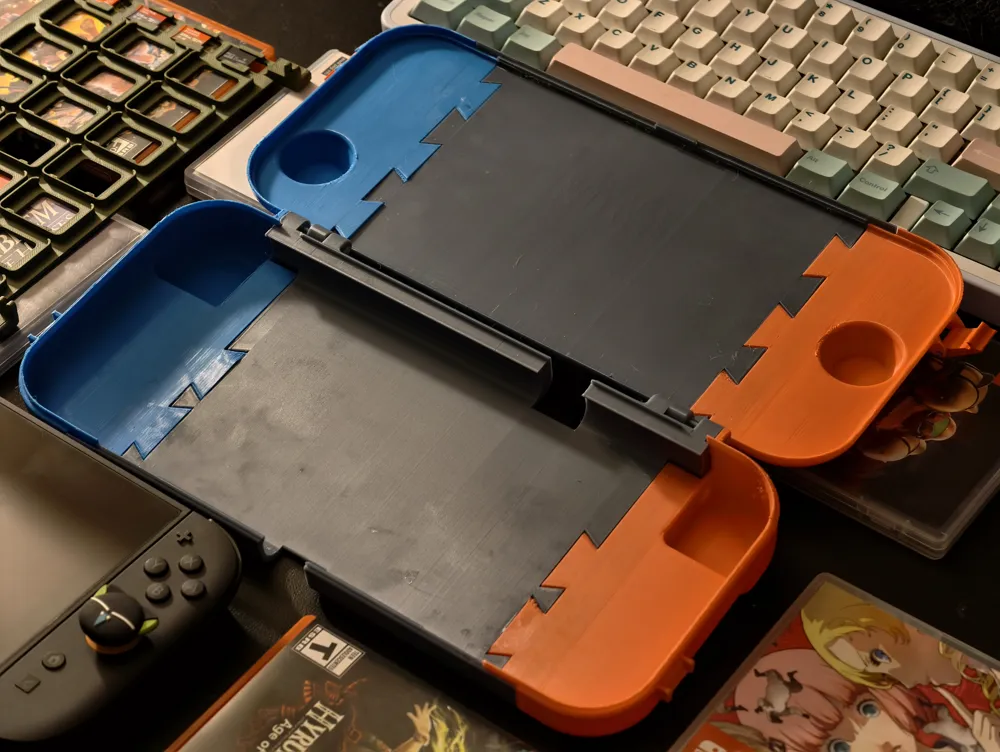
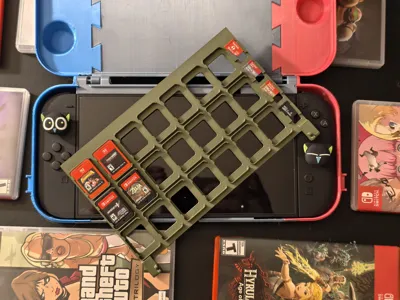
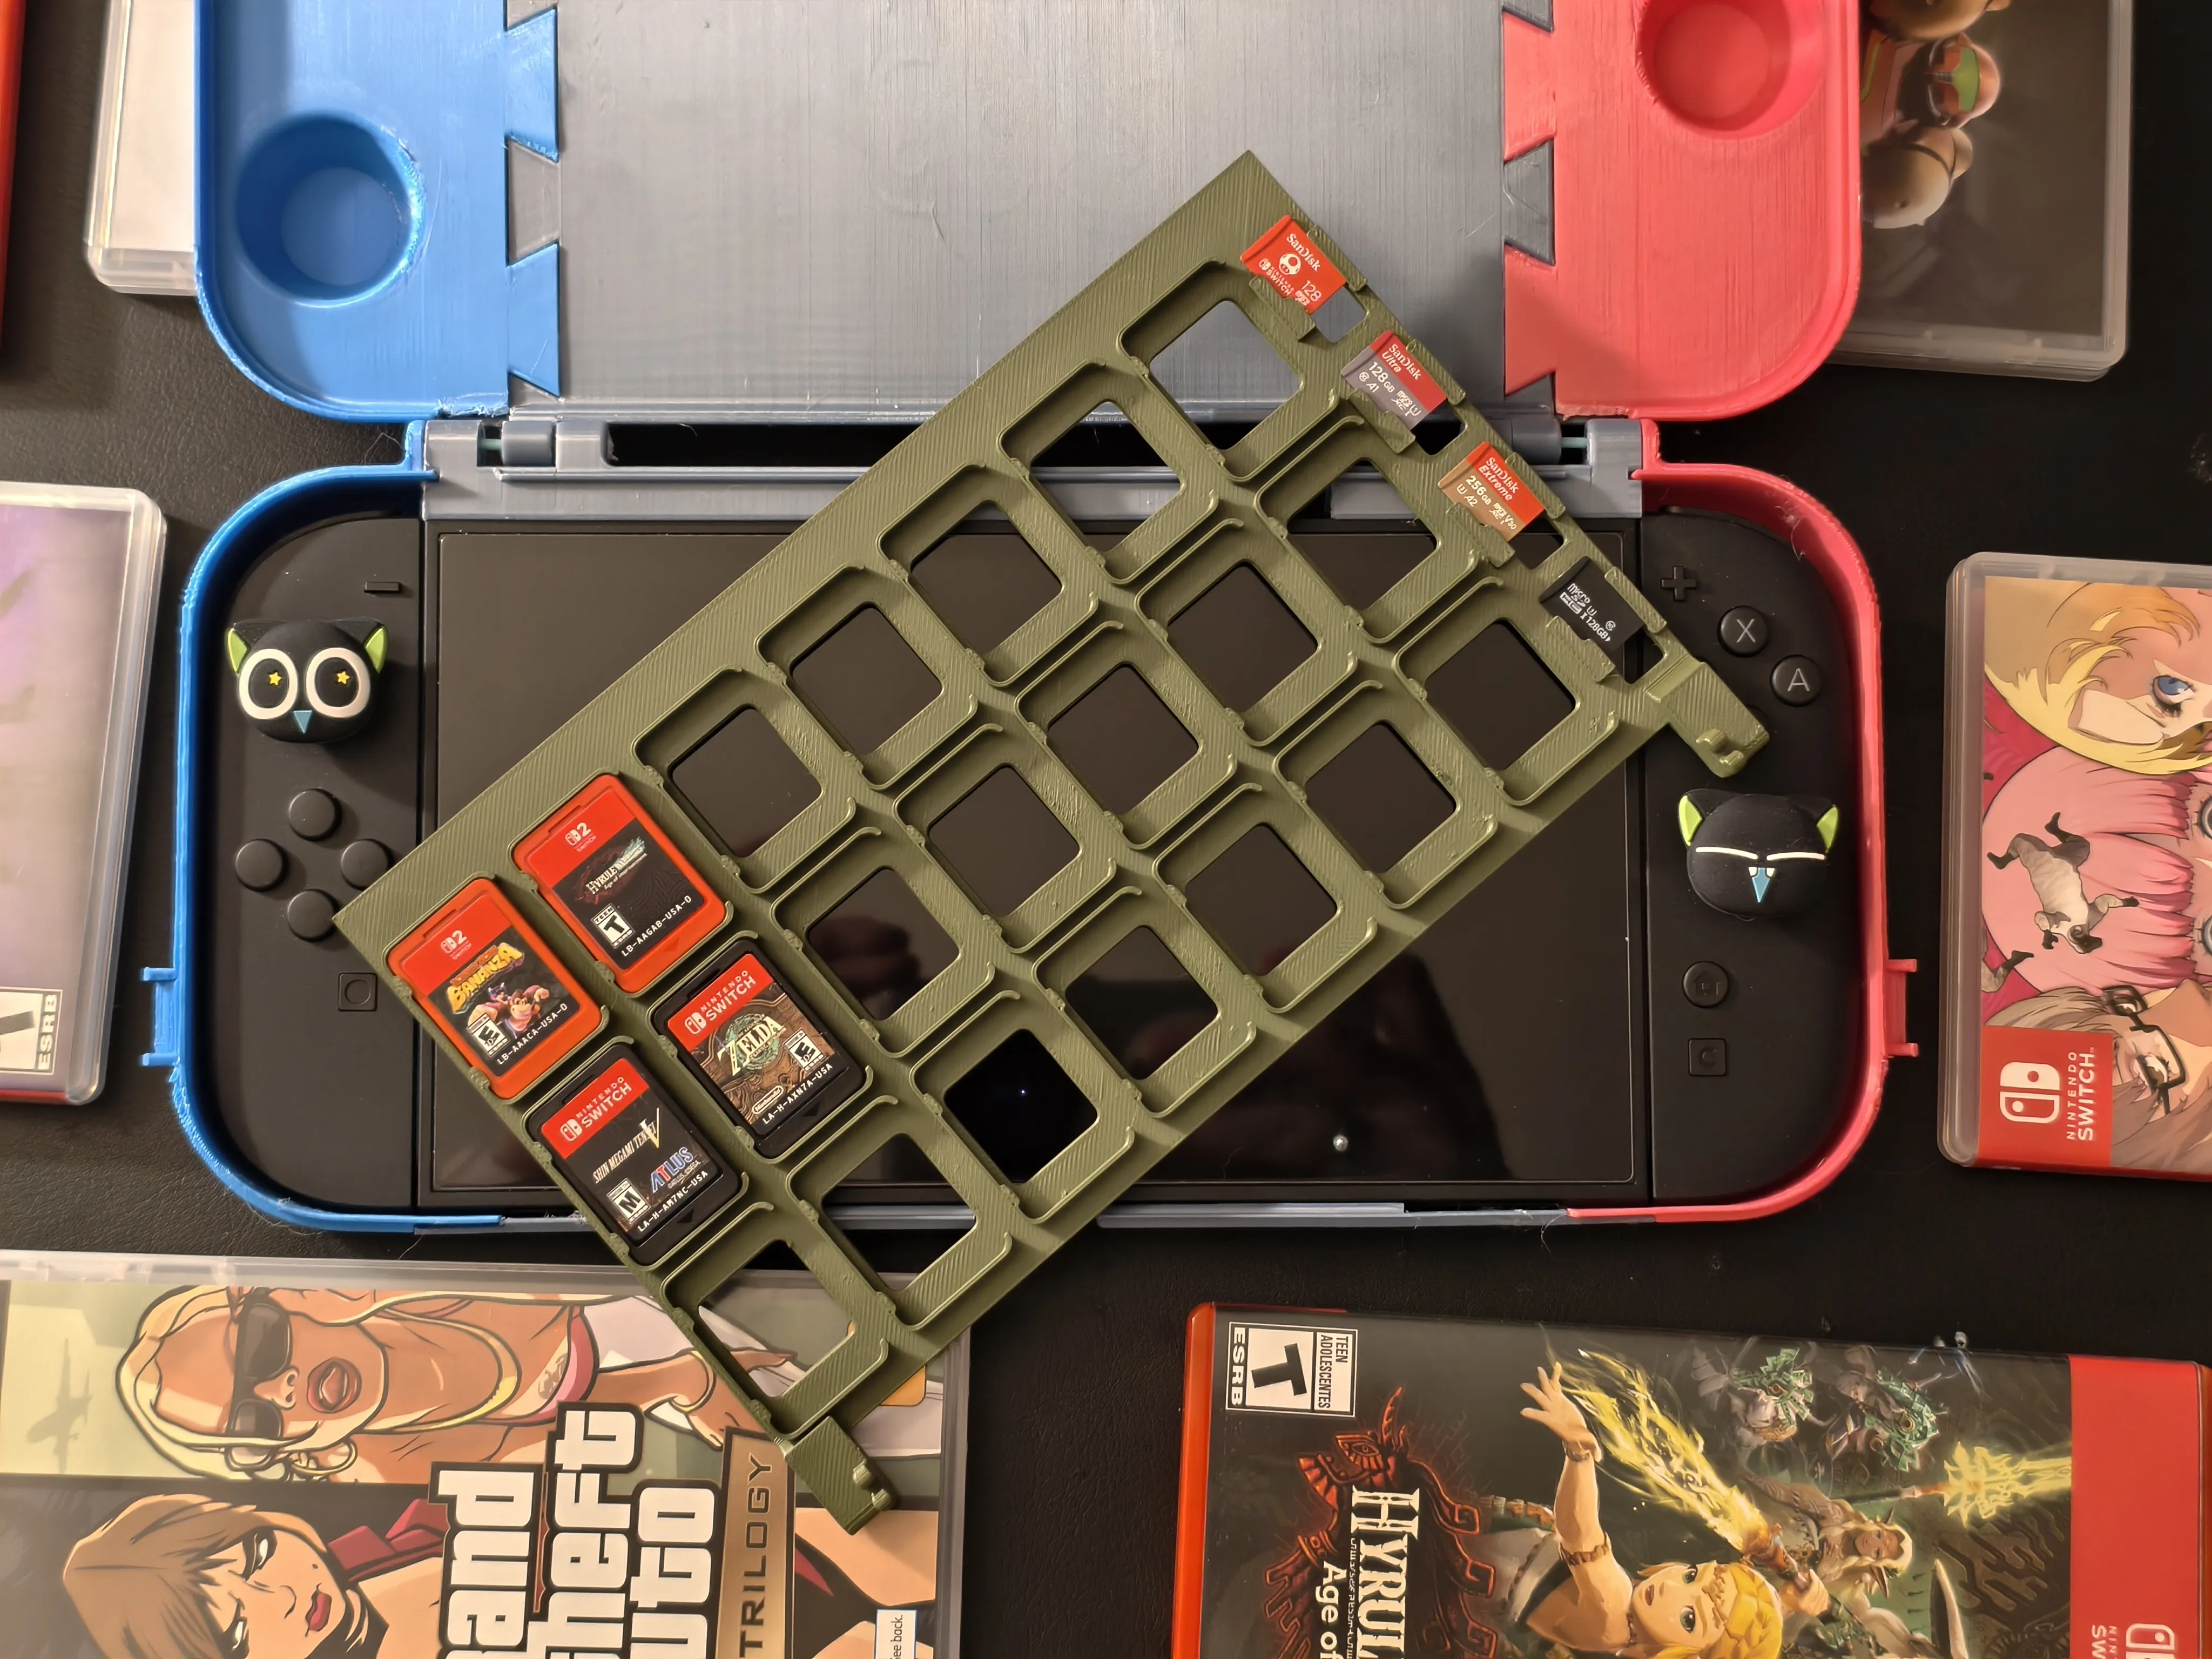
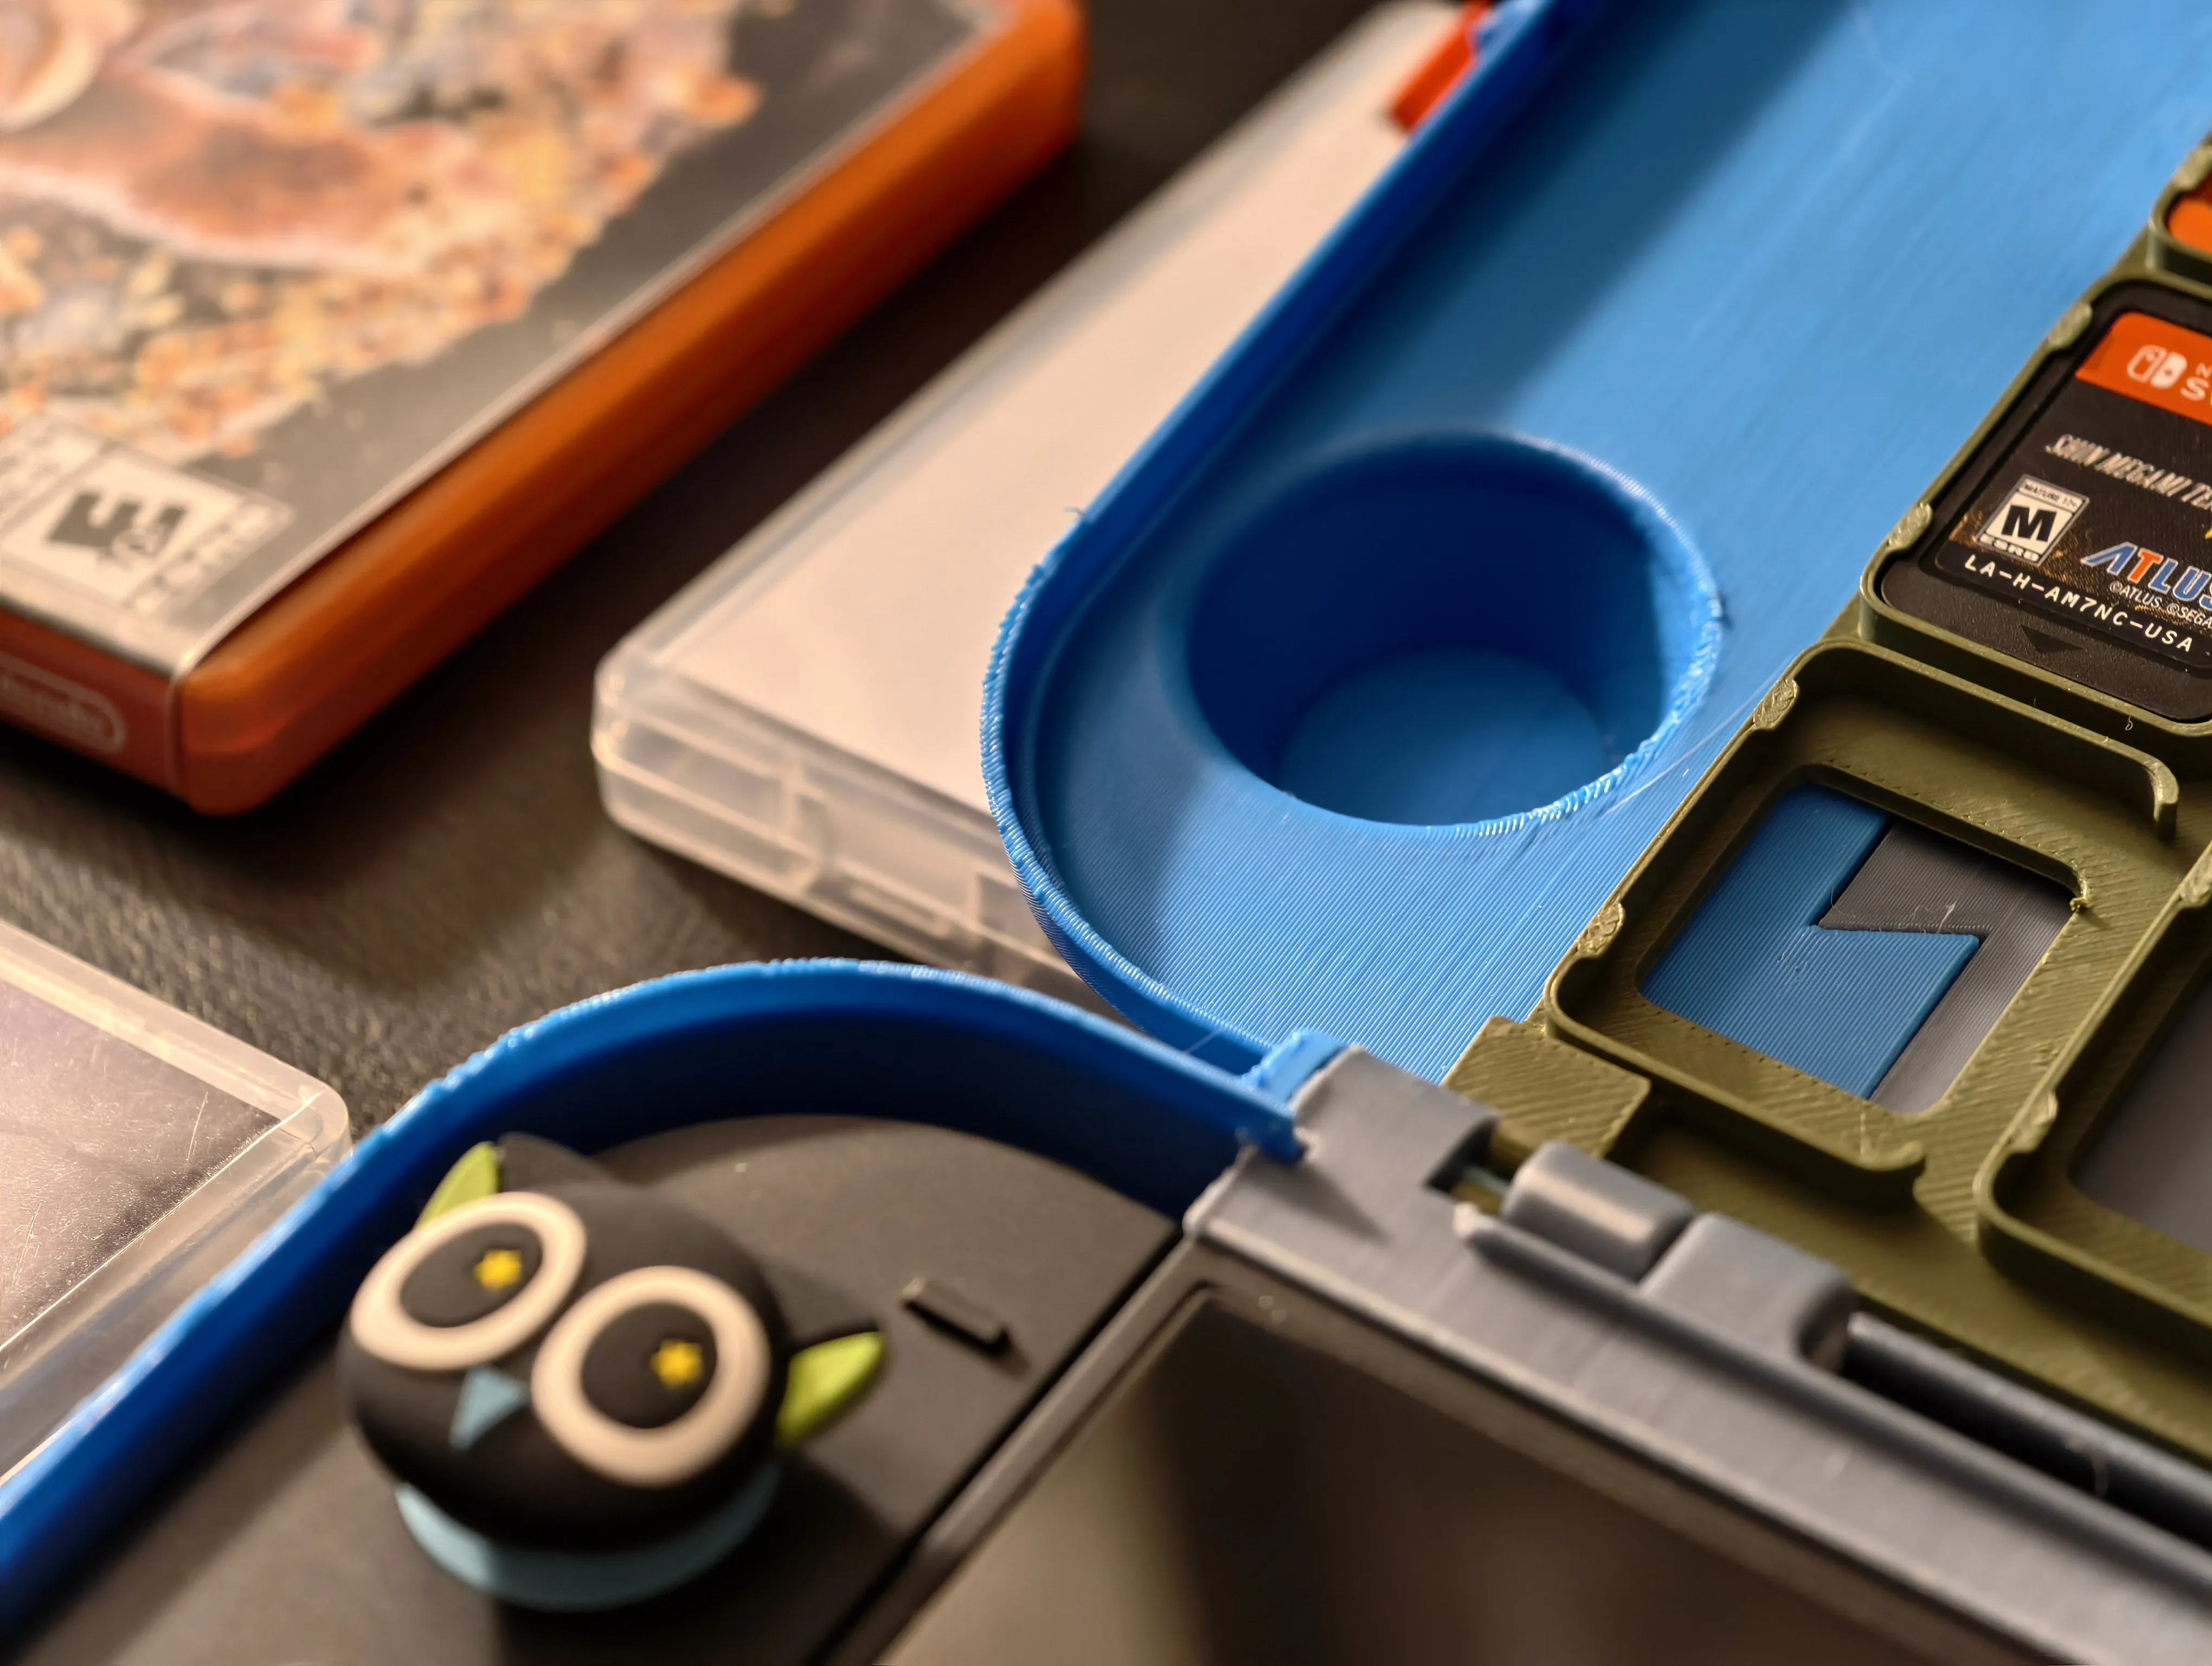
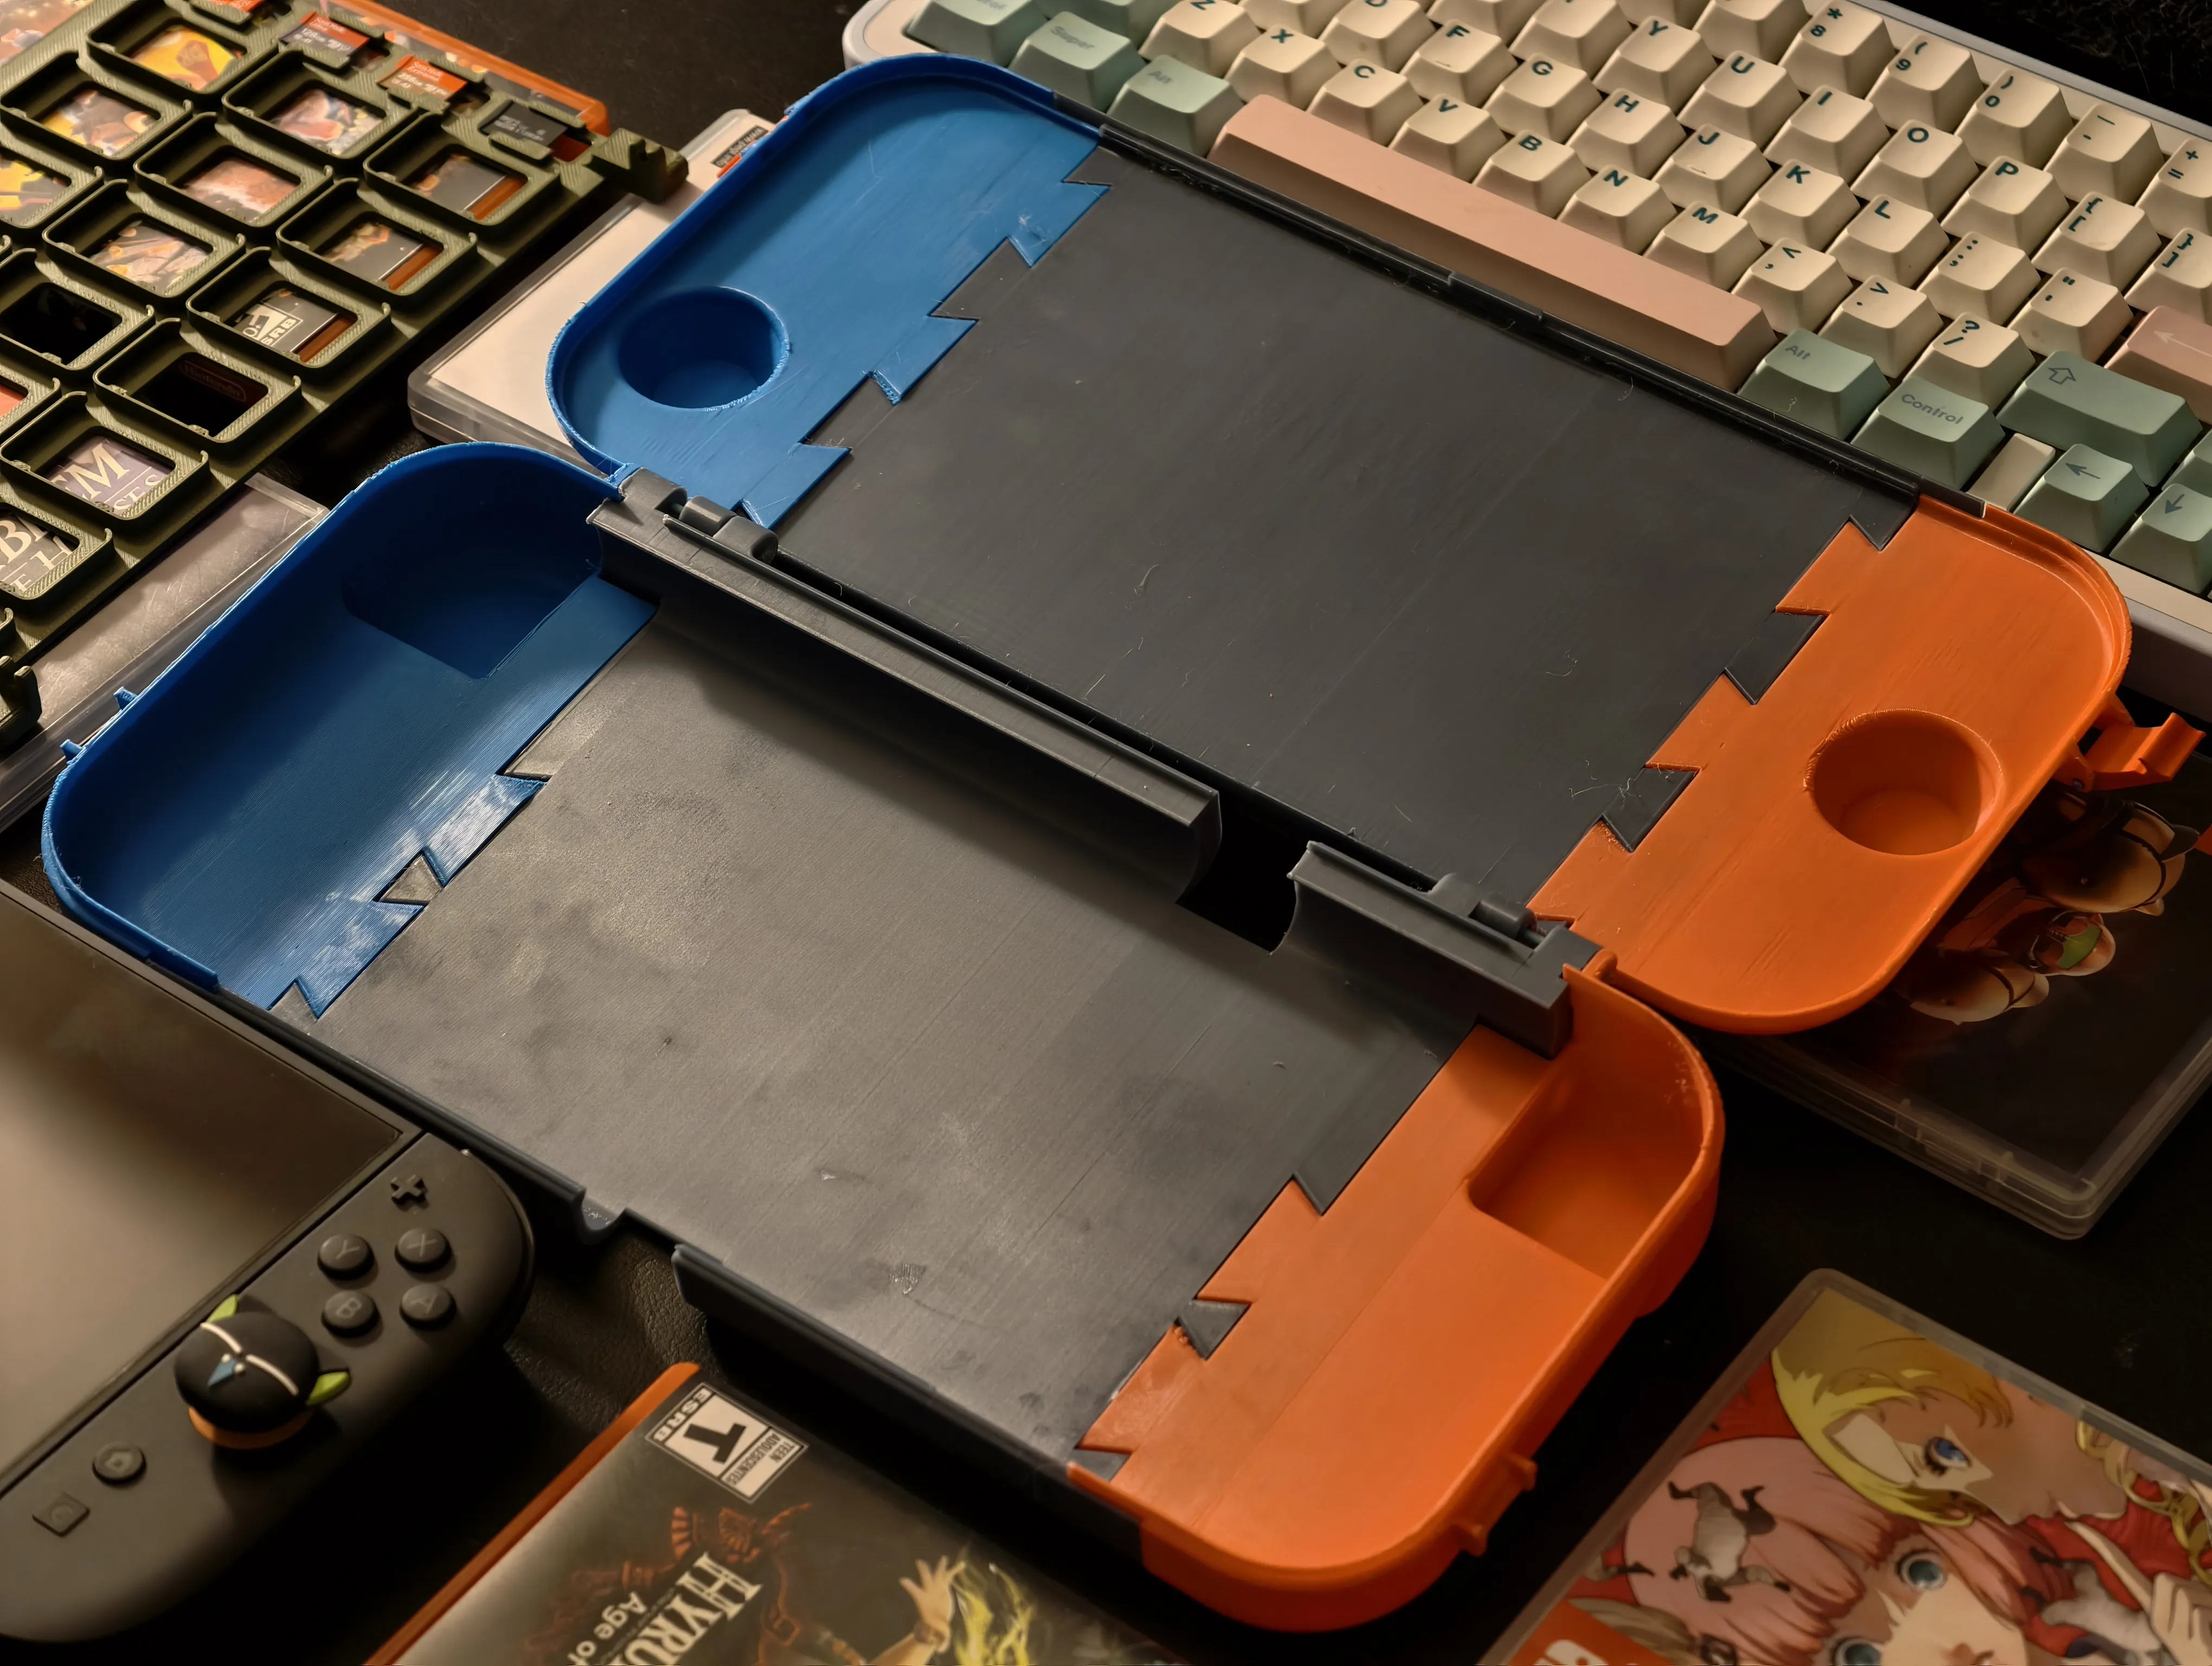
Detachable built-in cartridge and microSD card holder. It can hold up to 21 game cards and 4 SD cards, perfect for accidentally losing about $2000 worth of console and games! (/s) Or if you don't want to use it, it's very easily detachable.
Charging port cutouts for both the upper and bottom USB C port.
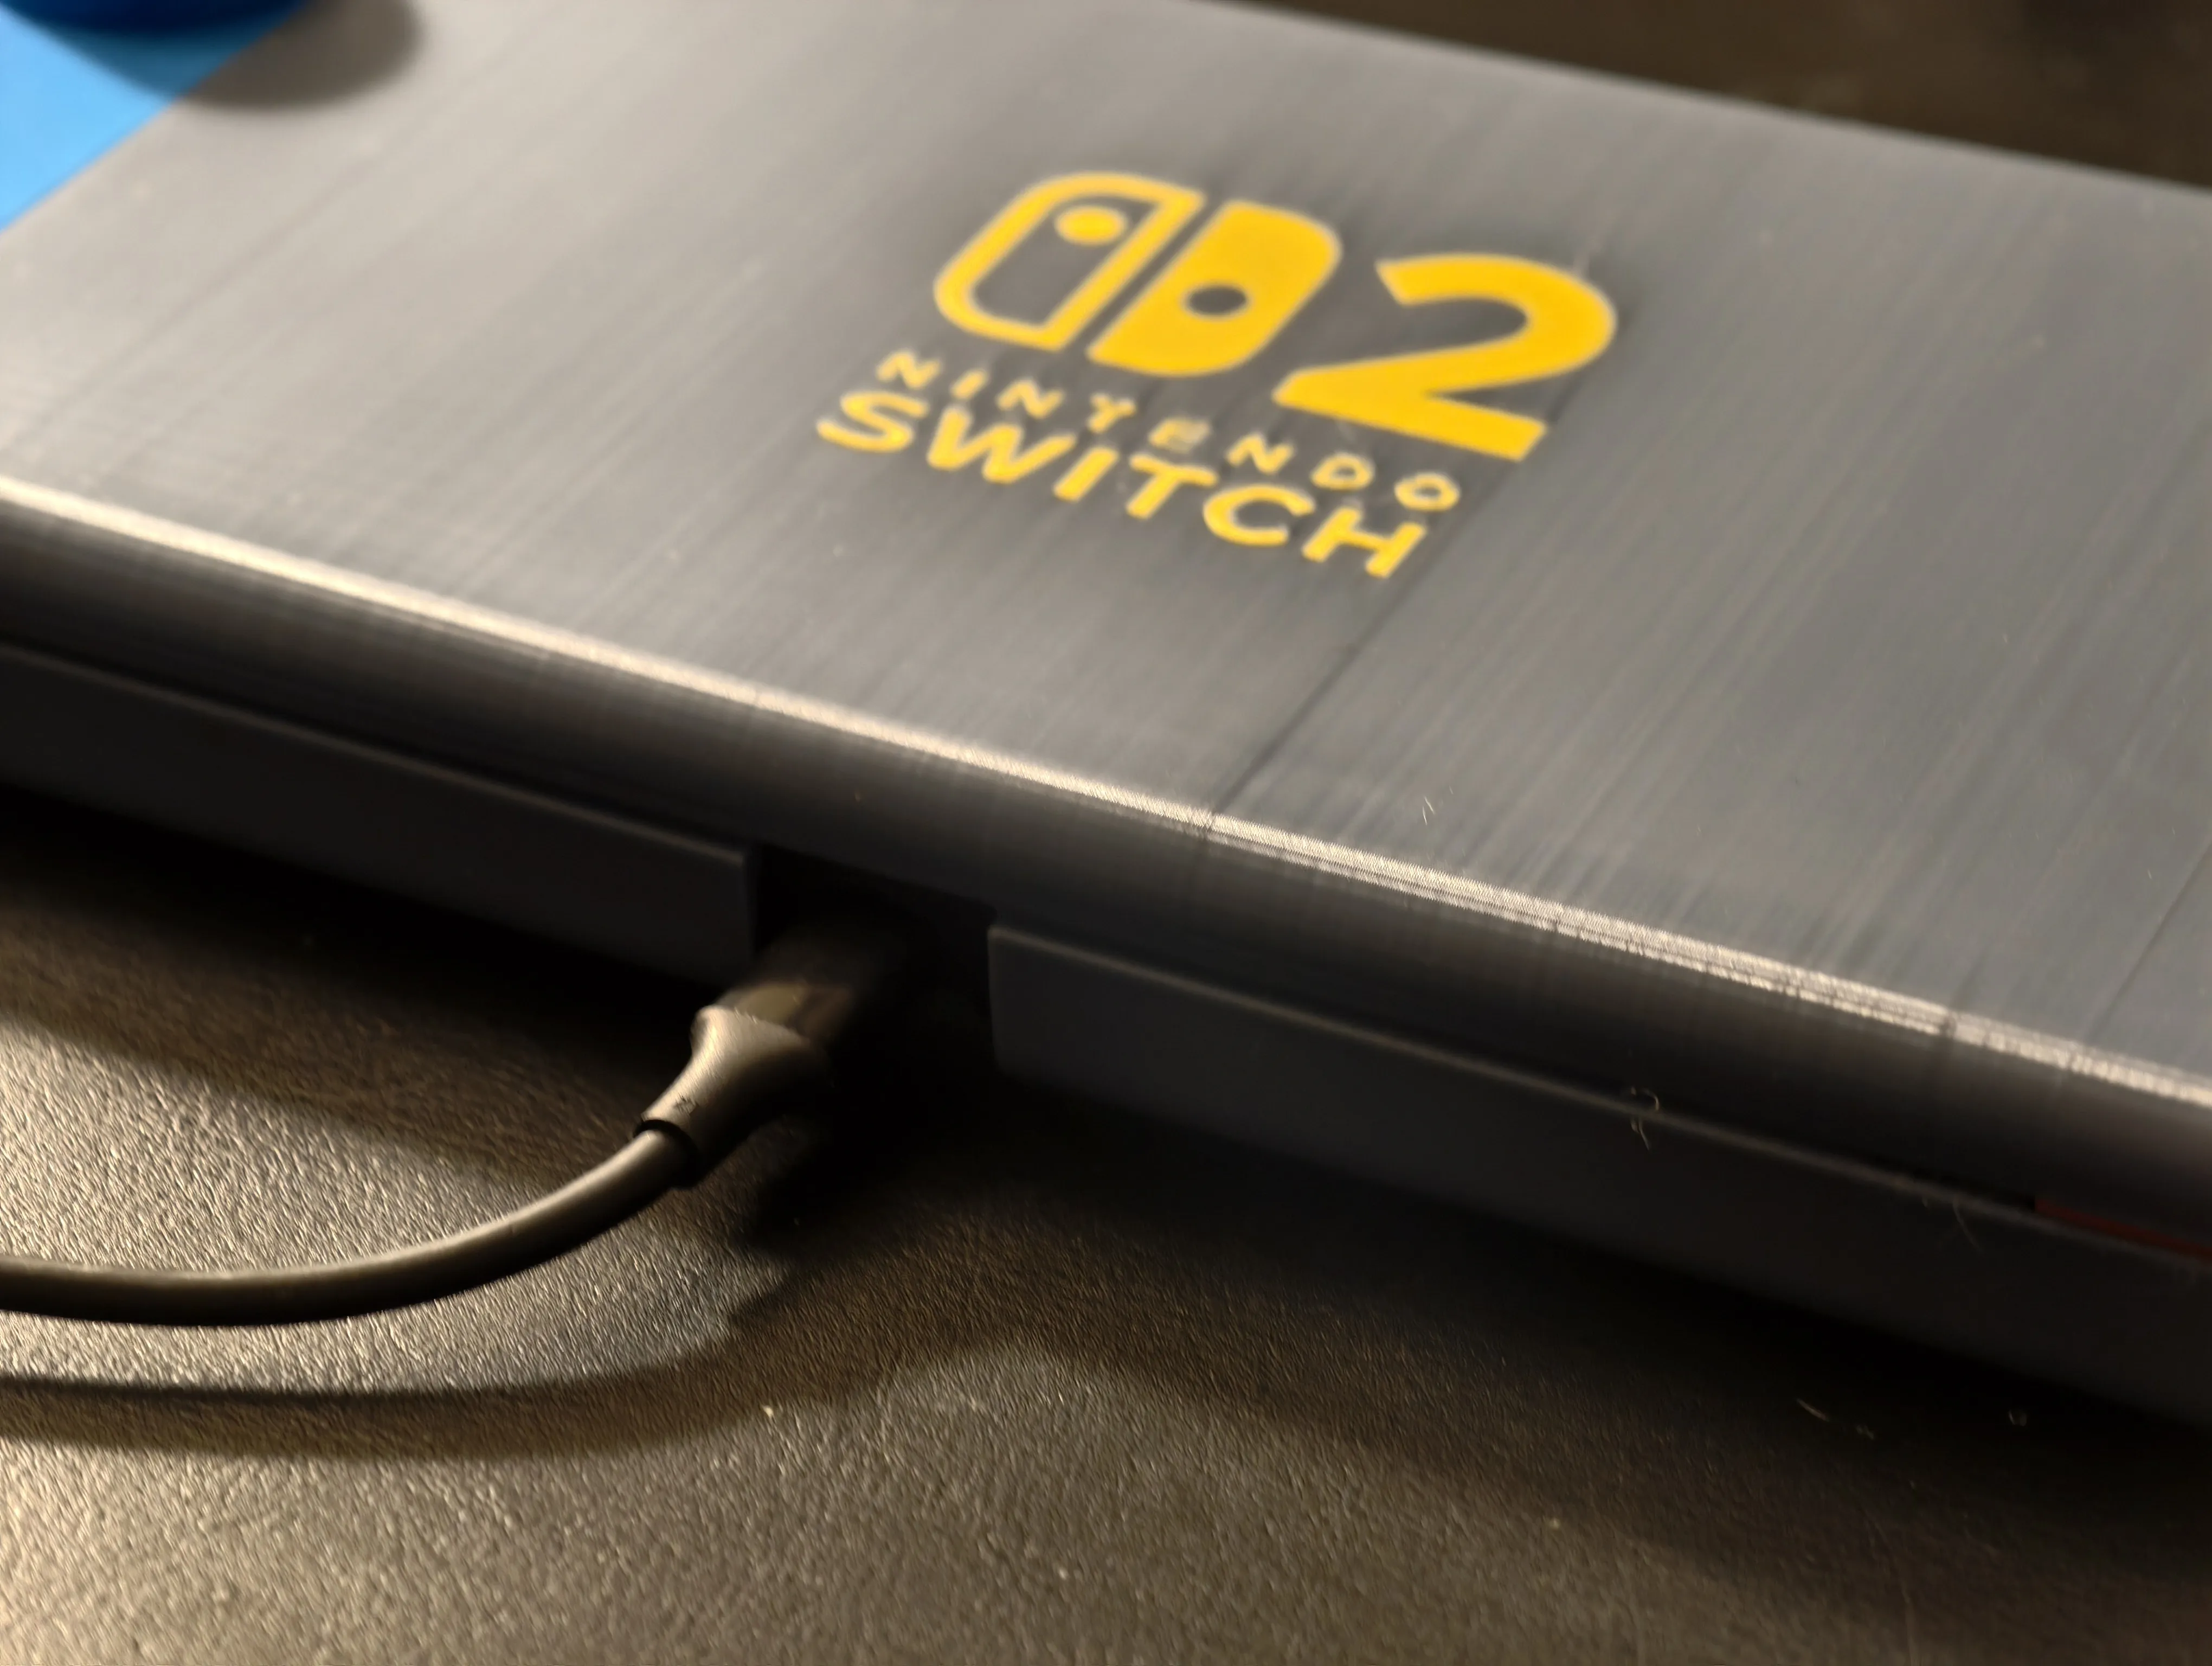
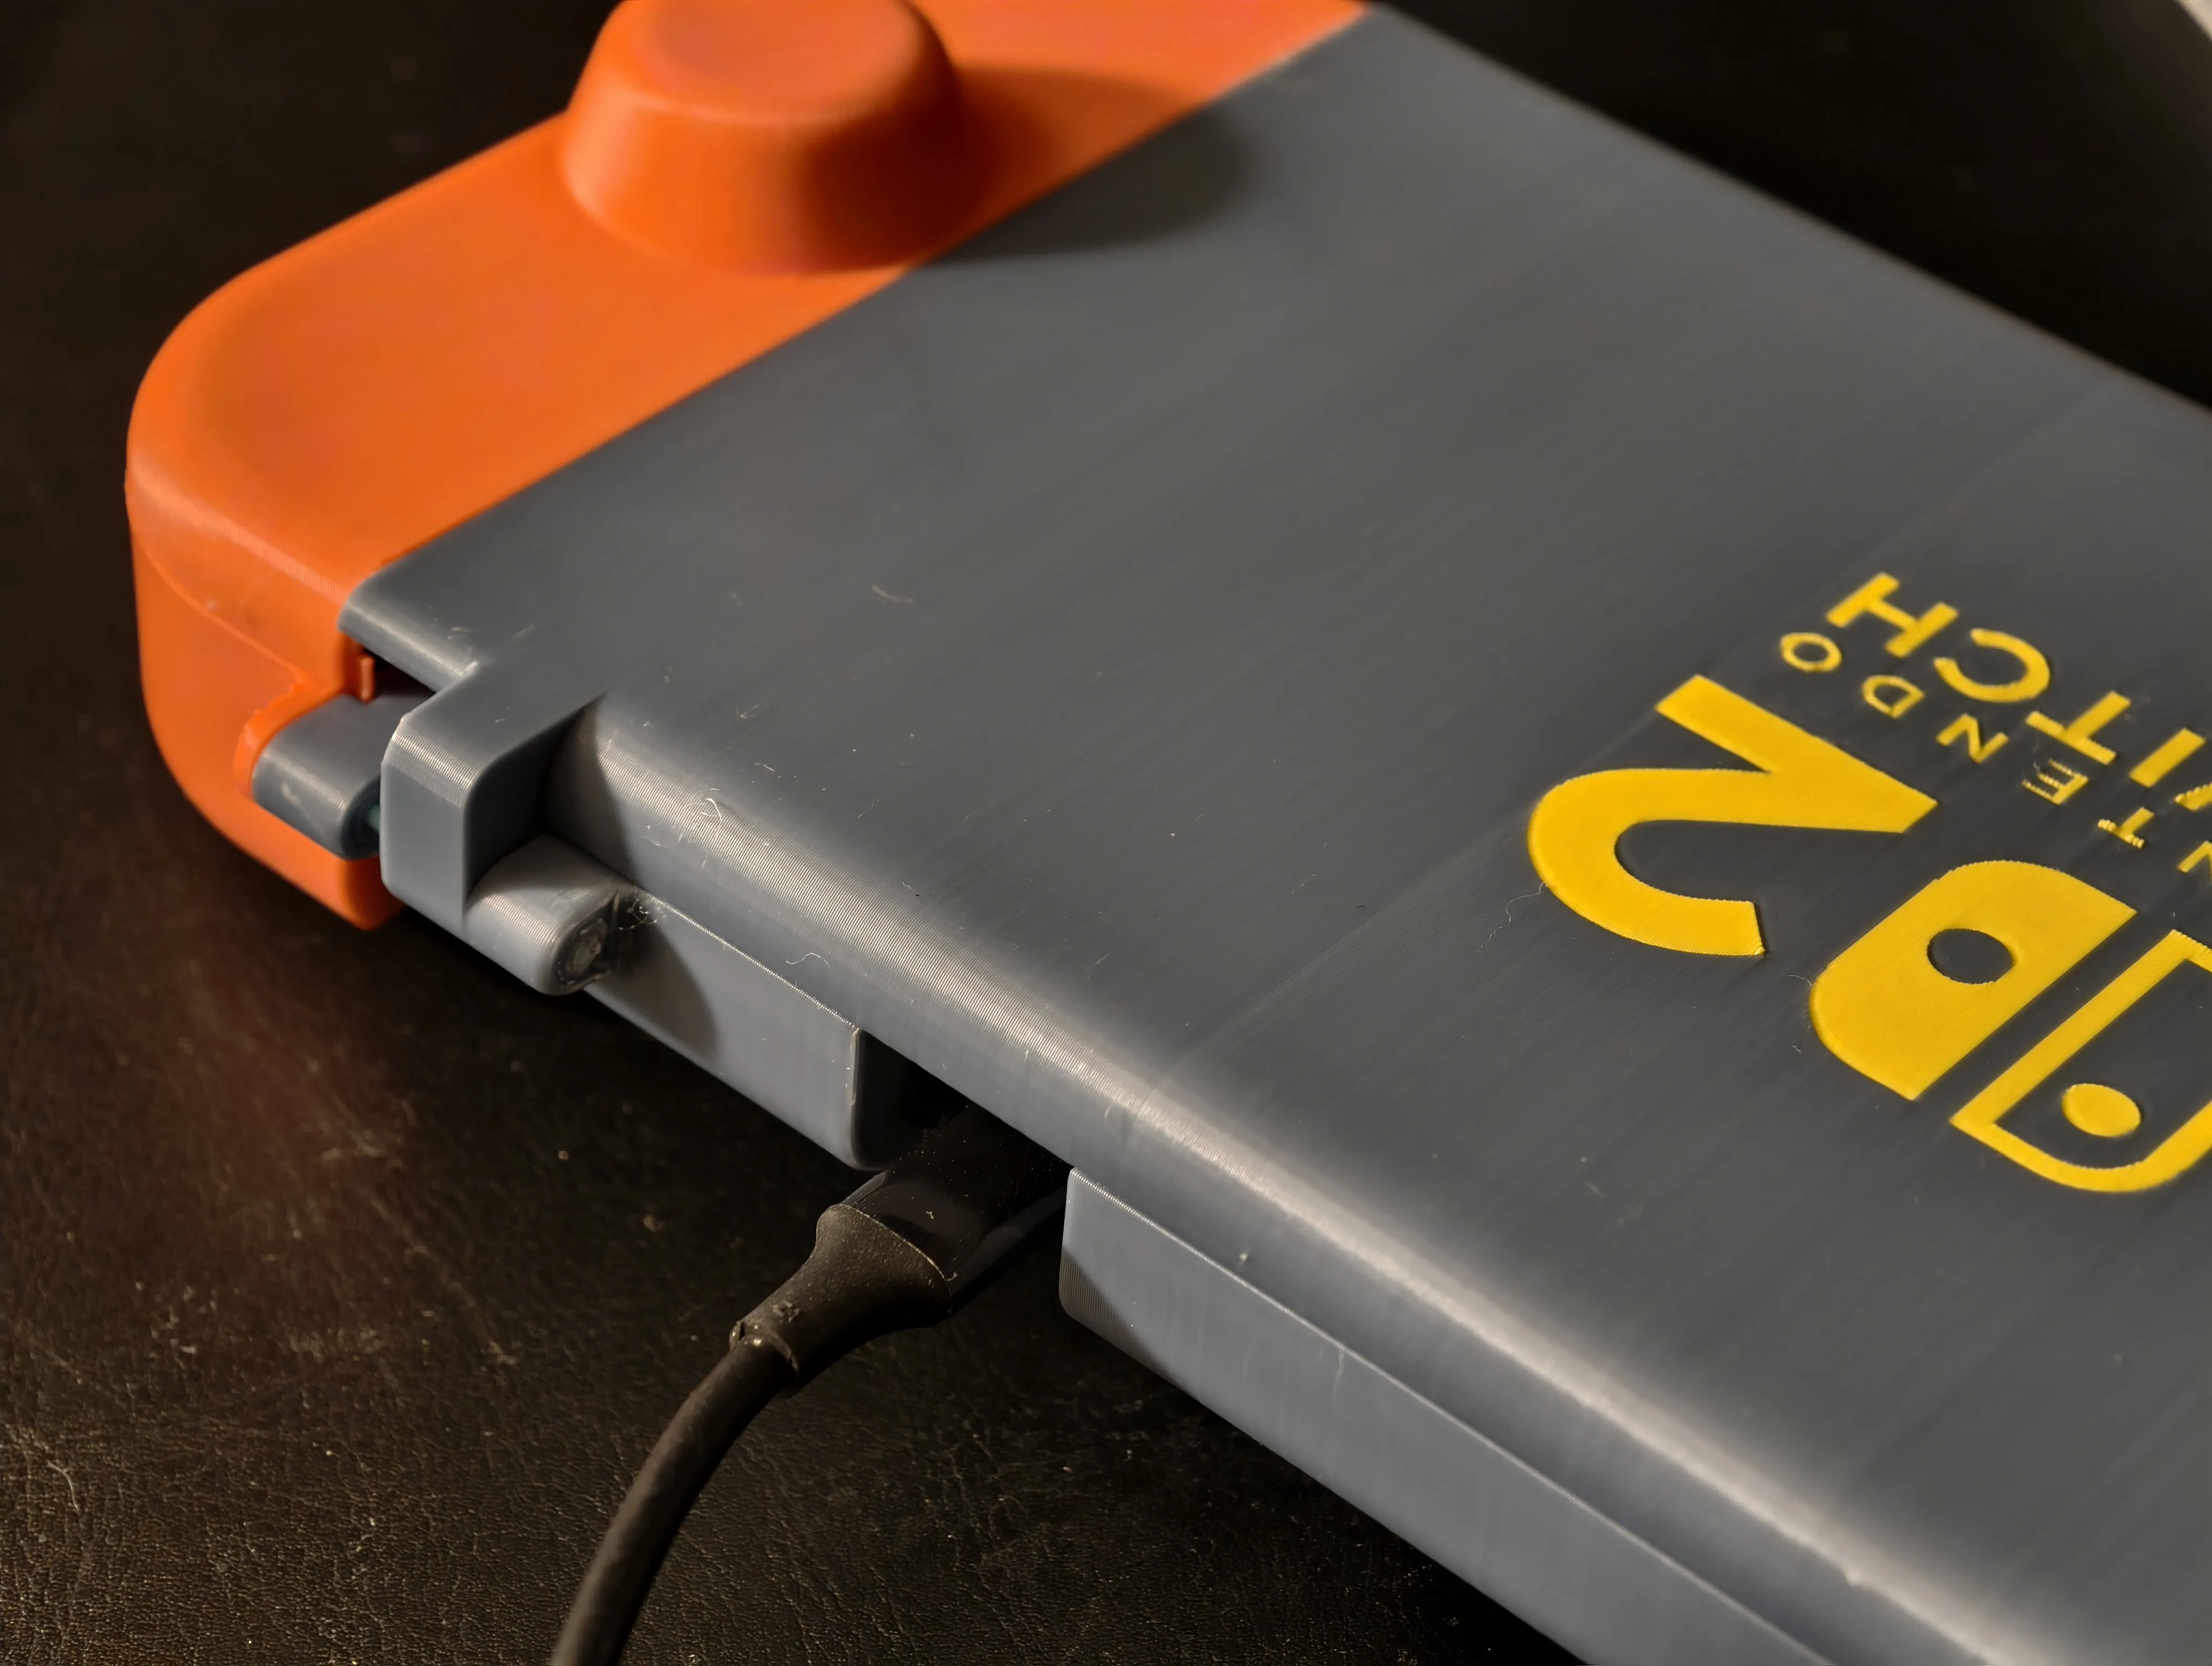
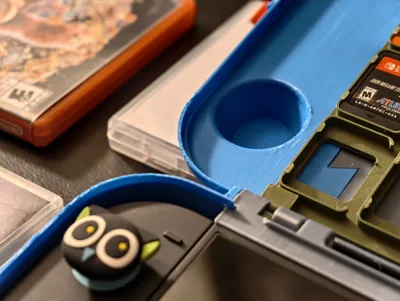
Very deep and wide stick cap compartment, so weirdly shaped or very high stick caps can be covered.
No hardware required! At all! Just a 3D printer and some filament can do the trick.
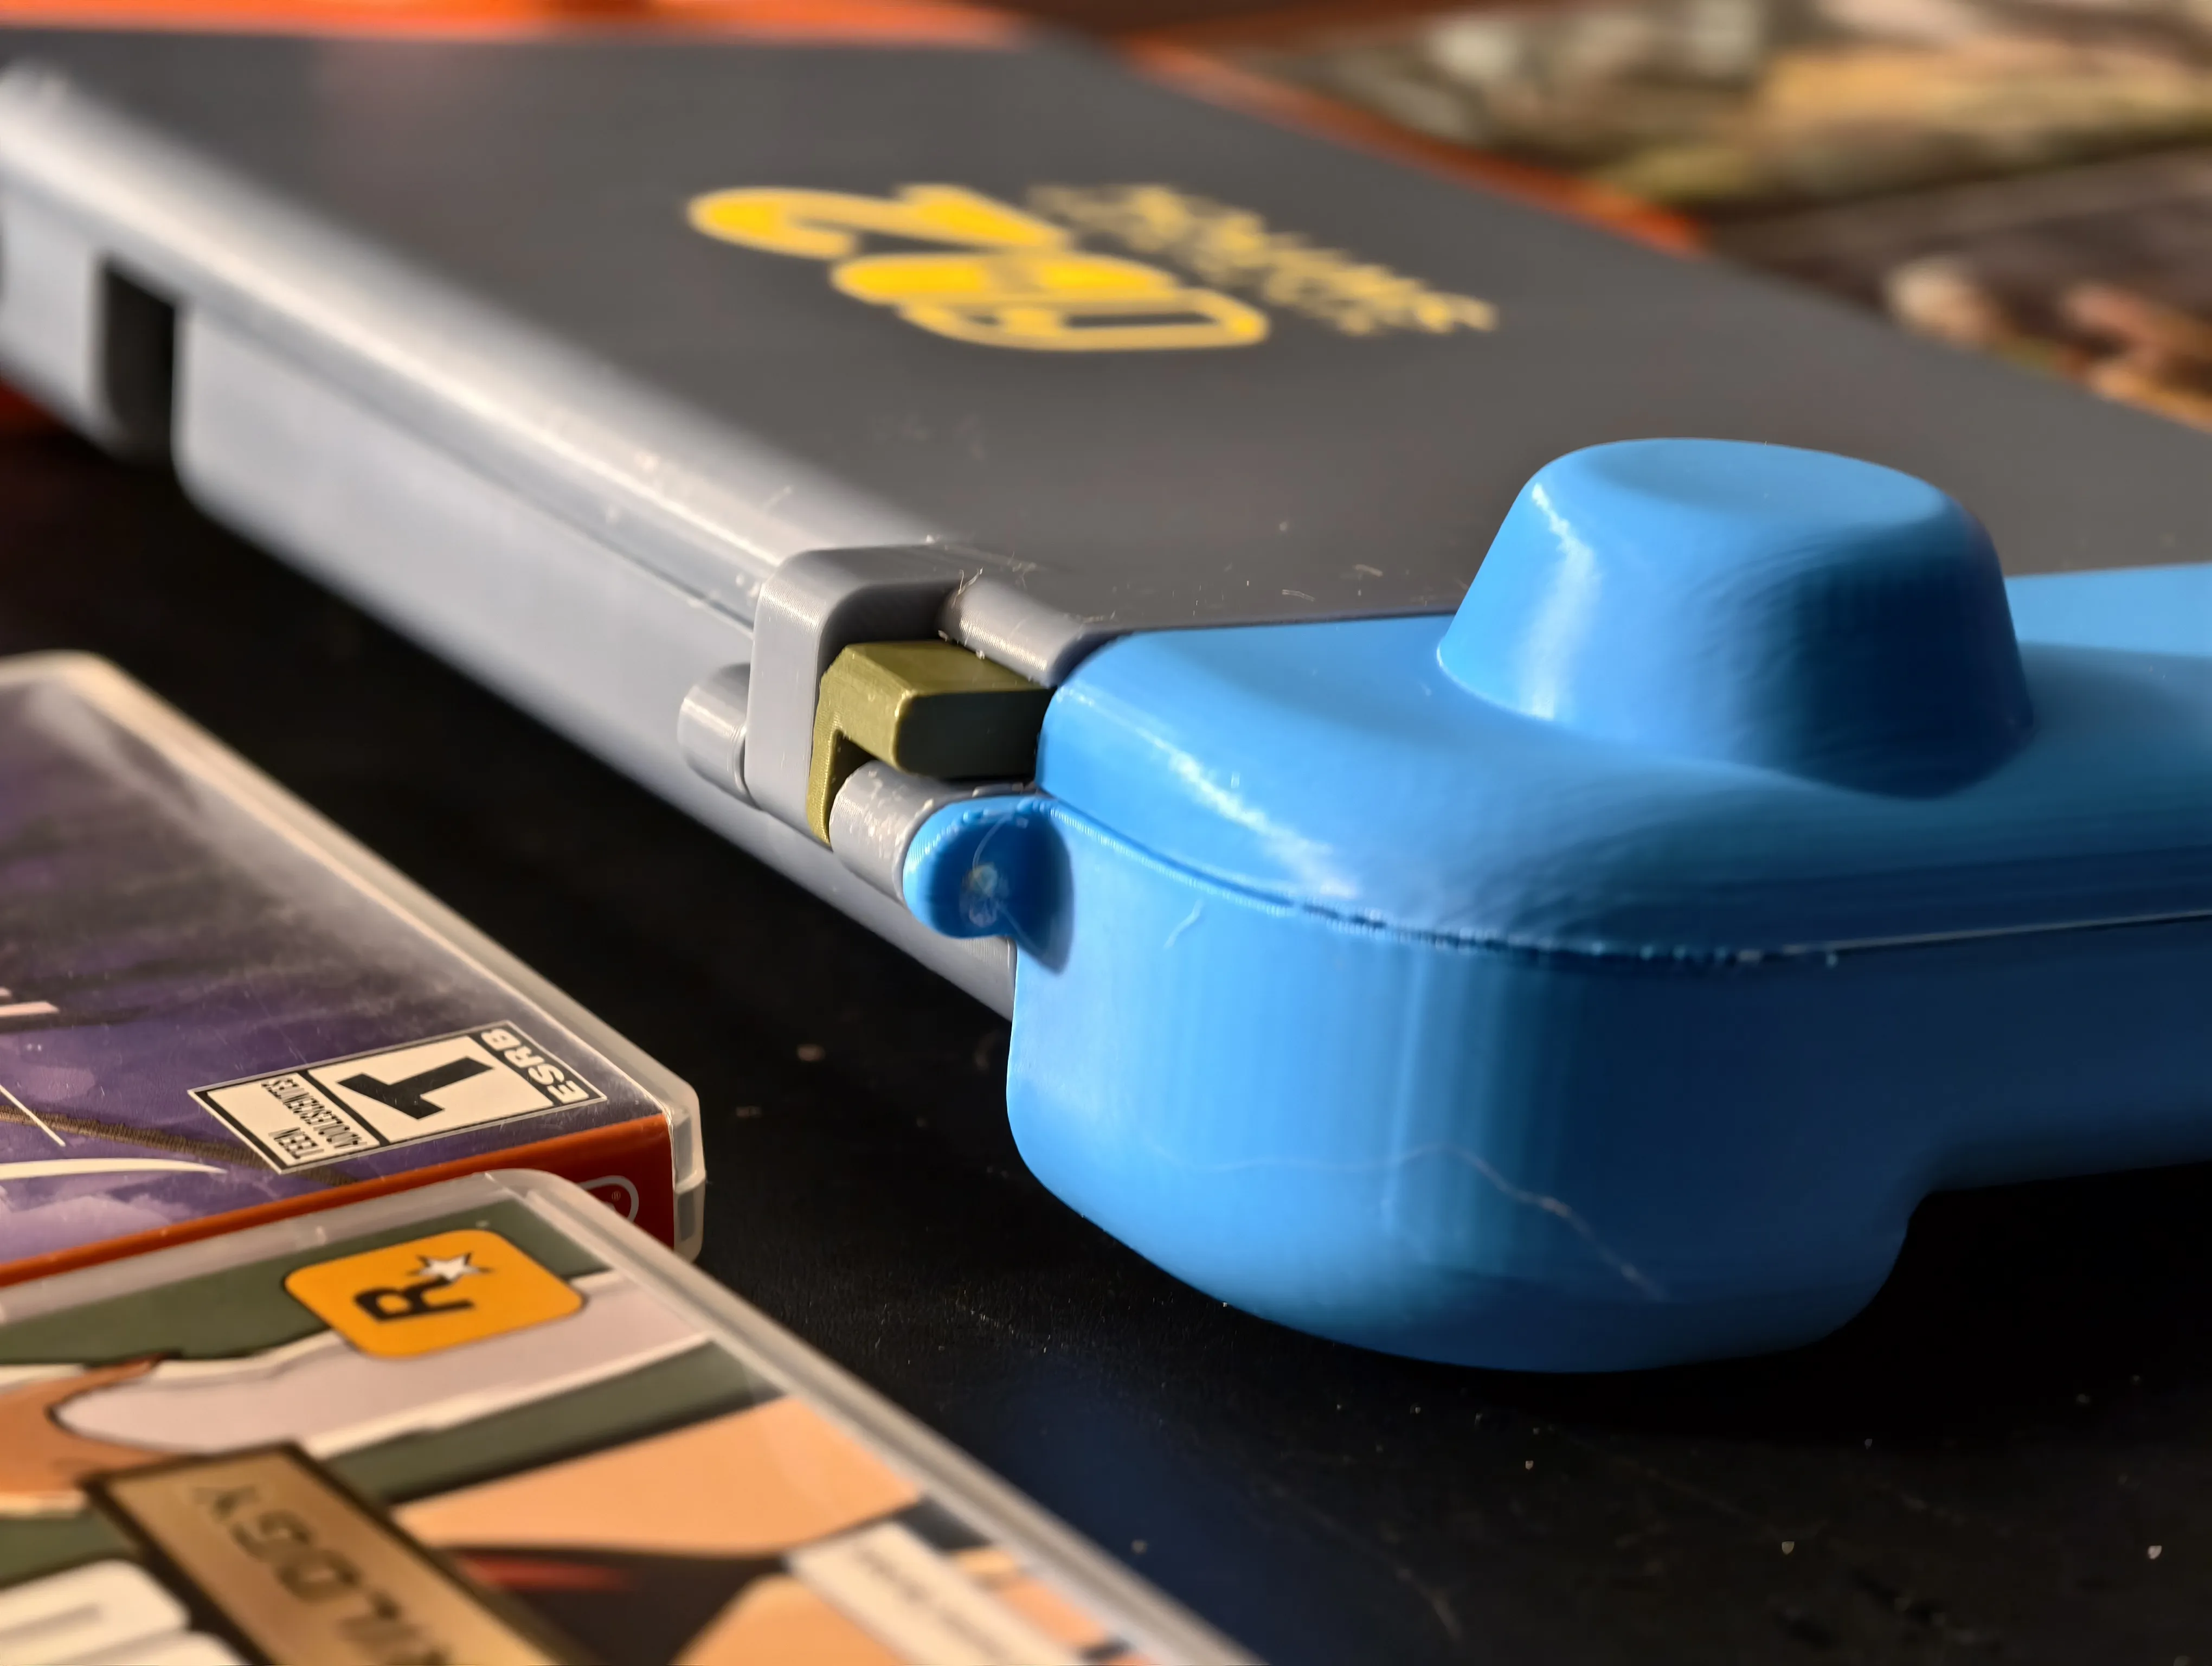
Up to 8 parts for different color options. Go wild with your color combos
Afterwords(only read if you are bored):
This is the most involved model I've ever made, where I tried to treat it like an actual developed product, and bumped into a ton of problems I had to figure out. The amount of 3D modeling, prototyping, tweaking parameters, printing failures etc. has been a huge challenge, and used a ton of my filament. I literally have an entire bucket of failed Switch case prints. It would be extremely easy for it to be a boxy thing with flat surfaces everywhere, like a ton of other models, but that wouldn't meet my own personal goals, so I continued with this more organic shape.
The first couple versions and print profiles have challenging support issues which some comments pointed out below, and I finally sorted this out in Rev2. Despite this being the lowest ROI model I've ever made, with only tens of prints, I am still very happy with how it turned out, and personally very gladly use it everyday. I learned a ton of stuff throughout, but do let me know if there's any improvement to be made.
License

You shall not share, sub-license, sell, rent, host, transfer, or distribute in any way the digital or 3D printed versions of this object, nor any other derivative work of this object in its digital or physical format (including - but not limited to - remixes of this object, and hosting on other digital platforms). The objects may not be used without permission in any way whatsoever in which you charge money, or collect fees.


Comment & Rating (15)