
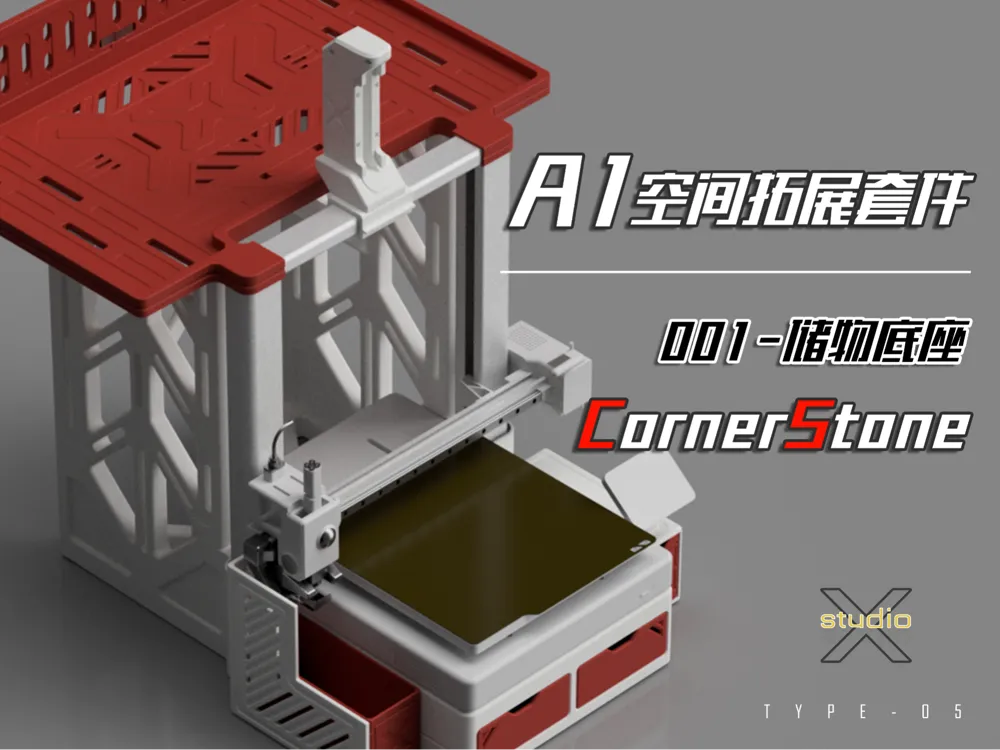
A1 Space Expansion Kit - Component 001 Cornerstone Storage Base
Print Profile(1)

Description
New Model Release
A1 Space Expansion Kit
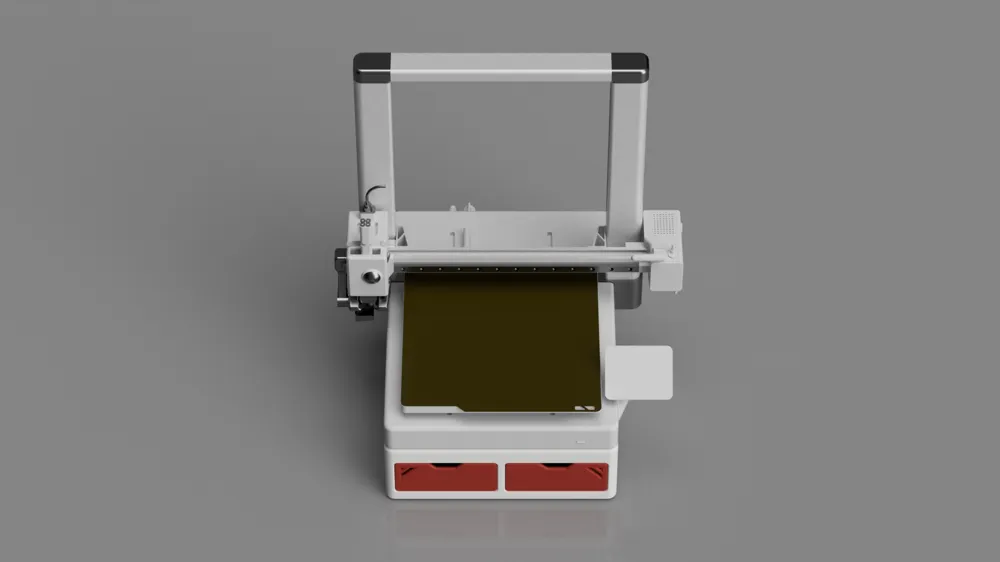
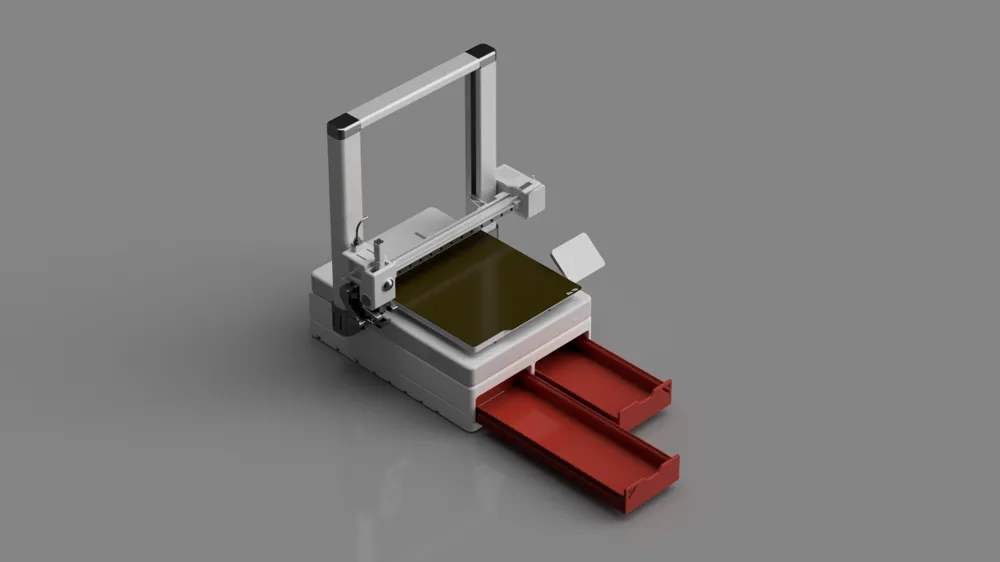
Component No 001《Cornerstone/Foundation》Storage Base
Component No 002《Spear/Lance》Detachable Poop Chute
Component No 003《Shield/Buckler》Small Storage Box
Component No 004《Yggdrasil/World Tree》Storage Backpack
Component No 005《Tusk/Long Tooth》AMS LITE Stand
All kit contents have been released, please visit my homepage to check them out!!!
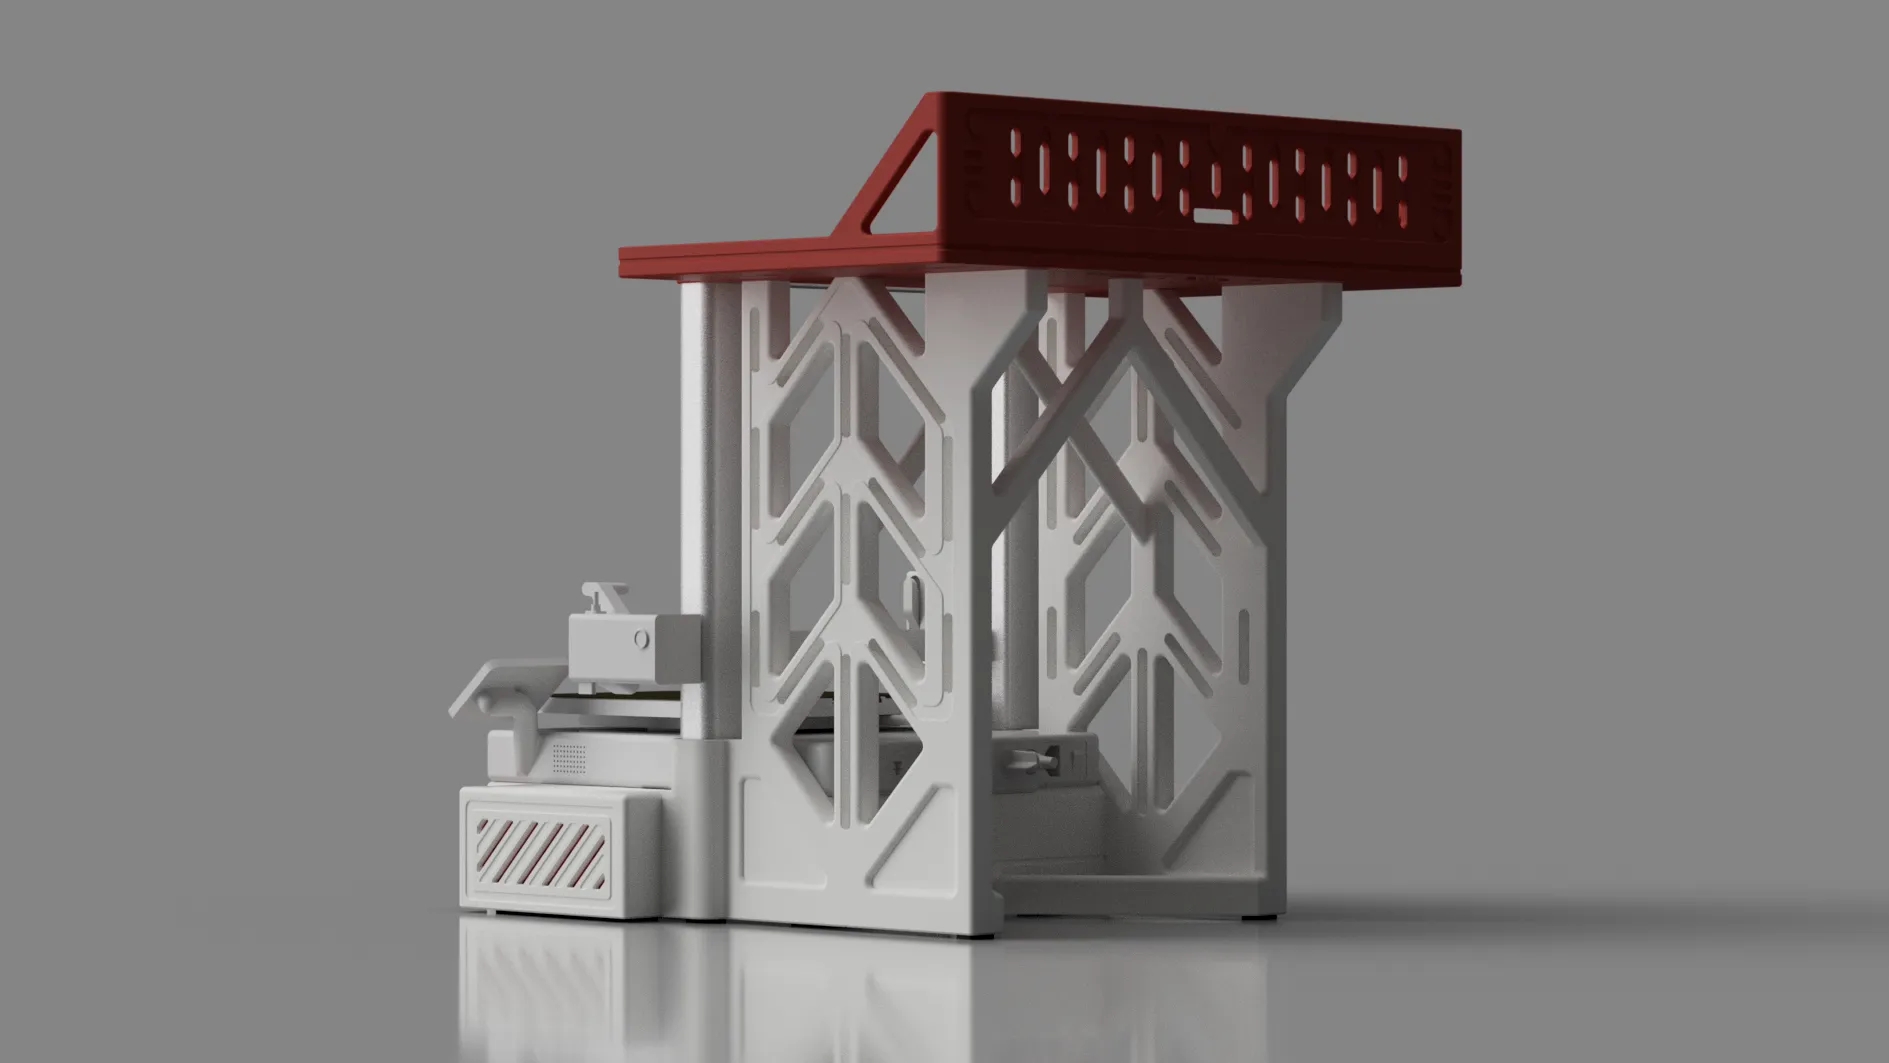
Update Log
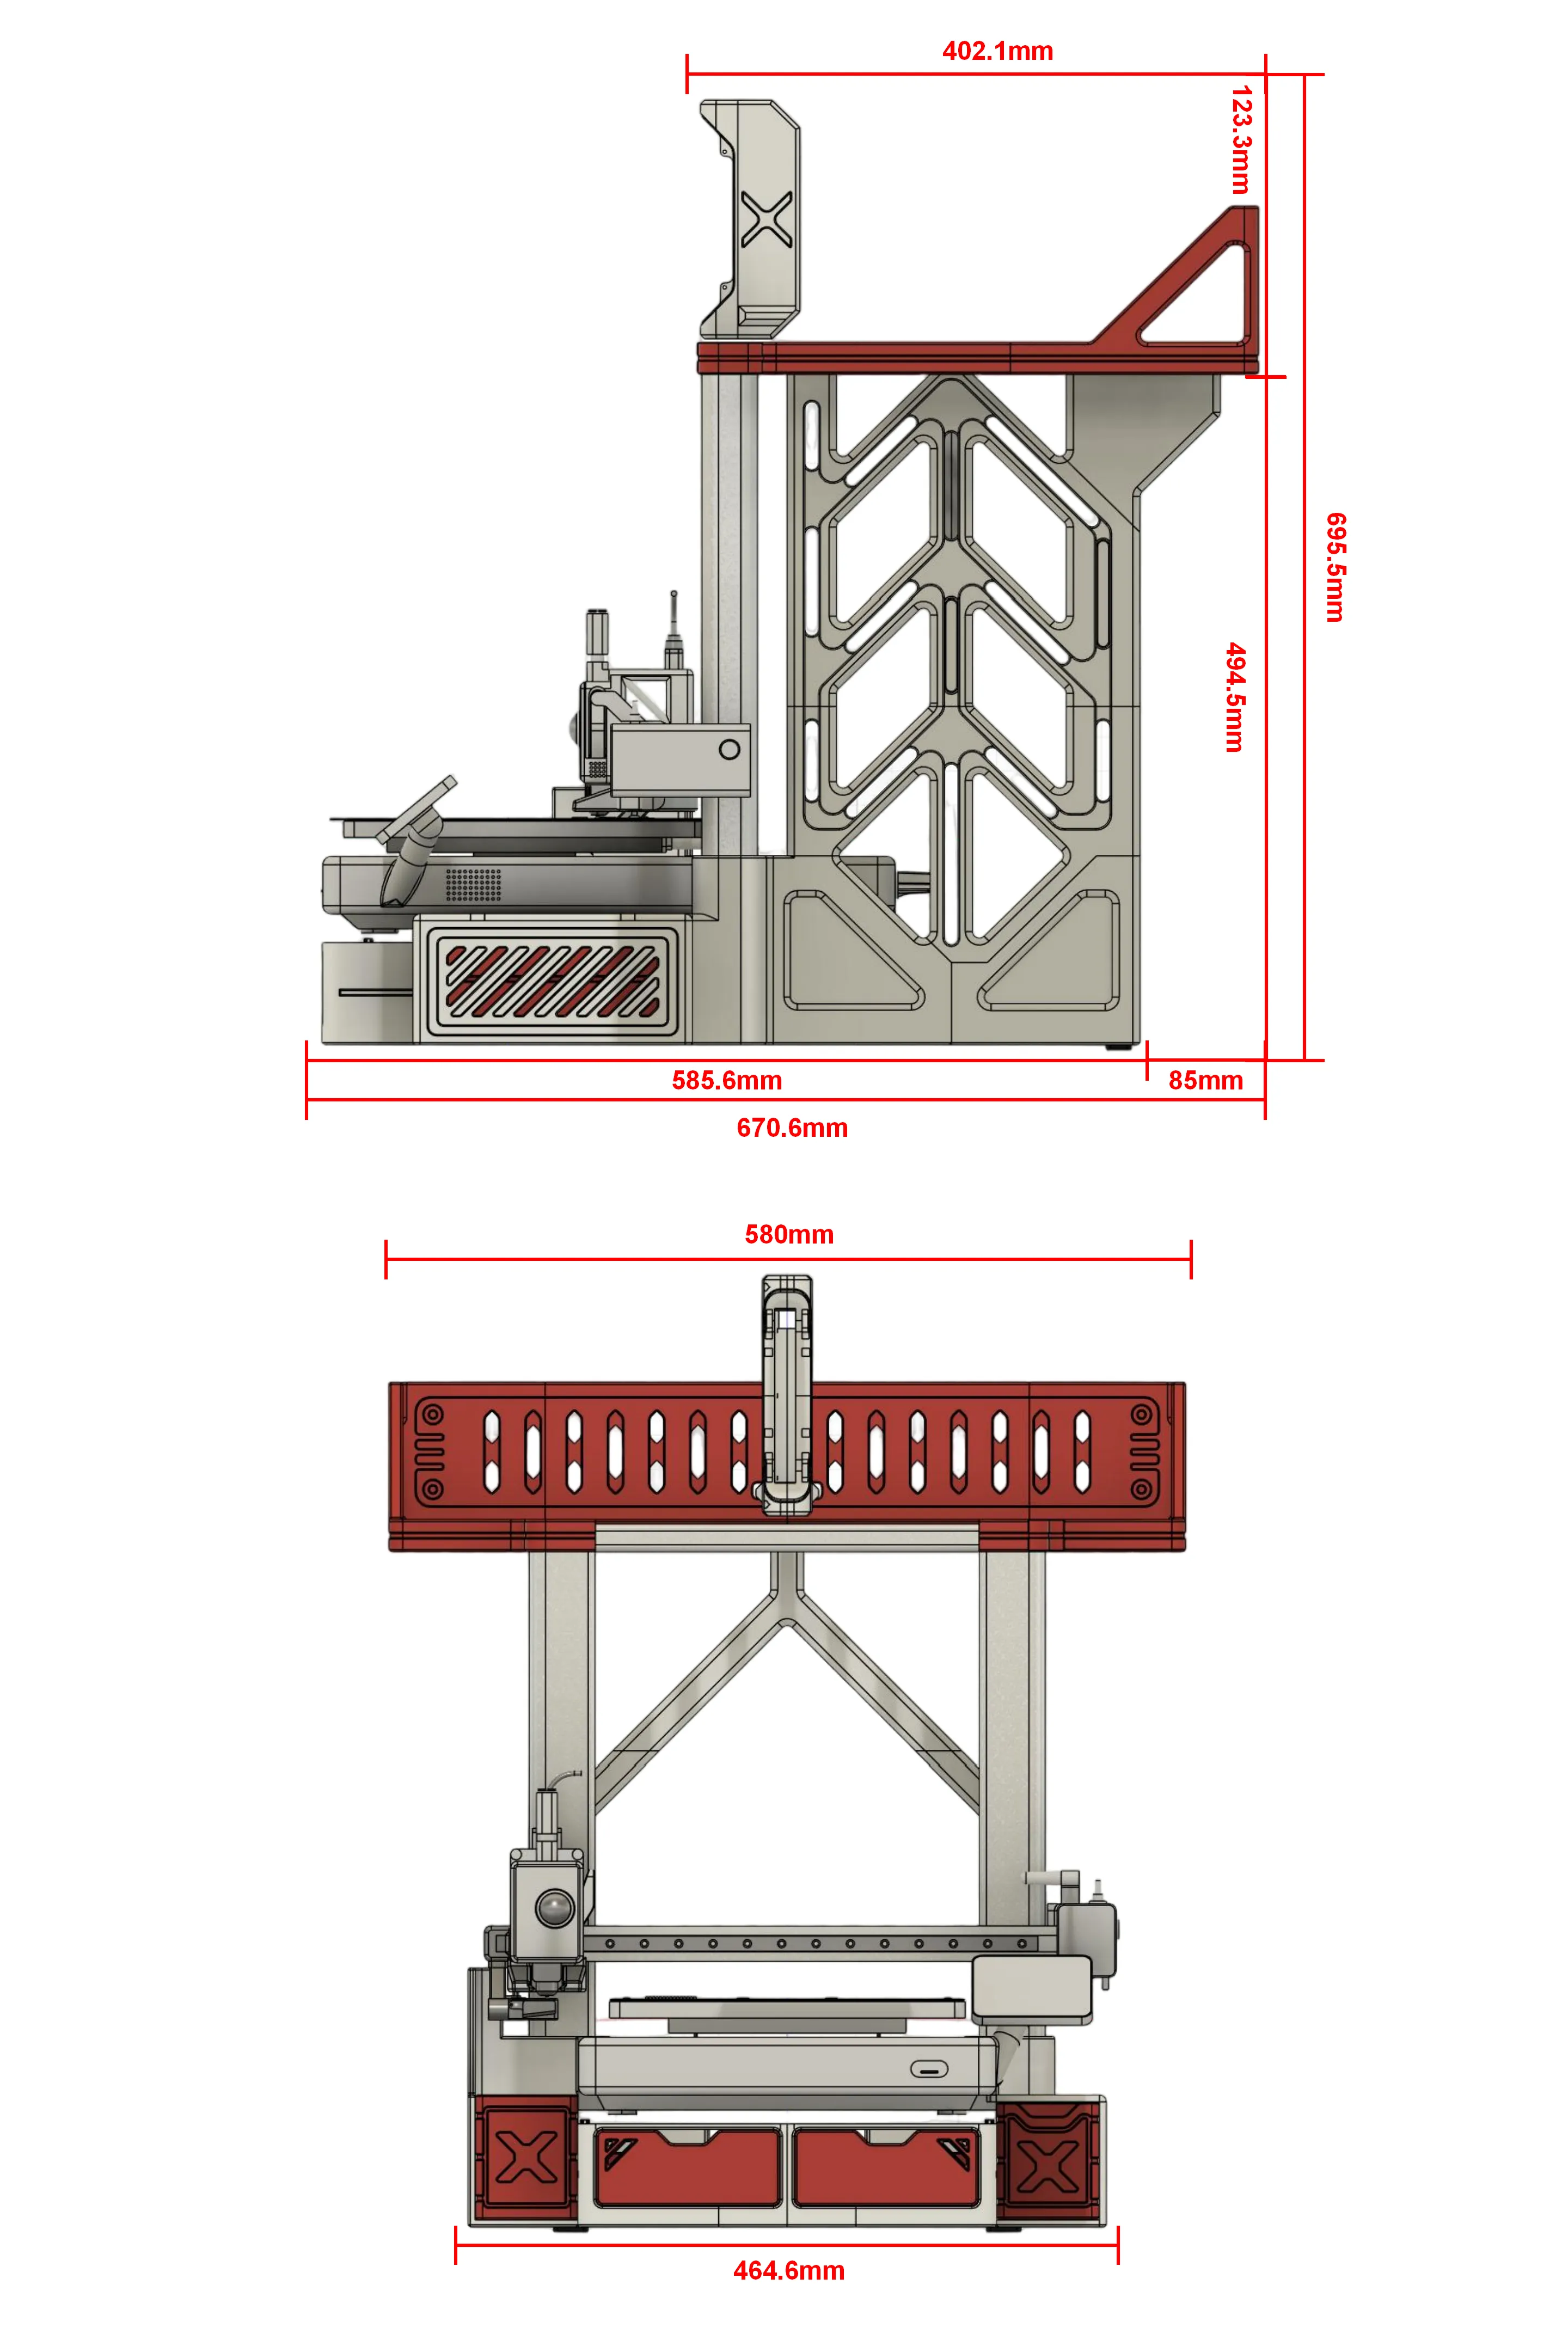
2025.12.18
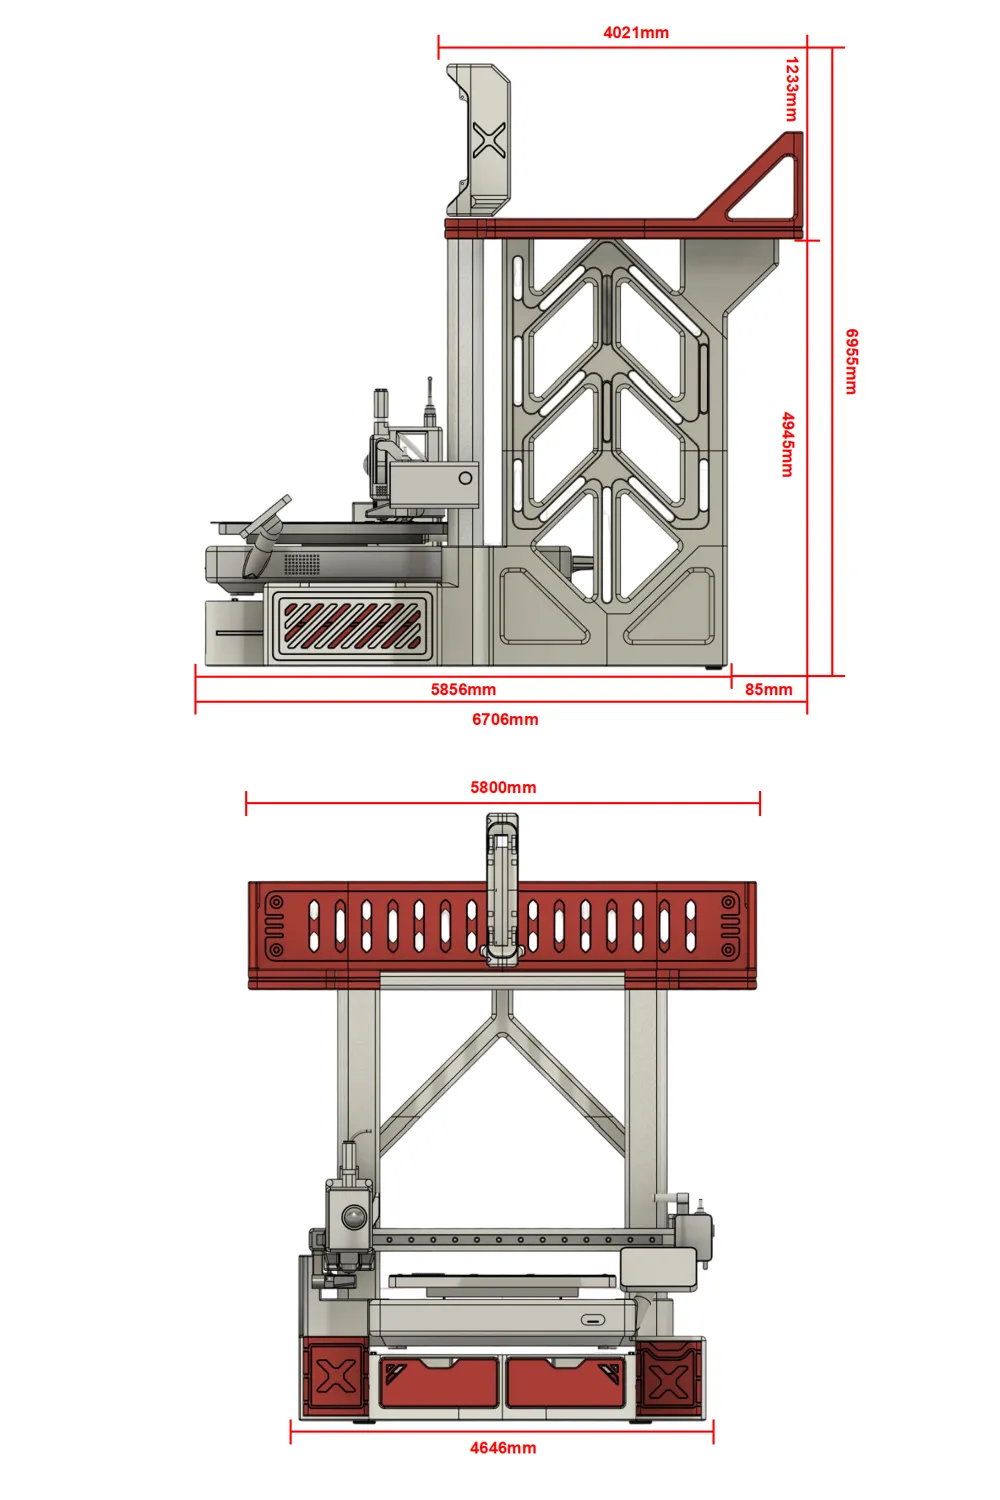
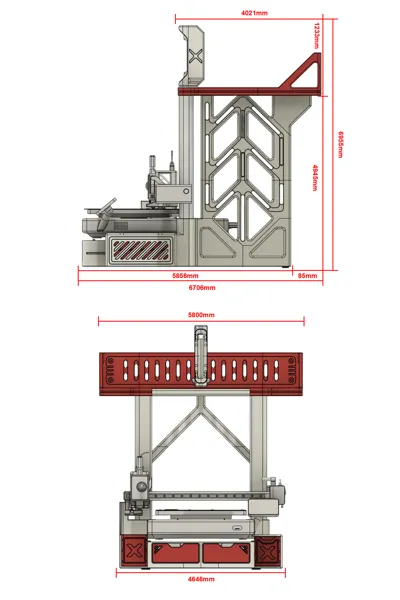
Updated detailed dimension drawings for your reference
2025.12.17
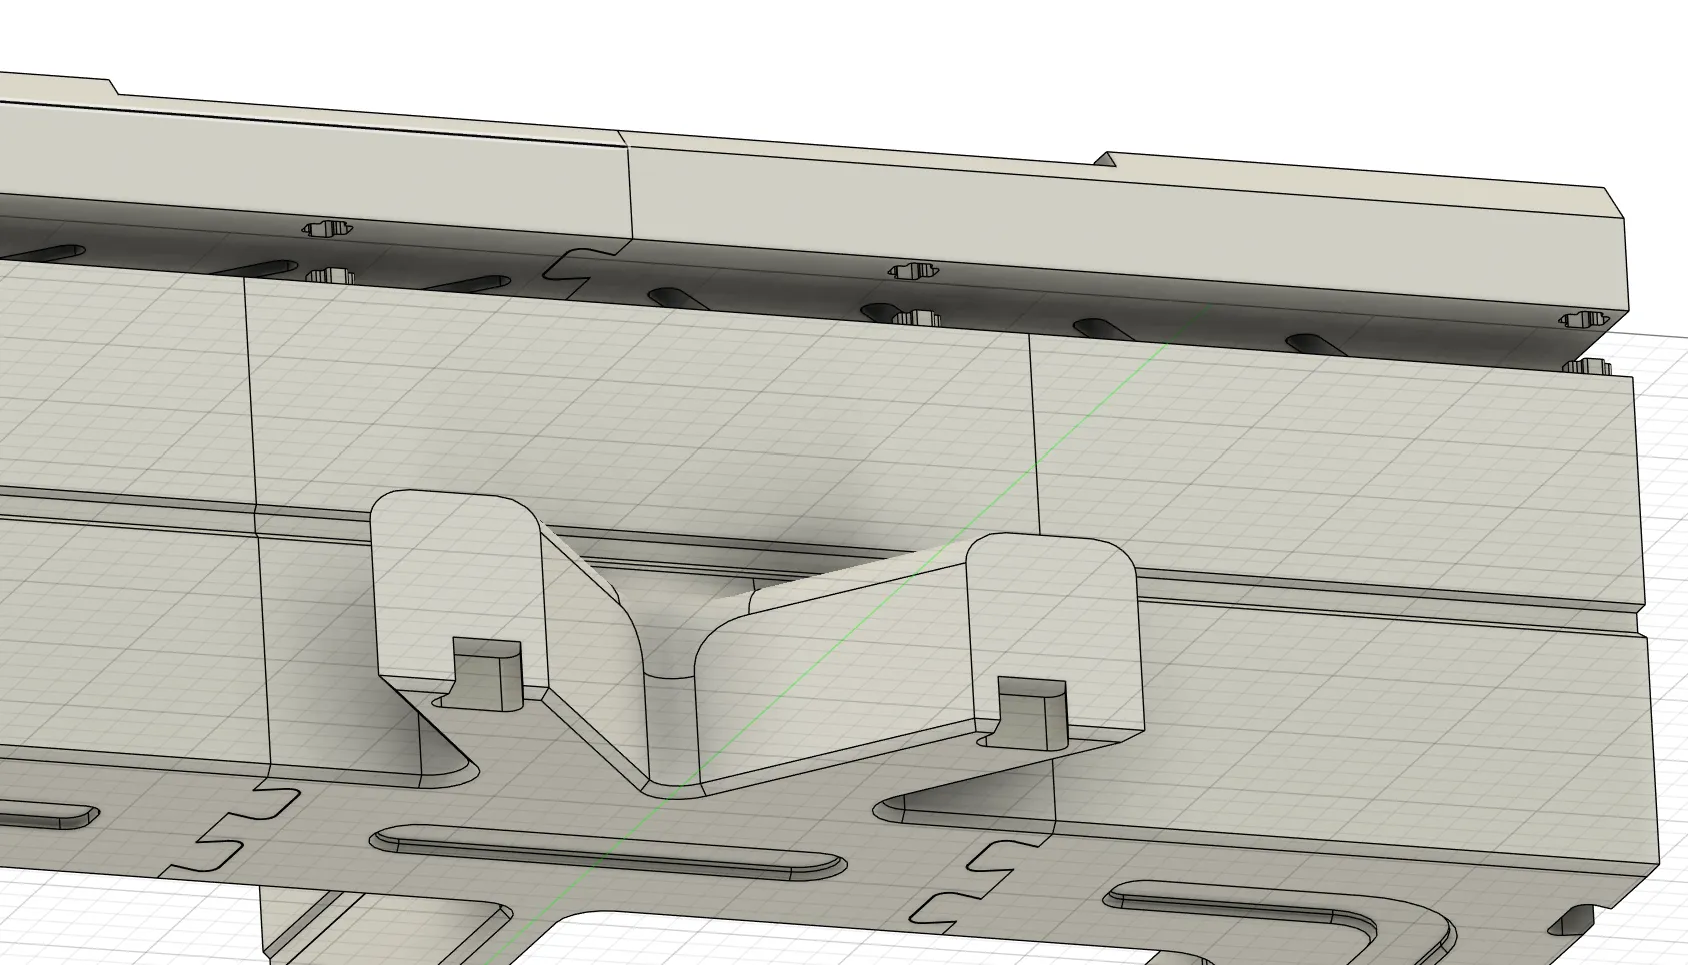
First, thanks to<@WimCCC> for promptly discovering these two issues
1. Required update: Fixed the issue of T1, T2, and B1 slot positions not matching during installation. For those who have not printed yet, please re-download the update
If already printed, please re-print T1, T2 only, B1 has not been modified, I apologize!
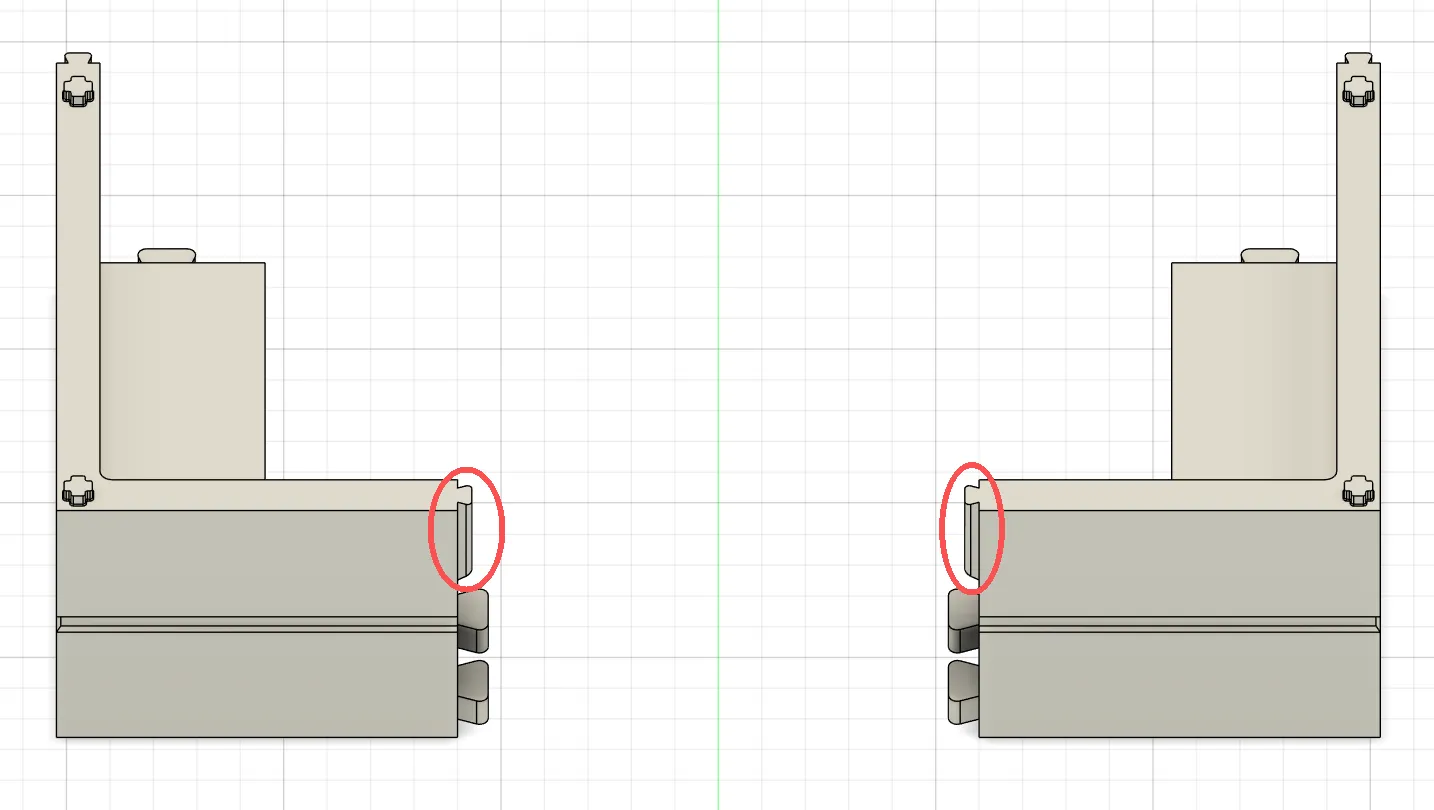
2. Non-essential update: Completed the dovetails of B2, B3. For those who have already printed, there is no need to re-download and print, as it does not affect installation
Main content follows
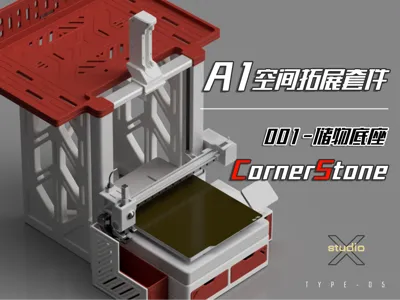
A1 Space Expansion Kit Component No 001《CornerStone/Foundation》Storage Baseofficially released
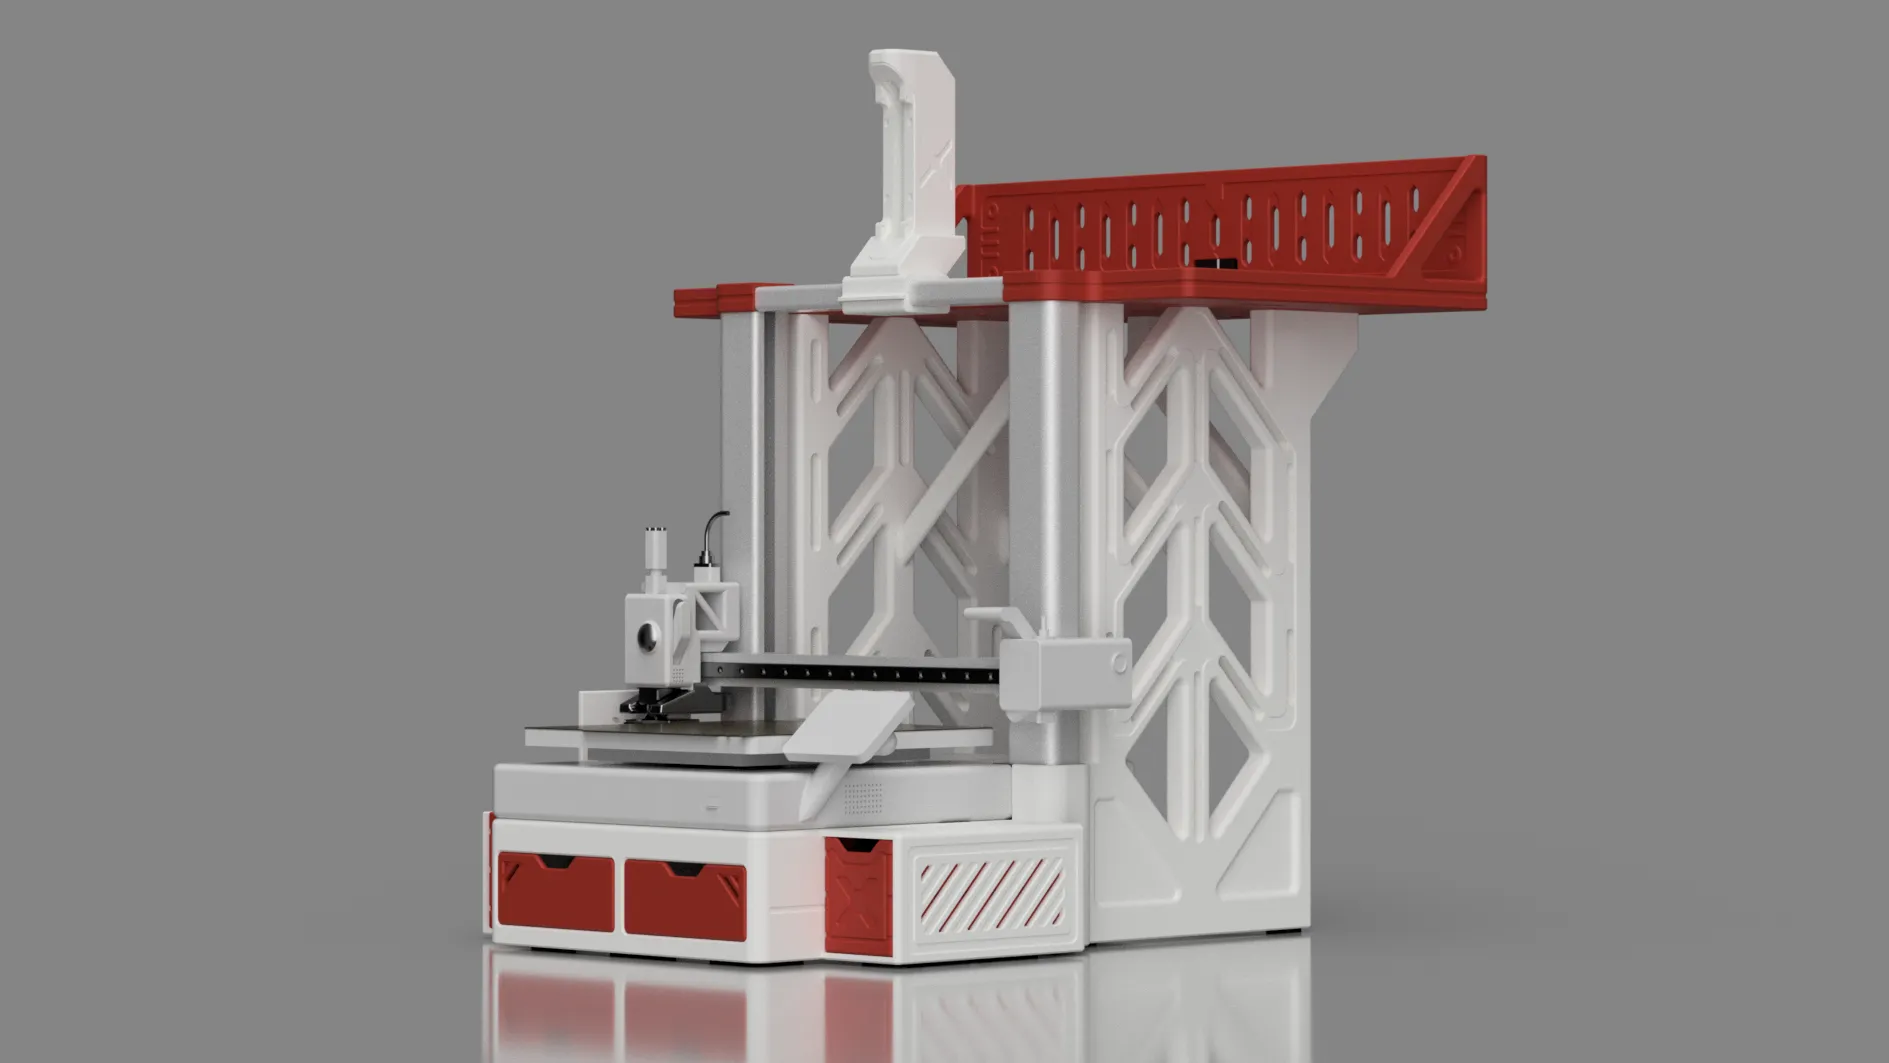
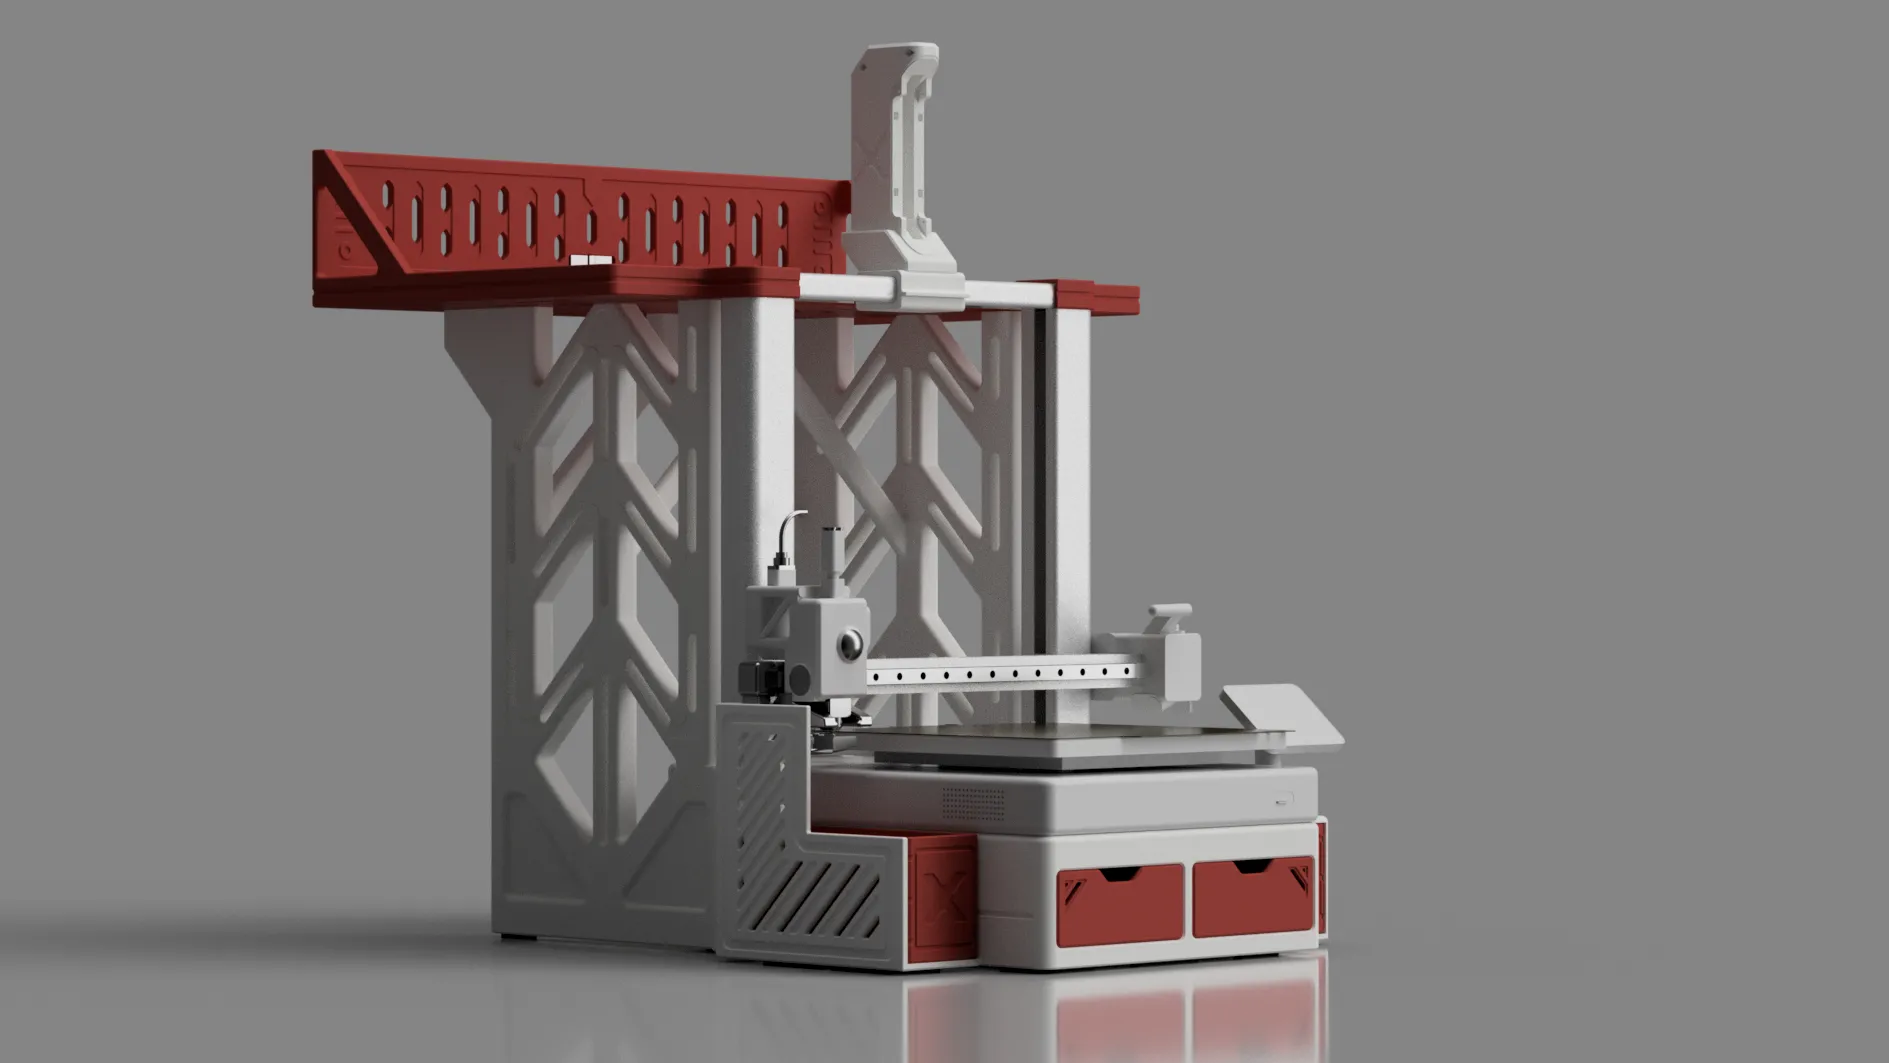
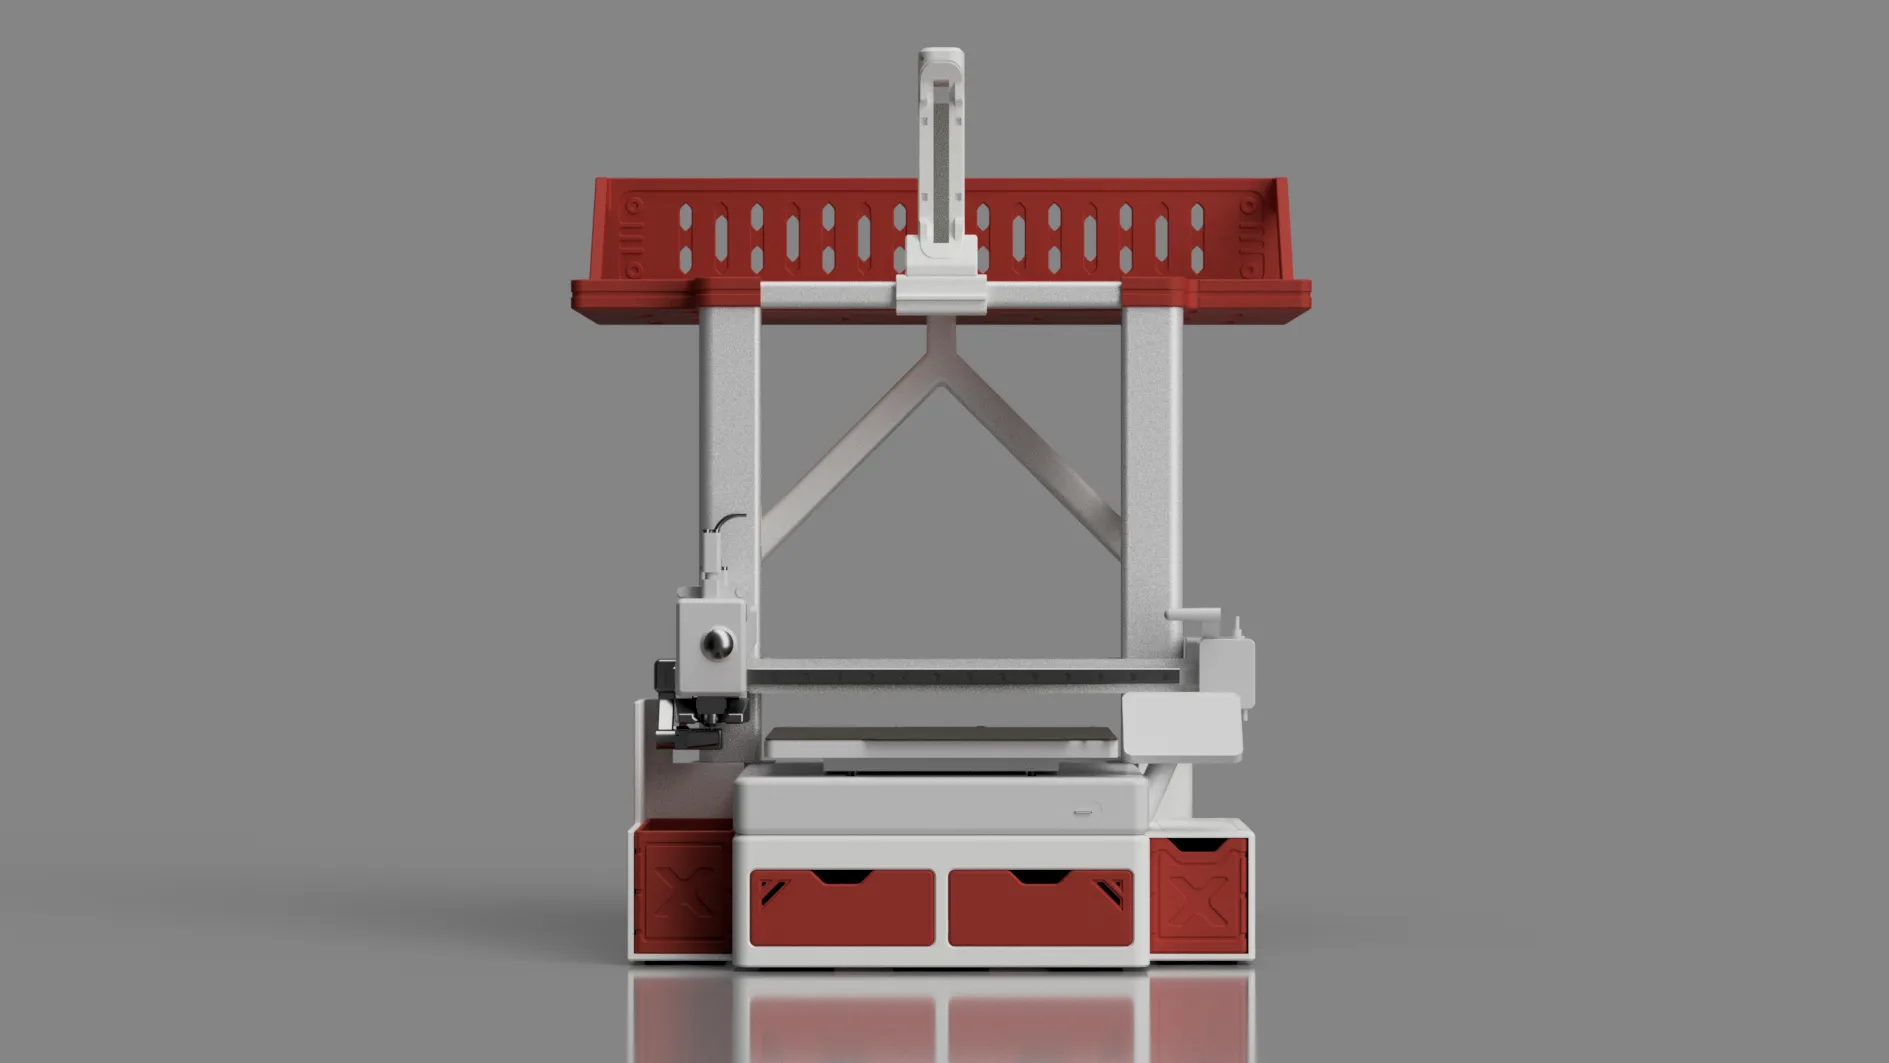
Kit Features
- No hardware kit needed
- Minimal support waste
- Ample storage space
- Improved machine stability
- Rich expansion kits
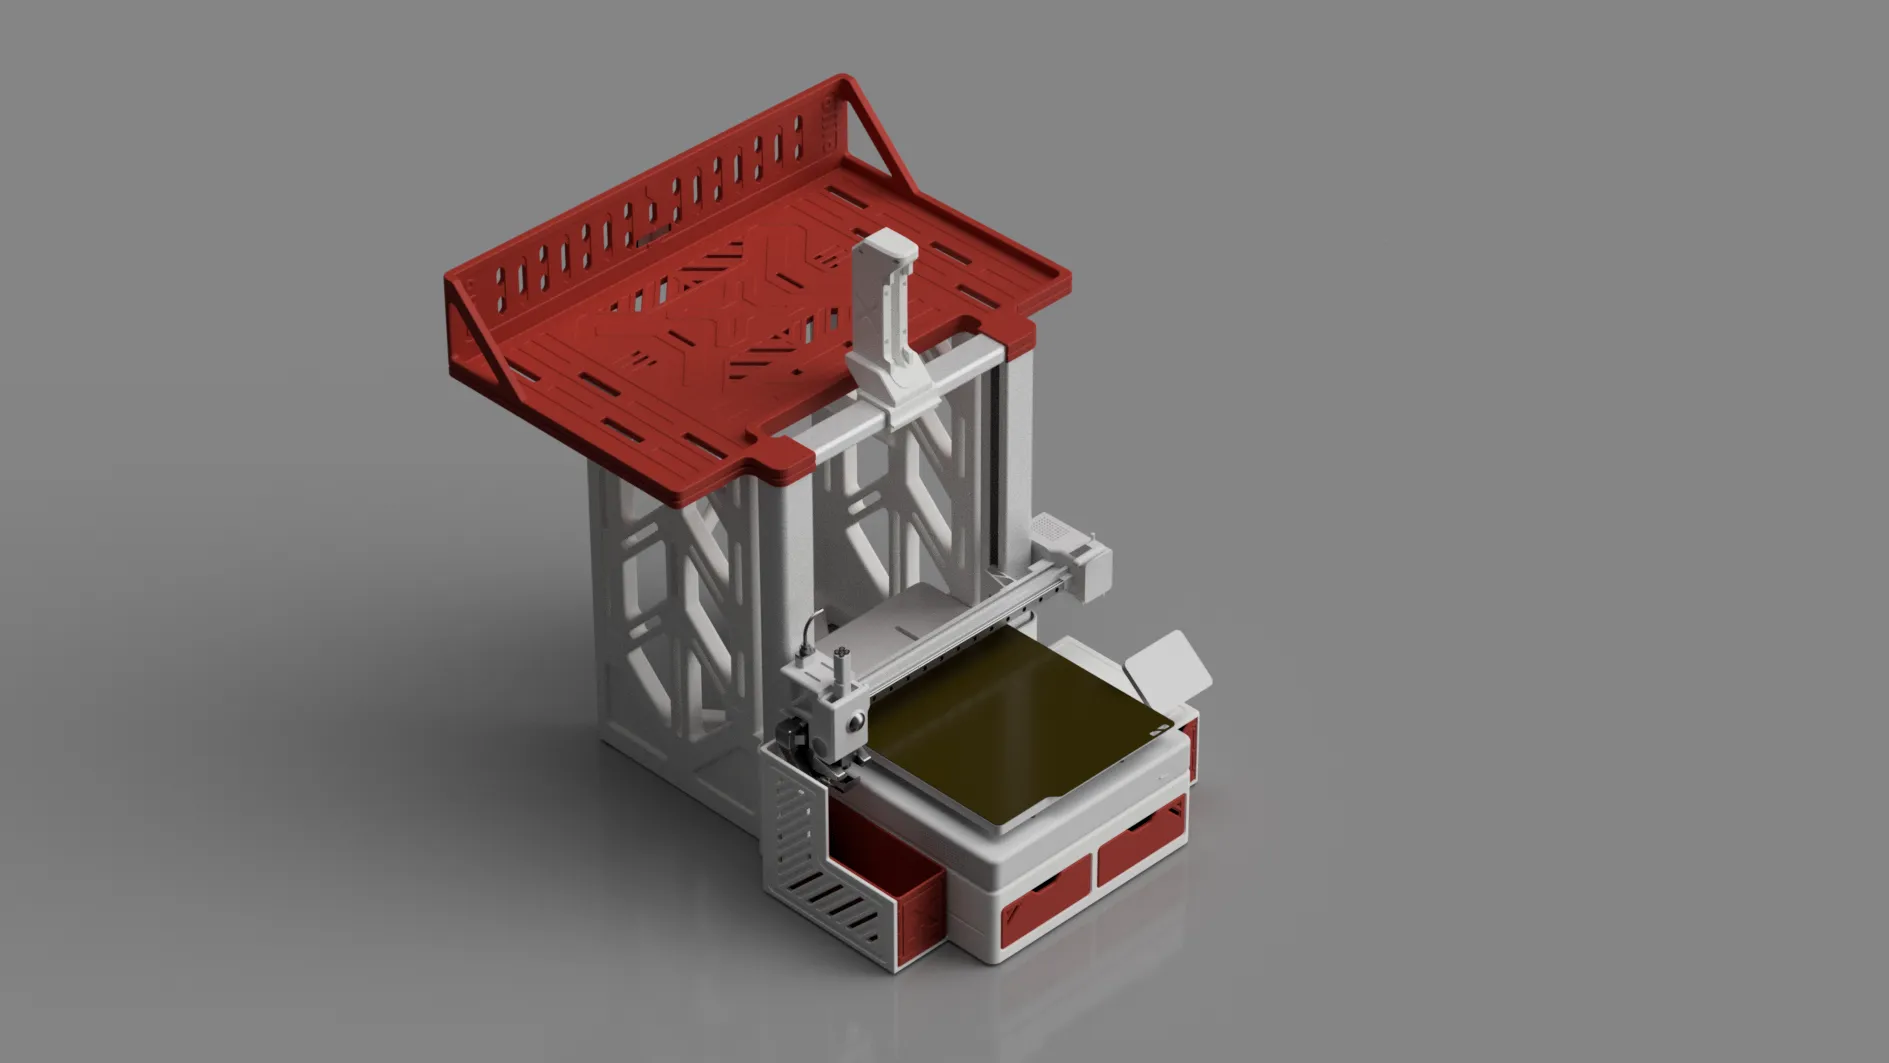
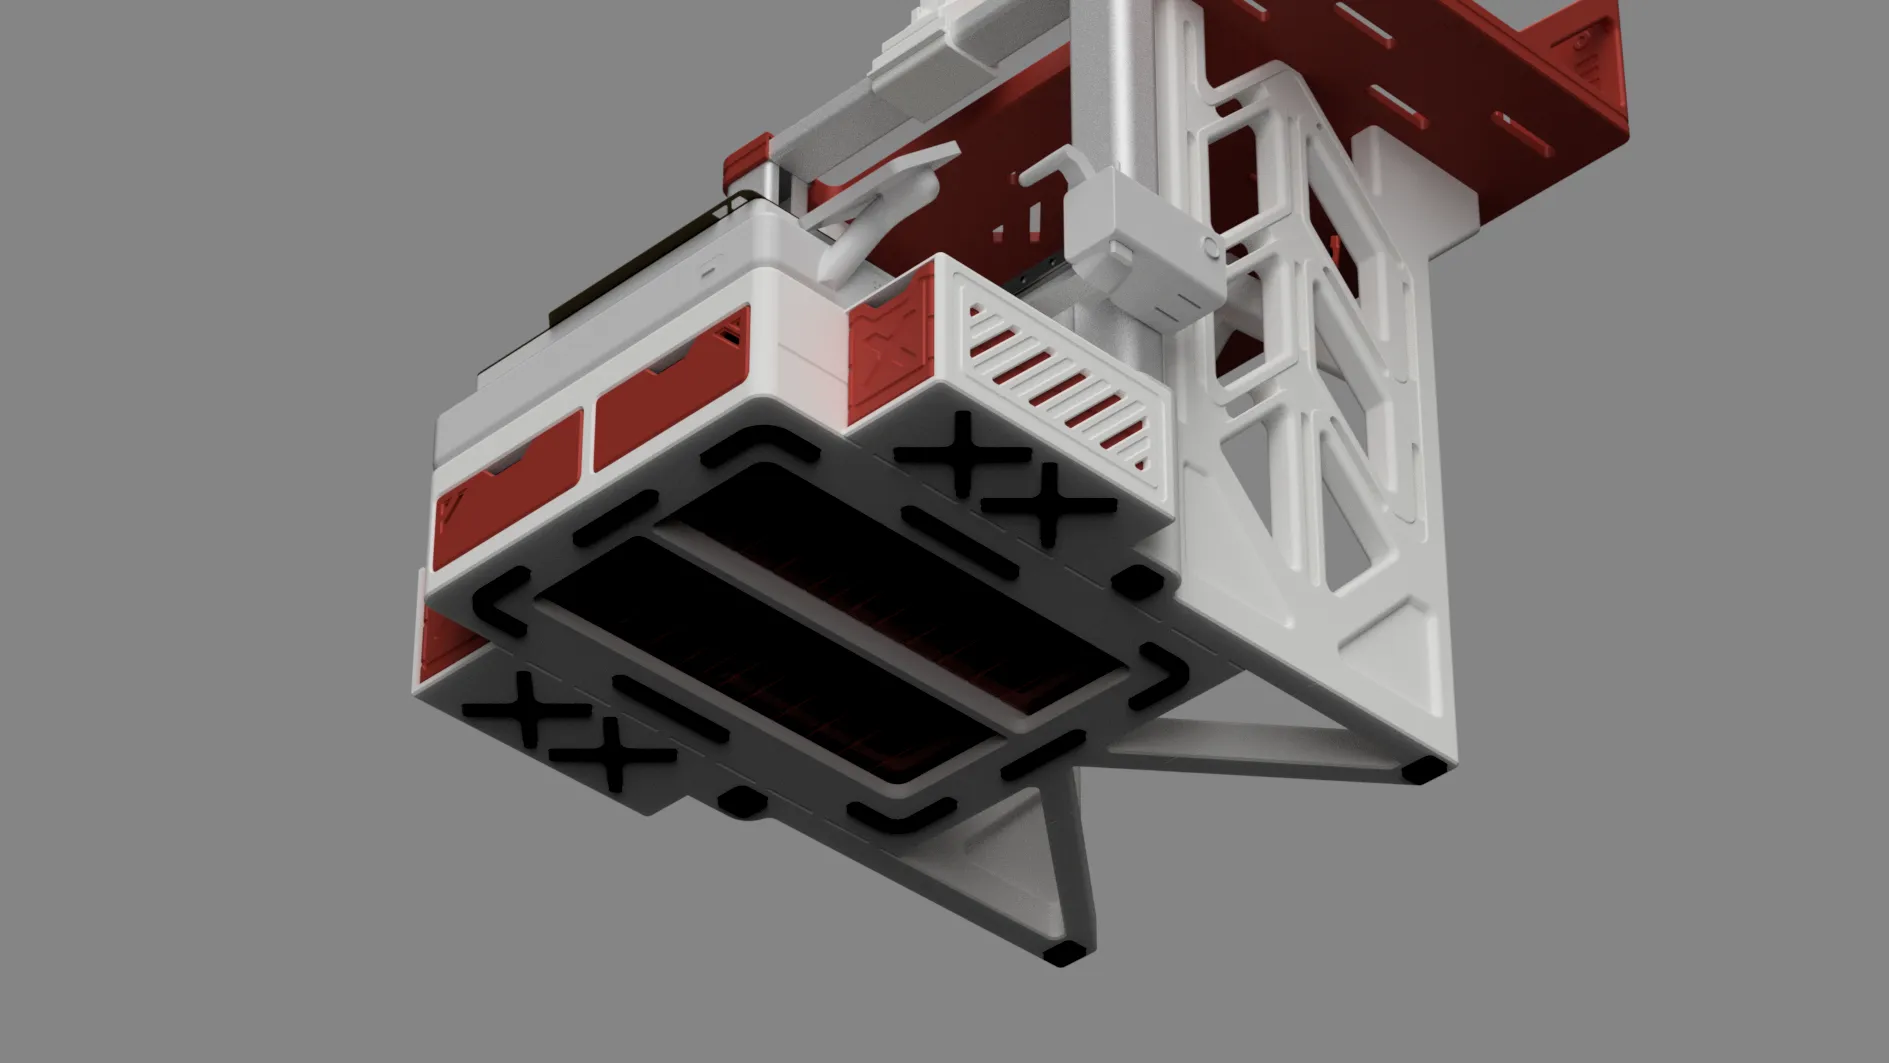
The A1 Space Expansion Kit will be released in 5 parts (due to the large workload, I will try to update as soon as possible)
- 001-Cornerstone. Storage Base
- 002-Spear. Detachable Poop Chute
- 003-Shield. Small Storage Box
- 004-Yggdrasil. Storage Backpack
- 005-Tusk. AMS LITE Stand
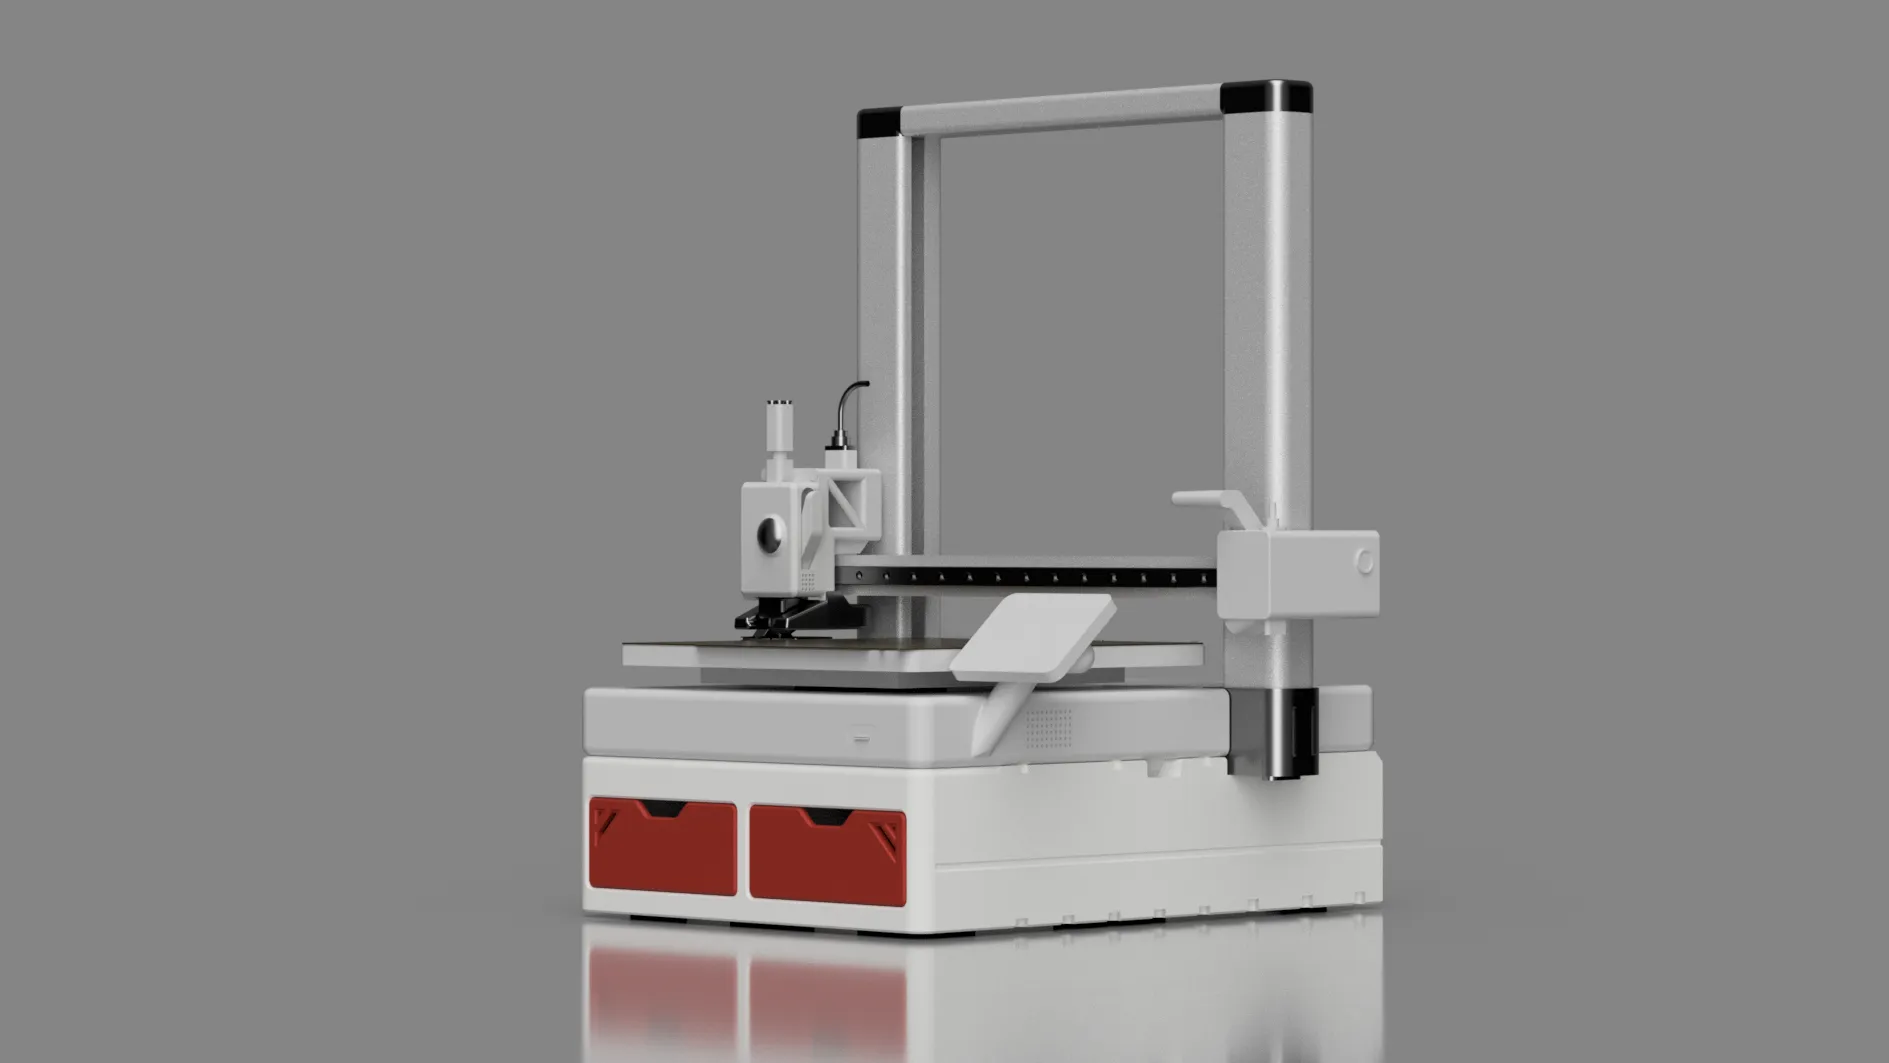
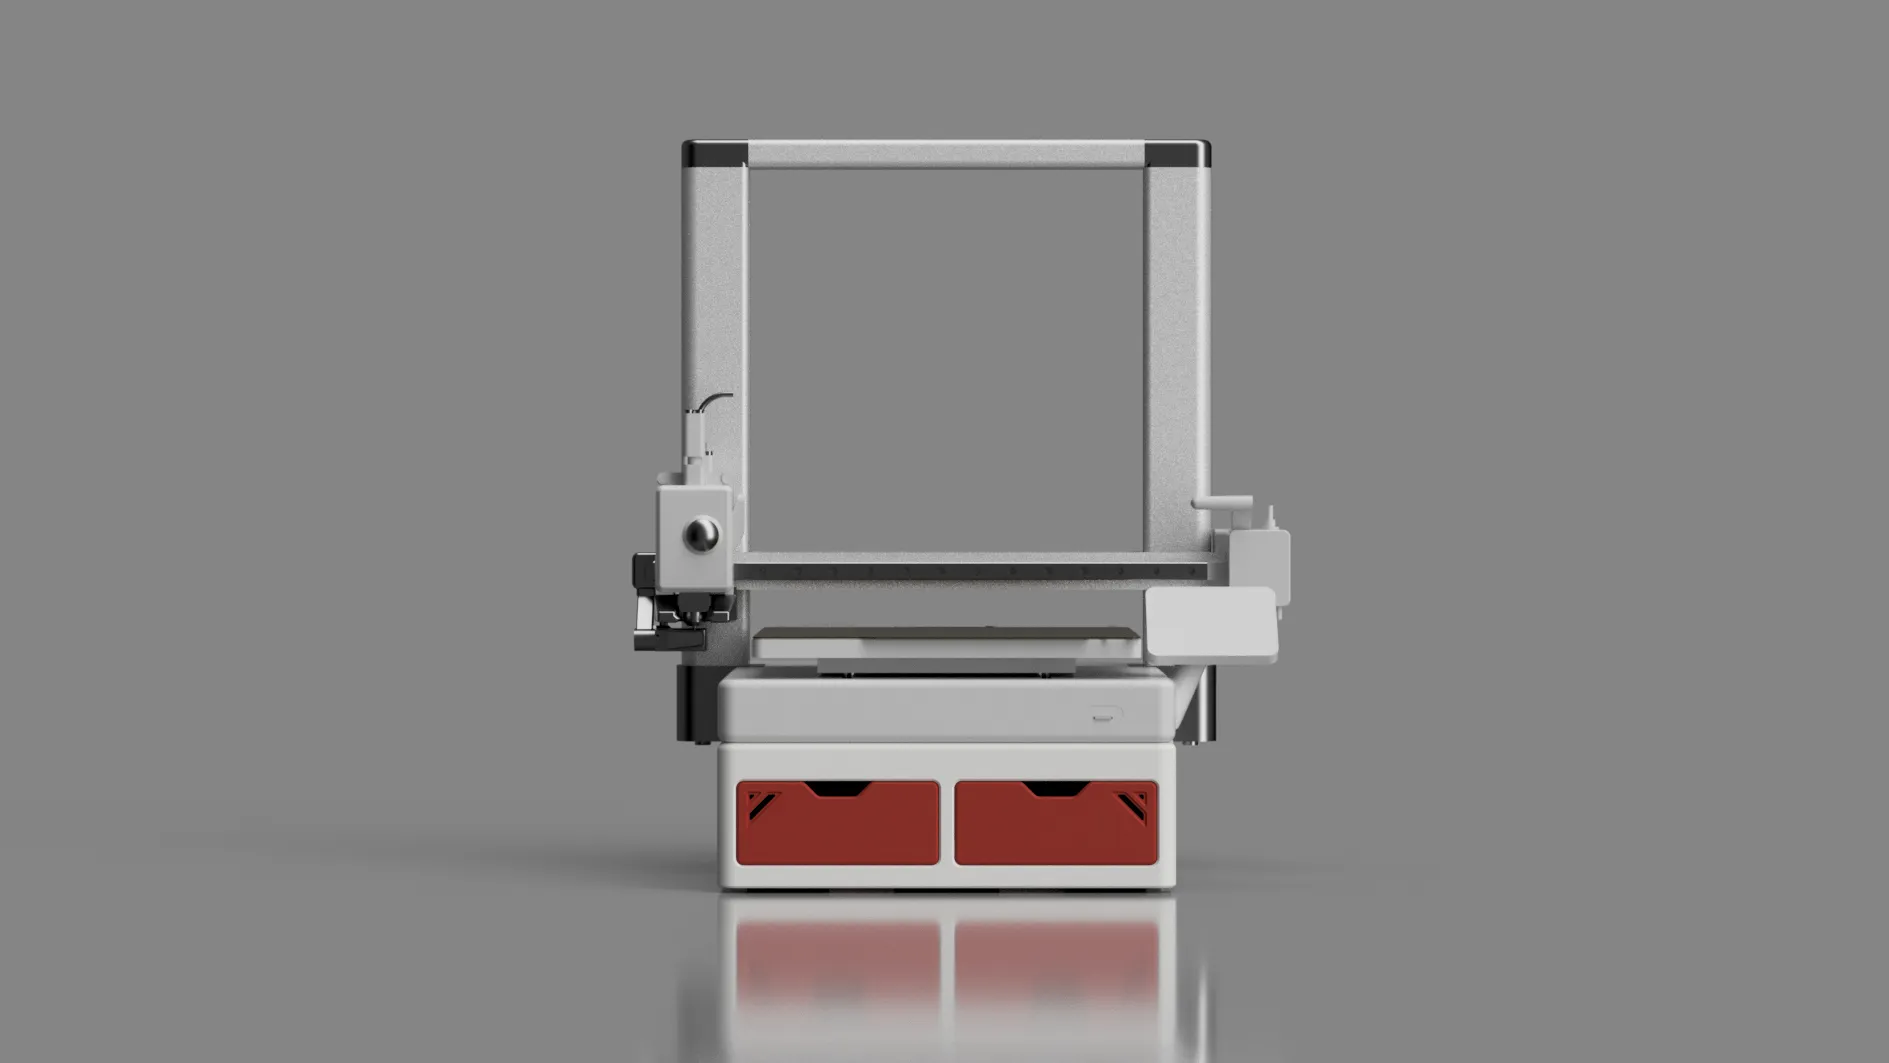
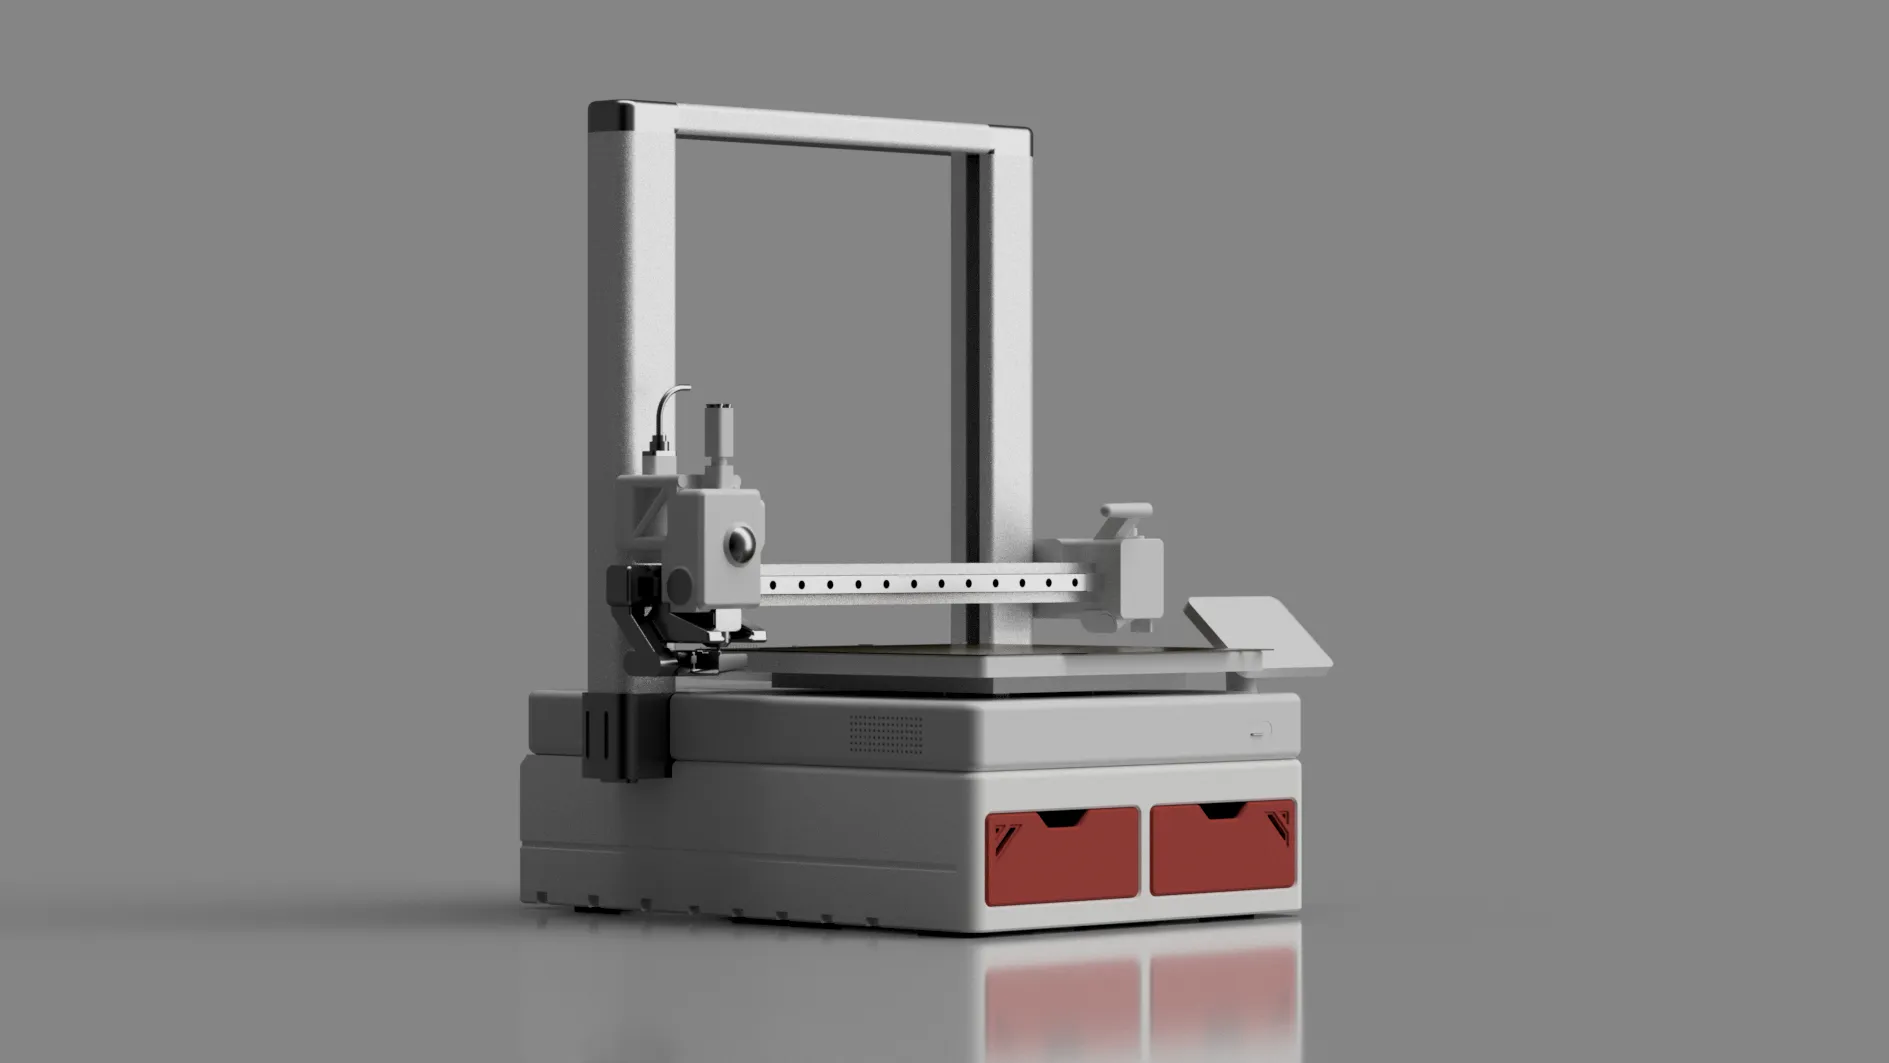
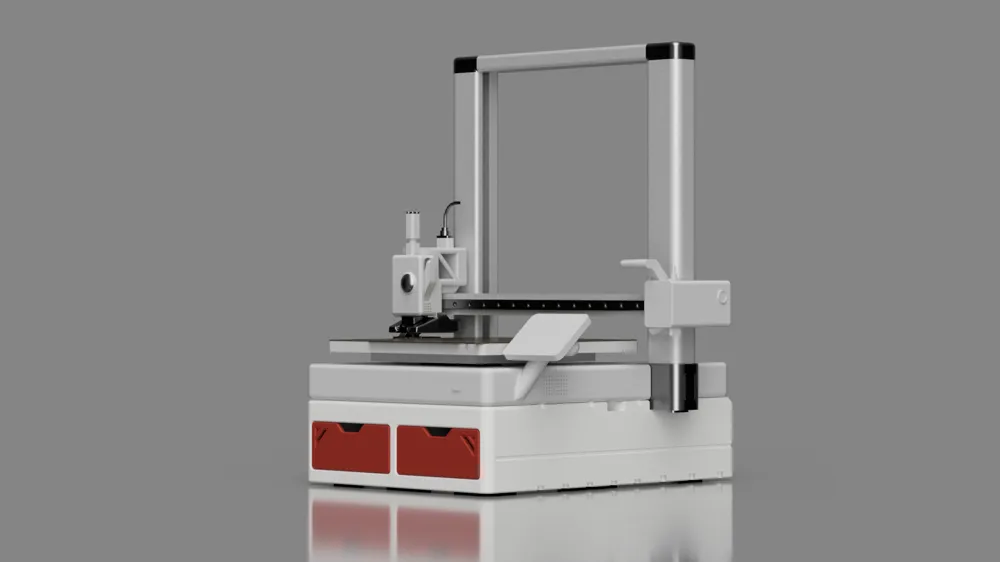
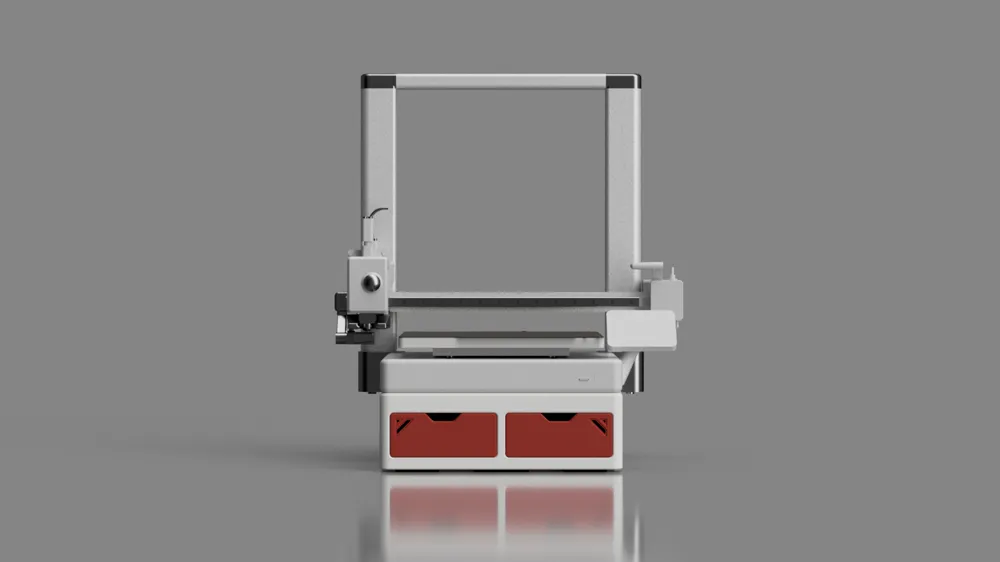
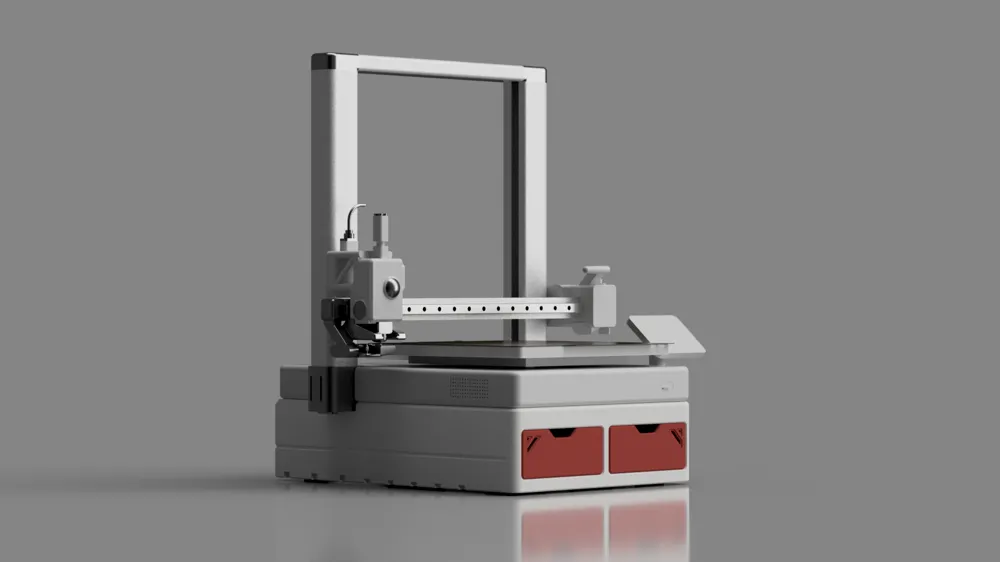
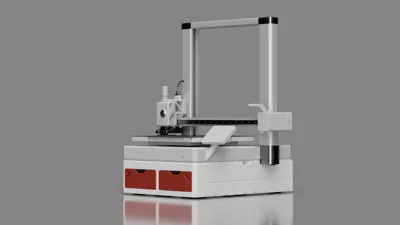
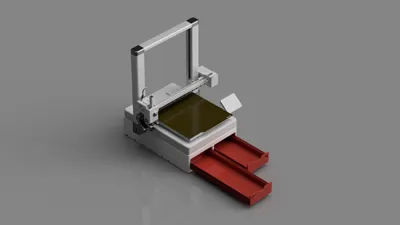
001-Storage Base Introduction
- The foundation of the kit, please ensure Component No 001 is completed before upgrading other components
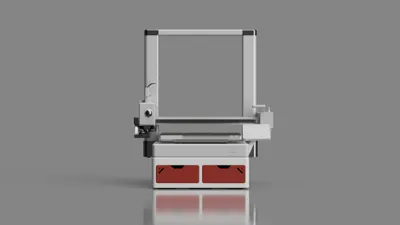
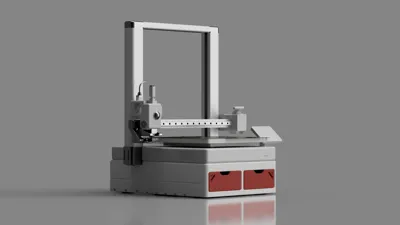
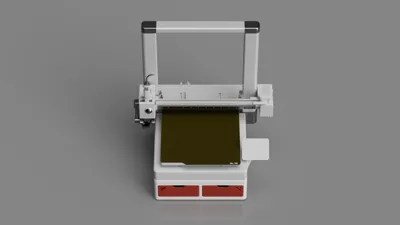
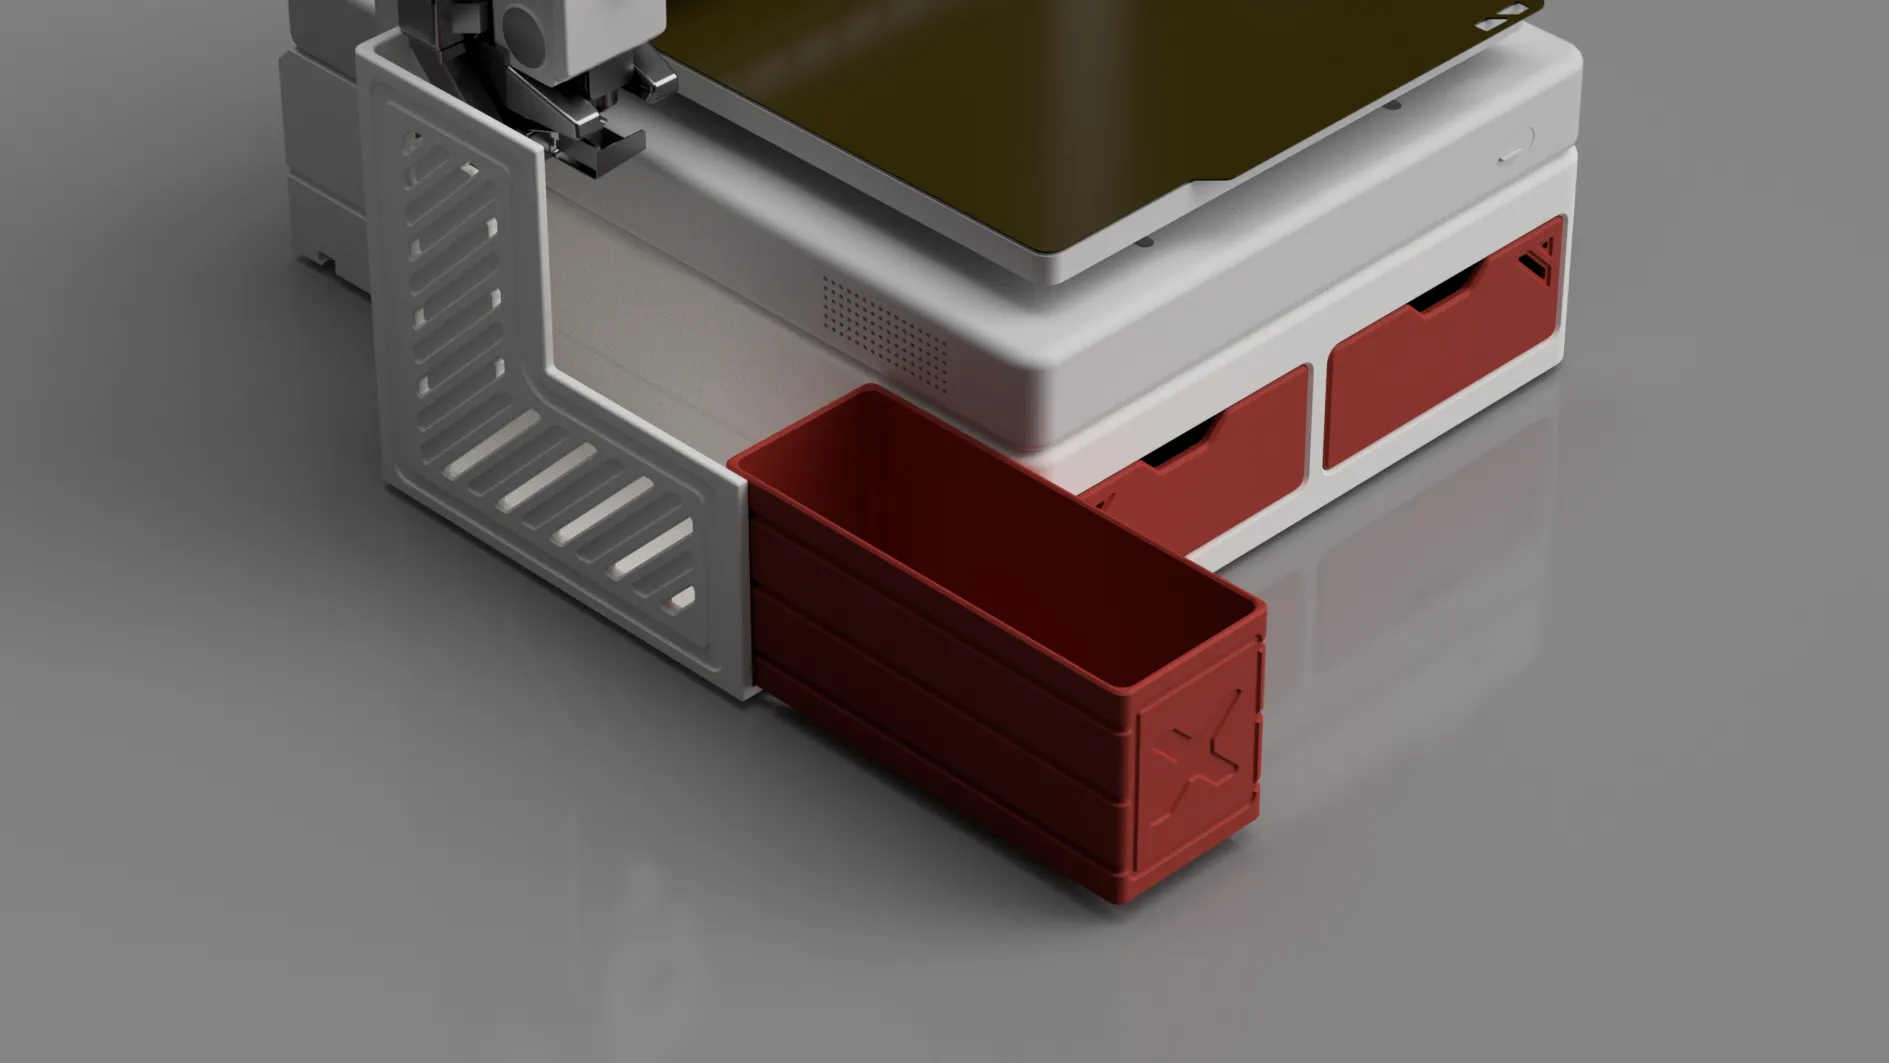
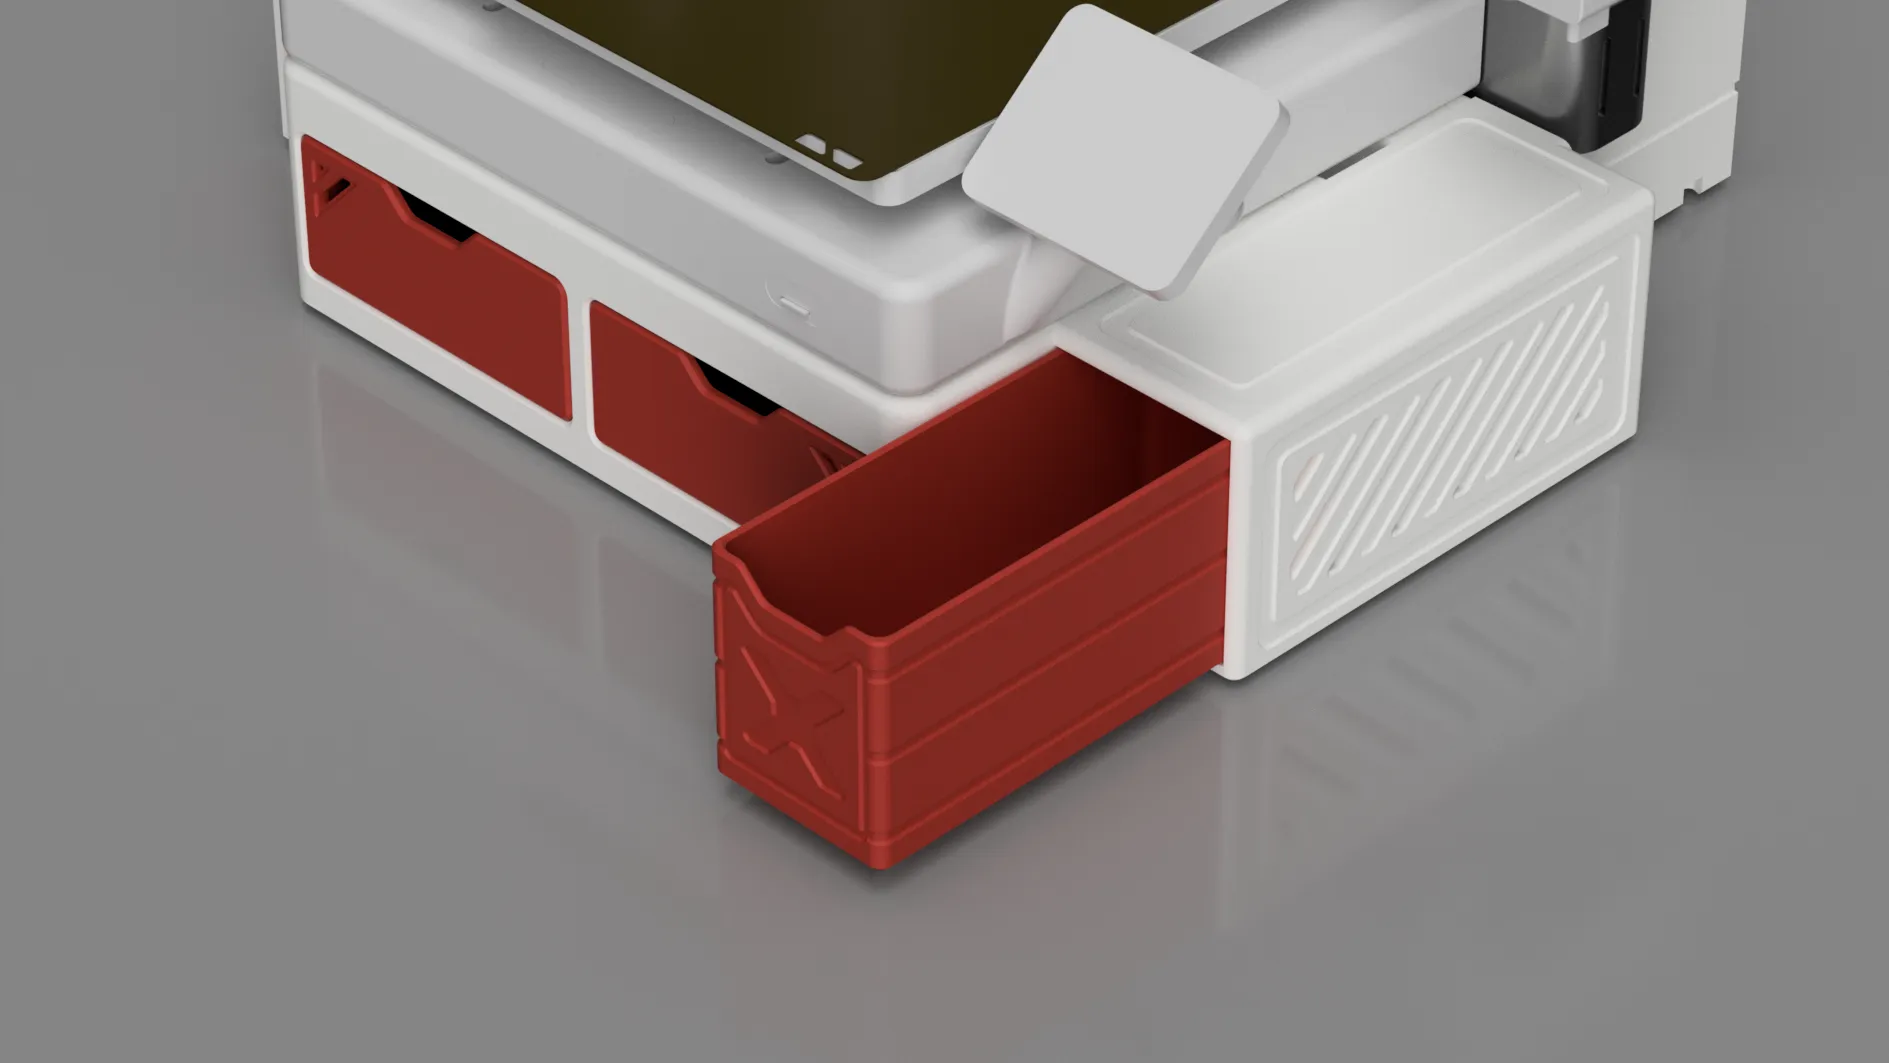
- Component No 001 consists of 2 oversized drawers and TPU stable feet
- Developed entirely based on the A1 printed model, it fits perfectly after installation (thanks to author vajojajo for the open-source A1 model)
- I will provide detailed installation instructions for each component, please read the printing instructions carefully before printing
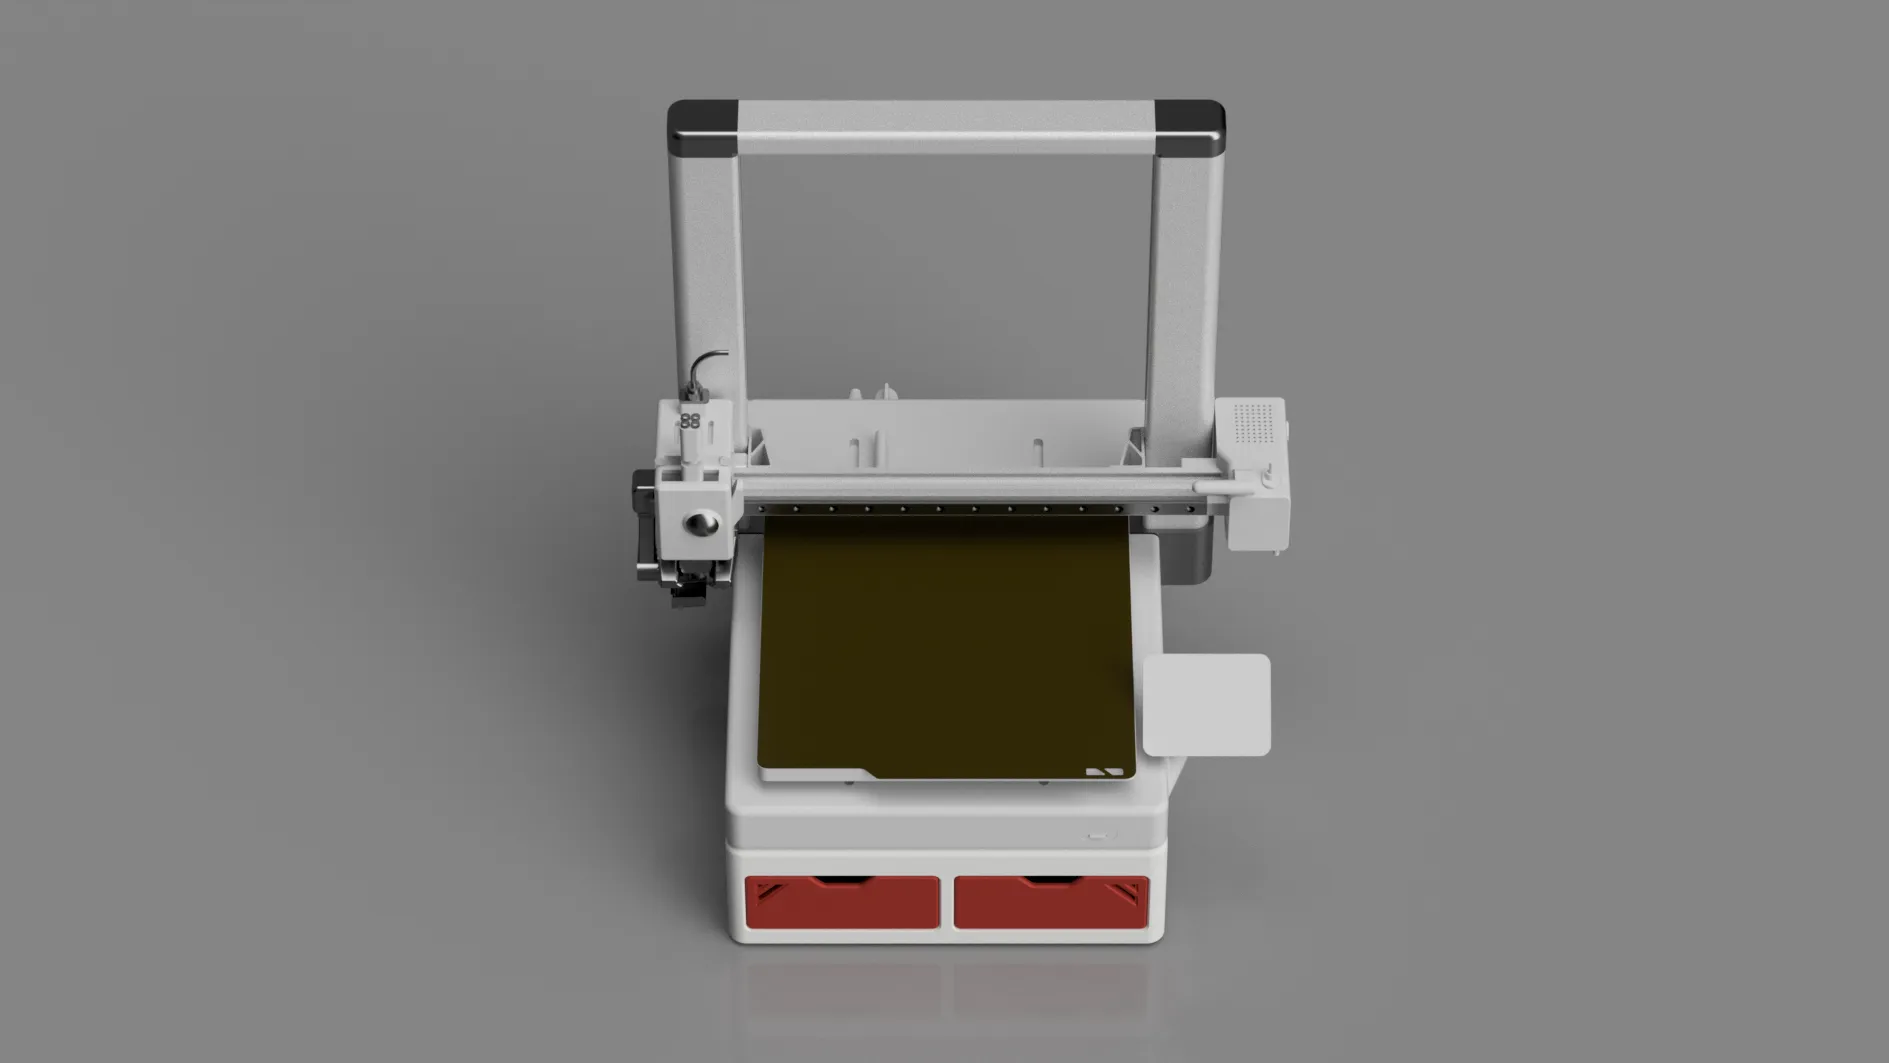
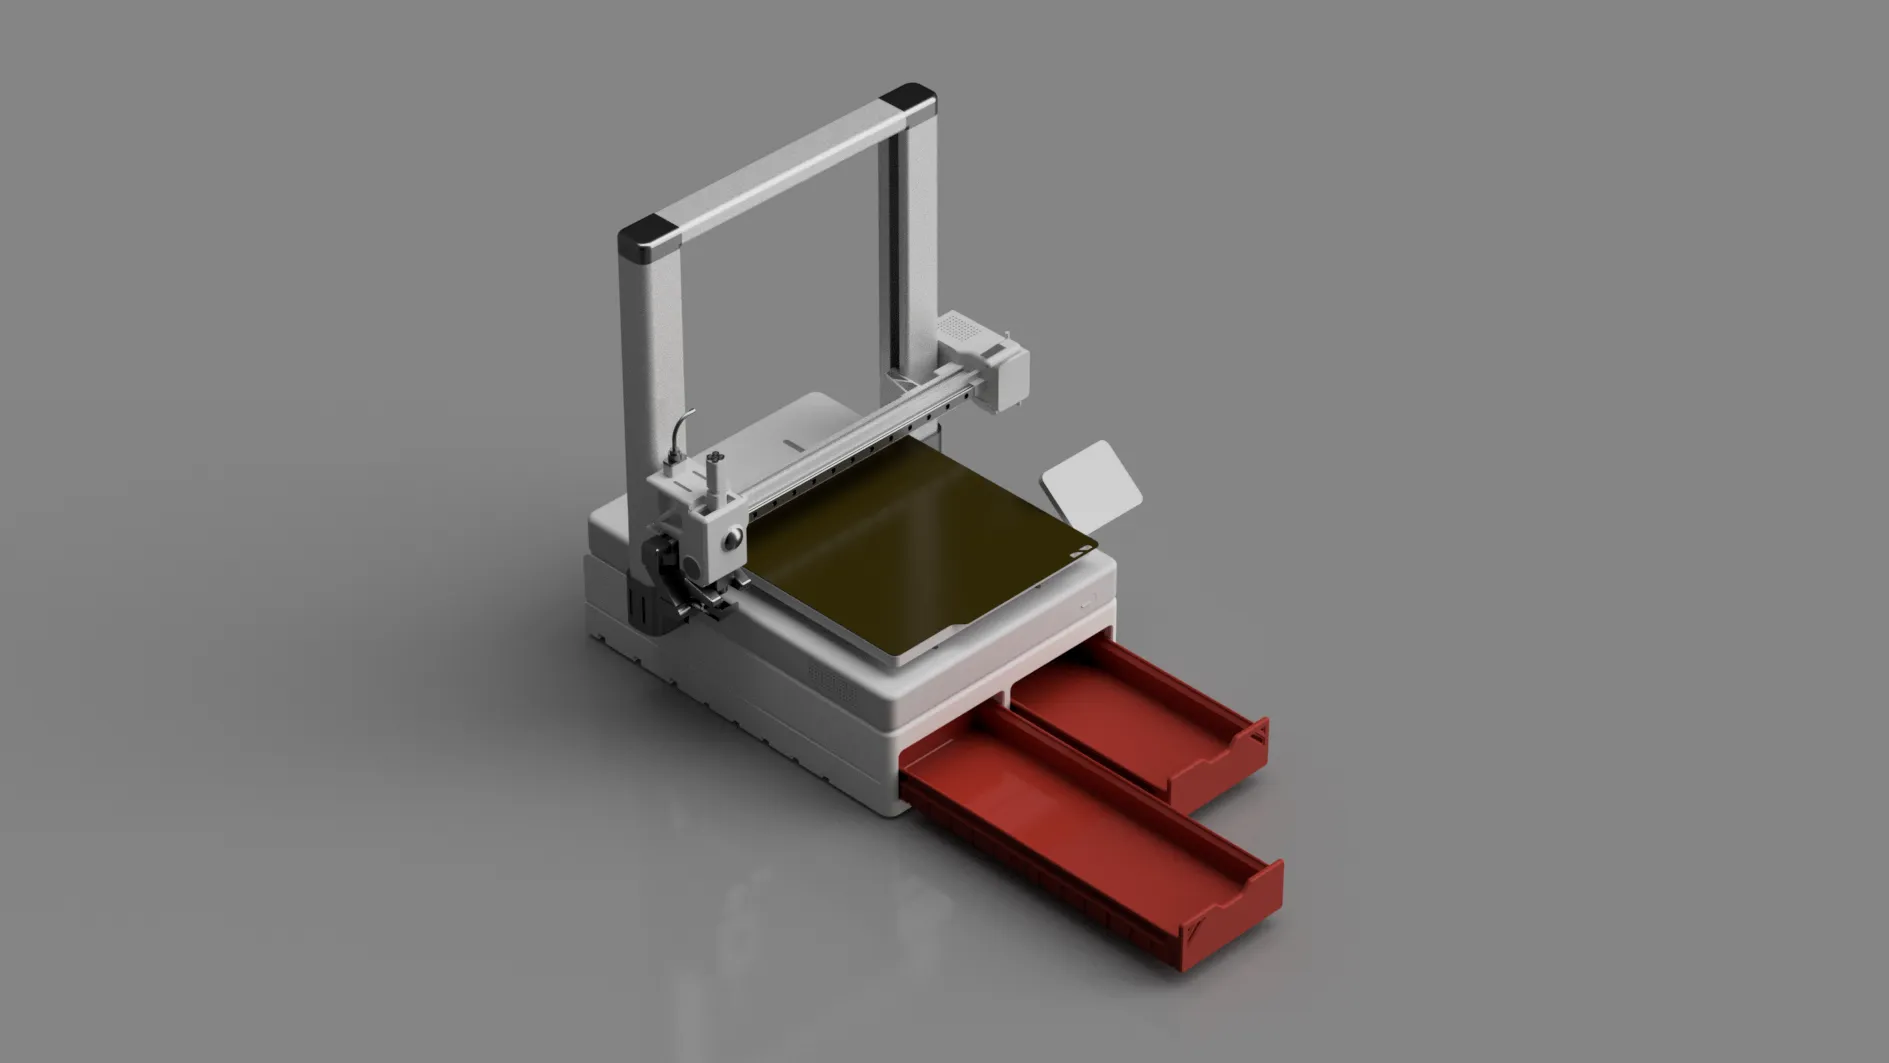
Printing Instructions
- There are many large models in this kit, with a certain risk of warping (especially in winter). To prevent print failures, I have made corresponding adjustments to the printing parameters, please do not change them at will
- Due to the huge printing volume of this kit and too many plates, it is released in 5 parts to avoid confusion. Players can print as needed
- PETG HF is used for printing by default. If you are concerned about warping, you can also use PLA with lower shrinkage for printing, but the corresponding printing cost will also increase
- In addition to the parameters, to avoid printing failures as much as possible, players must complete the following tasks before printing
- Clean the build plate
- Apply glue
- Do not blindly increase the filament cooling parameters
- Increase bed temperature by 5 degrees
- Ensure filament is dry (even newly opened ones should ideally be dried once)
- If slight warping occurs, it's fine. An error of 1-2mm will not affect assembly (don't pursue perfection too much, let yourself off the hook)
- There's no need to discuss whether to use an enclosure. This kit was designed for players who don't want an enclosure. I myself have used 3 different enclosure methods, and the experience was not ideal. In the end, I chose to remove the A1's enclosure and added an enclosed P2S
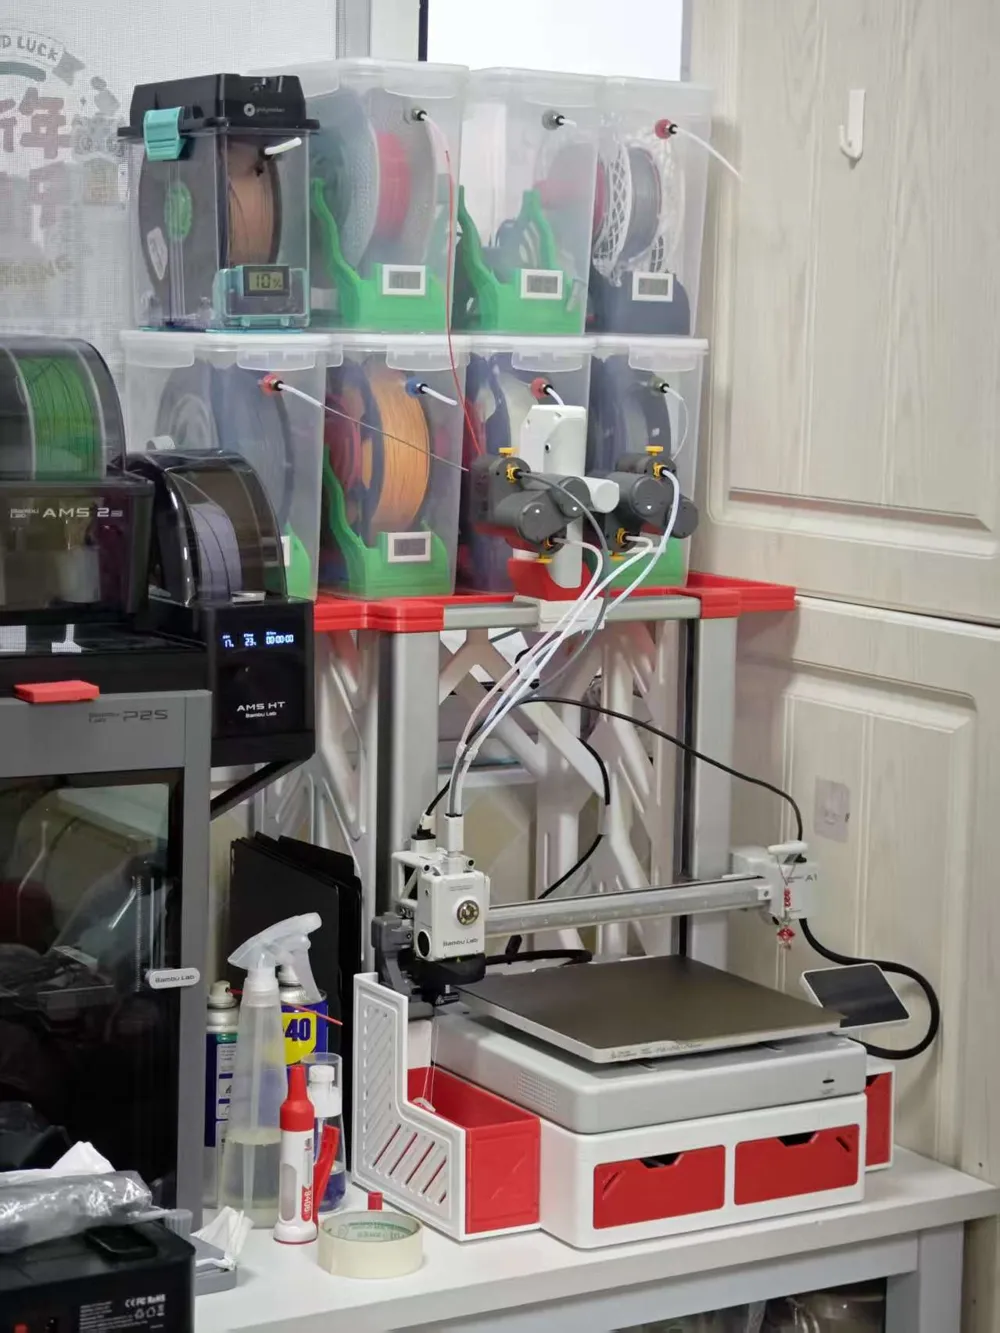
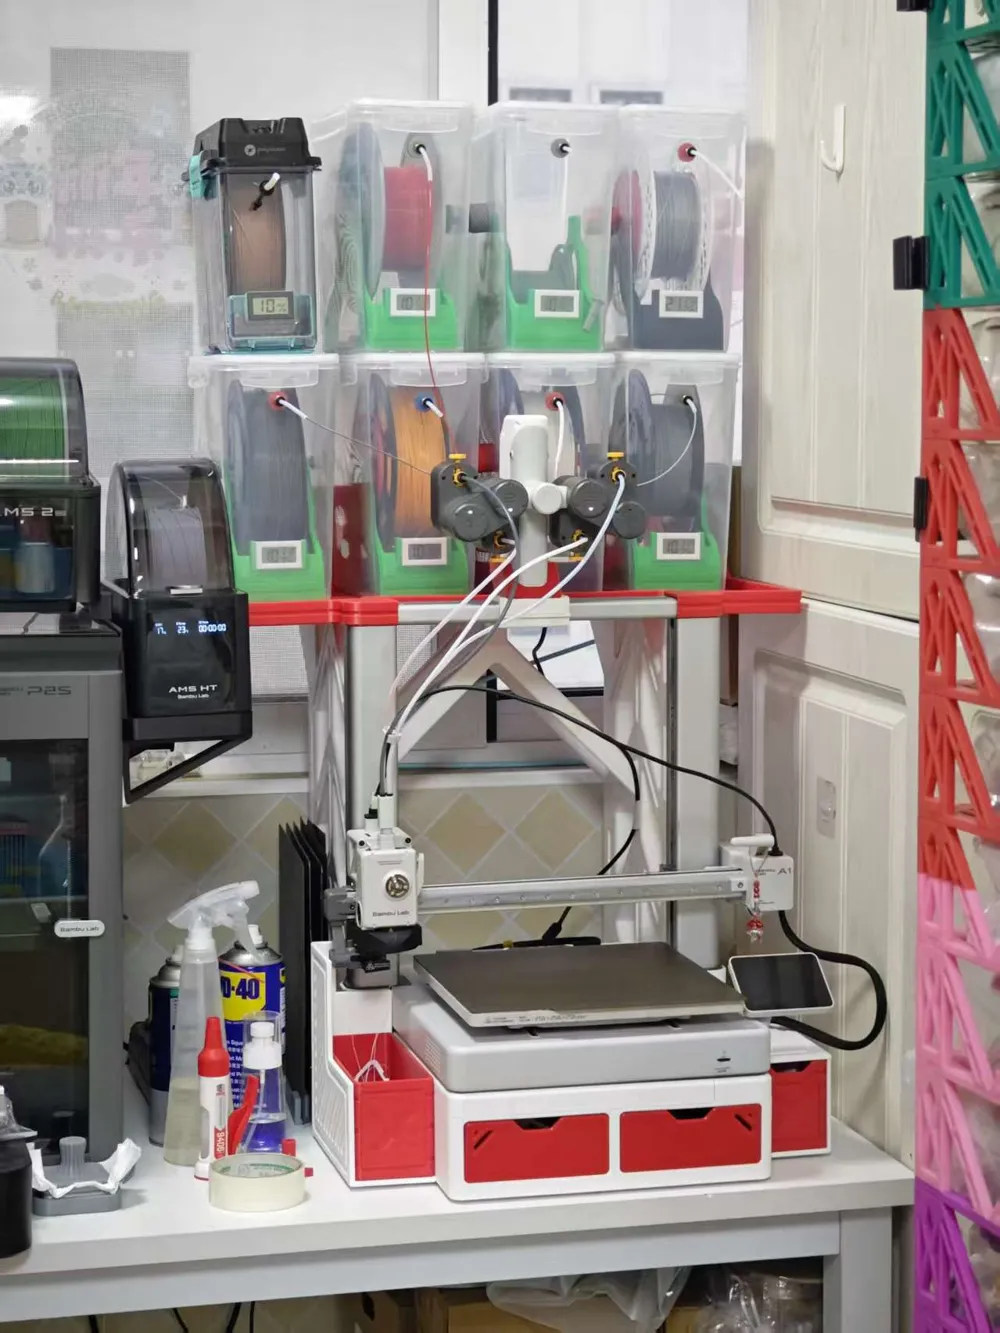
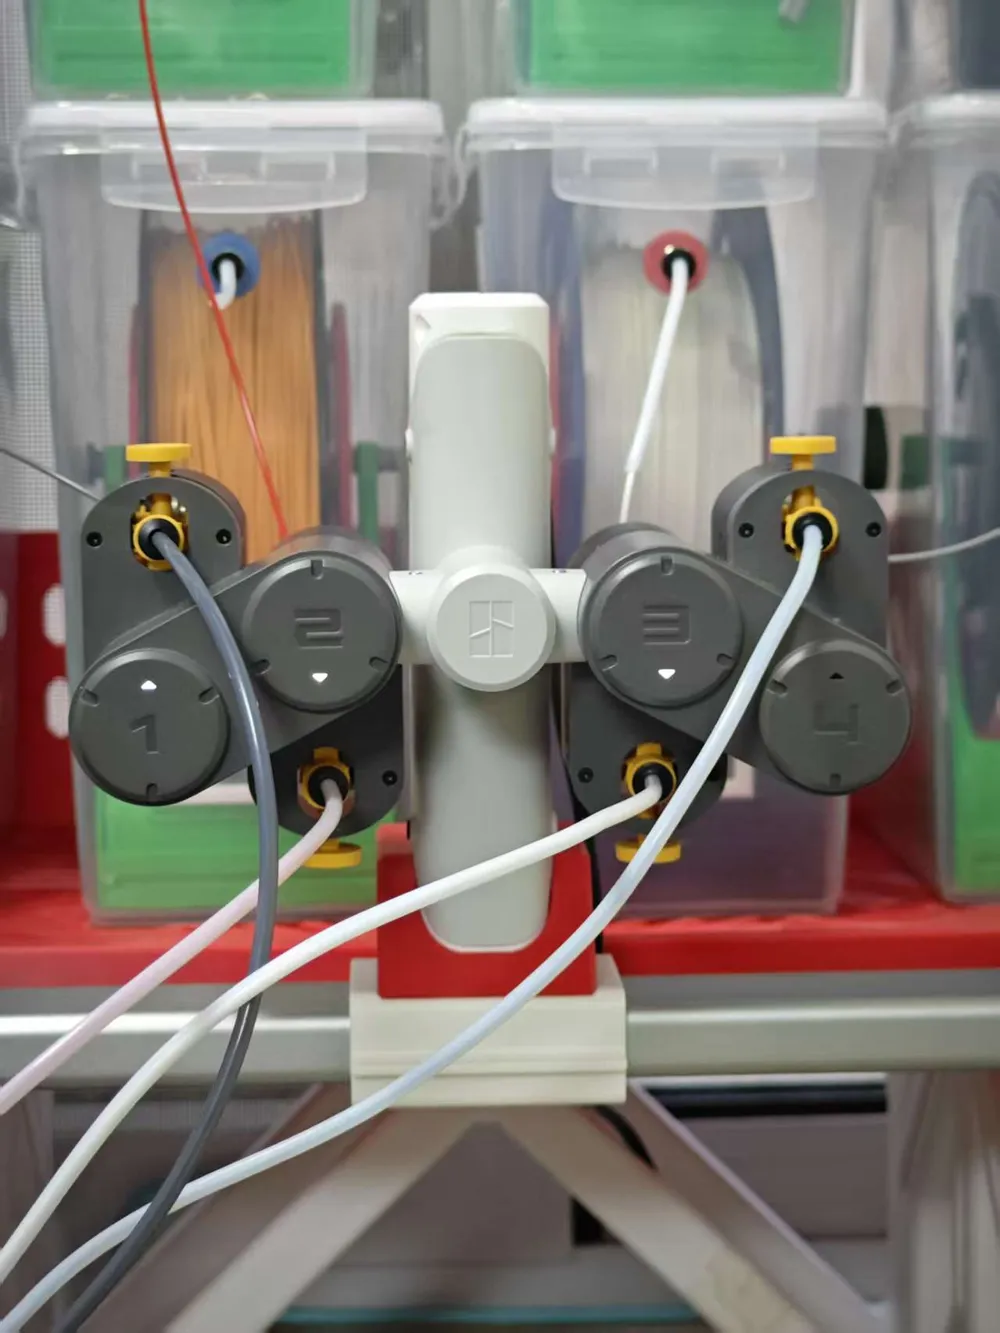
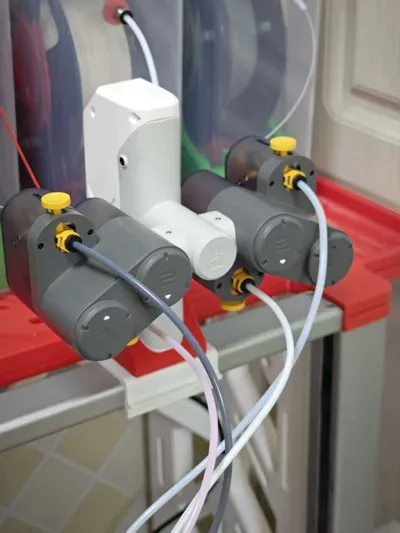
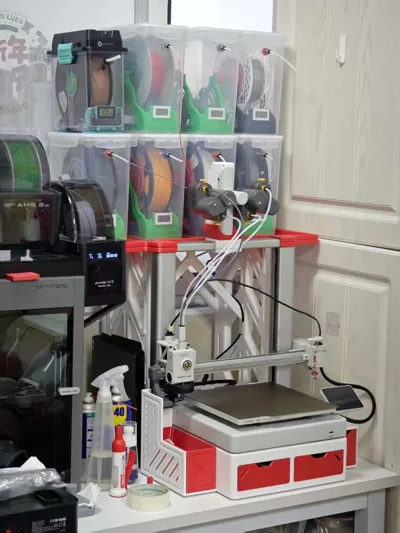
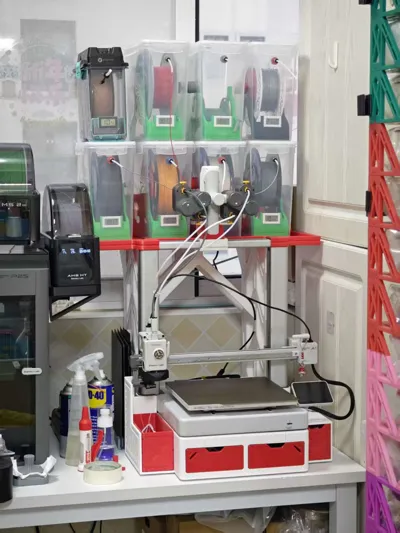
- Finally, real photos and installation instructions are attached, and a PDF version is available for download for easy viewing on PC
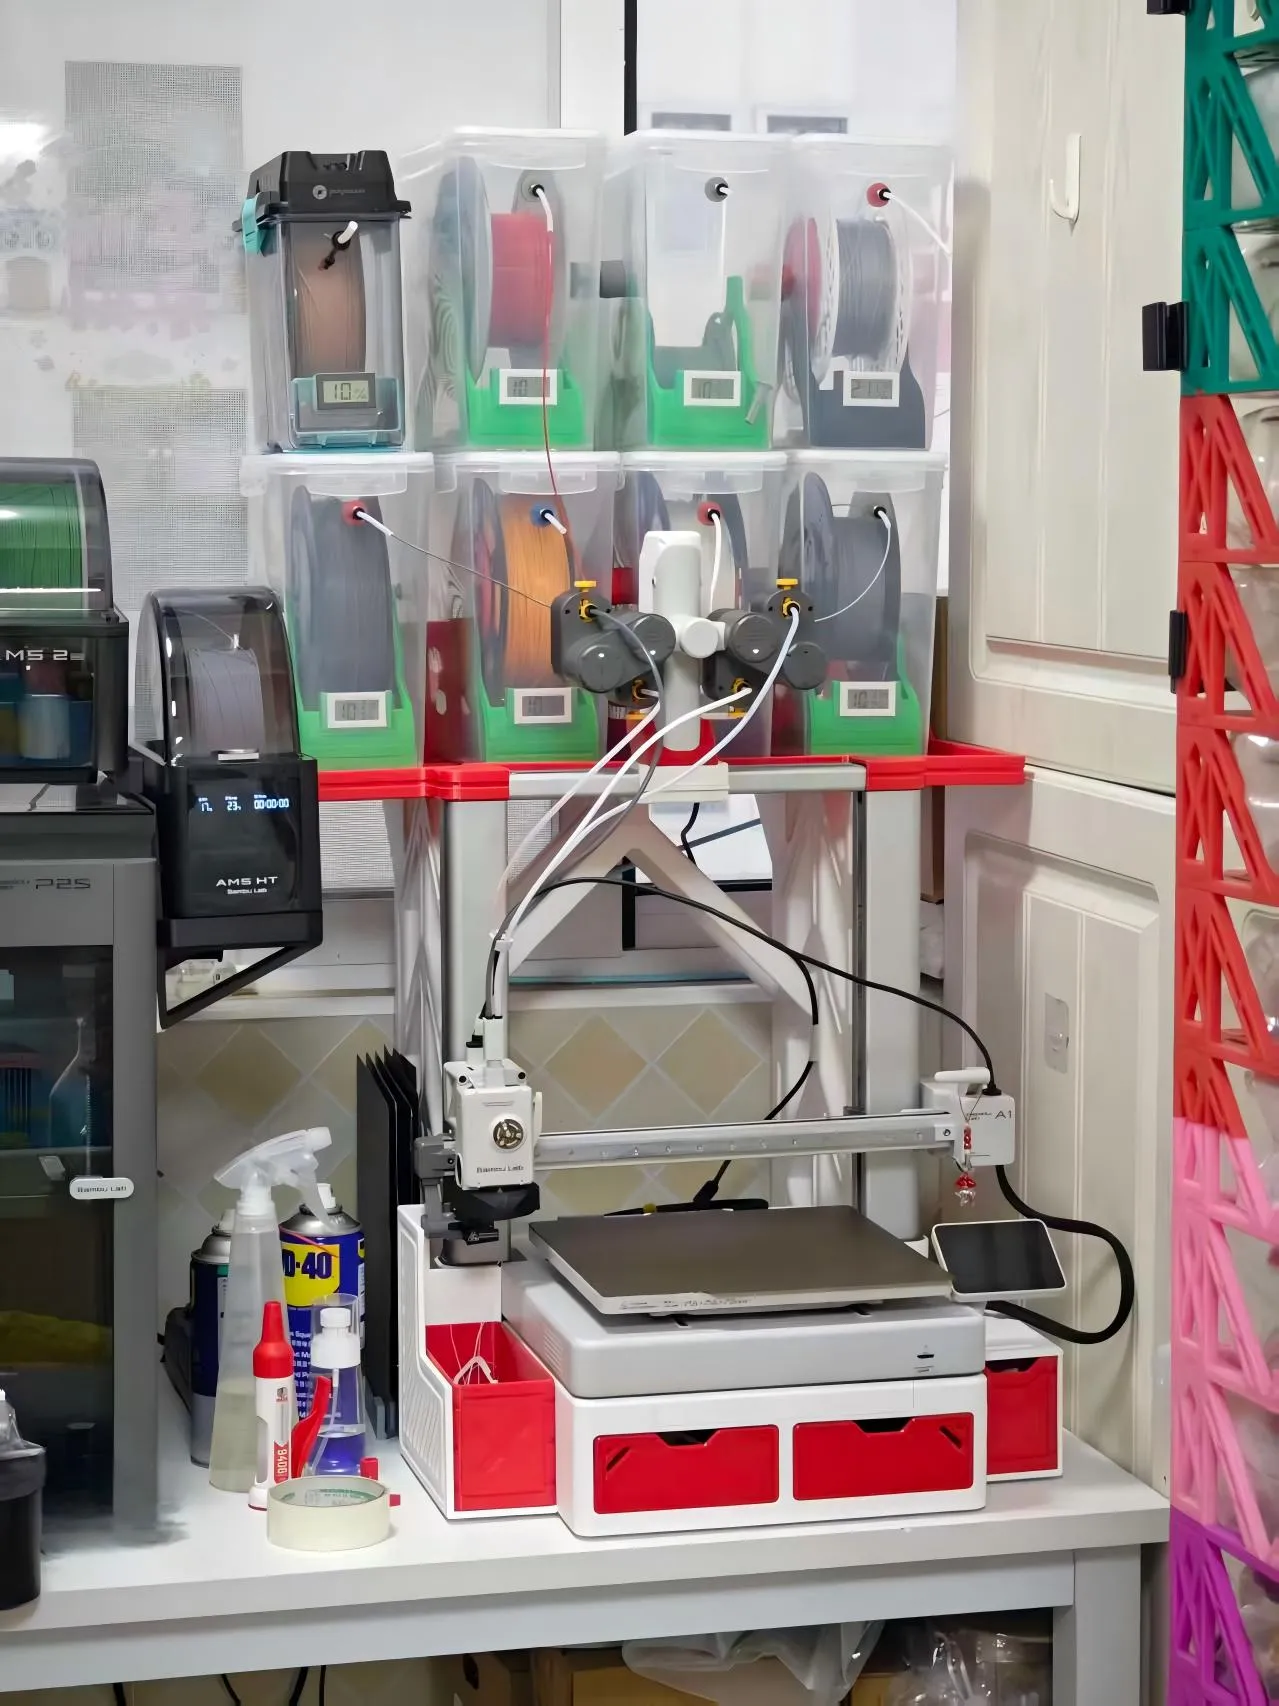

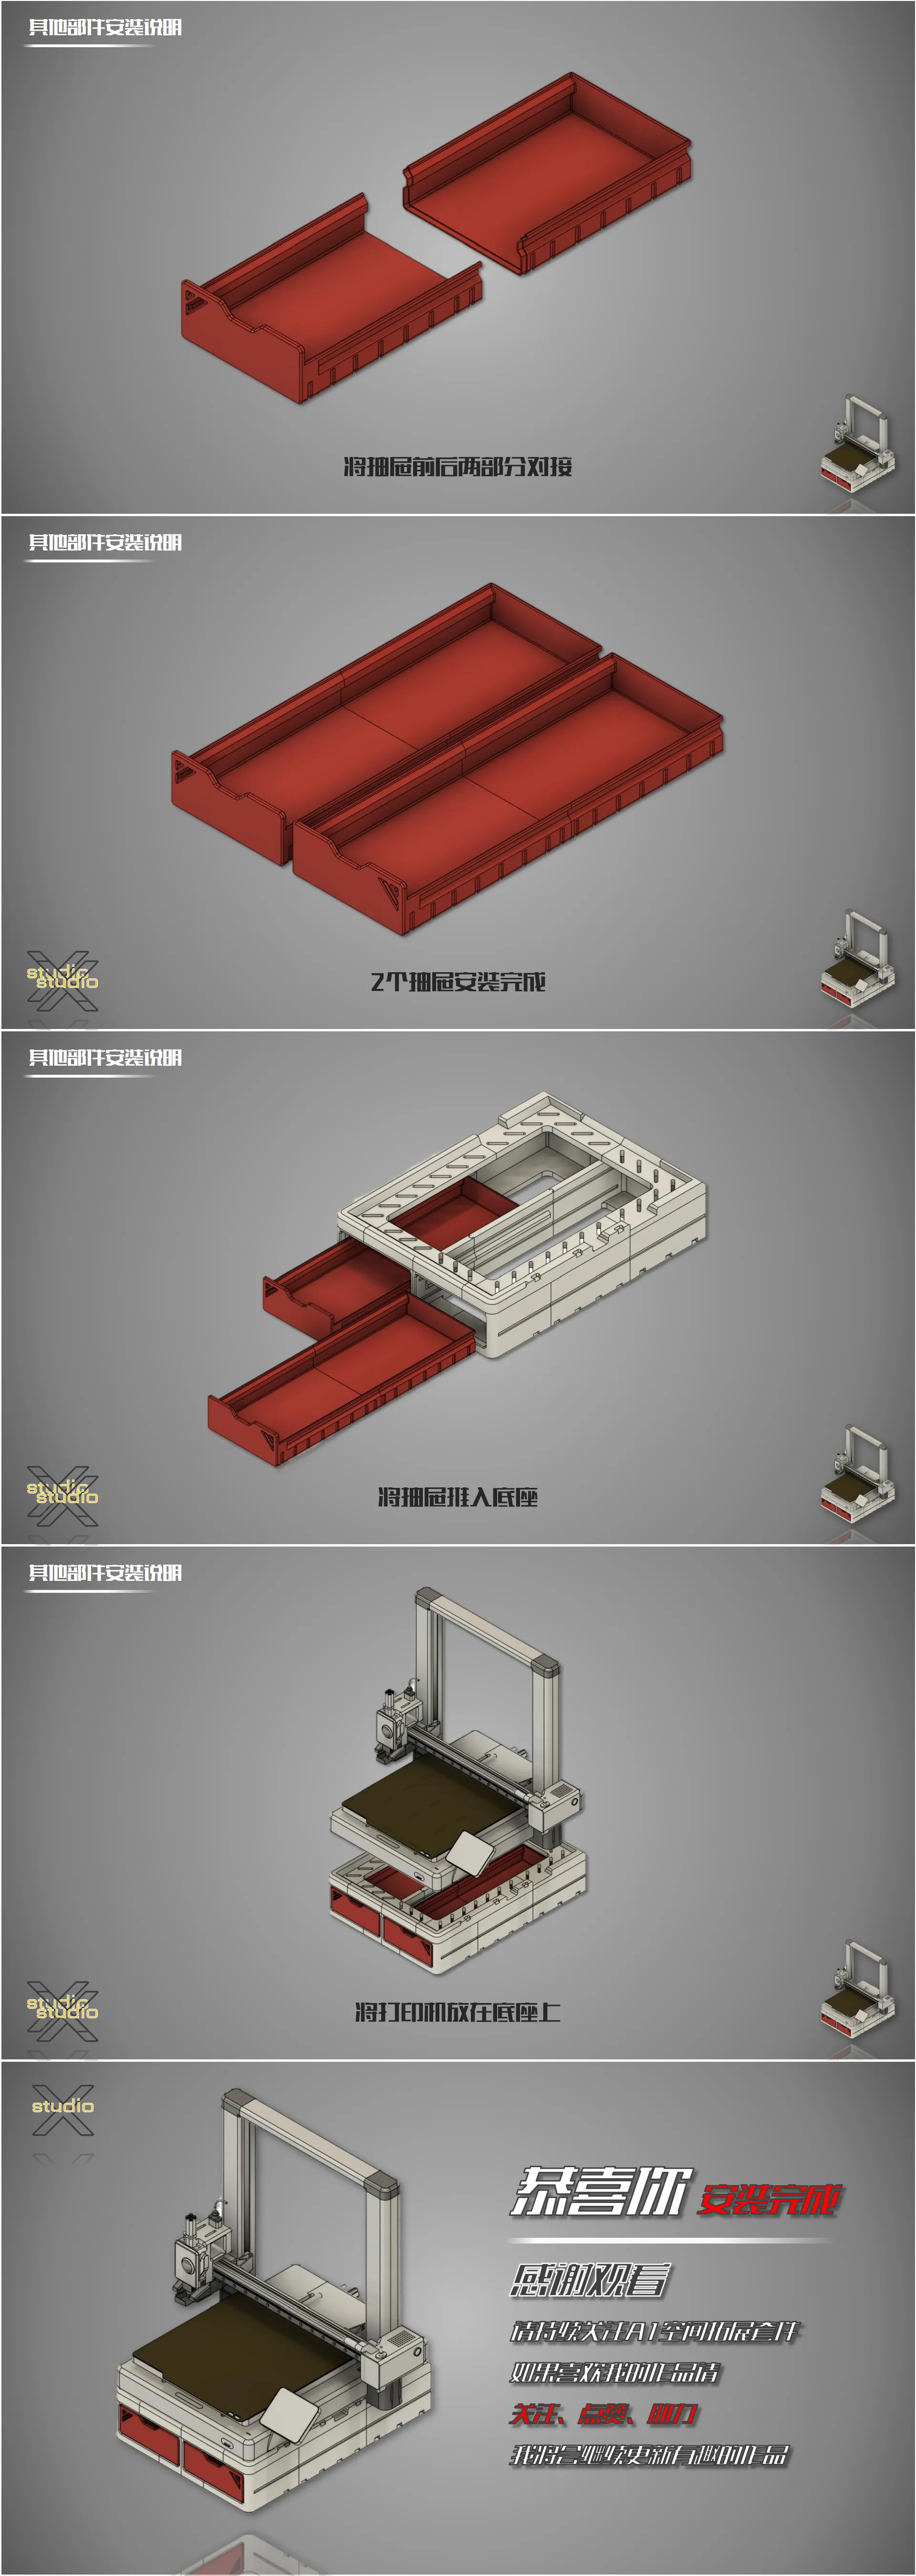
Documentation (1)
License

You shall not share, sub-license, sell, rent, host, transfer, or distribute in any way the digital or 3D printed versions of this object, nor any other derivative work of this object in its digital or physical format (including - but not limited to - remixes of this object, and hosting on other digital platforms). The objects may not be used without permission in any way whatsoever in which you charge money, or collect fees.


Comment & Rating (17)