Christmas Rotating Multi-Tier Cookie Display Stand


Print Profile(2)


Description
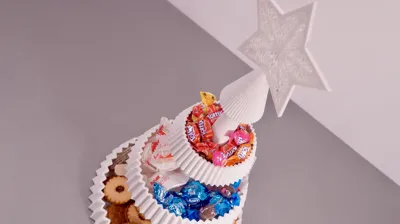
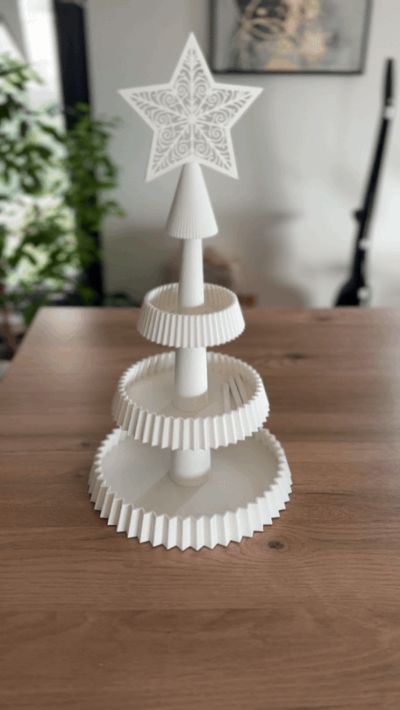
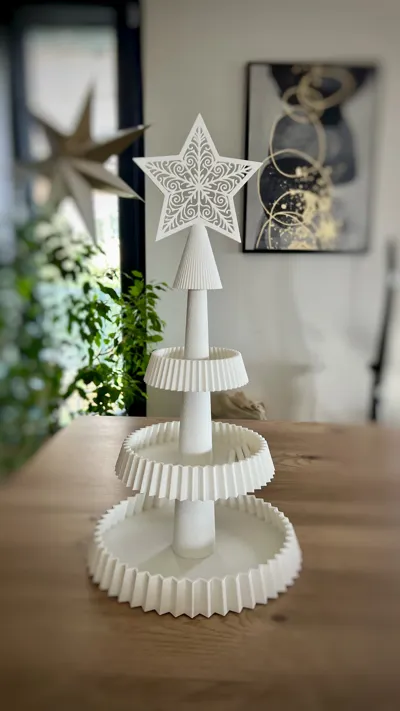
Create a festive touch for your holidays with this 3D‑printed Christmas candy tower. It features extra‑strong reinforced threads for smooth assembly, and the middle and top plates are fully rotatable so everyone can easily reach their favorite treats. Perfect for Christmas parties, family gatherings, or as a fun holiday print, this tower is simple to assemble and built to last. Follow the steps below to prepare the parts and build your own Christmas candy display.
In my youtube video i show the whole design and its features, plus the assembly. Have a look! :)
Parts List
- 1× bottom plate
- 1× middle plate
- 1× top plate
- 1× top part
- 2× toppers (star and “Merry Christmas” sign)
- 1× bottom central post
- 1× middle central post
- 1× top central post
- 1× short bottom‑plate thread reinforcement rod
- 1× 96 mm reinforcement rod (A)
- 2× 98.4 mm reinforcement rods (B and C)

Assembly Instructions
1. Prepare the reinforcement rods
- Clean the top and bottom of each reinforcement rod by lightly scraping the sharp edges with a utility knife to round them off. The rods have a cut‑out bottom so they can be printed horizontally, giving them a flat surface. When combined with the vertically printed central post parts, this creates extremely strong threads compared to typical 3D‑printed threads.

2. Glue the rods into their matching parts
- Use flexible glue and insert each reinforcement rod into its corresponding central post part:
- Bottom central post + 96 mm rod (A)
- Middle central post + 98.4 mm rod (B or C)
- Top central post + 98.4 mm rod (B or C)
- This strengthens the vertical parts and makes the threads extremely durable because the rods were printed horizontally.

3. Remove excess glue
- Wipe away any excess glue before it sets.
4. Allow the glue to cure completely
- Let everything cure fully before continuing.
5. (Optional) Add non‑slip pads
- Attach non‑slip silicone pads to the underside of the bottom plate if you want extra stability. The stand weighs almost 700 g of filament, so it’s already stable, but pads make it look even more professional.

6. Clean and smooth the threads
- Clean and smooth the threads by slowly threading one central post part into the next, working back and forth until the threads move smoothly. Do this step without the plates attached first — clean only the central post parts at this stage. Then unscrew the parts and blow out any plastic debris created during smoothing. After all central post threads are perfect, finish by cleaning the bottom plate thread last.
- Important: Clean all central post threads first, then finish with the bottom plate thread.

7. Assemble the candy tower
- Once all threads run smoothly, assemble the Christmas tree candy tower. Scrape the inner part of the topper with a utility knife to remove a tiny bit of a fuzzy skin so the star can slide inside perfectly.

8. Add the topper and enjoy
- Place your preferred topper on the top part.
- Fill the tower with candies or pastries and enjoy.
- Merry Christmas and a Happy New Year!
Boost Me (for free)
If you like my work please consider liking and giving me a boost! It helps alot in my 3D printing journey! Thank you so much! You are the best! :)
Printing Details
- Filament used: Sunlu PLA Matte White
- Print speeds: 150 mm/s walls, 250 mm/s infill
- Fuzzy skin applied to all plates and central post parts (height‑adjuster enabled to avoid fuzzy skin on threads)
- Central post parts: 5 walls, 15% cubic infill
- Reinforcement rods: 100% infill, 4 walls
- Toppers and plates printed at 100% infill for maximum strength and longevity.
- Leyer height: all the parts 0.24, only the reinforcement rods at 0.2mm
License
You shall not share, sub-license, sell, rent, host, transfer, or distribute in any way the digital or 3D printed versions of this object, nor any other derivative work of this object in its digital or physical format (including - but not limited to - remixes of this object, and hosting on other digital platforms). The objects may not be used without permission in any way whatsoever in which you charge money, or collect fees.
Comment & Rating (20)