speaker enclosure 2.5 inch


Print Profile(1)

Description

2.5 inch speaker enclosure
120x87x80mm
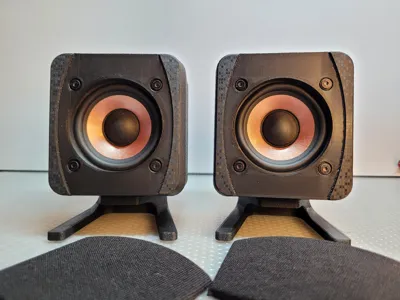
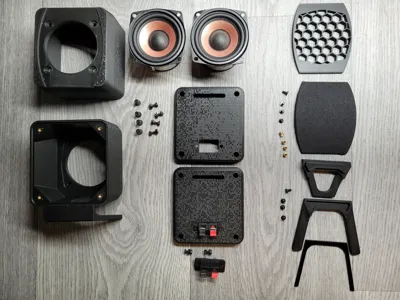
I am pleased to present my 2.5 inch full range speaker enclosure.
All necessary parts will be in the description.
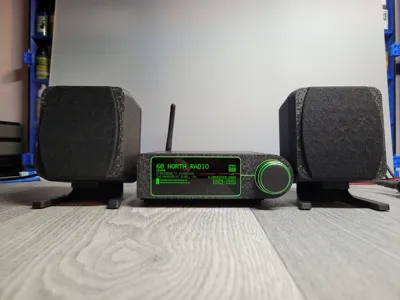
Here's a quick test of the complete speakers connected to an external amplifier and a yoradio. For a system without a subwoofer, it sounds quite good.
Some links to parts used in this project
AIYIMA 2Pcs 2.5 Inch Audio Speakers 4 Ohm
https://www.aliexpress.com/item/32850014591.html

Connector Terminal Push In Jack Spring Load 19mm x 37.2mm
M3 8mm screws with nuts and washers (4pieces, for 2 connectors)

https://www.aliexpress.com/item/1005009796880495.html
M3 brass inserts 5mm (8 pieces, for 2 housings)
M3 6mm screws (8 pieces, for 2 rear housings)

M3 10mm screws with nuts and washers (8pieces for 2 speakers)

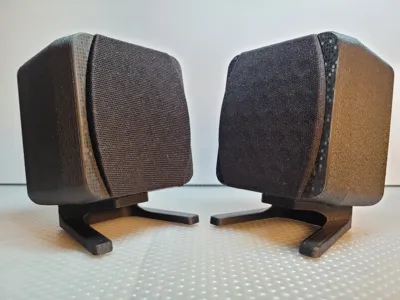
Black professional acoustic speaker cloth (I bought 1m x 20cm)

https://www.ebay.co.uk/itm/272369173228?var=571279326915
Contact adhesive spray (to stick the cloth to the grille)

8mm x 1.5mm magnets (16 pieces, for 2 grills and 2 enclosures)

Speaker cables (to connect the terminals to the speakers - I used 90mm length each)

Double-sided adhesive tape/foam, 1mm thick (to connect the foot to the housing)

Superglue

I soldered the wires to the speakers and terminals, and also used a soldering iron to fuse the inserts into the housing. So, a soldering iron may also be needed.
Let's print something
In this project I used PLA+ black, support filament, TPU
Grille
0.2mm layer height
Pause on layer 18 to attach 4 magnets - Remember to use glue!!
Remember to insert the magnets with the correct polarity.
They must attract each other to the housing, which will also have magnets

Main part
Brim option enabled.
0.2mm layer height
Pause on layer 21 to attach 4 magnets - Remember to use glue!!
Remember to insert the magnets with the correct polarity.
They must attract each other to the grille.


Support normal manual option enabled. Use support filament.
This part is painted with fuzzy skin, don't change anything. If you don't want fuzzy skin, remove the fuzzy paint.

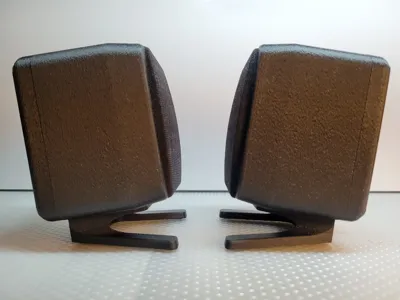
Foot
0.2mm first layer
0.08mm each subsequent layer
The speaker foot consists of two parts, both of which are printed with the support option enabled. Use support filament.
This parts are painted with fuzzy skin, don't change anything. If you don't want fuzzy skin, remove the fuzzy paint.


Anti-slip
Here we will use TPU
0.2mm layer height

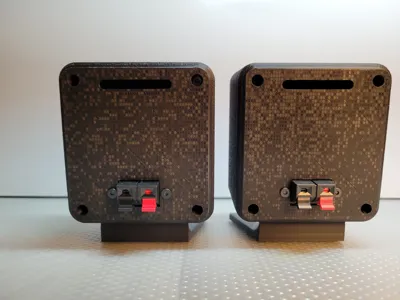
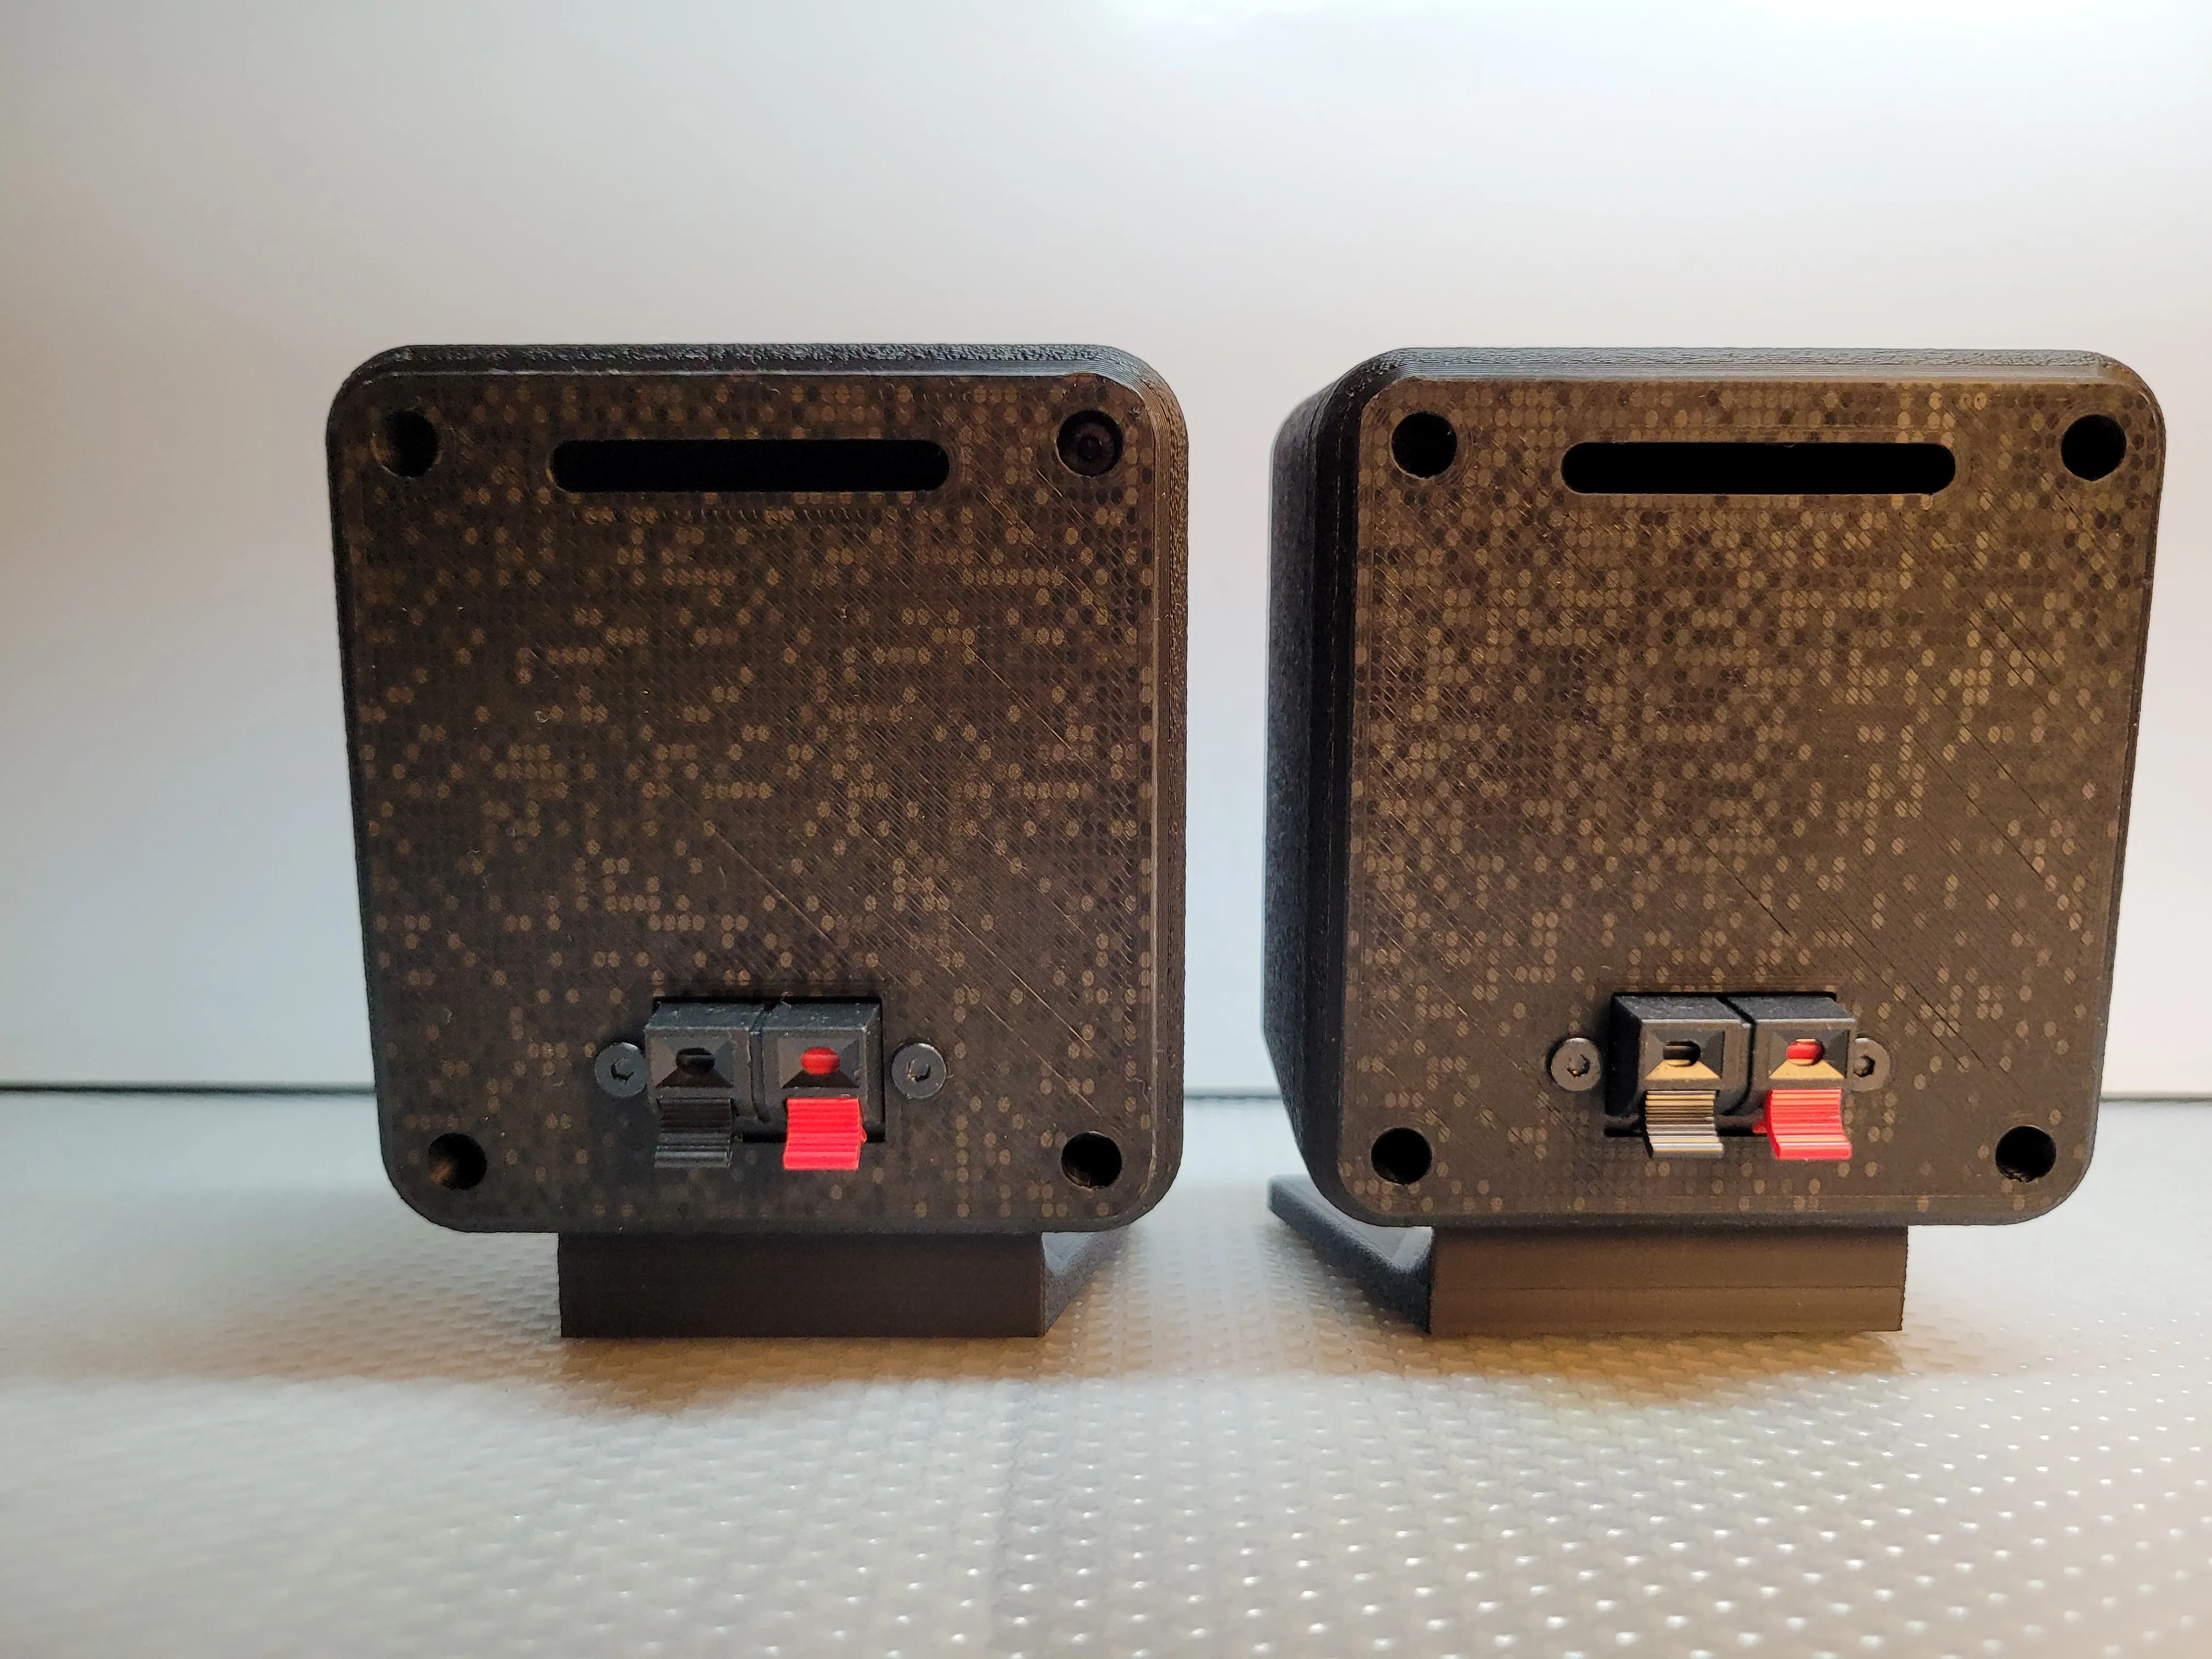
Back of the case
0.2mm layer height
Support option enabled. Use support filament.
Brim option enabled.
This part is painted with fuzzy skin, don't change anything. If you don't want fuzzy skin, remove the fuzzy paint.

A small reminder on the support option parameters when using support filament.
Assembling the speaker
1.Solder the cables to the speakers

2. We glue the parts of the foot


3. We melt the inserts with a soldering iron - I'm not an expert in this, but I managed to do it.


4. We connect the terminals to the back parts of the housing.


5.We glue the foot to the housing using double-sided 1mm adhesive foam

The tags will allow you to adjust the centers of the parts


6. We screw the speakers to the housing and solder the cables to the terminals on the back of the housing.

You can screw the back parts on after soldering.

7. Using spray adhesive, glue the cloth to the grilles. The back side of the grille will be without cloth, so do not apply glue there. Cut off the excess cloth with a sharp scalpel or scissors, being careful not to fray the cloth.


8.Done!


I would like to remind you once again about the correct polarity of the magnets before inserting and gluing them to the printed parts.
For this project, I used an external amplifier that allowed me to adjust the treble and bass, which you can hear in the attached YouTube video. Quite a good effect for such small, 2.5-inch speakers.
I'm no speaker expert here, but I'm happy with the result.
Happy Printing.
Edit: For those who need a cover for the hole/vent on the back of the case, a cover has been added. Thank you.
License
You shall not share, sub-license, sell, rent, host, transfer, or distribute in any way the digital or 3D printed versions of this object, nor any other derivative work of this object in its digital or physical format (including - but not limited to - remixes of this object, and hosting on other digital platforms). The objects may not be used without permission in any way whatsoever in which you charge money, or collect fees.
Comment & Rating (12)