
Bold One Page Rules Tokens With Advanced Actions
Print Profile(1)

Description
[Please note: as these are made of combined models printed in assembly, the individual STL files will not create these tokens - you need to either use the 3MF file or combine the individual parts yourself to allow for multicolour printing.]
I wasn't super pleased with the available tokens I could find for One Page Rules - they were free and nice models, but also so abstract that I felt they weren't very clear.
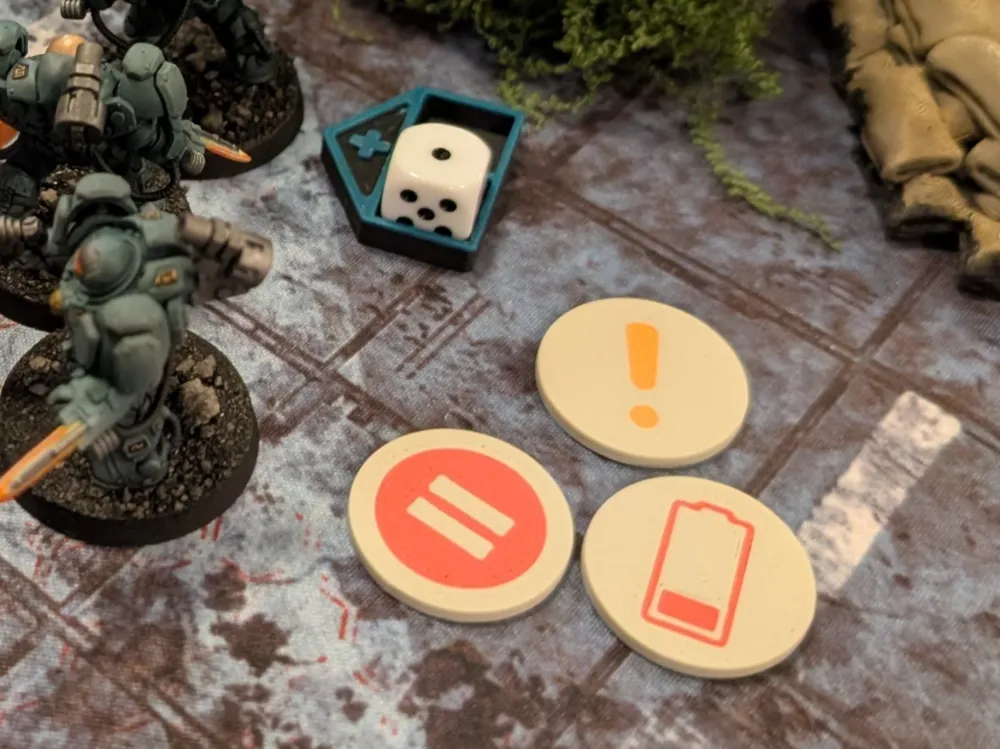
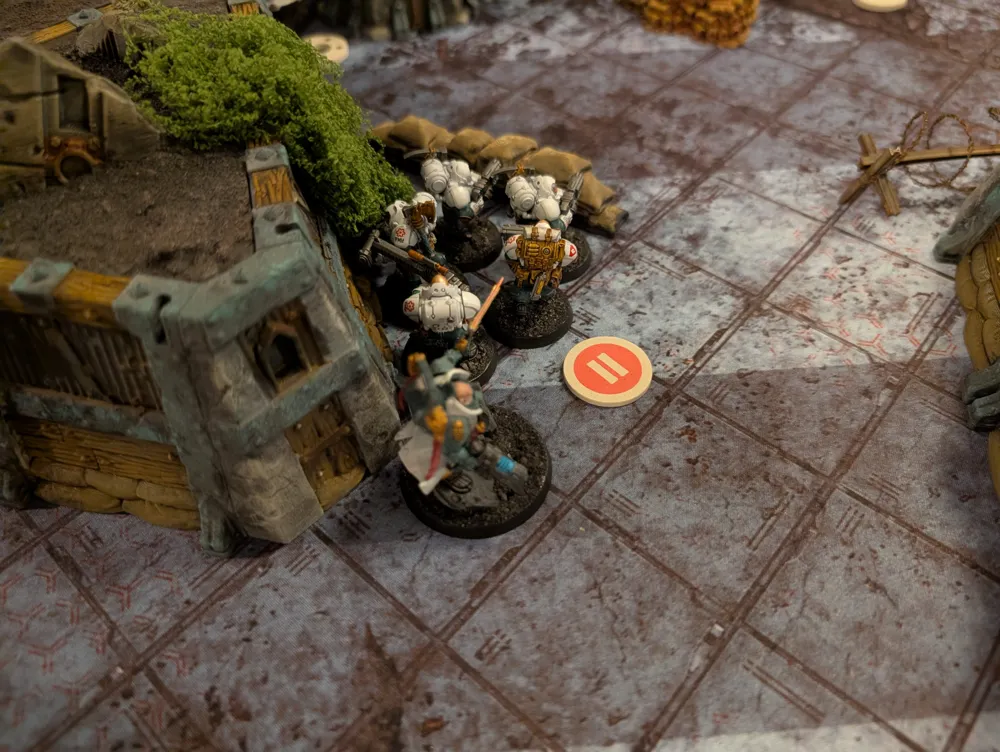
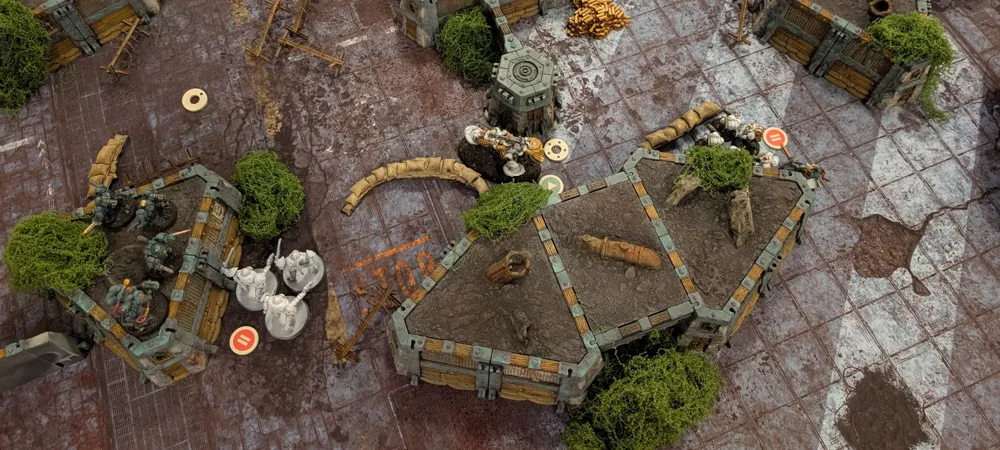
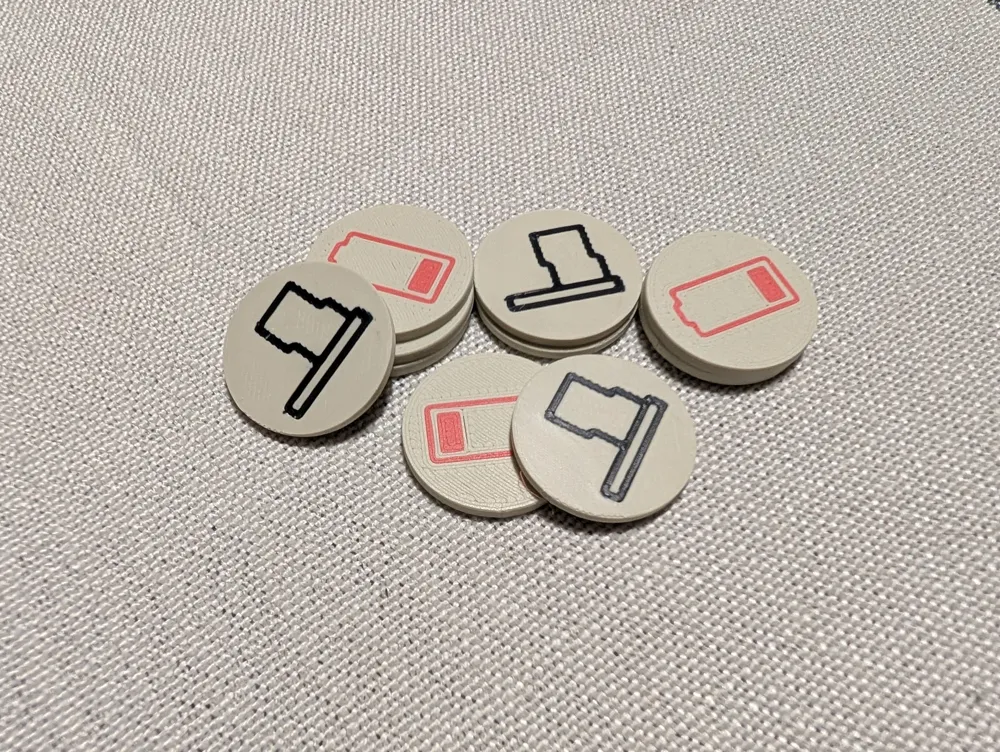
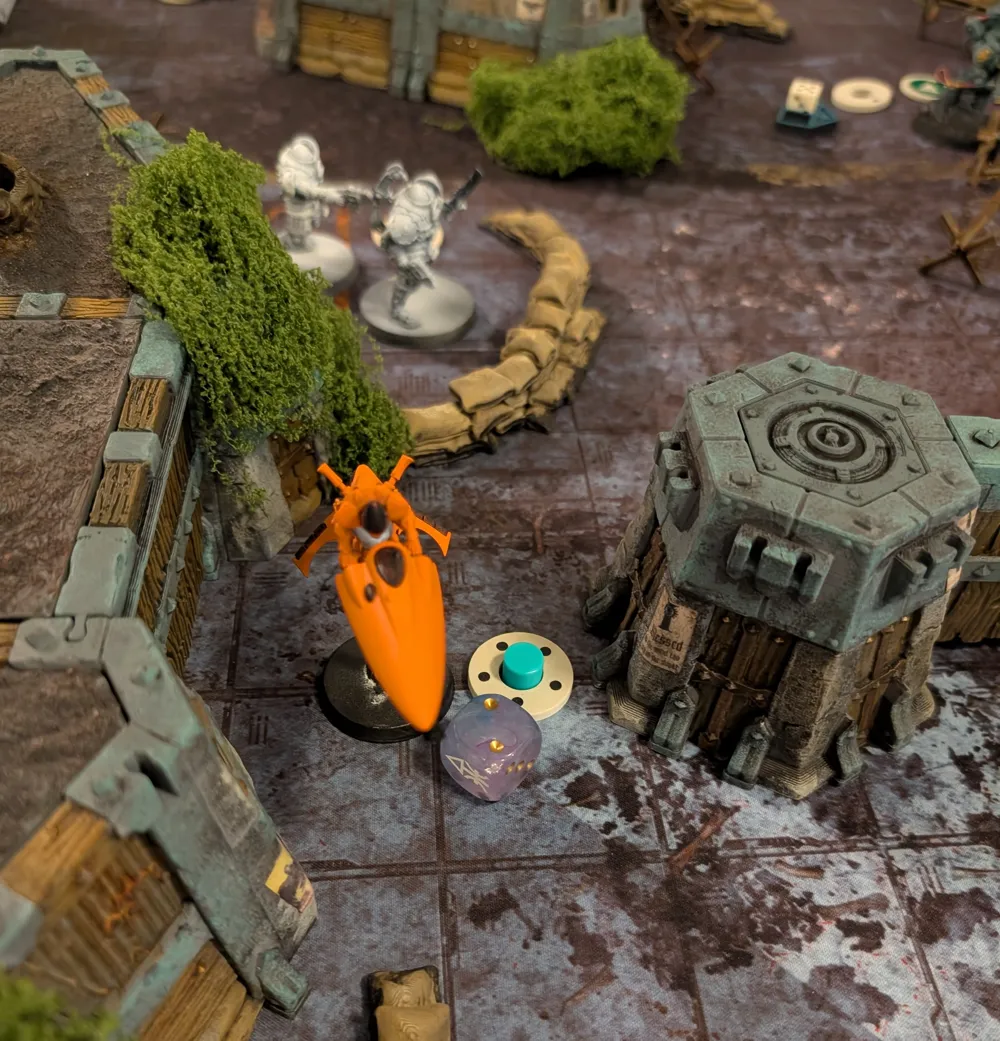
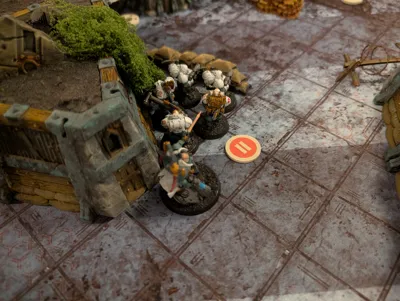
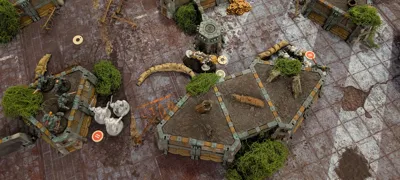
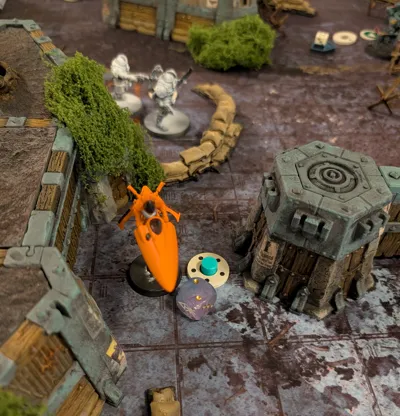
So I have made these double-sided ones instead, designed to be simple, bold, and fairly clean and modern in looks. They are easy to read across a whole table, as you can see in my first game photos with them, and whilst they only use icons, their meaning should be a little less abstract than the OPR classic ones.
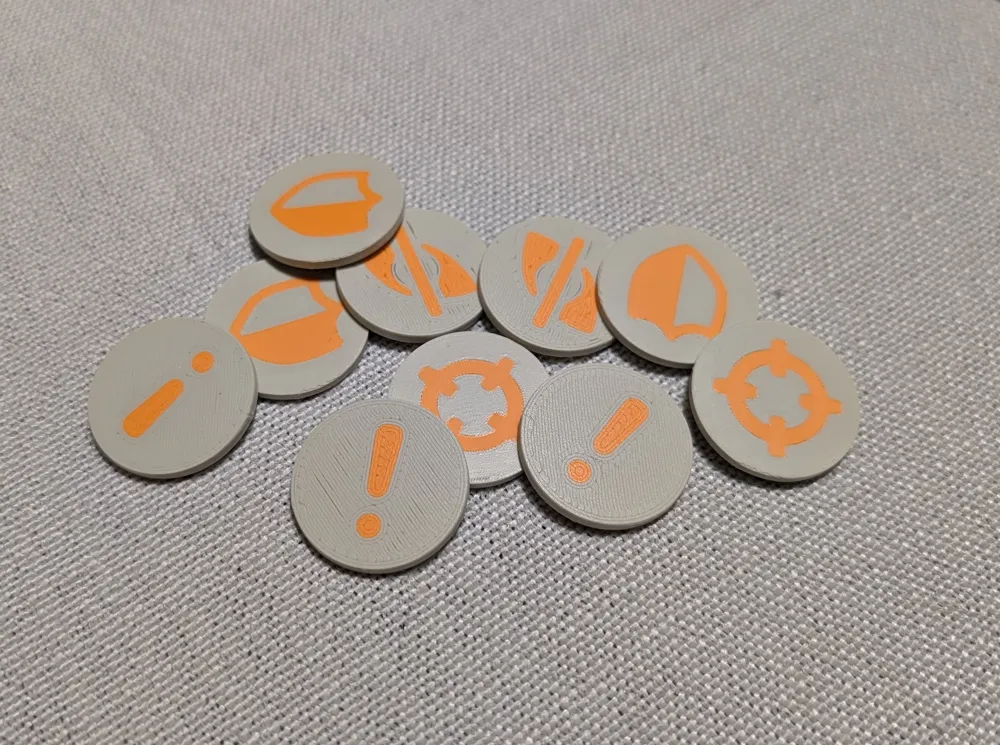
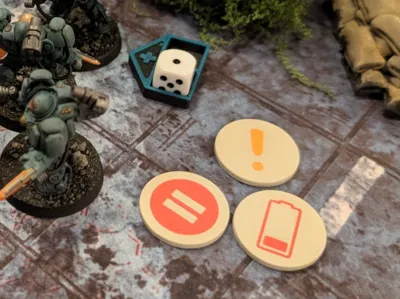
Additionally, they include tokens for the optional advanced rules like Overwatch, Hunker Down and Defensive Stance, which I haven't seen many of online.
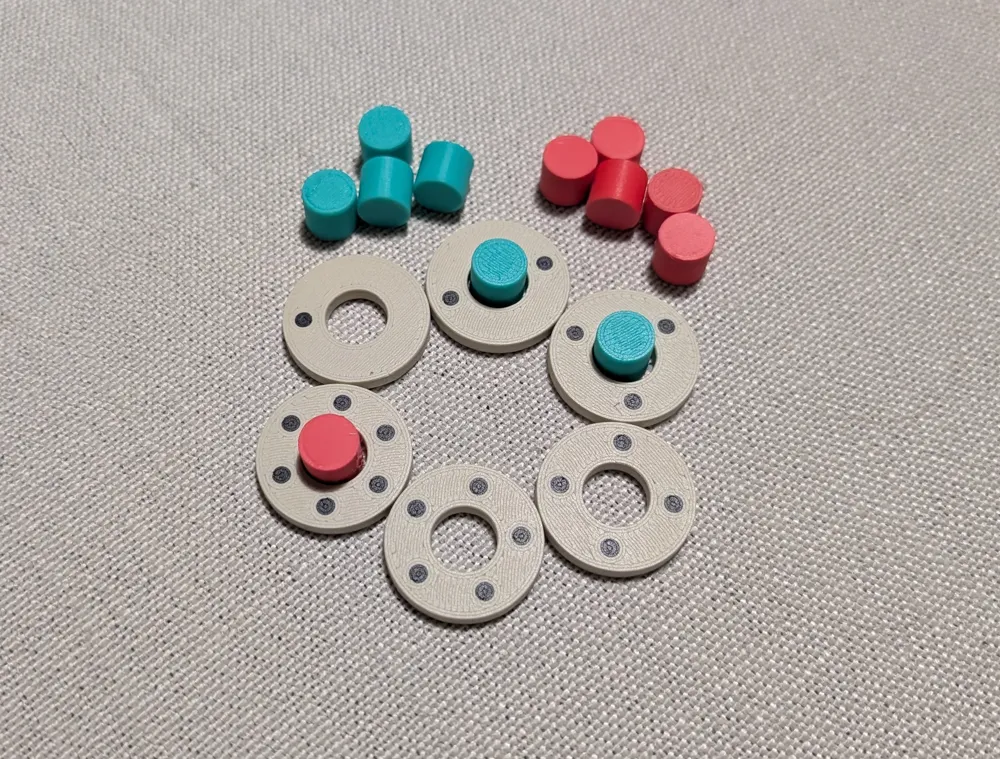
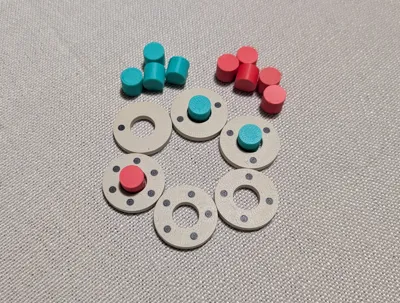
The objective markers are marked 1-6 for more advanced missions, and have slots to make use of coloured pegs for easy identification of control if desired. Or just chuck a dice on there like the olden days.
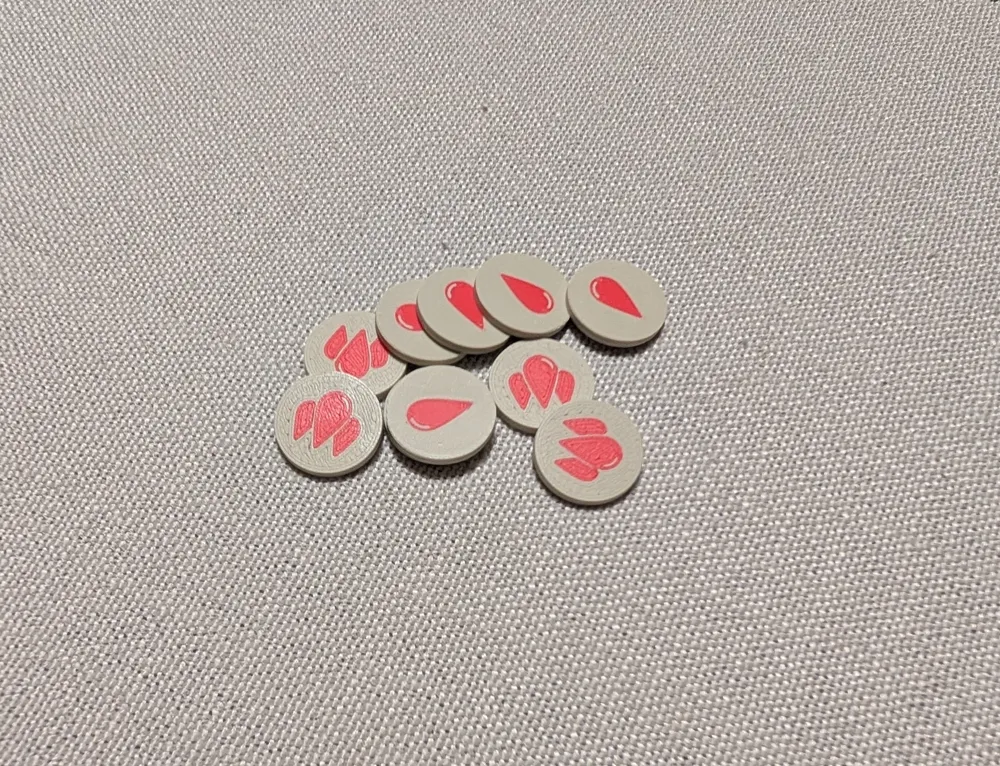
The wound markers are a little smaller as more may be needed, but personally I still use a D6 in a little holder for my own wound tracking.
Included are:
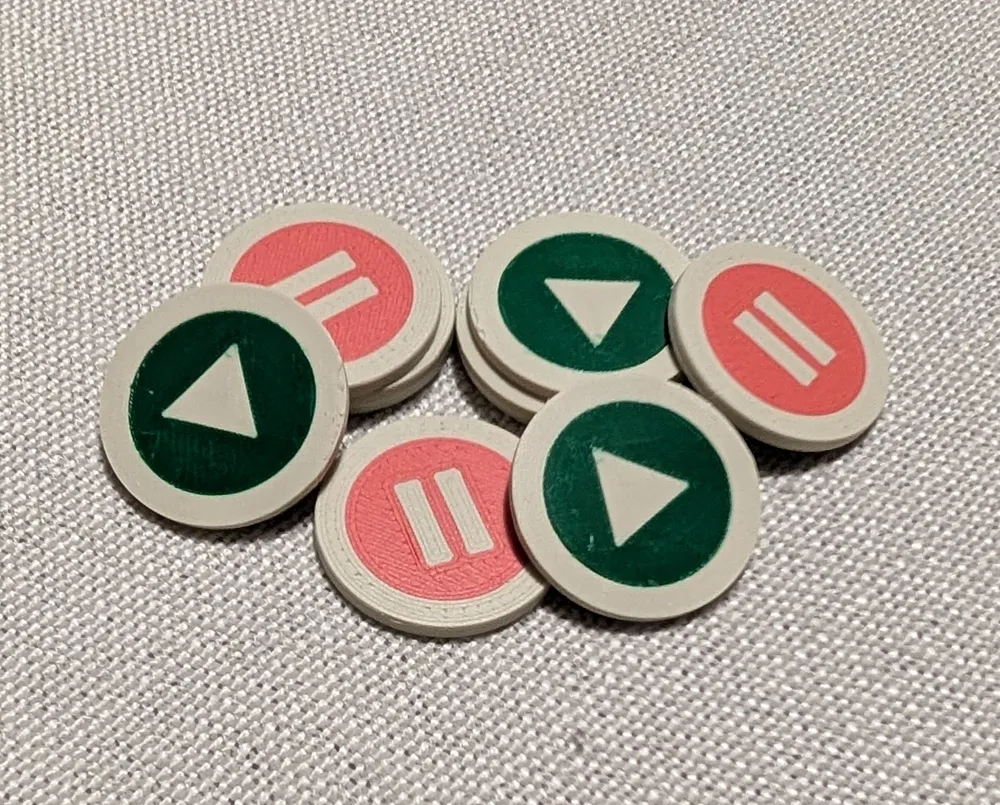
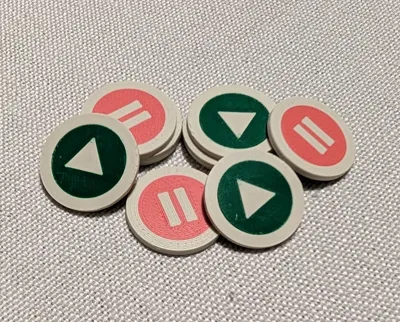
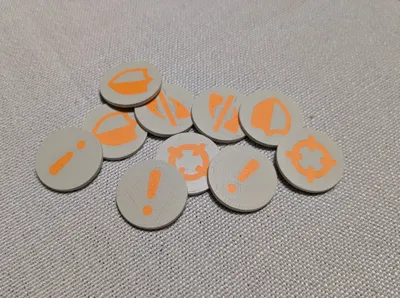
- Ready/Already Activated (Play and Pause Icons)
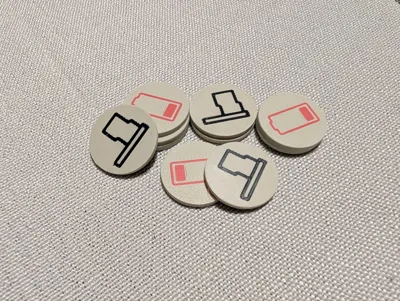
- Fatigued/Shaken (Low Battery and Flag Icons)
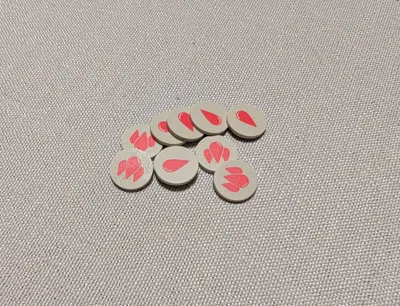
- Wound Markers 1/3 (Blood Drop Icon)
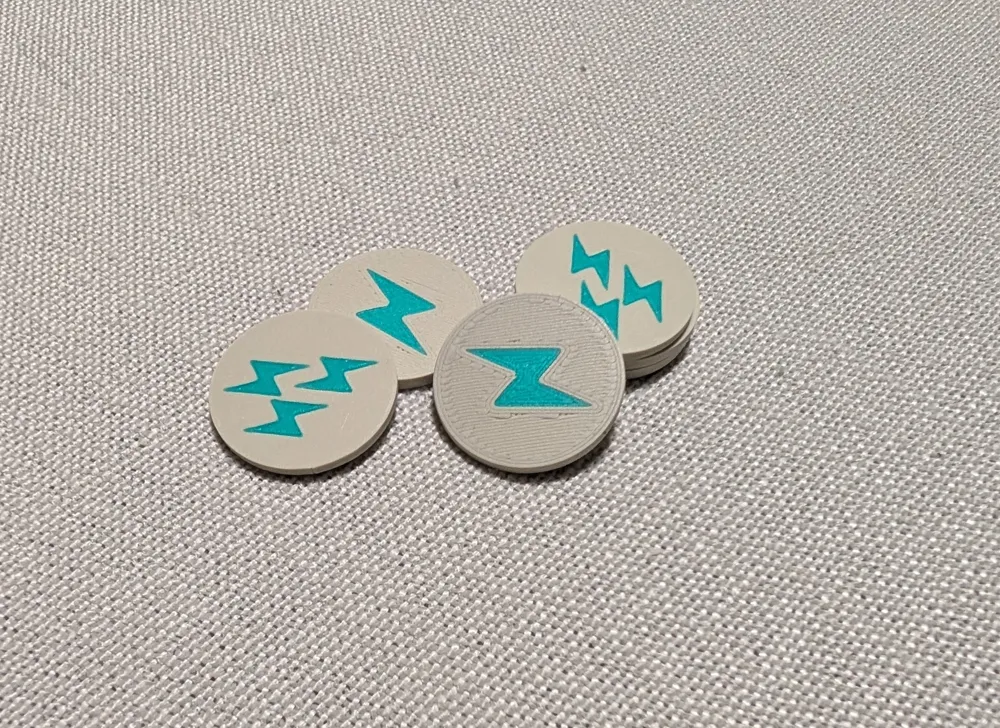
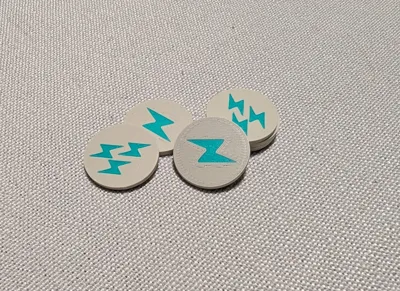
- Casting Tokens 1/3 (Lightning Bolt Icon)
- Advanced Actions: Overwatch/General Reminder (Crosshairs and Exclamation Mark Icons)
- Advanced Actions: Stealth/Defensive Stance (Eye and Shield Icons Icons)
- Objective Markers 1-6 in dots
- Control Pegs for Objective Markers
I have added them all with individual colours in the 3MF file and this can be easily adjusted to fit your own filament options. I recommend strong contrasting colours and matte filament for clarity. Mine are printed with a base of Light Khaki PLA from ESun, and various other scraps for the highlight colours. Additionally, ironing is turned on for a nice smooth finish, so I recommend checking that your flushing volume is turned up a bit higher just to make sure that nothing ruins that final layer.
Are these the most thematically Grimdark tokens? No. Are they the most filament efficient? God no. Do I love them anyway? Definitely.
License



Comment & Rating (0)