
Print Profile(1)

Bill of Materials


.jpg)


Description
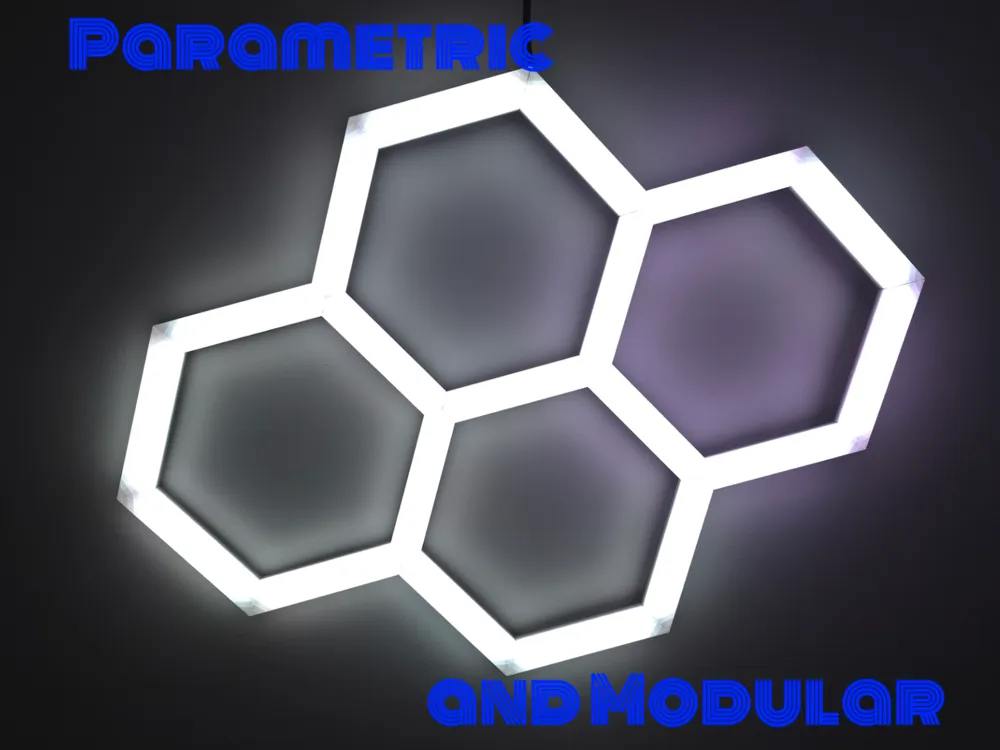
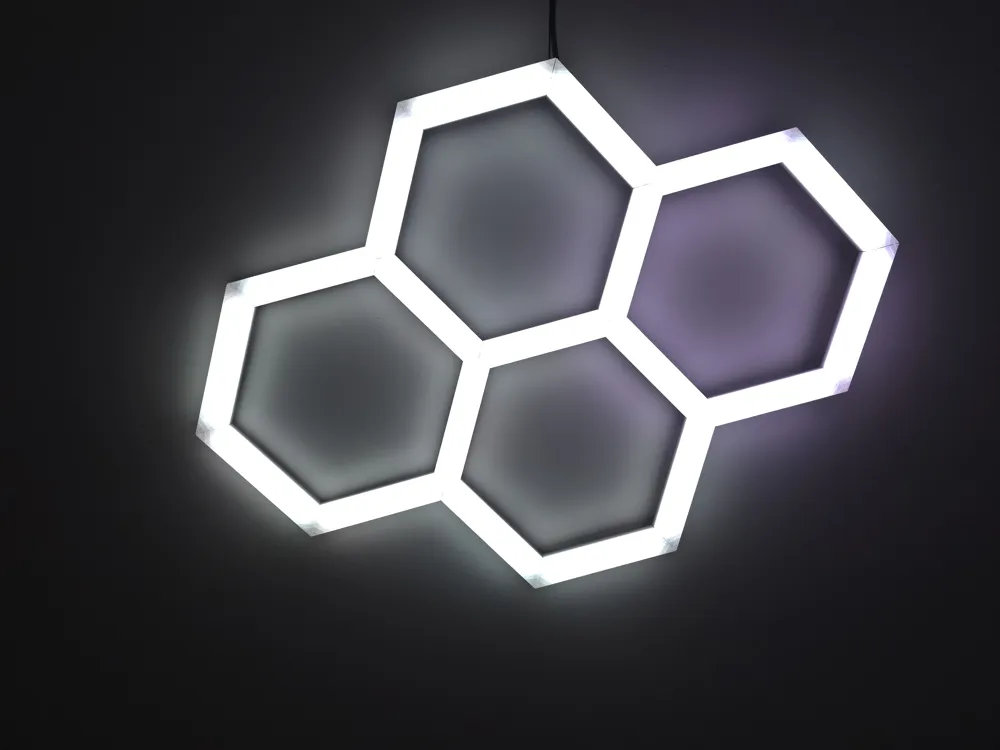
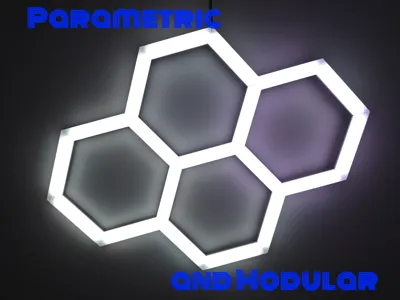
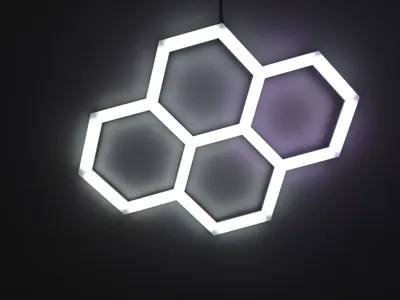
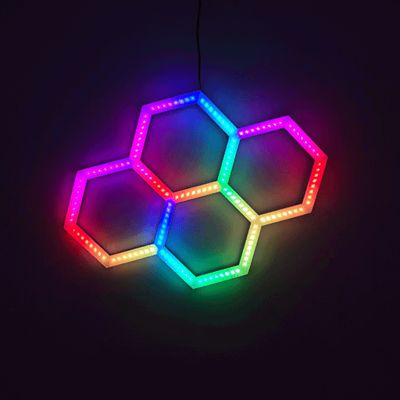
Parametric (Modular) Hexagon LED Lamp
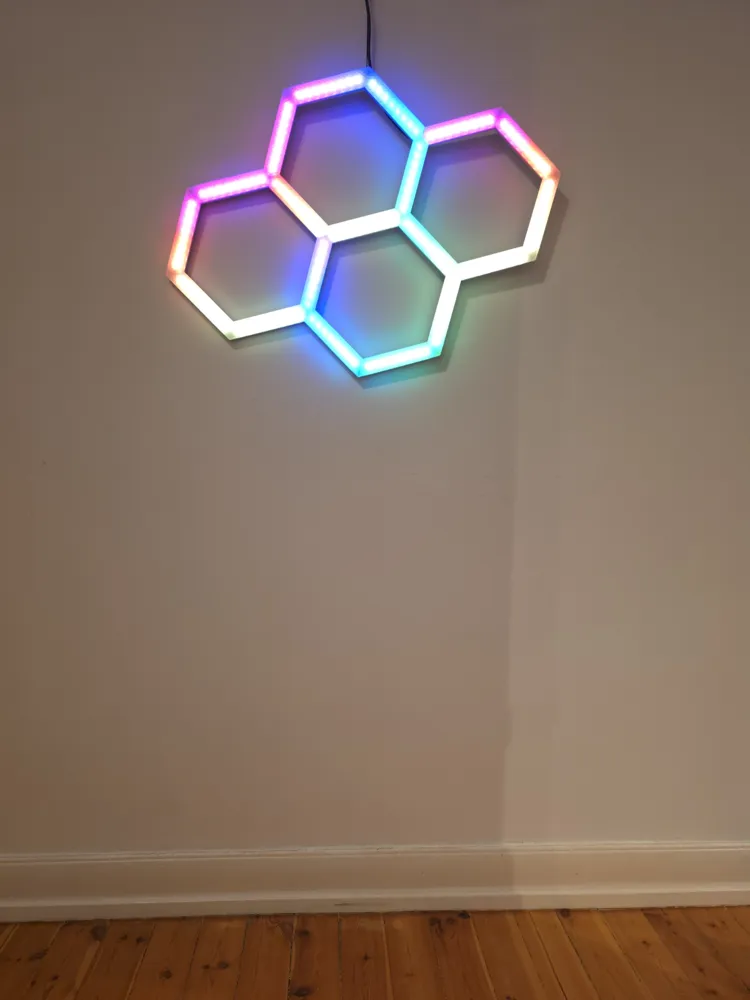
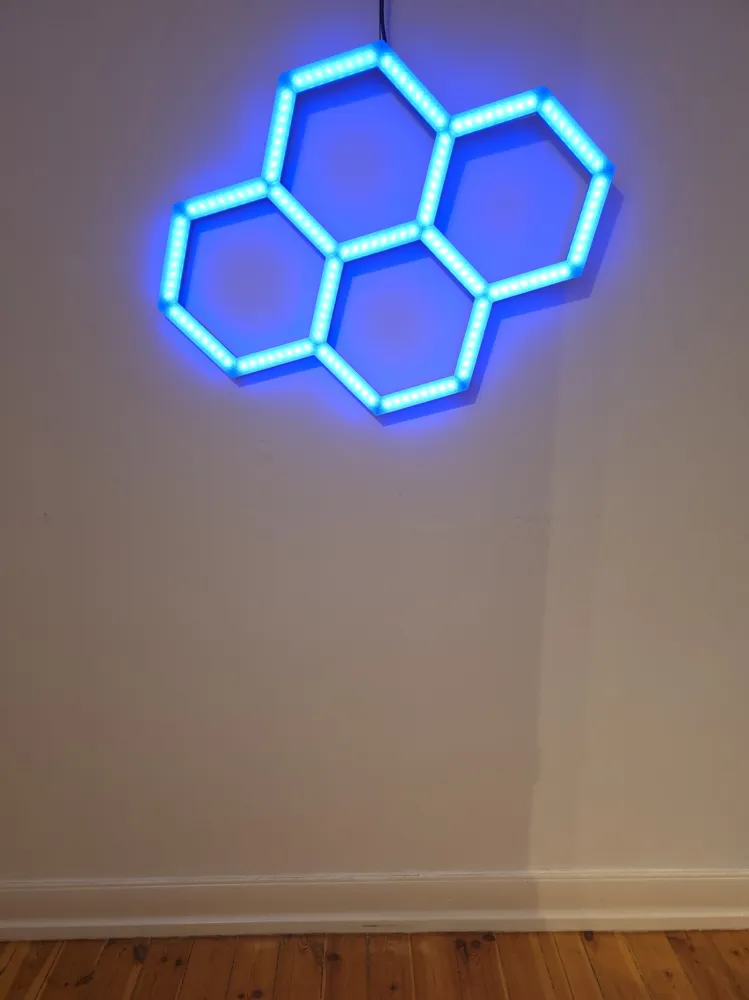
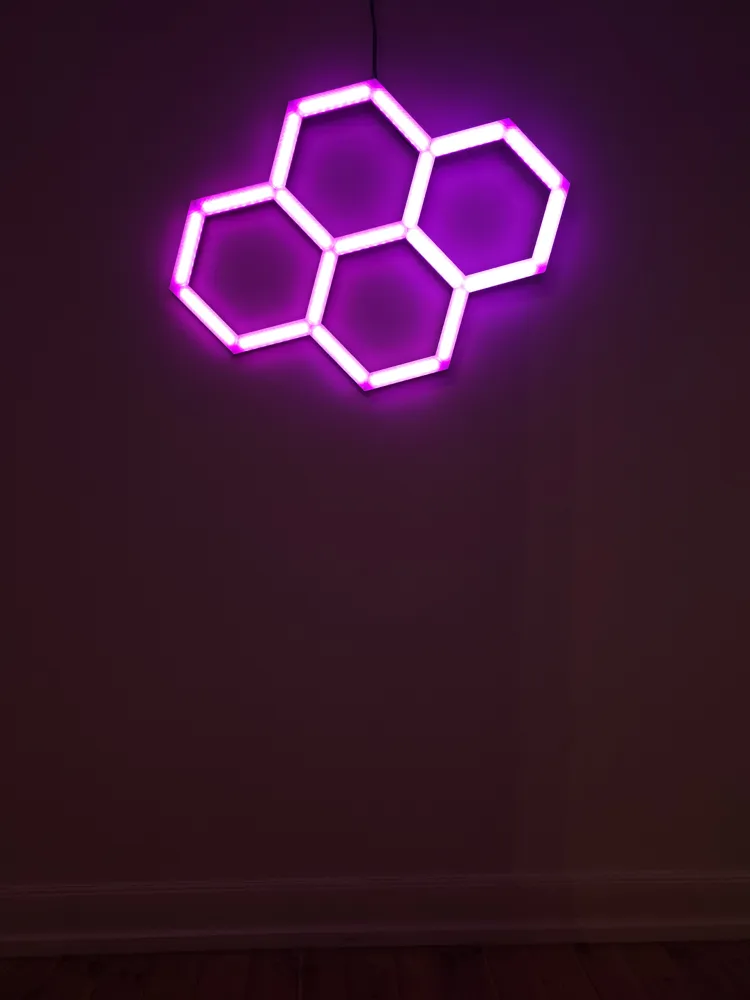
Bring your wall/sealing to life with this fully customizable, modular hexagon lighting system. Whether you want a small desk accent or a massive wall-spanning installation, this design grows with your imagination.
💡 Project Overview
This is not just a static model—it is fully parametric. This means you can adjust the dimensions to fit your specific LED strips or space requirements. The modular design allows you to print as many segments as you need and arrange them in as small or big pattern you like.
Key Features
- Fully Parametric: Parametric files included so you can customize the height, width, channel depth and much more.
- Infinite Modularity: Connectors allow you to expand the pattern in any direction as much as you want.
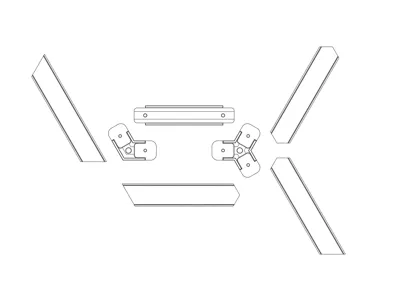
- Easy Assembly: Simple slide and screw design
- Heat inserts or not: Modify “insert” and “fastener” for use with or without heat inserts.
🛠️ Bill of Materials (Hardware)

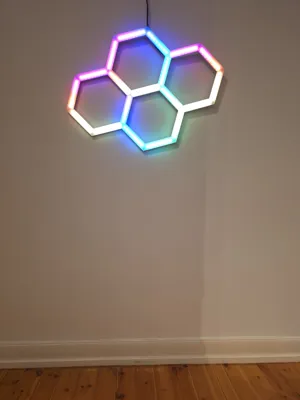
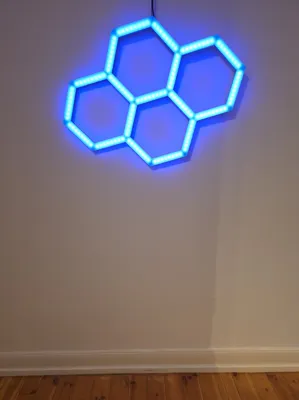
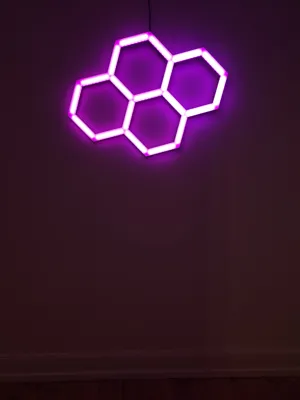
To build the lamp shown in the photos, you will need:
- LED Strips: Approximately 3m (10mm wide) led strip of your liking with adhesive on the back. RGB, RGBW or any type of white.
- Controller: ESP32 running WLED or any other led controller compatible with your led.
- Power Supply: Compatible power supply. I used 5v led (60led/m, 0,8A/m) with total load of 2,3A.
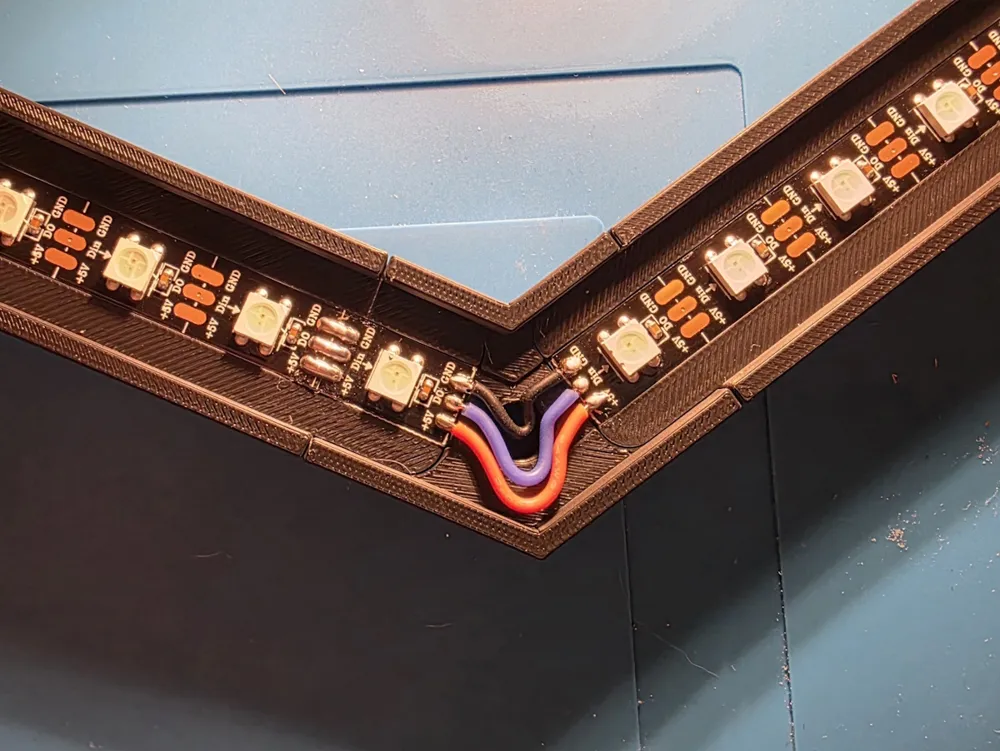
- Wires: 22 AWG wire for connections
- Heat inserts:
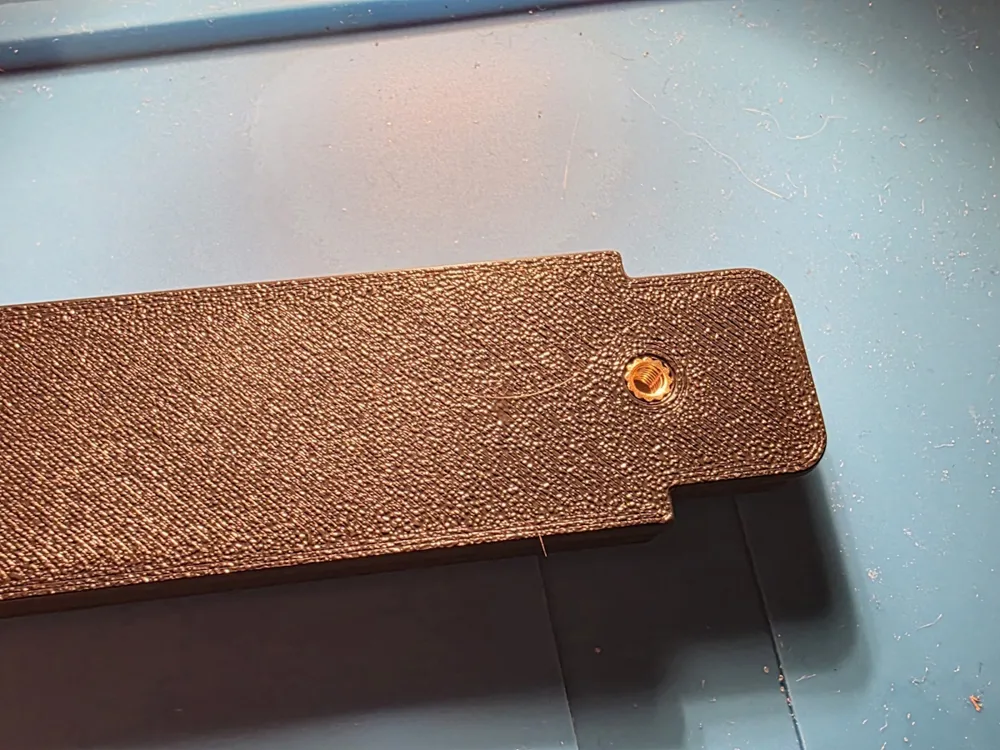
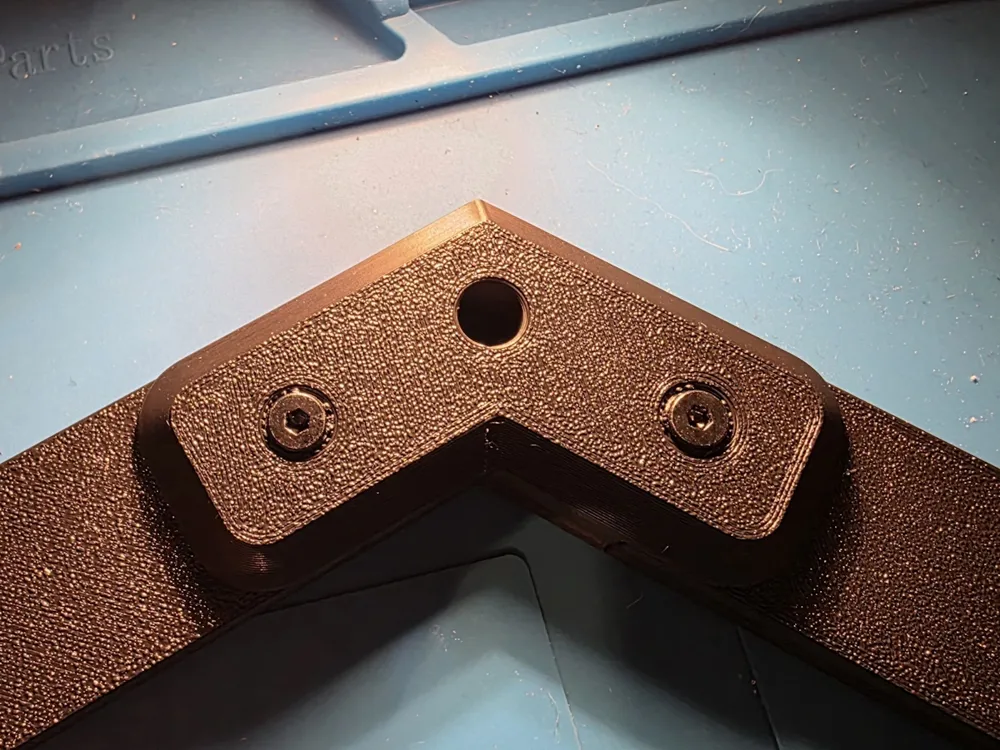
- 38 x M3*4*4,2 for connecting “led stip” and “connectors”
- M6*5*7.1 for use with “Eye bolts” or similar for mounting in sealing.
- Screws: 38 x M3*10mm machine screws
🖨️ Printing Guidelines
You have to experiment with what suites your needs, but here are some suggestions.
- Material: PLA or PETG.
- Color:
- Frames: Any color you like (Black, White, Red, Blue, and so on.)
- Diffusers: White or transparent (Transparent PLA or dedicated generic white PLA works best, but you will have to experiment with what works best for you! )
- Layer Height: 0.2mm standard.
- Infill:
- Frames: 15-20%
- Diffusers: 100% (Solid) or concentric infill ensures the best light diffusion without internal pattern shadows. ( I actually ended up with 2 layers of 15% Cube infill for somewhat of an effect, and a 5mm extra height for the diffuser walls for the best effect for me. But again, you will have to experiment to get your desired effect. )
- Wall loops:
- Frames: 3 or more walls
- Diffusers: 2 walls and “Only one wall on first layer”
- Supports: No
⚙️ How to Customize (Parametric)
I have uploaded the .f3d (Fusion 360) file. To change the sizes:
- Click the “Customize” button on top.
- Modify the parameters to your liking.
- Download the modified 3MF or STL file
- Open the file in Bambu Studio
- Right klick on the model and "Split to Objects"
- Clone the parts according to how many you need of each.
- Modify print settings to your needs and print.
Example :
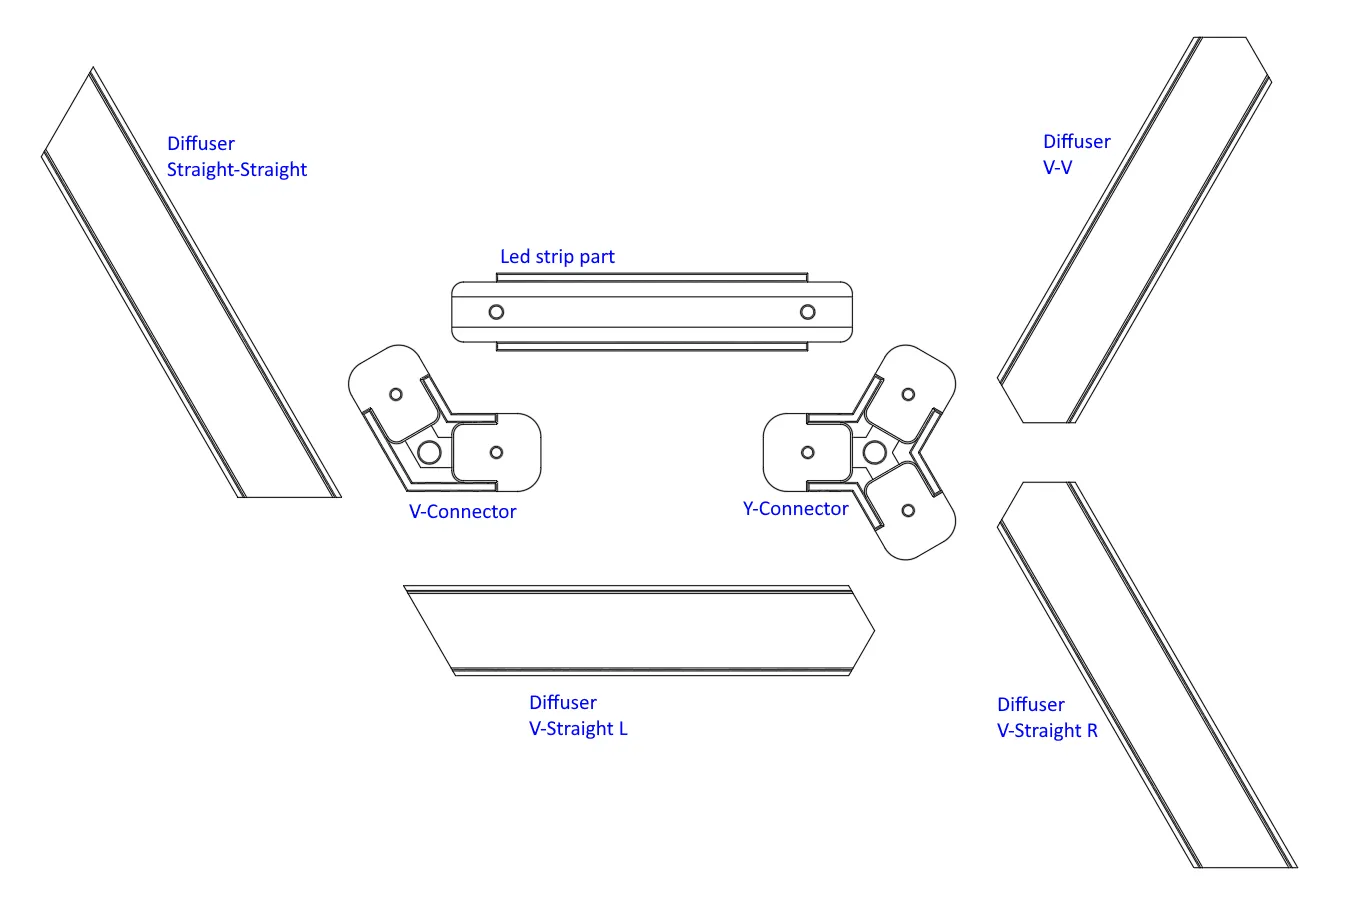
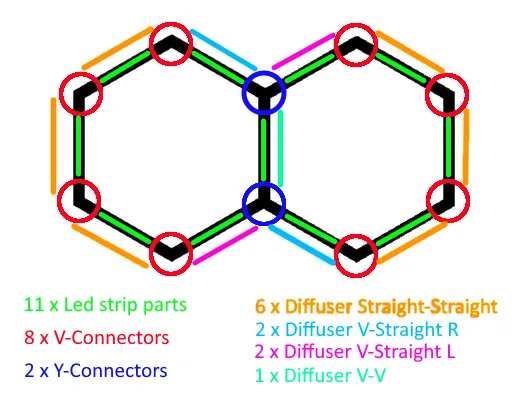
📦 Assembly Instructions
Print your desired number of hexagons.
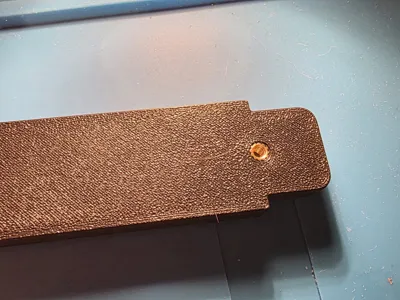
Add “heat inserts” to the “led strip” parts if you went for this option.
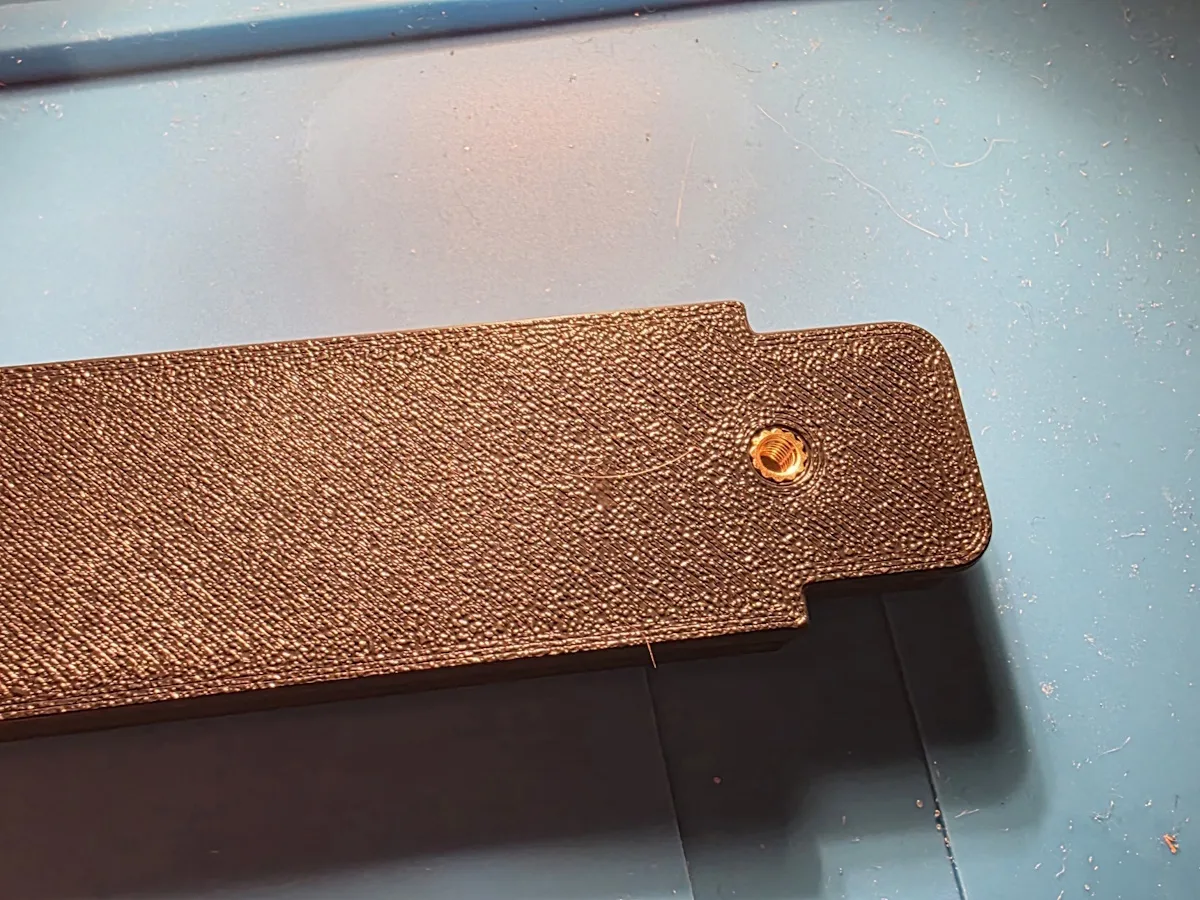
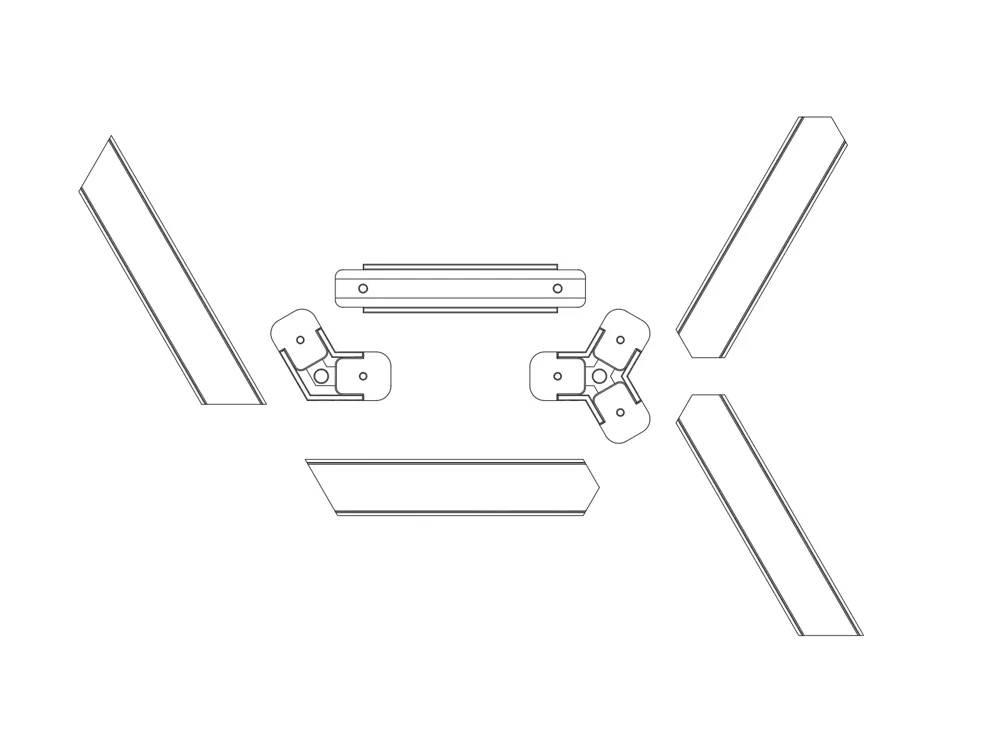
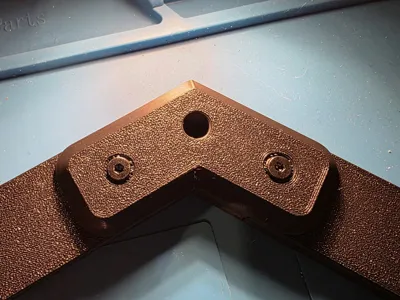
Assemble “led strip” and “connector” parts with appropriate screws.
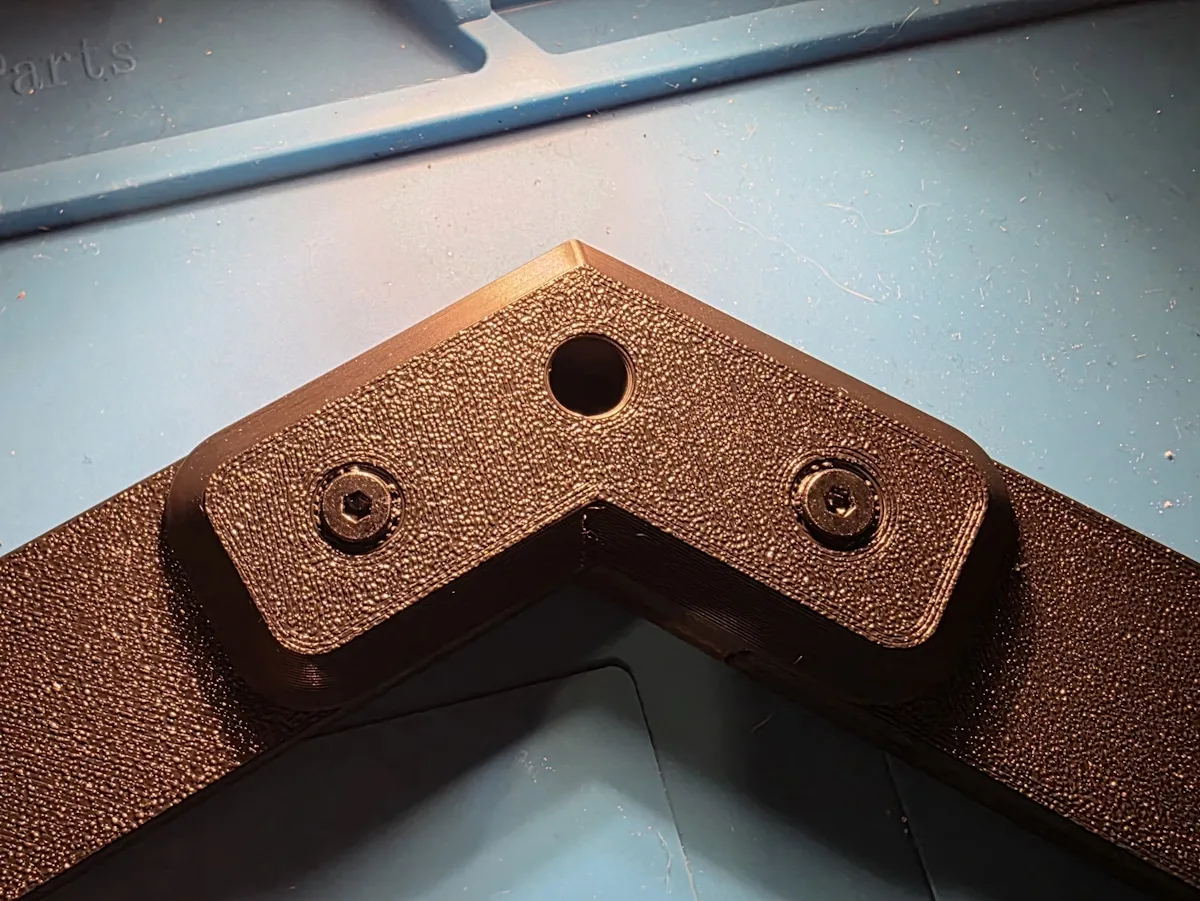
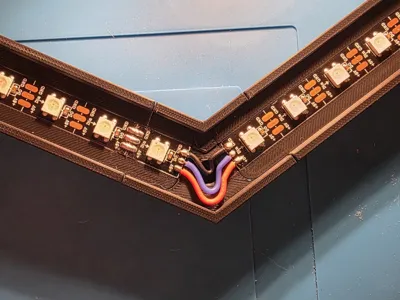
Route your LED strip through the internal channels and solder where needed.
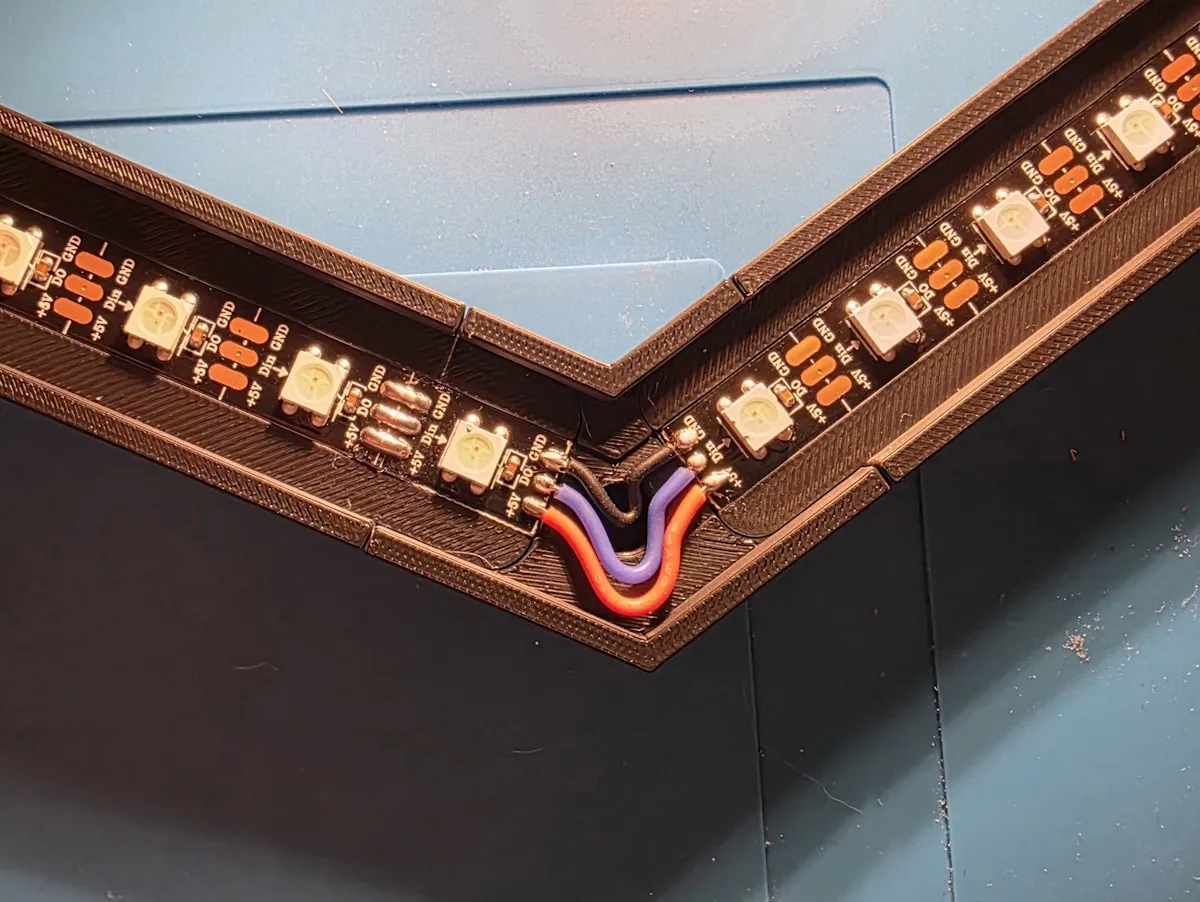
Wire up your controller and power supply.
Add heat inserts to "connectors" if you want to use “Eye bolts” or similar to hang your light from the sealing/wall. Or use the “Power holes” for mounting directly.
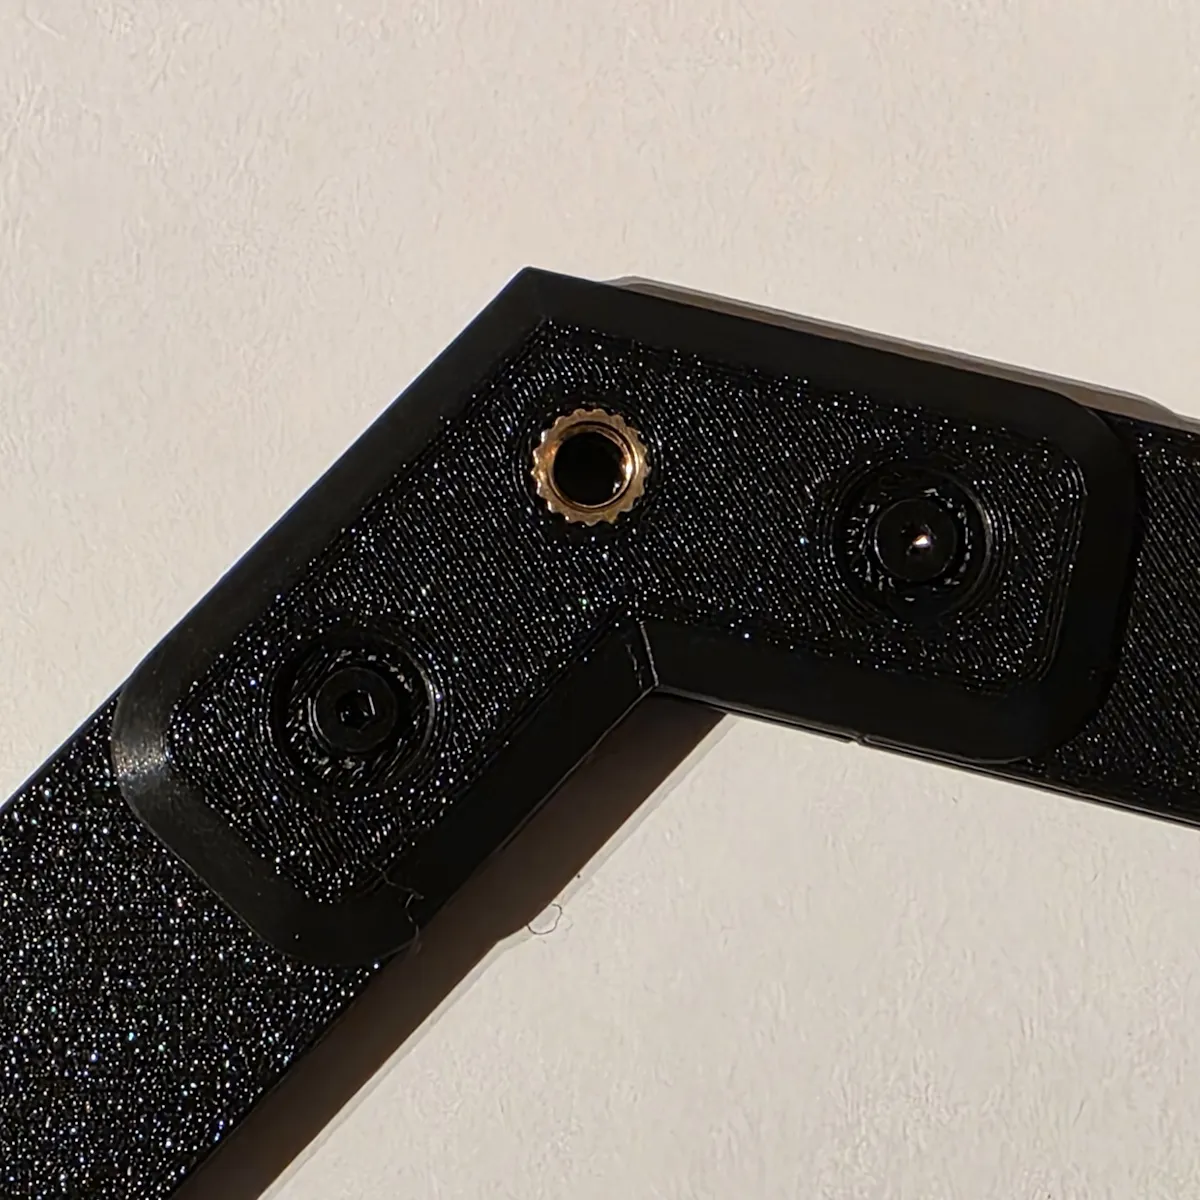
Mount to the wall or sealing.
- Assemble diffusers and enjoy.
Boost Me (for free)
If you like my design, a boost is always appreciated!
License

You may create derivative works based on this object, provided that all such derivative works are published exclusively on the MakerWorld platform and include proper attribution to the original creator. You may not share, upload, host, distribute, or publish this object—or any derivative work of this object—on any other digital platform, marketplace, or distribution channel. Commercial use of this object and any derivative works is strictly prohibited. This includes, but is not limited to, selling, renting, sublicensing, or using the object in any context in which you receive monetary compensation or other financial benefits.


Comment & Rating (6)