
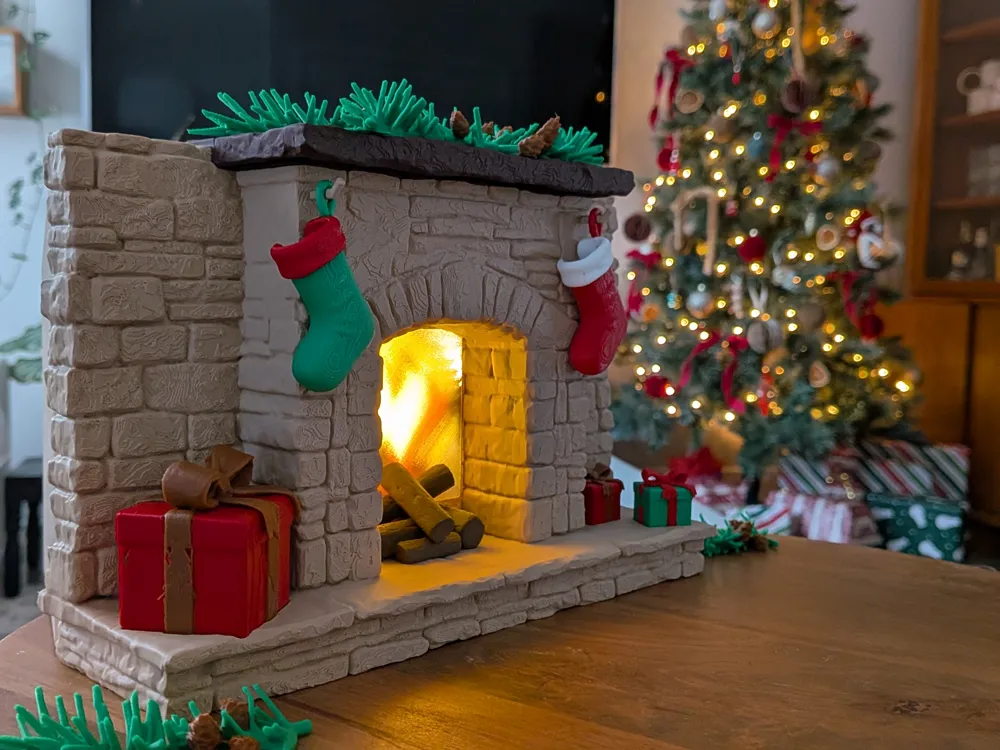
Christmas Fireplace With Real-Time Rotating Flames
Print Profile(3)


Bill of Materials









Description
Boost Me (for free)
I hope you have a lovely holiday season :)
A lot of work went into this project and giving me a boost would encourage me a lot <3
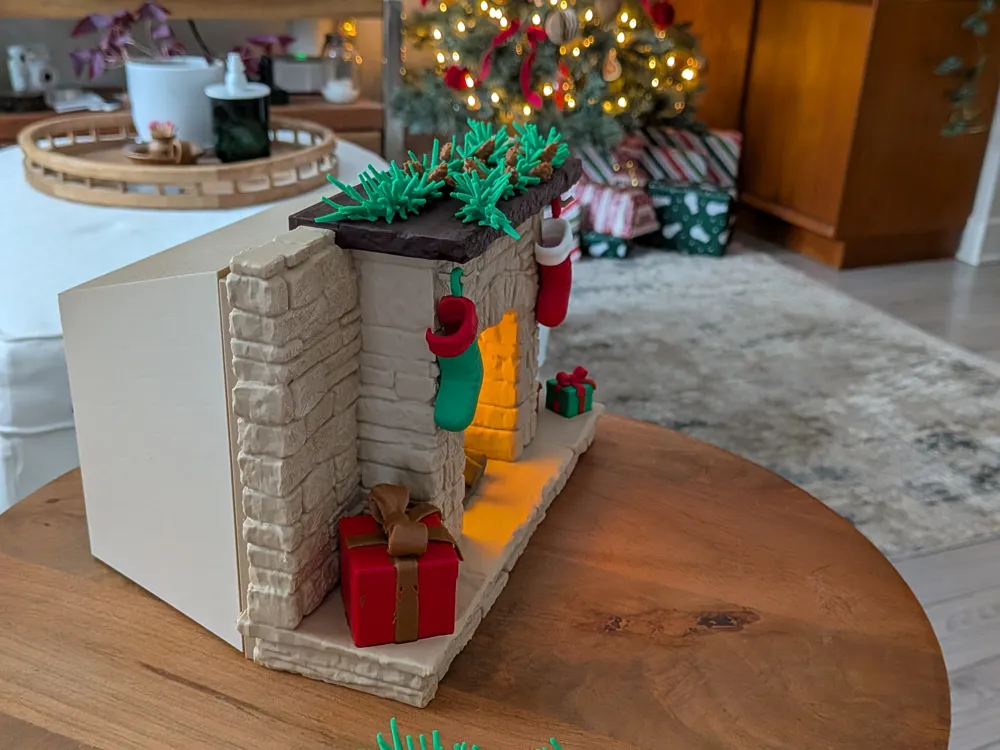

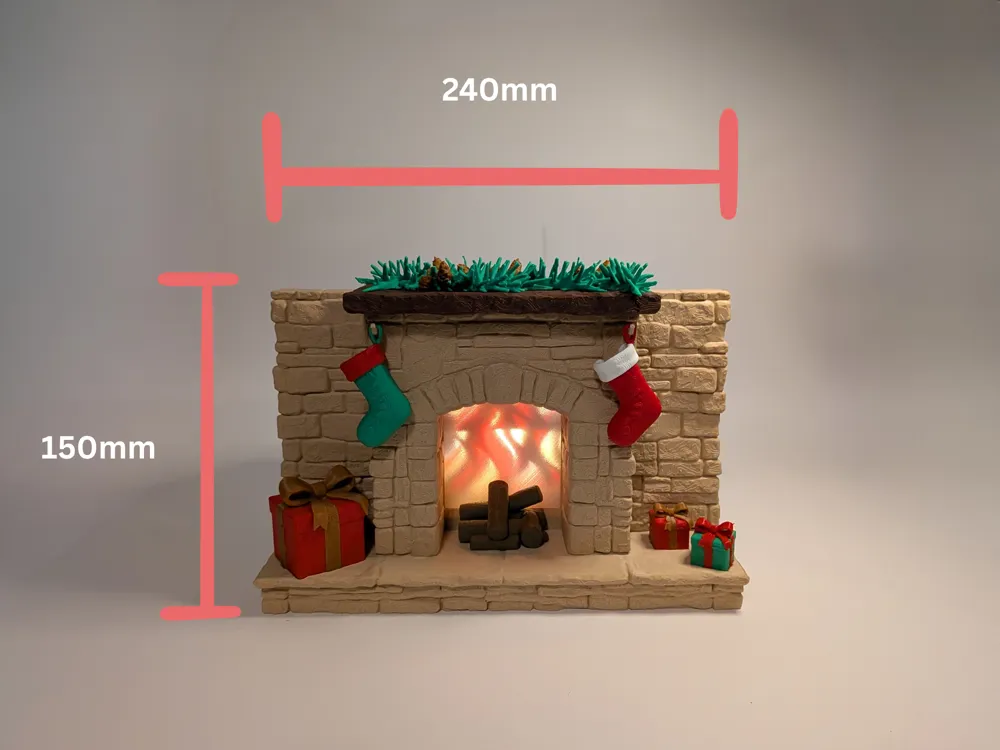
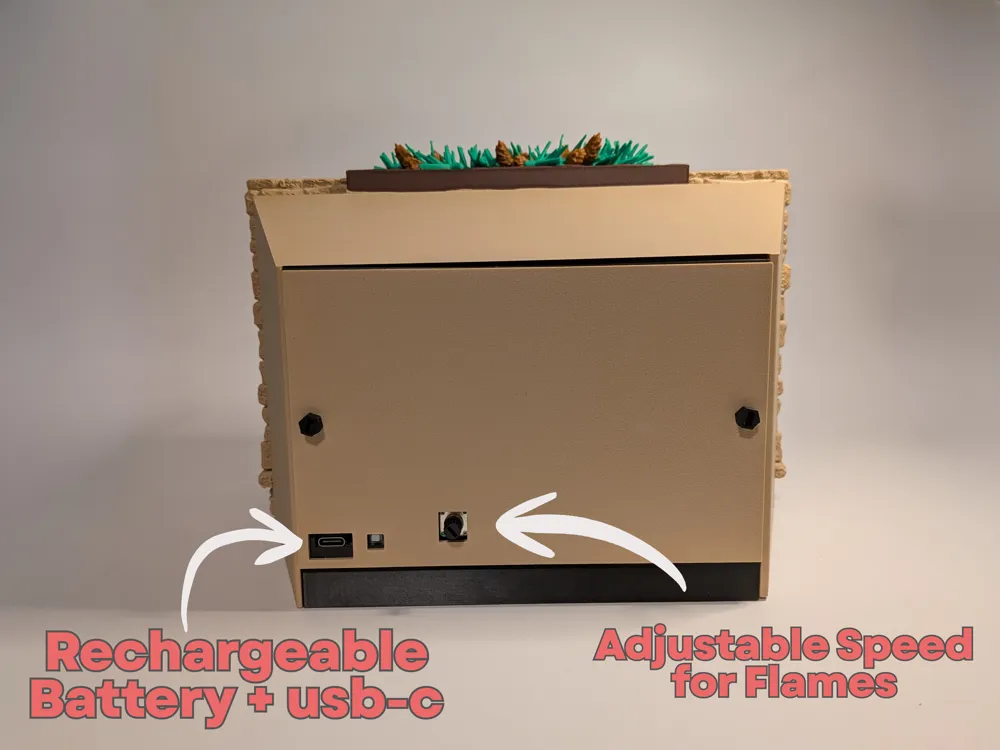
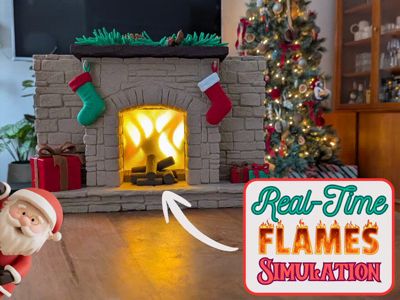
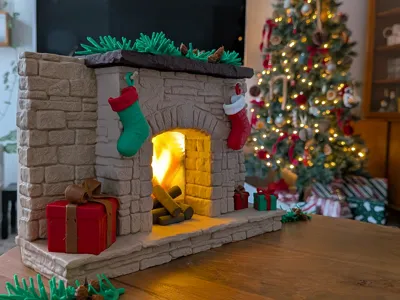
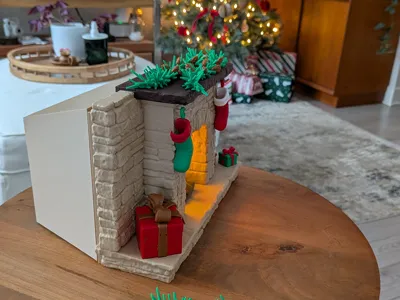
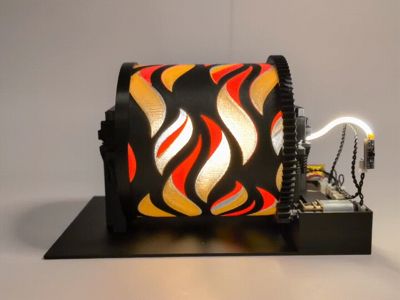
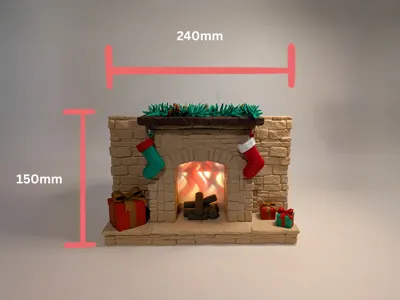
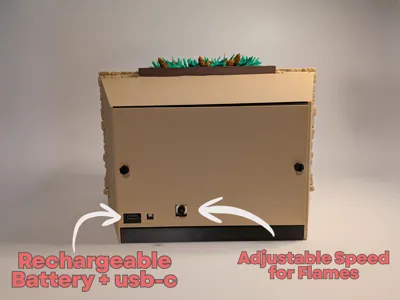
A Cozy Christmas fireplace featuring a rotating translucent flame drum, LED backlighting, and a fully enclosed stone-style shell. Powered by a small N20 motor and USB-C rechargeable module, it creates a realistic animated flame illusion. Includes decorative stockings, gifts, garlands, and faux wood logs to complete the festive look.
Filaments
Flames Slide: Black PETG + Red PETG + Orange Translucent PETG + Blue Translucent PETG
Fireplace: Matte Latte Brown + Rosewood Wood PLA
Decorations: Green PLA + Red PLA + Brown PLA
Internal: Matte Black PLA
Printing
These prints require your plate to be VERY CLEAN as they will push your printer's capabilities to achieve the best results possible. I recommend washing your plate with hot water and dish soap before starting.
There are 3 plates to print:
- The Flame Slide - This is the slide that the light shines through to create the simulation
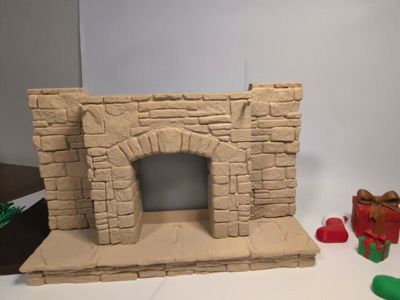
- The Main components - These are all the structural components for the fireplace
- The Accessories/Decorations - These include the Pine Garland, Wood Logs, presents and socks
(I recommend printing them in that order)
Assembly Instructions
Below are the videos that will guide you through the complete assembly and installation steps. There are 2 "parts", the inside/inner lighting portion and the exterior fireplace portion.
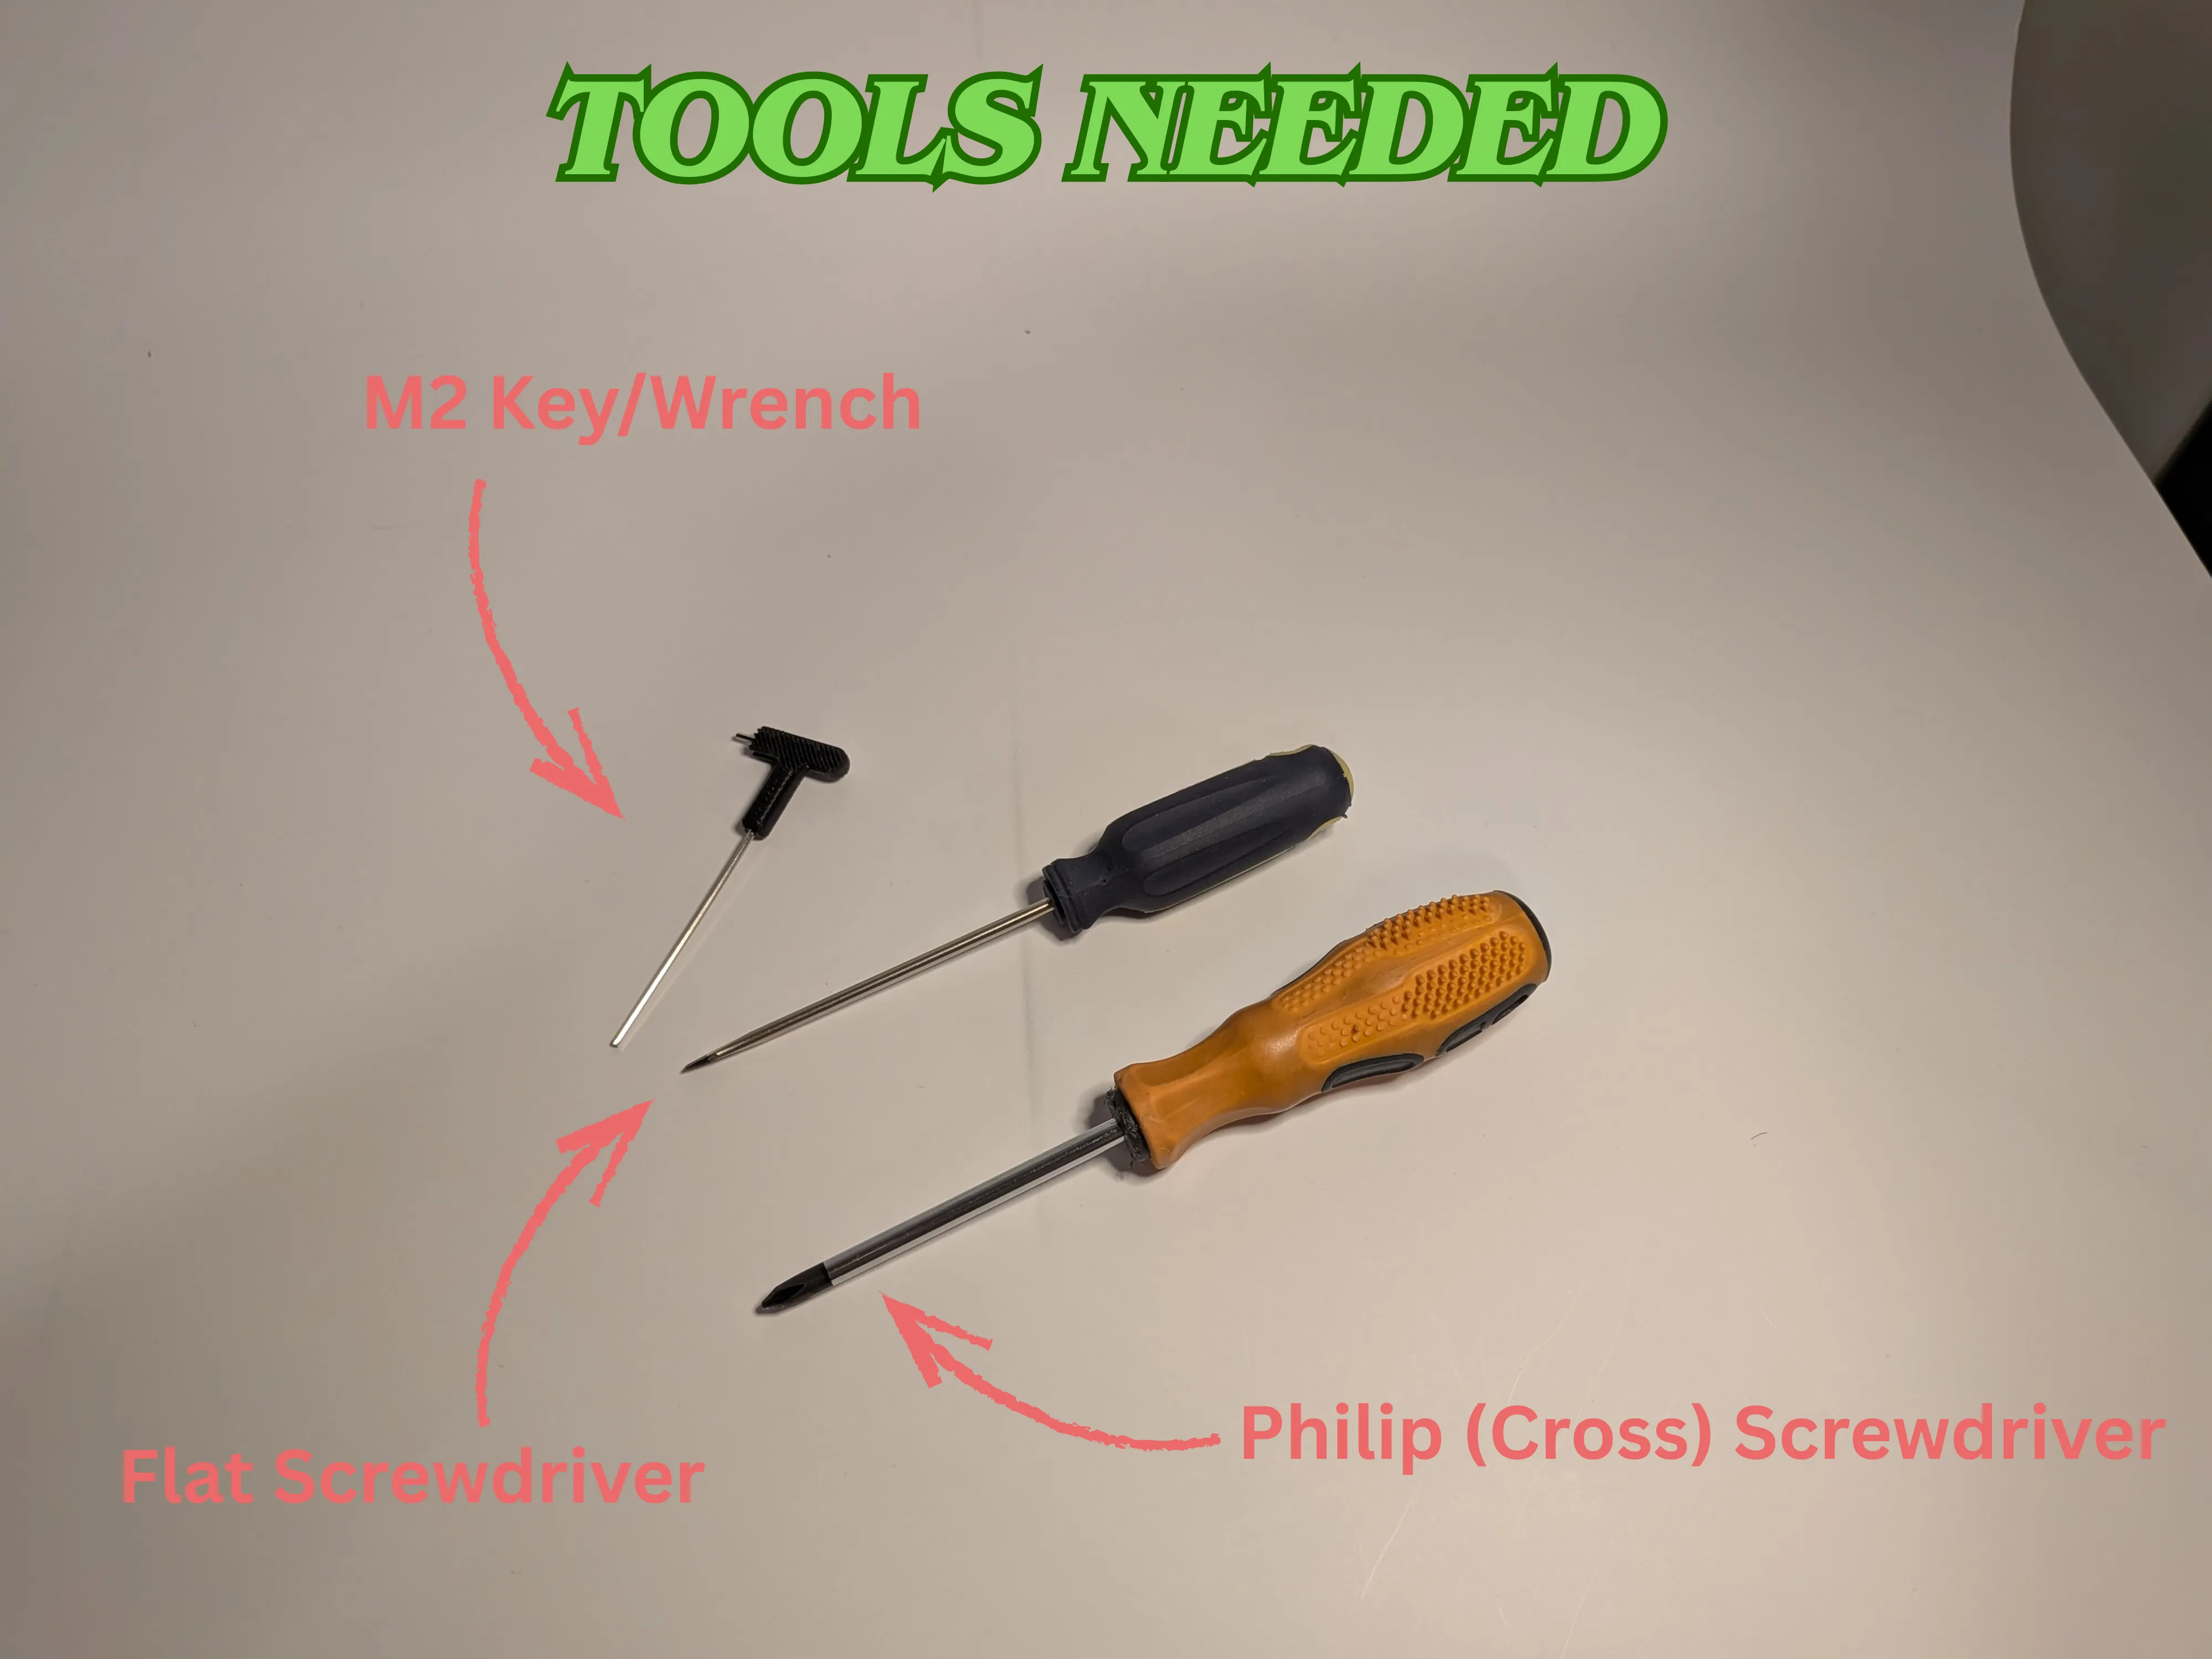
Tools Needed
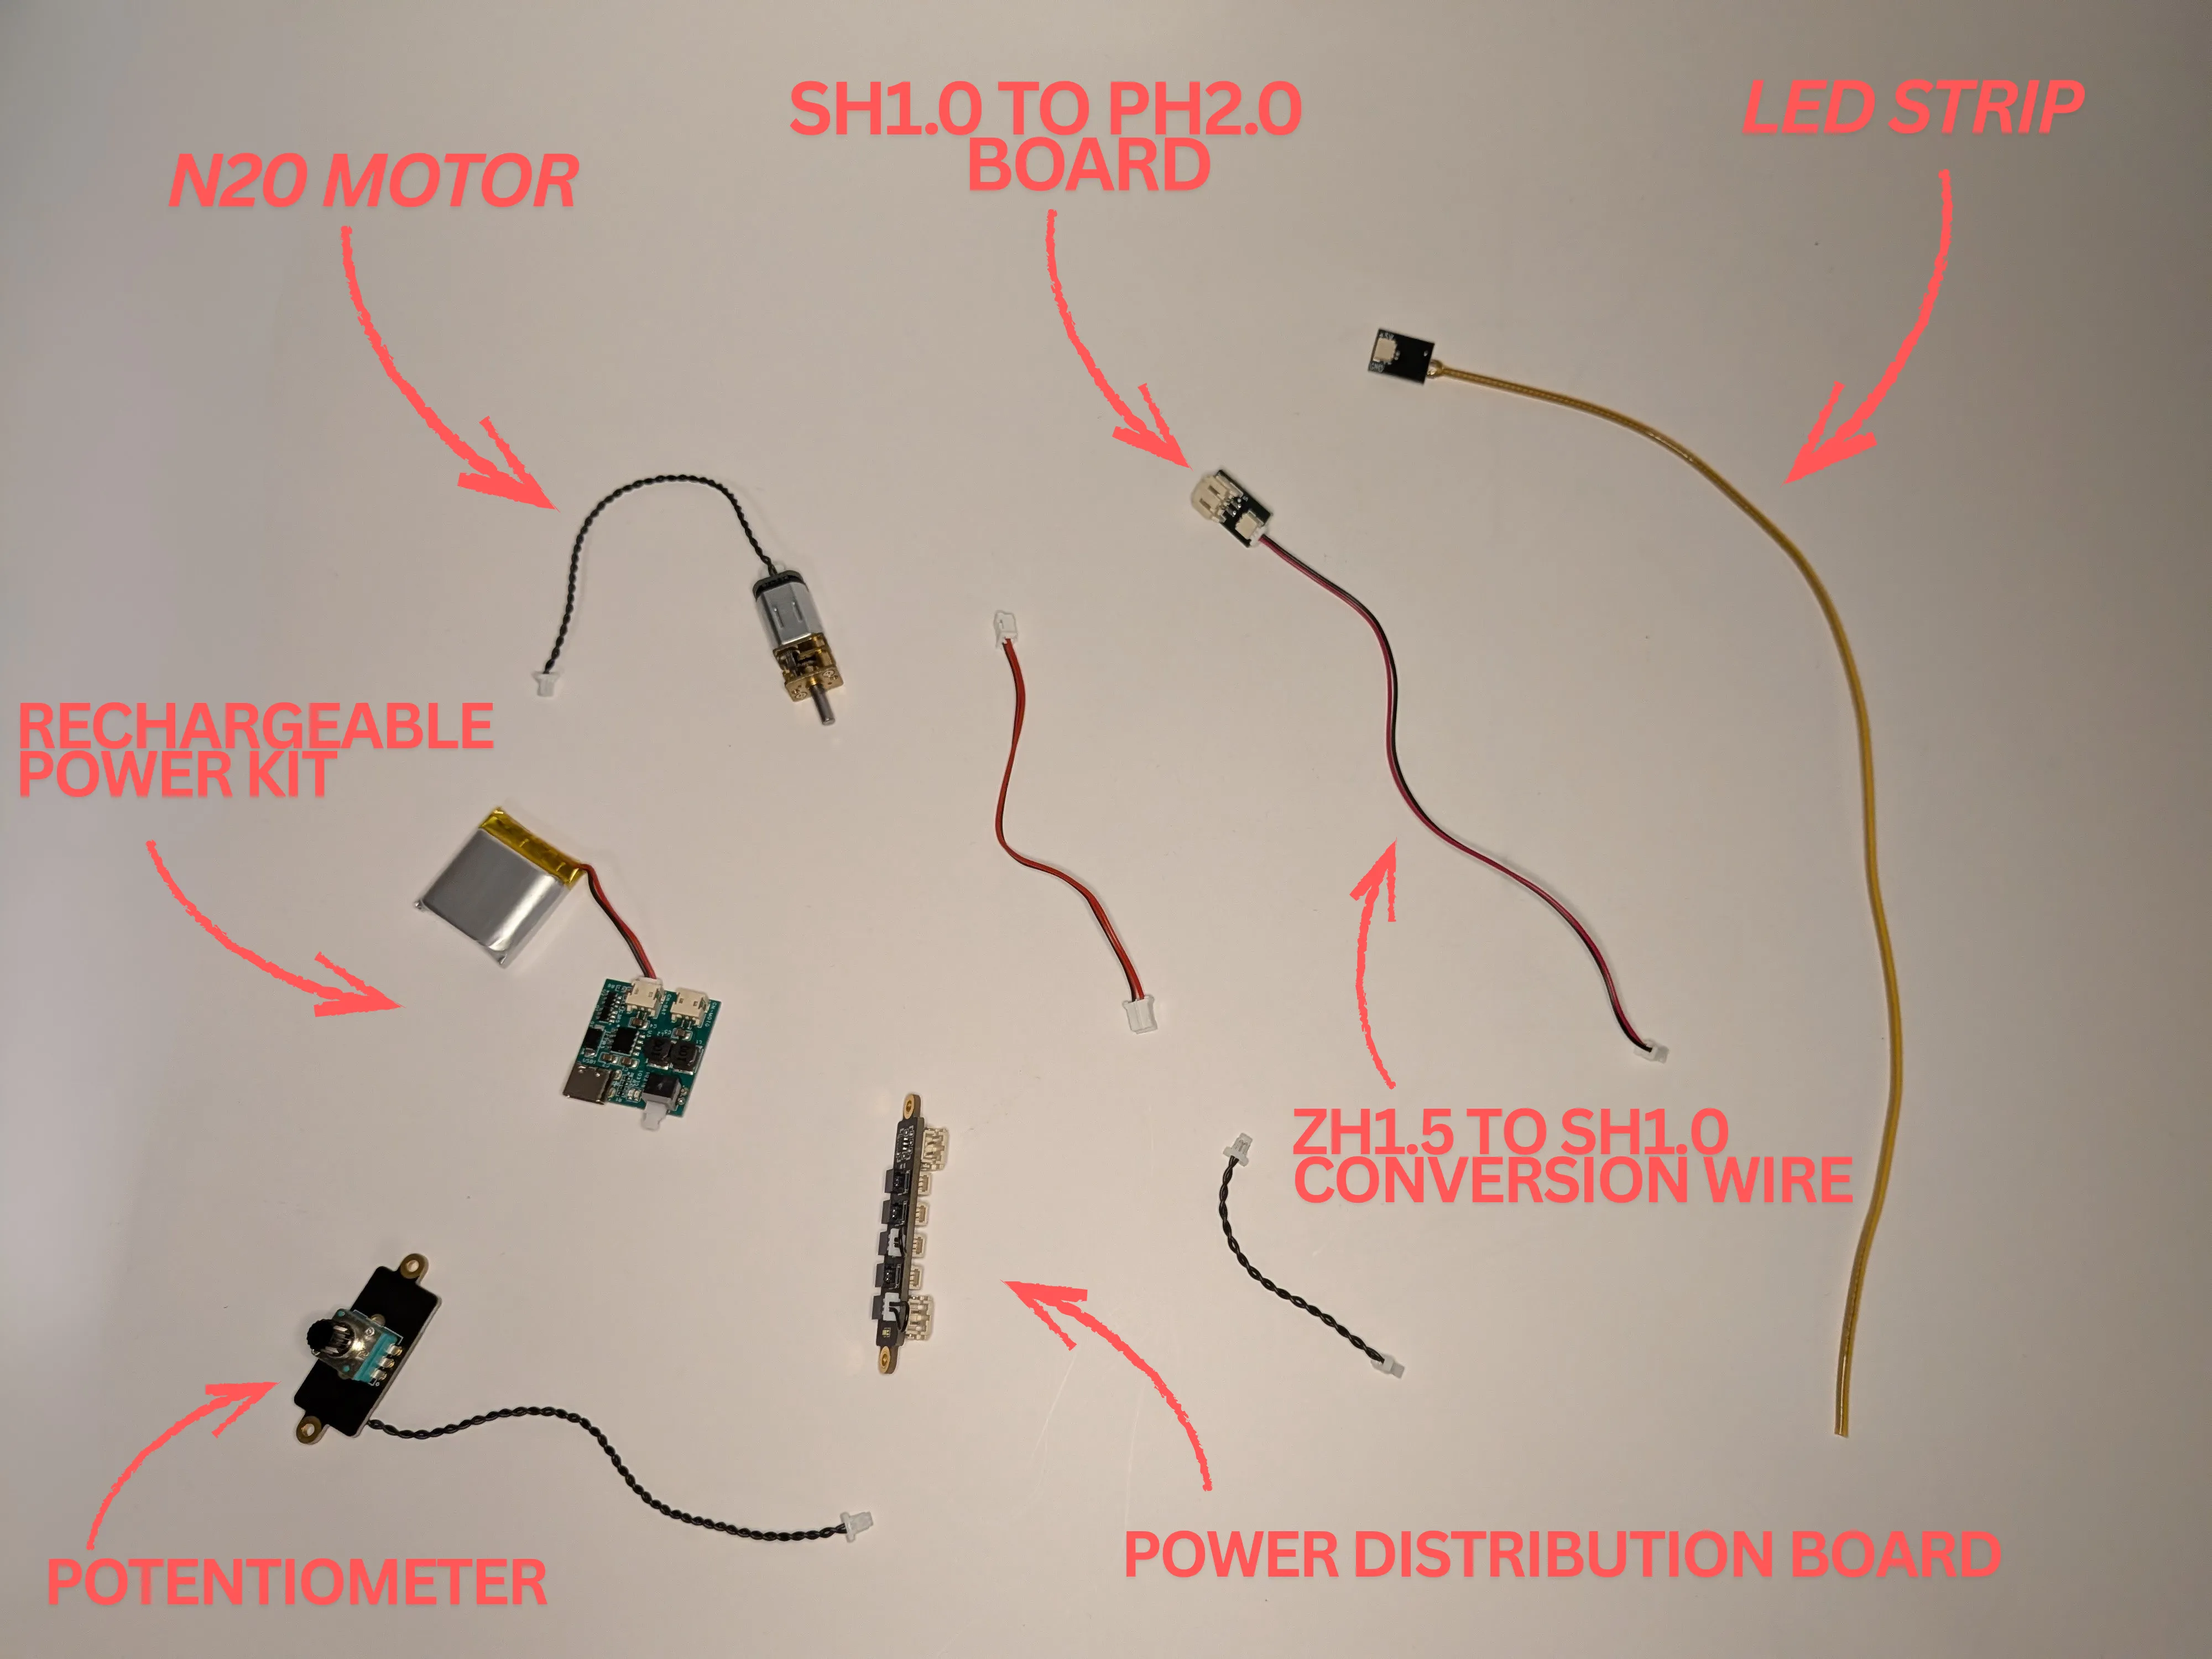
Electronics
Before we start, you should have the following electronics (They are all listed in the BOM below):
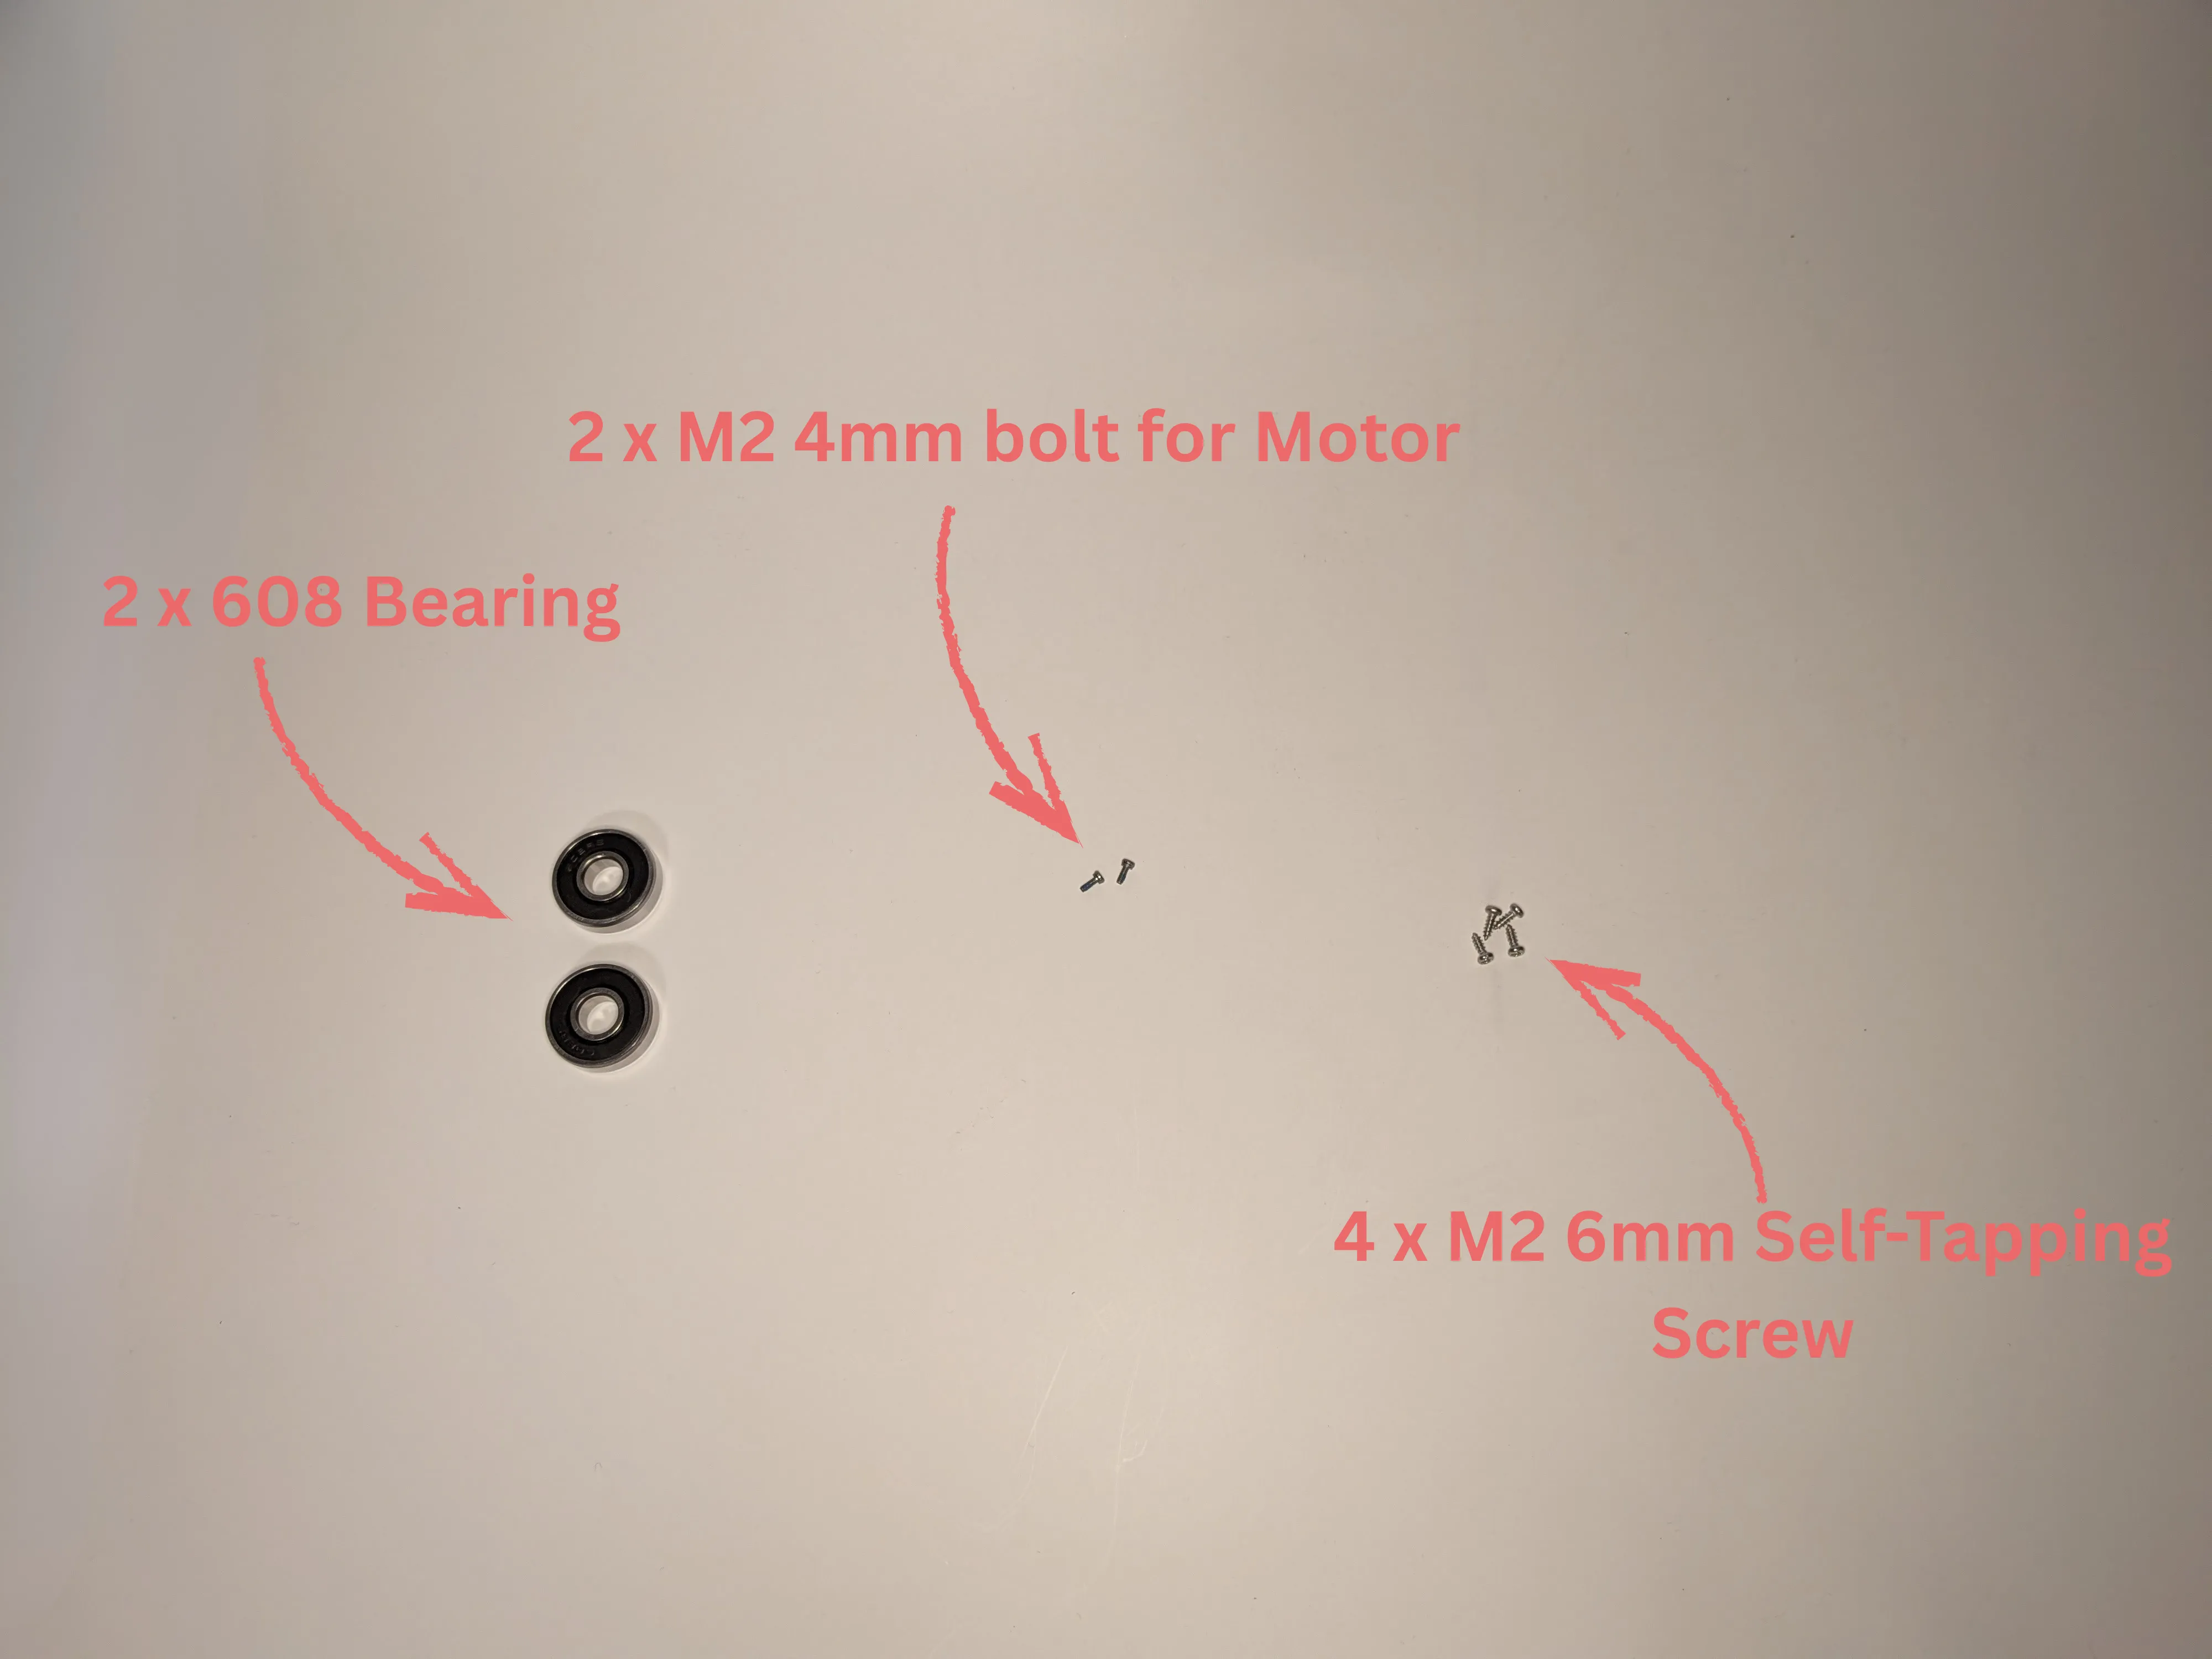
Metal Parts
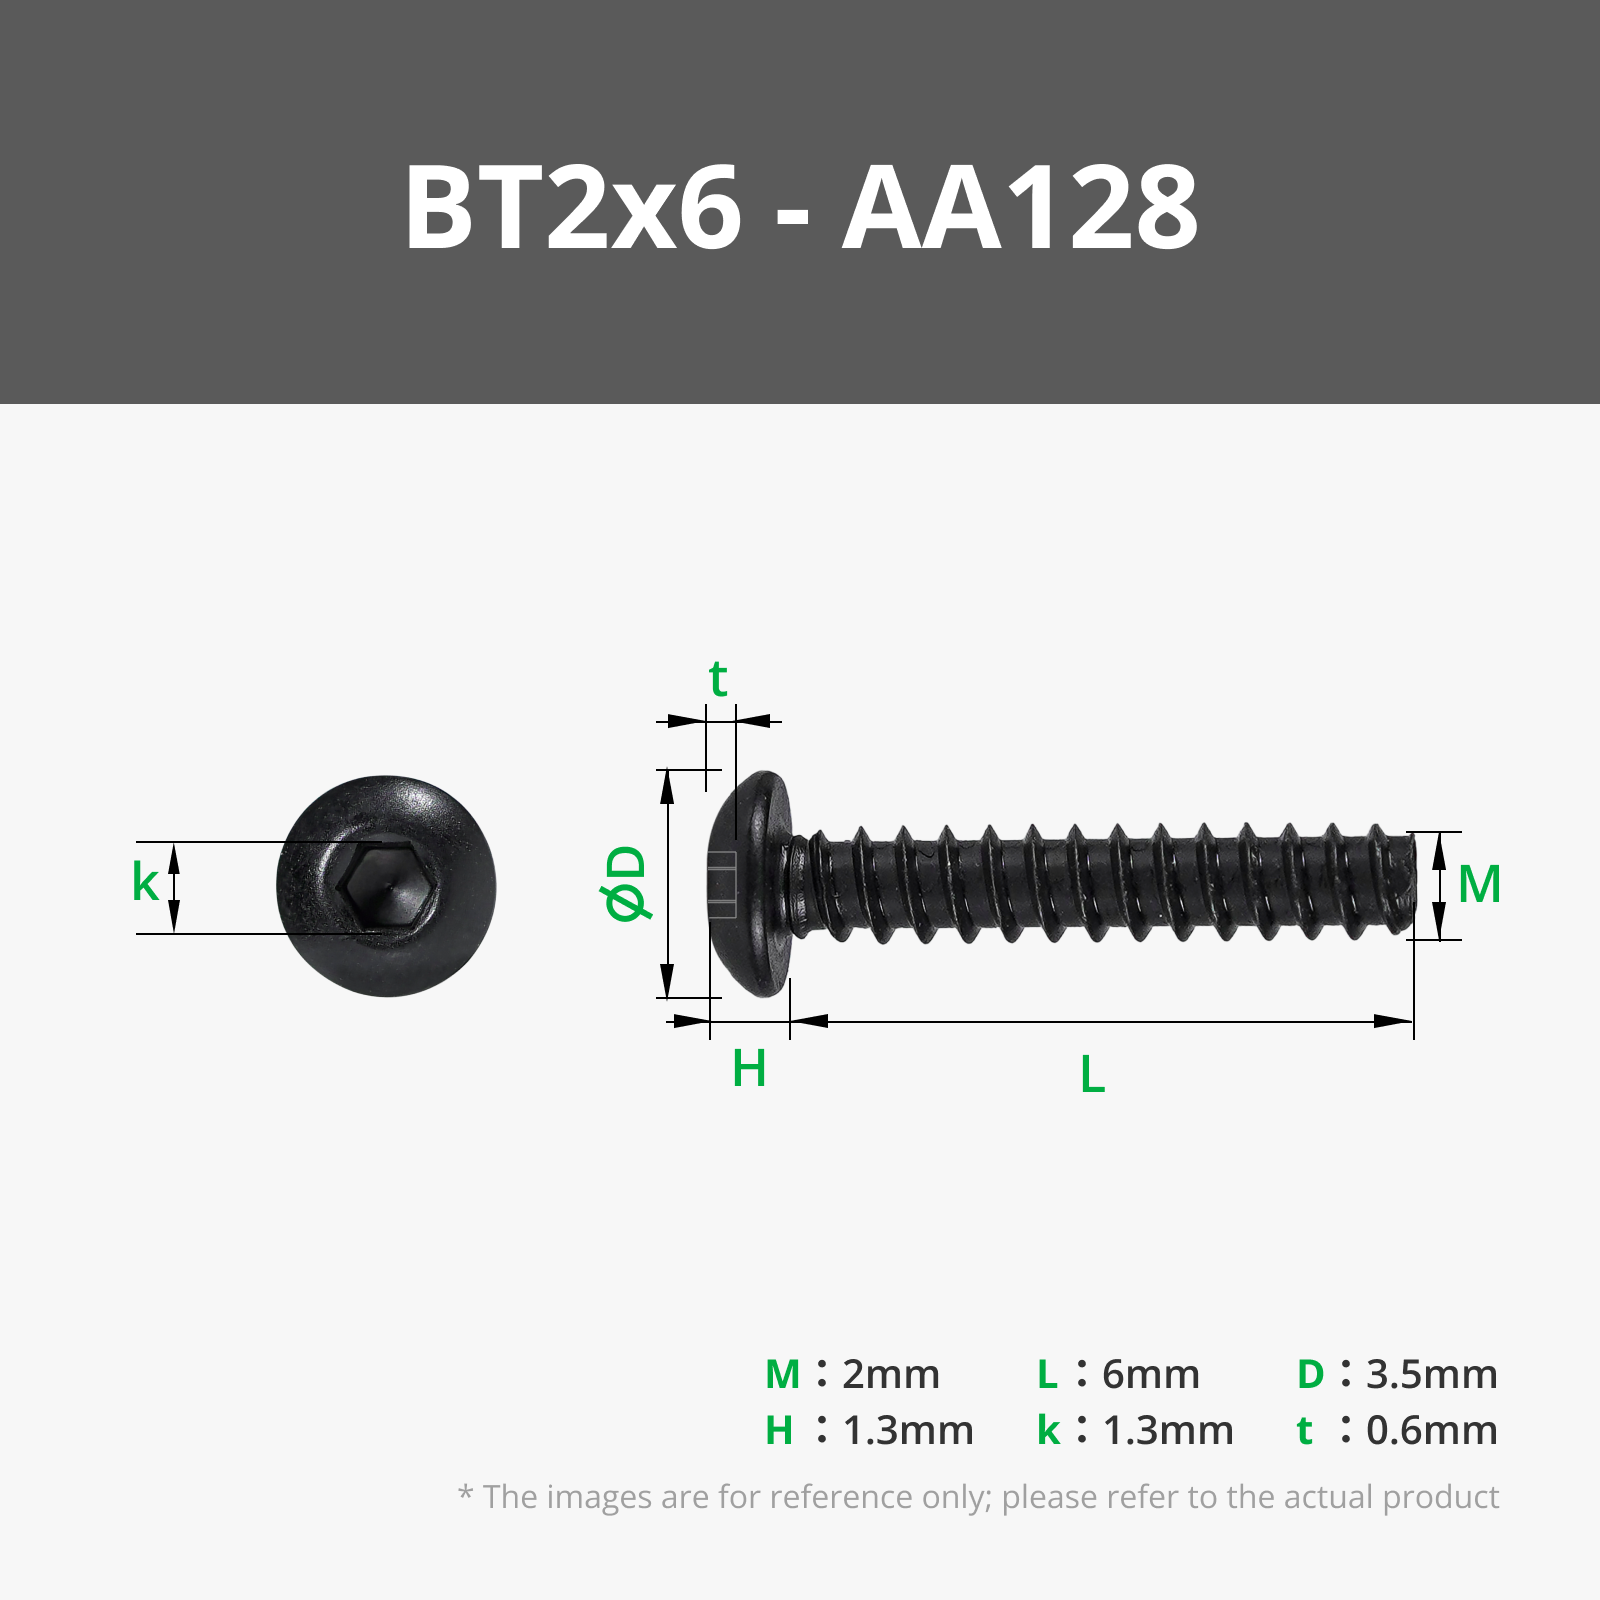
And the following metal parts:
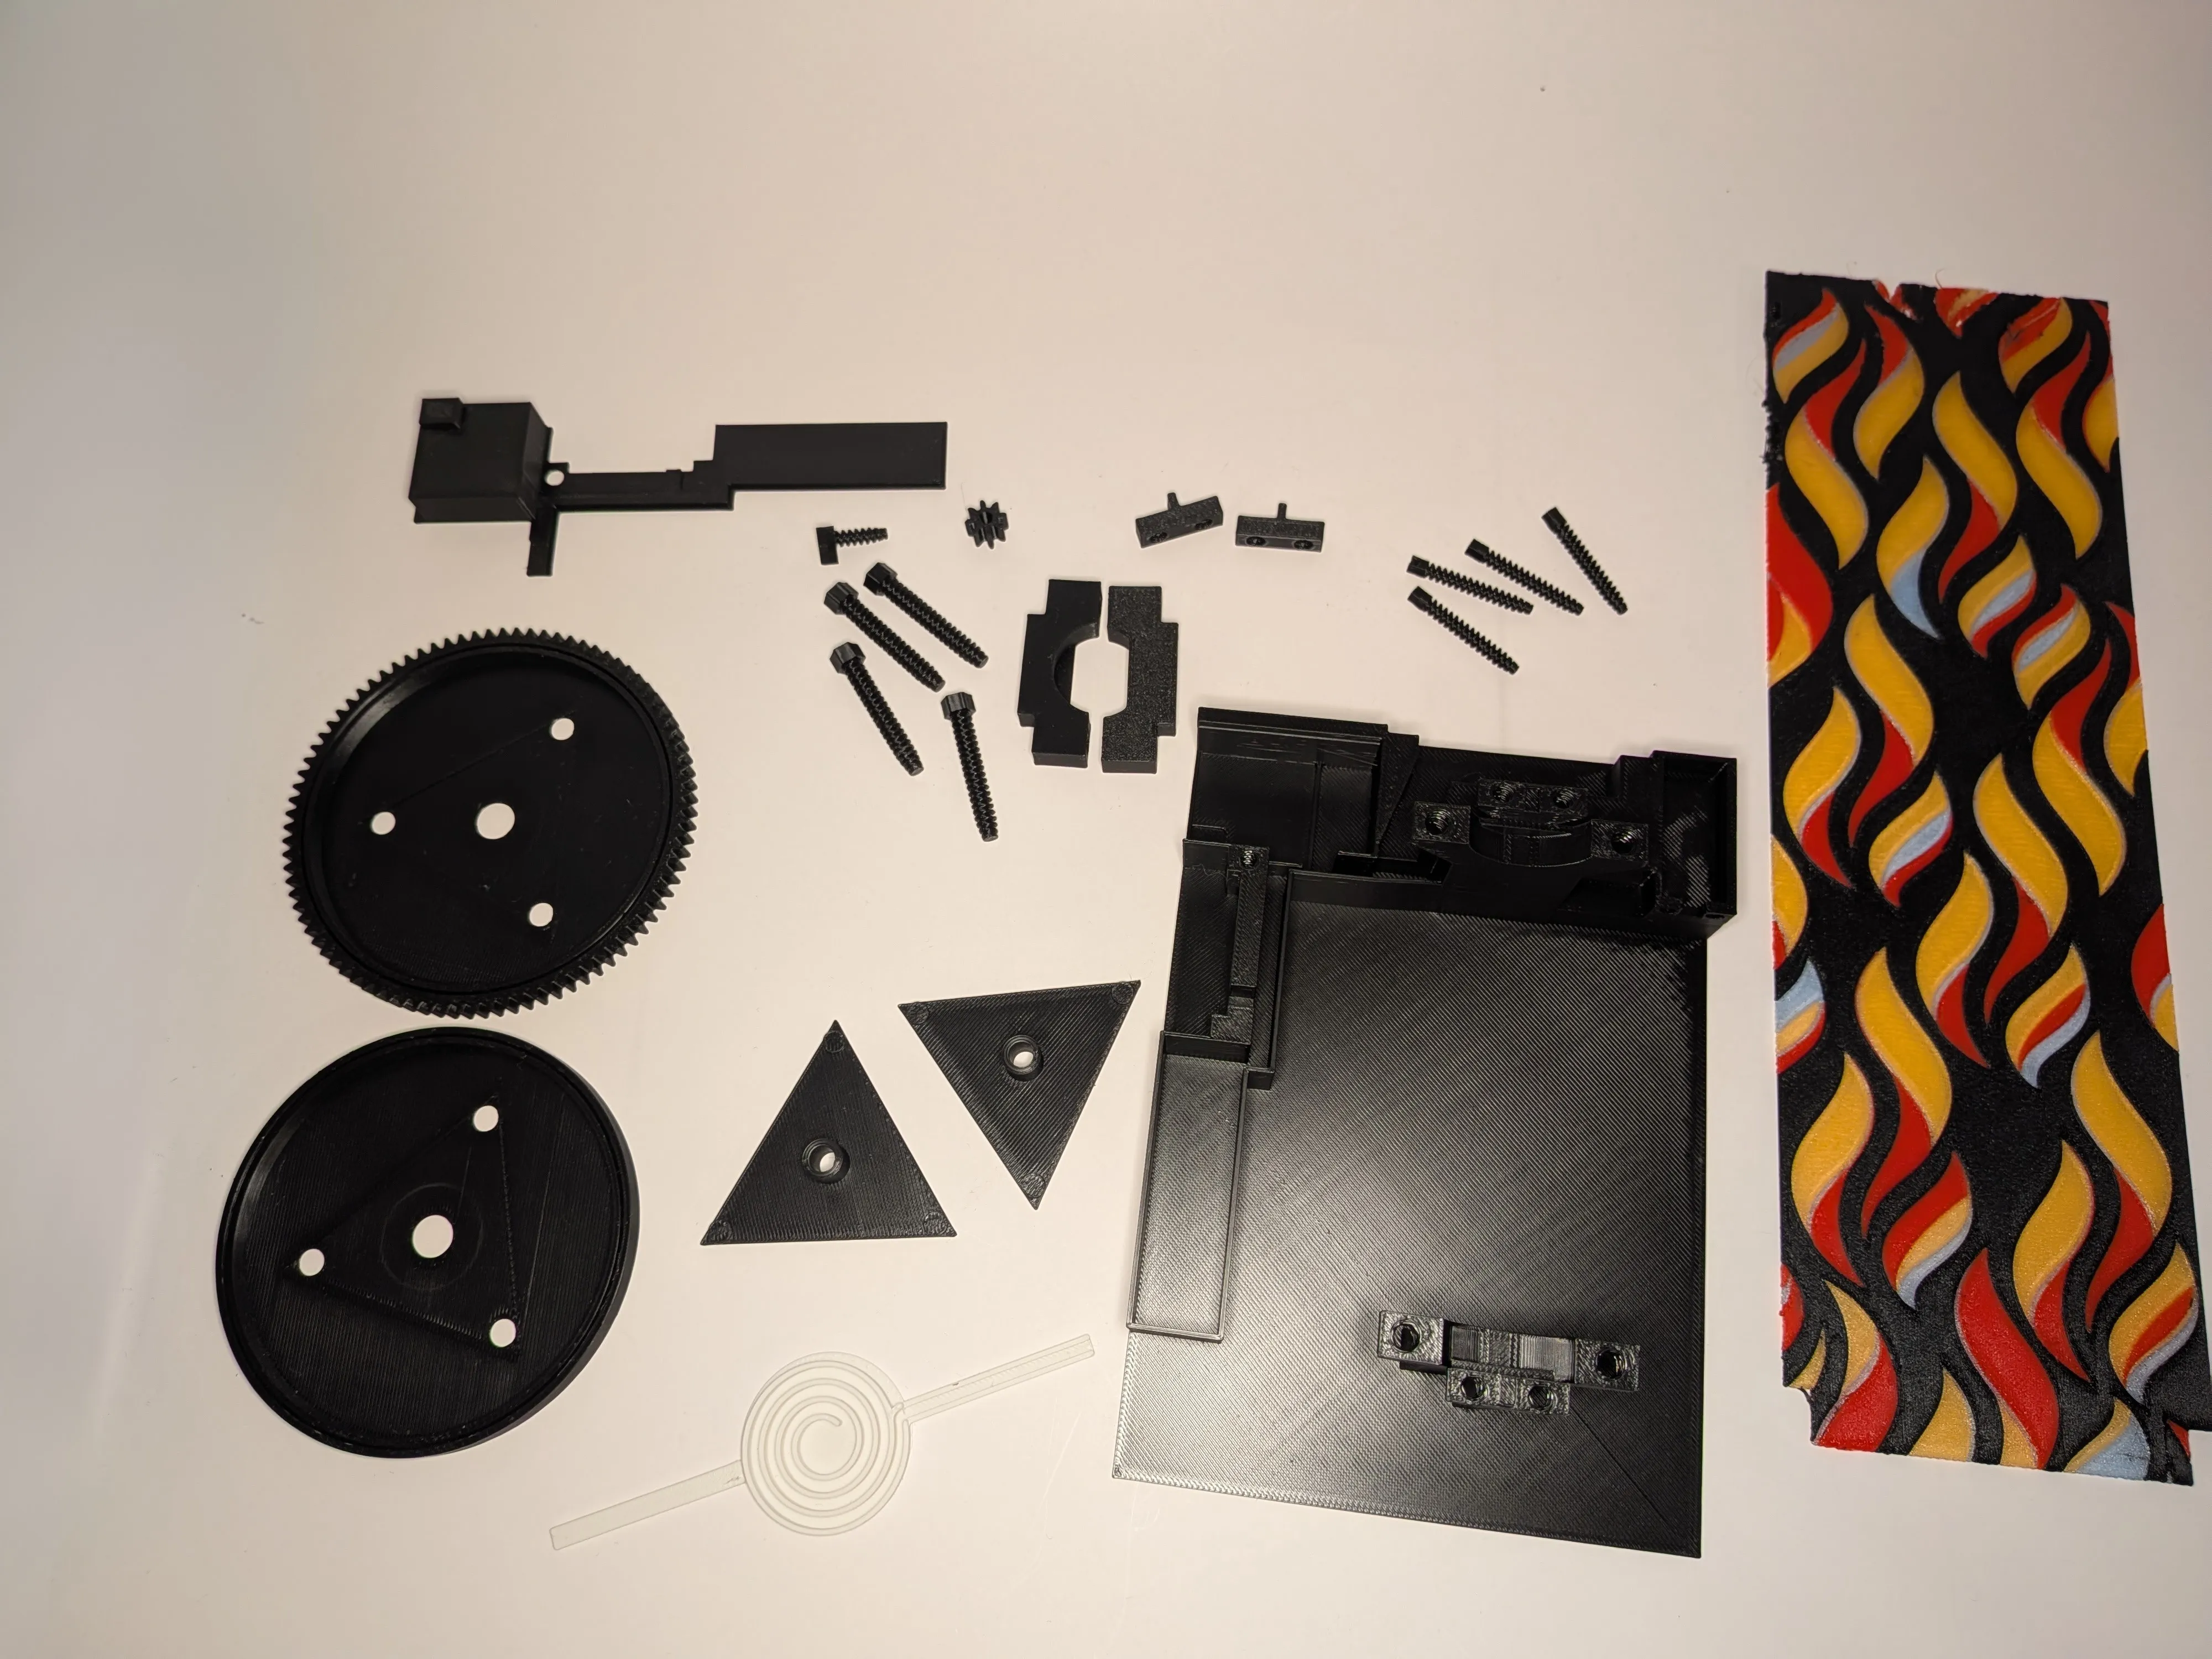
Part A
In the following steps, we will assemble the “inside/inner” portion of the model. This portion contains all the electronics and is responsible for the lighting and the flame simulation.You should have the following parts:
Step 1:
Connect 2 Jumpers to the Power Distribution Board:
- 1 on SW0
- 1 on SW2
Then screw the board to the housing using 2 x Self-Tapping Screws
Step 2:
Connect 1 x 100mm wire to the Potentiometer and screw to the housing using 2 x Self-Tapping Screws
Step 3:
- Connect the ZH1.5 to SH1.0 Conversion Wire to the SH1.0 to PH2.0 Power Adapter Board
- Connect the Wire Pair that came with your PDB to the SH1.0 to PH2.0 Power Adapter Board
Step 4:
- Connect the ZH1.5 to SH1.0 Conversion Wire to the output port of the Rechargeable Power Kit
- Place wires into the channels properly
- Cover the wires using the Wire Cover and secure using the Printed Screw
Step 5:
- Connect 1 x 100mm wire to the N20 Reduction Gear Motor
- Secure the motor using the 2 Screws it came with
- Connect the Motor Wire to the CH1 port on the PDB
Step 6:
Insert the triangular pieces through each side of the Drum Assembly and press a bearing into the shaft
Step 7:
- Insert the LED Strip through the Drum Side with Teeth (important)
- Press and Insert the LED strip into the Spiral
- Retract the Spiral through the Drum Side with Teeth (important)
Step 8:
- Insert the Flame Slide into the Drum Side's opening
- Insert the Flame Slide into the other Drum Side's opening
- Passthrough the LED Spiral through the Other Drum Side's opening
Step 9:
- Press the small Spur Gear into the Motor Shaft
- Align the Drum and place in onto the Housing
Step 10:
- Connect the wire to the LED Strip
- Connect the wire to the CH2 port on the PDB
- Test the system by pressing on the Power Button in the back
Step 10.5:
Before you continue, Make sure the LED Spiral and the LED Wire is facing the front (*Very Important*)
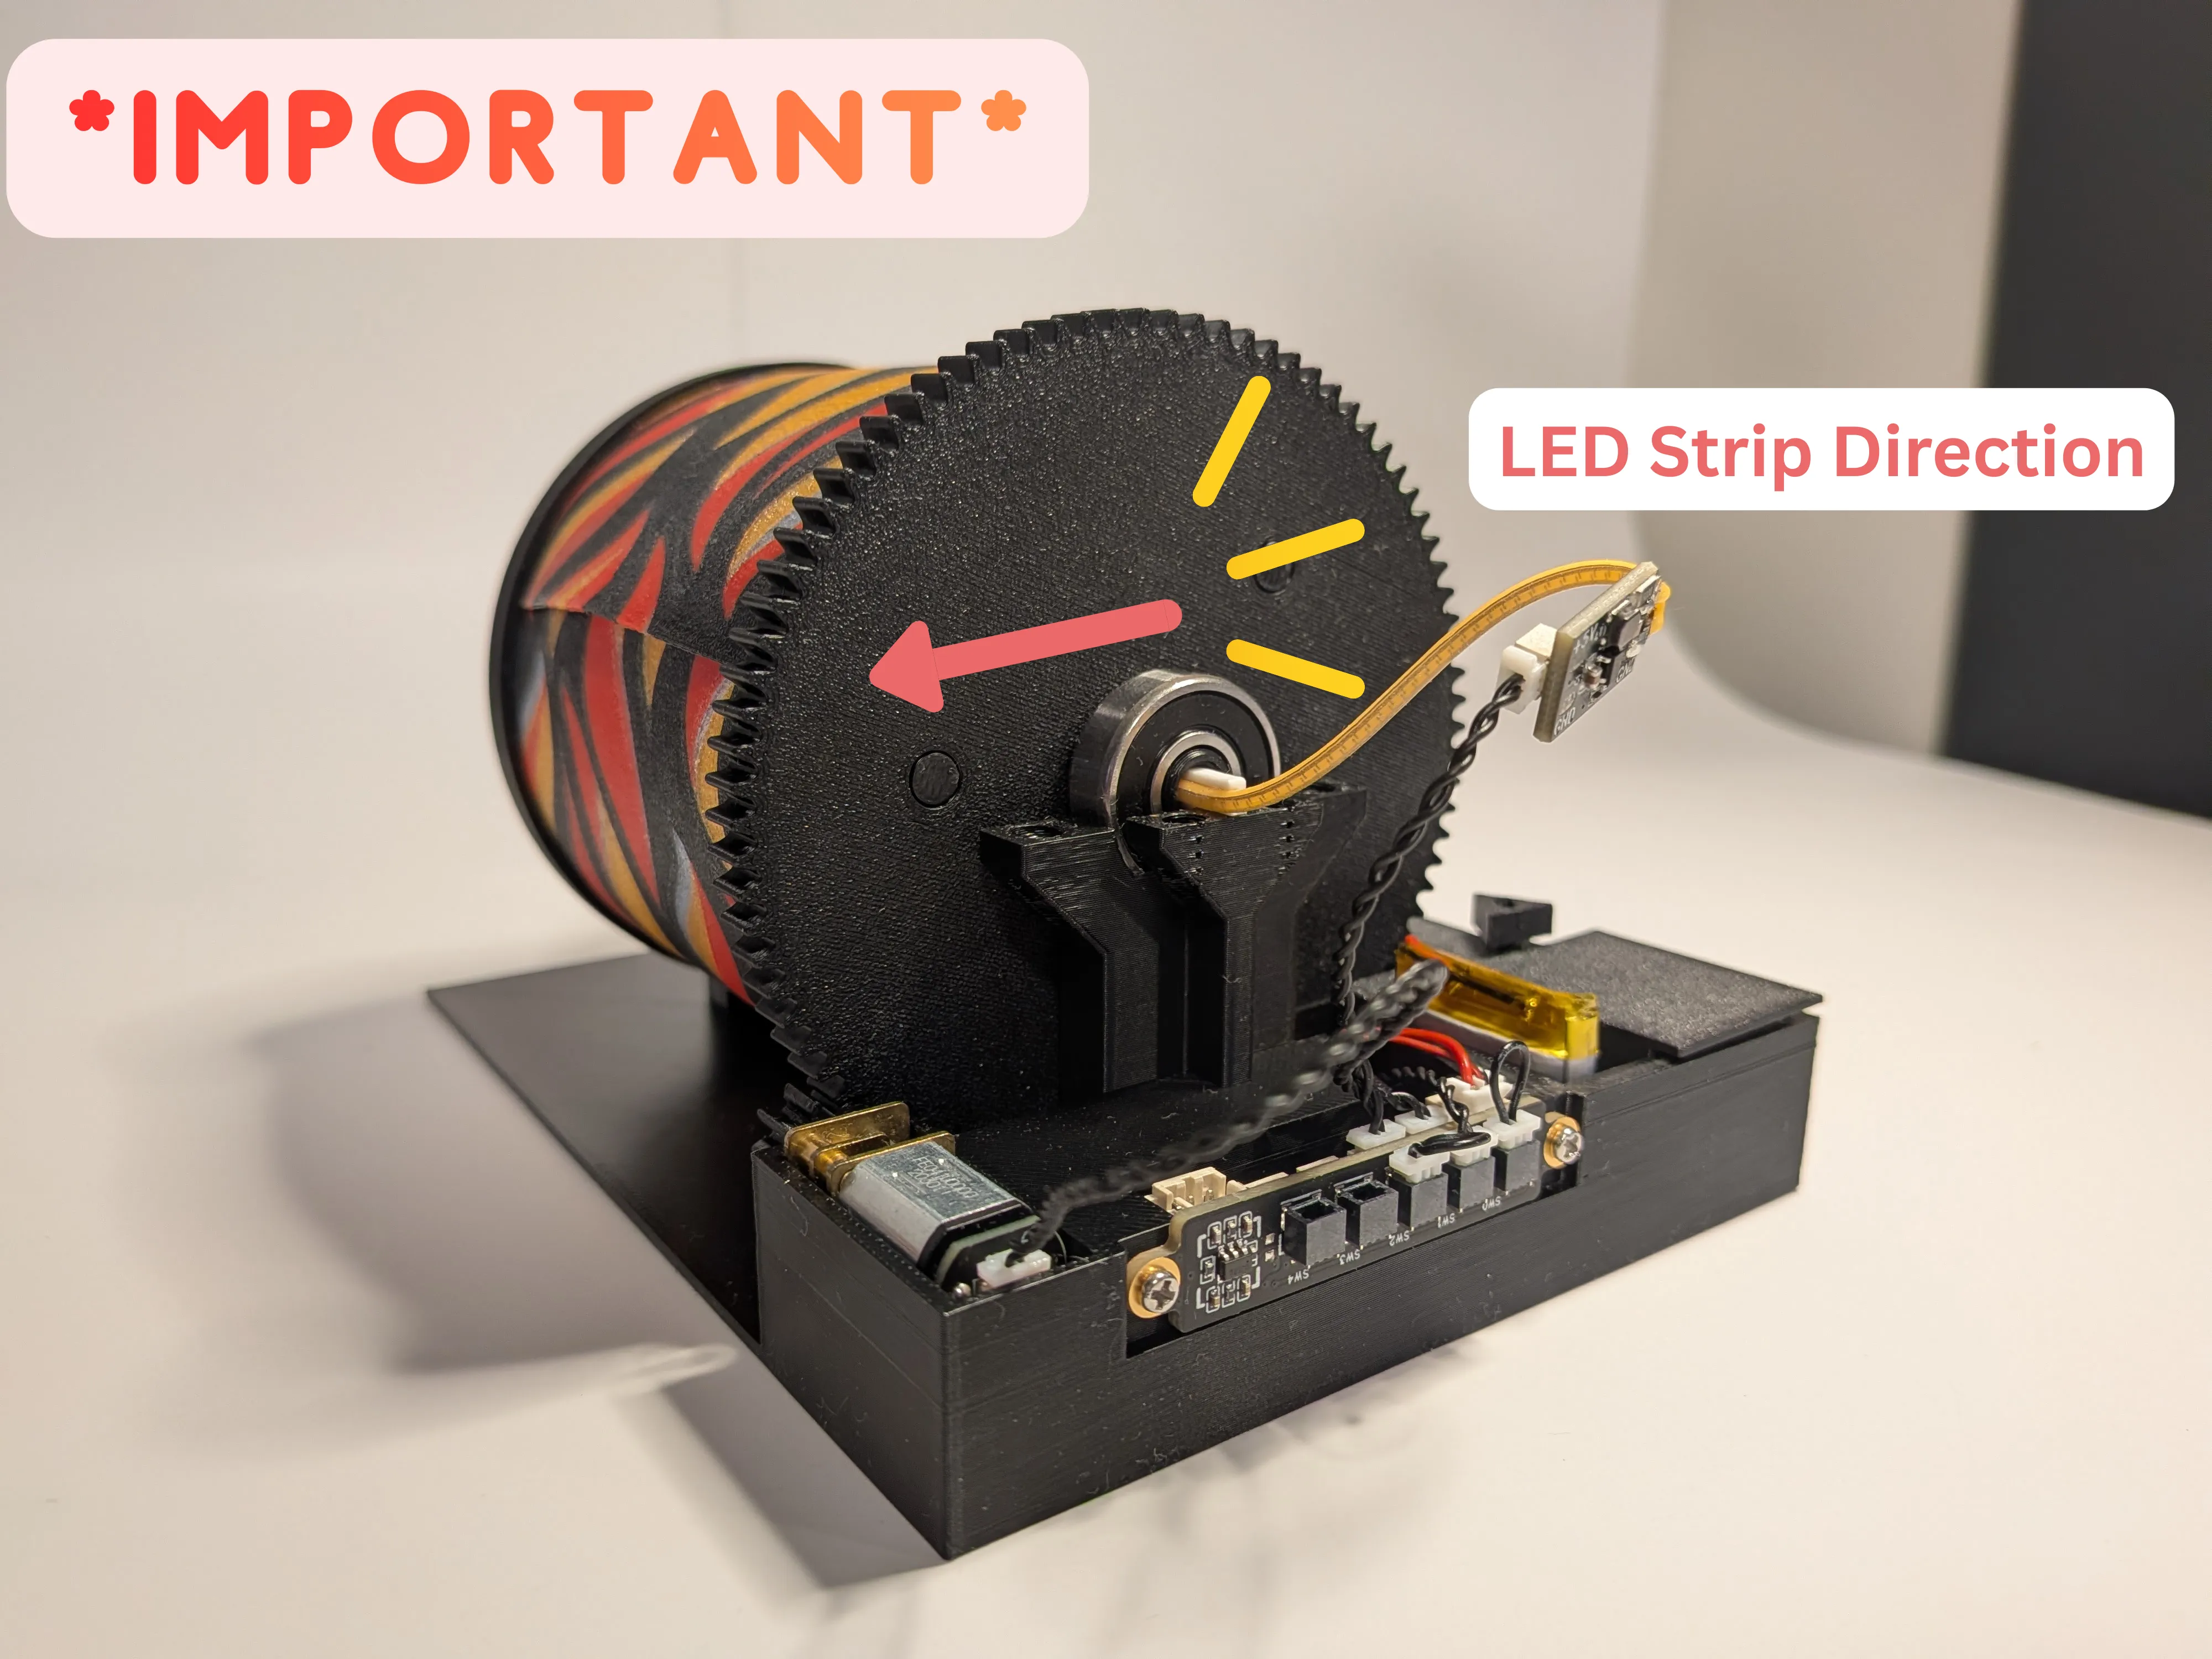
Step 11:
Use the mounting brackets and the printed screws to secure the drum and led spiral to the housing
Part B
In the following steps, we will assemble the External Fireplace portion of the model. This portion contains the visible parts and all the decorations. You should have the following parts:
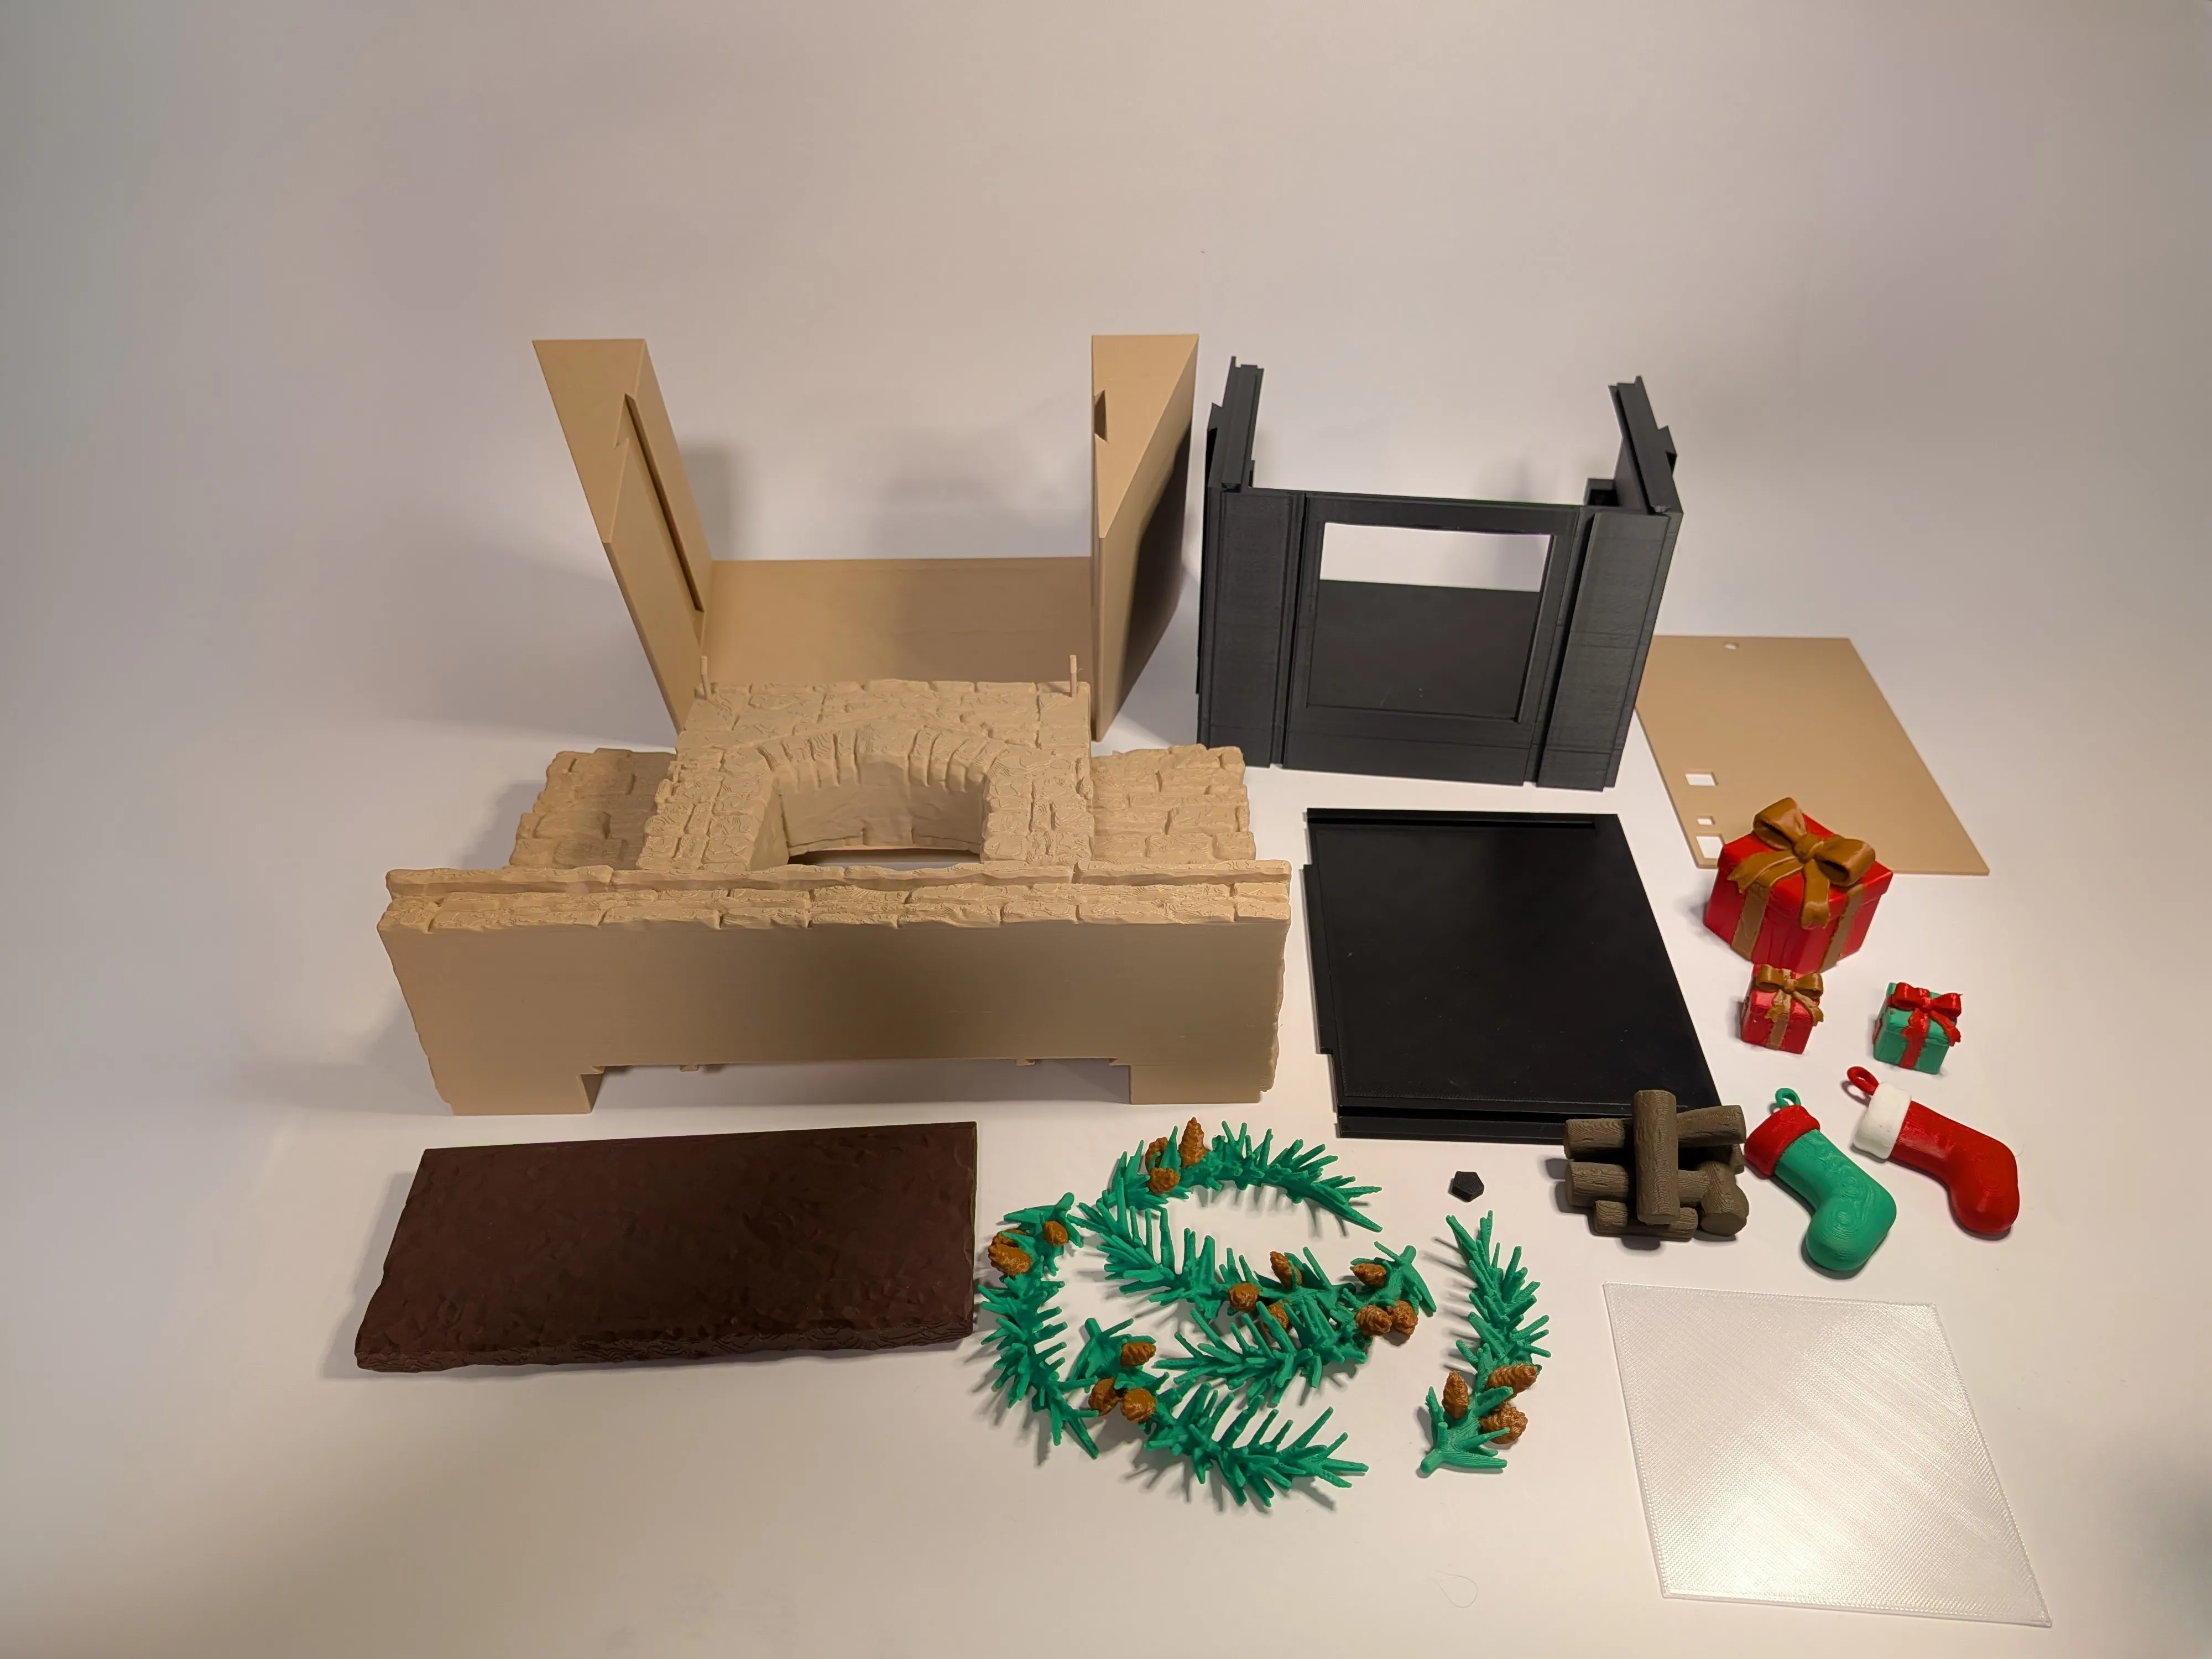
Step 1:
- Insert the Translucent Viewport
- Slide the housing inside the case
Step 2:
- Test the system by pressing the Power Button
- Slide the Top Cover into the dovetails
- Secure the Rear Cover using the Printed Screws
Step 3:
- Slide the Fireplace into the Case Dovetails
- Slide the Shell Sides into the Case Dovetails
Step 4:
- Add the Decorations onto the front of the Fireplace
- (optional) Use Super Glue to permanently secure them to the Fireplace
License

You shall not share, sub-license, sell, rent, host, transfer, or distribute in any way the digital or 3D printed versions of this object, nor any other derivative work of this object in its digital or physical format (including - but not limited to - remixes of this object, and hosting on other digital platforms). The objects may not be used without permission in any way whatsoever in which you charge money, or collect fees.


Comment & Rating (5)