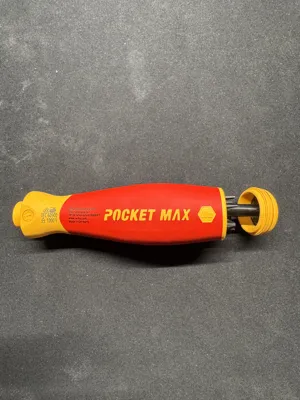
Wiha PocketMax screwdriver Insert – 6 Bit Upgrade


Print Profile(1)

Description
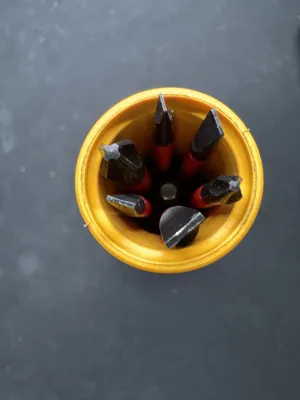
New PocketMax Bit-Holder Inlay – More Capacity, Smarter Design
This updated inlay stores 6 bits instead of 4 inside the Wiha PocketMax handle. Improved fit ensures secure holding, quick access, and a clean, compact tool setup – perfect for your new PocketMax model.
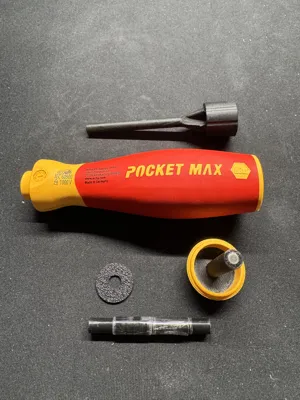
1. What You Need for the Modification
- Wiha PocketMax screwdriver
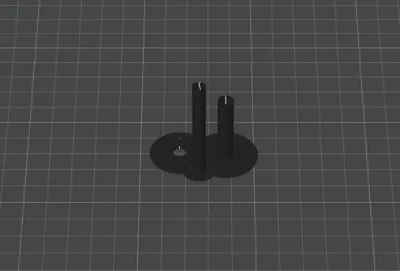
- 3D-printed handle insert (new model)
- 6 bits of your choice
- 3 neodymium magnets (4×4 mm)
- Strong adhesive (e.g., epoxy) if the magnets do not fit tightly
- Optional: small file or hobby knife for cleanup
2. Installation Guide
1. Prepare the Handle Insert
Check the 3D print for rough edges.
If needed, lightly clean up the part with a file to ensure everything fits properly.
2. Insert the Magnets
Place the three neodymium magnets into the designated magnet pockets.
Make sure the polarity is aligned correctly.
If the magnets do not fit tightly, secure them with a small drop of epoxy.
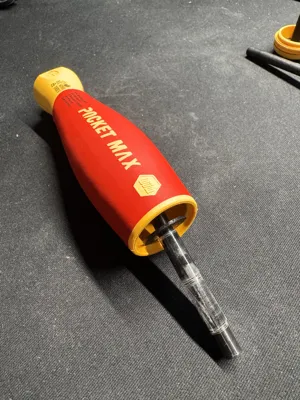
3. Install the Handle Insert
Slide the magnet-equipped insert including the printed washer into the PocketMax handle.
Ensure the insert is fully seated and does not wobble.
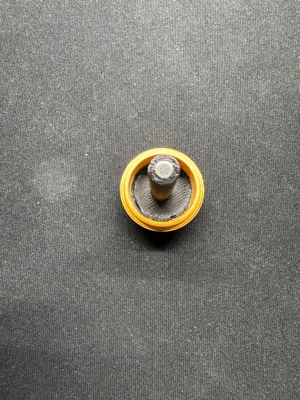
4. Glue in the Lid Insert
Remove the original insert using a 19 mm ring spanner and pliers.
Video guide: https://www.youtube.com/watch?v=BsCslbZXktU (starting at 7:40)
Then glue the new insert into place.
5. Insert the Bits
Place up to 6 bits into the designated slots.
If the bits do not sit firmly, wrap the round inner core with tape until the bits fit securely.
Your PocketMax is now successfully upgraded from 4 to 6 bits – more compact, more practical, and noticeably more versatile.
Note:
This modification voids all warranty and guarantee claims.
Comment & Rating (0)