
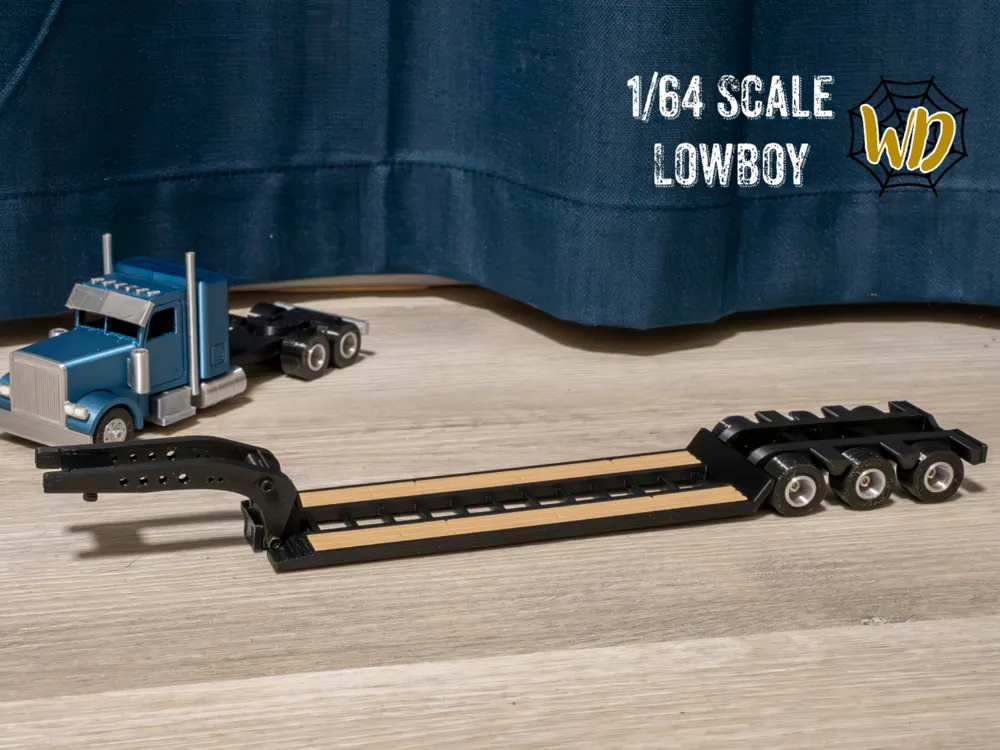
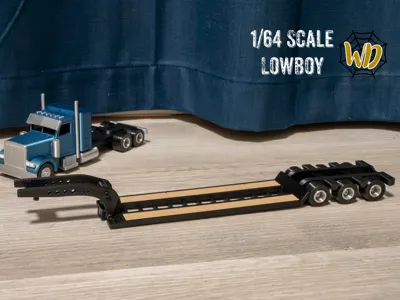
1/64 Scale Lowboy Trailer (No AMS)
Print Profile(1)

Bill of Materials
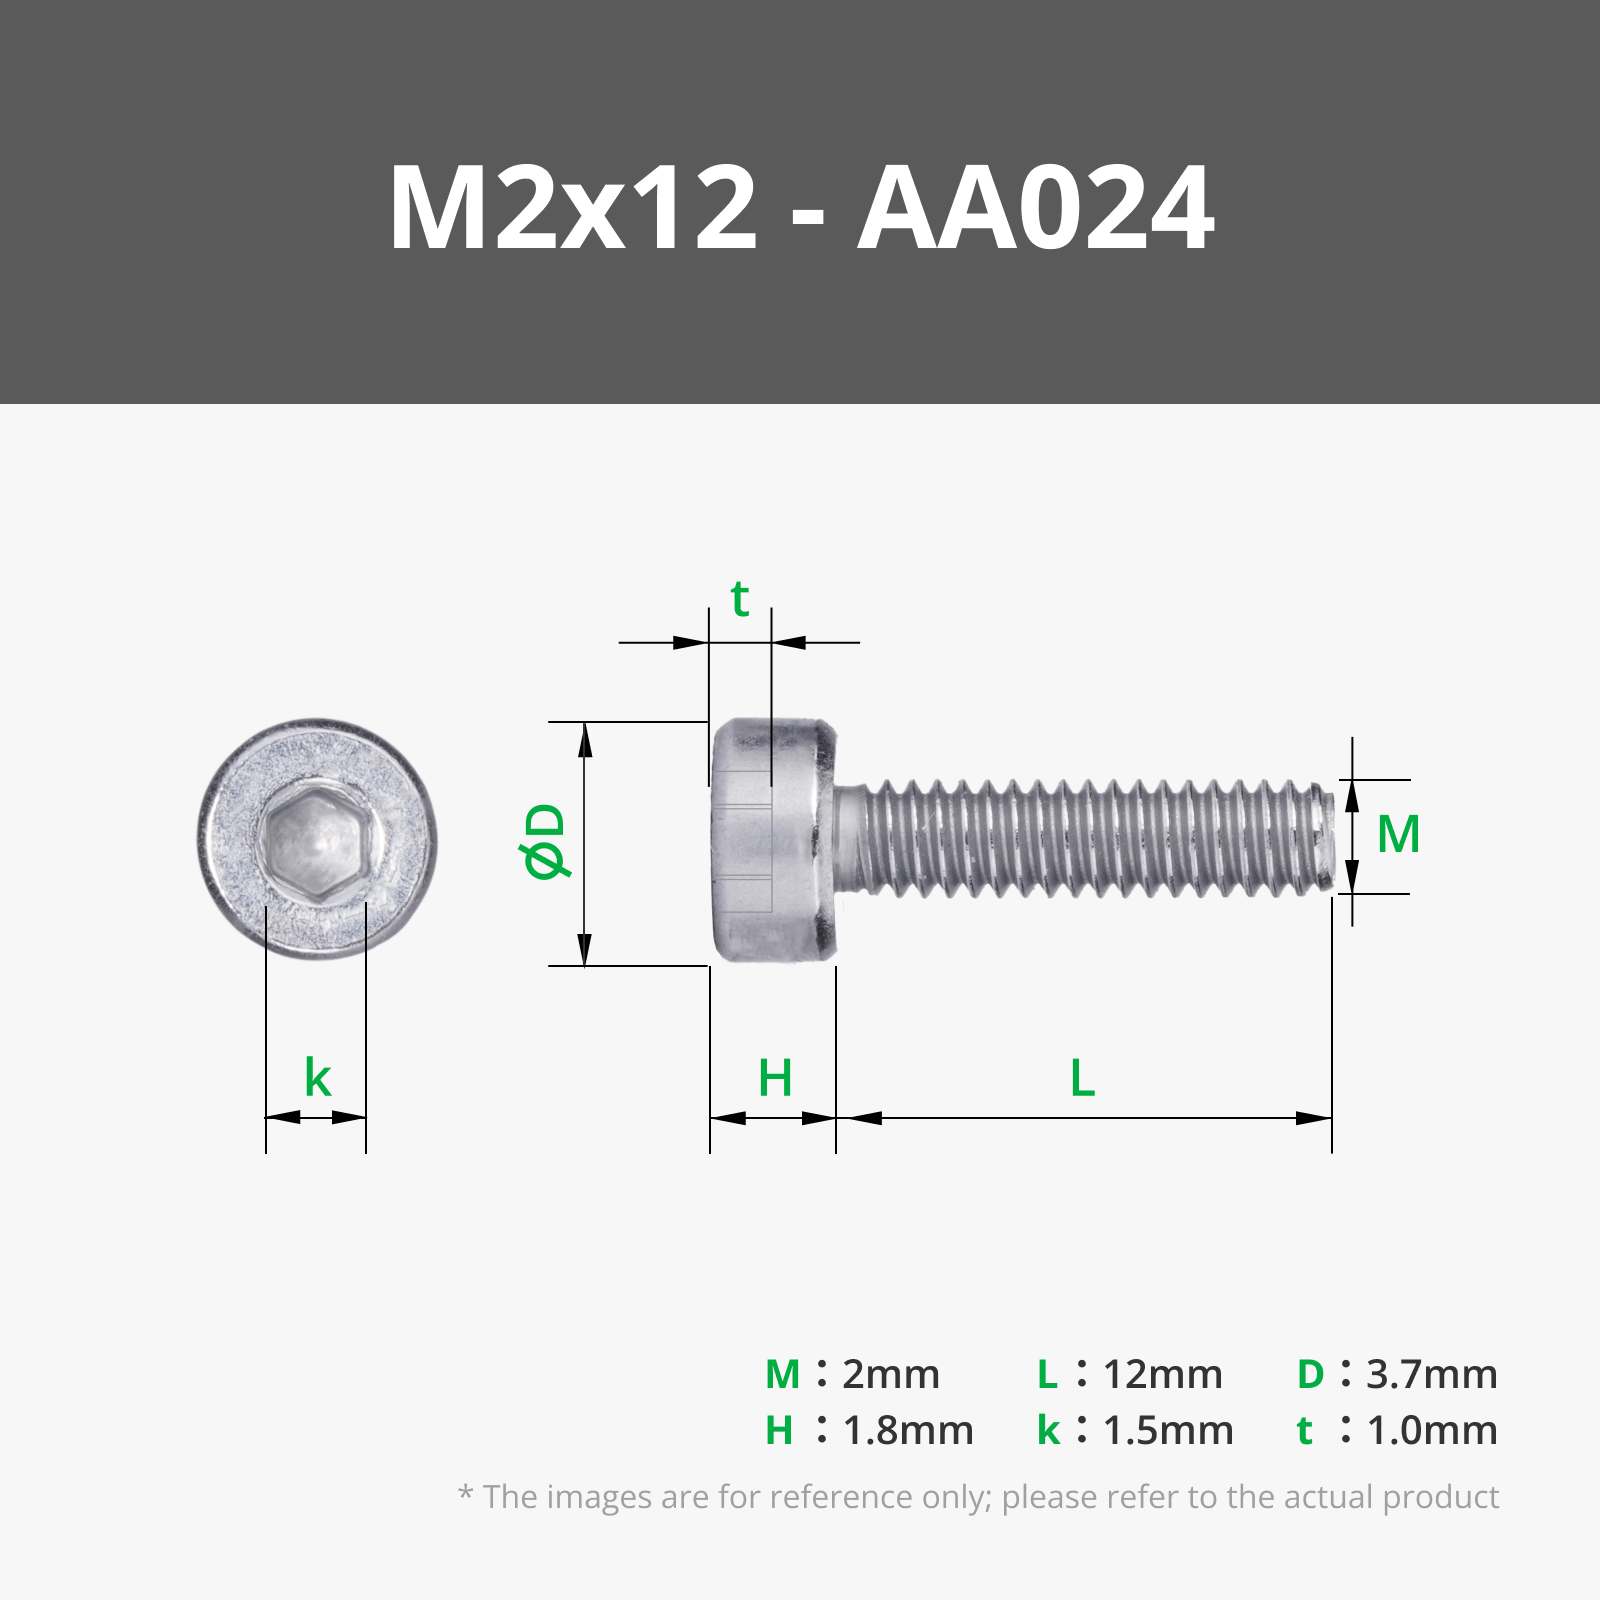

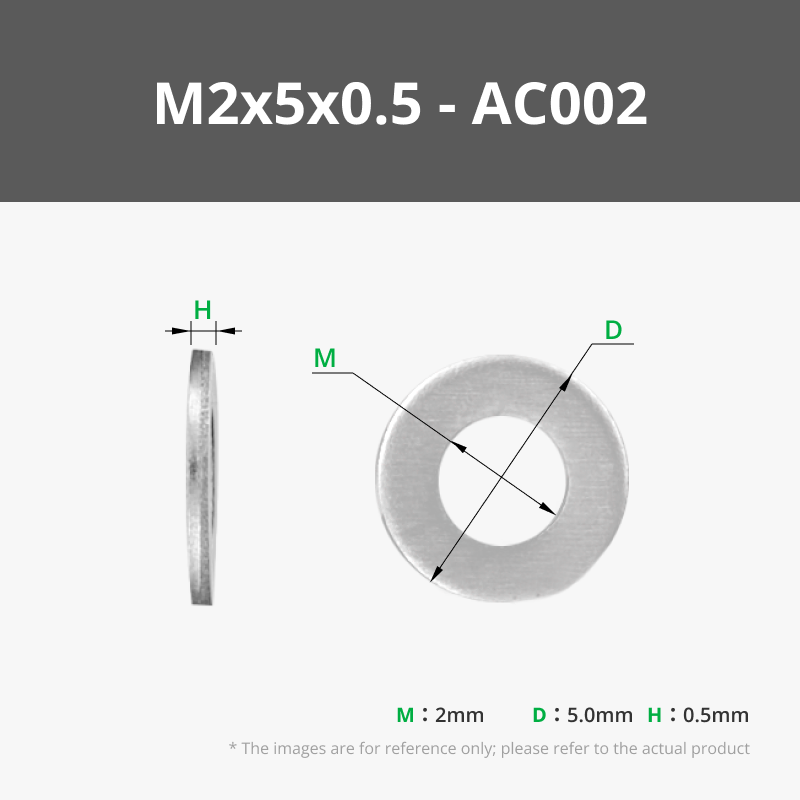
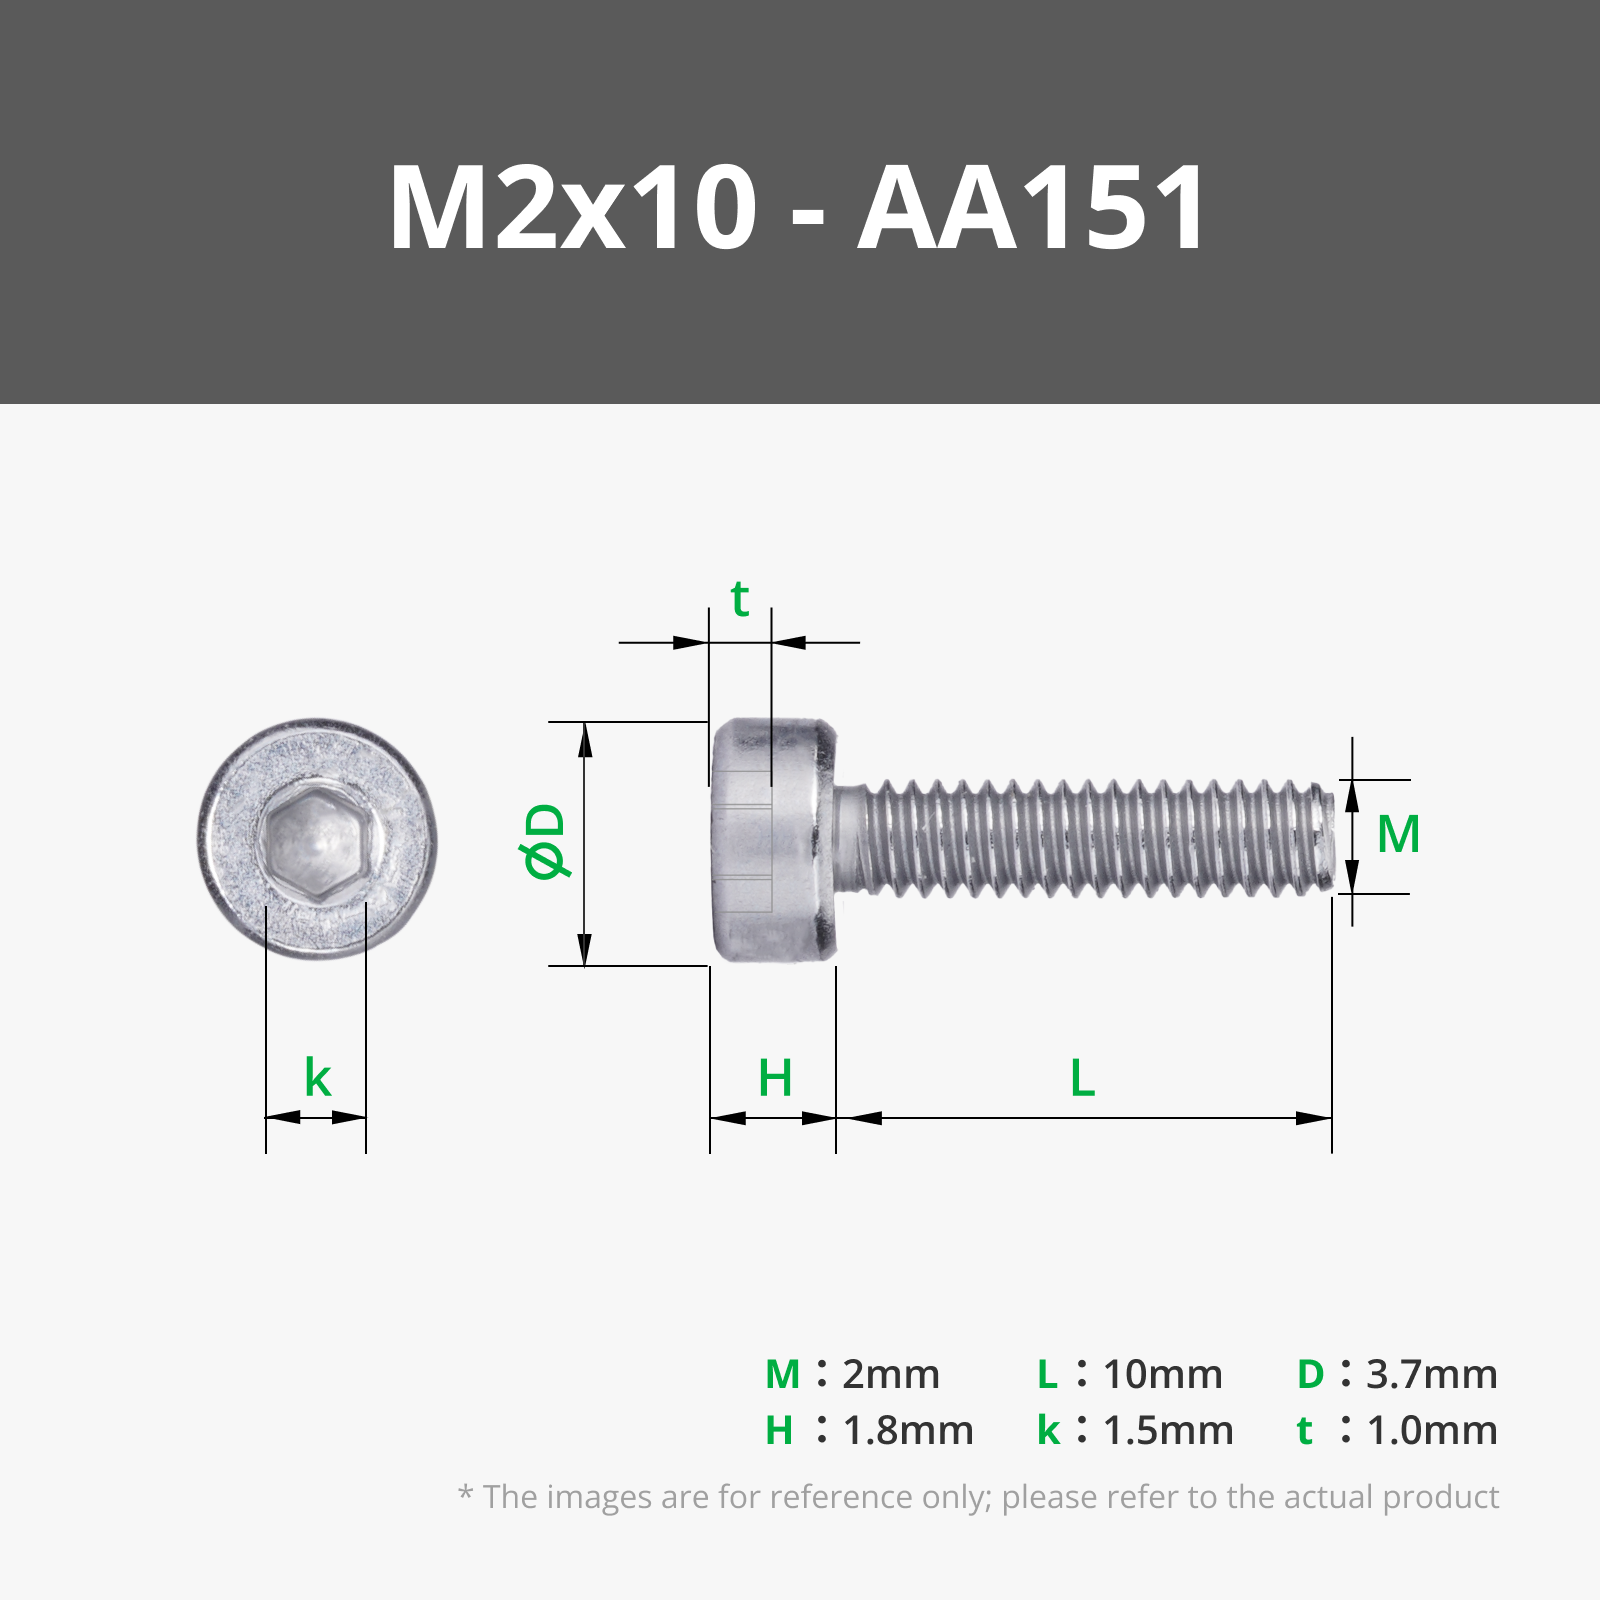




Description
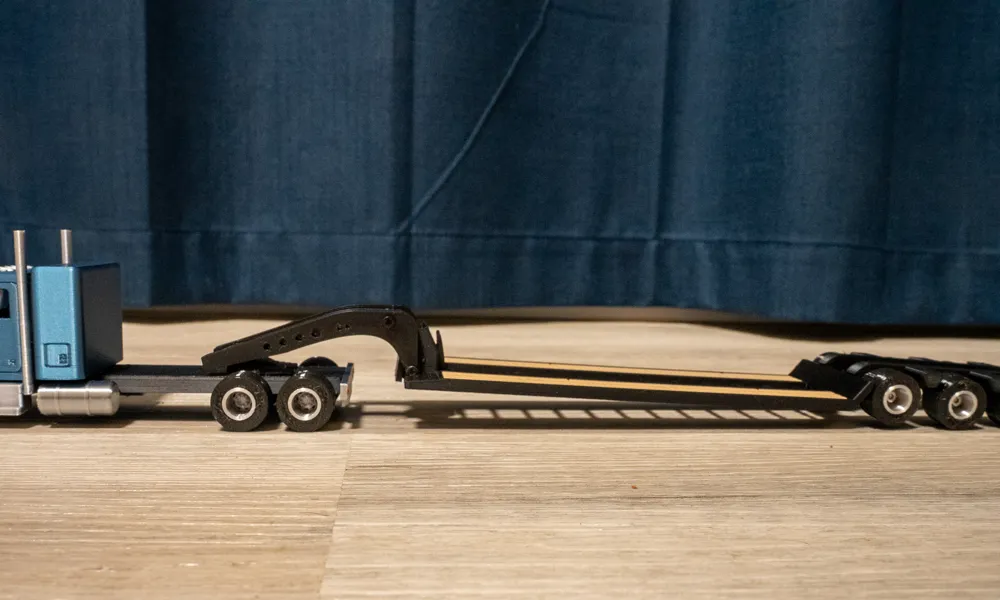
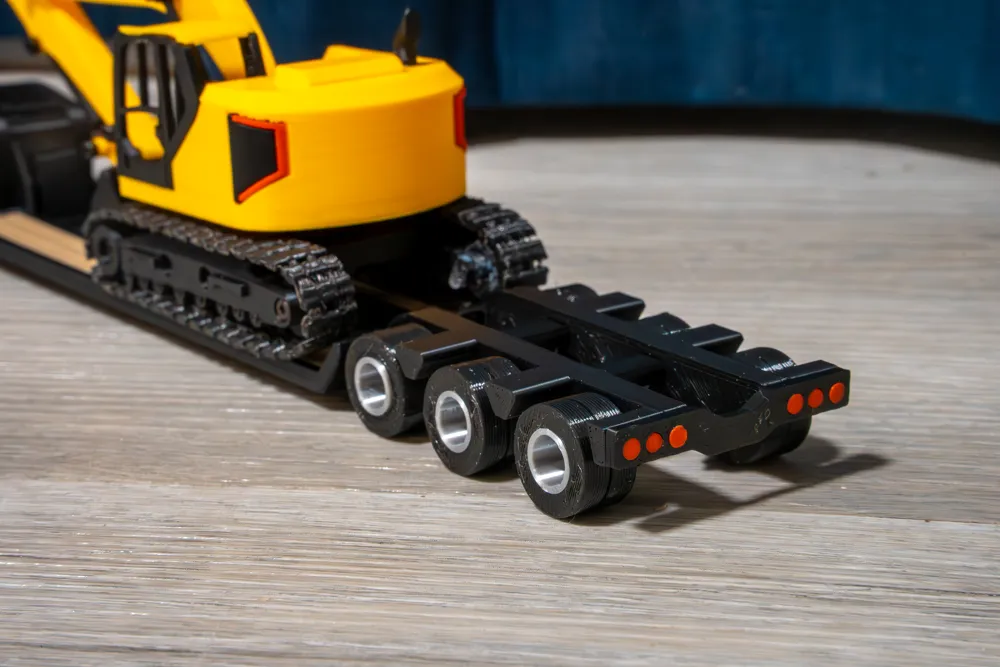
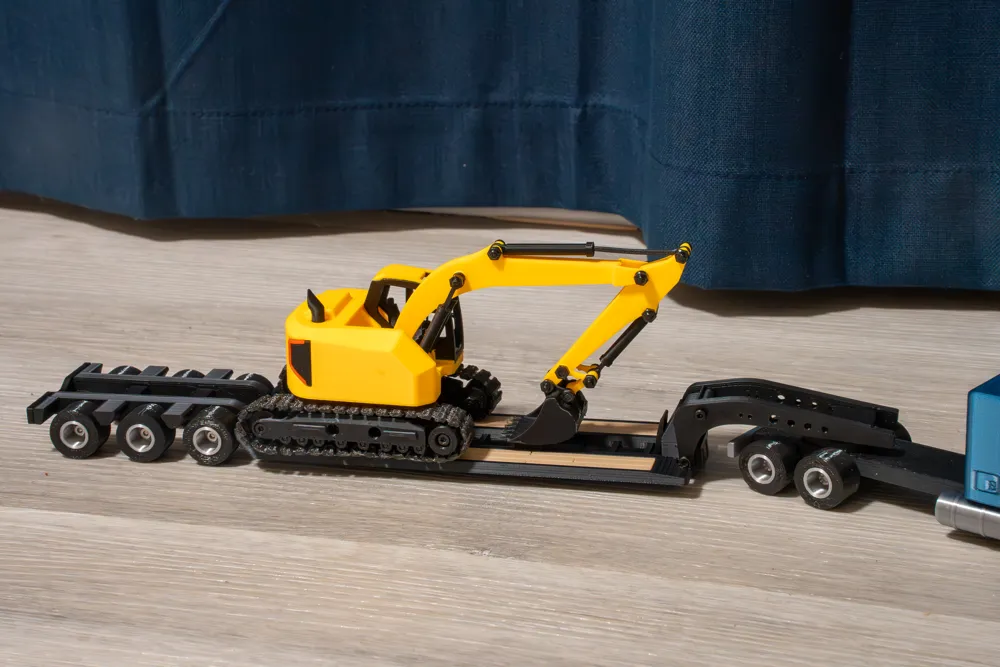
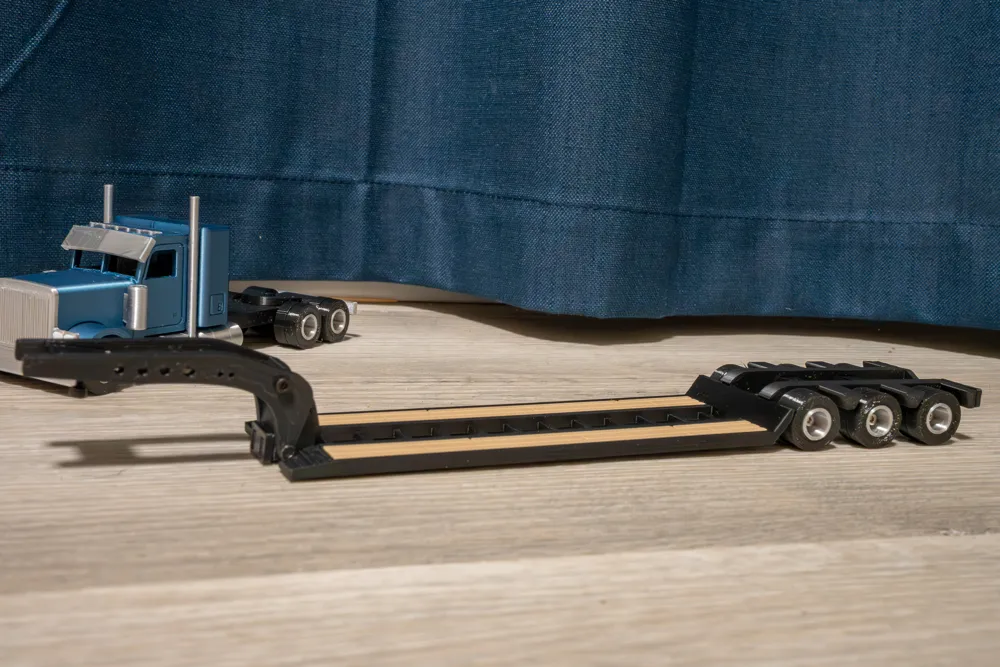
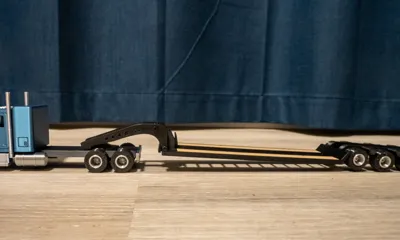
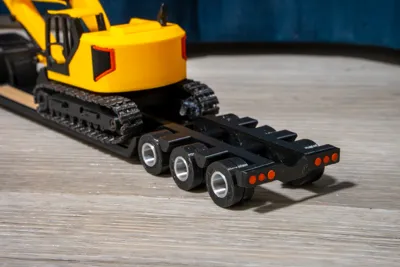
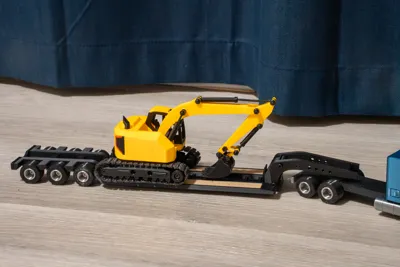
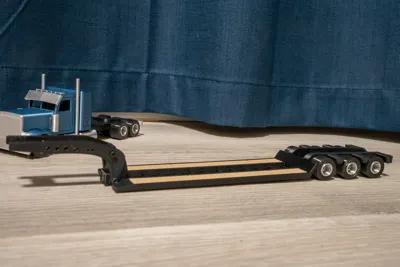
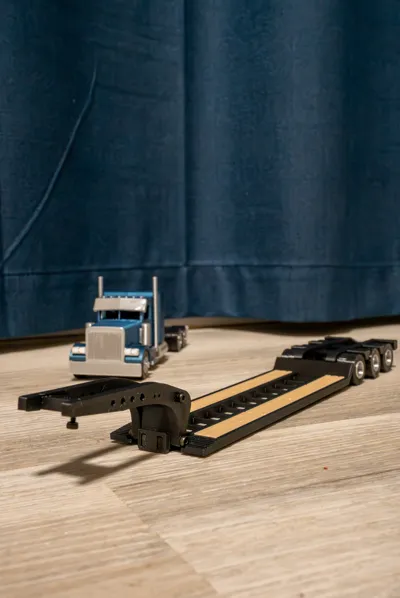
Haul your excavator to the job site with your semi on this Lowboy Trailer!
Features
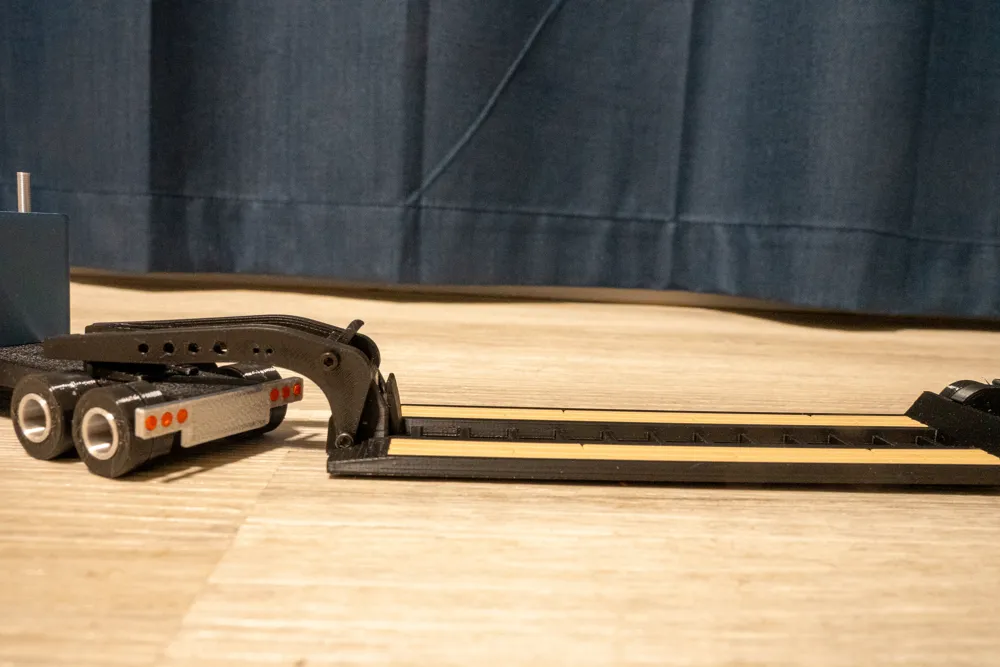
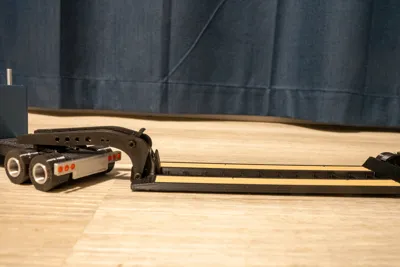
- 5 Different Ride Hight adjustments.
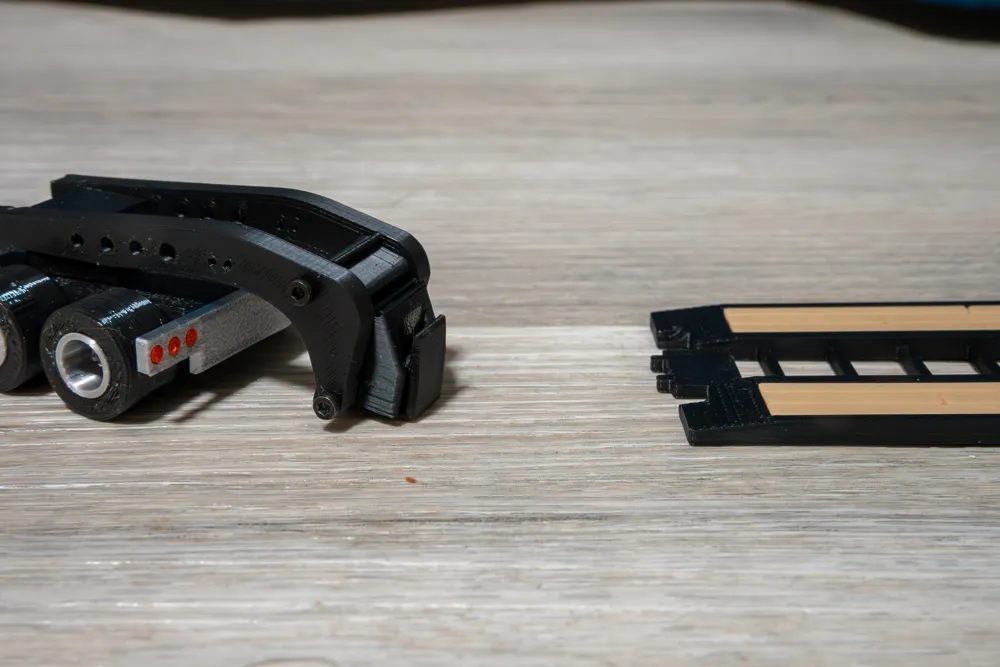
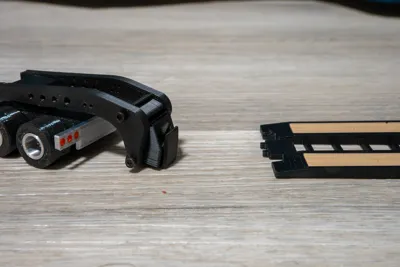
- Clip to lock and unlock the Trailer from the neck.
Weeks were spent designing this trailer to work perfectly.
Boost Me (for free)
Boost me for free, to support me and allow me to make more models. Thanks!
Print my semi to go with it.
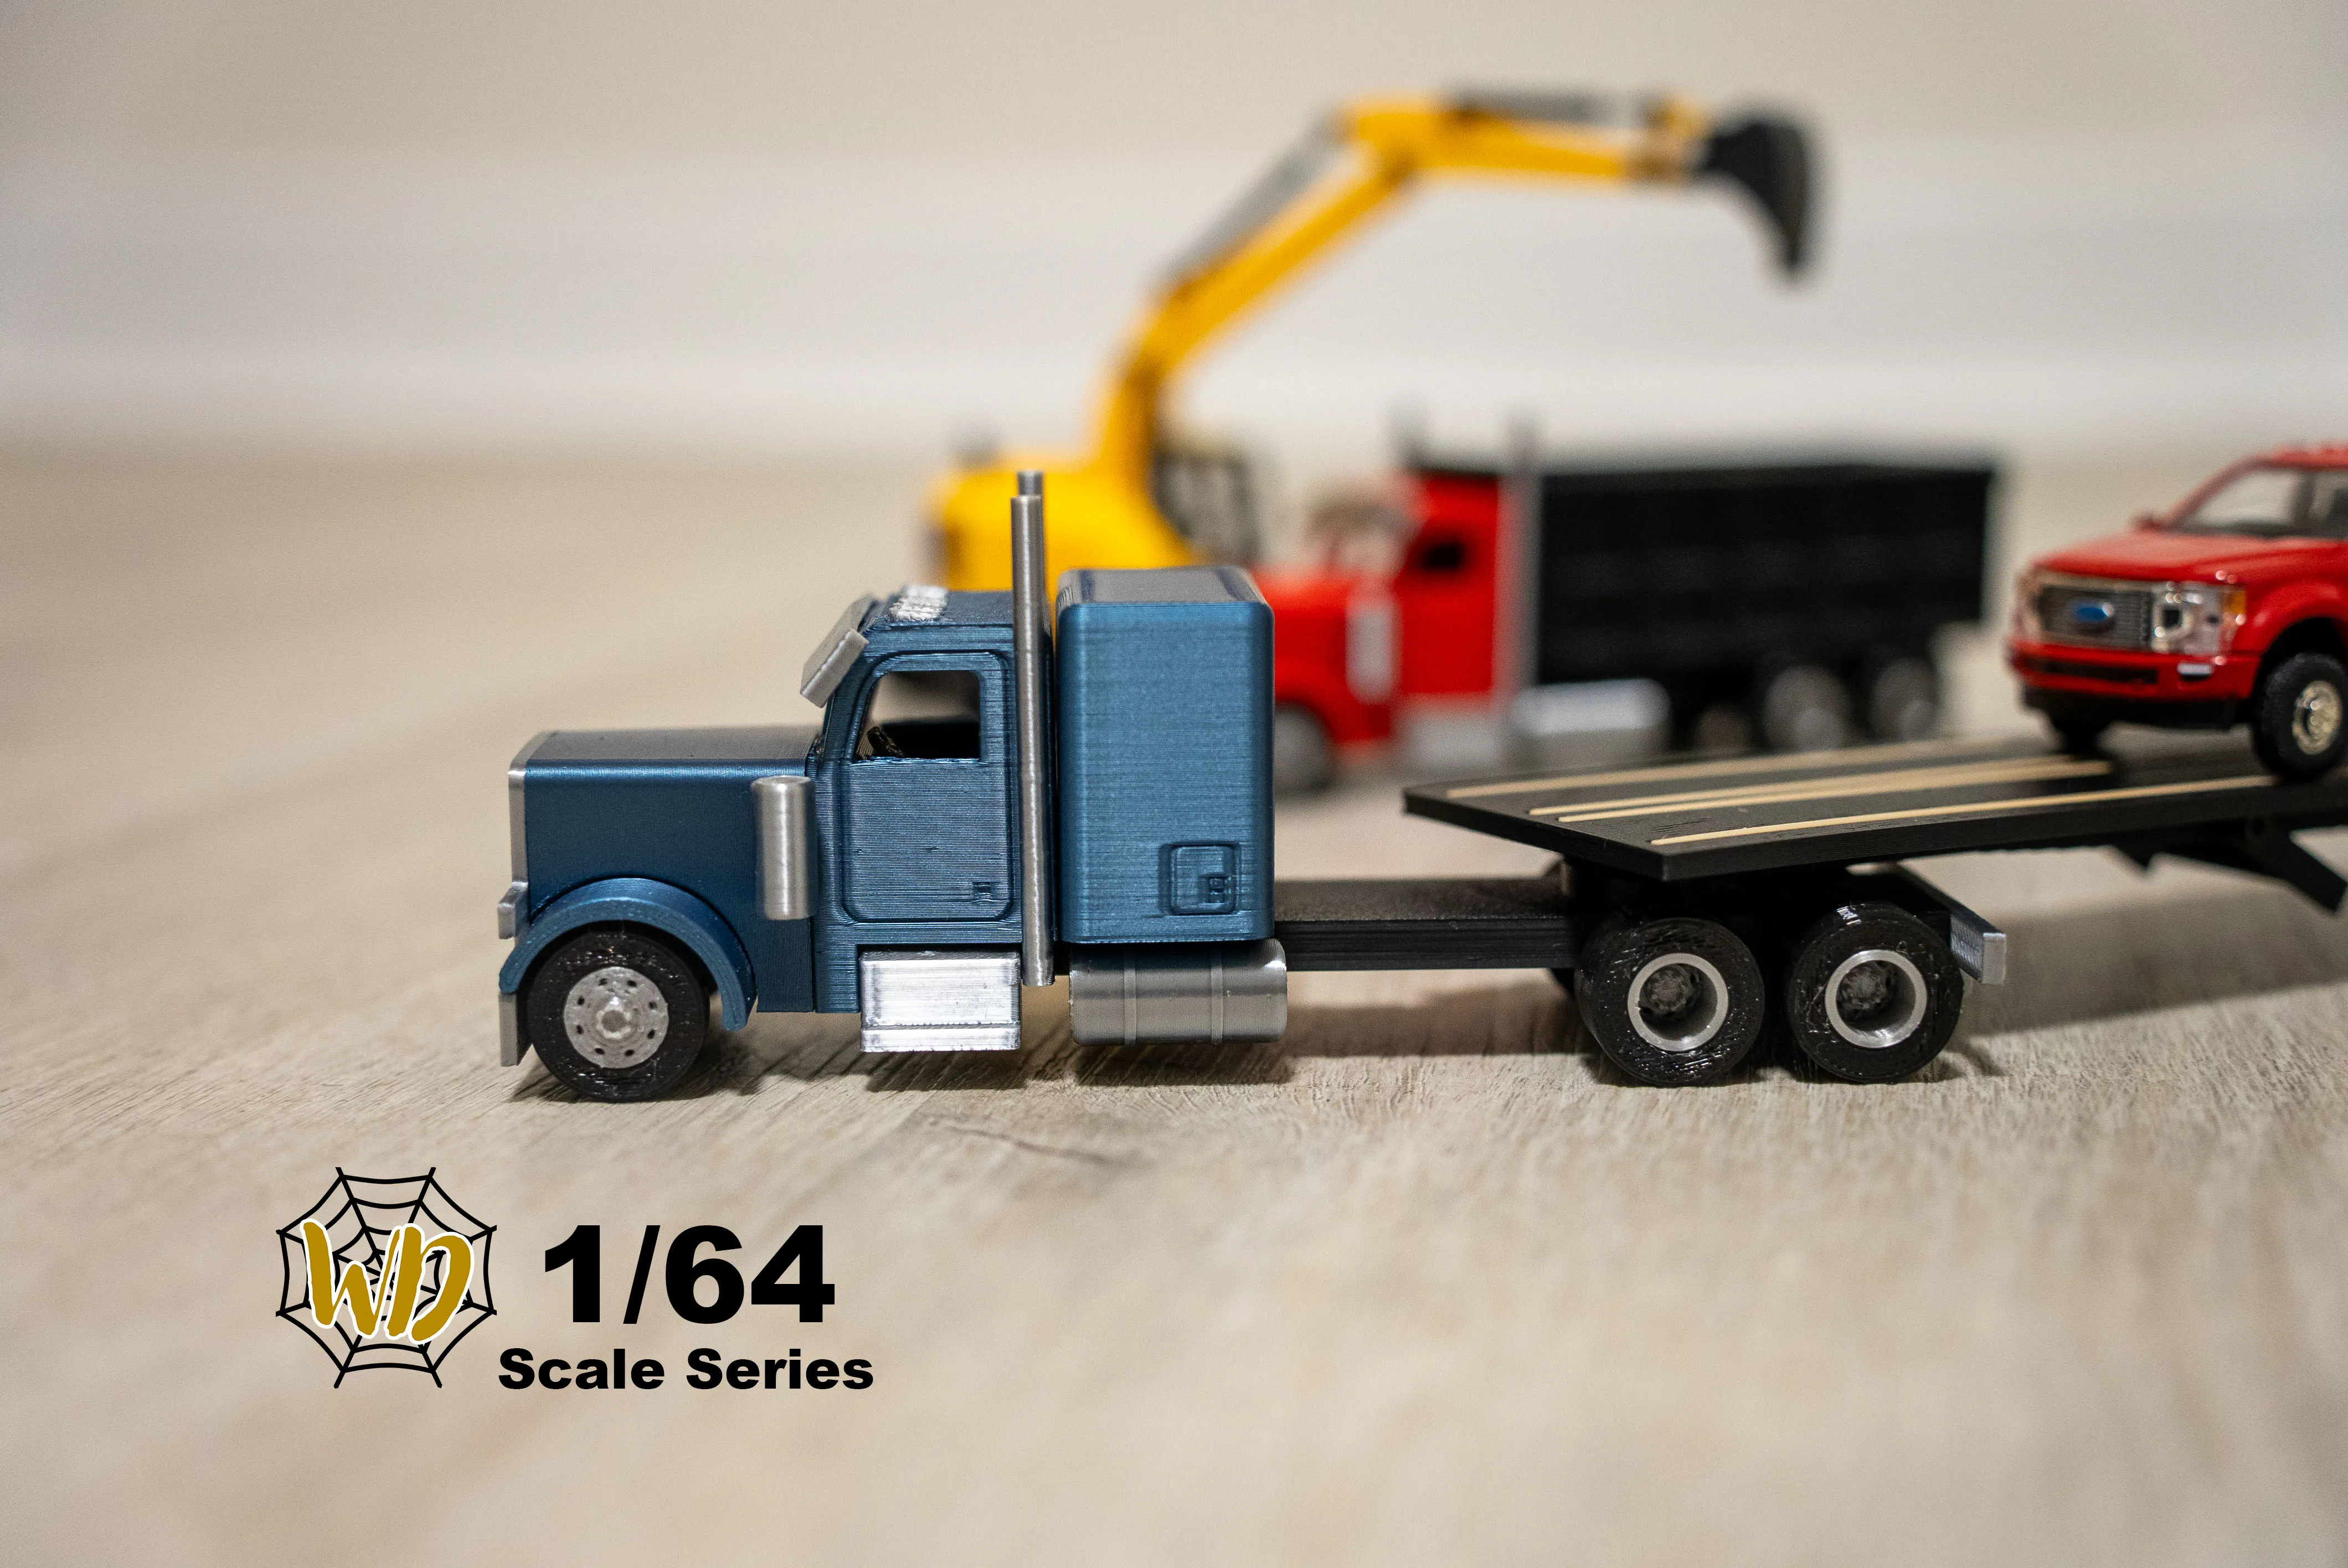
https://makerworld.com/en/models/2039019-1-64-scale-peterbilt-379-semi-no-ams#profileId-2199693
Parts Needed
Superglue
x4 M2 10mm
x6 M2 12mm
x1 M2 6mm
x6 M2 Nuts
Optional:
x6 M2 Washers
x2 M2 Nuts
x2 M2 10mm
Assembly:
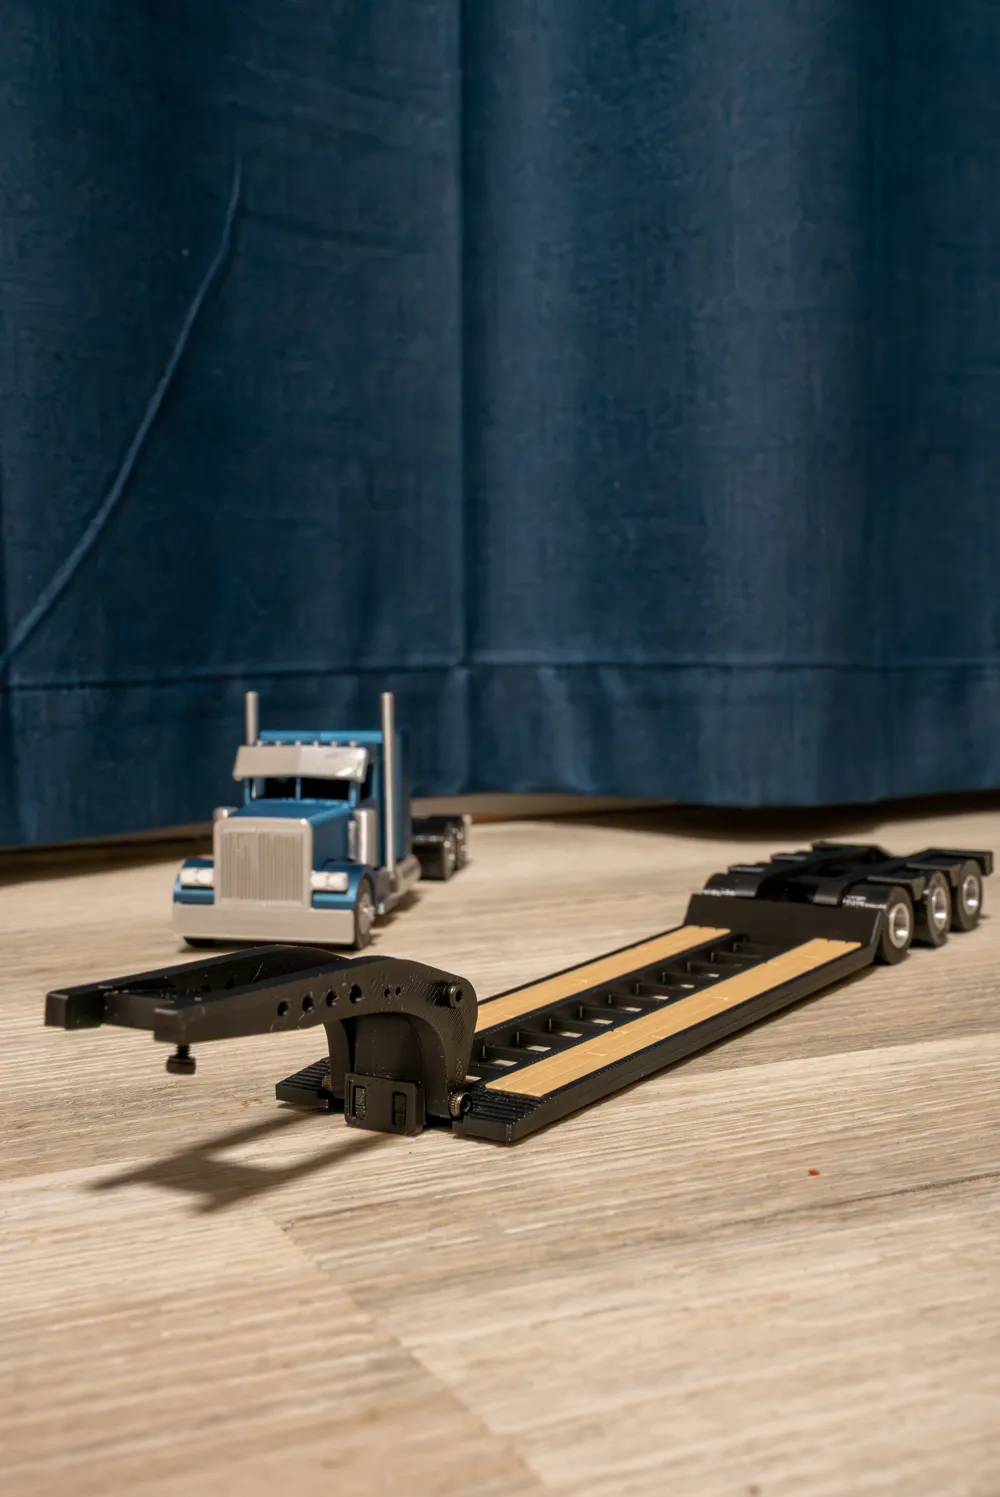
Neck: First start by gluing the guide to the pins on the pivot make sure it's all the way down so the pins on the trailer can go in. Next put the clip into the pivot, you can put some glue on it to make it stay down far enough to grab the deck properly. Next put 2 M2 10mm bolts through the necks into the pivot make sure to have the clip facing away from the front. Next put 2 M2 10mm bolts through the ride height guide. Lastly Glue the hitch plate in its spot and glue a M2 6mm bolt and nut into its cut out.
Deck: Glue the wood plates into the gap.
Axles: start by glueing the axles together with the braces and then you can glue it to the deck or bolt it down with 2 M2 10mm and nuts. Next glue the bumper into its holes and glue in each light or snap them in if that works.
Wheels: Using the 6 M2 12mm Bolts run it through the rim and through the axle. Optional(stick a washer on). Stick a nut on and tighten to your desired tightness and then add a dab of superglue to keep it from coming off.
Join the Webb Designs Patreon
Get closer to the design process and be the first to experience every new release!
Member Benefits
Early Access
Patreon-Exclusive Models
Behind-the-Scenes CAD Previews
Vote on Future Projects
Supporter Recognition
Have your name featured as an official Webb Designs Supporter
Supporters
- DPM Customs
- Katelyn Meyer
Boost Me (for free)
Your Support is Appreciated
License

You shall not share, sub-license, sell, rent, host, transfer, or distribute in any way the digital or 3D printed versions of this object, nor any other derivative work of this object in its digital or physical format (including - but not limited to - remixes of this object, and hosting on other digital platforms). The objects may not be used without permission in any way whatsoever in which you charge money, or collect fees.


Comment & Rating (186)