Search models, users, collections, and posts

Flush Mount LIFX Switch Adapter
IP Report
Print Profile(1)

0.2mm layer, 4 walls, 25% infill
Designer
4.4 h
4 plates
Open in Bambu Studio
Boost
7
7
2
0
10
6
Released
Description
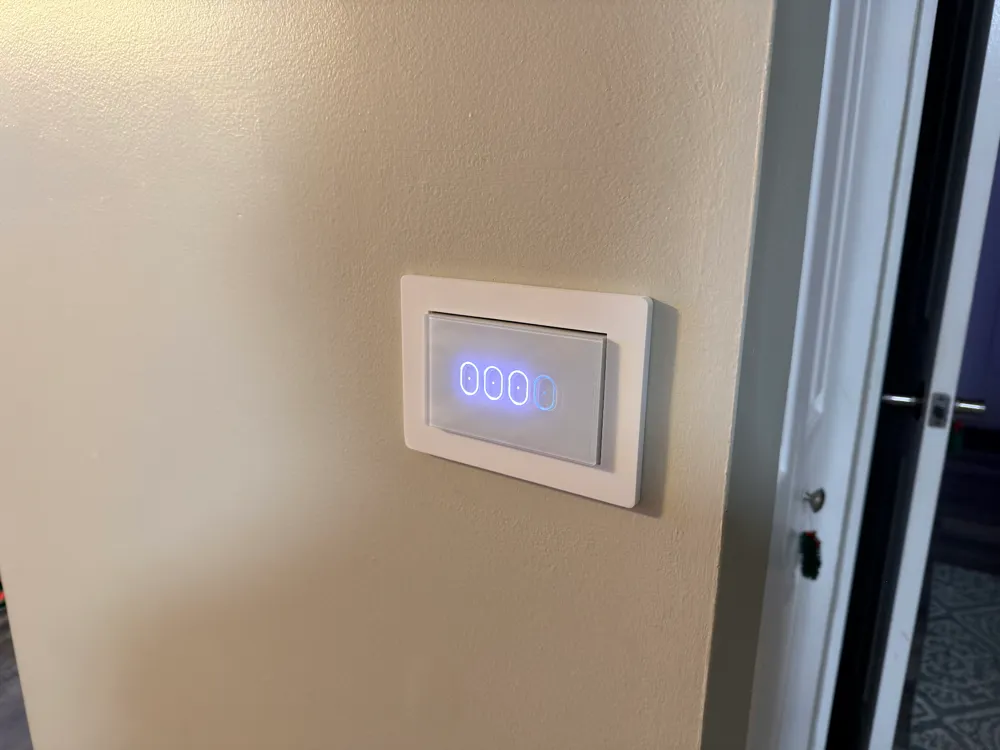
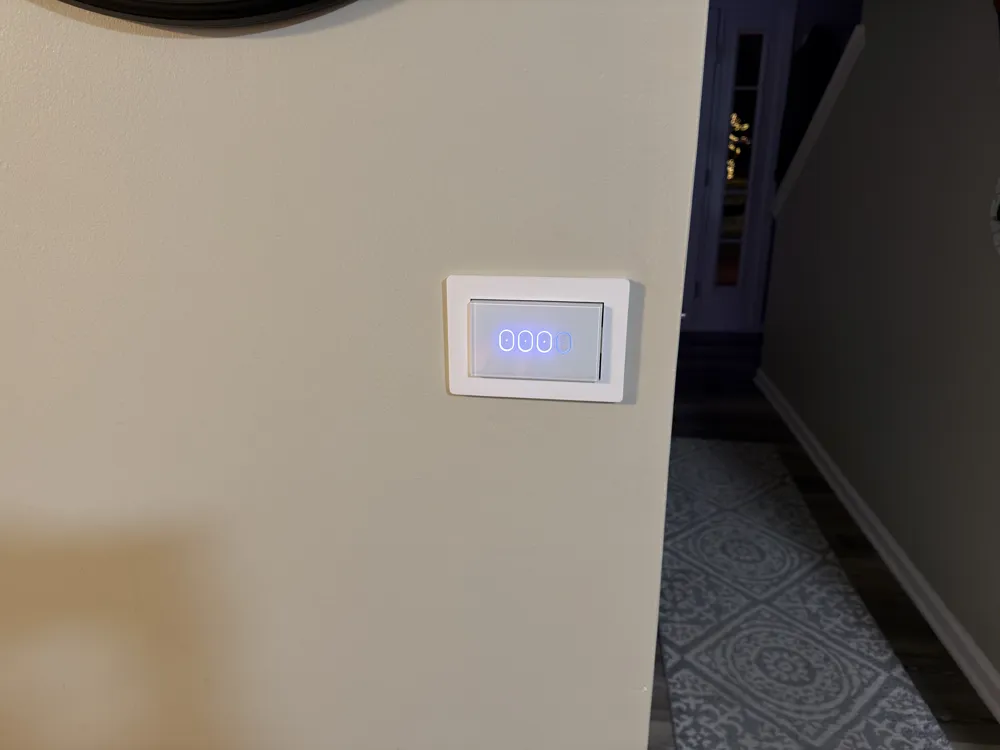
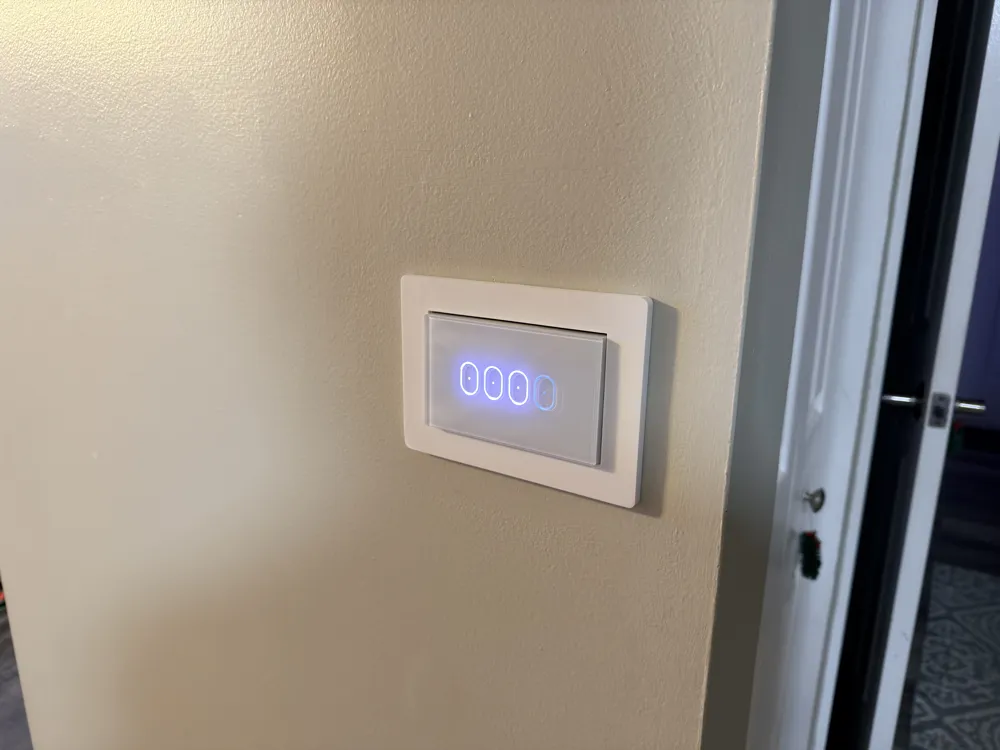
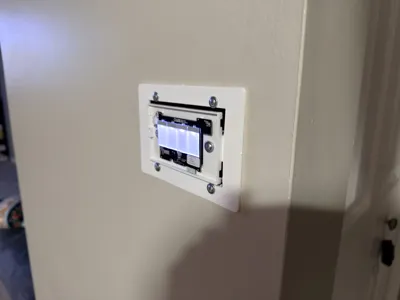
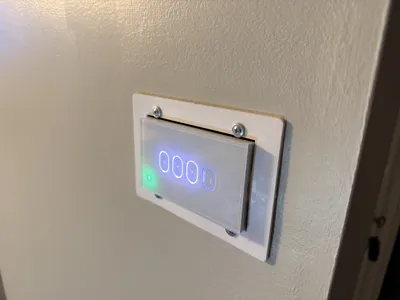
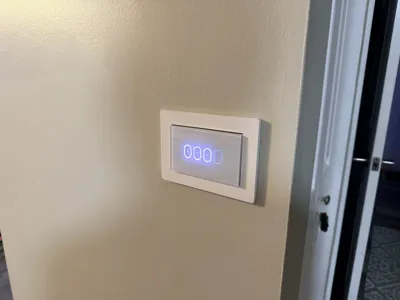
Finally, a way to mount your LIFX Switch (4-Button) horizontally into a standard US multi-gang box without it sticking out or looking unfinished!
This custom-designed adapter solves two major problems with installing LIFX switches in existing gang boxes:
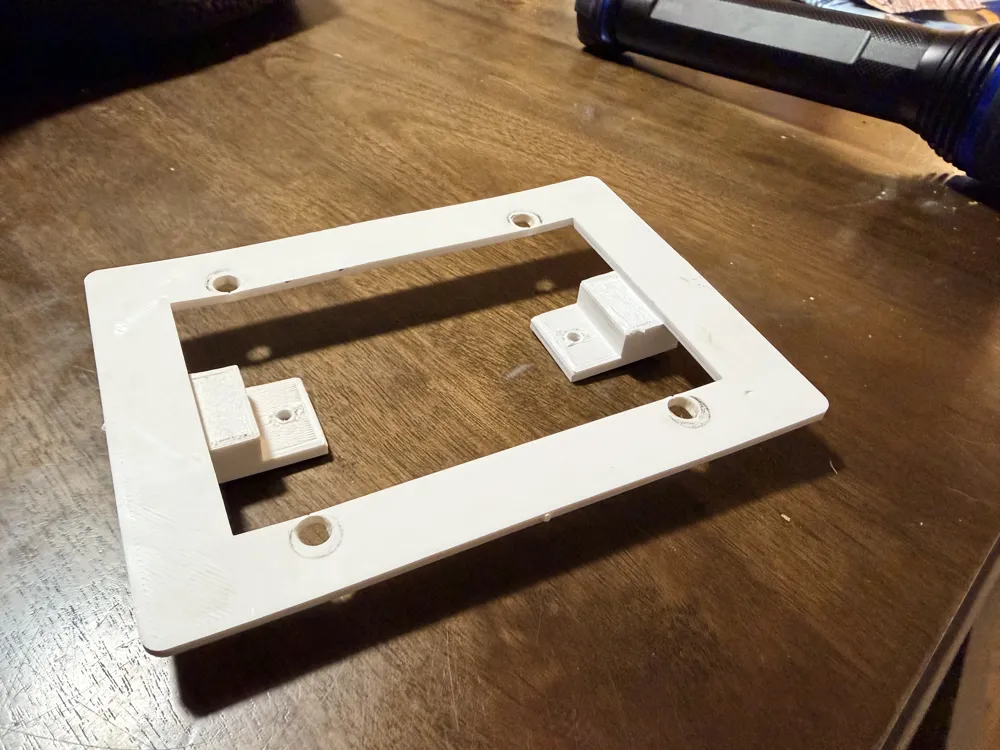
- True Flush Mount: It features a recessed "bucket" design that pushes the switch body deeper into the wall box, allowing the glass faceplate to sit perfectly flush with the cover.
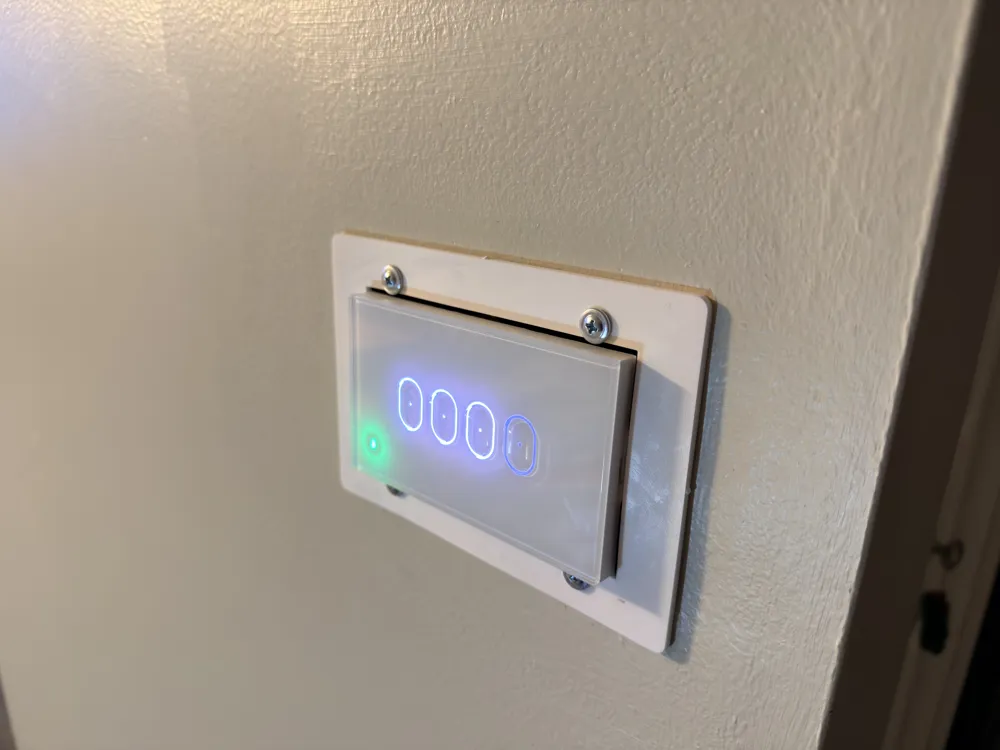
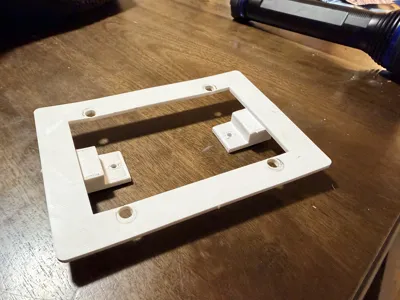
- Screwless Finish: Uses a two-part "Snap-Fit" system. The Base Plate mounts to the wall, and the Cover Plate snaps over it for a clean, screw-free look similar to high-end Lutron or Leviton plates.
Included Versions:
- 3-Gang Adapter: Centers a horizontal LIFX switch over a standard 3-gang box.
- 4-Gang Adapter: Centers a horizontal LIFX switch over a standard 4-gang box.
Printing Instructions
This is a 2-part print. You will need to print one Base and one Cover.
1. The Base Plate (Wall Mount)
- Material: PETG or PLA+ (Recommended for strength).
- Orientation: Print Face Down.
- Supports: YES (Critical). You must enable supports (e.g., "Tree Supports" or "Touching Buildplate") because the recessed mounting tabs hang off the back.
2. The Cover Plate (Beauty Face)
- Material: PLA (Matte White looks best for walls).
- Orientation: Print Face Down on a textured PEI plate for a professional finish.
- Supports: NO. This part prints flat without supports.
Assembly & Hardware
Required Hardware:
- 4x Long Wall Plate Screws (6-32 x 1.25" Oval Head): Standard plate screws are too short. You need longer screws to reach the box through the 12mm adapter.
- 2x Standard Switch Screws (6-32): To attach the LIFX metal bracket to the printed plastic tabs.
Installation Steps:
- Turn off power at the breaker.
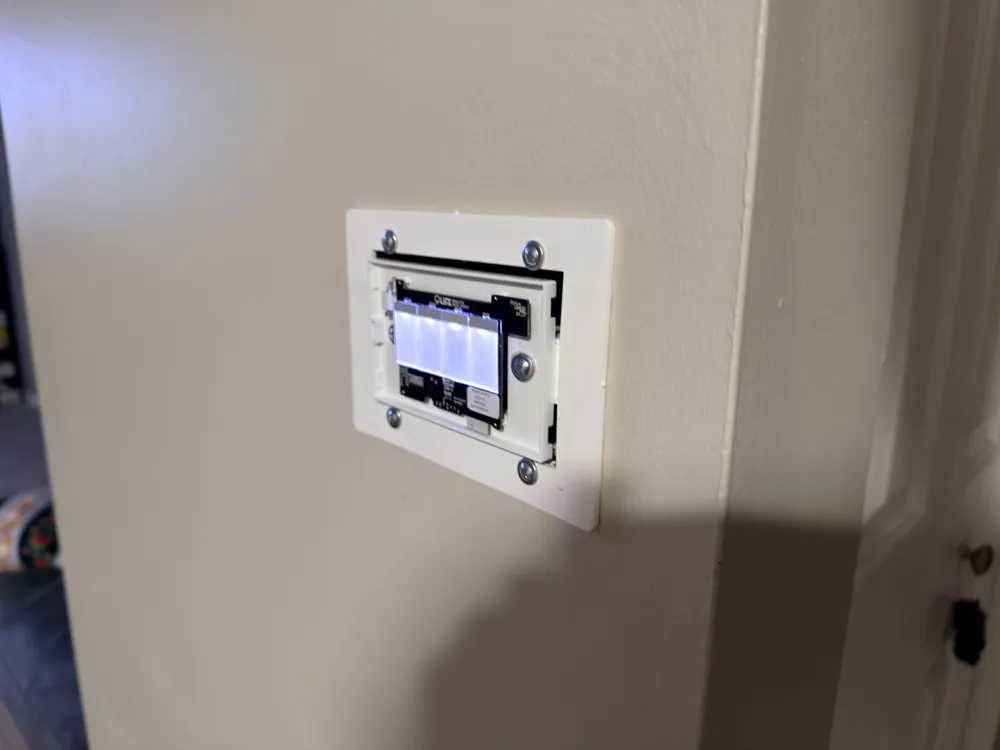
- Install the Base Plate to your wall box using the 4 long screws.
- Pull wires through and connect your LIFX Switch.
- Screw the LIFX metal bracket into the recessed tabs inside the print.
- Snap the LIFX switch body into the bracket.
- Snap the Cover Plate over the Base Plate (align the nubs and push firmly).
- Attach the LIFX glass faceplate.
License

This user content is licensed under a
Creative Commons Attribution-Noncommercial


Comment & Rating (2)