Search models, users, collections, and posts
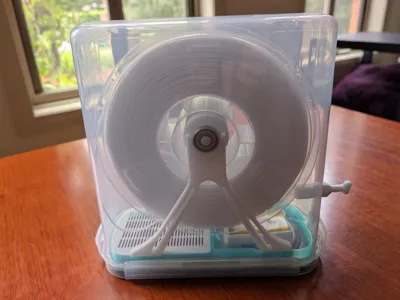
Low Friction Universal Dry Box
Remixed by
IP Report


Print Profile(1)

0.2mm layer, 2 walls, 15% infill
Designer
7.4 h
4 plates
Open in Bambu Studio
Boost
9
34
3
2
25
12
Released
Description
The original design had some great features and a number of remixes have emerged, however, there were still a few critical areas that were not addressed well.
- The cereal container used is very specific. There are some variations in the market that cause problems with the original design. I modified the base and other components to ensure a good fit on most available containers.
- The double roller design actually creates high friction which can create havoc on filaments such as TPU. I integrated this remix https://www.printables.com/model/1255450-center-roller-for-the-ultimate-cereal-container-fi which uses a single roller (only two bearings) which dramatically reduces friction.
- I sealed the base so dessicant can not escape. By using transparent filament, the colour is still visible.
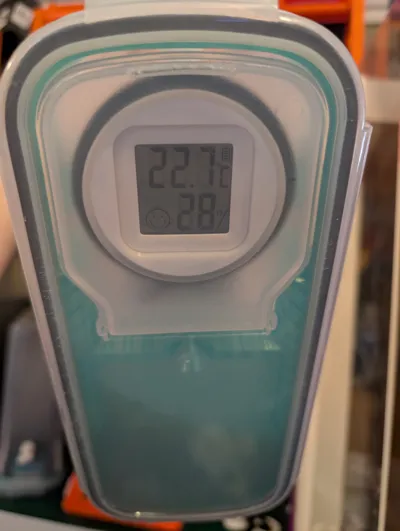
- I designed a rechargeable humidity sensor that doesn't require constantly replacing coin cells and an adapter to fit in the case ref: Forever (almost) Rechargeable Sensor https://makerworld.com/en/models/2089928-forever-almost-rechargeable-sensor#profileId-2259111
- The new design only requires one hole to be drilled and a small tab to be cut off.
Assembly summary - refer to original documentation for more info https://www.printables.com/model/1249376-the-ultimate-cereal-container-filament-drybox
- Print all required parts. IGNORE the slicer warning regading support - support is only required for the rollers. The 40mm roller works well for most spools. The 30mm roller can be used if the spool touches the top of the case.
- Slide bearings on to roller - make sure to only press on until the shaft is just under or flush with the outside of the bearing.
- Drill hole in container using the jig to mark the spot and fit the coupler. Note: I use a step drill around 9mm and test fit the coupler to ensure it is not too loose.
- Make sure the container can rest on the lid by cutting the tab on the opening flap using a flush cutter.
- Insert the base and fill to about two thirds with dessicant then snap on the lid.
- Insert the centre roller supports.
- Insert the optional sensor and adapter.
This remix is based on

License
This user content is licensed under a
Creative Commons Attribution-Noncommercial-Share Alike
Comment & Rating (3)