
Christmas Flower - Poinsettia (Origami Inspired)




Print Profile(5)





Description
Membership
All Commercial License Memberships are currently SOLD OUT. The next opportunity to join is expected in 2027, unless availability changes earlier. Thank you for your interest and support.
Follow me on MakerWorld for more of my designs, drops, and future releases! : makerworld.com/en/@3DMakerSpace/upload
Update: Through my ongoing efforts to give back to the community during the time of Christmas, I am making this model free to print and free to sell. Whether you gift it, decorate with it, or sell it at a holiday market, you’re helping spread the joy of making! Happy Holidays!
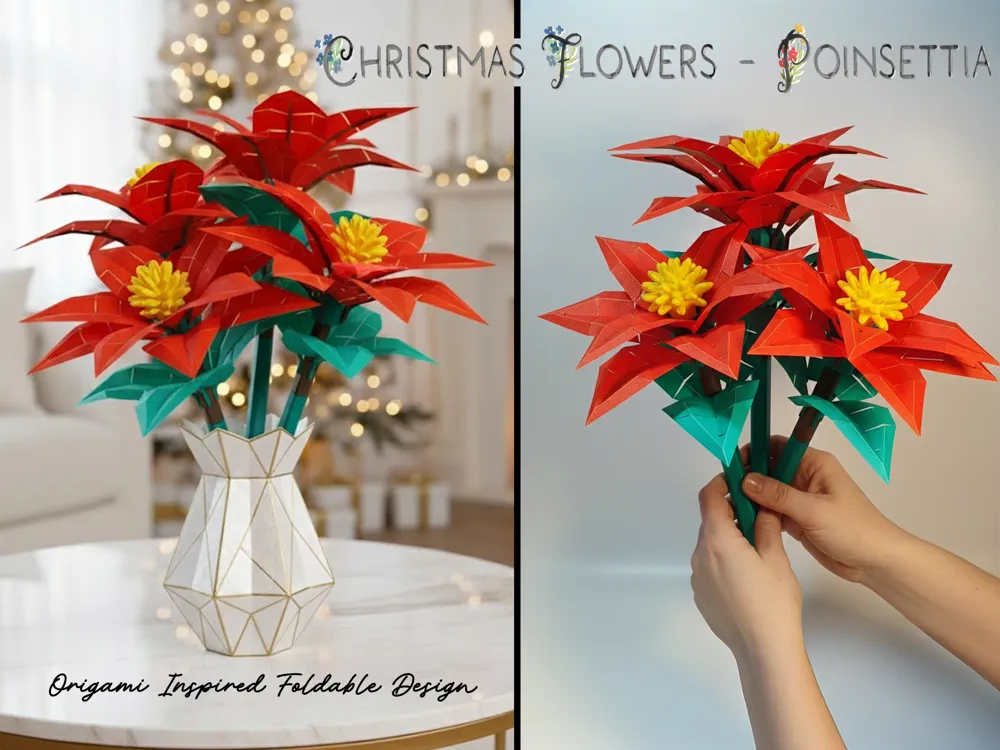
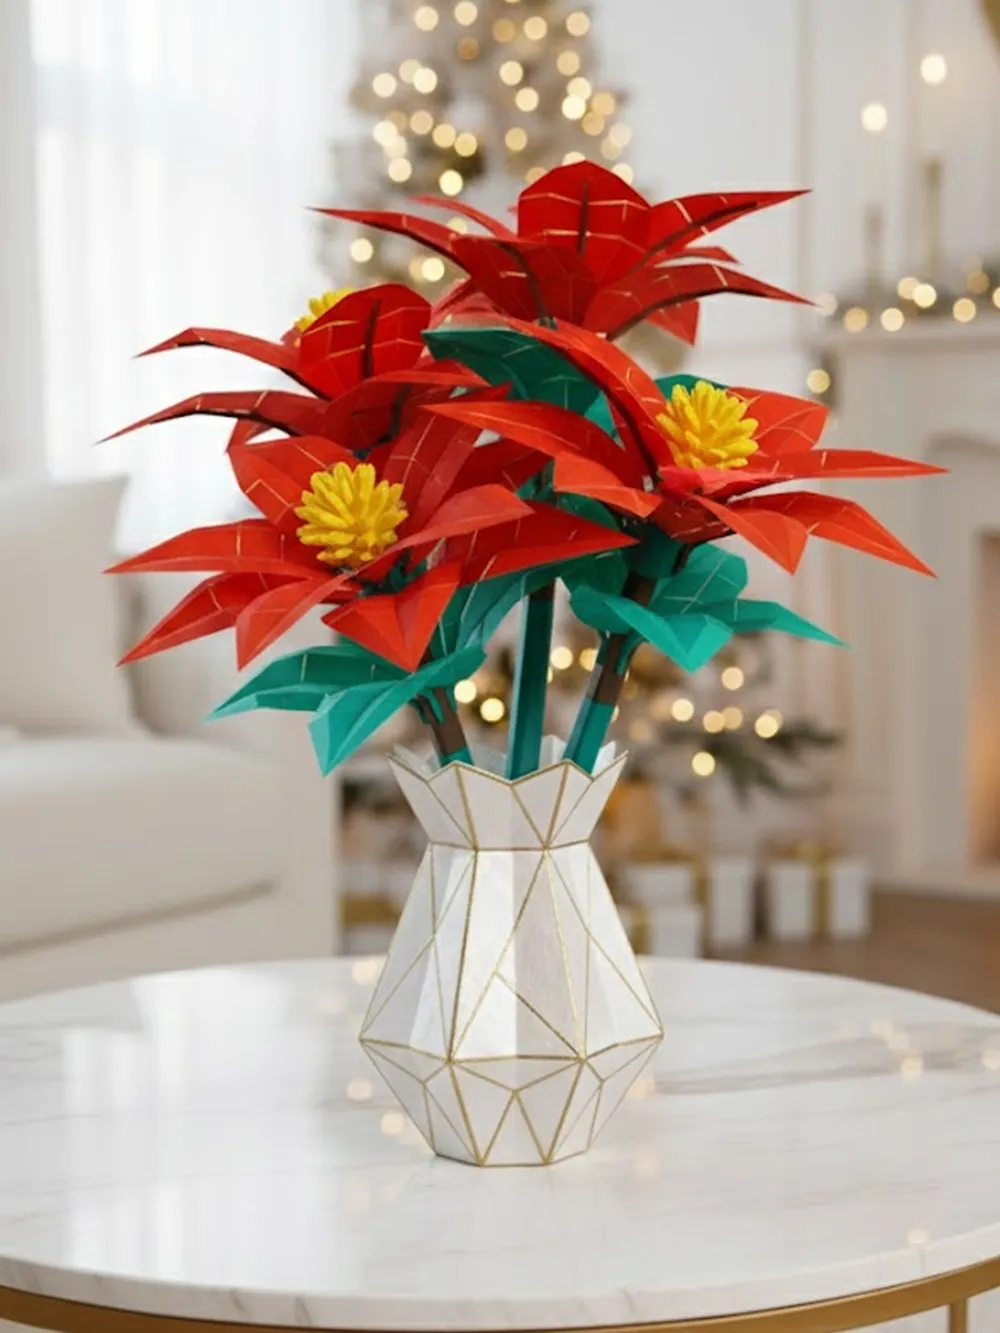
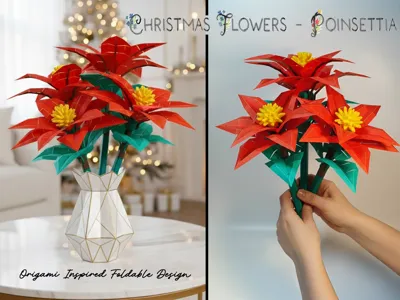
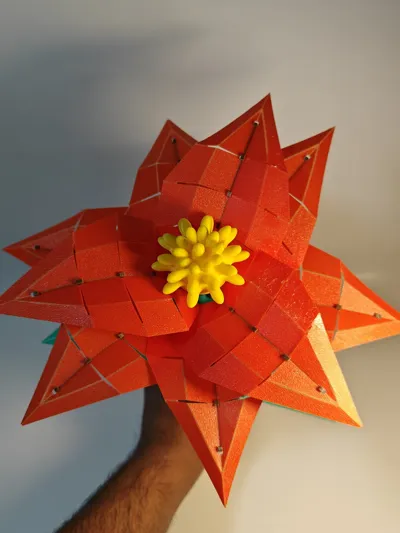
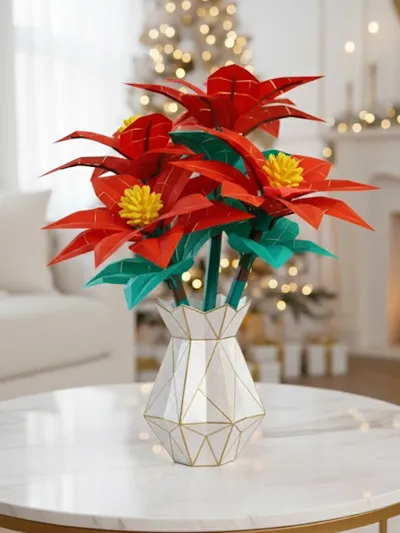
Christmas Flower - Poinsettia
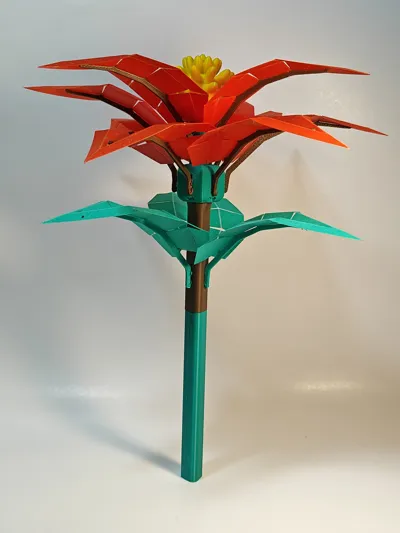
Foldable 3D Origami-Inspired Bloom
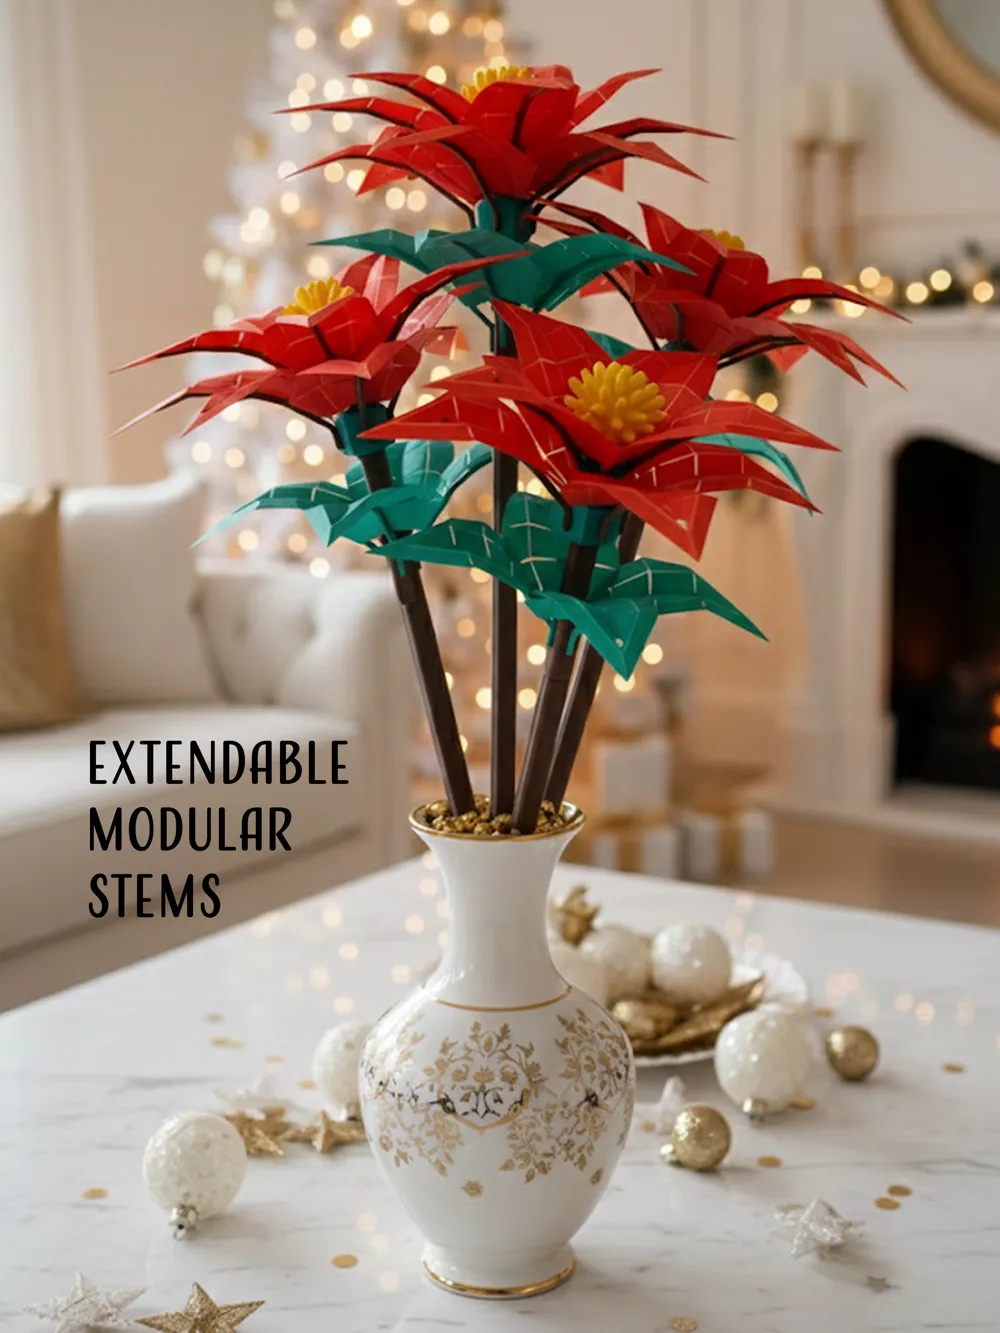
Who says holiday flowers need watering? These poinsettias bloom straight from your printer - then come to life in your hands with every fold. Unfold a little Christmas magic - literally. This poinsettia starts as flat sheets of filament and transforms into a sculpted holiday bouquet with a few satisfying creases. No AMS Required!
Boost Me (for free)
No license required. No restrictions. Free to Sell! Just holiday joy, community sharing, and open creativity! 🎄✨ Your boost keeps creative models like this growing.
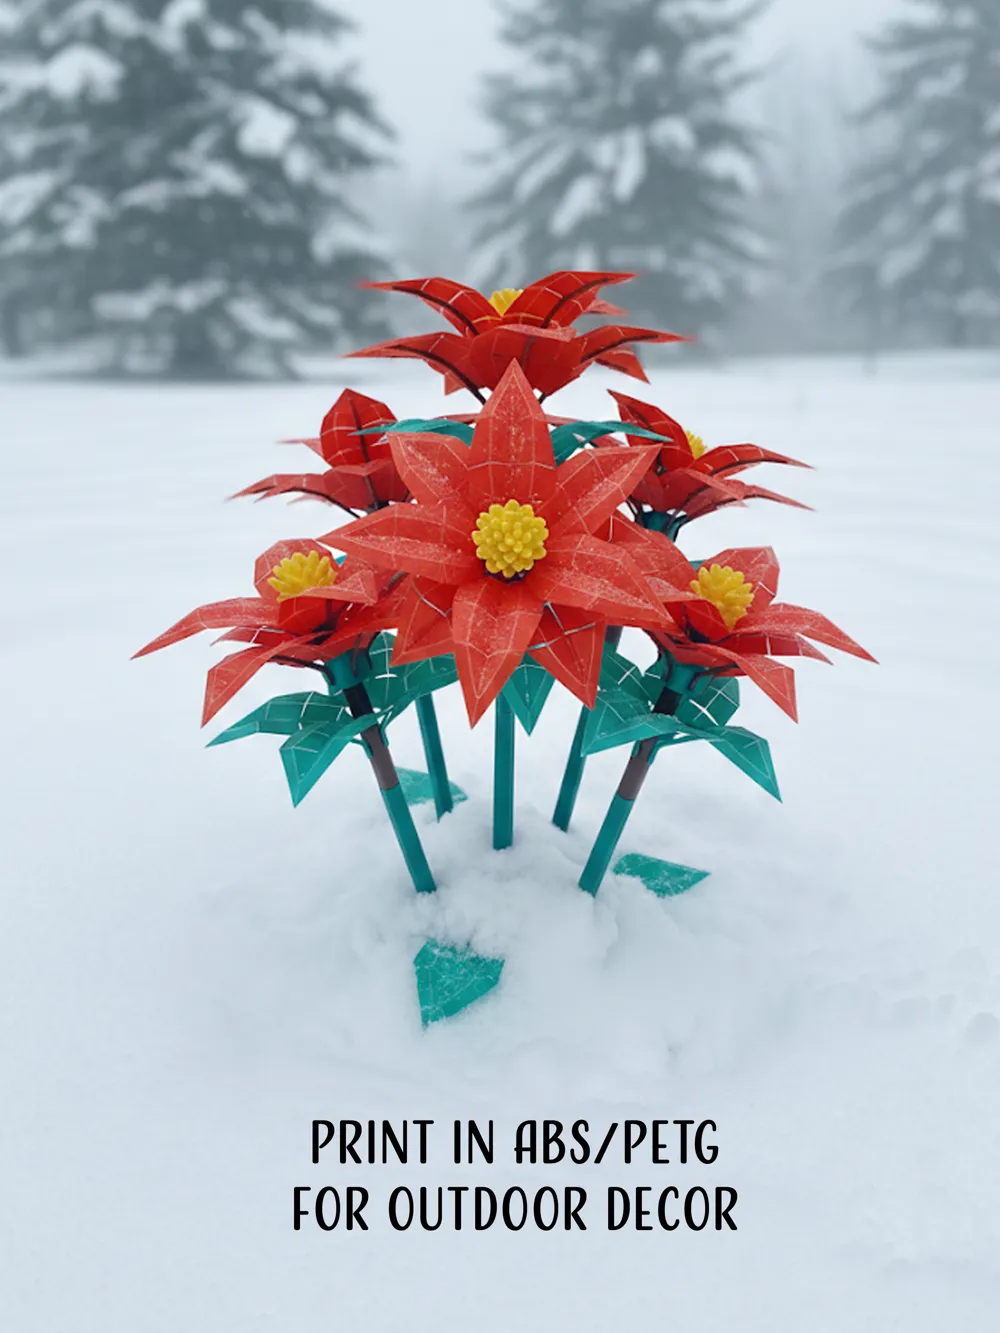
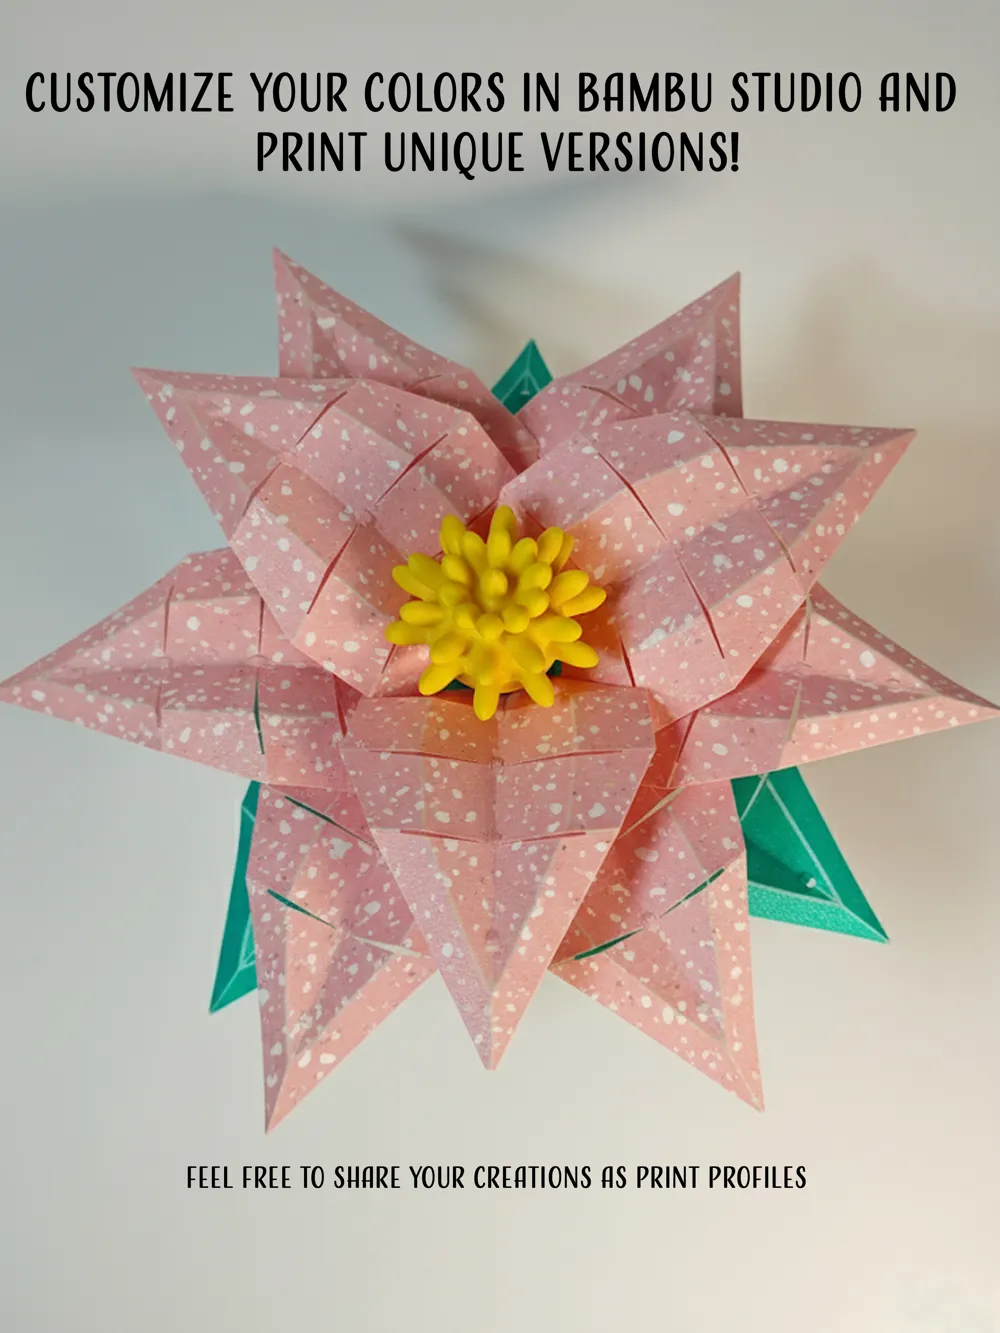
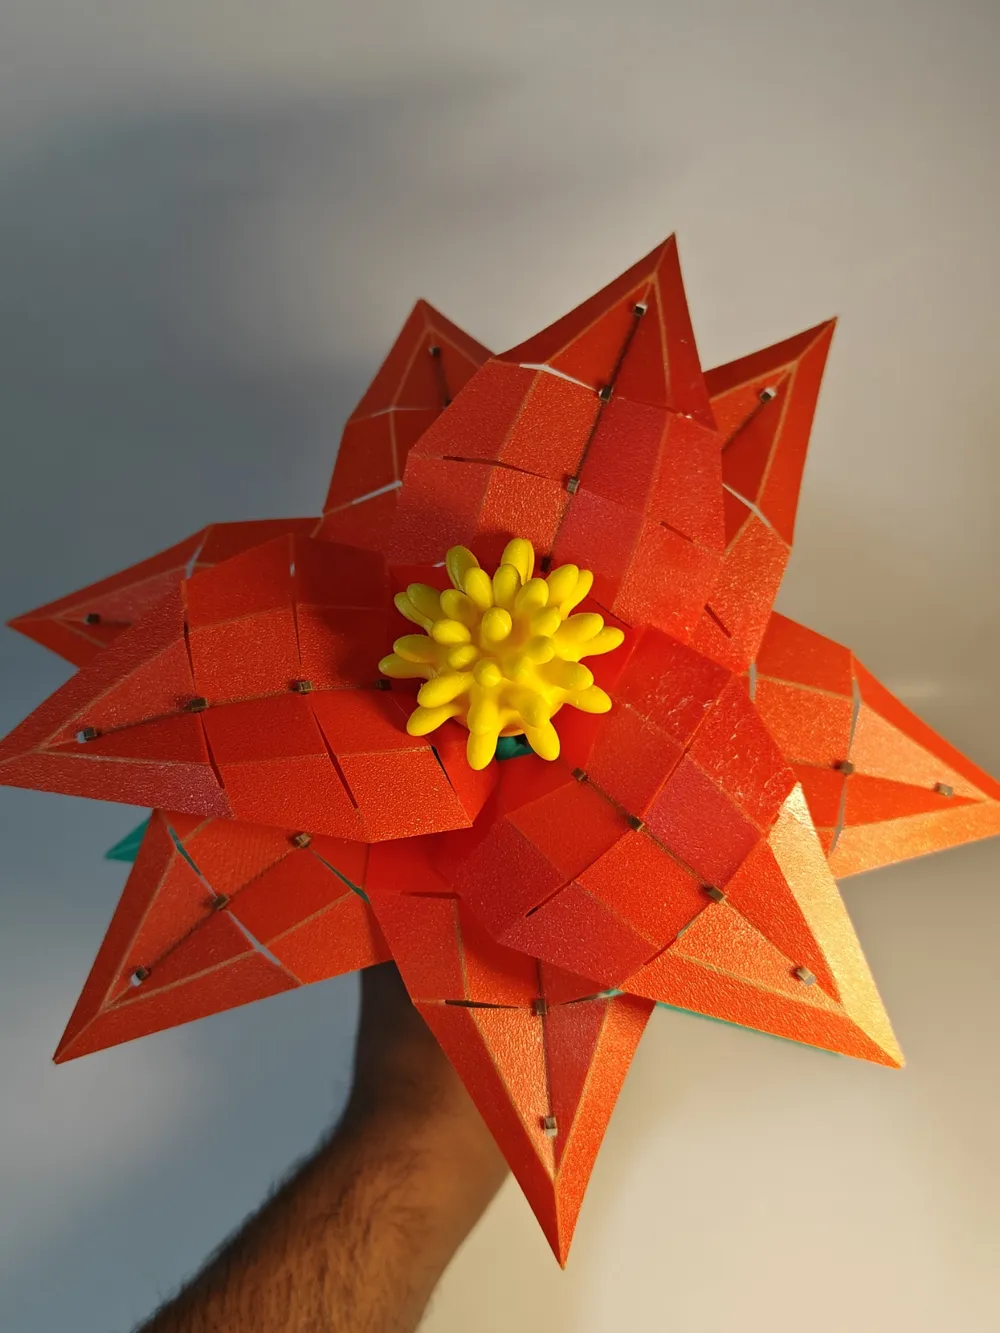
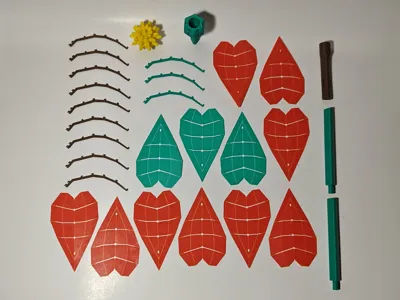
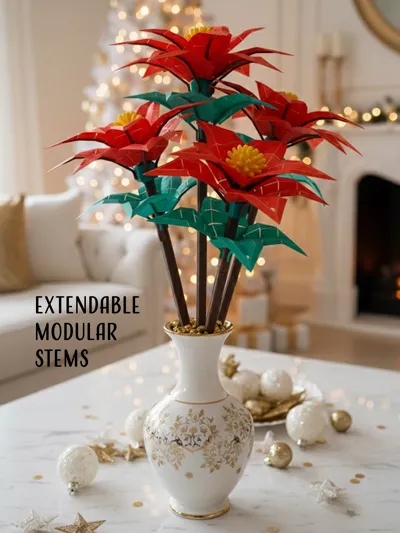
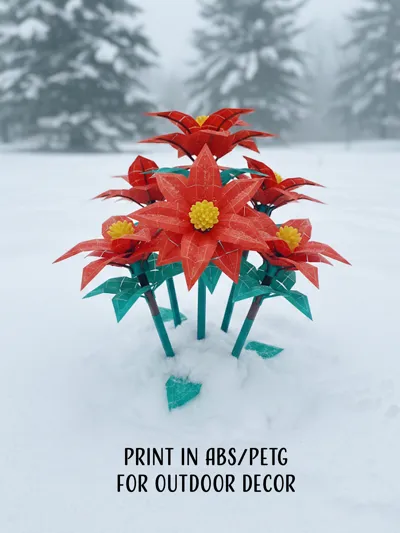
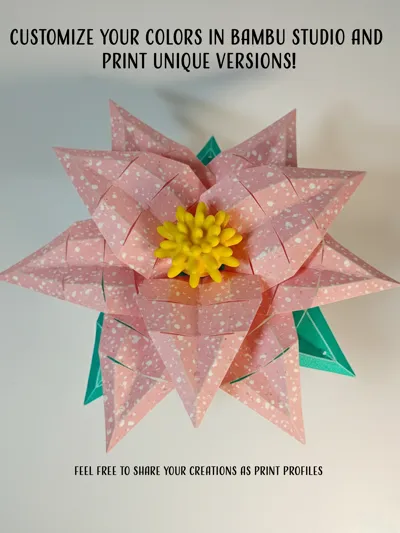
Each petal, leaf, and stem component is printed flat and then folded along built-in crease lines to create beautifully structured 3D poinsettia flowers. The result is a quick, lightweight, modular, and delightfully interactive build that is as enjoyable to assemble as it is to display. Perfect for holiday centerpieces, mantel arrangements, office décor, or a unique handmade gift for friends and family. Customize your colors in Bambu Studio to create traditional red poinsettias, snowy pastels, or completely unique artistic blooms. Modular stem sections allow you to extend or shorten the arrangement as you like. Feel free to upload your creations as a print profile to this model.
Create your own bouquet, share your unique color profiles, and spread the joy of making this holiday season!
I was inspired by the incredible paper-folding creations of @KitofPlants, and made this model that transforms the charm of origami into a fully 3D-printed, foldable horticultural sculpture.
ASSEMBLY INSTRUCTIONs
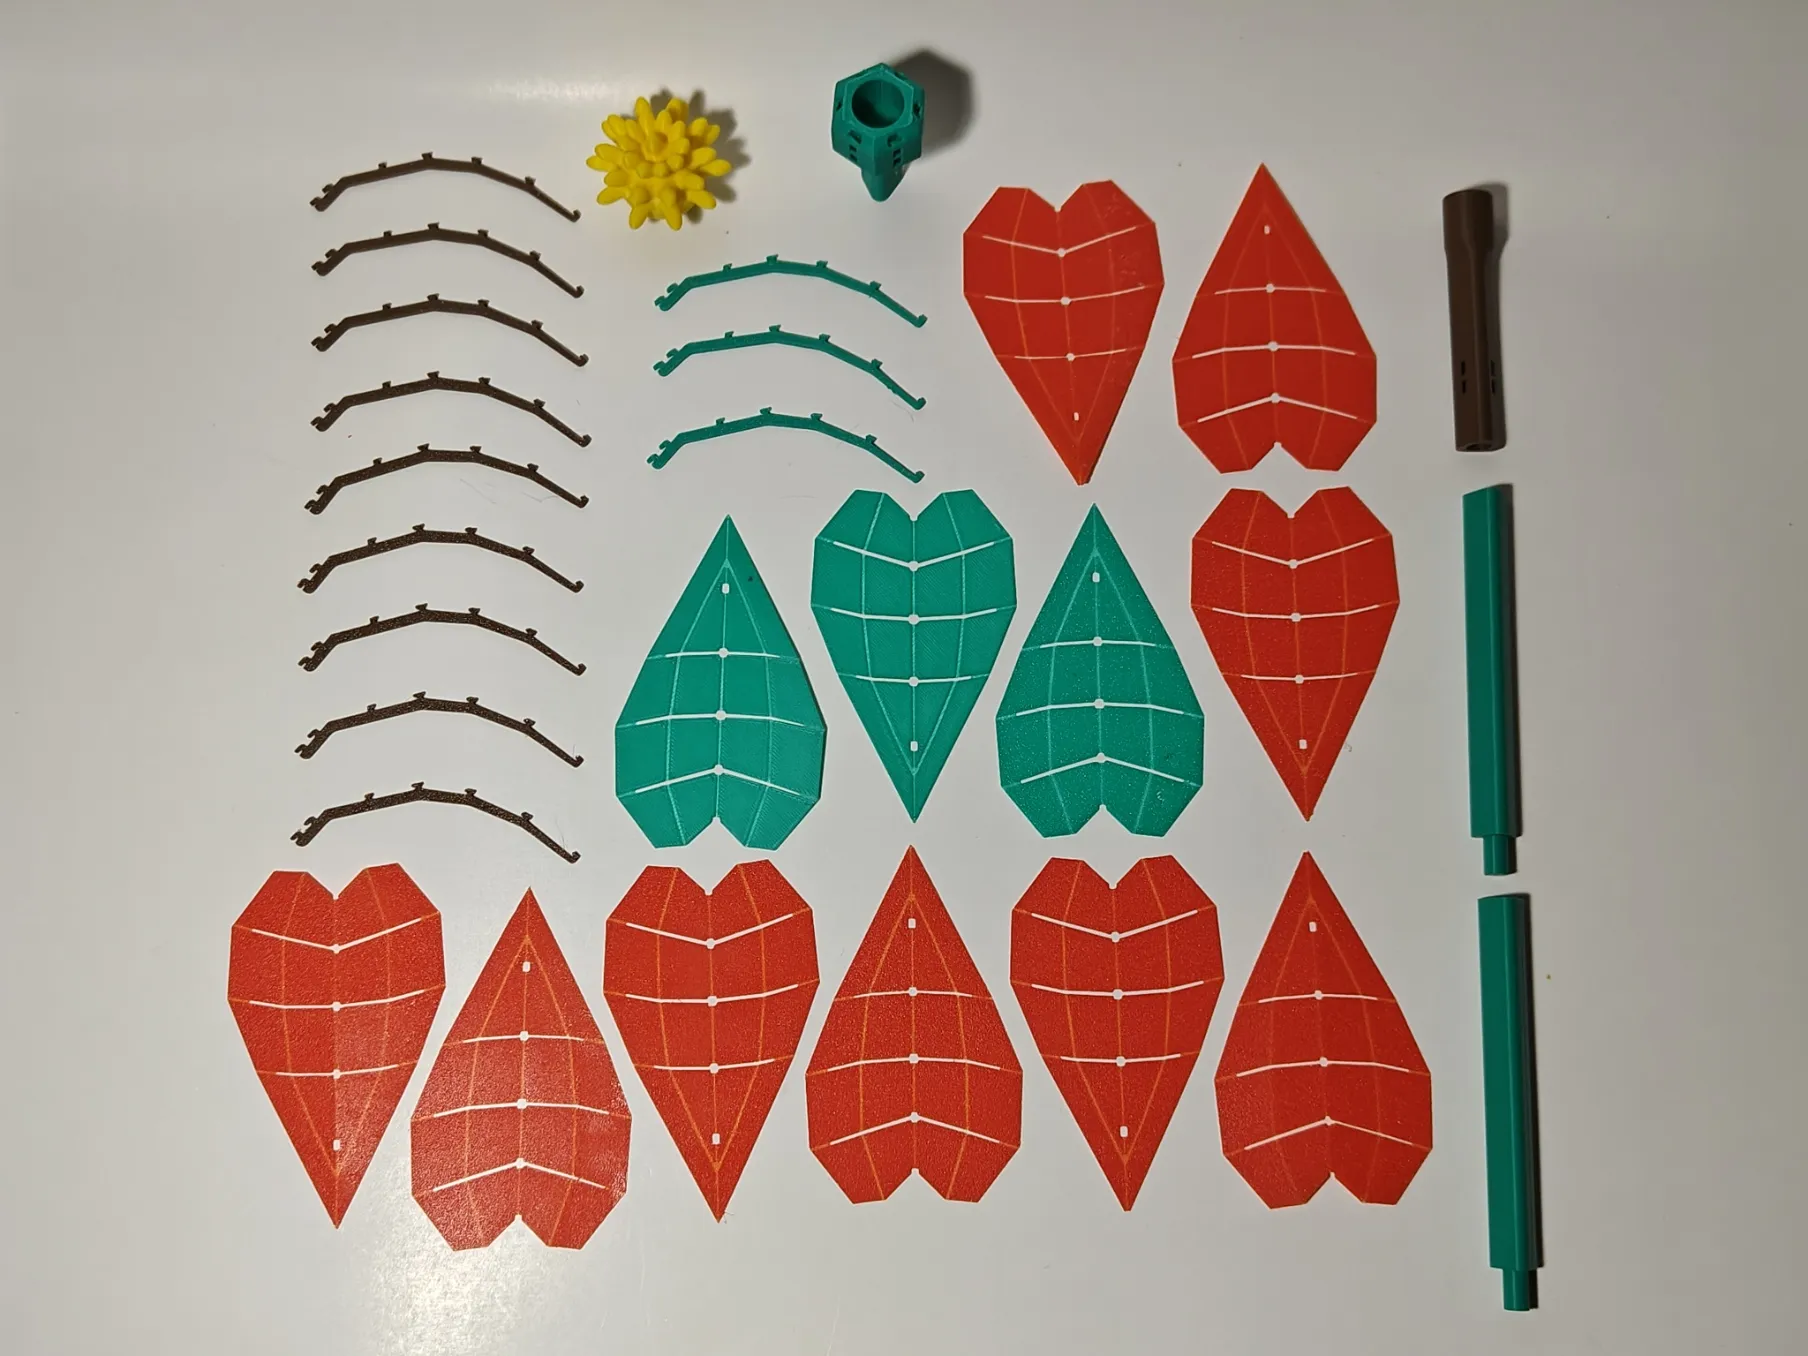
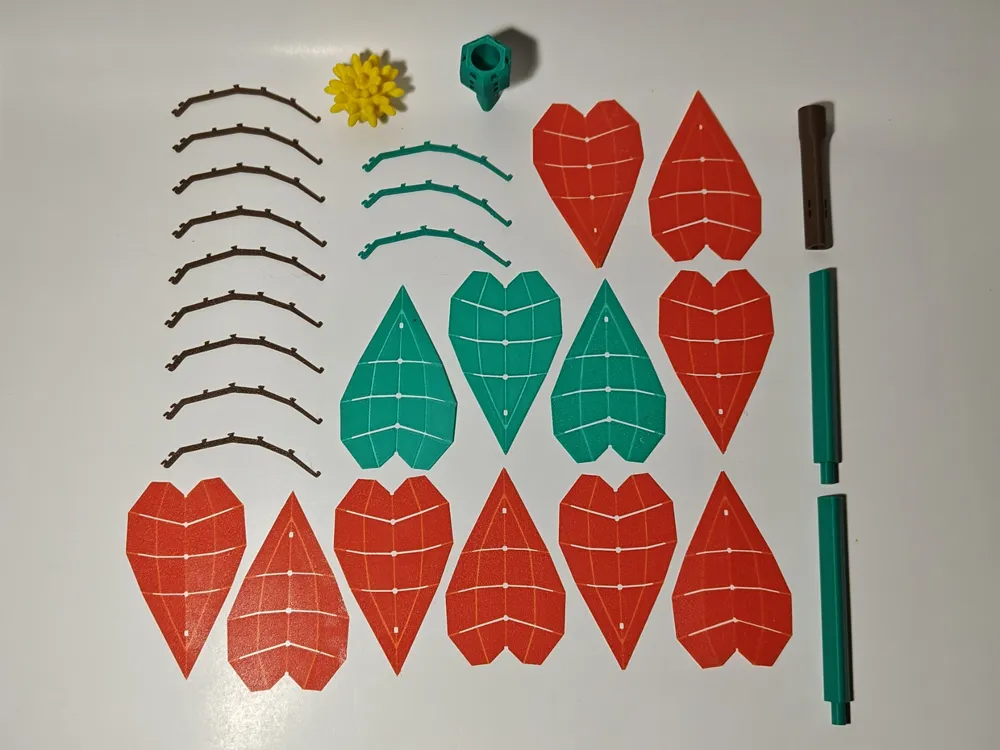
Step 1: Print all parts out. (NO AMS Required!)
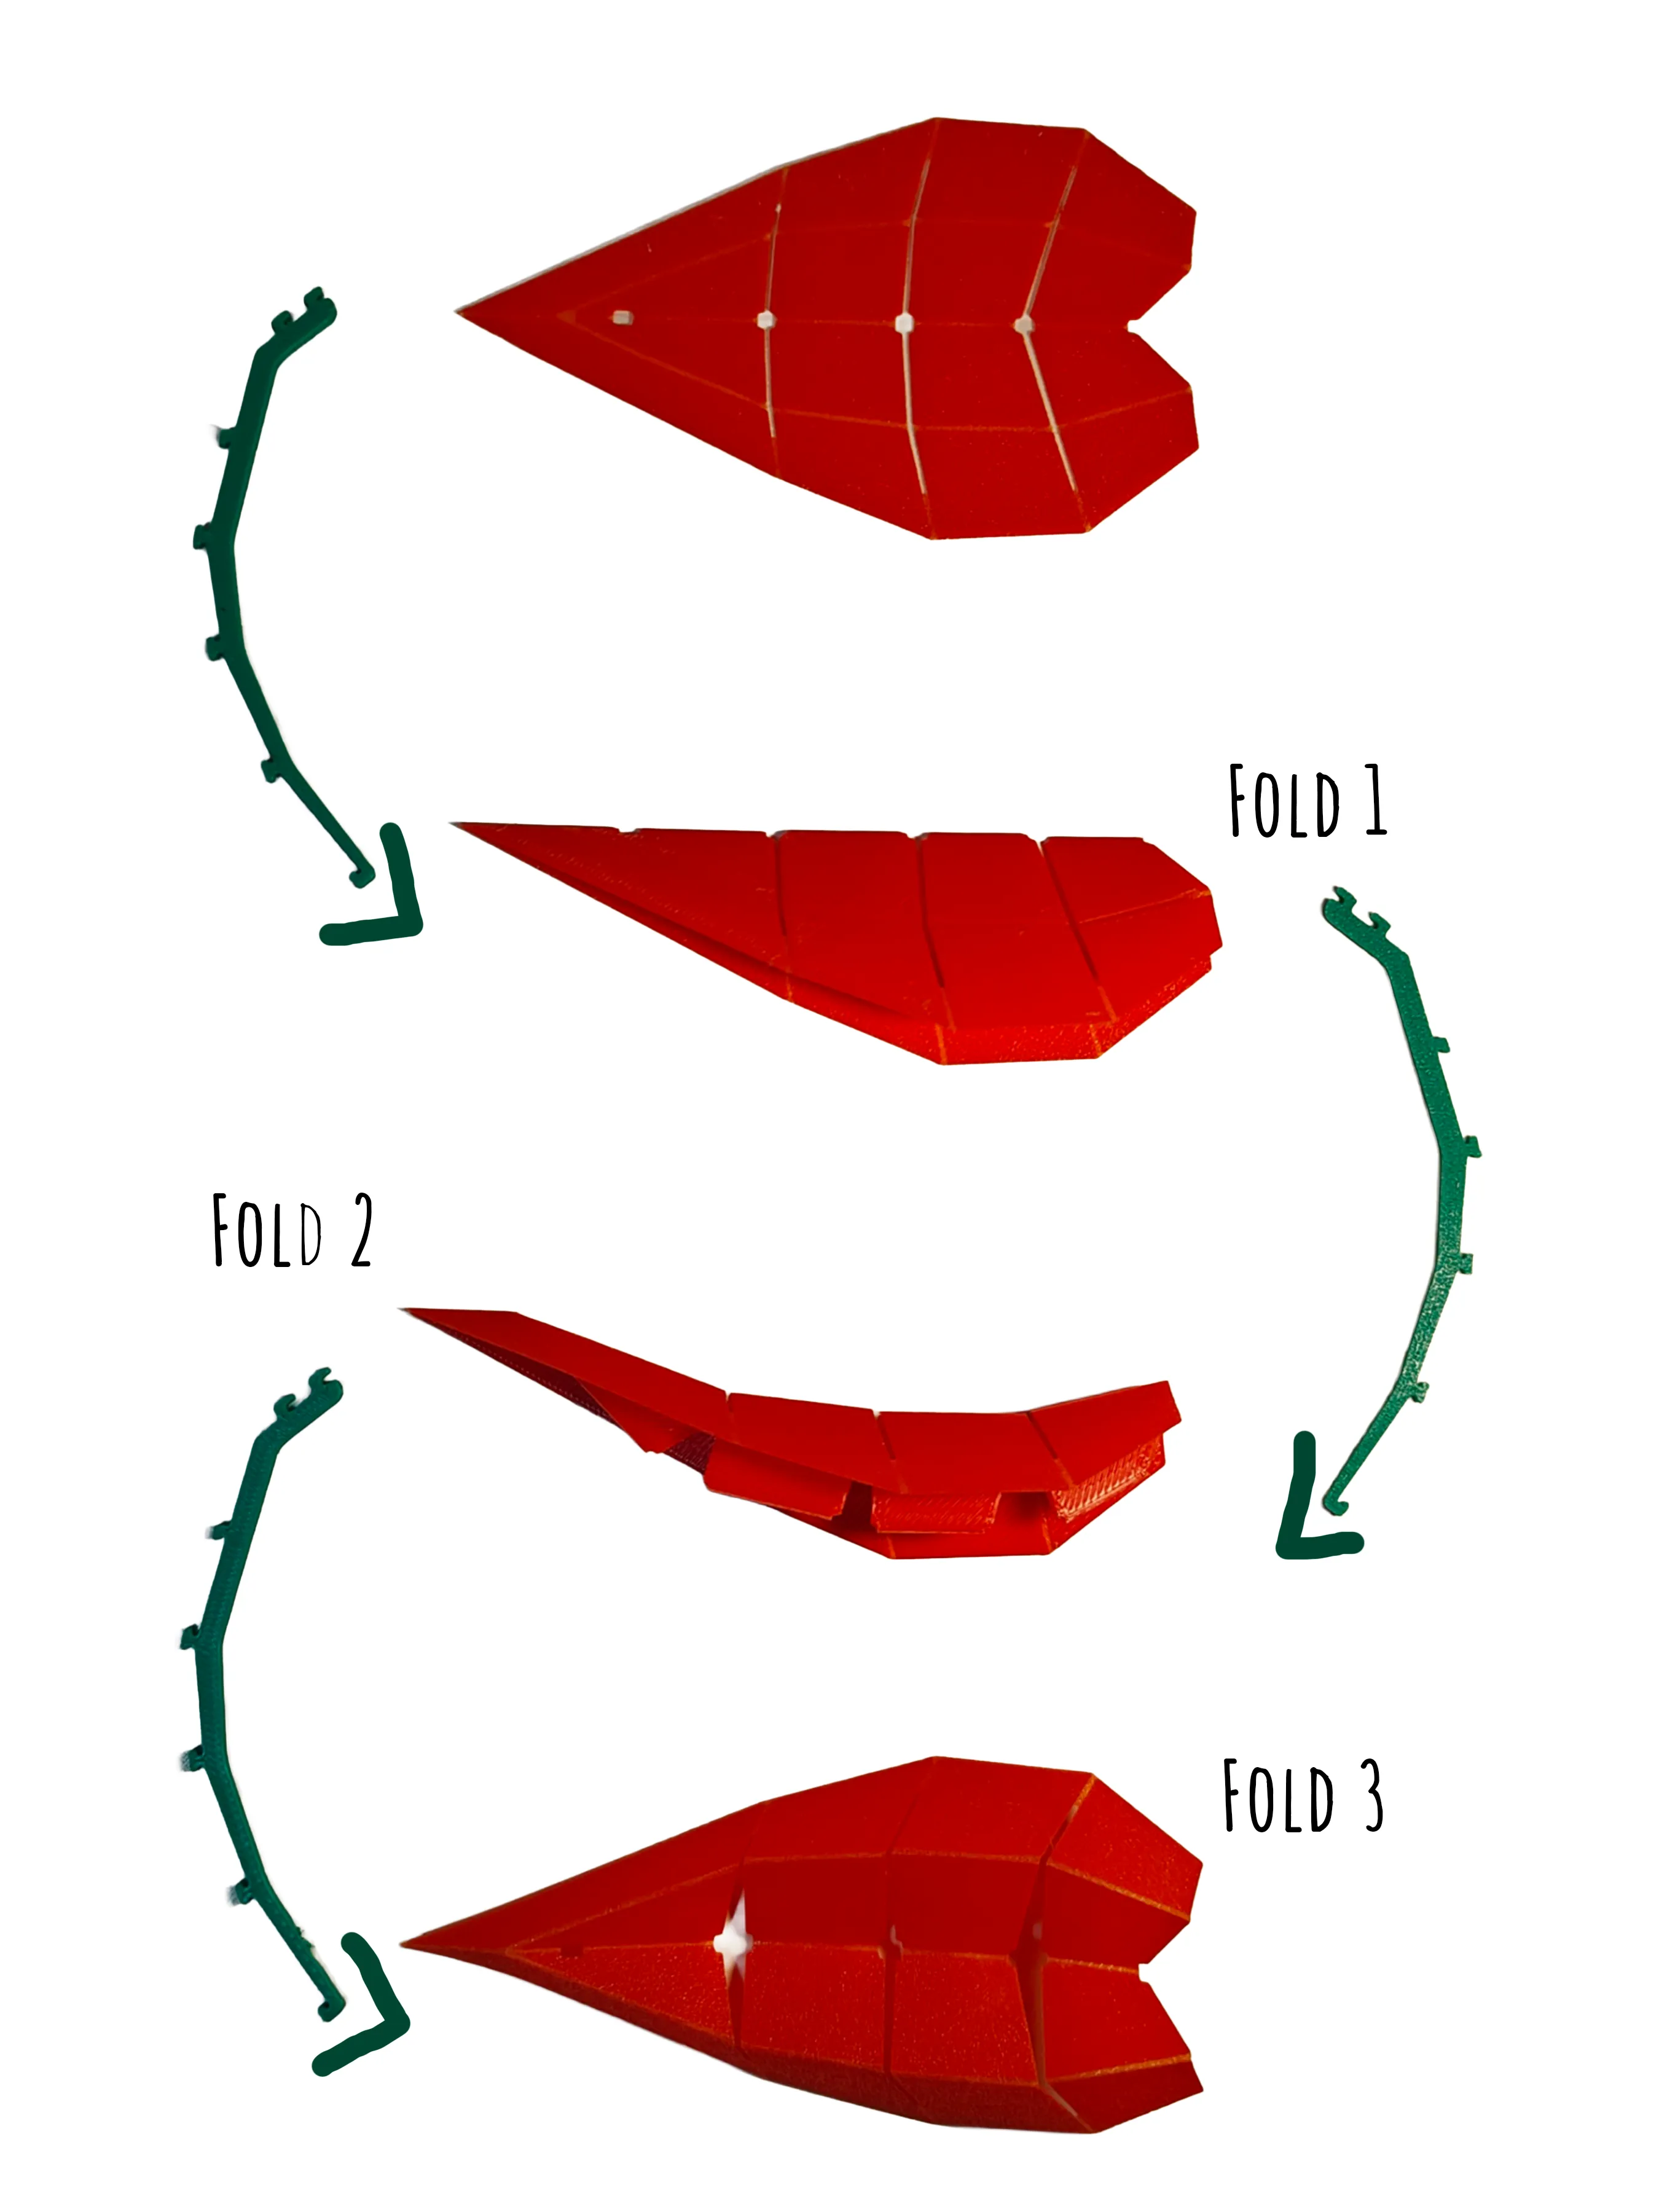
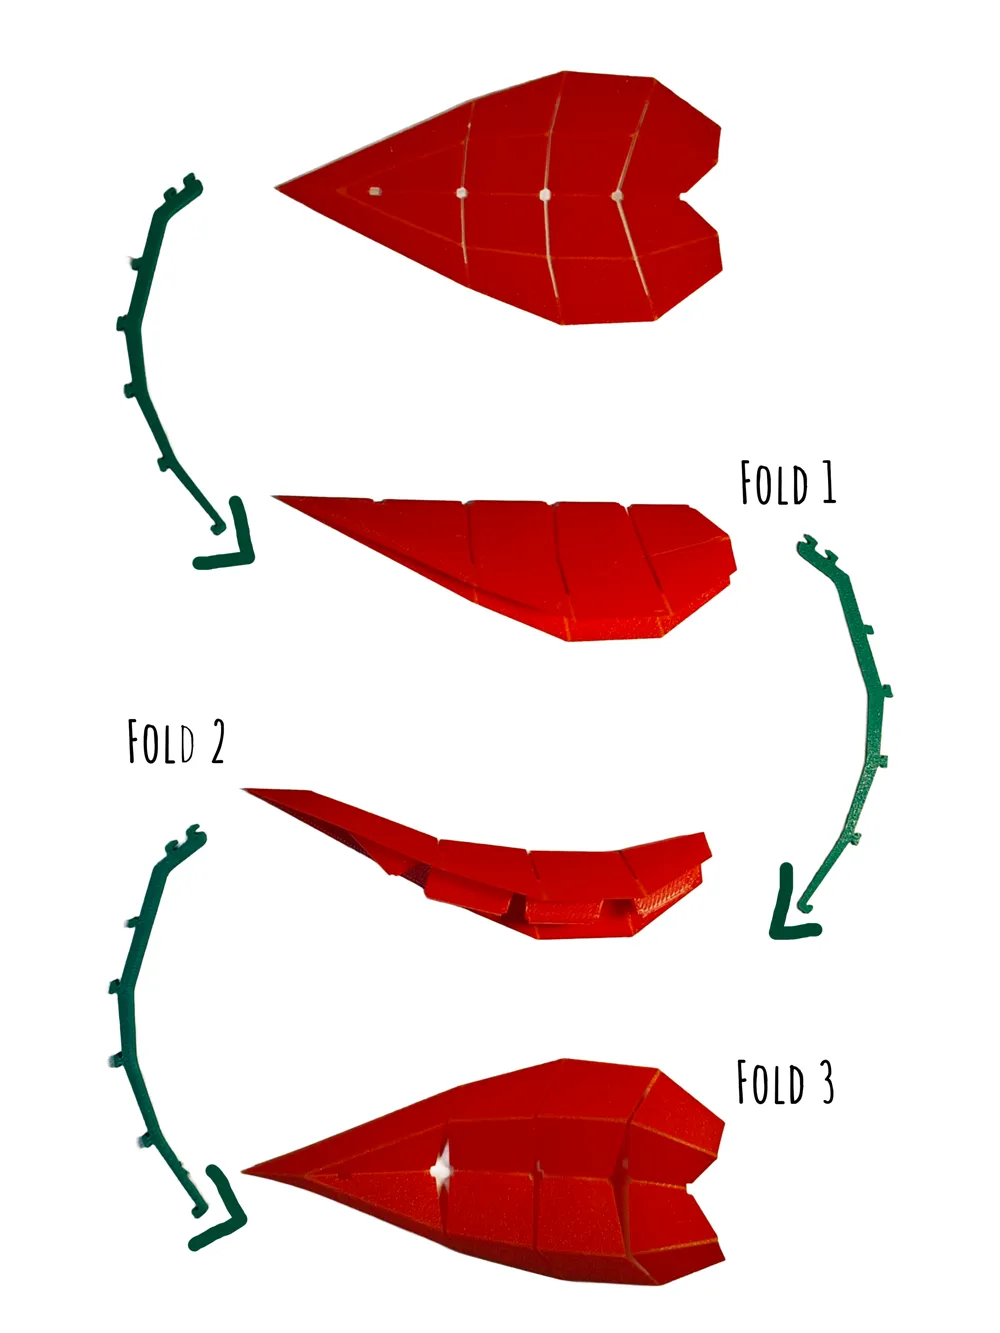
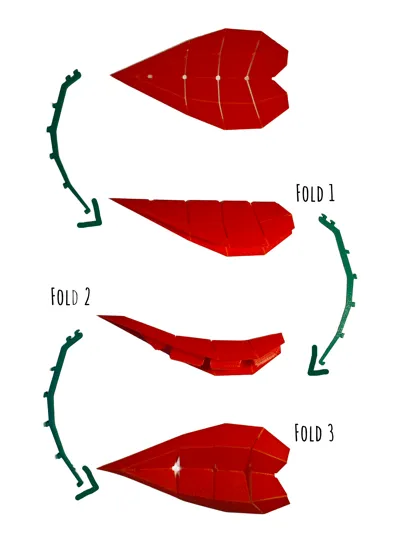
Step 2: Fold the peatls along the given crease lines as shown. Fold very carefully. Always remember, never brute force! Even if you do mess up at any point in time, just print a new one; it's a very quick print!
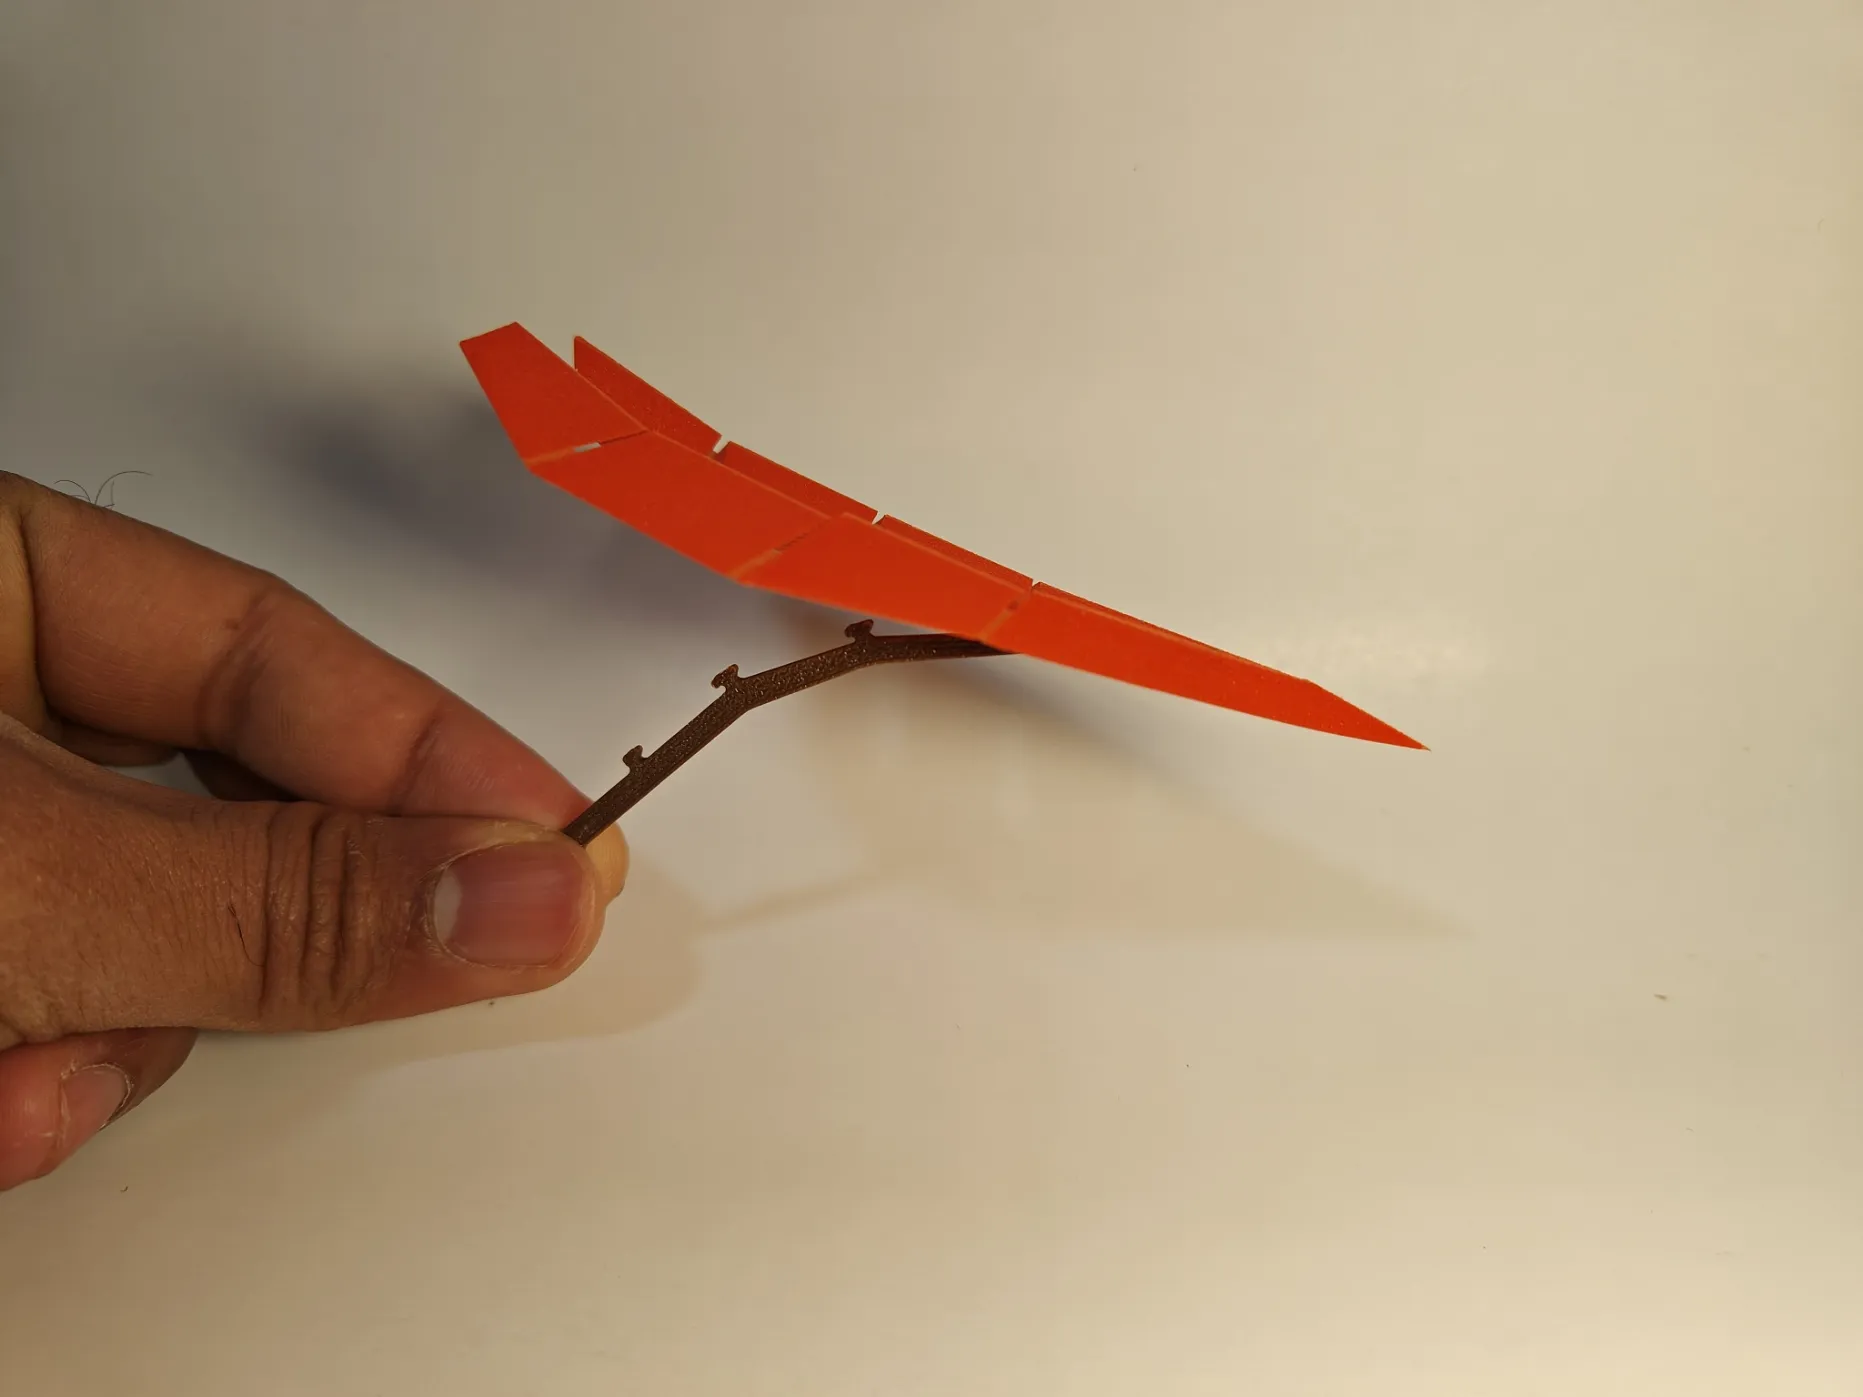
Step 3: Connect the folded leaves to the provided leaf- stems. Insert the stem notches into the holes provided on the mid-vein of the folded petals and leaves. Tip- start from the topmost notch and keep working down one by one. You might have to play a little with the petal to get the perfect fit, but it should work out well, if u follow this process.
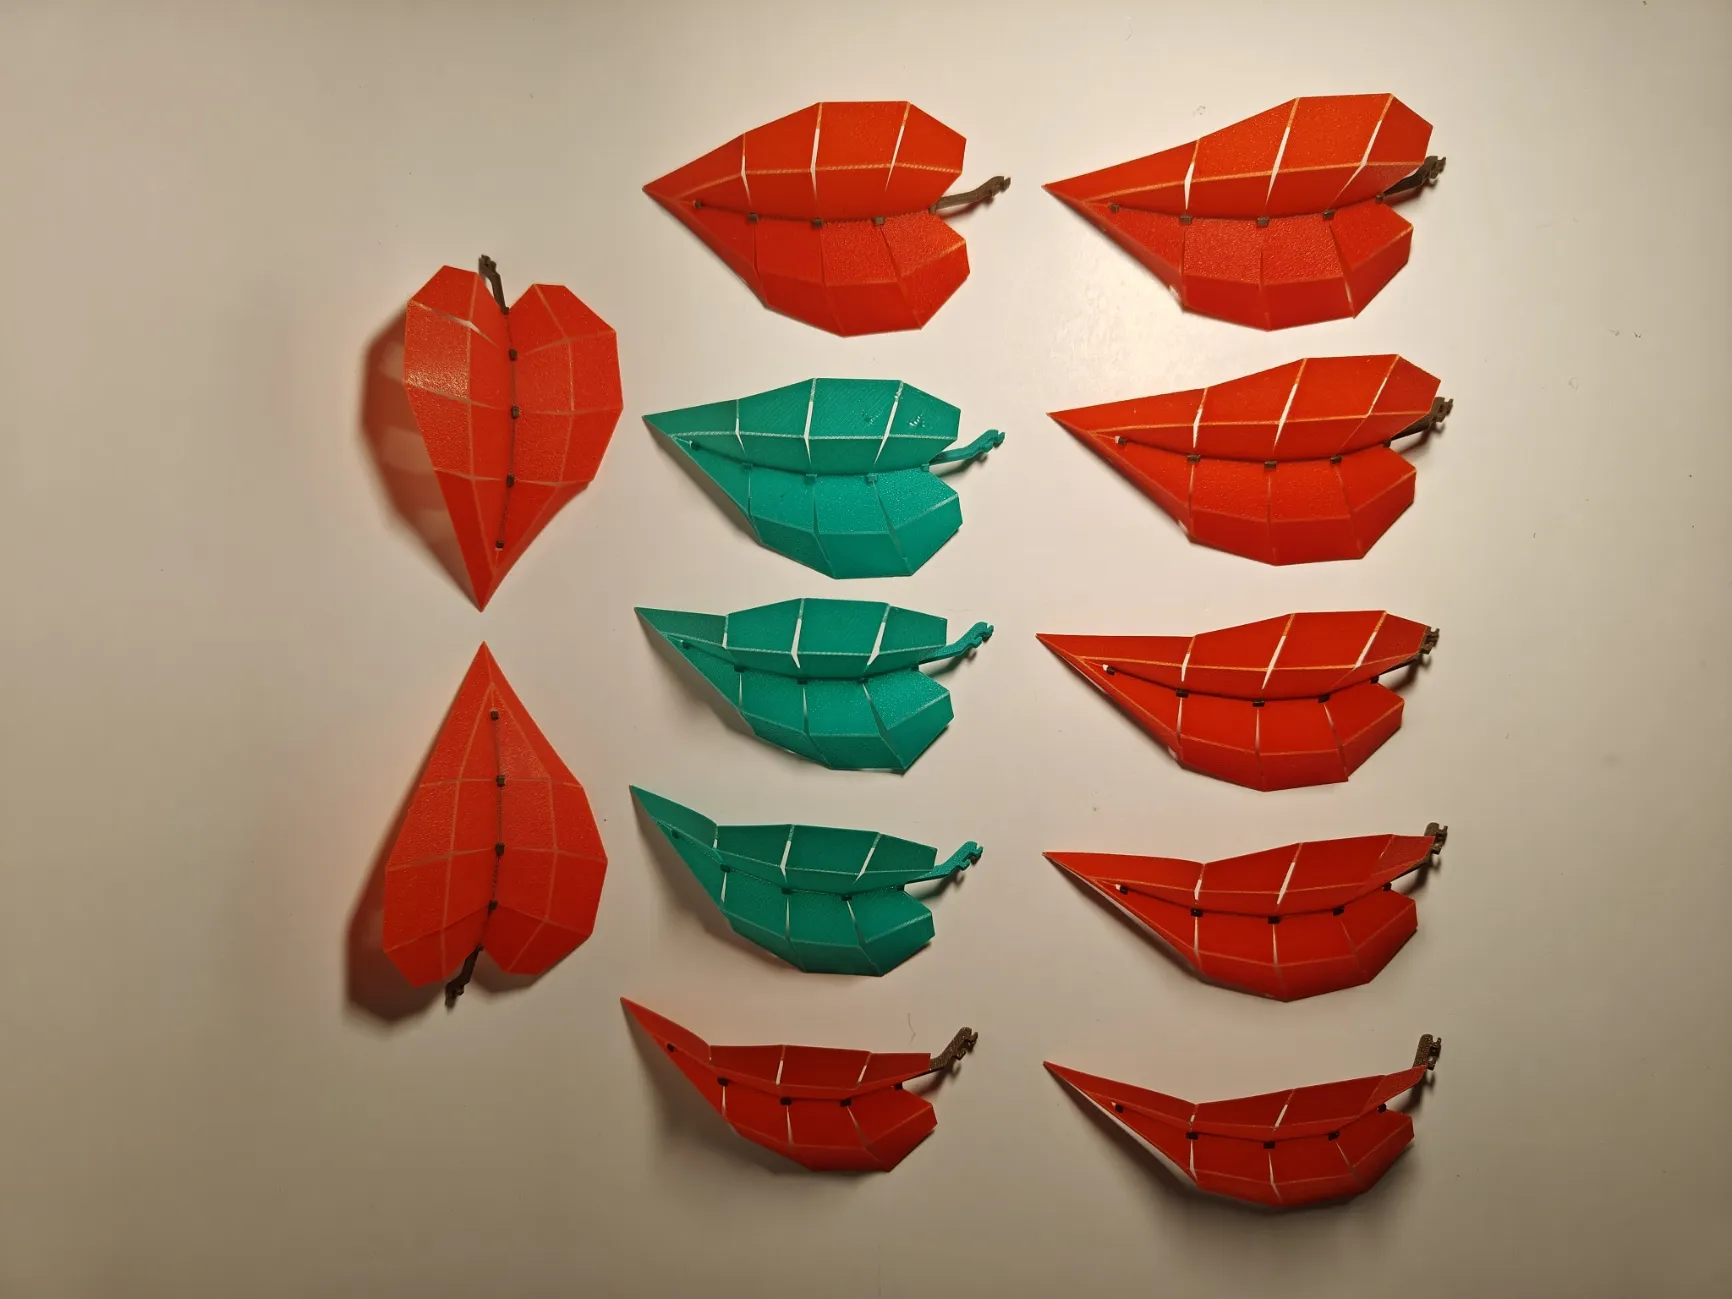
Step 4: Prepare all the leaves and the flower petals following the similar procedure.
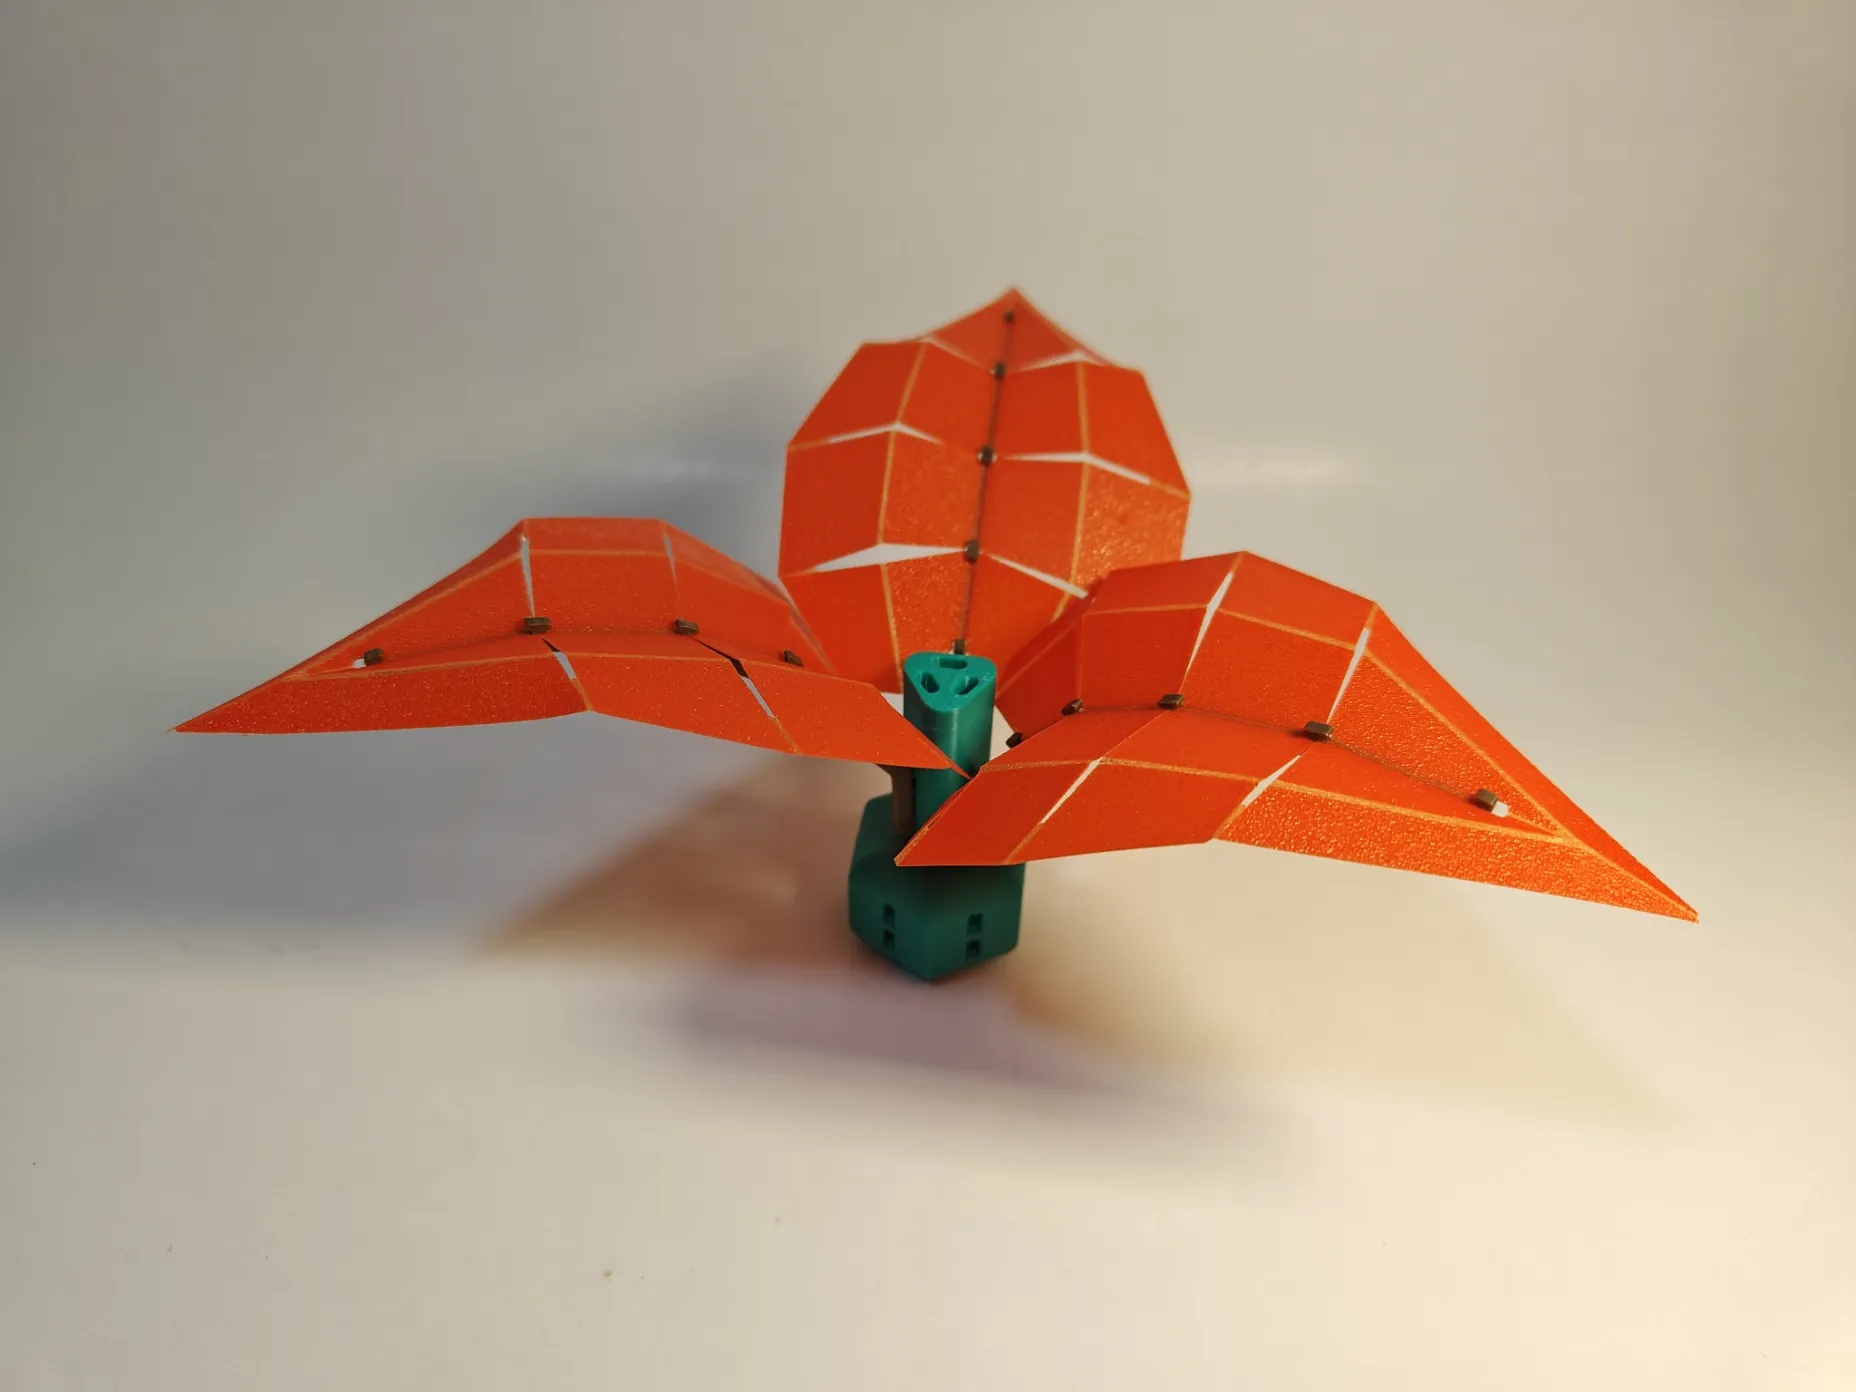
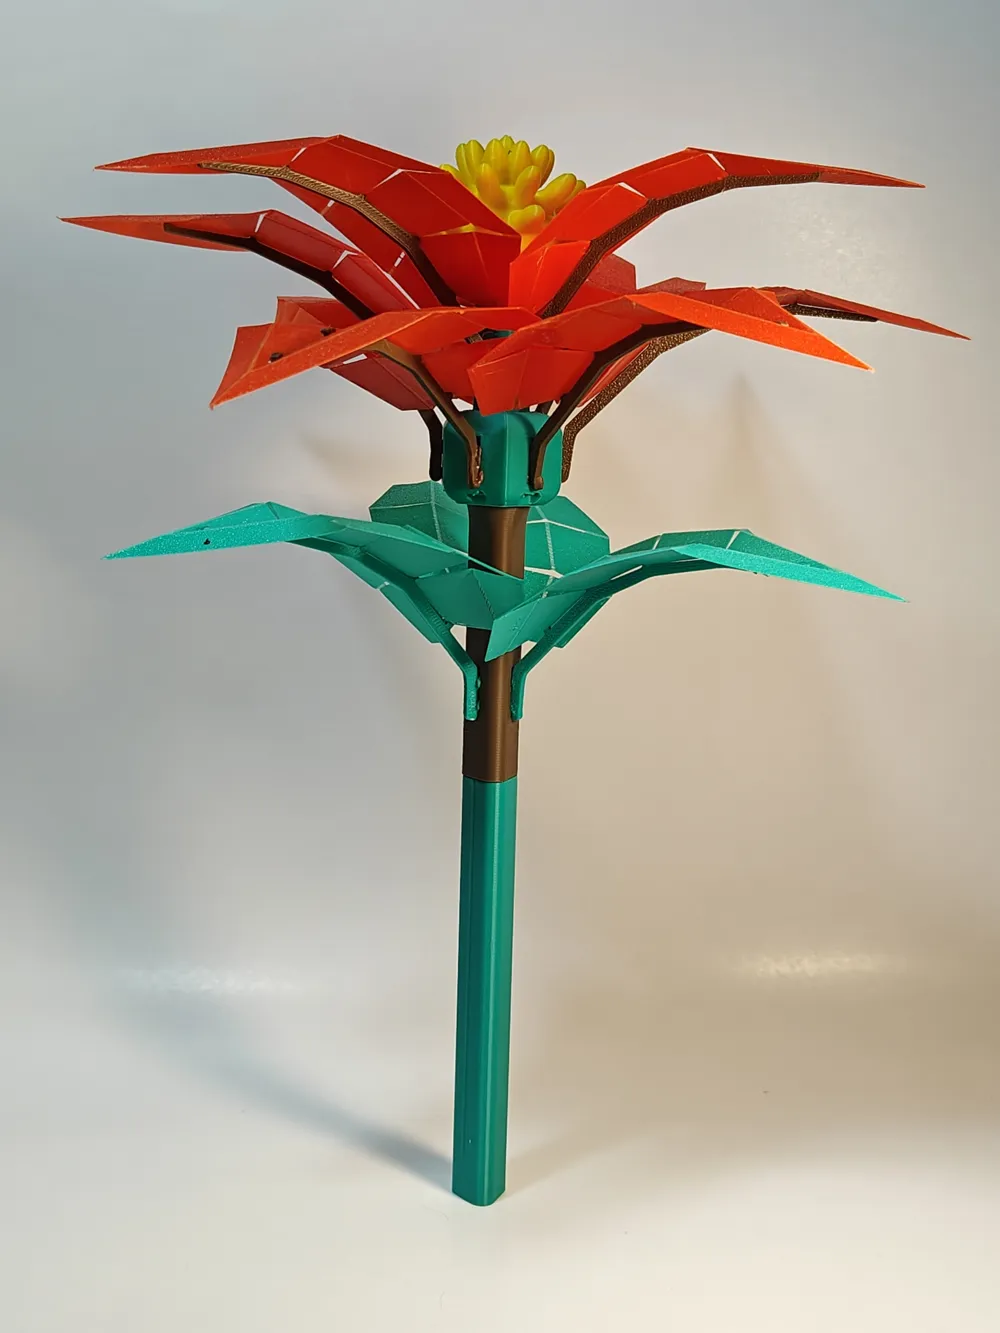
Step 5: Attach three petals to the top three Bi-notch given on the main base stalk of the flower as shown. Once you insert both the bottom tips of the stem into the notch on the base stalk, make sure to press it down to secure it in place nicely.
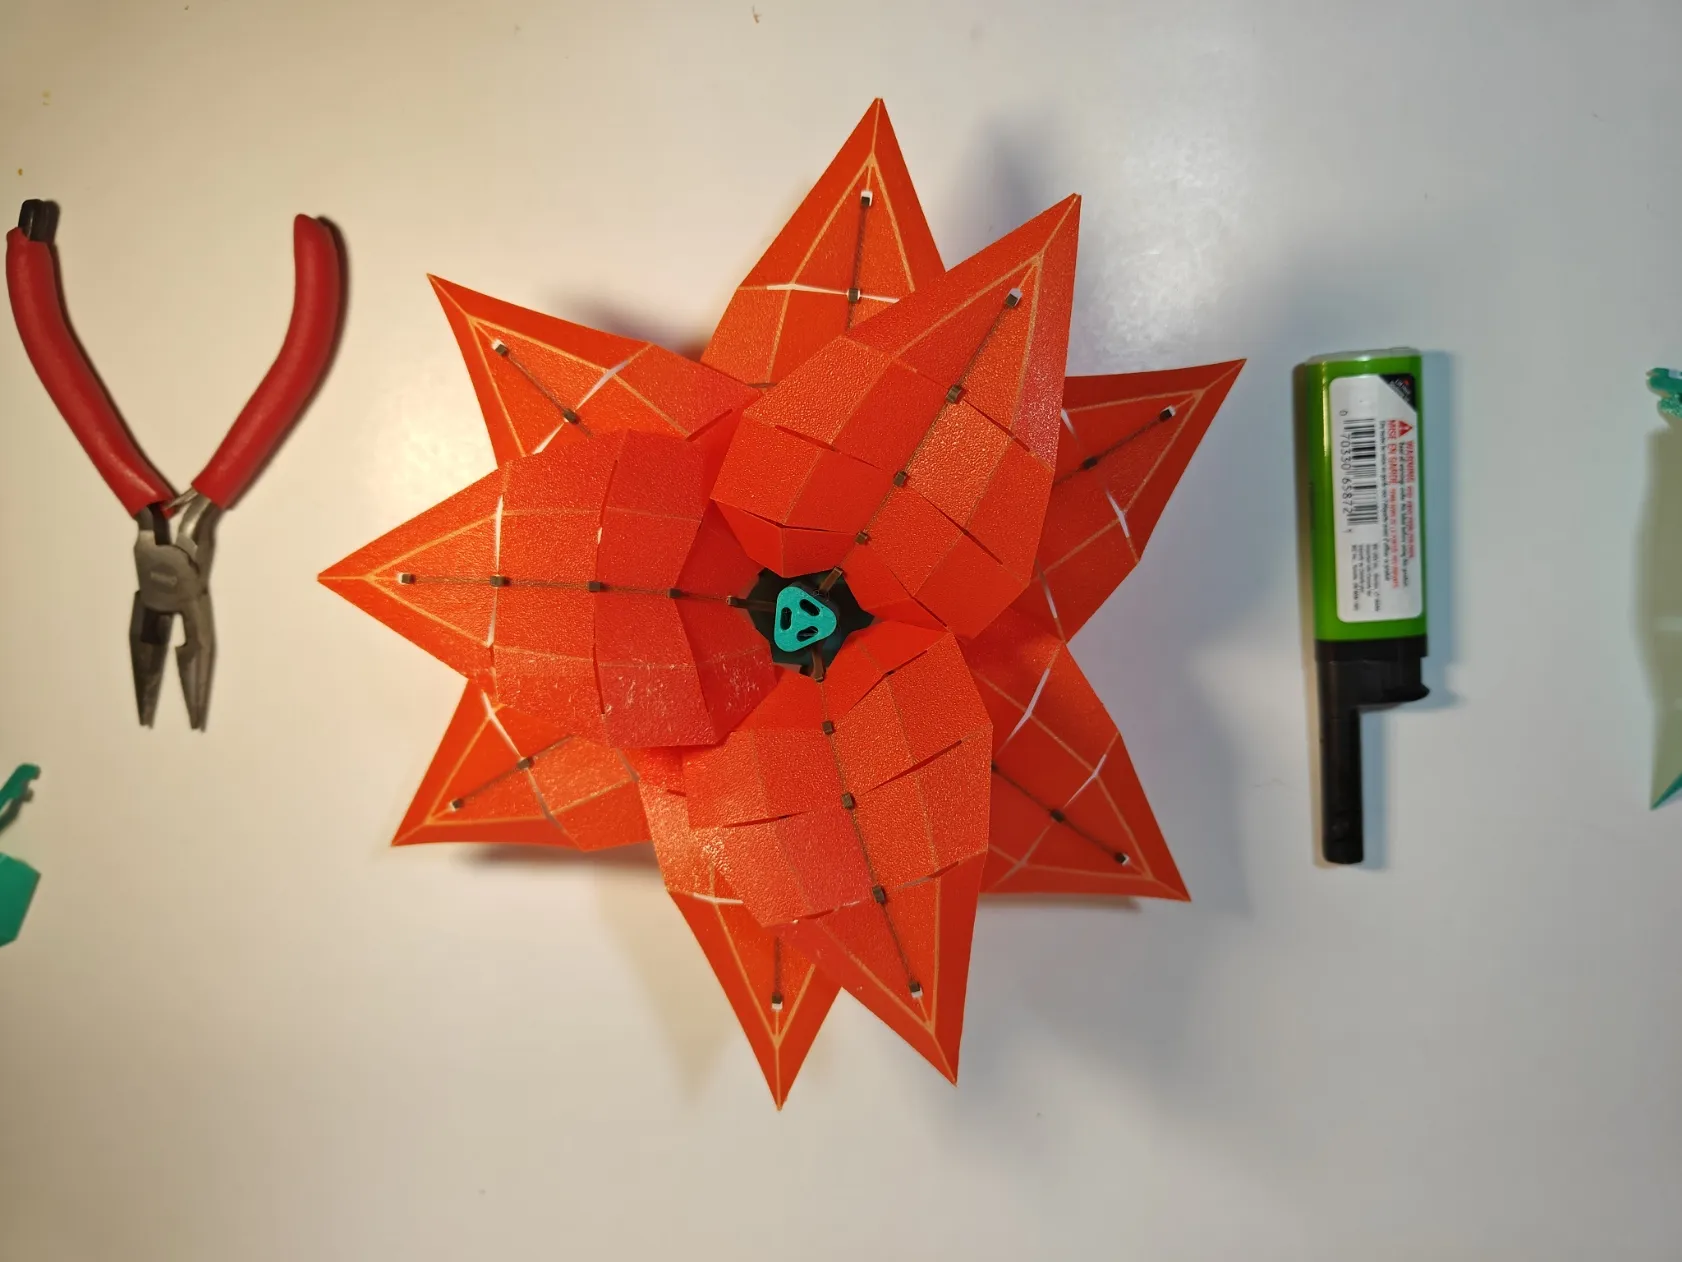
Step 6: Do similarly to the remaining 6 petals on the lower level of the main base stalk. This is what it should look like from the top. TIP: Feel free to use superglue when attaching the petal stems to the base stalk for a more secure and permanent hold.
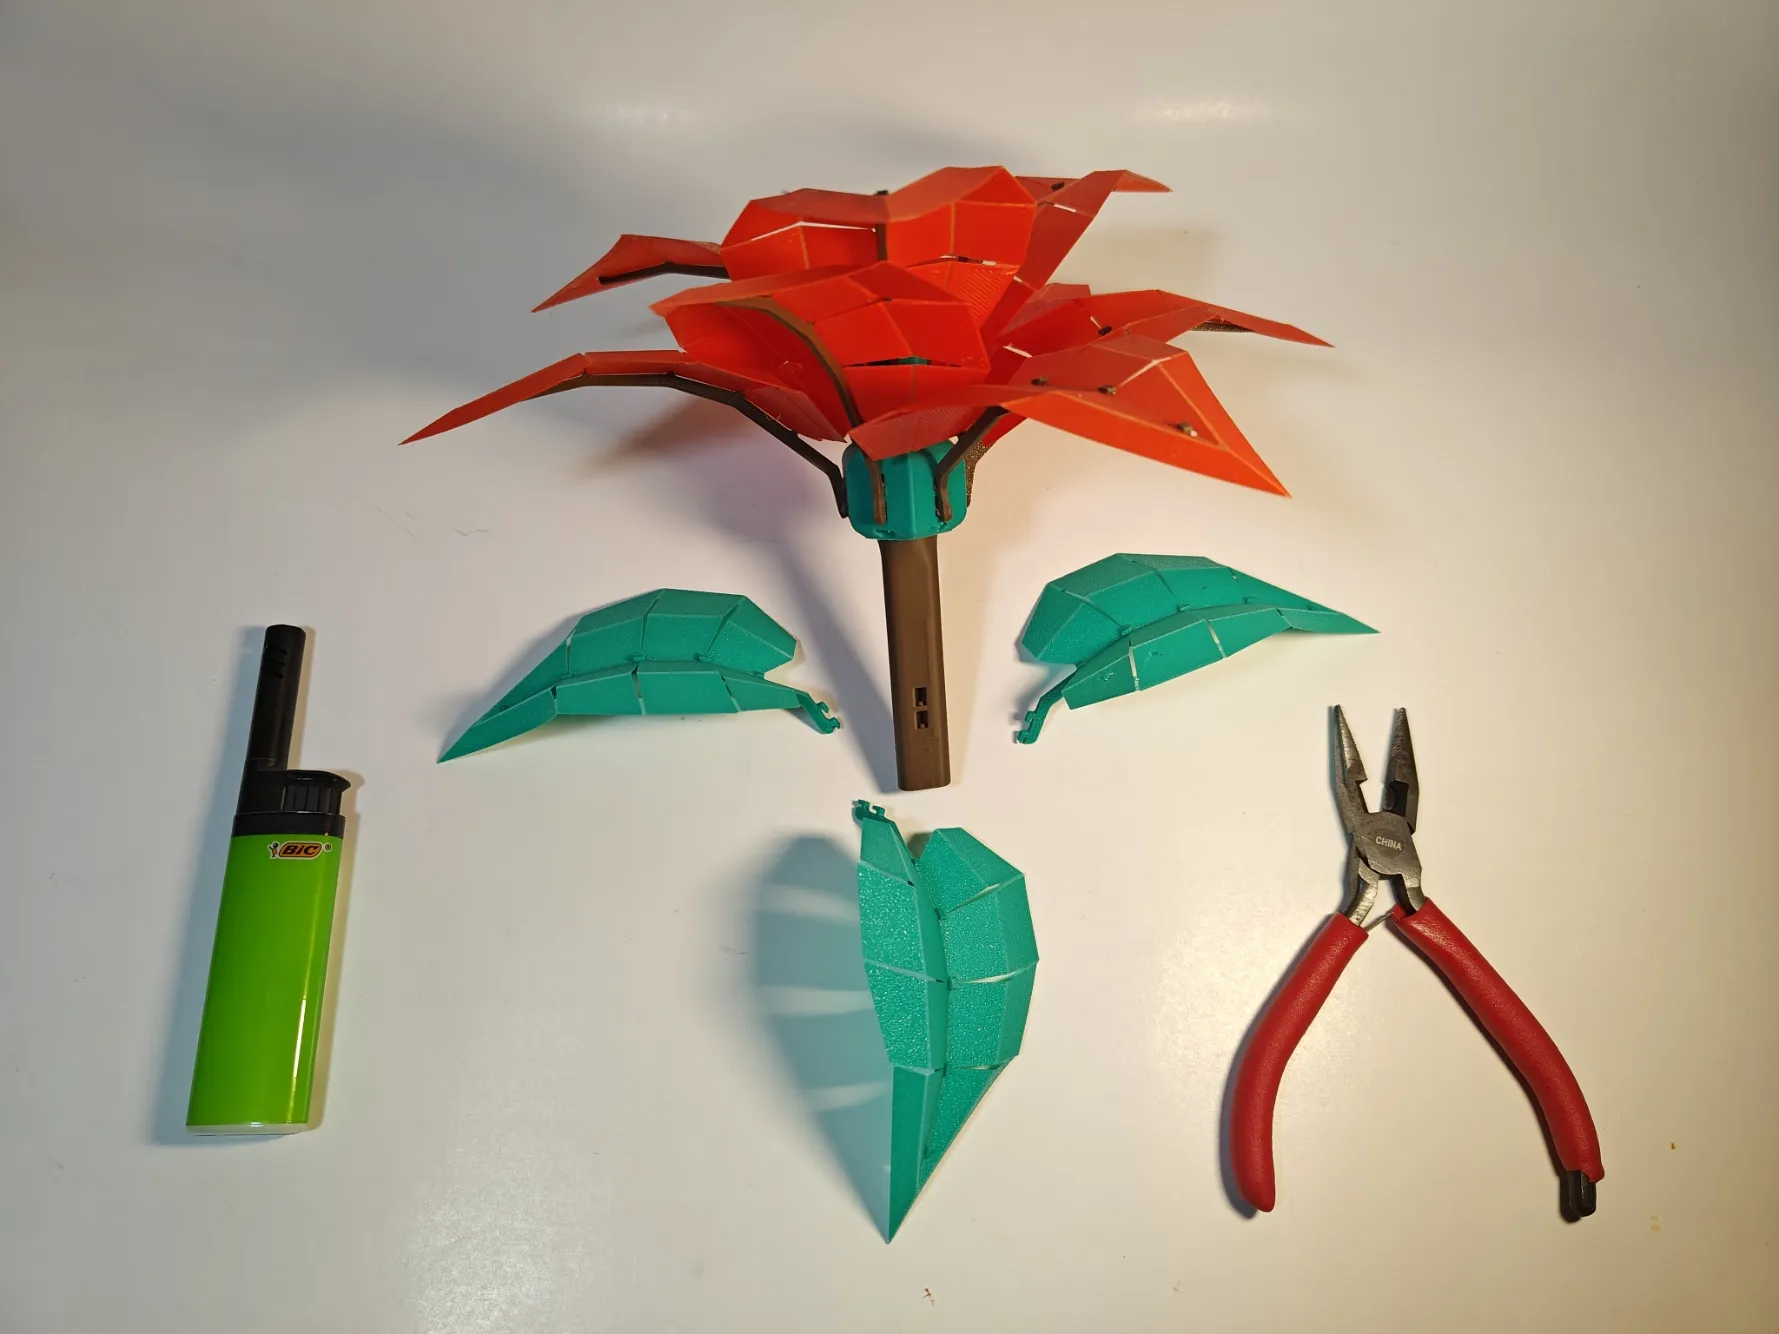
Step 7: Now attach the bottom stem to the base stalk of the flower and attach it with superglue. To this stem, attach the three green leaves as shown using the same process mentioned above.
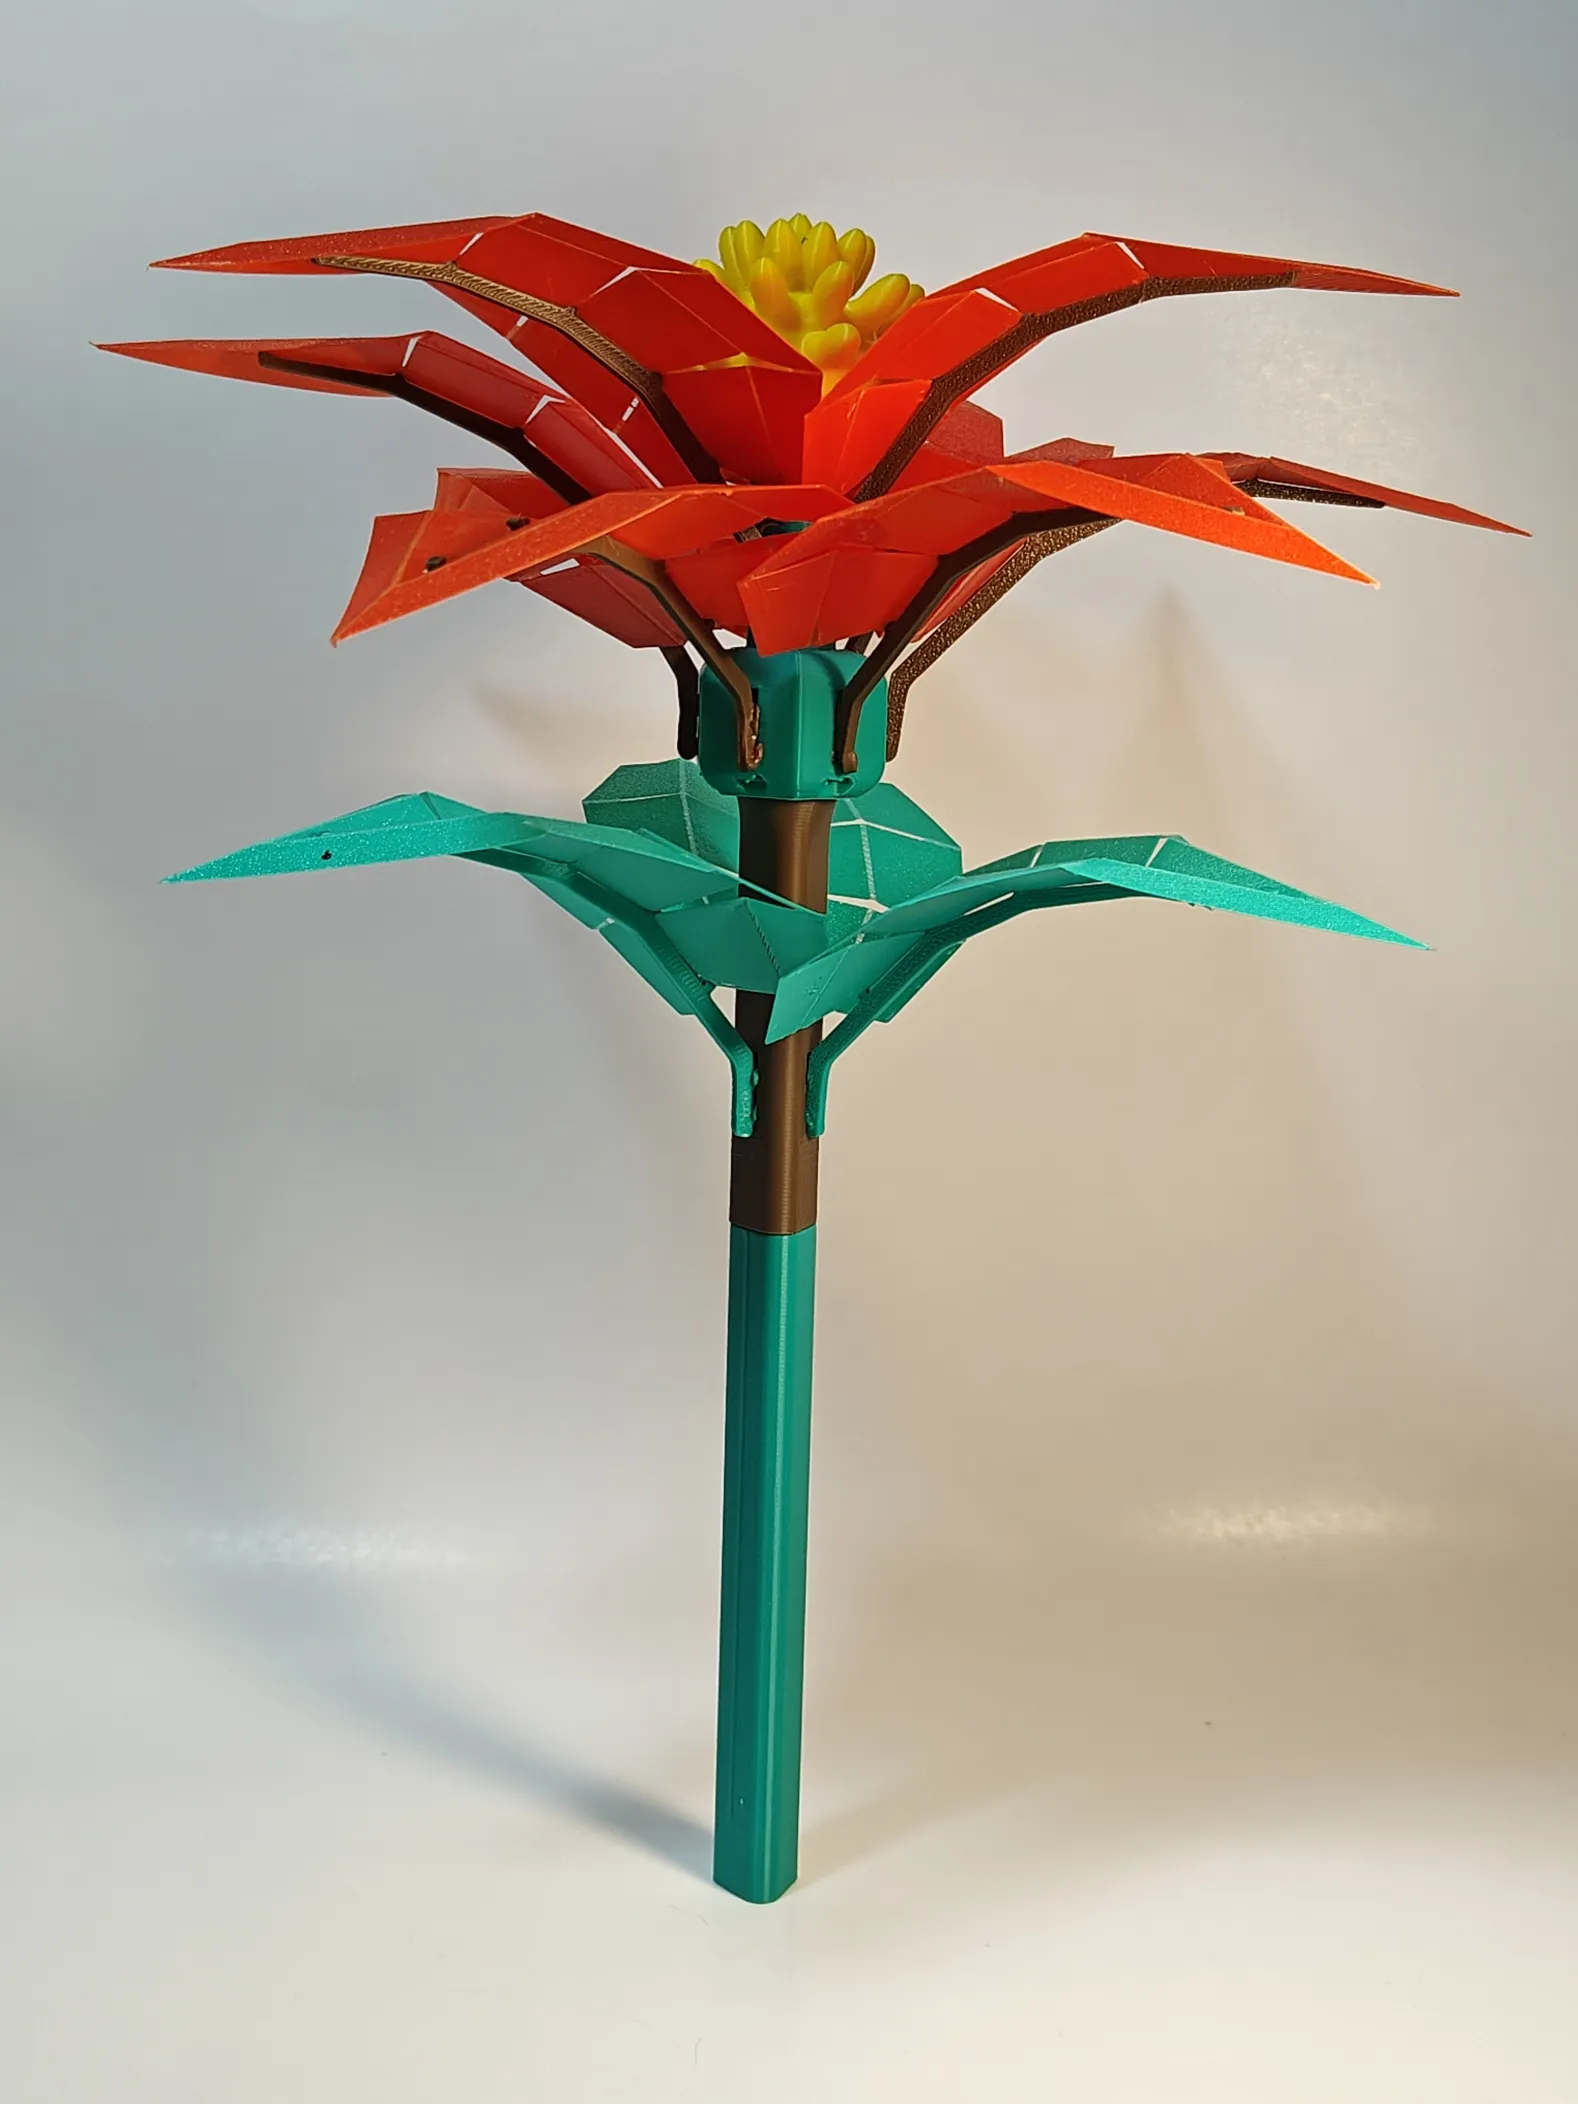
Step 8: Connect the modular green stems for the desired length. Use superglue while connecting for a secure bond.
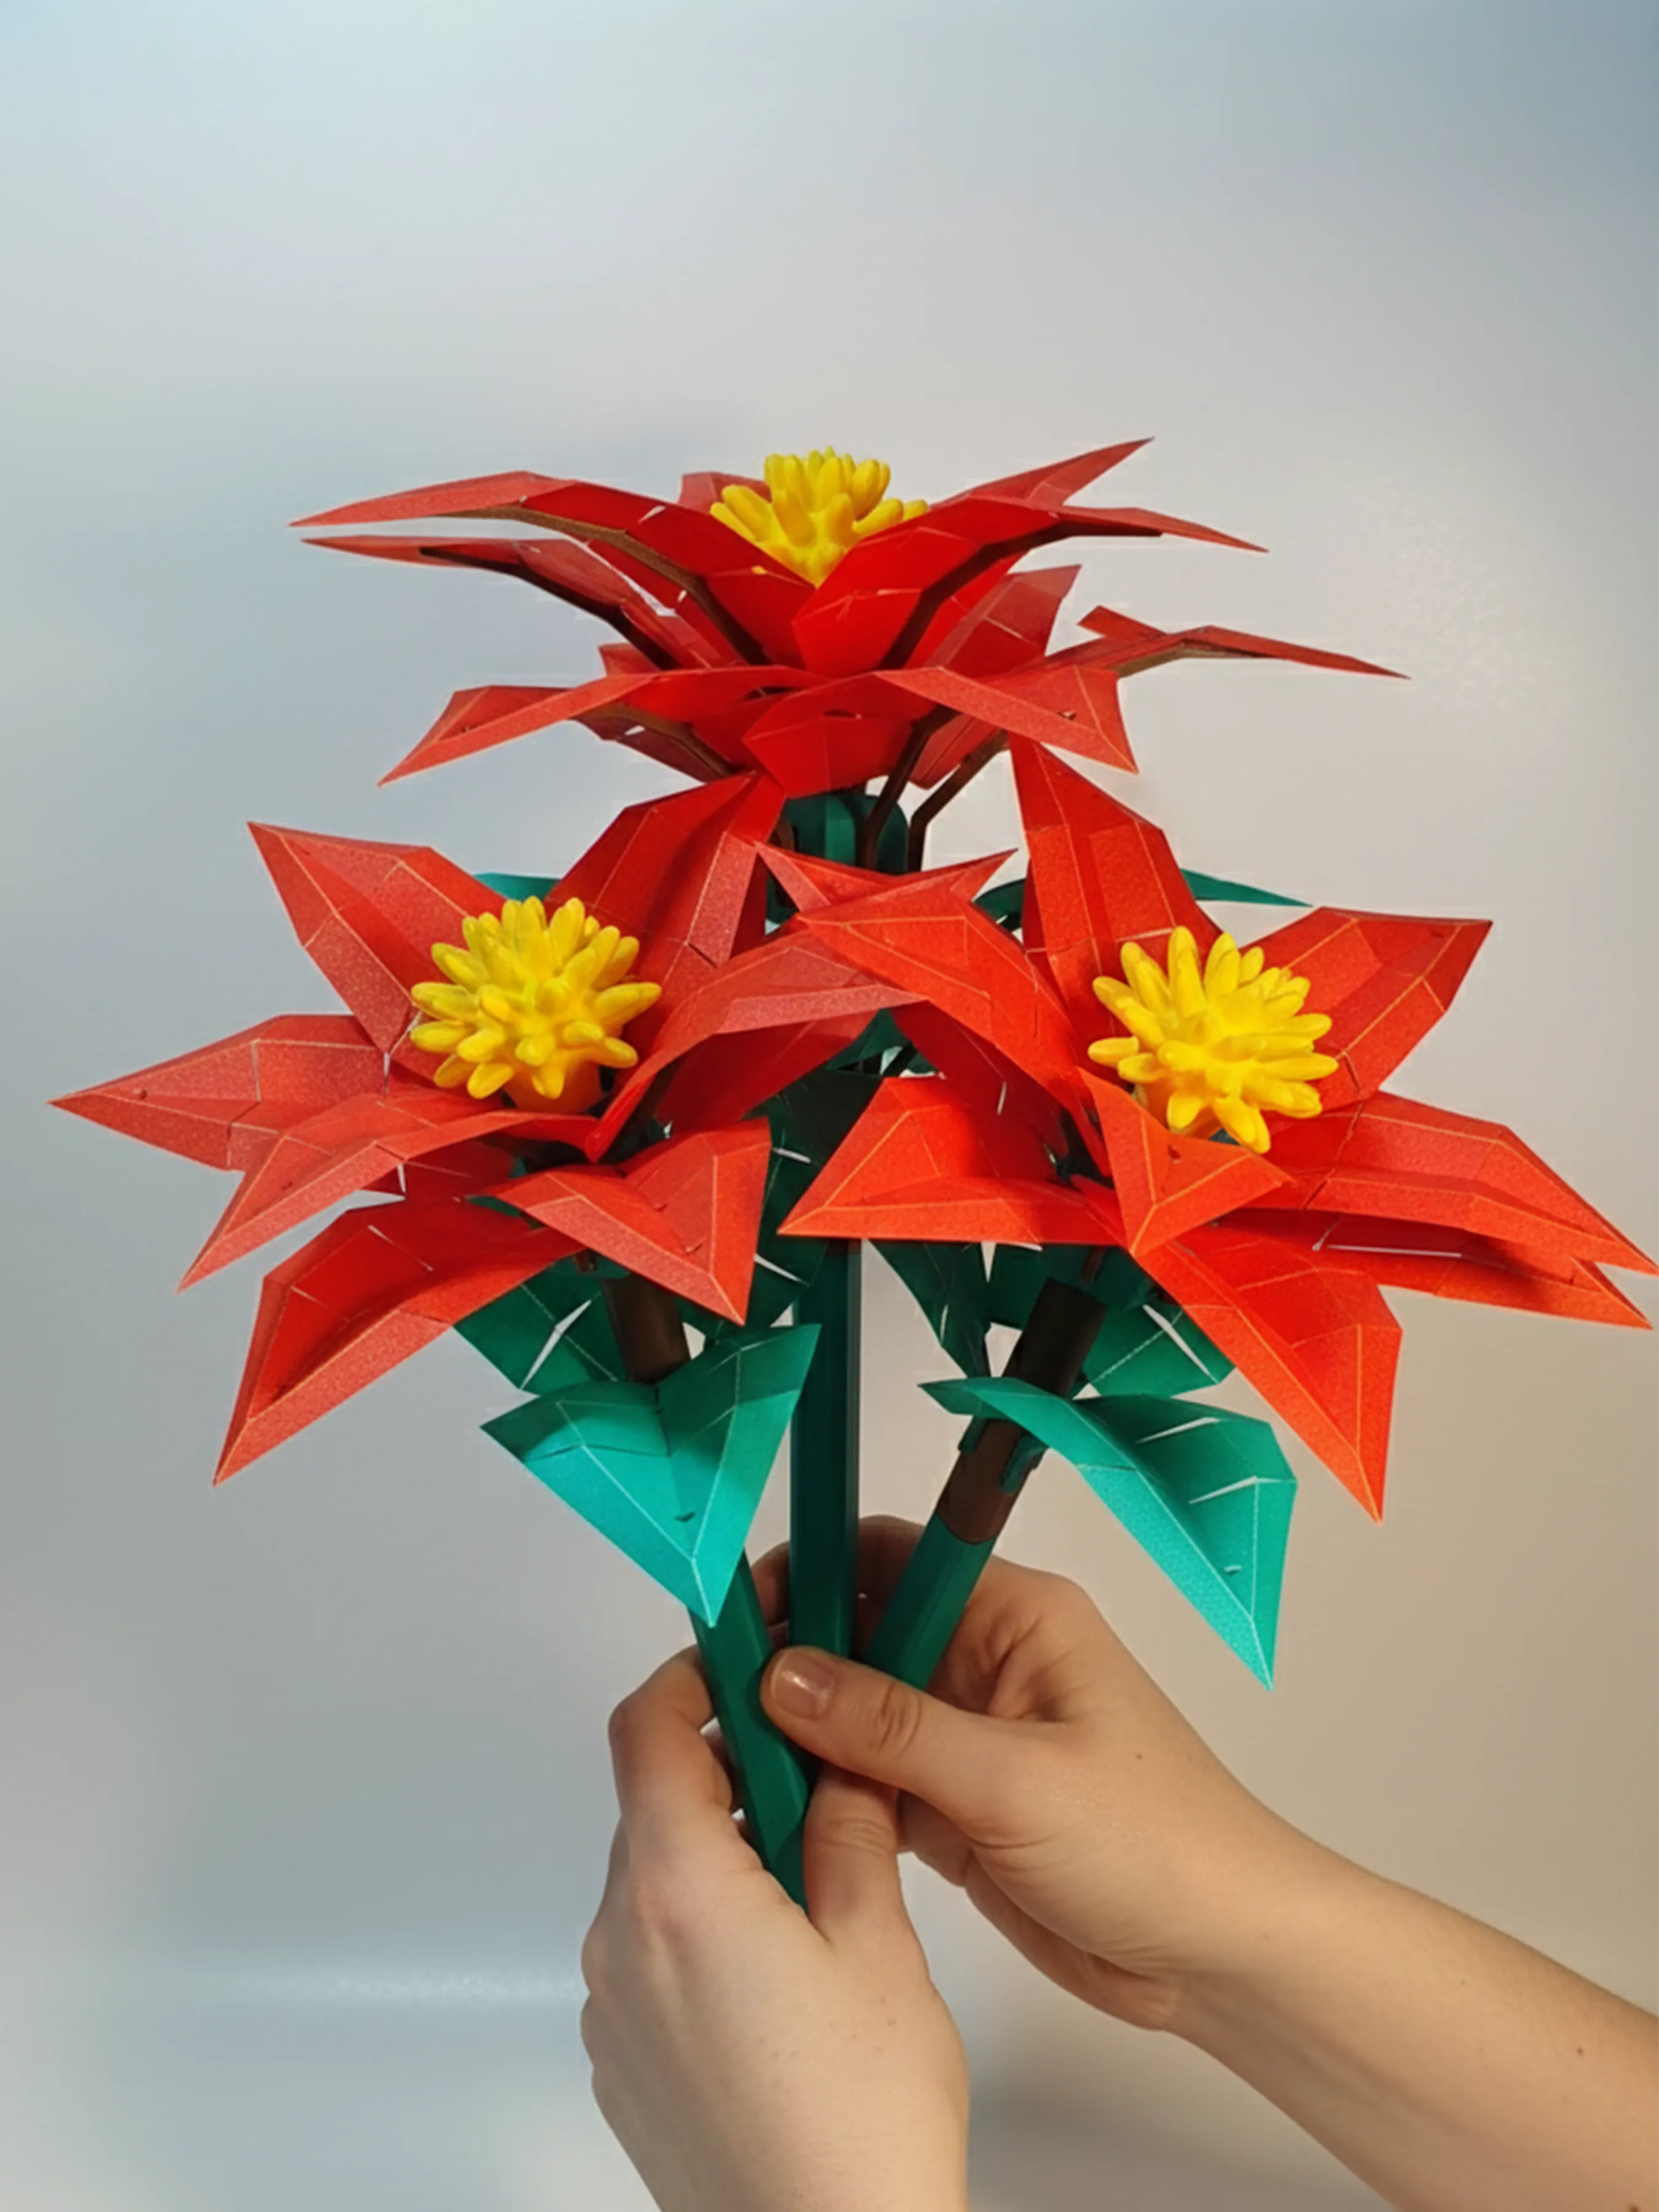
Step 9: Follow steps 1-8 to make more flower stalks and put them together to make your own handmade and handcrafted bouquet!

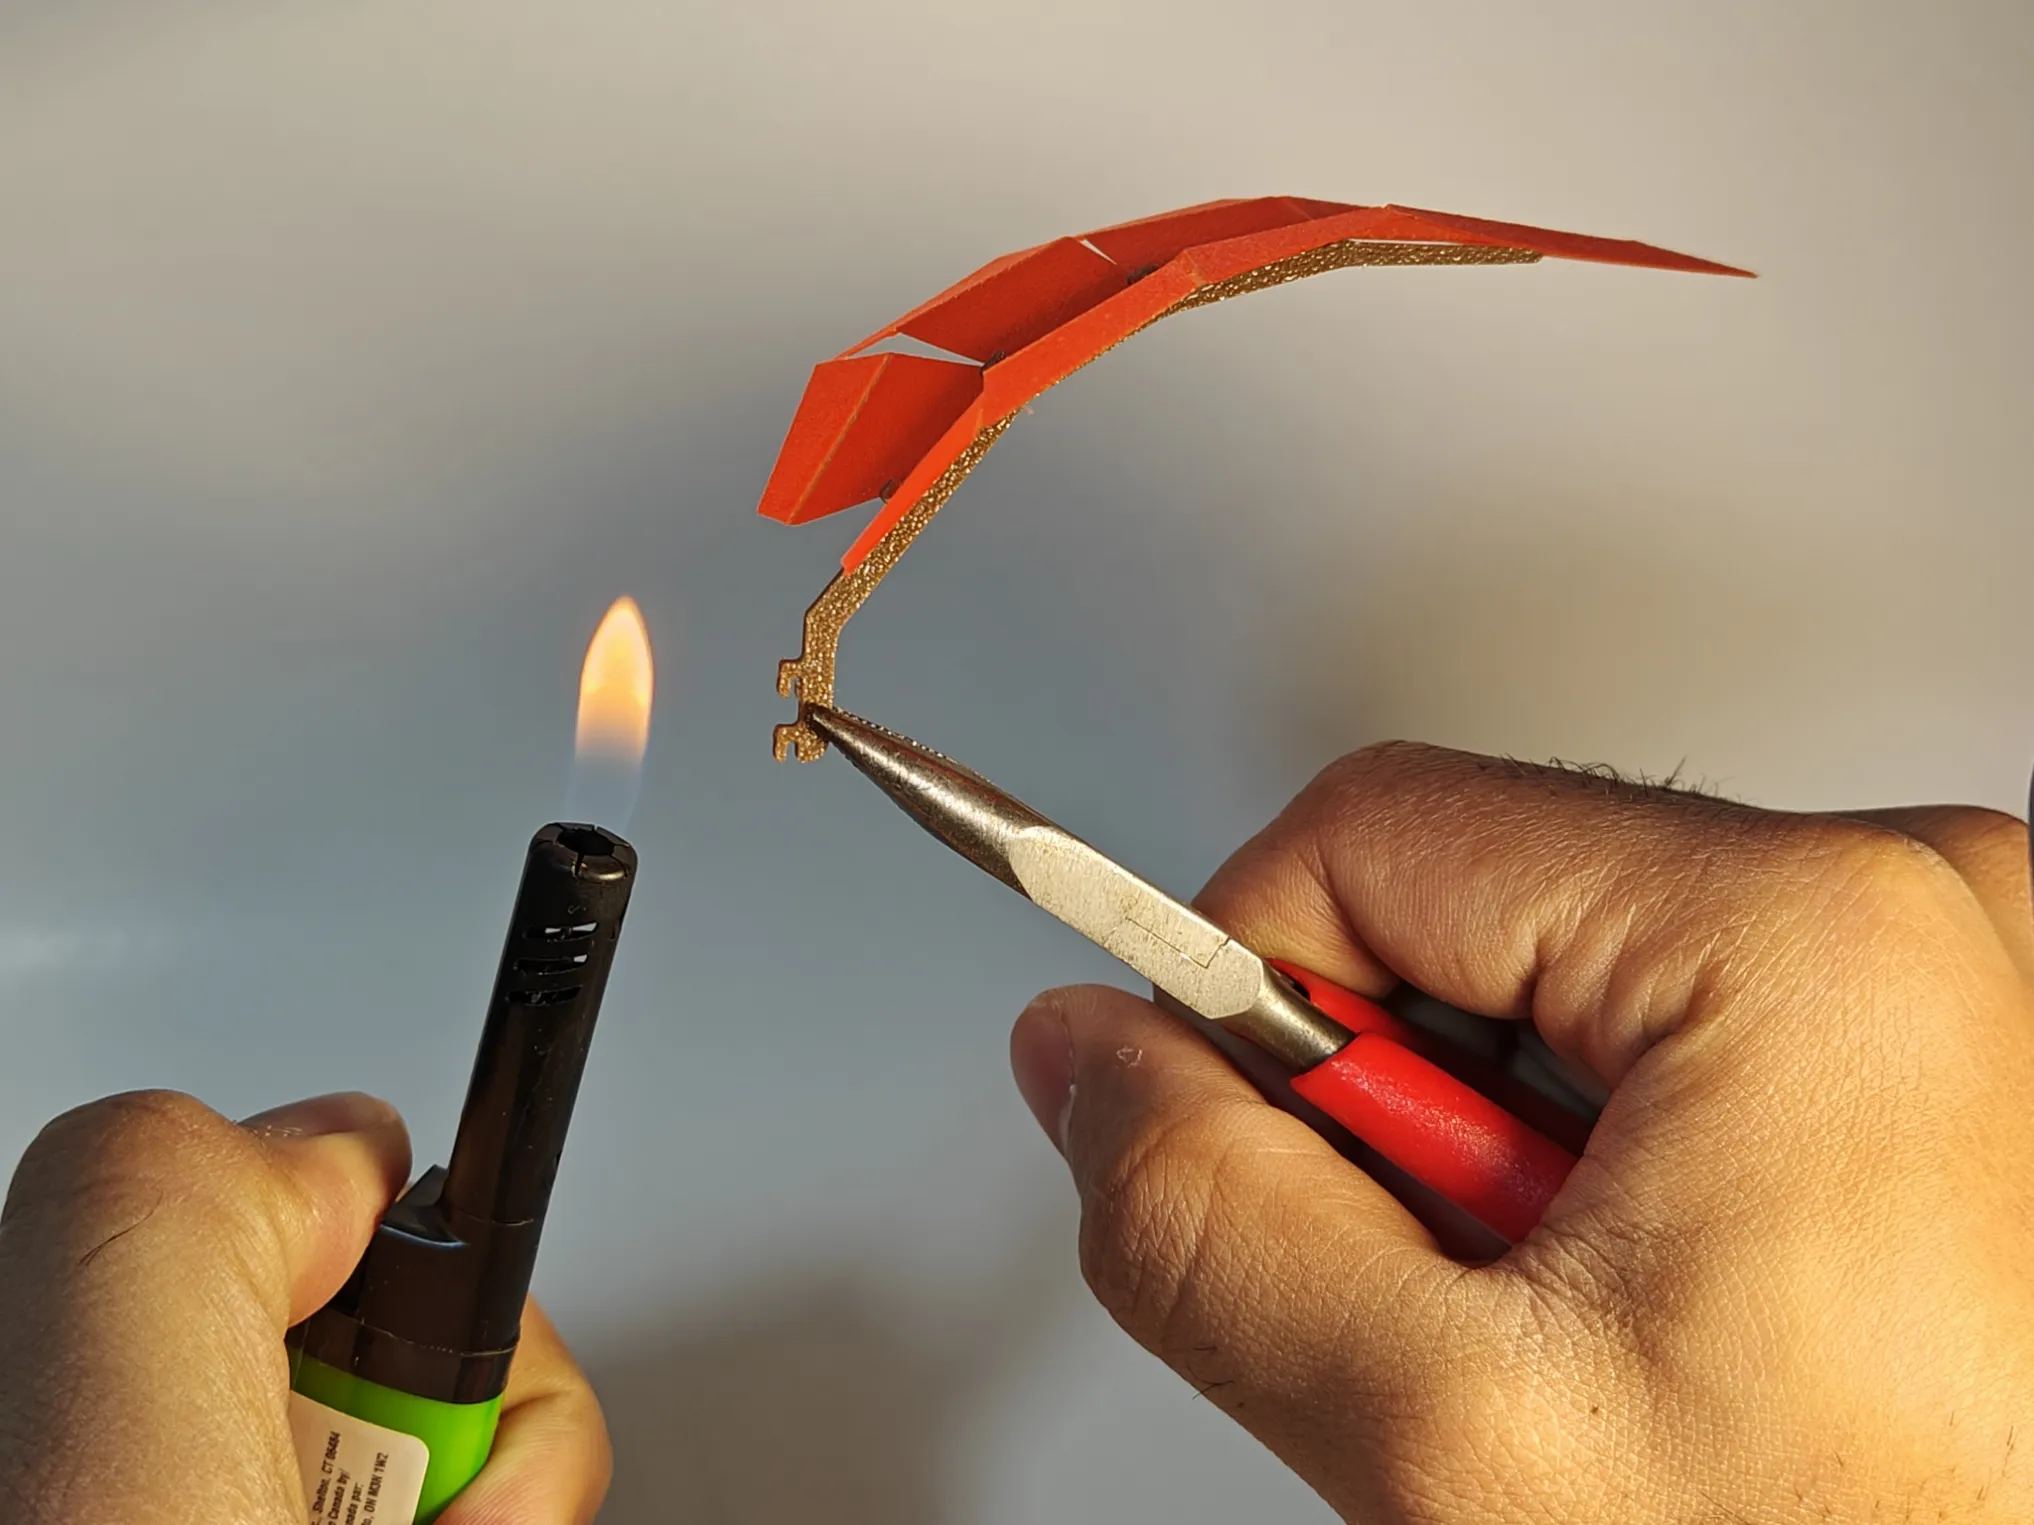
EXTRA TIP: If the flower petals/ leaves don't stay in place for any reason, like you cannot get it right or there is a printing error due to not correctly calibrated printers or filament issues, don't worry! There is a quick fix for those with these problems, too! Hold the petal stem and bring a lighter close to the extruding part of the stem and heat it lightly, very carefully, as shown in the picture below. Then push it into the base stalk asap, while it is soft. This should weld the plastics together for eternity.
Boost Me (for free)
Please consider boosting this model if you liked it!
License

You shall not share, sub-license, sell, rent, host, transfer, or distribute in any way the digital or 3D printed versions of this object, nor any other derivative work of this object in its digital or physical format (including - but not limited to - remixes of this object, and hosting on other digital platforms). The objects may not be used without permission in any way whatsoever in which you charge money, or collect fees.


Comment & Rating (128)