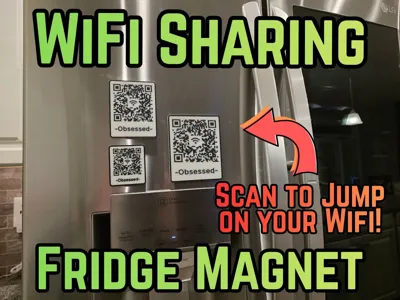
WiFi Network Info QR Code Fridge Magnet


Print Profile(3)


Bill of Materials
Description
Introduction
I love having a QR Code to share my Wi-Fi Network Info, however many others don't have luck with the Openscad options out there, so I thought I'd offer this version to make it easier for more people to get a magnet for their own fridge! I also like that the method I use uses a Data Redundant QR Code, so mis-reads (which are common with 3D printed QR codes) are FAR, FAR less common!
Boost Me (for free)
Appreciate the effort to bring this model to you? Please consider giving me a boost! It helps my wife not get overly mad at me when I want to create more models!
Hardware Needed
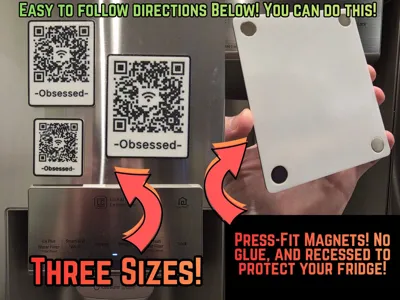
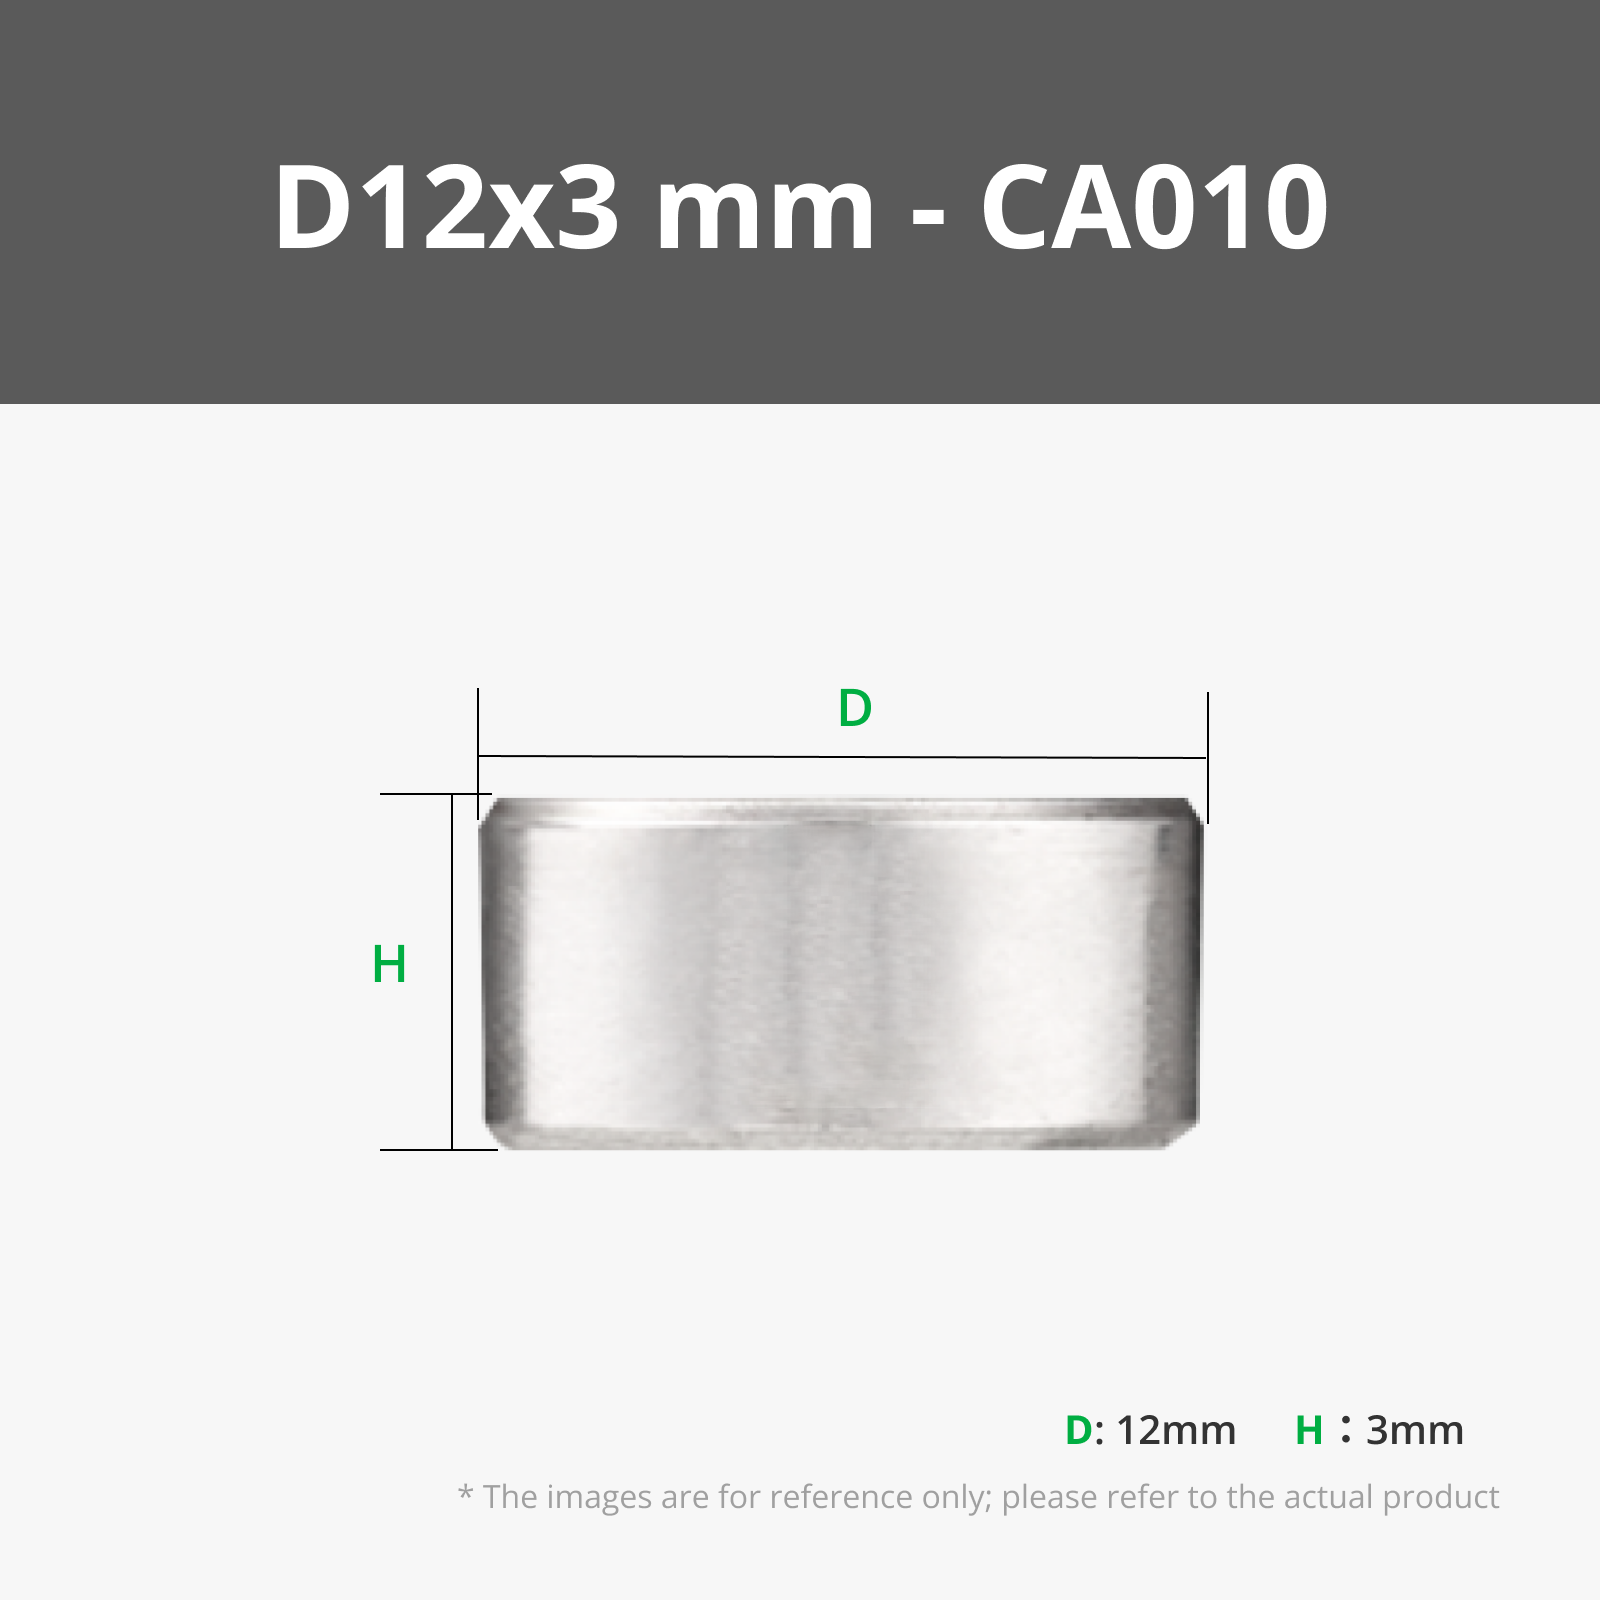
Only four 12mm x 3mm disc magnets. These are available on Maker's Supply, and most big box stores/Amazon. I will do my best to make other sizes available if demand is there! The magnets are SNAP FIT. They pop in with a little pressure (not much), and are held in via a printed retaining ring. This allows us to skip glue, and also protects your fridge from a magnet scraping against it as it creates an air gap between the magnet and fridge! Double bonus!
The Customization Process (detailed instructions below)
The 3MF Files are provided for three sizes, 60mm wide, 80mm wide, and 100mm wide. Not all printers can print the 60mm size reliably as the “pixels” of the QR code get quite small, so be aware of that. Once you determine size, you head over to QRCode2STL via the pre-configured links below (I'm NOT affiliated in any way to QRCode2STL, however it is usable freely via CC BY NC SA 4.0 licensing, so a big shout out to them!) to generate your unique QR code and title which you will swap into the 3MF File (which has placeholders). Then ensure everything is aligned and you're printing just that easy! So let's dive in to this easy 5 step process and get you a Wi-Fi Info Sharing Magnet!
Detailed Instructions
Step 1: Determine Size
Decide which size you want. Some want a small, unobtrusive design. Others want their friends to be able to quickly scan it from across the room. Some want an in between size. We like the 80mm version, personally.
Step 2: Generate your own STLs for your Network Info
You'll need your SSID (your network name) and Password, and your security type (WEP, WPA, etc).
The files are otherwise pre-configured for you based on the size you want:
Enter your SSID, Password, and Security type on the left hand side:

Enter the text you'd like to show up at the bottom (network name, “Wifi Info” or anything else!:

Generate your 3D Model by clicking the “Generate 3D Model” at the bottom of the page!

Note the text may look misaligned. Don't worry, we'll fix that in the slicer.
Export the STLs. Make sure you select “Yes” Under Separate Parts! It doesn't let me save that drop down in the link!

Finally, confirm you have 5 STLs in your folder, they should be labeled (the 13-digit number is random and arbitrary):
base-############# (Note, you can delete this, we won't use it)
border-############# (Note, you can delete this, we won't use it)
icon-############# (Note, you can delete this, we won't use it)
qrcode-############# (We WILL use this!)
text-############# (We WILL use this!)
Step 3: Open Corresponding 3MF File and Swap STLs
Open the correct 3MF print profile for the size you selected.
On the left, you'll notice there is a base (with four negative part modifiers, more on that in a sec), a border, an icon, a QR code, and a text STL:

We need to replace the QR Code (in two spots, the negative modifier to allow room for it, and then the shape itself). Just right click the QR Code placeholder STL and select “replace STL” and select the STL you downloaded. Do that twice (the black object, and the negative modifier). Repeat for the Text STLs. You do NOT need to touch the base, border, or icon STLs!
Step 4: Ensure Alignment
Once you have swapped them in, we need to ensure alignment. This seems to be hit or miss, so I provide these coordinates to help keep things aligned. Note these are WORLD coordinates. This ensures consistency. Object Coordinates sometimes give weird values for whatever reason. Click through each STL while the Move Object menu open, and ensure the values all are correct. Truly, you can move them around as you see fit, just ensure that the matched STLs are in the EXACT same spot (both the QR Code negative modifier as well as regular object STLs need to be in the EXACT same spot, for example). If you do NOT ensure this step, you may get a collision error! Please double check this!

Step 5: Select Filaments, Slice, and Print!
From here it's just like any other file, it should be straightforward from here! You did it!
Boost Me (for free)
You did it! Congrats on never having to repeat your WiFi Network info a dozen times and then enter it yourself anyway ever again! Consider giving me a boost, It helps encourage me to keep doing this!
License
You shall not share, sub-license, sell, rent, host, transfer, or distribute in any way the digital or 3D printed versions of this object, nor any other derivative work of this object in its digital or physical format (including - but not limited to - remixes of this object, and hosting on other digital platforms). The objects may not be used without permission in any way whatsoever in which you charge money, or collect fees.
Comment & Rating (21)