
IKEA Billy Complete Filament Storage System / Rack
Print Profile(8)


Bill of Materials

.jpg)


Description
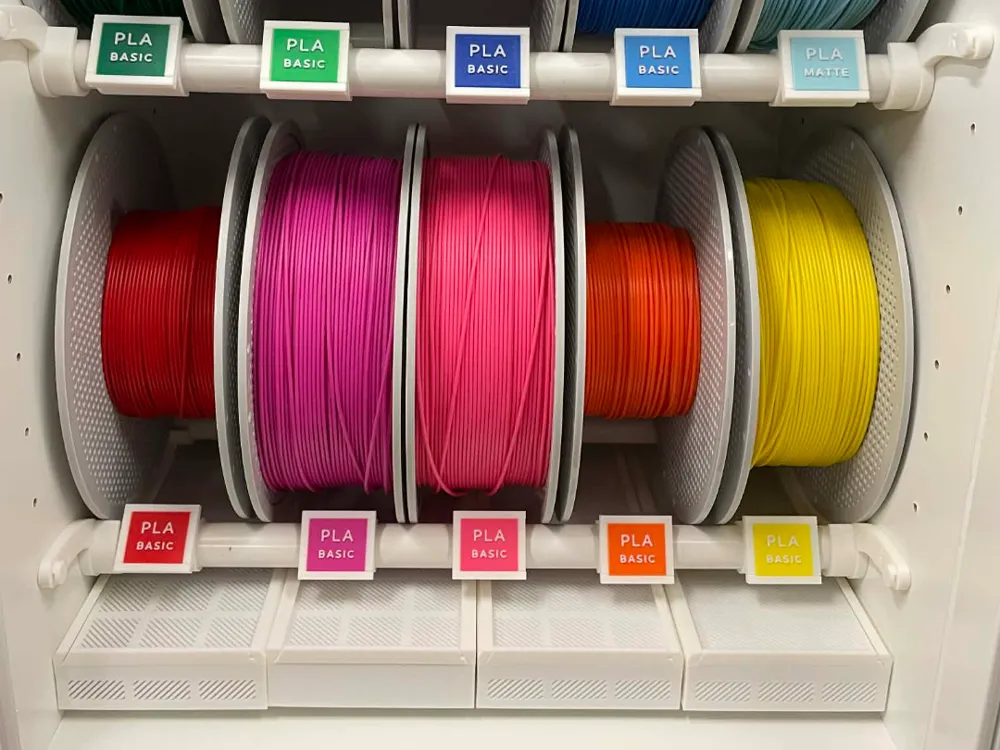
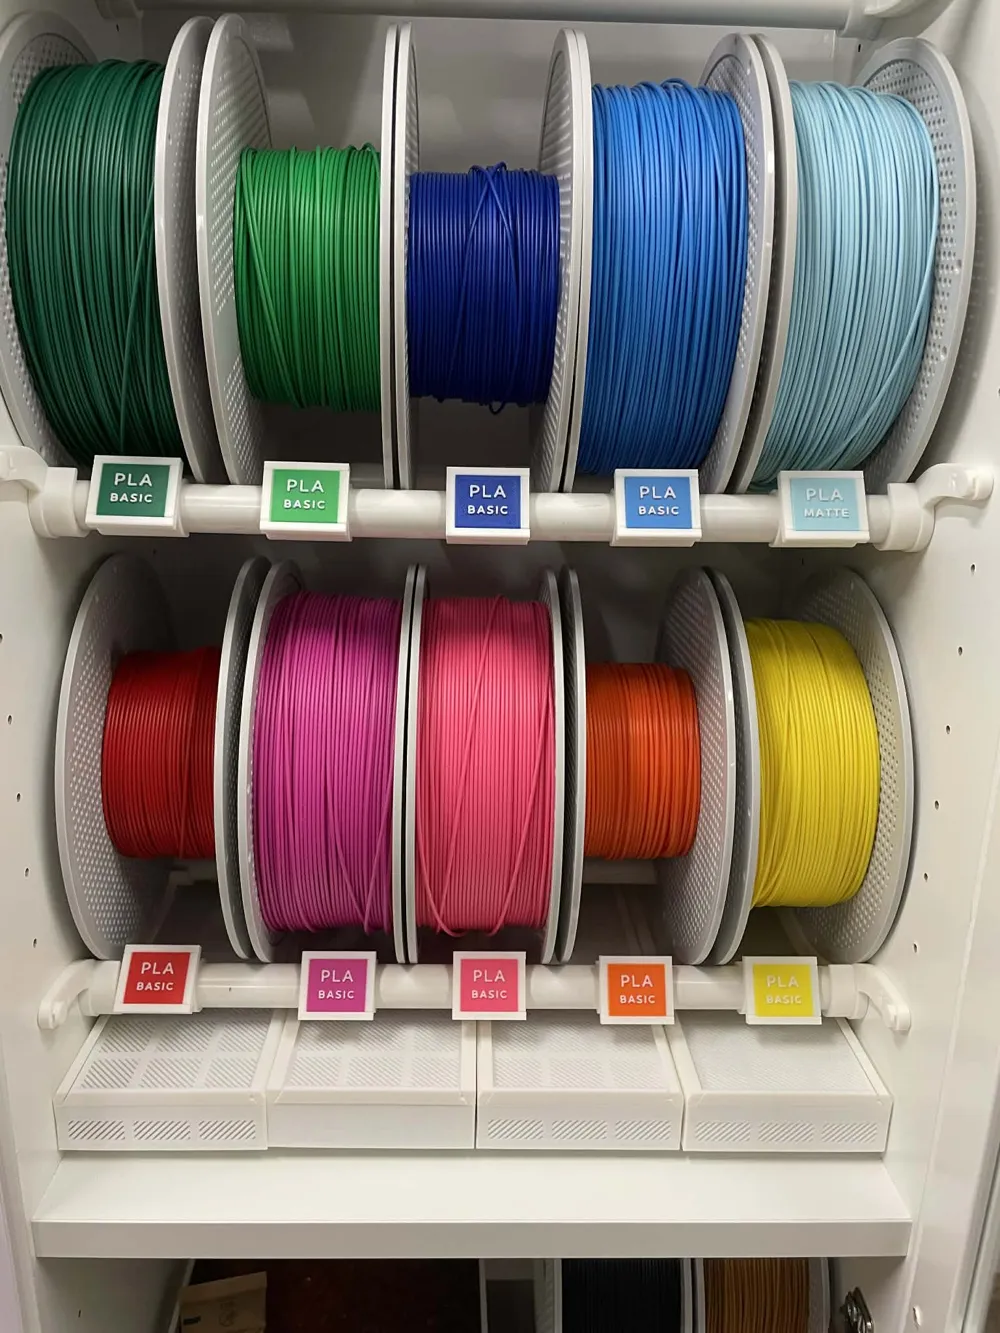
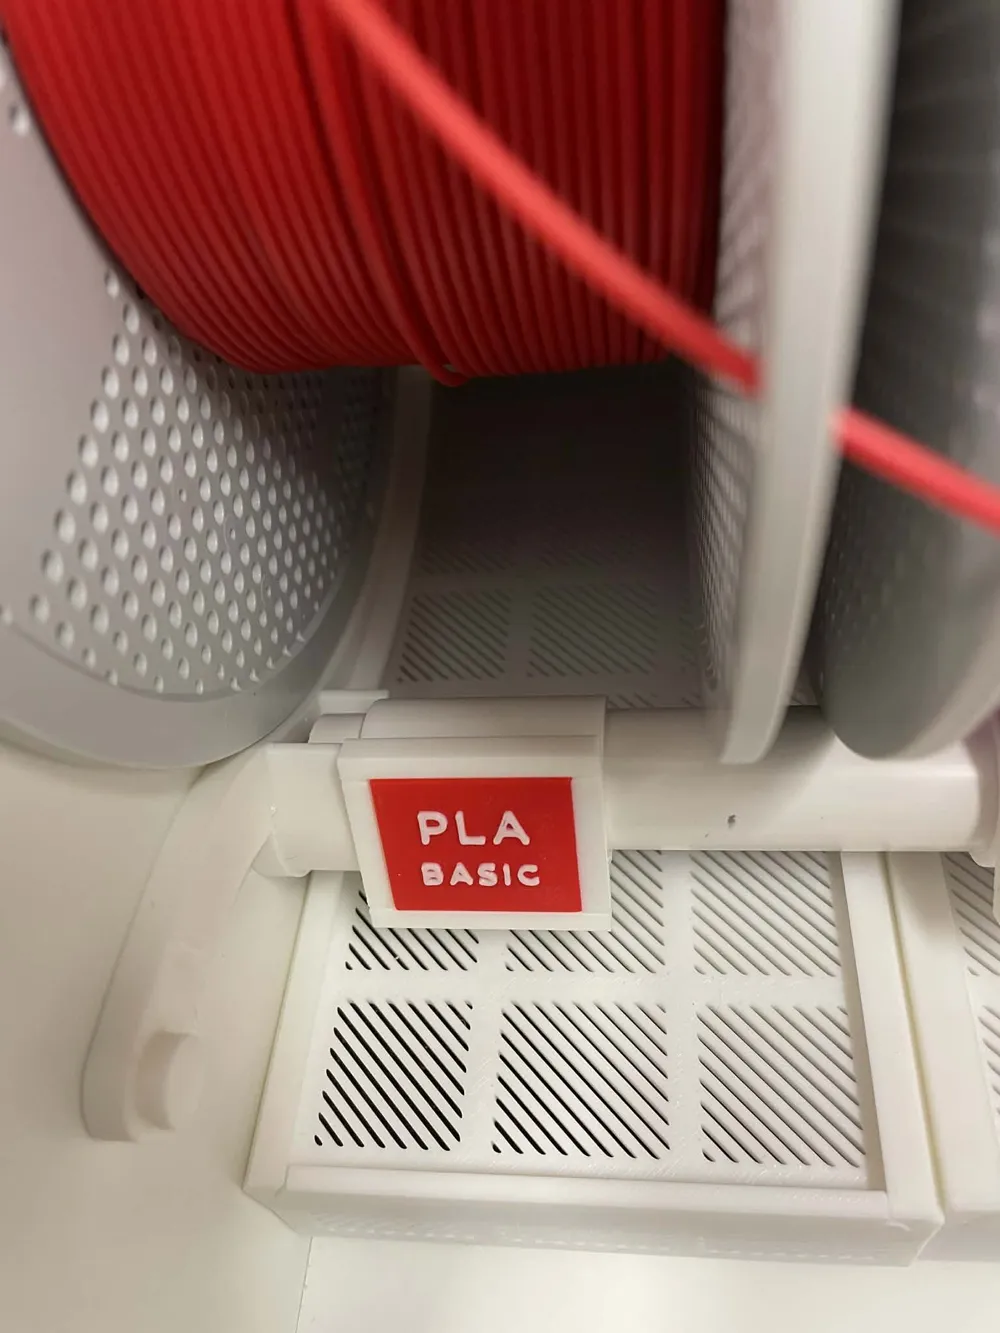
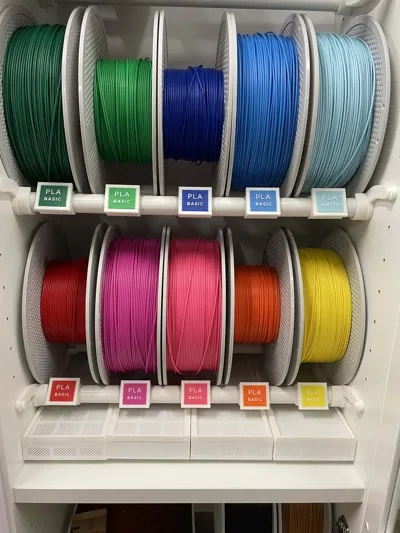
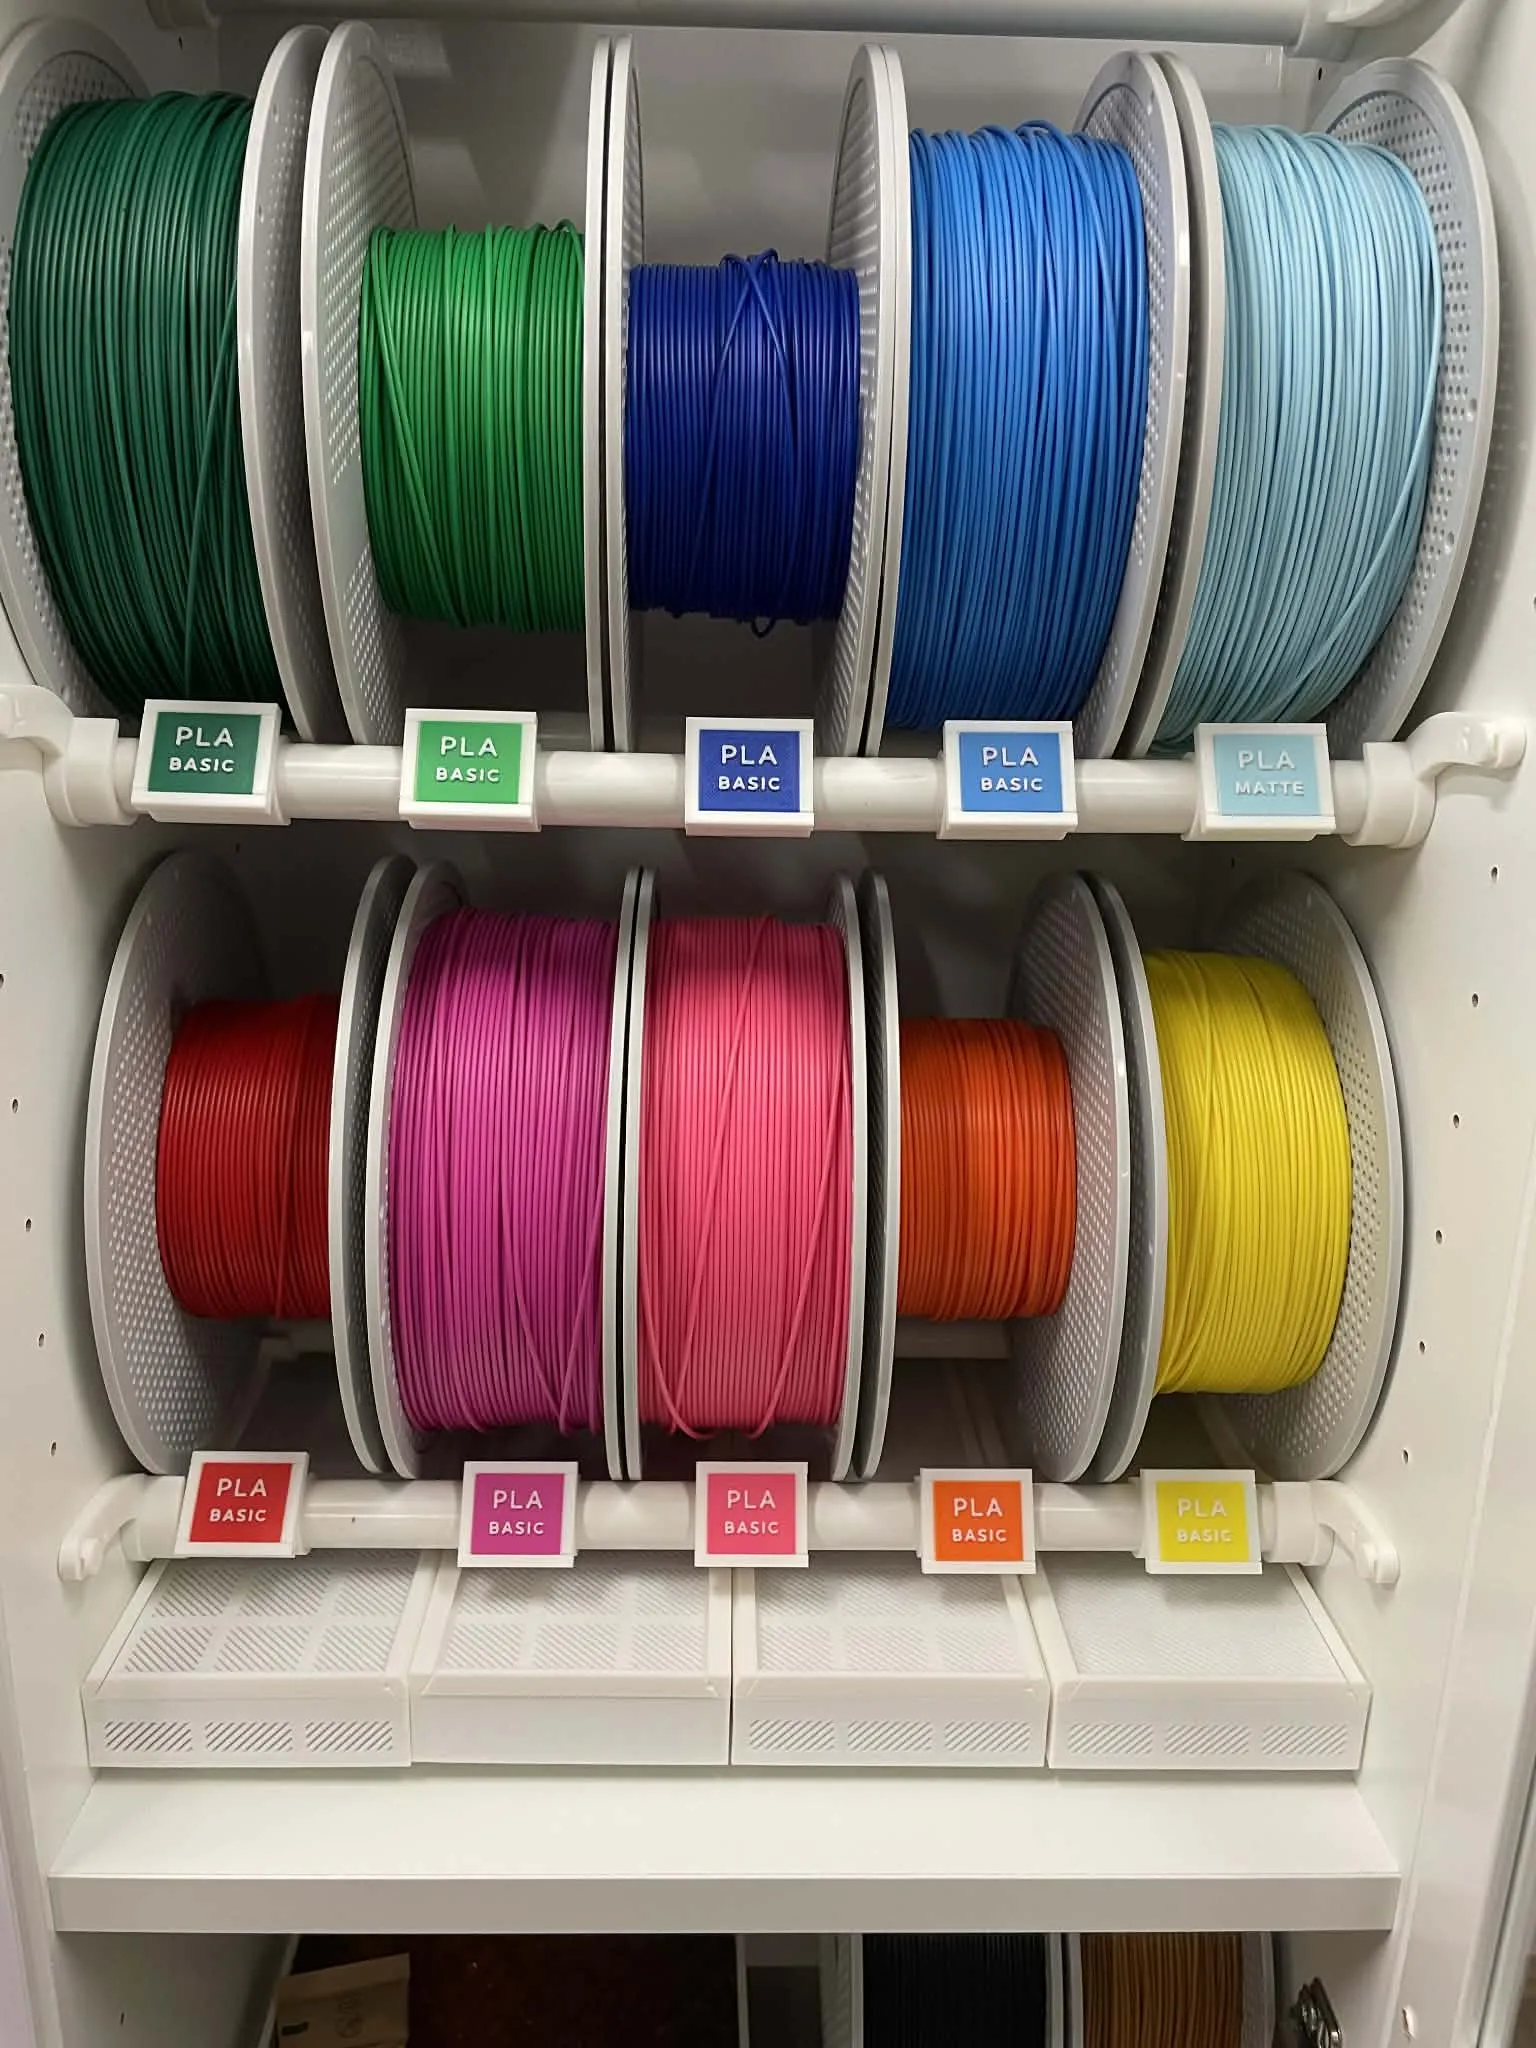
IKEA Billy Complete Filament Storage System
(280mm Depth Version)
| Revision | Date | Details |
| 1.0.1 | Dec 10th 2025 | ½" PVC conduit (21.34mm O.D.) profile added for countries where ½" conduit is most common. |
| 1.0.2 | Dec 24th 2025 | After user feedback, the dry box feet were found too be too tight fitting, leading to breakages. These have been improved by making them stronger with less protrusion and an additional clearance to prevent breakage. |
| 1.0.3 | Dec 30th 2025 | 19mm (¾") O.D. solid rod profile added for e.g. wooden dowels, after this was requested by 2 users. |
| 1.0.4 | Jan 6th 2026 | 15mm O.D. metal pipe profile added for e.g. copper pipe used in domestic plumbing. |
| 1.0.5 | Jan 7th 2026 | ½" Metal EMT pipe (17.93mm O.D.) profile added. |
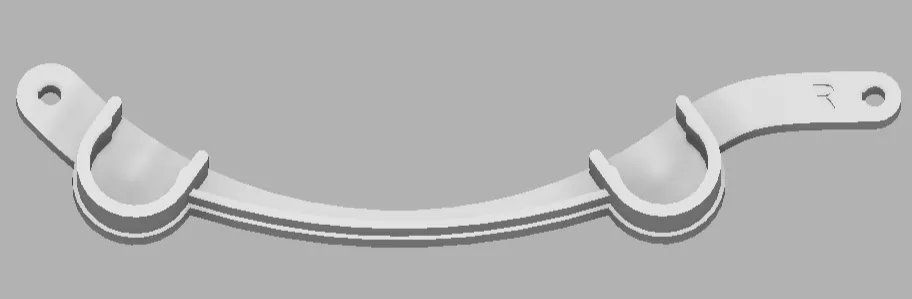
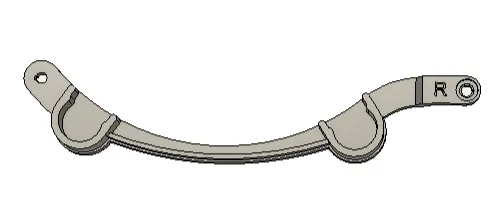
Spool Holder Brackets | |
 | |
|  |
 | |
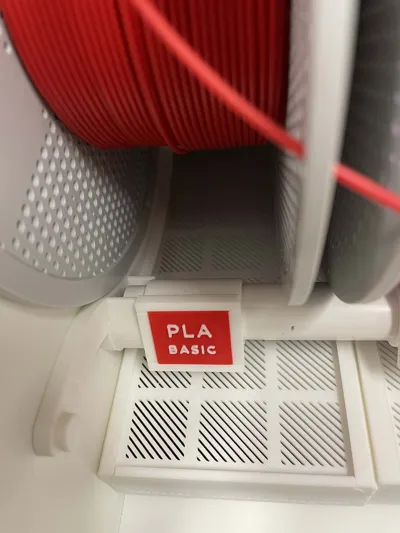
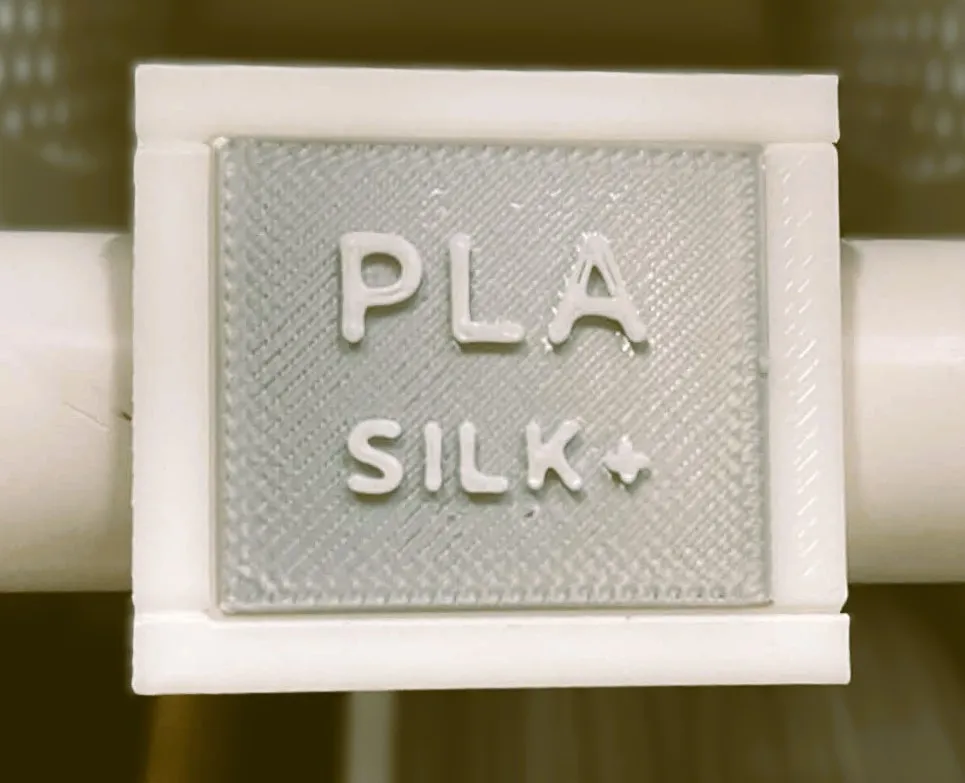
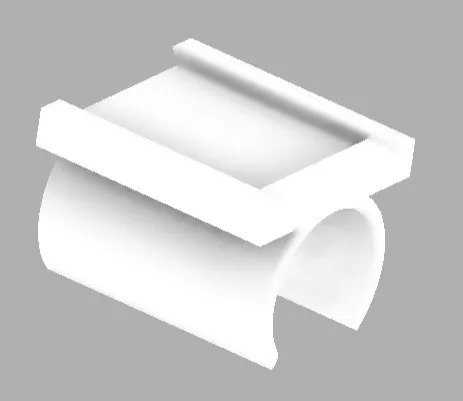
Swatch Holders / Labels | |
|   |
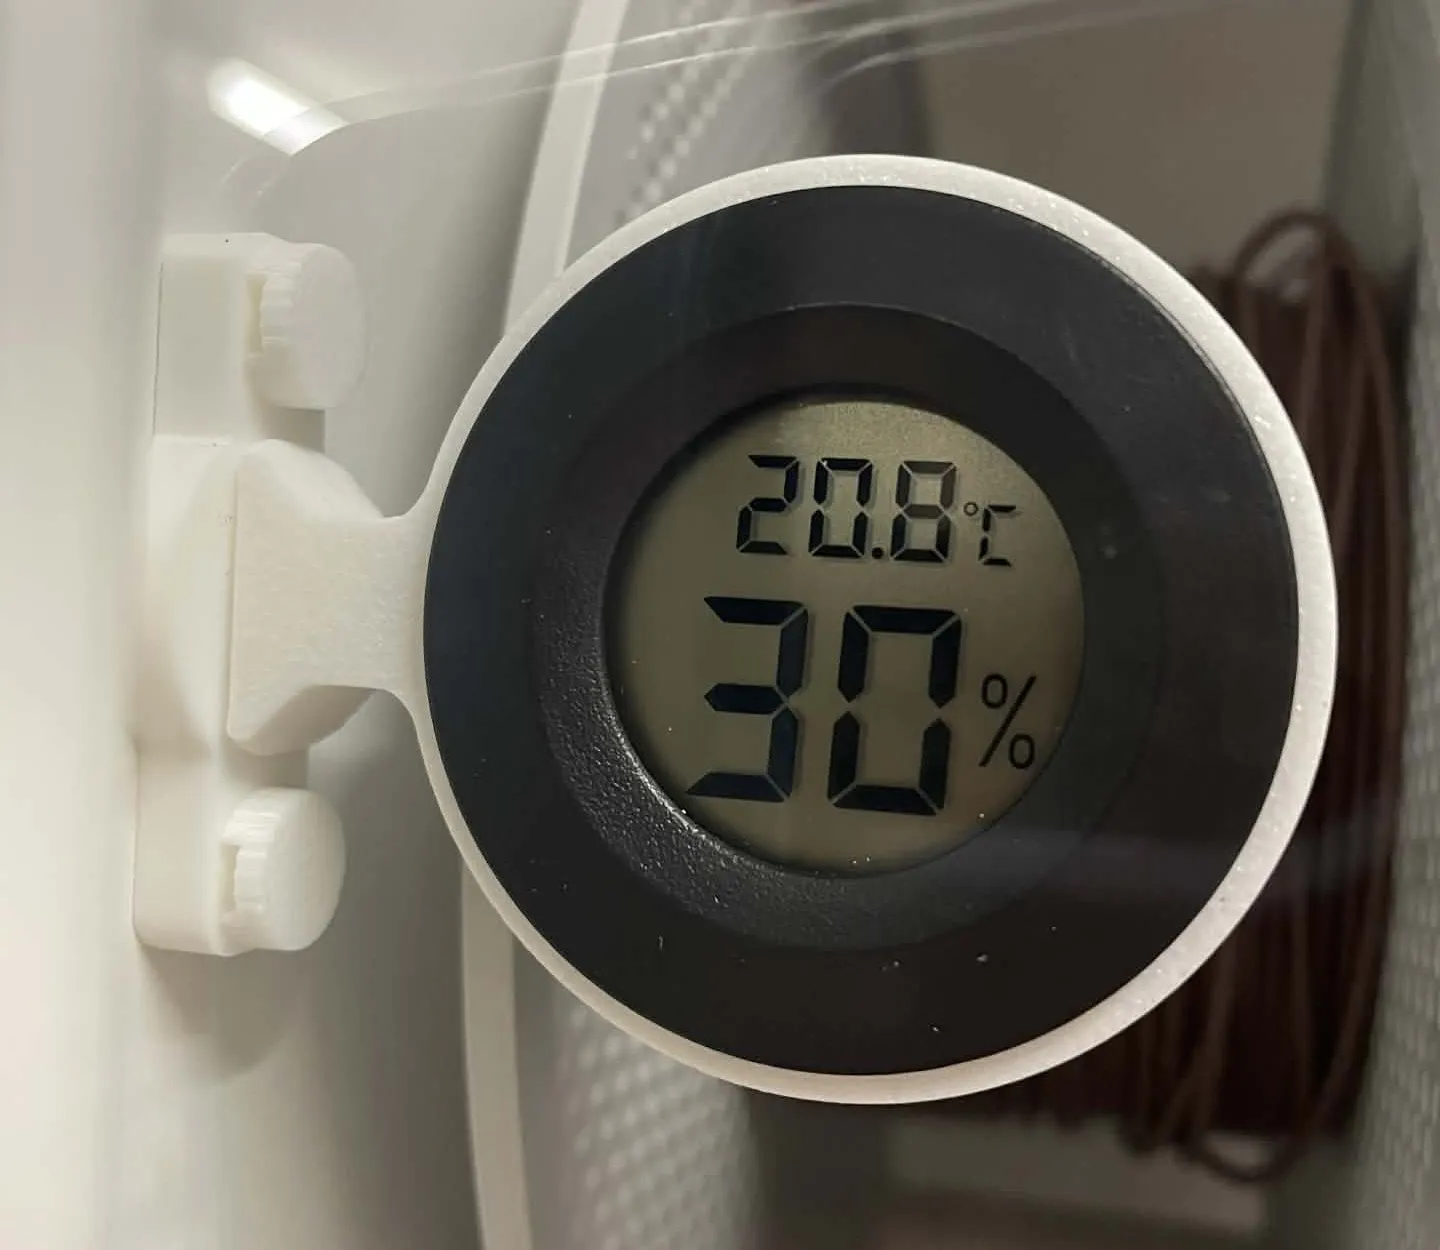
Humidity/Temperature Sensor Bracket | |
|  |
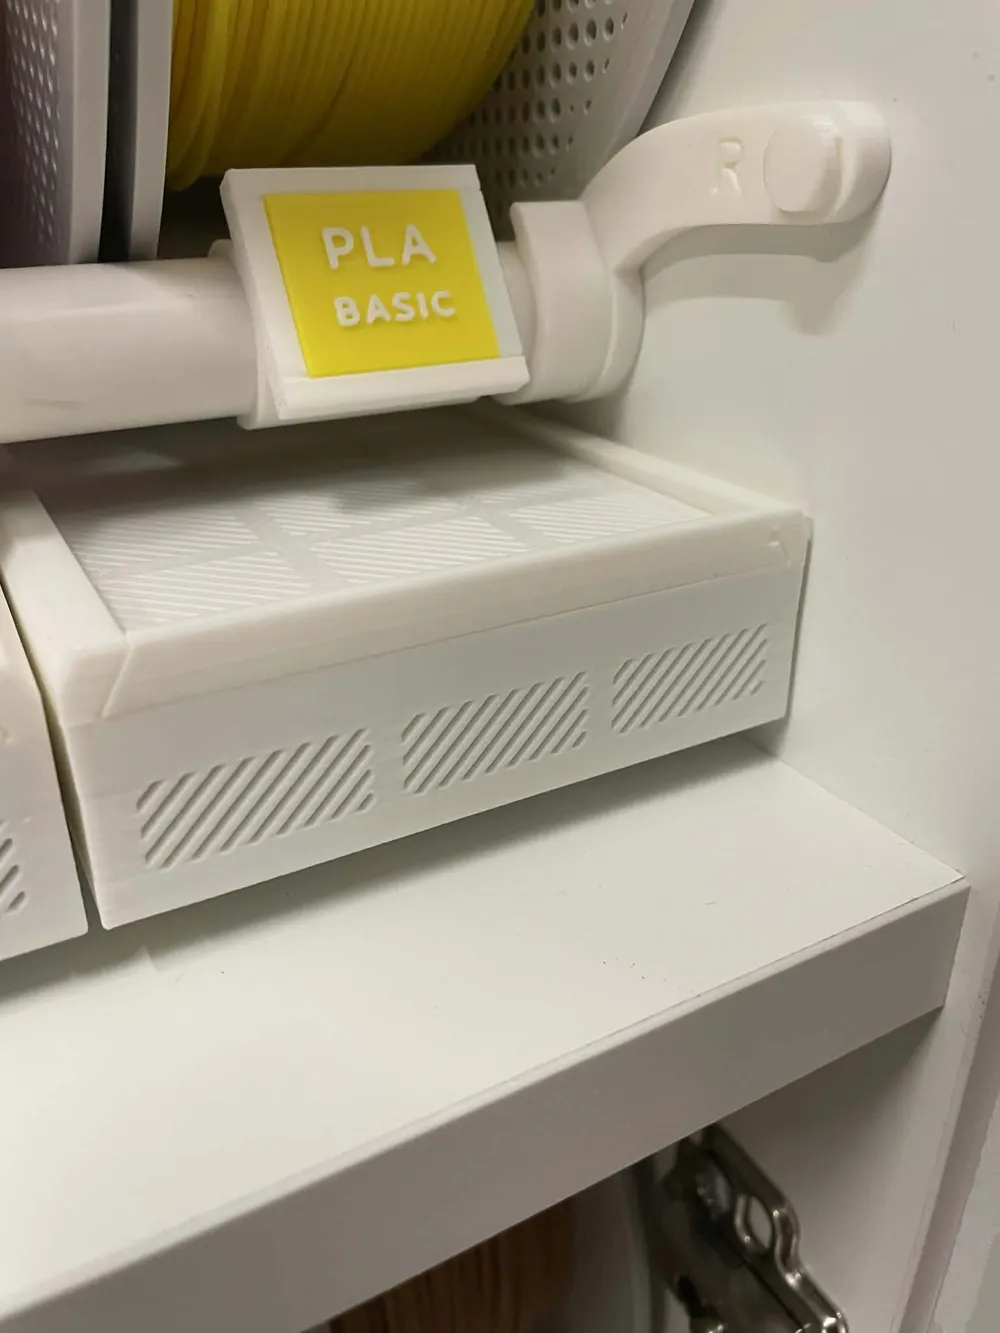
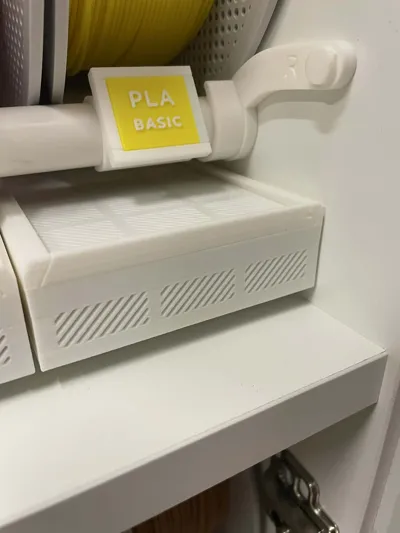
Silica Dry Box | |
| 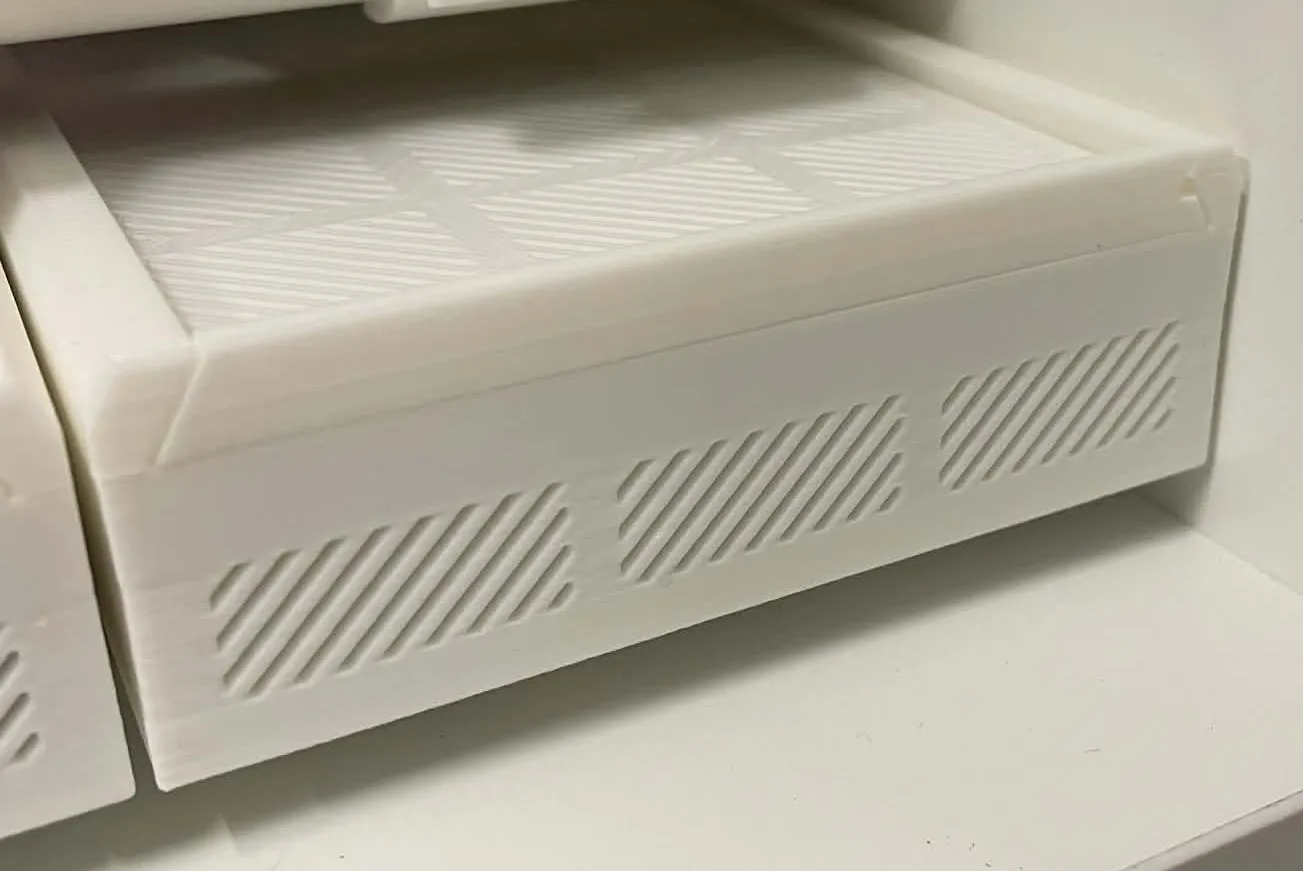 |
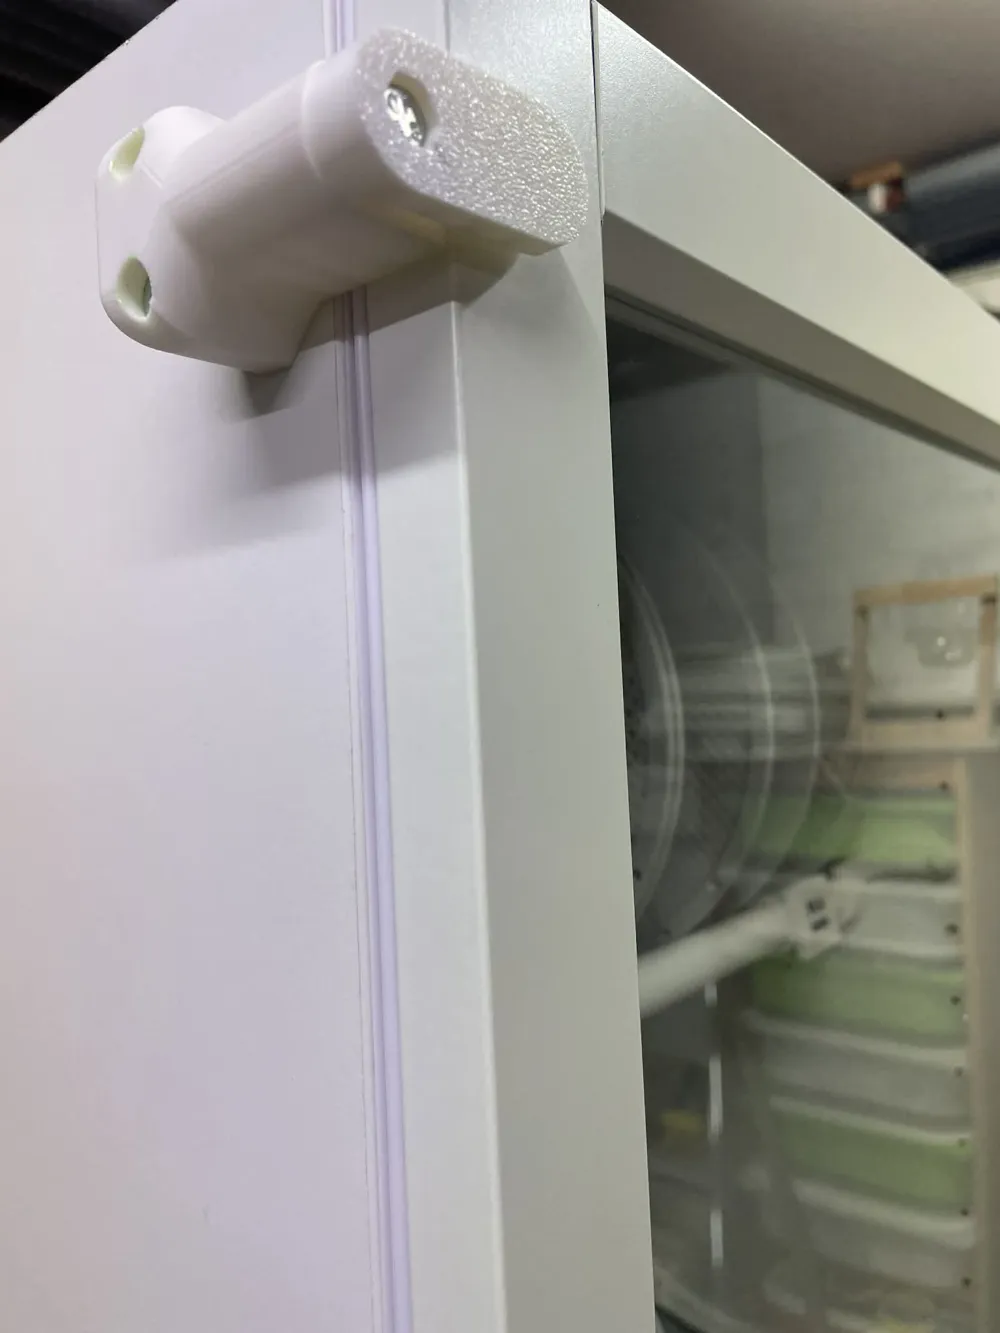
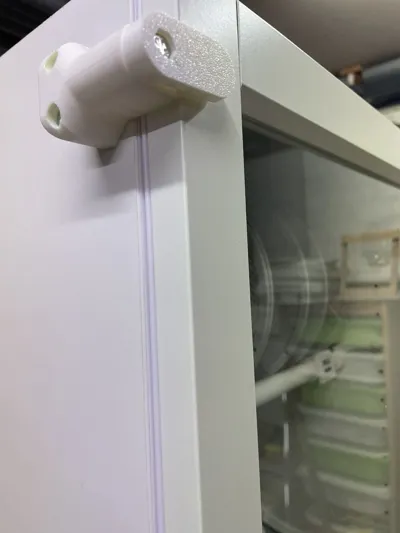
Door Latch | |
*Each door latch requires 1 x M5 50mm Bolt, 1 x M5 Nut, 2 x M3 35mm screws. I contemplated adding a template to the print profile, but the hole positions will be determined by the depth of rubber seal/gasket you use around the door. | 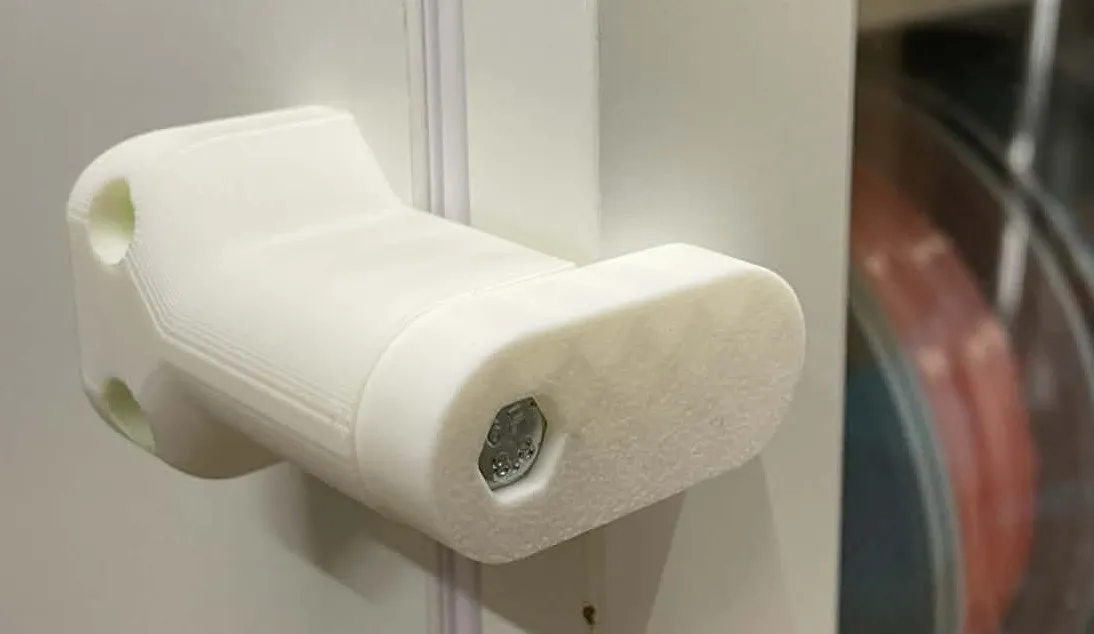 |
Materials | |
Cabinet |
|
Interior |
*You will need 2 x 3m lengths or 4 x 2m lengths from your local DIY outlet)
|
Latches |
|
Installation Tips |
| Before you start, sealing all of the joints within the cabinet with silicone sealant will ensure the cabinet is well sealed before you start installing any brackets etc. |
| When installing the door strips, the gap at the top/bottom of the door is wider than the sides, so you may need to install strips on both the door and cabinet in these locations. You may also need to adjust the hinges and pull the door away from the cabinet to allow both sides of the door to seal equally. |
| When installing the latches, consider using a clamp to keep the door tight whilst you set up the latch position. Please don't do it too tight or you will struggle to open/close the latches! |
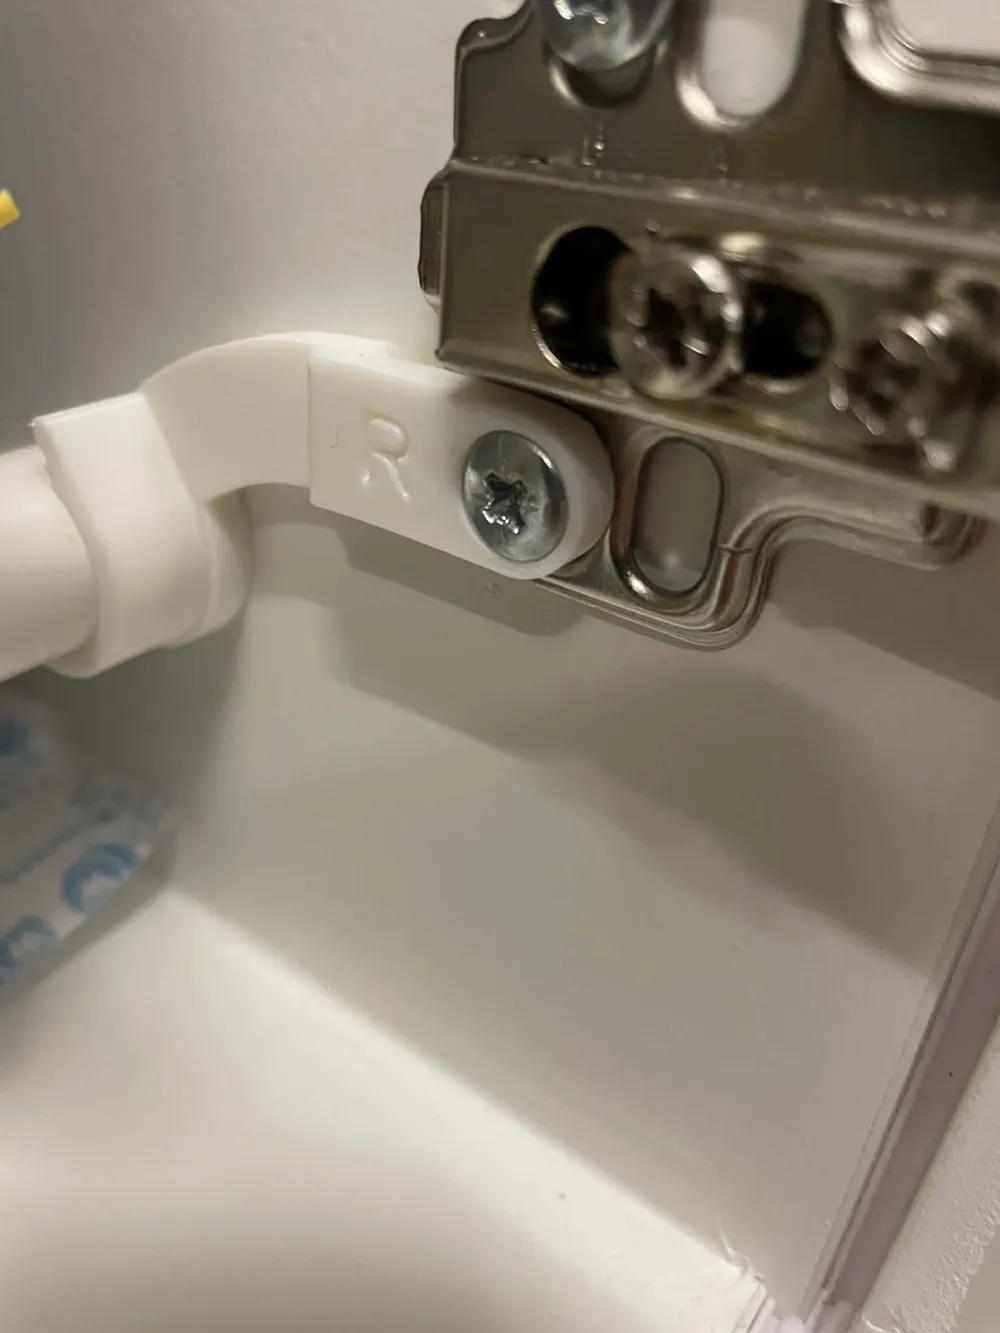
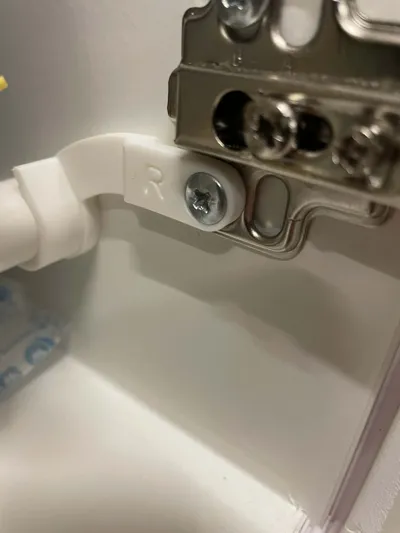
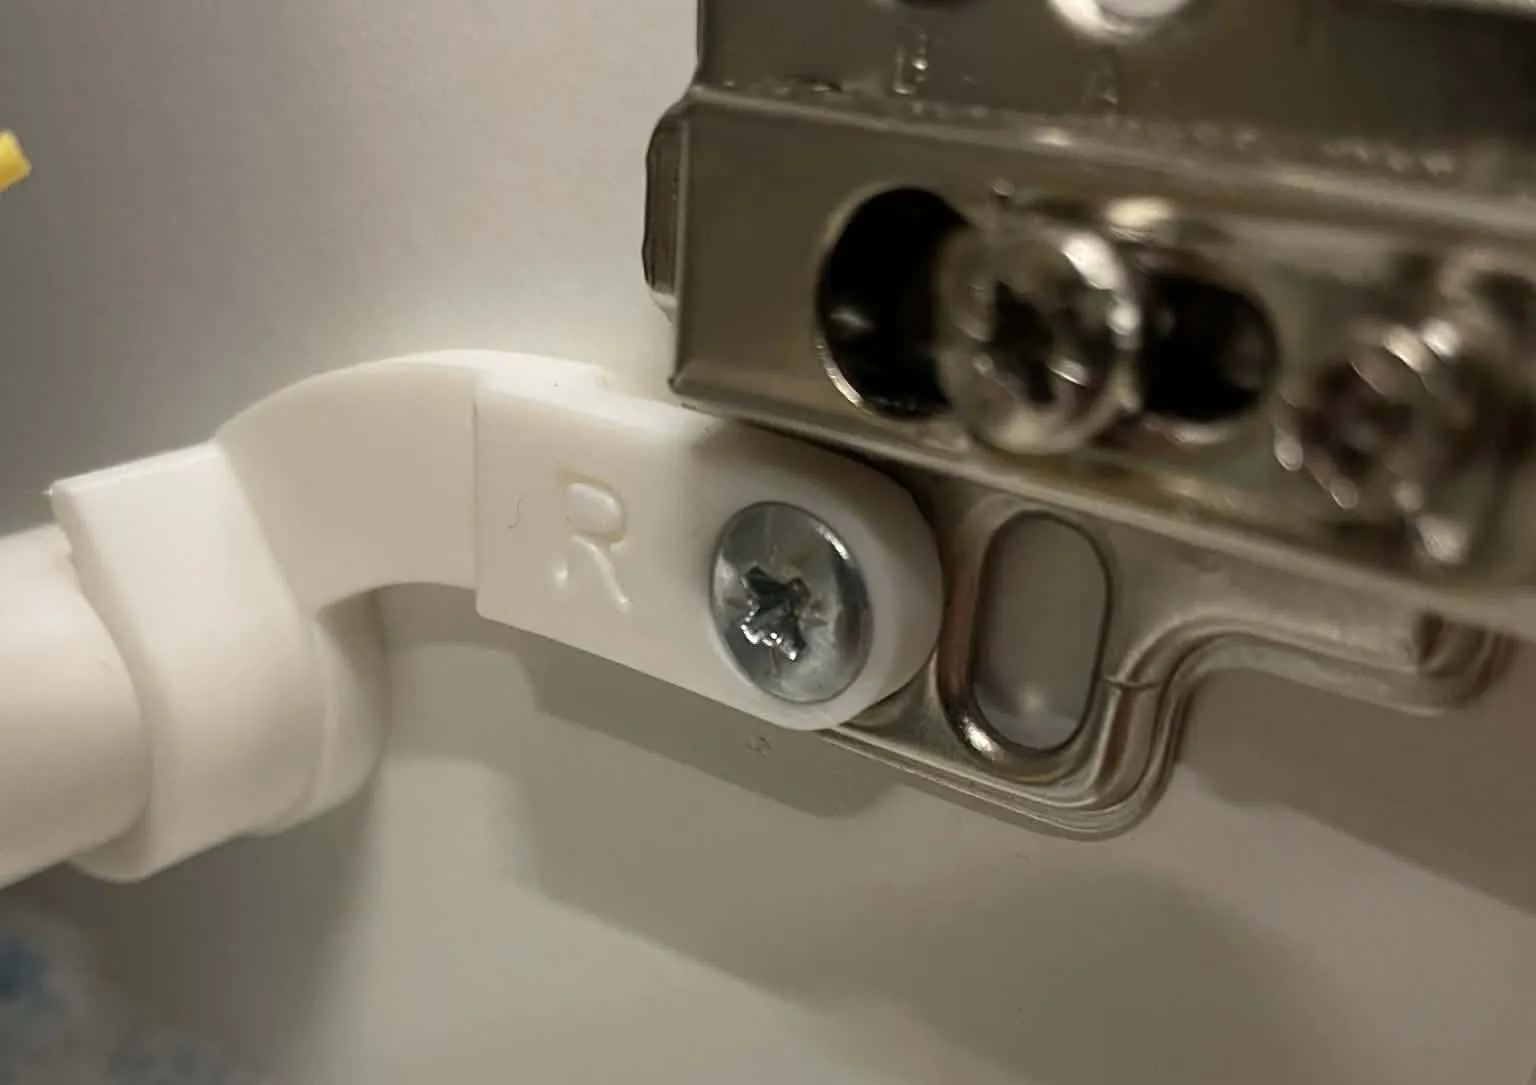
| For the lower section, only print one of the two hinge brackets depending on which side of the cabinet the hinges are. You will need to replace the one you're not using with a regular bracket. Please note that they are marked ‘L’ and ‘R’ and it is important to get the correct one because they are not reversible. |
| Install the first spool holder bracket in the fifth hole down from the top of the cabinet, and then every 7th hole down from there (6 unused holes in between each bracket). Please note there are fewer holes at the back column. For the lowest spool holder brackets you will need to drill an additional hole at the back using the tool included on plate 2. If you mess up your bracket install, please don't tear them out in frustration as a snapped pin will be a pain to remove! Use a screwdriver under the front of the pin to pry it away carefully. |
Boost Me (for free)
I've put many painstaking hours/days into refining and prototyping this design! Please consider boosting me if you like it! If you would like me to amend/improve or include additional elements then please let me know!
License

You may create derivative works based on this object, provided that all such derivative works are published exclusively on the MakerWorld platform and include proper attribution to the original creator. You may not share, upload, host, distribute, or publish this object—or any derivative work of this object—on any other digital platform, marketplace, or distribution channel. Commercial use of this object and any derivative works is strictly prohibited. This includes, but is not limited to, selling, renting, sublicensing, or using the object in any context in which you receive monetary compensation or other financial benefits.


Comment & Rating (246)