
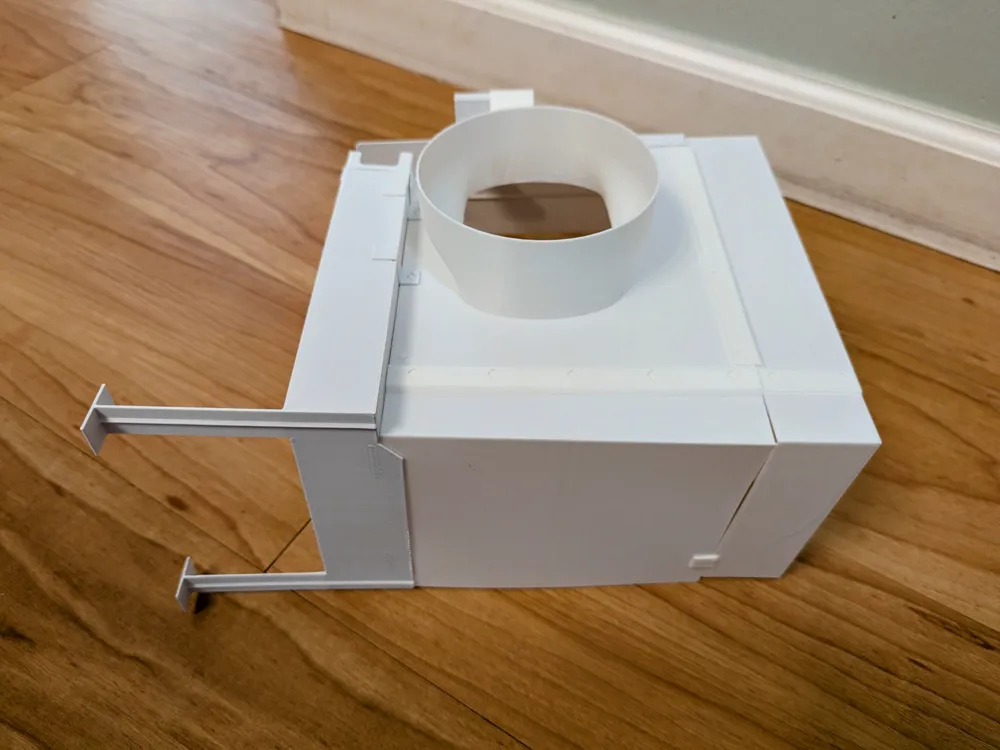
A1 Mini Venting Bed Enclosure (V6)
Print Profile(2)

Description
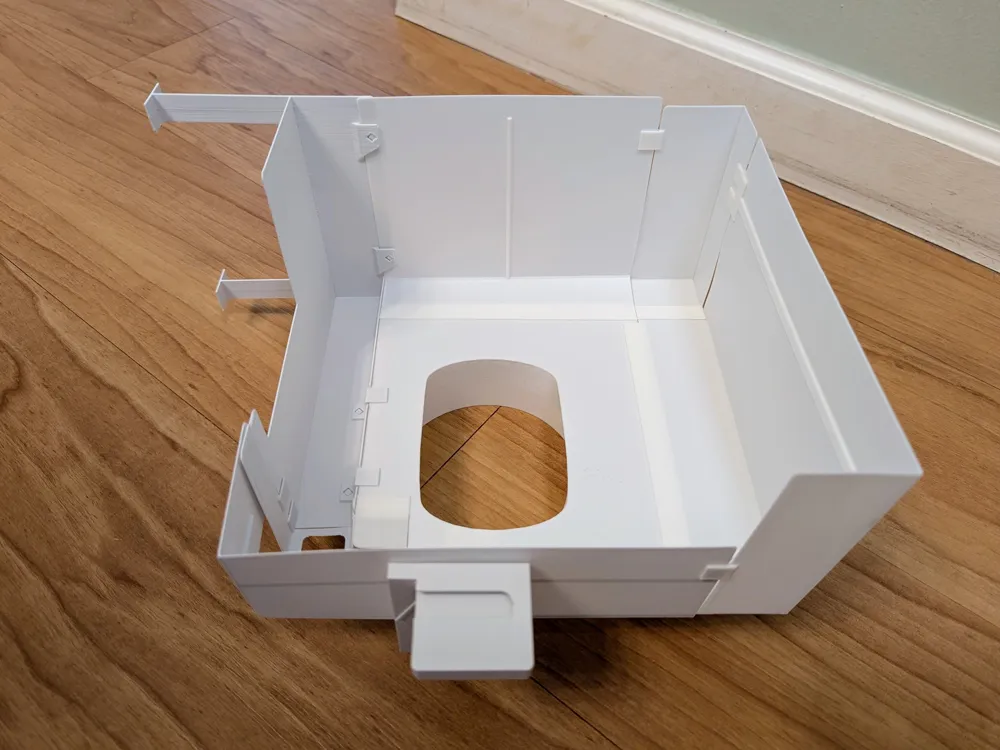
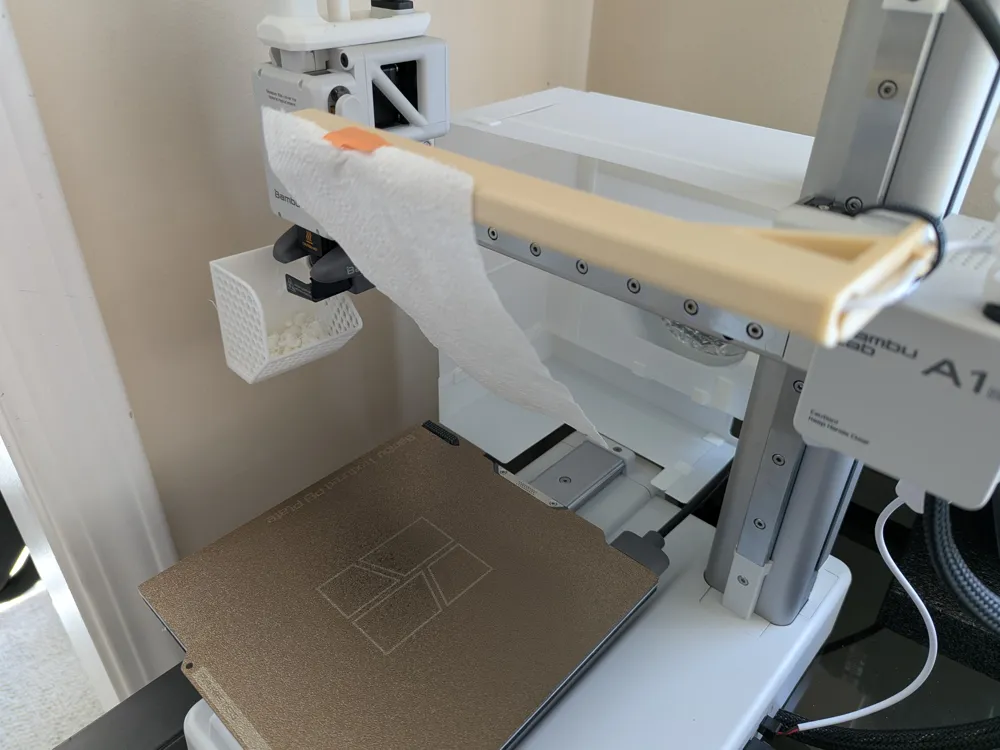
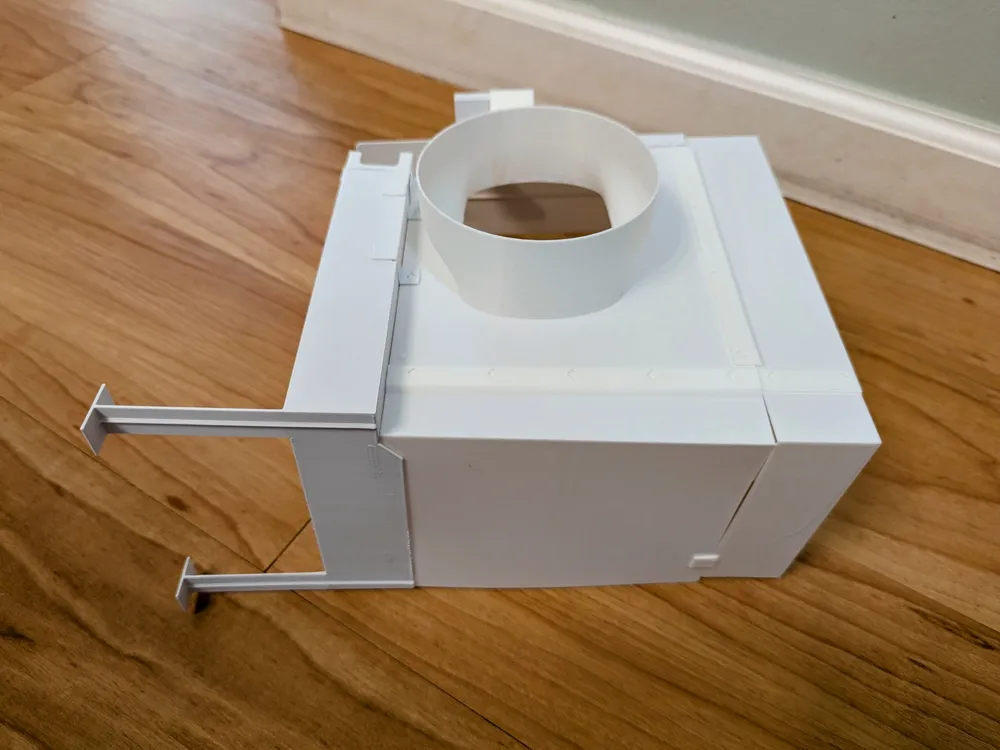
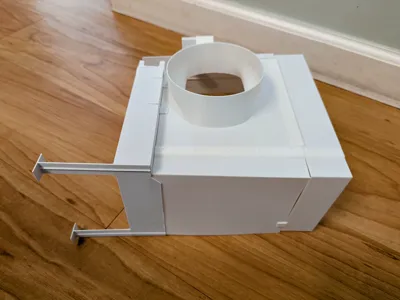
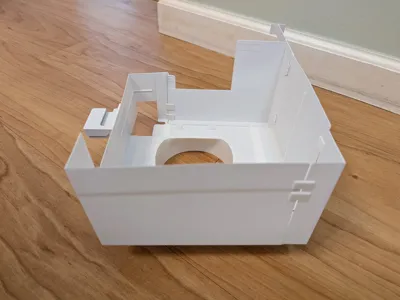
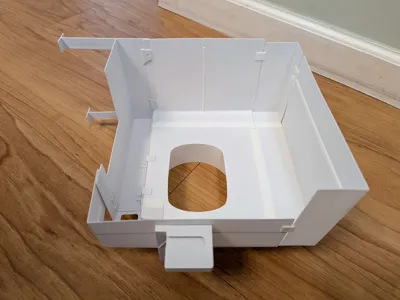
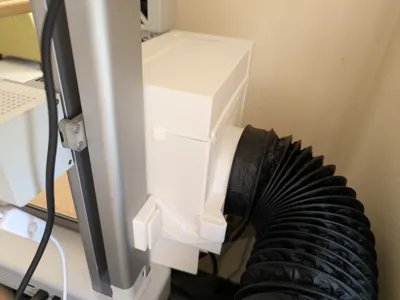
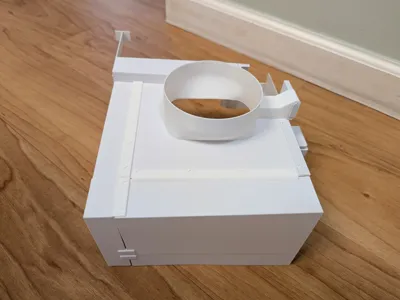
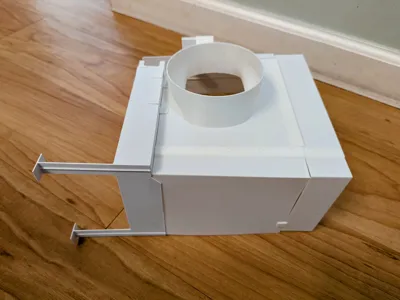
For venting purposes, this is an alternative to using a full printer enclosure. It works great for venting out the window, or to a Hepa / Carbon filter.
Note: For an inexpensive Hepa Filter venting solution, see my Hepa Filter Connector .
Versions:
- v3. Tightened up gaps.
- v3. Removed some supports.
- v3. Improved clips and snaps.
- v3. Added an option to tighten the area around the heatbed cord if your cord is fairly straight (up and down), by adding 2 small parts that clip on the back.
- v4. Added outer circular rib to duct hose connection.
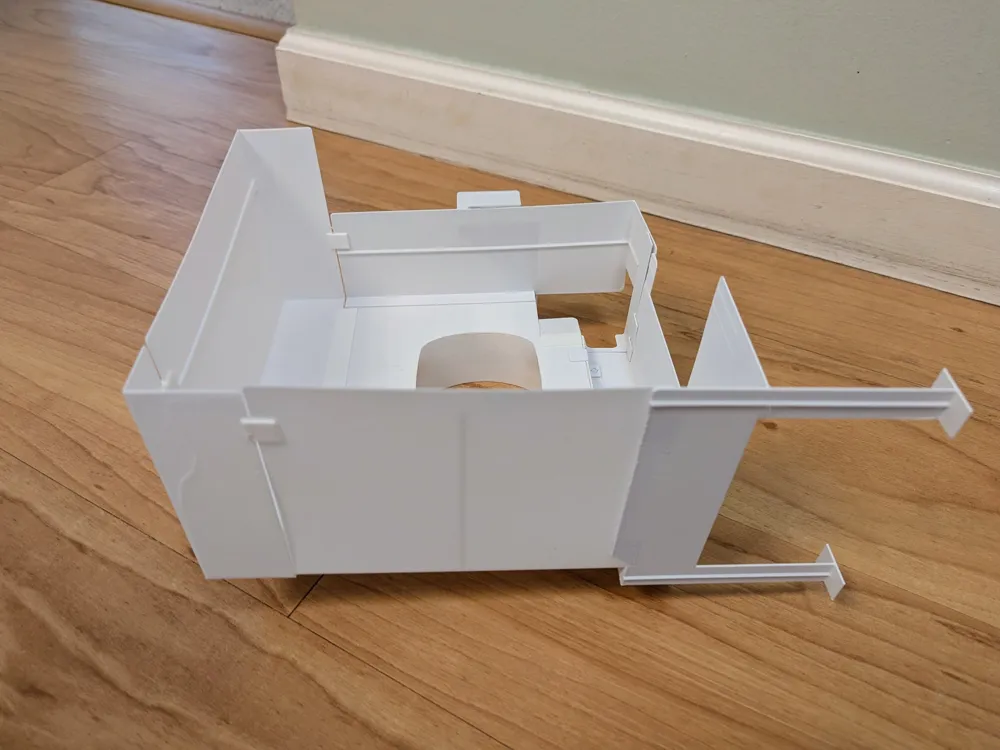
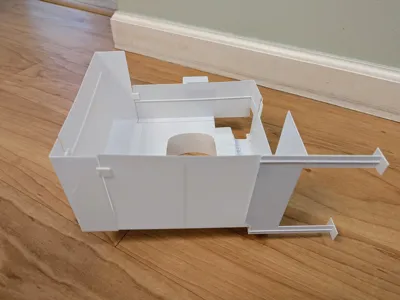
- v6. Added 2nd support leg to left panel.
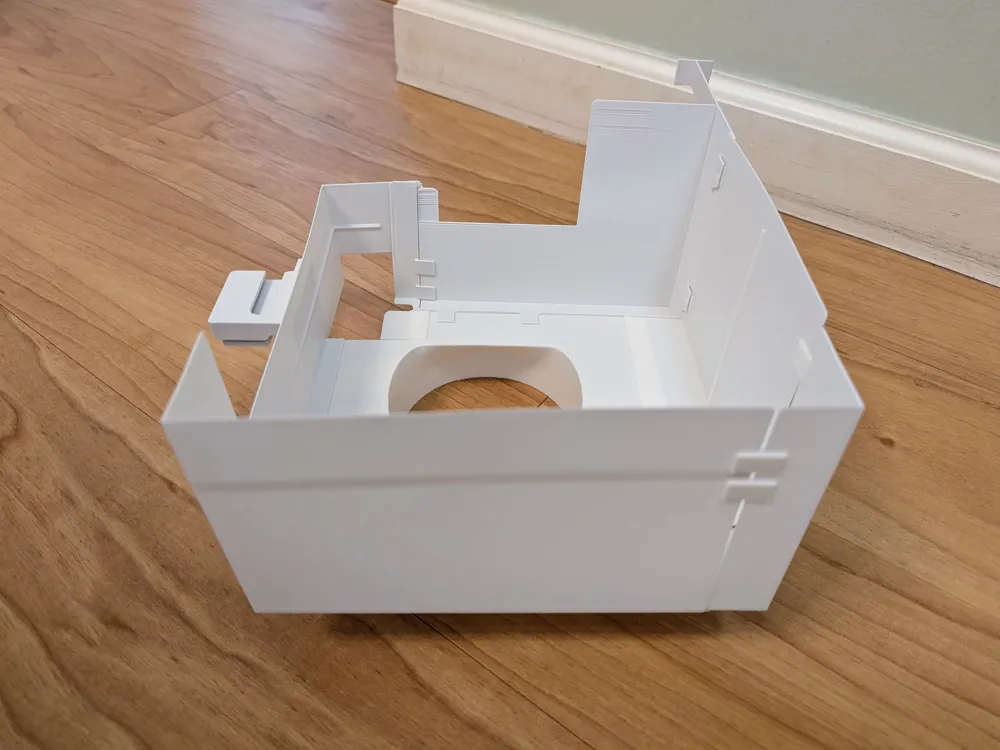
- v6. Added a horizontal lip to the bottom of the right panel to block more air from the cable area.
- v6. Added the following options to improve Air Flow even more:
- Small clip-on parts to tighten up area around the bed cable. (Can use if your cable loop is vertical).
- Temporary clip on panel (for the top-front). Remove when printing models over 160mm height.
- Added a new panel which can be attached to the underside of the camera housing, (using double-sided tape).
Purpose of this model
One of the best features of the A1 Mini is its small size. I didn't want to change that by using a full printer enclosure, but I still wanted to vent fumes out the window (or into a Hepa filter). So I created this model and shared it in case anyone else is looking for the same.
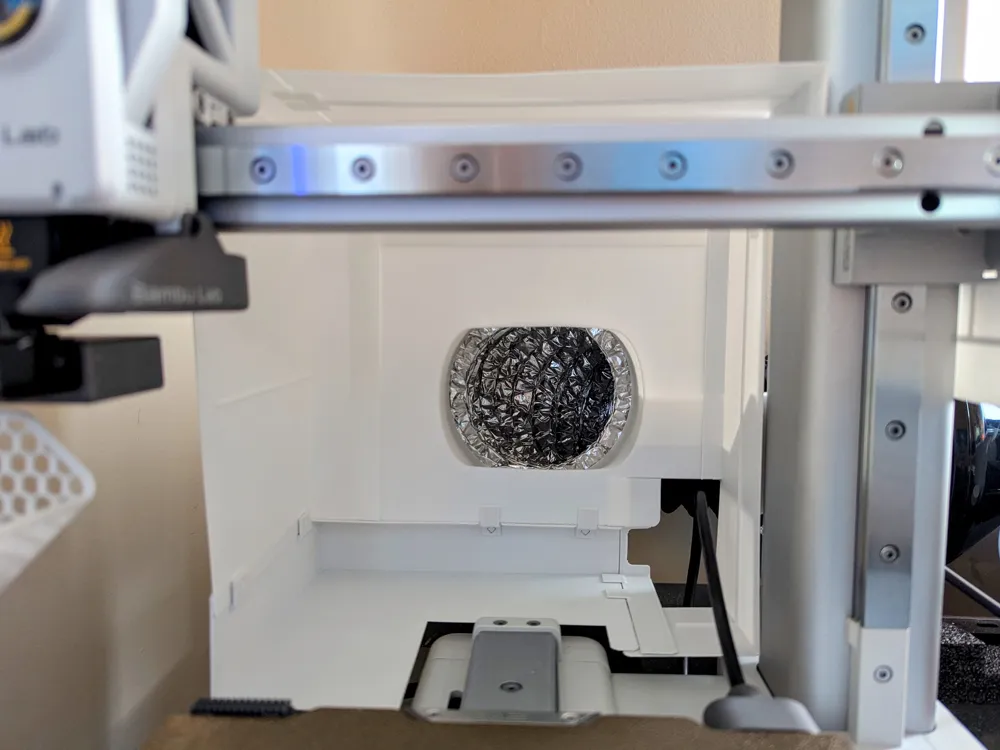
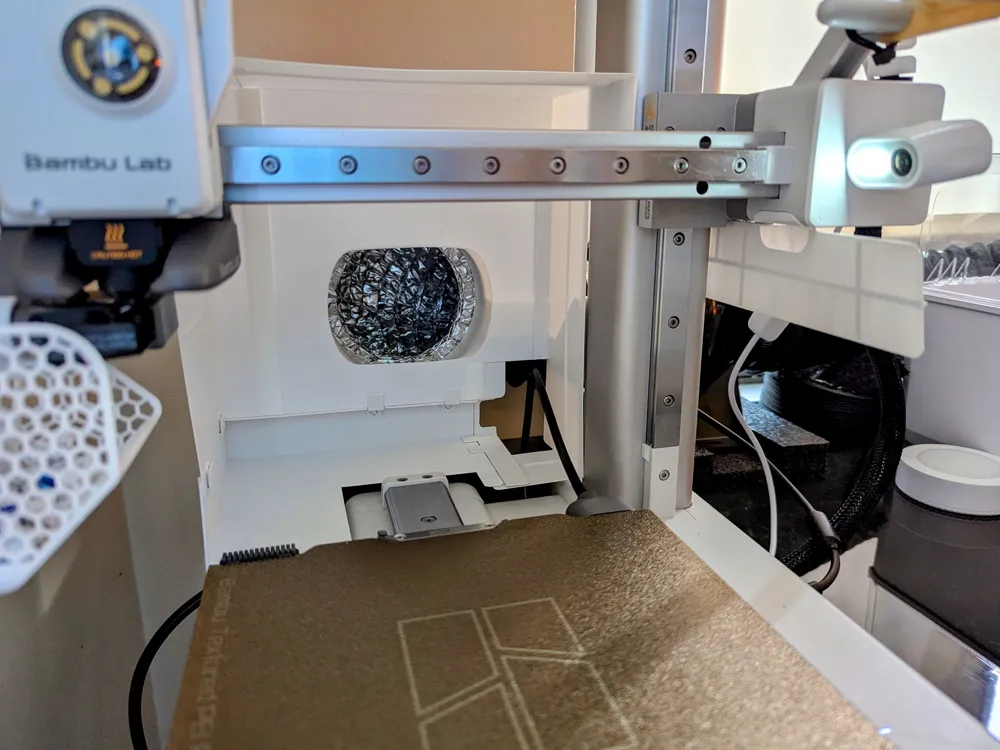
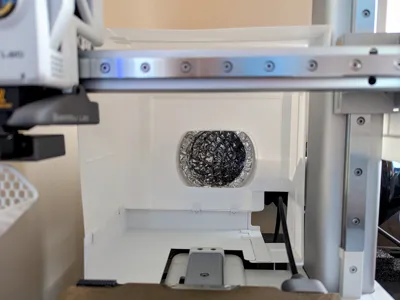
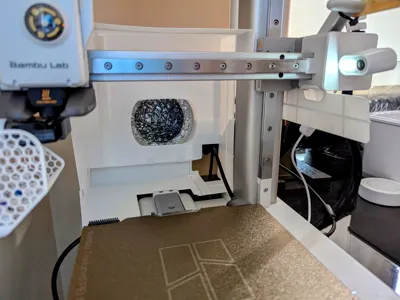
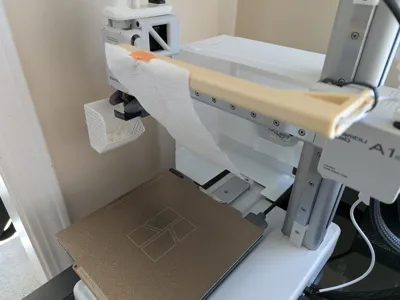
The model encloses the print bed as much as possible in order to pull air across the bed. It works quite well with a 195 cfm inline duct fan, or similar.
Notes
- The enclosure does not interfere with the printing area.
- If you have a filament spool mounted to the top of the Z-axis, which doesn't clear 180mm print height, you can print the “Low roof” print profile optional parts.
- PLA works fine.
- The profile uses .28mm layer, Gyroid infill, Critical supports only. Use .20mm if you want more detail.
- The vent Bracket has a “piggy back” mount for the original spool holder.
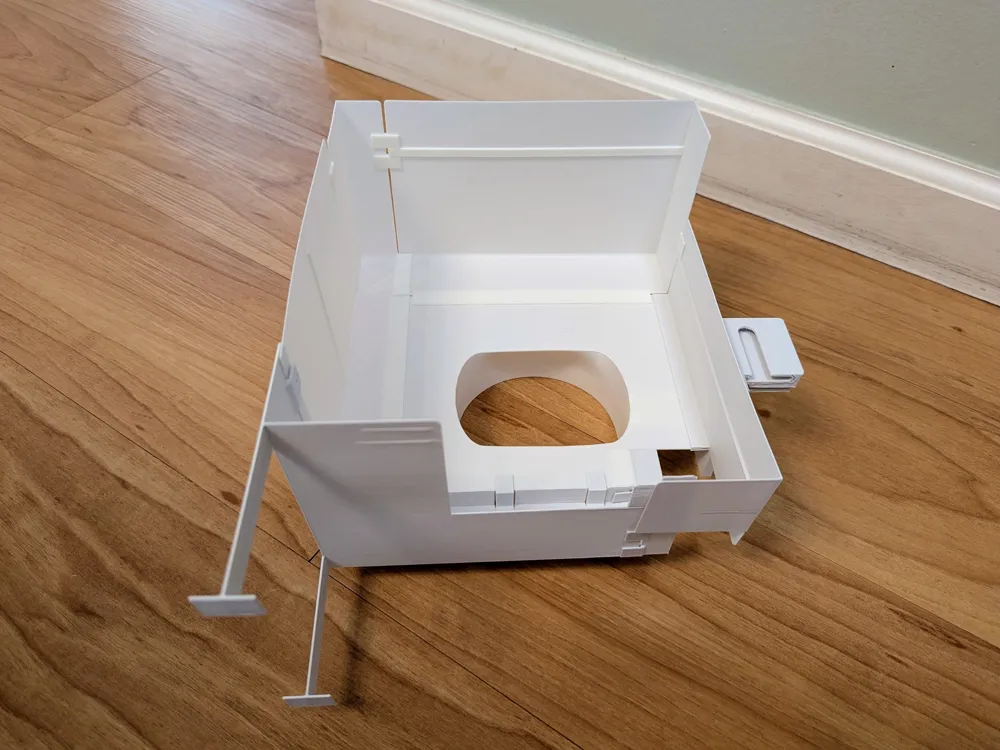
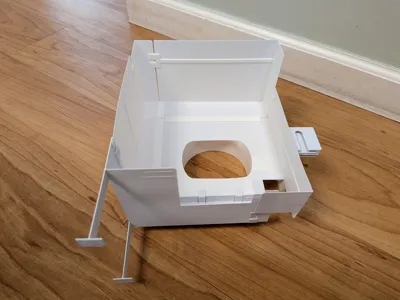
- The open area in the back right allows for the heatbed cord to move freely. Since not all headbed cords are angled the same, I left more open area than necessary. So if your headbed cord is straight up and down, you can clip on the optional 2 small parts to fill in more of the gap around the heatbed cord.
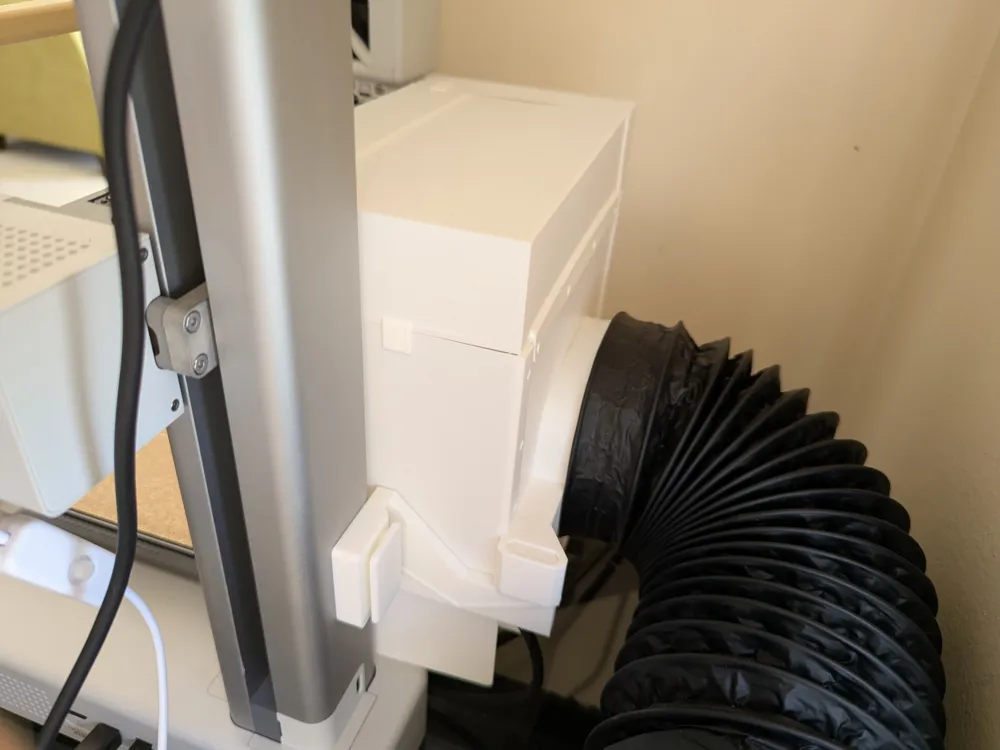
- It's recommended to support your 4-inch duct tubing in back so it's not pulling down on the model.
- The reason for the slightly narrowed 4-inch opening is to pull air from farther away. (Same principle as a nozzle on a water hose).
- You can verify the air pull by holding some tissue near the nozzle, or using incense smoke.
Assembly
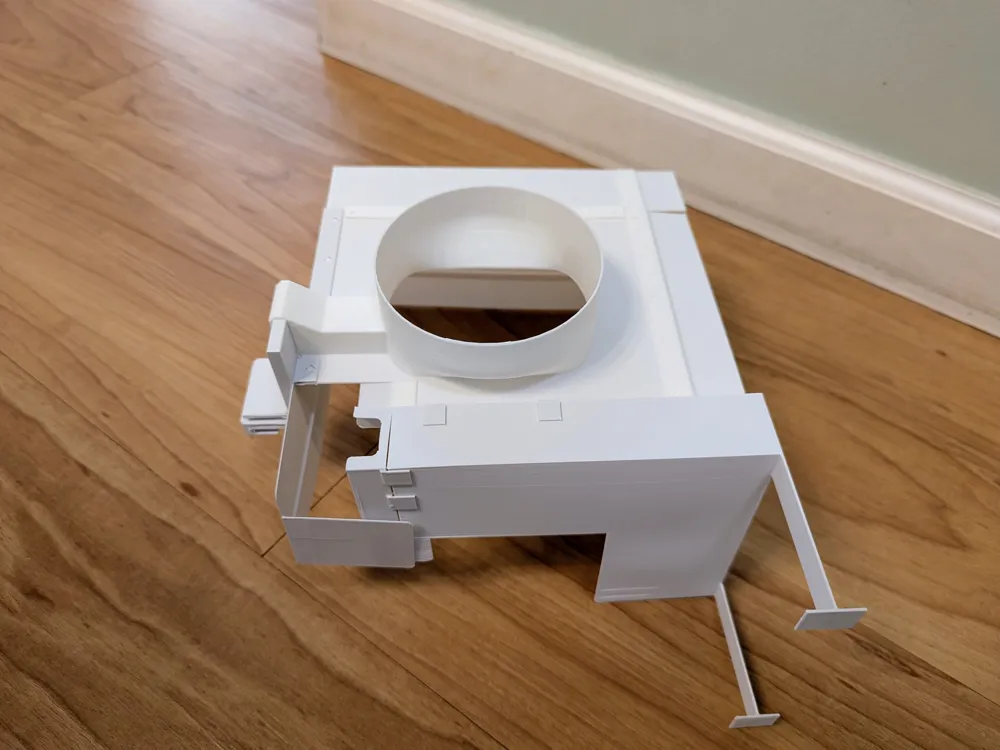
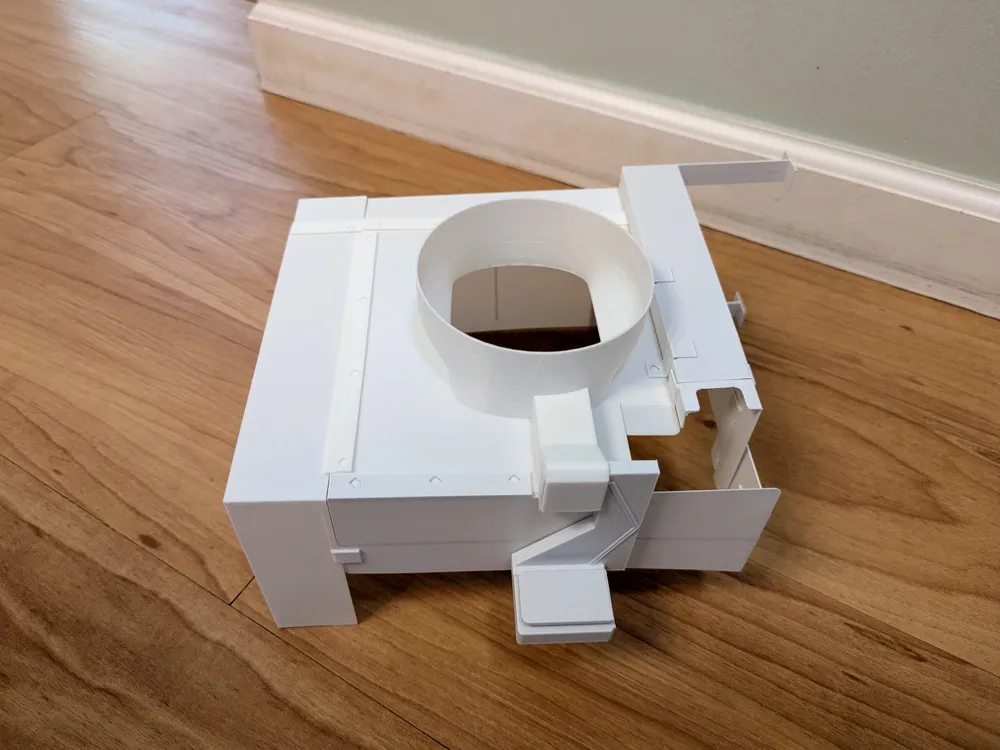
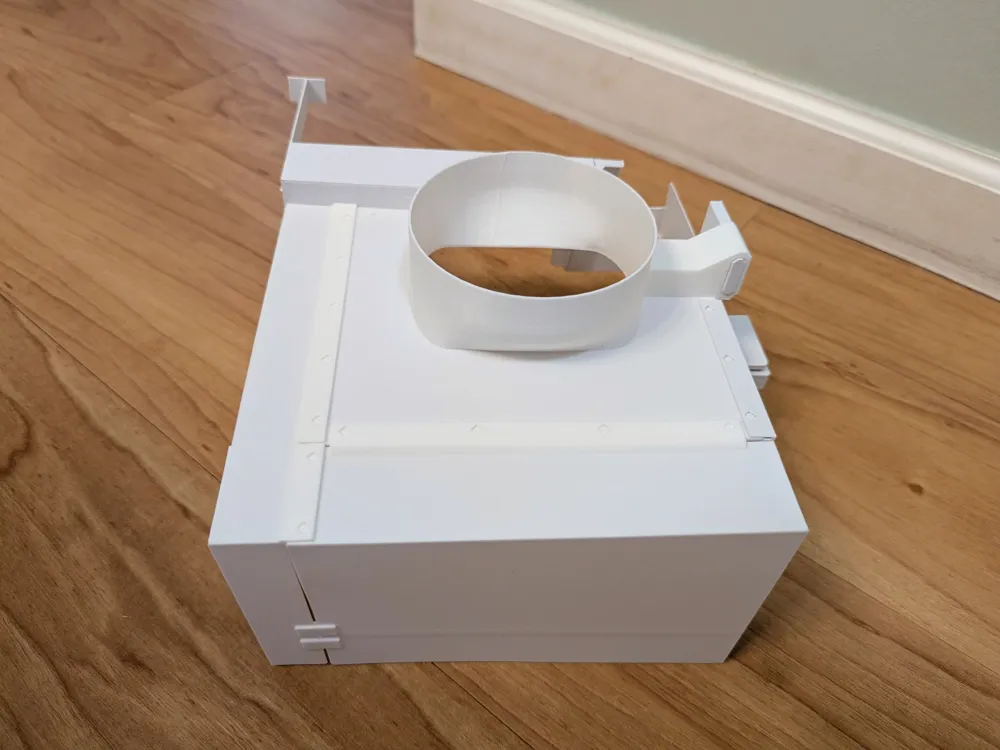
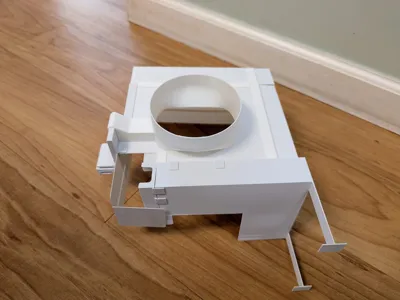
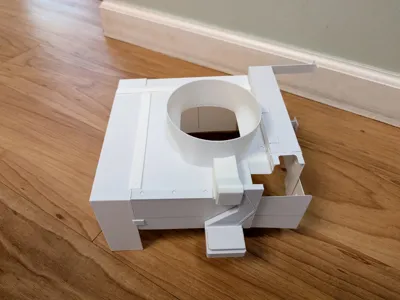
- The parts snap together easily. Use the photos as a reference.
- First, carefully snap the 2 Flanges to the left and right sides of the Vent shroud by aligning the small pegs with the holes in the flanges, and pushing firmly until they snap.
- Attach the 2 roof parts similarly. (Note: You can optionally print the “Low roof” profile).
- There are 4 small clips. 1) Two flat clips for connecting the roof overhang, and 2) Two “Z” clips for connecting the lower part in the back.
- Slide the A1 mini bed towards the front before mounting the completed assembly to the back of the Z-axis.
- Make sure the bed cable is on top of the lower lip of the right side panel.
- You can then attach your original spool holder to the “piggy-back” Bracket.
- Attach your duct tubing. Note: You shouldn't need to use a hose-clamp. If you do, then it's just harder to disconnect it when you want to.
- Note: I use a 195 cfm fan. But a 130 cfm might be ok too. (Let me know please).
- Happy venting!
Please note: It took a lot of trial and error to get the parts to fit together and print efficiently as possible. I'm open to any suggestions for improvement, and will respond promptly.
Boost Me (for free)
This took a lot of time and trial and error to get the parts just right. Please boost if you found this useful. Thank you!
License

You shall not share, sub-license, sell, rent, host, transfer, or distribute in any way the digital or 3D printed versions of this object, nor any other derivative work of this object in its digital or physical format (including - but not limited to - remixes of this object, and hosting on other digital platforms). The objects may not be used without permission in any way whatsoever in which you charge money, or collect fees.


Comment & Rating (2)