
Washing Machine Replacement Feet - Pine Makers
Print Profile(2)


Description
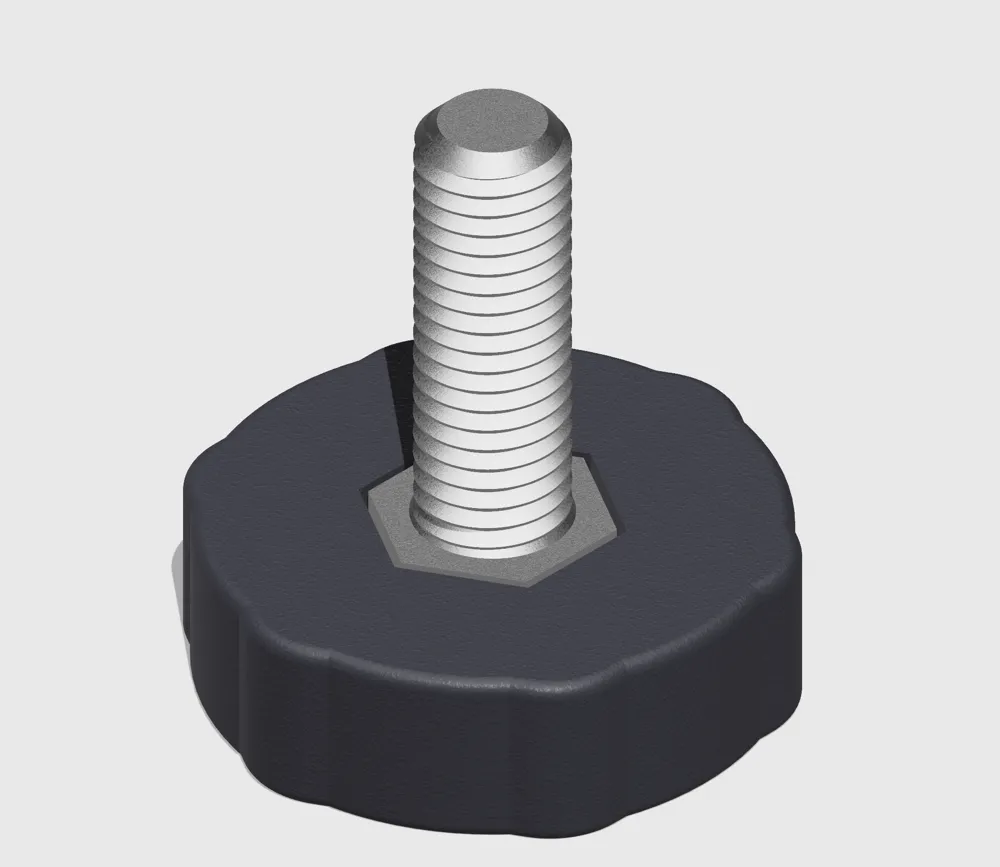
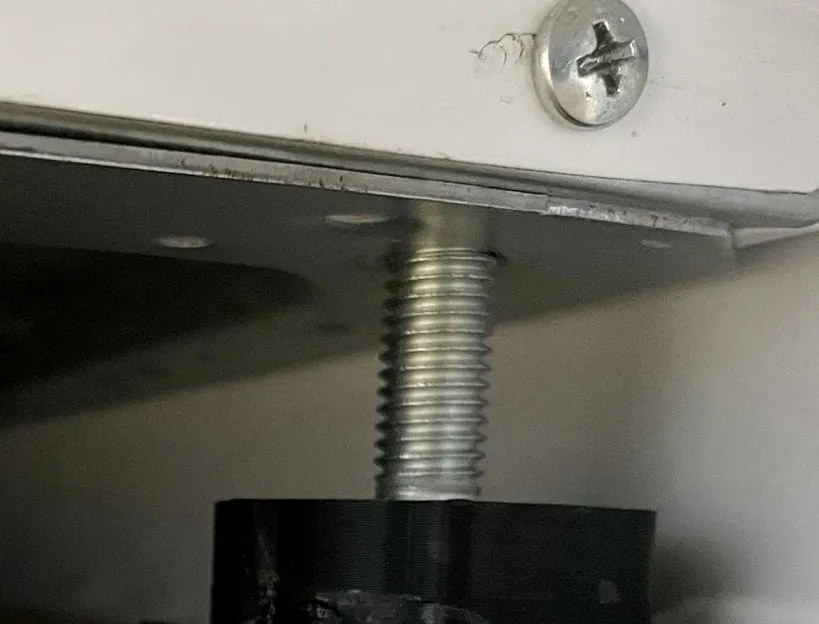
The Washing Machine Legs are replacement or custom support feet designed for washing machines that use M10 hex screws (a common standard). These legs are durable, practical, and easy to print at home, saving you the need to purchase costly replacements.
To prevent scratches and add grip, it is recommended to apply rubber stickers at the bottom of the printed legs. For extra durability, you can secure the nuts with super glue inside the sockets.
✅ Fits M10 hex screws
✅ Quick and easy to print (~30 minutes)
✅ Rubber stickers recommended for better grip and floor protection
Like this design? Check out more creations and support my work over on Instagram:
https://www.instagram.com/pine_makers?igsh=MTNvaTR5N3IzeTZoNQ==
This 3D model is protected under a proprietary license. By downloading or purchasing this file, you agree to the following terms:
You are granted a non-exclusive, personal, and non-transferable license to use this file for personal 3D printing only.
You may not copy, modify, distribute, sell, or share this model or any derivative works in any form.
Unauthorized redistribution or commercial use is strictly prohibited and may result in legal action.
For commercial use, licensing, or collaboration inquiries, please contact me directly.
Thank you for respecting my work and supporting independent creators!
Print Settings
- Printer type: FDM
- Material used: PLA (recommended: PETG or ABS for improved durability and strength)
- Layer height: 0.2 mm
- Infill: 25%
- Supports: None required
- Approx. print time: ~30 minutes per 4 legs
- Post process: Optional sanding before applying rubber stickers
Assembly & Finishing Instructions
- Print 4 legs (or the number required).
- Insert M10 hex screws into the sockets.
- Apply super glue to secure the nuts firmly in place.
- Stick rubber pads on the bottom to protect your floor and reduce vibration.
- Install legs on your washing machine as standard.
Safety Notes
- PLA may not withstand heavy long-term loads; PETG or ABS strongly recommended.
- Ensure nuts are securely glued to prevent loosening.
- Check legs regularly for wear and replace if needed.
- Keep rubber pads clean for maximum anti-slip grip.
License

You shall not share, sub-license, sell, rent, host, transfer, or distribute in any way the digital or 3D printed versions of this object, nor any other derivative work of this object in its digital or physical format (including - but not limited to - remixes of this object, and hosting on other digital platforms). The objects may not be used without permission in any way whatsoever in which you charge money, or collect fees.


Comment & Rating (2)